Free Hamster in a Flower Amigurumi Pattern — Easy Keychain
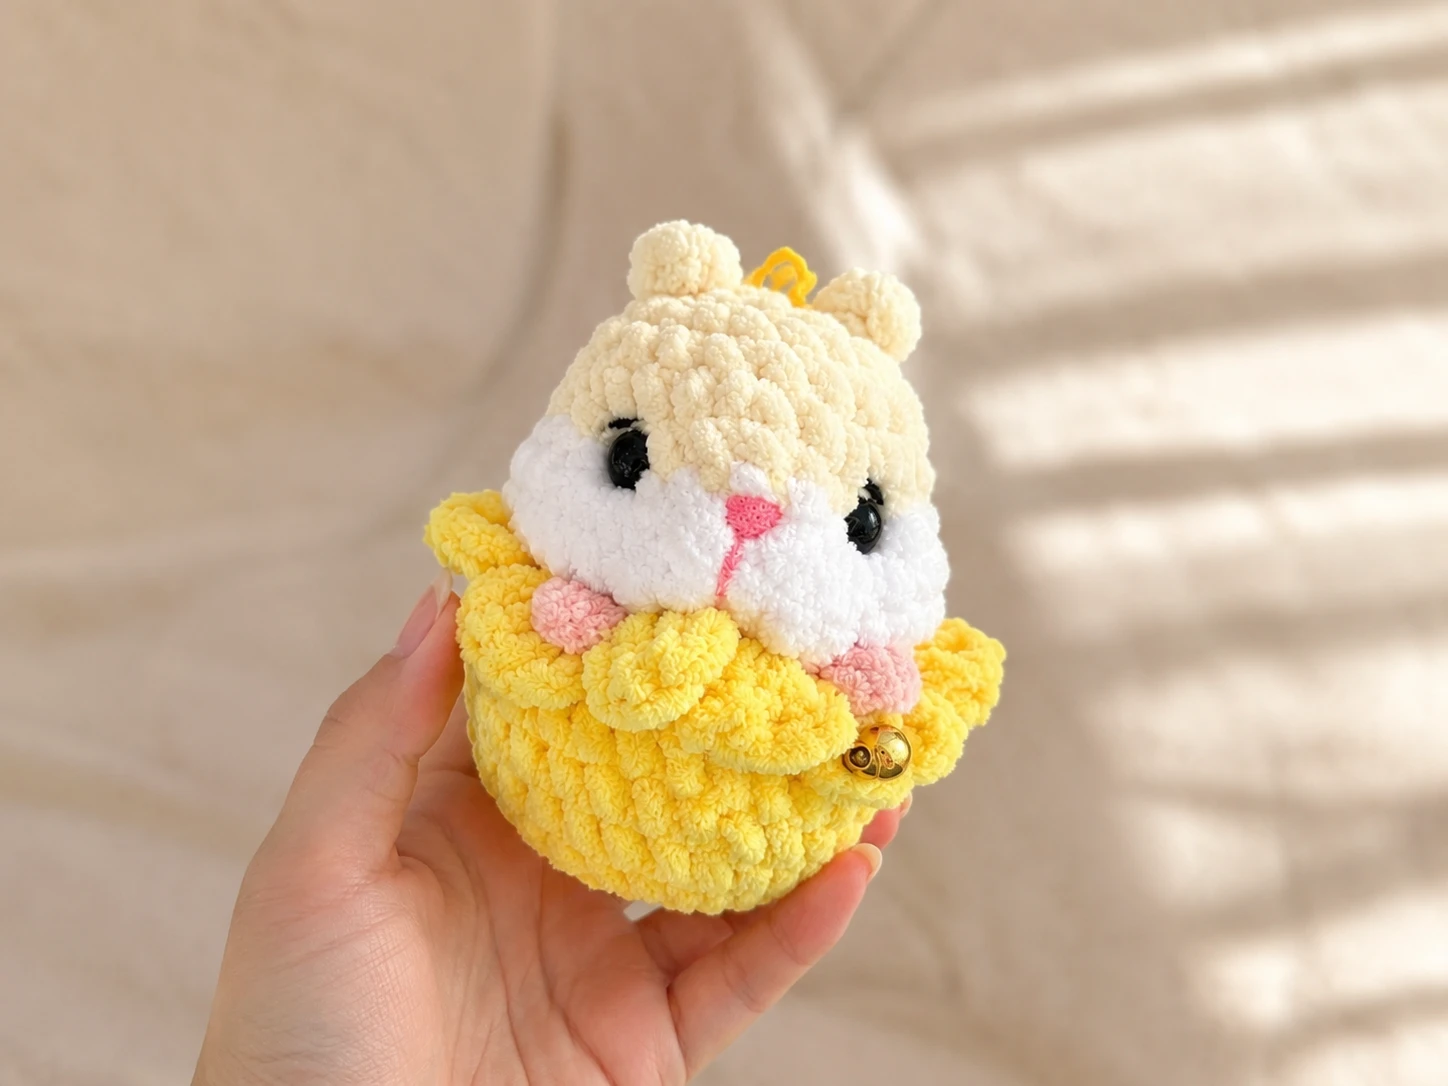
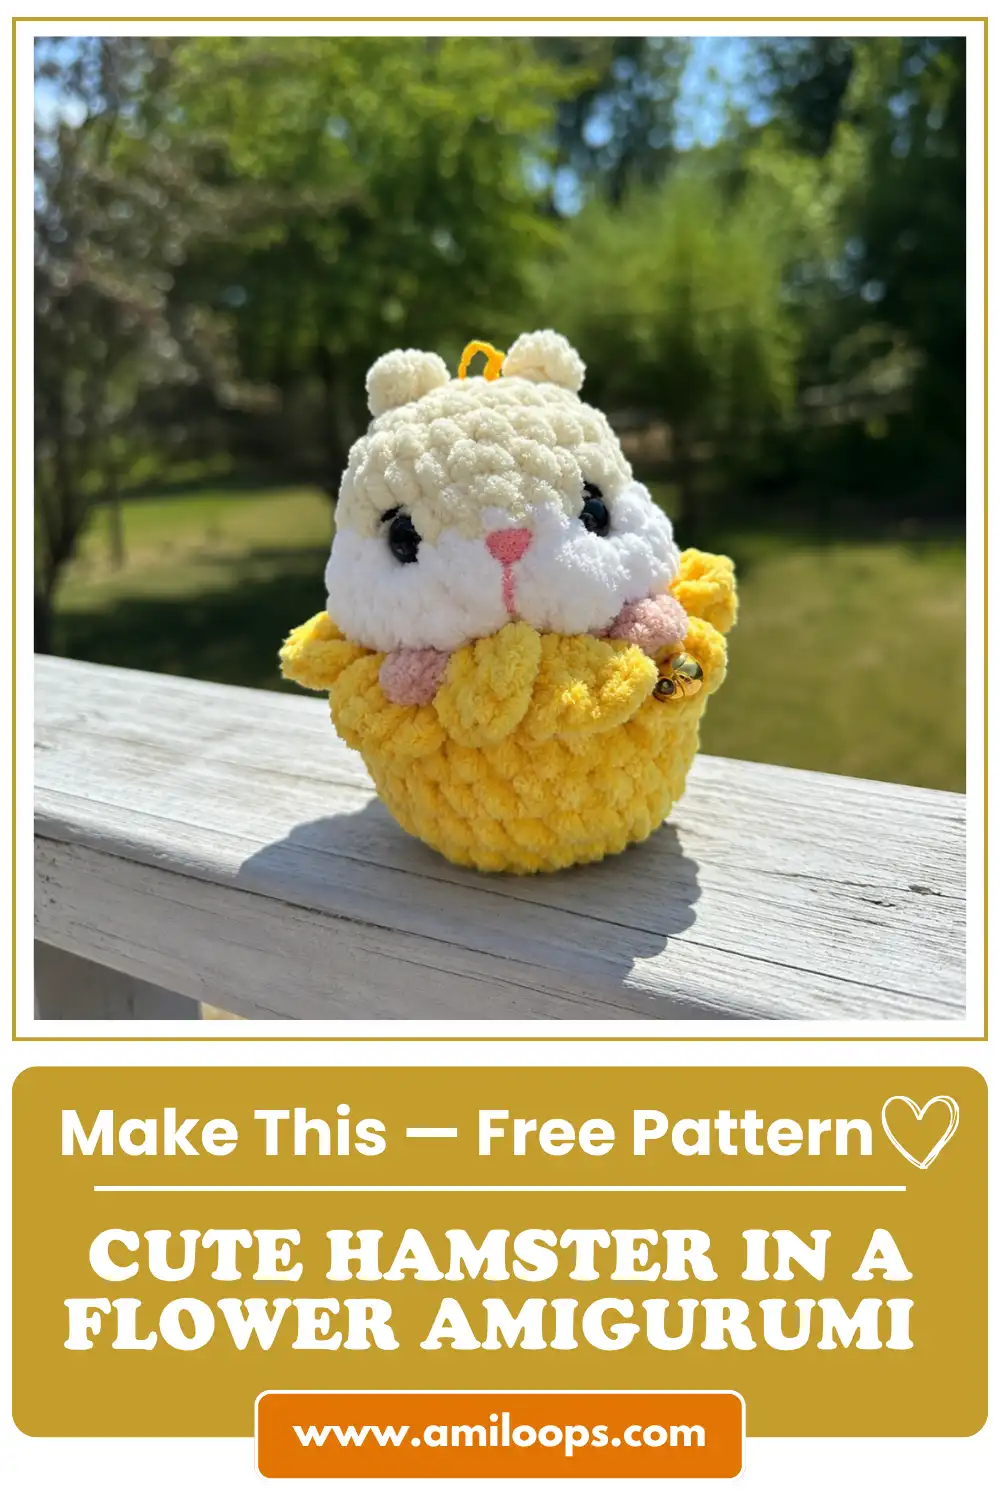
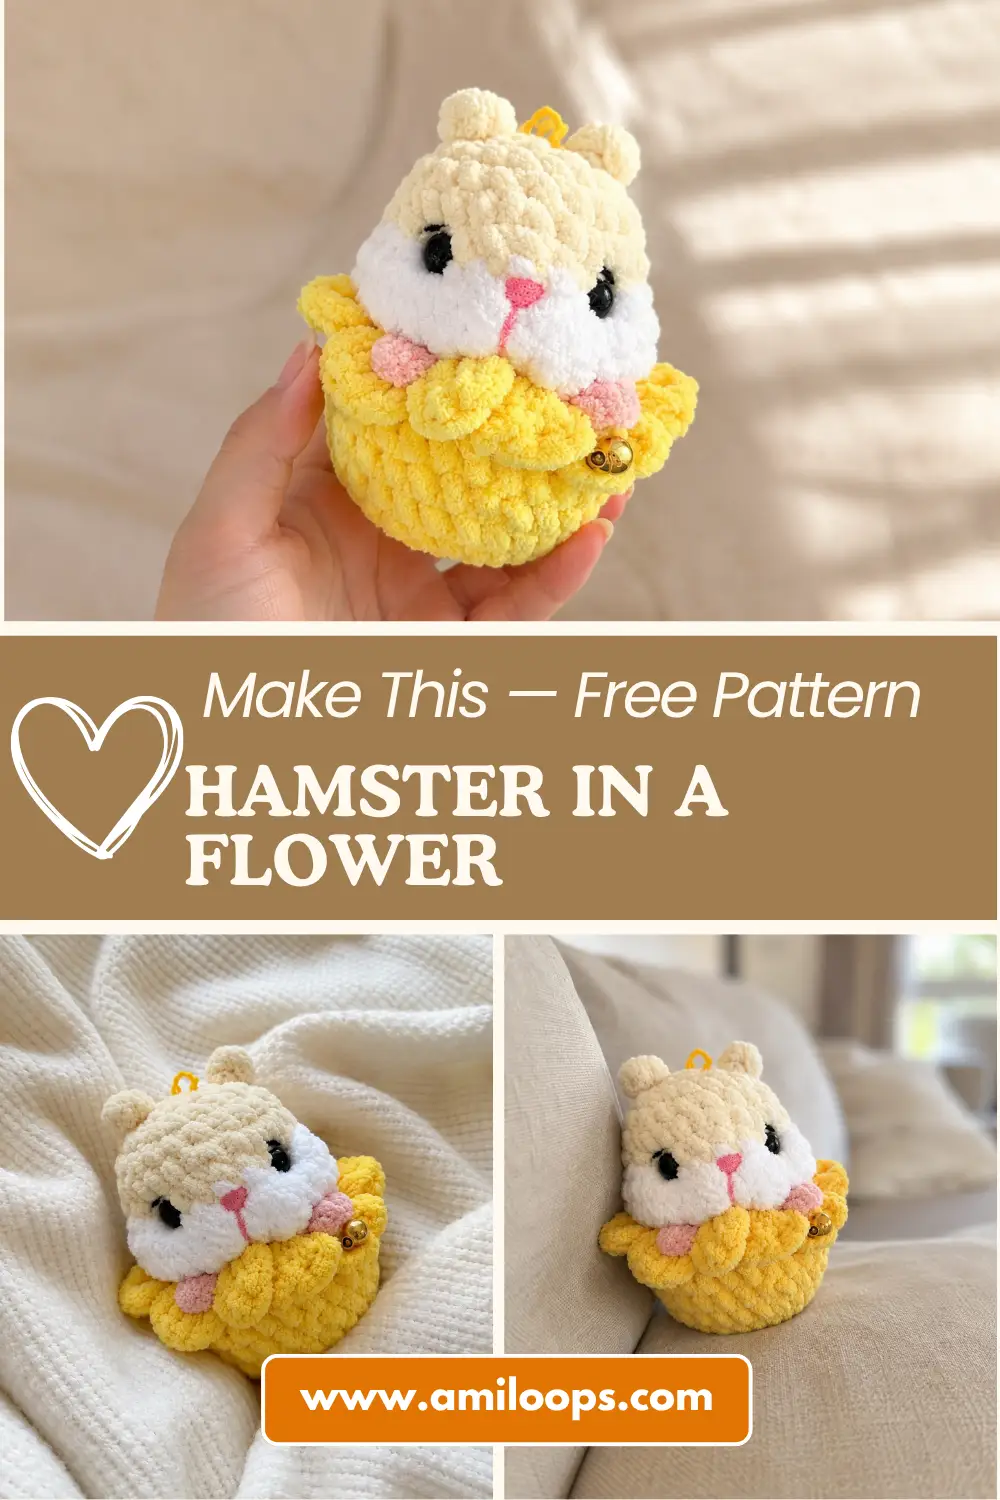
This hamster in a flower amigurumi pattern might be the coziest keychain you ever make. It works up fast in chunky chenille yarn, and most of it is just simple single crochet rounds — even the flower petals are easier than they look. There’s a little bit of sewing to join the pieces, but nothing scary. Grab your yarn and let’s make this little guy.
🧶 Why You’ll Love This Pattern
- ⭐ Difficulty: EASY
- ⏱️ Time: 1-2 hours — a cozy one-sitting project
- 🪡 Sewing: Minimal — just the ears, the paws, and joining the head to the flower
- 🧵 Yarn: Chunky chenille — soft, squishy, and fast to work up
- 💰 Yarn needed: Less than 1 skein of each color — a great scrap-buster
What You’ll Need for This Hamster in a Flower Amigurumi Pattern
Here’s the thing — you probably already have most of this in your stash. This pattern uses four colors of chenille, and none of them need to be a full skein. Don’t stress about matching brands exactly. Amigurumi is forgiving like that.
- Yarn: Himalaya Velvet or Himalaya Dolphin Baby chenille (or the US alternatives — Bernat Velvet, Bernat Baby Velvet, or Premier Parfait), a Bulky (5) weight yarn, in milk, white, beige, and yellow
- A little bit of thin pink yarn for the nose, and thin black yarn for the eyebrows — any fingering or lace weight scrap will do
- 10mm safety eyes — these lock in place so your hamster’s face stays put
- A keychain holder or clasp
- Stuffing (hollowfiber or polyester fiberfill) — enough to make him nice and squishy
- A crochet hook sized for chunky chenille. The original pattern doesn’t specify a size, so go with what gives you a nice, tight fabric — most crocheters land somewhere around 5.5-6mm (US I/9 or J/10) for bulky chenille. If you want a refresher on matching hooks to yarn, the Craft Yarn Council’s hook size chart is a handy reference.
- A tapestry needle for sewing the pieces together and hiding your yarn ends
- Stitch marker — you’ll be working in continuous rounds, so this keeps you from losing your place
Honestly? If all you have on hand is a slightly different chenille brand, use it. This pattern doesn’t need to be fussy about yarn to turn out cute.
Here’s the thing about chenille — it works up SO fast, and it feels ridiculously soft in your hands while you crochet it. It can squeak a little on the hook, which always makes me laugh the first time it happens. That’s completely normal, not a yarn problem. And if you can, grab a bigger, ergonomic hook rather than a thin metal one. Your hands will thank you, especially once you get to Part 2 and you’re working a whole lot of single crochet in a row.
Abbreviations You’ll See in This Pattern
| Abbreviation | What It Means |
|---|---|
| mr | magic ring — an adjustable loop you start amigurumi with. It sounds fancy, but it’s really just a loop that cinches tight so there’s no hole at the center. |
| sc | single crochet — the basic stitch you’ll use for almost this entire pattern |
| inc | increase — work 2 single crochets into the same stitch, to add width |
| dec | decrease — combine 2 stitches into 1, to take width away. We always use the invisible decrease method in amigurumi so there’s no gap |
| ch | chain — a basic loop stitch, usually used to start a piece |
| sl st | slip stitch — a very short stitch used to move across stitches or close up a shape, without adding height |
| dc | double crochet — a taller stitch, used here to build the flower petals |
| hdc | half double crochet — a stitch that’s a little taller than sc, shorter than dc |
| FLO | front loop only — working into just the front loop of a stitch, leaving the back loop free |
| BLO | back loop only — working into just the back loop, leaving the front loop free. We’ll use this to join the head to the flower |
| FO | fasten off — finish the piece and secure your last loop |
Beginner Tips for This Hamster in a Flower Amigurumi Pattern
Never made a magic ring before? No worries — our magic ring tutorial walks you through it in under two minutes, and every single piece in this pattern starts with one.
Safety eyes go in before you stuff anything, and once they’re snapped in place, they’re in place for good — so double-check your spacing first. Our guide on how to attach safety eyes safely covers exactly how to do this without any regrets.
The trickiest part of this whole project is honestly just sewing the head onto the flower. It’s not hard, it’s just fiddly the first time. Our tutorial on sewing amigurumi parts together will make it click.
You’ll see FLO and BLO pop up a few times in this pattern — front loop only and back loop only. Here’s the easy way to think about it: every stitch has two loops sitting on top of it, and normally you crochet through both. Working in just one loop leaves the other one free, which is exactly how you get that clean ridge to sew into later. If you want the full breakdown, our guide on telling the right side from the wrong side covers FLO and BLO in more detail.
Let’s Crochet the Hamster in a Flower Amigurumi Pattern
This pattern has three parts: the flower base, the head, and the tiny ears and paws. We’ll do the flower first since it’s the biggest piece, then the head, then the little bits. All of it is worked in continuous rounds — no joining, no turning, just spiraling around and around. Ready? Let’s go.
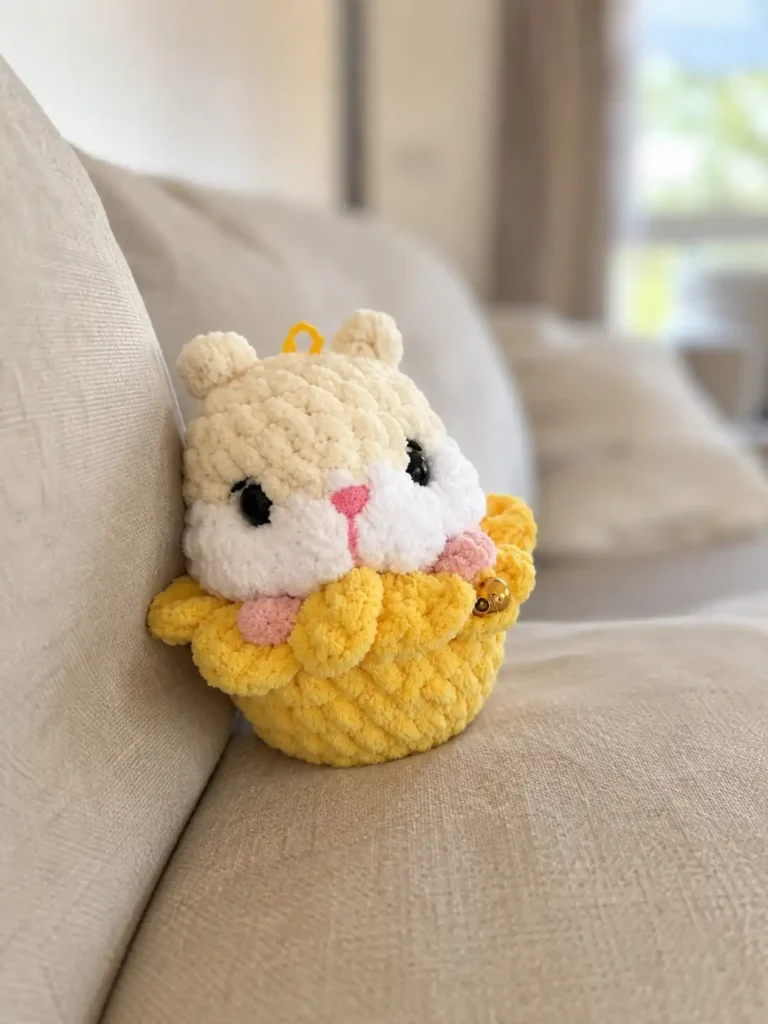
Part 1: The Flower (make 1)
Yarn color: Yellow
Start with: A magic ring
Row 1: 7 sc in mr (7)
Row 2: 7 inc (14)
Row 3: (1 sc, inc) * 7 times (21)
Row 4: (2 sc, inc) * 7 times (28)
Rows 5-8: 28 sc, worked even for 4 rows (28)
“Worked even” just means you crochet a plain sc in every single stitch around, with no increases or decreases — your stitch count stays at 28 for all four of these rounds. This is the flattest, most zone-out-and-watch-TV part of the whole pattern. Perfect for that one evening, one movie kind of night.
Row 9: (2 sc, dec) * 7 times (21)
Okay, this next row is the fun part — the petals. Don’t let the instructions scare you, it’s really just one little stitch sequence repeated ten times.
Row 10: Working in FLO, ((sl st + ch 2 + 3 dc + ch 2 + sl st) all in one stitch + sl st in next stitch) * 10 times, then sl st in the last stitch.
Working in FLO here means you’re only picking up the front loop of each stitch from Row 9, which leaves that little ridge of back loops free — that’s exactly what you’ll use later to sew the head on. Each repeat of the sequence builds one petal, so by the time you’ve gone around, you’ll have 10 petals sitting around the edge of your flower.
Finishing: FO, cut the yarn, and hide the end inside the flower.
🎉 Look at that — your flower is done! That petal row looks way more impressive than it actually was to make, right? Onto the head.
Part 2: The Head (make 1)
Yarn color: Milk (switching to white partway through)
Start with: A magic ring
Row 1: 6 sc in mr (6)
Row 2: 6 inc (12)
Row 3: (1 sc, inc) * 6 times (18)
Row 4: 18 sc, worked even (18)
Row 5: (2 sc, inc) * 6 times (24)
Row 6: 24 sc, worked even (24)
Notice how this head starts out just like the flower — magic ring, then increase rounds to round it out, then a plain round to let it settle into shape. Once you’ve made one amigurumi piece, you start recognizing this rhythm everywhere. It’s honestly one of my favorite things about this hobby — the pieces start feeling familiar instead of like a mystery.
Right after Row 6, it’s time to add the safety eyes. Insert them above the increases you’re about to make in Row 7, leaving 8 sc between the two eye posts. This is a great moment to hold the head up and eyeball (pun intended) the spacing before you snap the washers on — once they’re in, they’re in for good.
Row 7: Switch to white yarn. 6 sc + 3 inc + 6 sc + 3 inc + 6 sc (30)
Row 8: 30 sc, worked even, in white (30)
Row 9: In white, (13 sc, dec) * 2 times (28)
Row 10: In white, (2 sc, dec) * 7 times (21)
Before you fasten off, this is your last chance to add stuffing — squeeze it in there so the head feels nice and firm, not floppy.
Finishing: FO, cut the yarn, and hide the end inside.
🎉 You’re halfway there! The two biggest pieces are officially done. Everything left is small and quick — this is where the project starts moving fast.
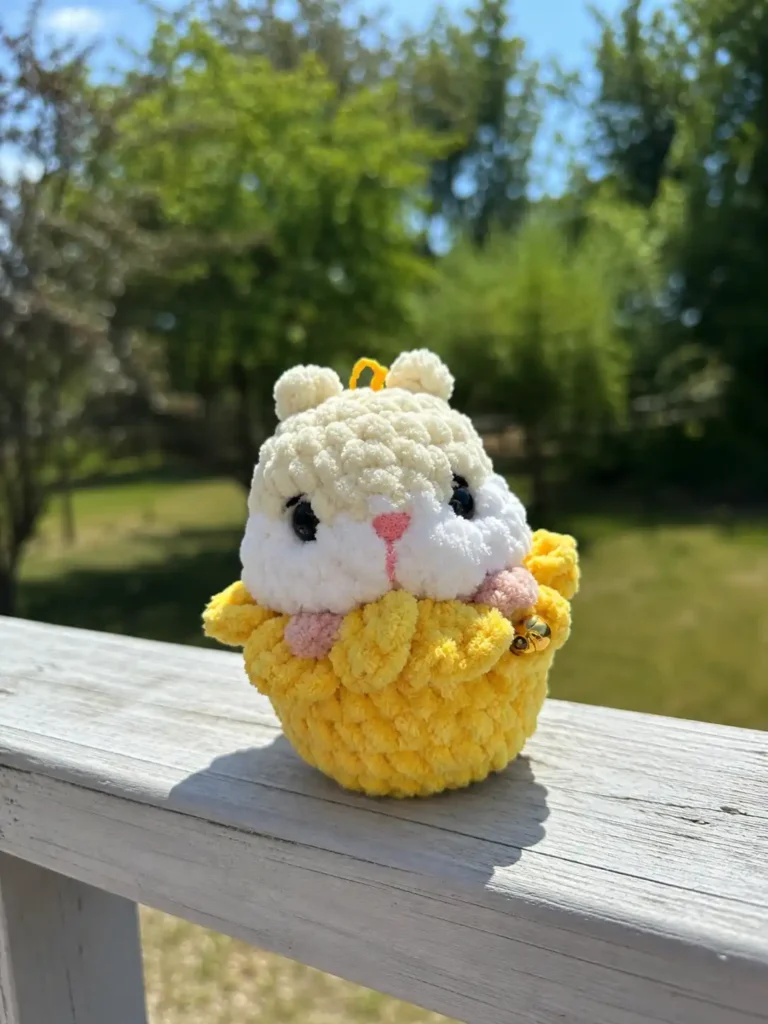
Part 3: Ears and Paws (make 2 ears, make 2 paws)
Yarn color: Milk for the ears, beige for the paws
Start with: Chain 3, leaving a 4 in (10 cm) tail at the beginning
Row 1: In the first chain made, work 1 hdc.
Here’s the thing about this step — the ears and the paws are made in the exact same way, just in different colors. So you’re really making four tiny identical pieces: two in milk for the ears, and two in beige for the paws. Quick, painless, and honestly kind of satisfying to knock out four little pieces in a row.
Finishing: FO, cut the yarn, leaving a 4 in (10 cm) tail — you’ll use this tail to sew each piece on, so don’t trim it short.
🎉 That’s every piece made! Flower, head, two ears, two paws — you’ve officially done all the crochet. Everything from here is just putting him together.
Assembly
Here’s the honest truth: this pattern isn’t fully no-sew, but it’s close, and none of these seams are difficult. Just two quick pieces to attach and one join for the head. Grab your tapestry needle.
- Sew the head onto the flower, working through the stitches of the head and the BLO (back loop only) of the last row of the flower. This is the ridge of loops you left free back in Row 10 — it gives you a clean line to stitch into.
- Sew the ears onto the head, and the paws underneath the cheeks, right in the gap between the head and the flower.
- Secure the tails you left at the beginning of the ears and paws, then weave them in and hide them inside.
🎉 No more sewing after this! Once these three steps are done, your hamster is fully assembled. The rest is just the fun face details.
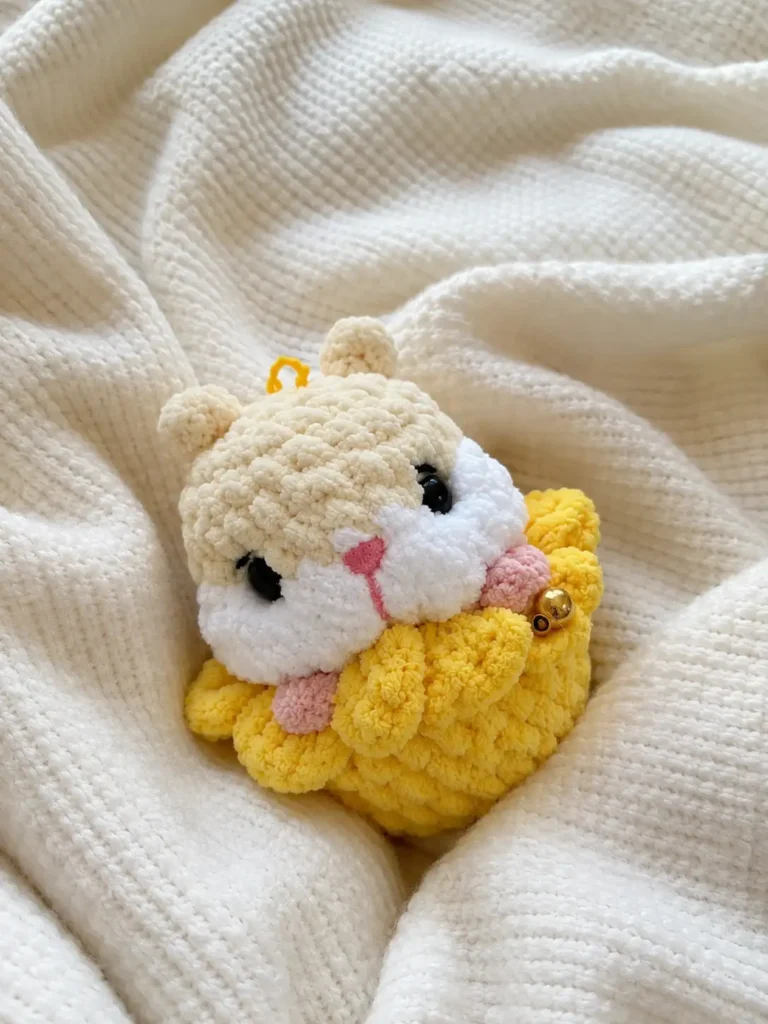
Decoration
This is where your hamster really comes to life. Take it slow here — small details make a big difference on a face this size.
- Embroider the nose using your thin pink yarn.
- Embroider the eyebrows using your thin black yarn.
- Sculpt the eye indentations. Go GENTLY here — you’re just adding a little dimension, not pulling tight.
- Take your needle from the right eye to the right paw and back.
- Take your needle from the left eye to the left paw and back.
- Take your needle from the right eye to the left eye and back.
- Attach your keychain holder to the top of the flower.
Those little stitches running from the eyes to the paws are what give him that soft, slightly squished cheek look — it’s a small step, but it’s the one that makes him feel alive.
Don’t rush this part. Sit somewhere with good light, thread your needle, and take it stitch by stitch. If your first eyebrow looks a little wonky, that’s fine — you can always pull it out and try again since embroidery floss isn’t locked in place the way safety eyes are. This is genuinely the part where your hamster stops looking like “a round thing” and starts looking like, well, a hamster.
You Did It!
You did it! Seriously, look at that little face peeking out of his flower — if this was your first amigurumi, you should be ridiculously proud of yourself, and if it wasn’t, I hope it was as relaxing as it was for me. This is exactly the kind of one-sitting project that reminds you why you picked up a hook in the first place. Tag AmiLoops if you make one — I want to see every single version, especially the yarn color combos you come up with. If you’re hooked on quick amigurumi keychains after this one, check out our free hamster amigurumi pattern or our tiny flower keychain pattern for your next cozy evening project.
FAQ
What yarn is best for this hamster in a flower amigurumi pattern?
Chunky chenille yarn (Bulky weight 5) like Himalaya Velvet or Bernat Velvet is perfect. It makes the pattern work up quickly and gives a soft, squishy finish.
How long does it take to crochet this amigurumi keychain?
It takes about 1-2 hours to complete, making it a fast and easy one-sitting project.
Is there a lot of sewing involved in this pattern?
No, sewing is minimal. You only need to join the head to the flower base and attach the small ears and paws.