Free Crochet Cactus Toy Pattern – Cute Amigurumi Plant
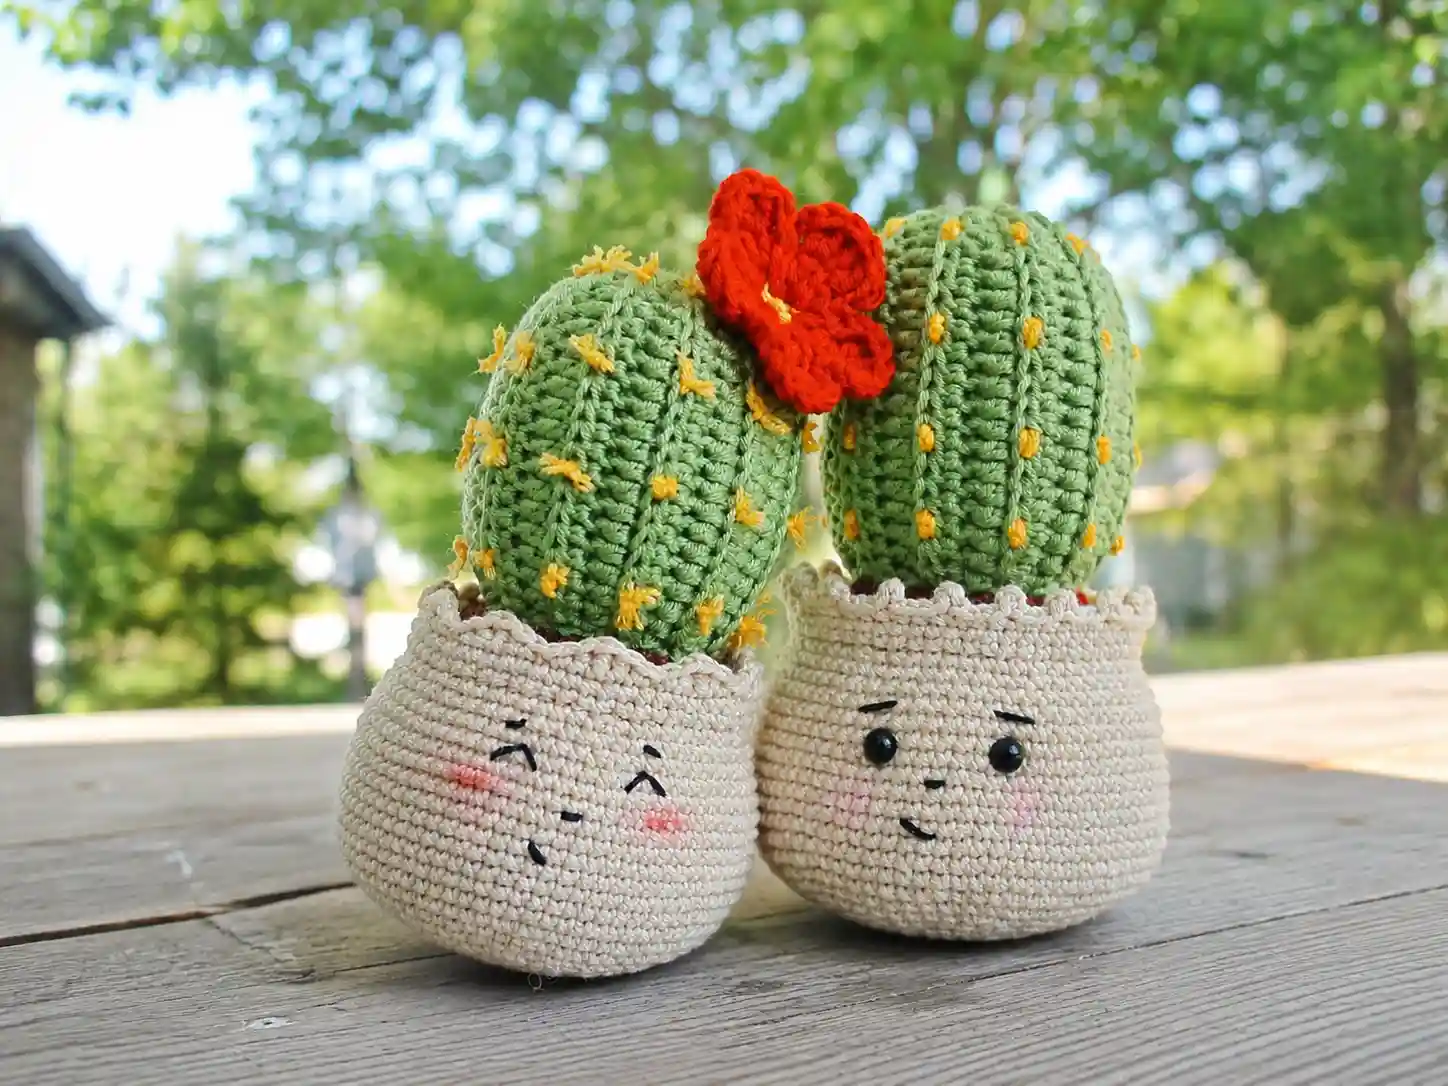
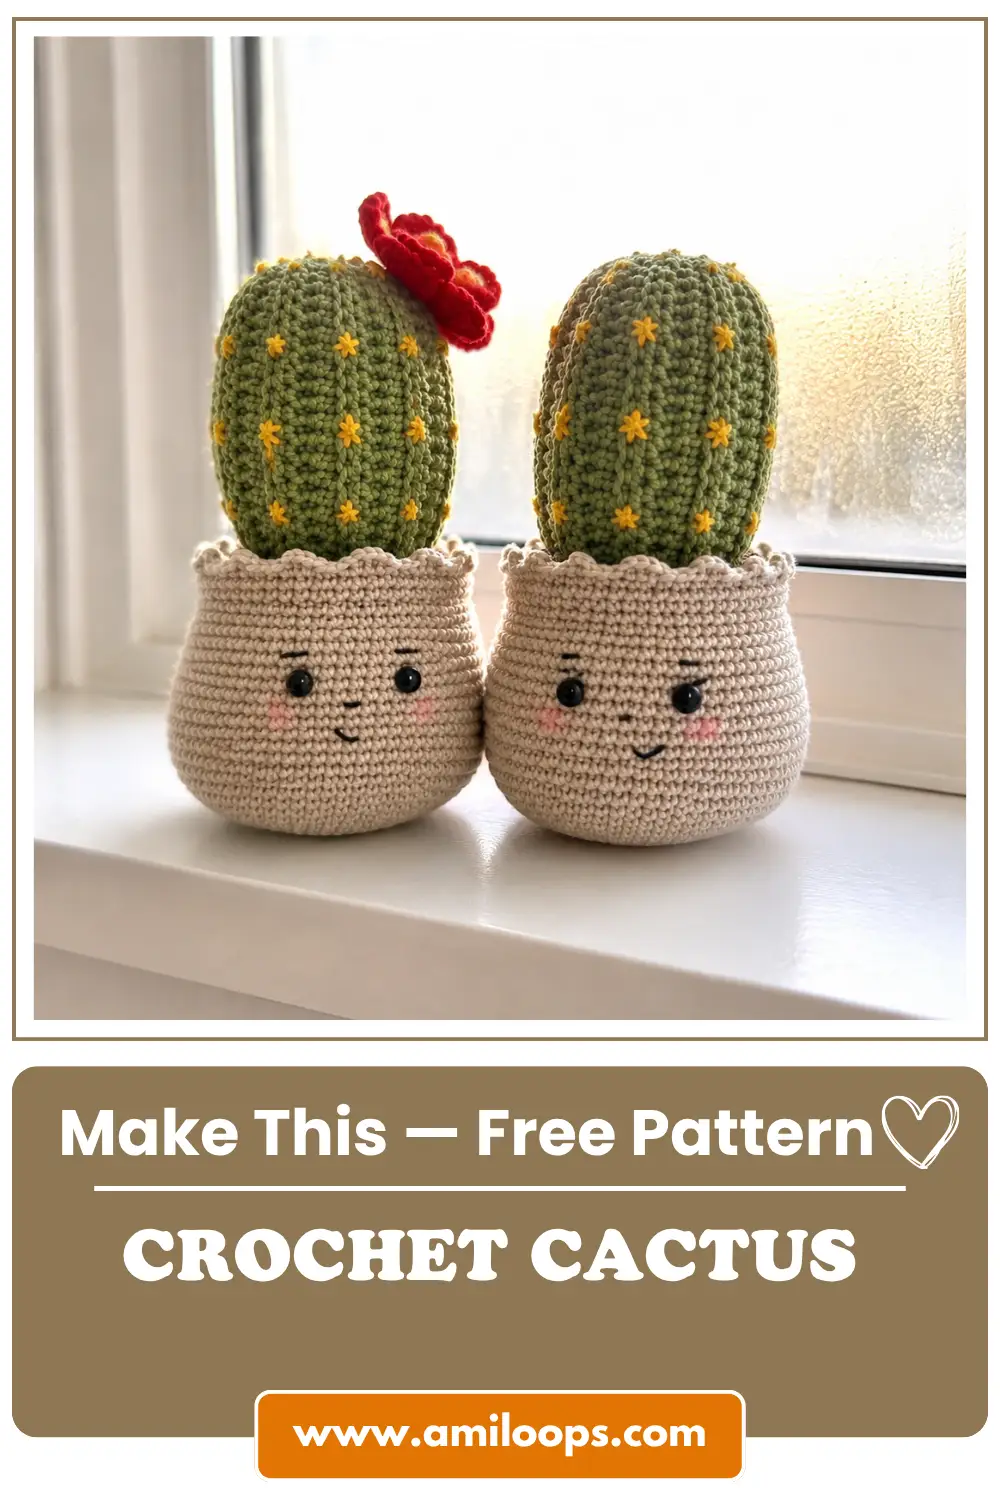
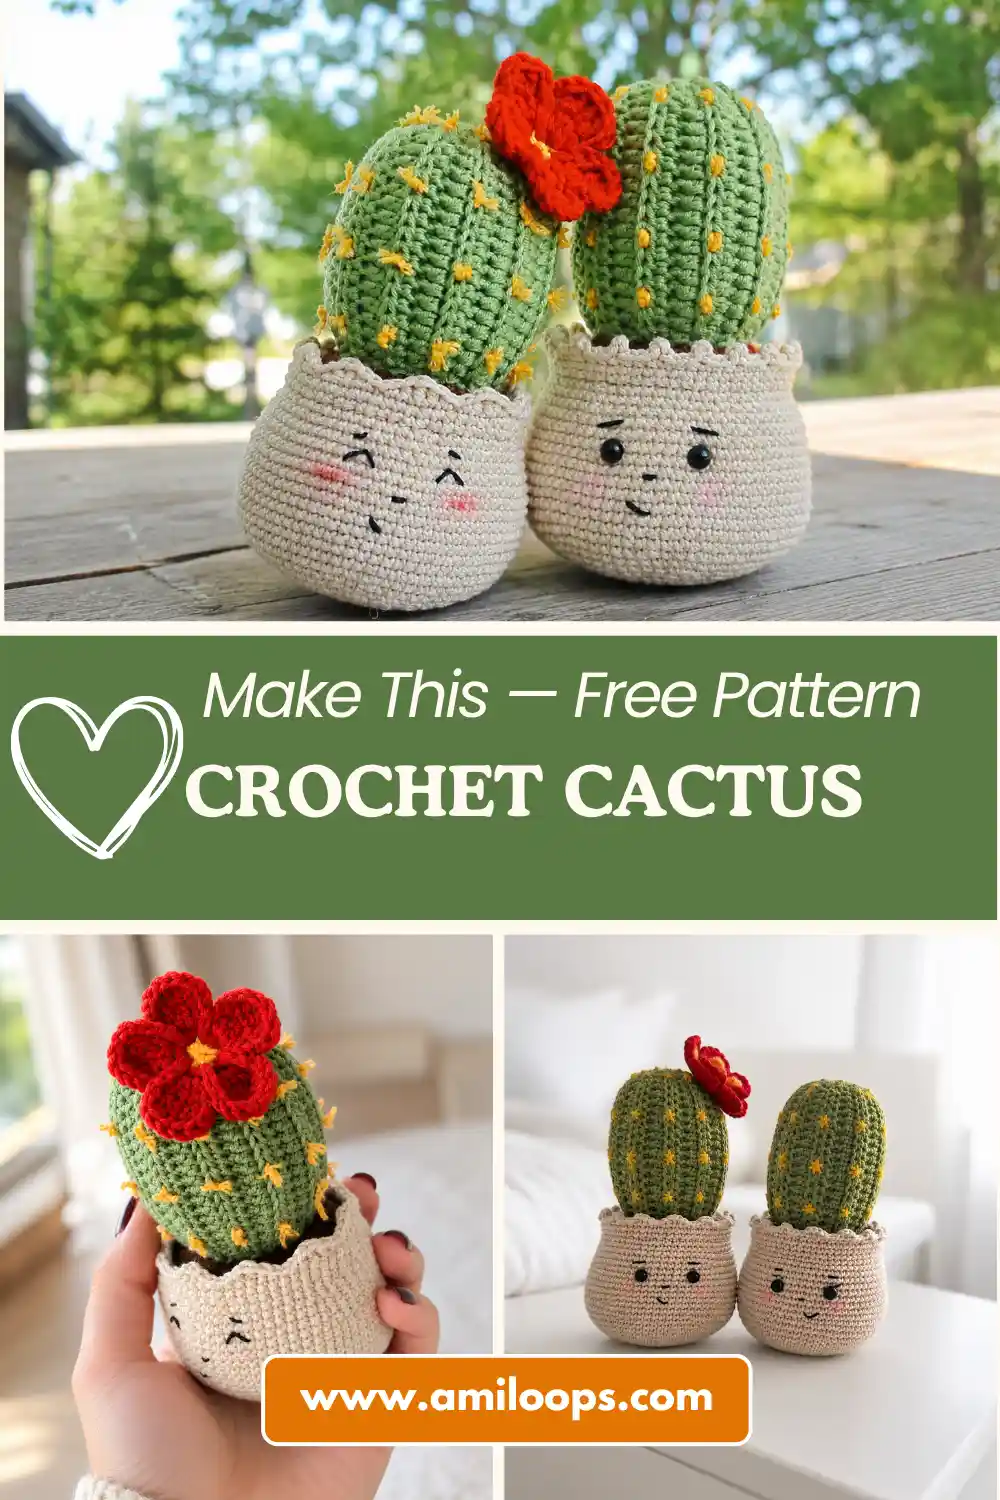
This free crochet cactus toy pattern is one of those projects that looks way more complicated sitting in a shop window than it actually is once you break it down piece by piece. You’re making a tiny green cactus, tucking it into a cozy little pot of “soil,” and topping it off with a flower — no watering required, ever. Okay, real talk: this one has more sewing than my usual picks. But I’m walking you through every single step, so don’t panic. Grab your yarn and let’s get potting.
🧶 Why You’ll Love This Pattern
- ⭐ Difficulty: INTERMEDIATE (more sewing than usual — but totally doable)
- ⏱️ Time: 4-6 hours — best split across two or three cozy sittings
- 🪡 Sewing: Standard — cactus seam, cactus-to-soil, soil-to-pot, plus face and thorn embroidery
- 🧵 Yarn: DK/Worsted weight cotton blend in three colors
- 💰 Yarn needed: Roughly 130-150 yards total across all colors (editorial estimate — the source pattern only listed gram weights)
What You Need for This Crochet Cactus Toy Pattern
Here’s everything you’ll need. None of this has to be exact — amigurumi is forgiving, and swapping yarns is totally normal.
- Pot yarn (beige): DK/Light Worsted (3) weight cotton blend, about 0.7-0.9 oz. The original used Nako Calico — a good US swap is Lion Brand 24/7 Cotton or any DK-weight cotton in a warm beige.
- Soil yarn (brown): Worsted (4) weight, about 0.2-0.25 oz. Lion Brand 24/7 Cotton in brown works great.
- Cactus yarn (green): DK/Light Worsted (3) weight, about 0.5-0.7 oz. Try Paintbox Cotton DK or another DK cotton in a fresh green.
- Thorns yarn: DK/Light Worsted (3), just a couple yards — Drops Muskat or Paintbox Cotton DK in a contrasting color.
- Flower yarn: DK/Light Worsted (3), a couple yards in your favorite bloom color — Drops Safran or Paintbox Cotton DK work well.
- Hook: 3.5mm (approx. US E/4) — the source pattern didn’t specify a size, so this is my best estimate for these yarn weights. If your stitches look loose or your fabric feels stiff, size up or down.
- Fiberfill stuffing: About 1.25-1.6 oz (Poly-Fil works great, available at Joann, Michaels, or Hobby Lobby).
- Black embroidery thread for the face.
- Safety eyes (optional): 6mm, if you’d rather not embroider the eyes.
- Stitch marker (or a scrap of contrasting yarn — that works too).
- Tapestry needle for sewing everything together.
- A pencil or eyeshadow for blush cheeks (yes, really — it’s the cutest trick).
This yarn falls into the DK/Light Worsted (3) and Worsted (4) weight categories — nothing fancy, just easy-to-find cotton blends.
Abbreviations Used in This Pattern
| Abbreviation | What It Means |
|---|---|
| ch | chain — the foundation loop stitch |
| sc | single crochet — your basic building-block stitch |
| hdc | half double crochet — a slightly taller stitch than sc |
| mr | magic ring — an adjustable loop that starts your round with no hole in the center |
| inc | increase — 2 sc worked into the same stitch, adds width |
| dec | invisible decrease — combines 2 stitches into 1 with no visible gap |
| BLO | back loop only — working into just the back loop, creates a ridged texture |
| FLO | front loop only — working into just the front loop, creates a defined line |
| FO | fasten off — finish the piece and secure the last loop |
Beginner Tips Before You Start This Crochet Cactus Toy
Okay, before we dive in — a few things that’ll make this way smoother.
First, if you’ve never made a magic ring before, don’t stress. It sounds fancy but it’s really just an adjustable loop, and our tutorial walks you through it in under two minutes.
Second, this pattern uses invisible decrease on the pot’s shaping rounds. It takes a beat to get the hang of, but it keeps everything looking smooth instead of gappy — worth the extra second per stitch.
Third — and I mean this — this pattern has more sewing than I usually pick. Before you sew anything, pin your pieces in place first and step back to check they’re centered. It saves you from unpicking later. Our sewing amigurumi parts guide covers the basics if you want a refresher.
The Crochet Cactus Toy Pattern
We’re building this in three pieces — the cactus, the soil, and the pot — then bringing it all together. Let’s go part by part.
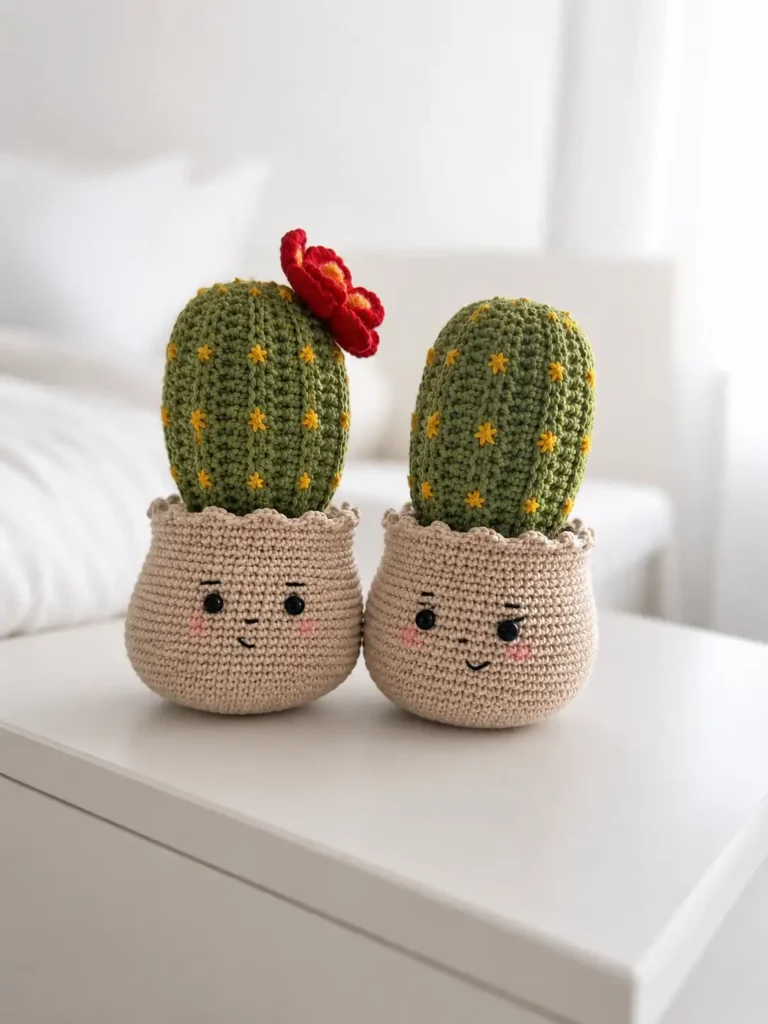
Part 1: The Cactus
Start with a chain of 20, plus 1 turning chain.
Rows 1-20: Ch 1 (turning chain), 20 hdc in BLO. (20)
Yep — same row, 20 times. Leave a starting tail of about 12 inches; you’ll use it for sewing later. Every row is worked in the back loops only, which is what gives this piece its ridged, almost-cactus-y texture. If you want a taller or wider cactus, you can adjust your starting chain and row count — this pattern is pretty forgiving that way.
🎉 Twenty rows down! This part is basically just muscle memory once you get going — turn, chain, hdc across, repeat. Put on a show and let your hands do the work.
Finishing: Roll the rectangle into a tube, with the right side (the side you’ll add thorn detail to later) facing out. Sew along the edge to close the seam.
Part 2: The Soil
Start with a magic ring.
Row 1: 6 sc in mr (6)
Row 2: inc x6 (12)
Row 3: (inc, 1 sc) x6 (18)
Row 4: (2 sc, inc) x6 (24)
Row 5: (inc, 3 sc) x6 (30)
Row 6: 2 sc, (inc, 4 sc) x5, inc, 2 sc (36)
Row 7: (inc, 5 sc) x6 (42)
Row 8: 2 sc, (inc, 6 sc) x5, inc, 4 sc (48)
Row 9: (inc, 7 sc) x6 (54)
Row 10: 2 sc, (inc, 8 sc) x5, inc, 6 sc (60)
Quick note: the increases here are staggered on purpose, so they don’t stack directly on top of each other from row to row — that keeps the circle nice and flat instead of cone-shaped.
Finishing: FO, weave in and cut the yarn.
🎉 Piece two, complete! That circle is going to sit right at the mouth of your pot. You’re already two-thirds of the way through the crochet part.
Part 3: The Pot
Start with a magic ring.
Row 1: 6 sc in mr (6)
Row 2: inc x6 (12)
Row 3: (inc, 1 sc) x6 (18)
Row 4: (2 sc, inc) x6 (24)
Row 5: (inc, 3 sc) x6 (30)
Row 6: 2 sc, (inc, 4 sc) x5, inc, 2 sc (36)
Row 7: (inc, 5 sc) x6 (42)
Row 8: 2 sc, (inc, 6 sc) x5, inc, 4 sc (48)
Row 9: (inc, 7 sc) x6 (54)
Row 10: 2 sc, (inc, 8 sc) x5, inc, 6 sc (60)
Row 11: (inc, 9 sc) x6 (66)
Row 12: 2 sc, (inc, 10 sc) x5, inc, 8 sc (72)
Rows 13-21: 72 sc, worked even (no increases). (72)
🎉 You’re at the tall part! Nine rows of straight sc feels repetitive, I know — but this is where your pot gets its height. Almost to the shaping again.
Row 22: (dec, 22 sc) x3 (69)
Row 23: 11 sc, (dec, 21 sc) x2, dec, 10 sc (66)
Row 24: (dec, 20 sc) x3 (63)
Row 25: 10 sc, (dec, 19 sc) x2, dec, 9 sc (60)
Row 26: 60 sc, worked in FLO of the previous row. (60)
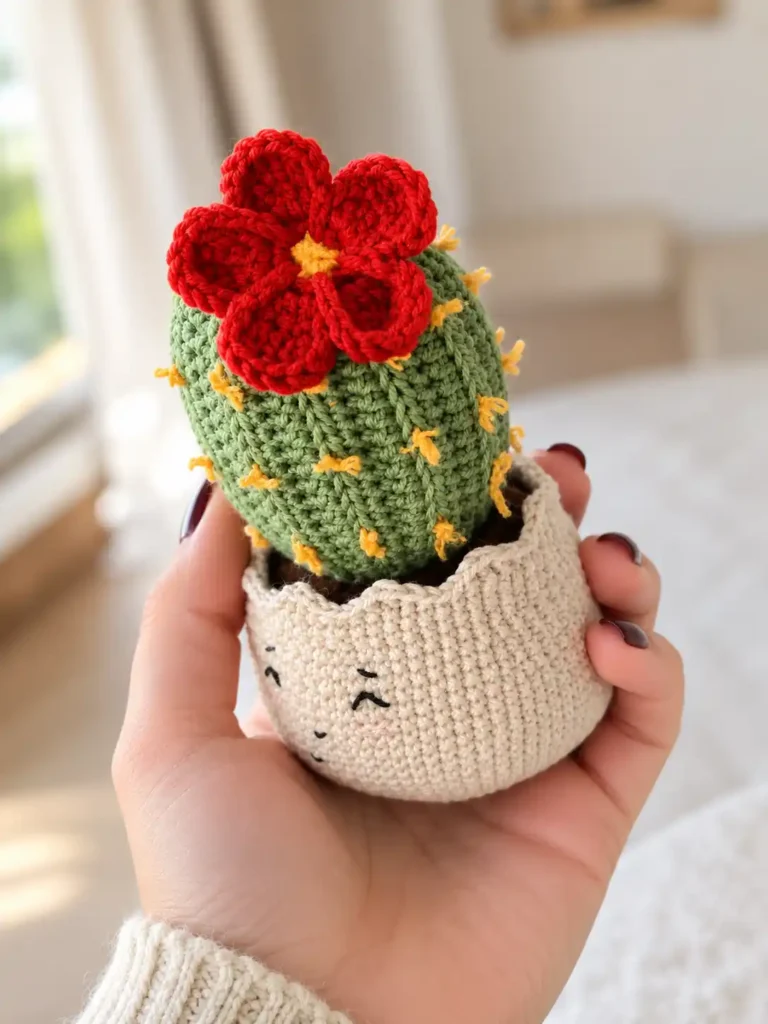
Here’s the part that needs a little sequencing: without cutting your yarn, pause here to embroider the face (eyes, nose, eyebrows, mouth — see the Assembly section below for details), then sew the soil piece in and stuff the pot. Once that’s done, come back and finish the last row.
Row 27: 60 sc, worked as usual (through both loops). (60)
Finishing: FO, weave in ends.
A quick honesty note: the original pattern includes an optional decorative edge (Row 28) with a picot detail. The source instructions for it were incomplete, so I left it out — your pot looks completely finished without it, but feel free to add a simple picot edge of your own if you want extra flair.
Assembly for Your Crochet Cactus Toy
Okay, this is the part with the most steps — but take it one at a time and it comes together fast.
- Sew the cactus tube closed along its edge rows (if you haven’t already).
- Center the cactus on top of the soil circle and sew it in place.
- Line up the soil piece with the second-to-last round of the pot, matching stitch for stitch (60 to 60), and sew it in.
- Leave a small gap for stuffing. Stuff the pot gently — not too tight, or the bottom will bulge and it won’t sit flat.
- Once stuffed, sew the gap closed.
- Stuff the cactus itself.
- Pull the top opening of the cactus snug, secure it, and weave in the yarn.
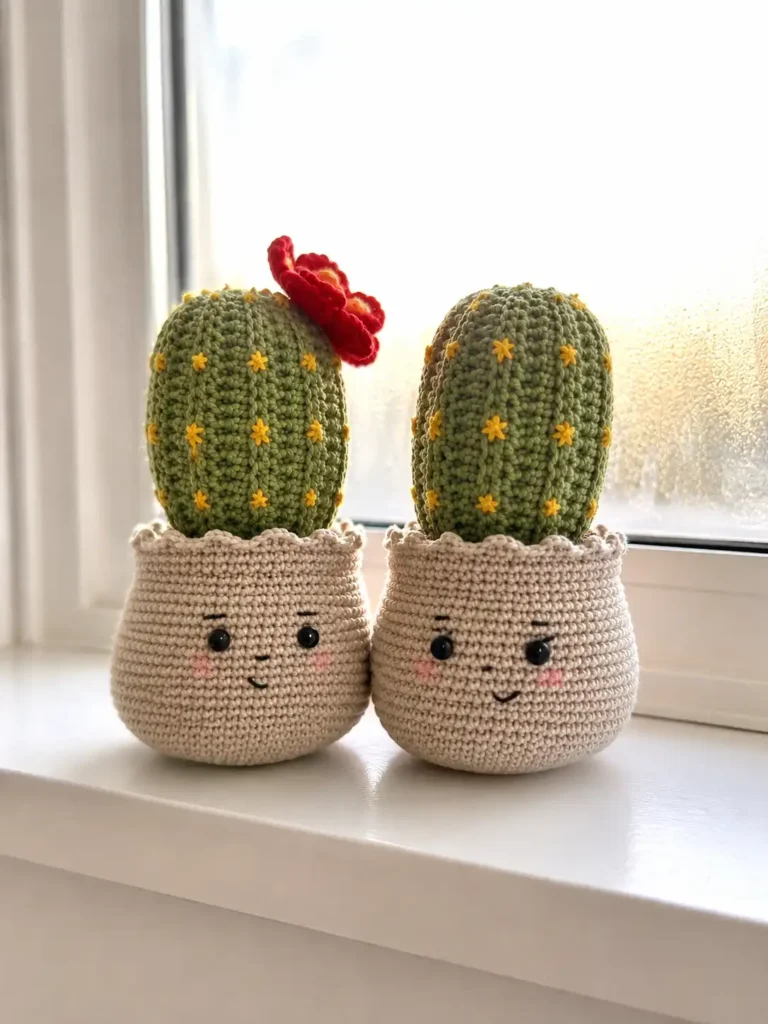
- Embroider the thorns onto the cactus — little bumps or short straight stitches both work.
- Embroider the face: eyes, eyebrows, nose, and mouth, positioned toward the back-middle area of the pot (or use 6mm safety eyes instead, if you’d rather skip embroidering them — check out our safety eyes tutorial for that). A light dusting of pencil or eyeshadow on the cheeks adds the cutest blush.
- Top everything off with your flower. The original pattern’s flower was chart-only with no written rows, so I’d suggest using our simple tiny bloom pattern as your flower here — just make one and sew it on top of the cactus.
If you’re using safety eyes with kids in mind, worth a peek at the CPSC’s toy safety guidance — small parts and little ones don’t mix.
You Did It!
Look at that — a whole potted cactus, and not a single thorn to worry about for real. This one had more steps than my usual picks, so if you made it all the way through, genuinely, be proud of yourself. Tag AmiLoops when you share it — I want to see every color combo you tried. 🧶
FAQ
What is the best yarn for this crochet cactus toy pattern?
DK or Light Worsted weight cotton blends are highly recommended for this pattern, as they provide excellent stitch definition and hold the cactus shape well.
How long does it take to crochet this amigurumi cactus?
This is an intermediate project that typically takes about 4 to 6 hours to complete, making it a perfect weekend craft.
Is this crochet cactus safe for toddlers?
If you are making this for a small child, be sure to embroider the eyes instead of using plastic safety eyes to eliminate any choking hazards.