Zebra Amigurumi Pattern: Free Crochet Striped Zebra with Gray Hooves and Mane
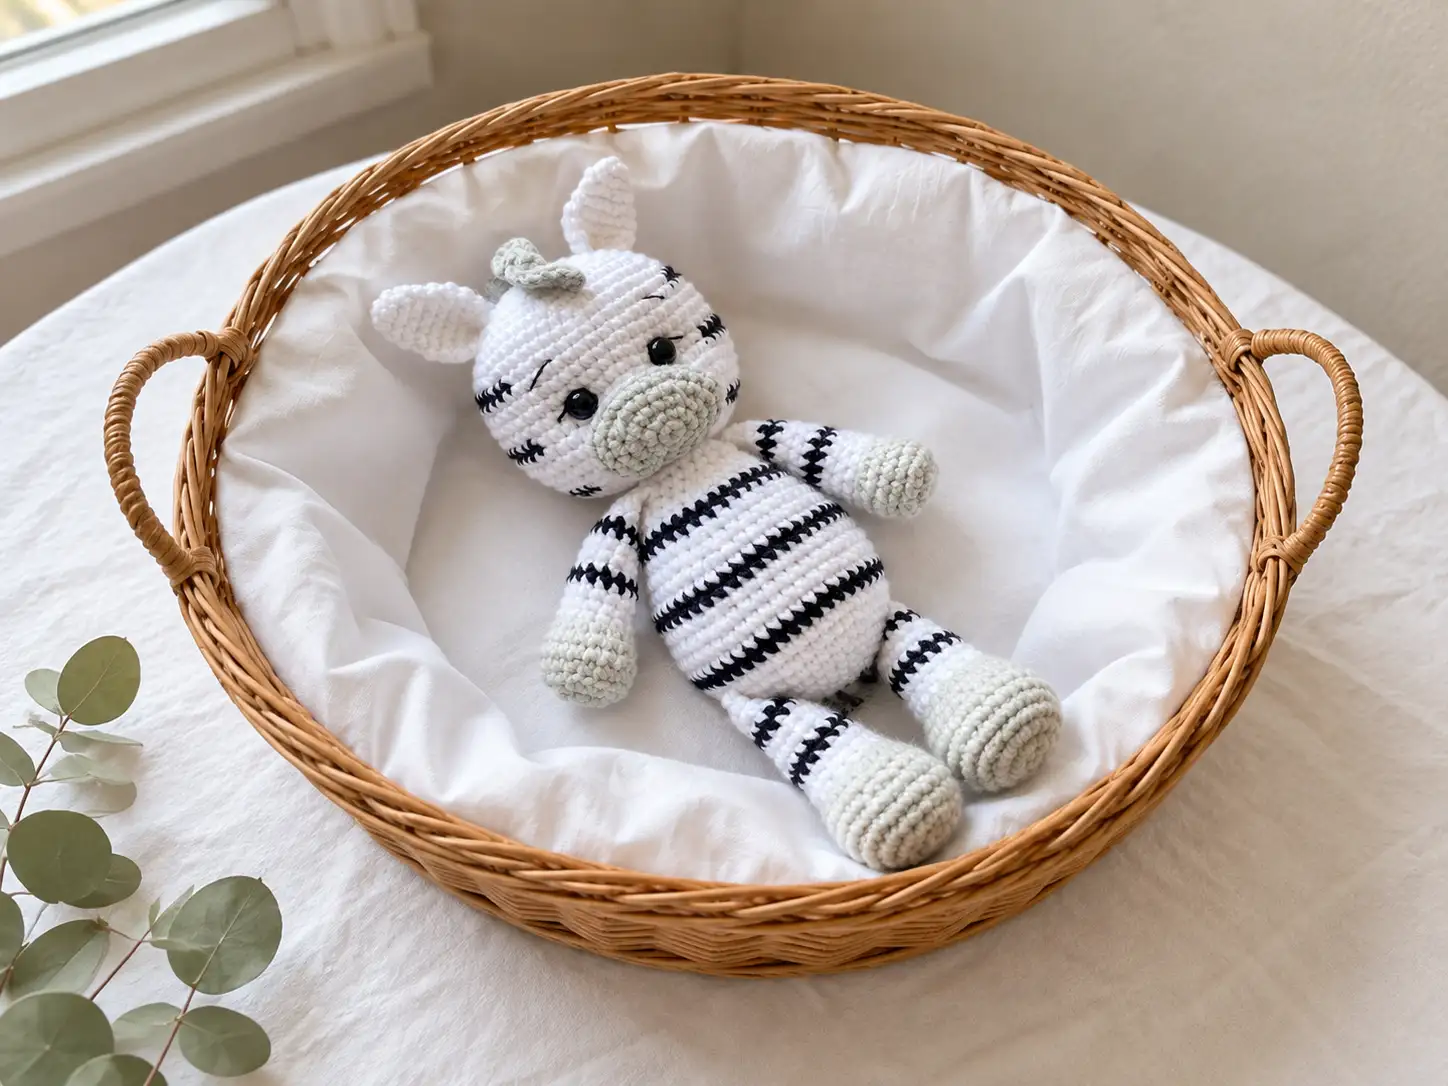
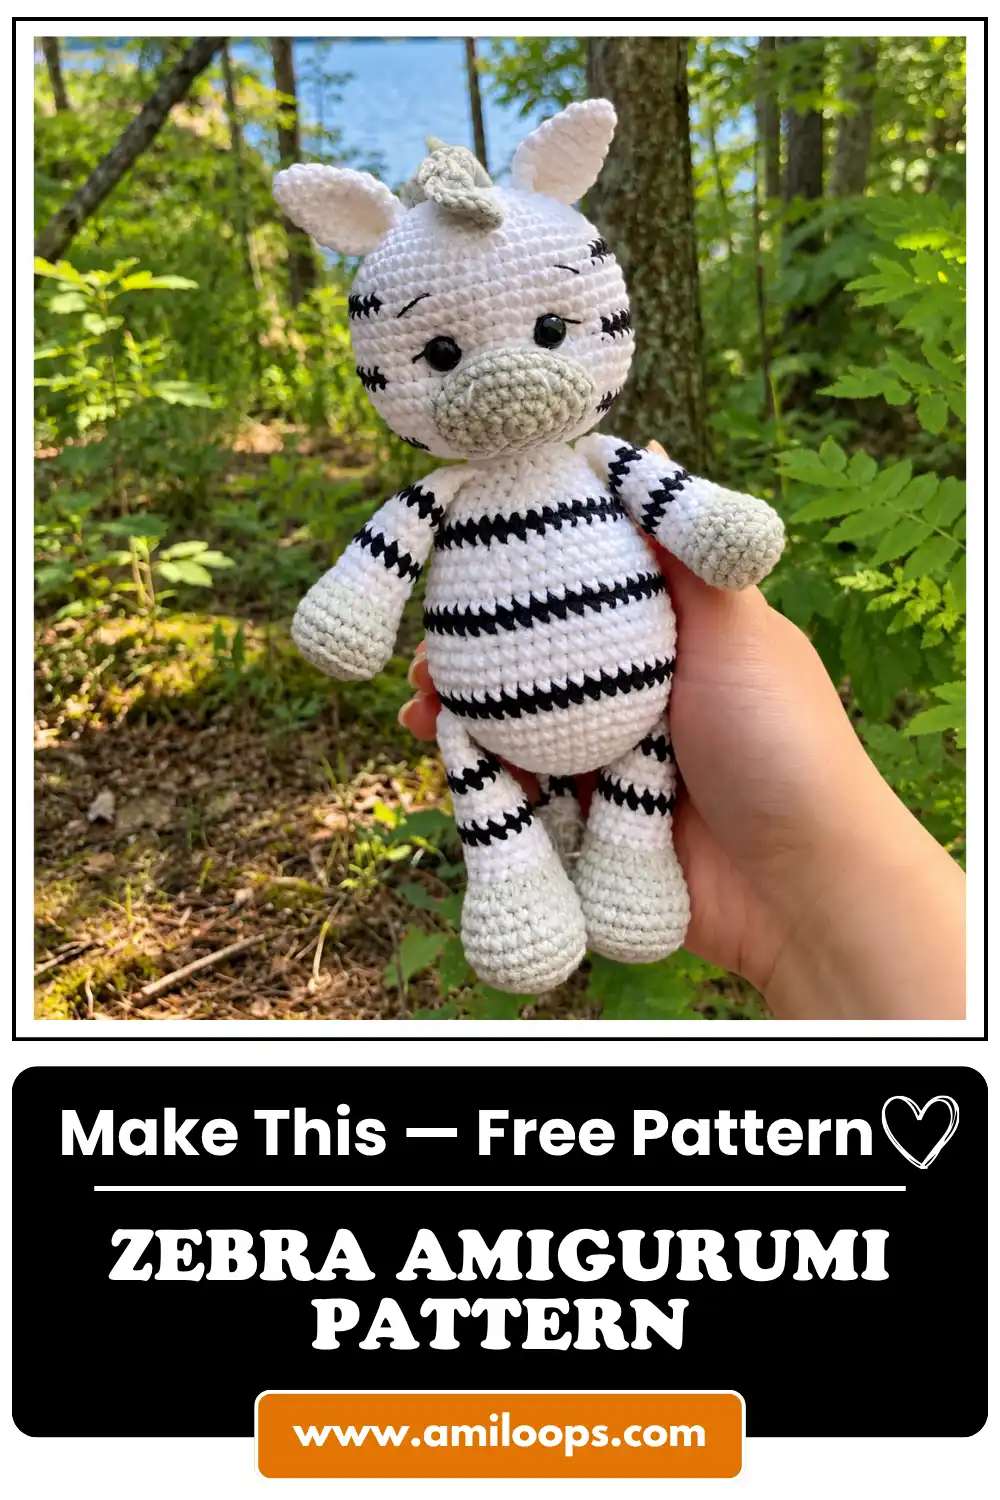
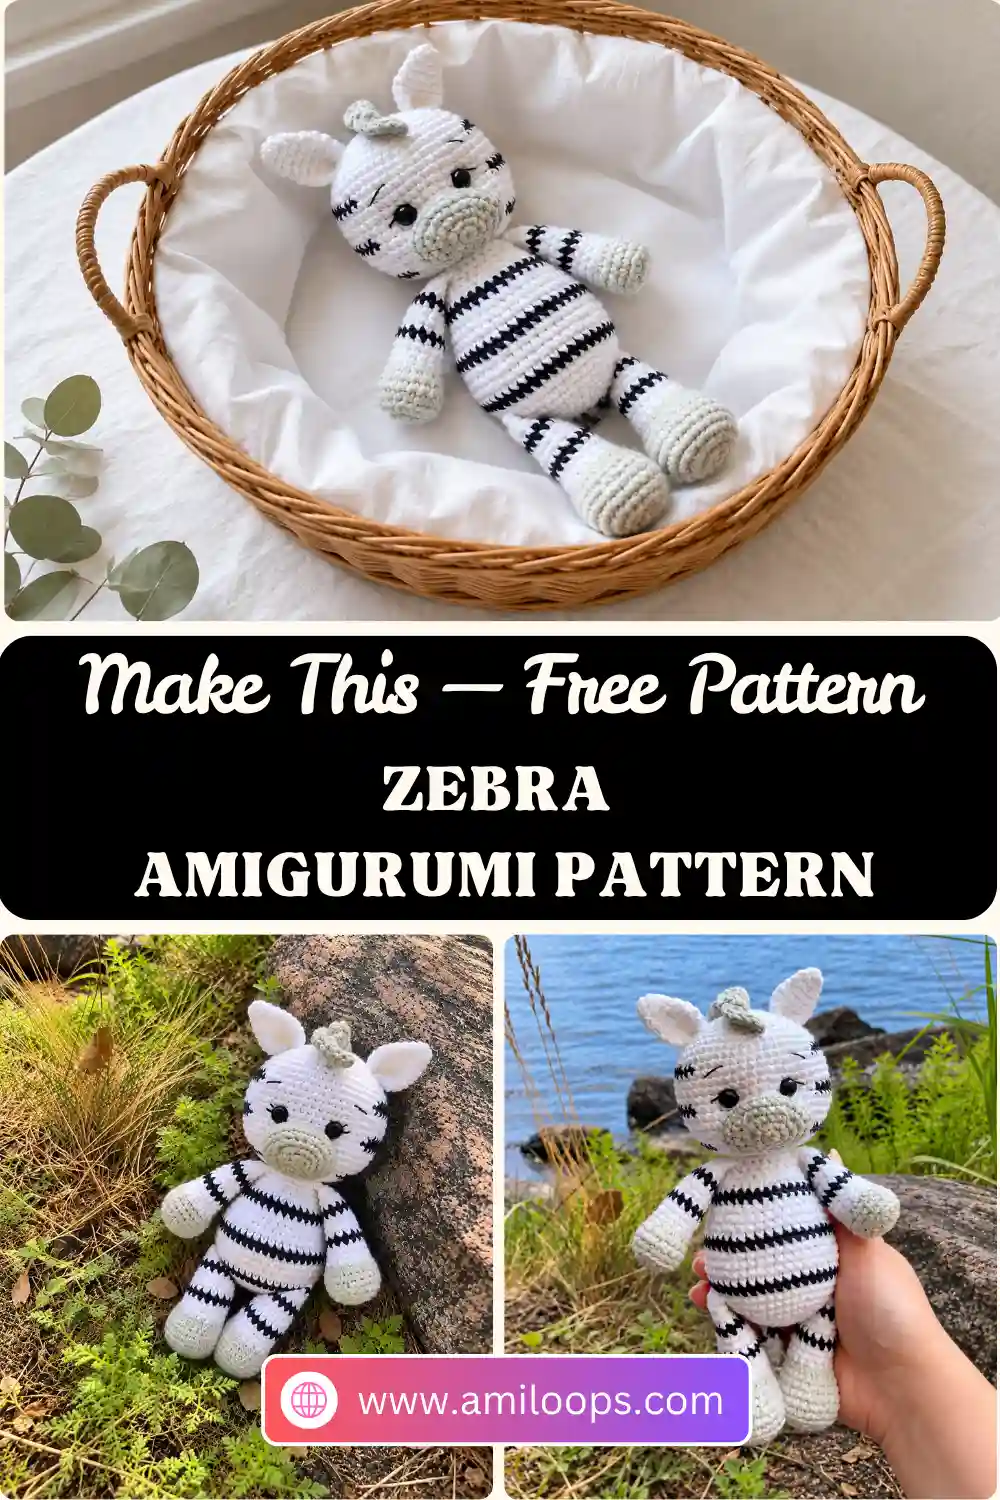
This zebra amigurumi pattern turns a classic black-and-white coat into a charming crochet toy: a round white head with bold black side stripes, a soft gray muzzle and hooves, a rippled gray mane and a little tasseled tail. Crisp black stripes repeat across the legs, arms, tail and body, so every piece looks unmistakably zebra.
What makes this pattern satisfying to follow is the way it comes together. The legs, arms and tail are finished and flattened first, then crocheted straight into the body as you work its rounds, so the limbs are attached without a separate seam. The head, muzzle, ears and mane are sewn on at the end, and a small gray tassel finishes the tail.
Materials · Abbreviations · Head · Ears · Mane · Muzzle · Legs · Arms · Tail · Body · Assembly · FAQ
Materials
- Yarnart Jeans, white: #01 (white) or #62 (snow white), 1 skein
- Yarnart Jeans, black: #53, for the stripes and details
- Yarnart Jeans, light gray: #49, for the muzzle and hooves
- Crochet hook No. 2
- Safety eyes, 8 mm or 10 mm in diameter
- Toy stuffing
- Scissors, stitch markers and a needle
Your color plan: White is the main color. Black works the stripes and is also used at the end to embroider the eyebrows and eyelashes. Gray starts each leg and arm as a hoof and is used for the muzzle, the mane and the tassel on the tail.
Before you start the body: Make both legs, both arms and the tail first. They are joined to the body in Body Rnds 9, 10 and 25, so each one needs its flattened top edge finished before you get there.
How the stripes and pieces work
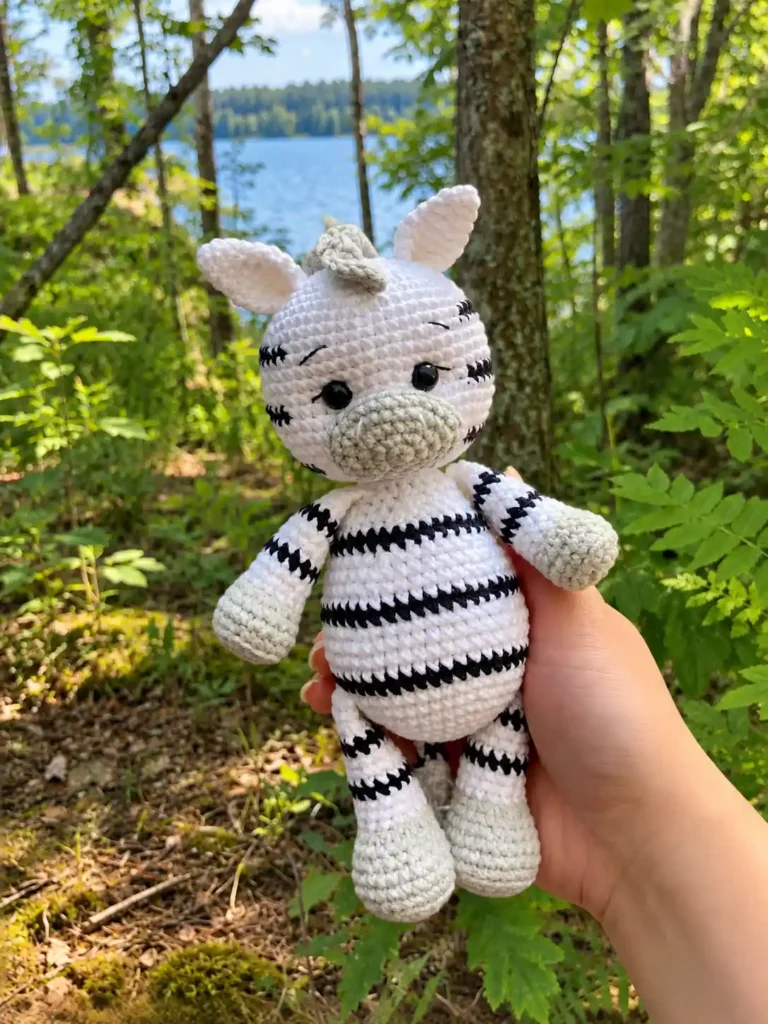
The stripes are worked in two different ways. On the legs, arms, tail and body, a stripe is one full round of black between rounds of white. On the head, Rnds 11, 16 and 21 split a single round into white and black sections, which places two black stripes on the sides of the face while the center stays white. If you’d like a refresher before those rounds, see how to change colors seamlessly in amigurumi.
Each leg and arm starts as a flat gray circle. The back-loop-only round that follows leaves a ridge of front loops around the base and turns the work upward, giving the hoof a defined edge. At the top, each limb is flattened and closed with single crochet through both layers, and that closed edge is exactly what you crochet into the body later.
Abbreviations (US terms)
| Abbreviation | Meaning |
|---|---|
| MR | magic ring |
| ch | chain |
| sc | single crochet |
| dc | double crochet |
| sl st | slip stitch |
| inc | increase (2 sc in the same st) |
| dec | decrease (sc the next 2 sts together) |
| BLO | back loop only |
| st(s) | stitch(es) |
| [ ] … times | repeat the instructions in brackets the stated number of times |
This pattern uses US crochet terms. If you usually work from UK patterns, the Craft Yarn Council’s crochet abbreviations list is a handy comparison.
Head
With white.
Rnd 1: 6 sc in MR (6)
Rnd 2: Inc in each st around (12)
Rnd 3: [1 sc, inc] 6 times (18)
Rnd 4: [2 sc, inc] 6 times (24)
Rnd 5: [3 sc, inc] 6 times (30)
Rnd 6: [4 sc, inc] 6 times (36)
Rnd 7: [5 sc, inc] 6 times (42)
Rnd 8: [6 sc, inc] 6 times (48)
Rnd 9: [7 sc, inc] 6 times (54)
Rnd 10: Sc in each st around (54)
Rnd 11: 8 sc in white, 11 sc in black, 16 sc in white, 11 sc in black, 8 sc in white (54)
Color changes: Change to the new color while working the last stitch of the previous color. Remember to secure the yarn ends. Yarnspirations has a clear photo tutorial on completing the last pull-through with the new color.
Rnds 12–15: Sc in each st around (54)
Safety eyes: Insert the safety eyes between Rnds 15 and 16, 6 sts apart. The head is still wide open at this point, so it’s easy to reach inside and secure the backs. For a step-by-step refresher, see how to safely attach safety eyes.
Rnd 16: 8 sc in white, 11 sc in black, 16 sc in white, 11 sc in black, 8 sc in white (54)
Rnds 17–19: Sc in each st around (54)
Rnd 20: [7 sc, dec] 6 times (48)
Rnd 21: 8 sc in white, 10 sc in black, 14 sc in white, 10 sc in black, 6 sc in white (48)
Rnd 22: [6 sc, dec] 6 times (42)
Rnd 23: [5 sc, dec] 6 times (36)
Rnd 24: [4 sc, dec] 6 times (30)
Rnd 25: [3 sc, dec] 6 times (24)
Rnd 26: [2 sc, dec] 6 times (18)
Sl st to finish. Leave a long yarn tail for sewing.
Ears (make 2)
With white.
Rnd 1: 6 sc in MR (6)
Rnd 2: [1 sc, inc] 3 times (9)
Rnd 3: Sc in each st around (9)
Rnd 4: [2 sc, inc] 3 times (12)
Rnd 5: [3 sc, inc] 3 times (15)
Rnds 6–7: Sc in each st around (15)
Rnd 8: [3 sc, dec] 3 times (12)
Flatten the ear and work 6 sc through both layers. Fold the ear in half again and sew through the fold with the needle to hold it in place. Leave a long yarn tail for sewing.
Mane
With gray.
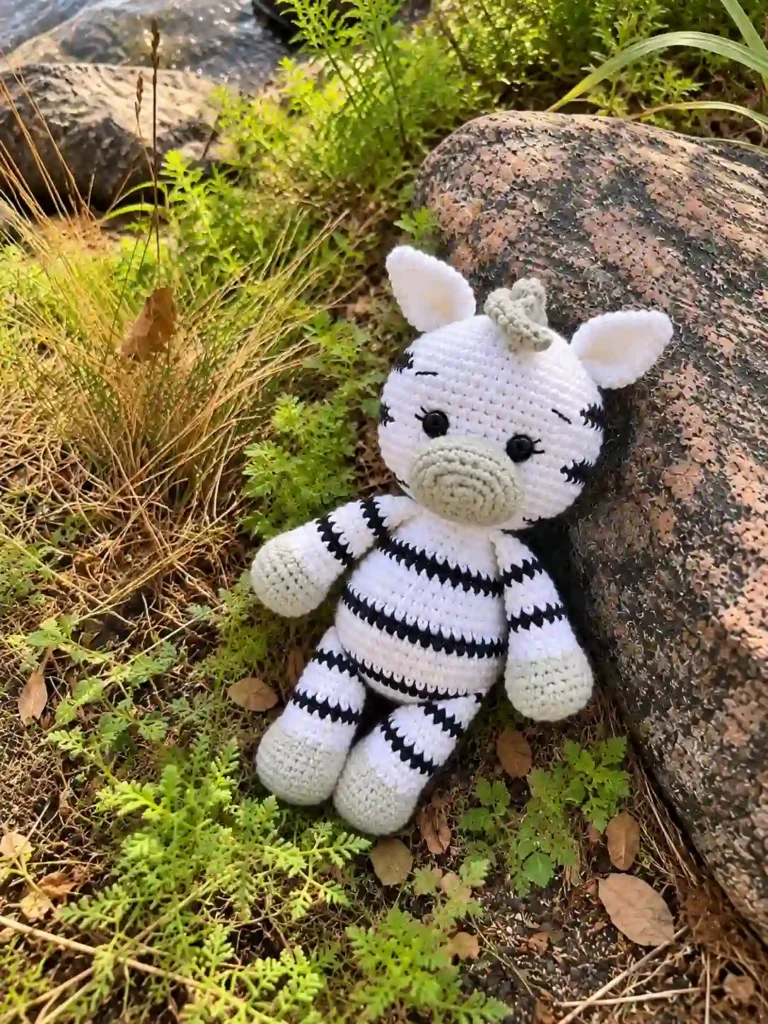
Mane: Ch 20. Starting in the 3rd ch from the hook, work 2 dc in each ch across. Ch 2 at the end and fasten off. Leave a long yarn tail for sewing.
Why it ripples: Working 2 dc into every chain doubles the stitches along the strip, so the edge naturally waves and curls instead of lying flat.
Muzzle
With gray.
Rnd 1: 6 sc in MR (6)
Rnd 2: Inc in each st around (12)
Rnd 3: [1 sc, inc] 6 times (18)
Rnd 4: [2 sc, inc] 6 times (24)
Sl st to finish. Leave a long yarn tail for sewing.
Legs (make 2)
With gray.
Rnd 1: 6 sc in MR (6)
Rnd 2: Inc in each st around (12)
Rnd 3: [1 sc, inc] 6 times (18)
Rnd 4: [2 sc, inc] 6 times (24)
Rnd 5: Sc in BLO in each st around (24)
Rnds 6–7: Sc in each st around (24)
Rnd 8: 6 sc, [2 sc, dec] 3 times, 6 sc (21)
Rnd 9: Sc in each st around (21)
Rnd 10: 6 sc, 5 dec, 5 sc (16). Change to white.
Rnds 11–13: Sc in each st around (16). At the end of Rnd 13, change to black.
Rnd 14: Sc in each st around (16). Change to white.
Rnds 15–17: Sc in each st around (16). At the end of Rnd 17, change to black.
Rnd 18: Sc in each st around (16). Change to white.
Rnd 19: Sc in each st around (16)
Rnd 20: [2 sc, dec] 4 times (12)
Rnd 21: Sc in each st around (12). On the left leg, work 2 more sc to shift the ending point.
Flatten the leg and work 6 sc through both layers. Leave a short yarn tail.
About the extra stitches: The 2 sc after Rnd 21 aren’t a new round and don’t change the count. They simply move your working position along the edge before you flatten the leg, which changes where the flat closing edge falls.
Arms (make 2)
With gray.
Rnd 1: 6 sc in MR (6)
Rnd 2: Inc in each st around (12)
Rnd 3: [1 sc, inc] 6 times (18)
Rnd 4: Sc in BLO in each st around (18)
Rnds 5–6: Sc in each st around (18)
Rnd 7: 6 sc, 3 dec, 6 sc (15). Change to white.
Rnds 8–10: Sc in each st around (15). At the end of Rnd 10, change to black.
Rnd 11: Sc in each st around (15). Change to white.
Rnds 12–14: Sc in each st around (15). At the end of Rnd 14, change to black.
Rnd 15: Sc in each st around (15). Change to white.
Rnd 16: Sc in each st around (15)
Rnd 17: [3 sc, dec] 3 times (12)
Rnd 18: Sc in each st around (12), then 2 more sc to shift the ending point.
Flatten the arm and work 6 sc through both layers. Leave a short yarn tail.
Tail
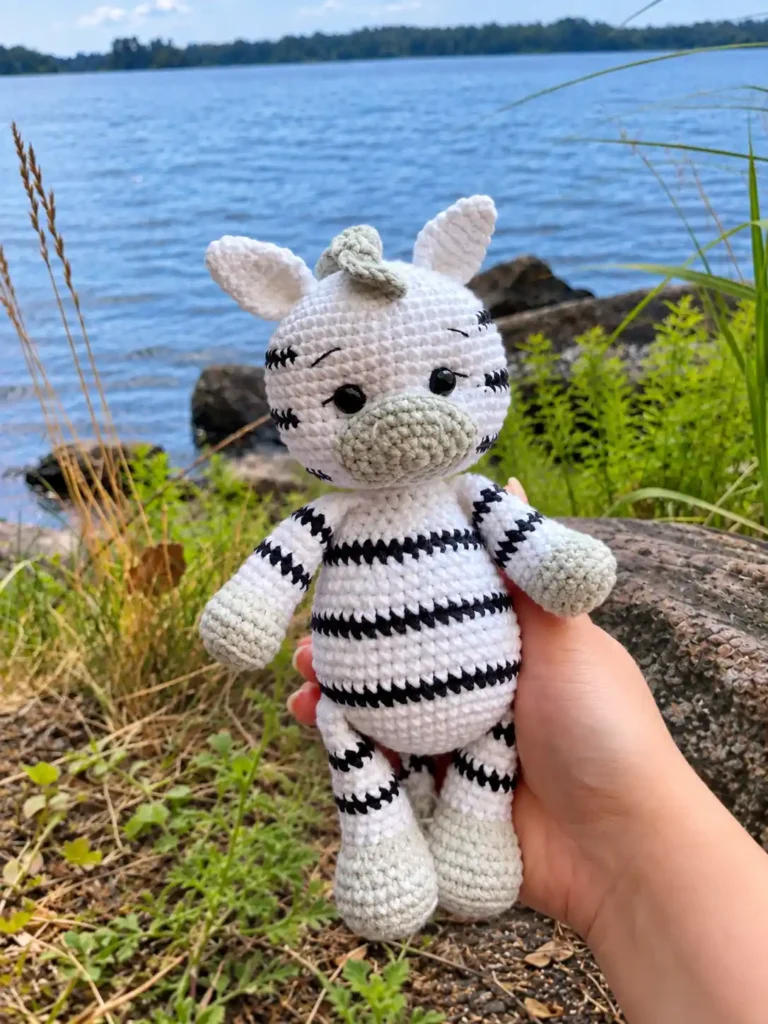
With white. The tail is joined in Body Rnds 9–10, so make it before the body.
Rnd 1: 6 sc in MR (6)
Rnds 2–3: Sc in each st around (6). At the end of Rnd 3, change to black.
Rnd 4: Sc in each st around (6). Change to white.
Rnds 5–7: Sc in each st around (6). At the end of Rnd 7, change to black.
Rnd 8: Sc in each st around (6). Change to white.
Rnds 9–11: Sc in each st around (6)
Flatten the tail and work 3 sc through both layers.
Make a tassel from gray yarn for the end of the tail.
Body
Before you begin: Make the legs, arms and tail first, because they are joined as you crochet the body.
With white.
Rnd 1: 6 sc in MR (6)
Rnd 2: Inc in each st around (12)
Rnd 3: [1 sc, inc] 6 times (18)
Rnd 4: [2 sc, inc] 6 times (24)
Rnd 5: [3 sc, inc] 6 times (30)
Rnd 6: [4 sc, inc] 6 times (36)
Rnd 7: [5 sc, inc] 6 times (42)
Rnd 8: [6 sc, inc] 6 times (48)
Joining a piece: When a round says to work sc “through the tail and the body together” (or the leg or arm), hold the closed top edge of that piece against the body, insert your hook through the next body stitch and the matching stitch along the piece’s closed edge, and complete the sc. The 1 joining sc at the end of Rnd 9 and the first 2 sc of Rnd 10 match the 3 sc across the tail’s closed edge, and each 6-sc join matches the 6 sc across a leg or arm.
Rnd 9: 47 sc, then 1 sc worked through the tail and the body together (48)
Rnd 10: 2 sc through the tail and the body together, 7 sc, 6 sc through the leg and the body together, 18 sc, 6 sc through the second leg and the body together, 9 sc (48). At the end of the round, change to black.
Rnd 11: Sc in each st around (48). Change to white.
Rnds 12–14: Sc in each st around (48)
Rnd 15: [14 sc, dec] 3 times (45). Change to black.
Rnd 16: Sc in each st around (45). Change to white.
Rnd 17: Sc in each st around (45)
Rnd 18: [13 sc, dec] 3 times (42)
Rnd 19: Sc in each st around (42)
Rnd 20: [5 sc, dec] 6 times (36). Change to black.
Rnd 21: Sc in each st around (36). Change to white.
Rnd 22: Sc in each st around (36)
Rnd 23: [4 sc, dec] 6 times (30)
Rnd 24: [3 sc, dec] 6 times (24)
Rnd 25: 6 sc, 6 sc through the arm and the body together, 6 sc, 6 sc through the second arm and the body together (24)
Rnd 26: Sc in each st around (24)
Sl st to finish. Leave a long yarn tail.
Assembly
Stuffing: Stuffing is listed for this toy, and the head and body both finish open. Fill them before the head-to-body seam closes, because once the head is attached there is no opening left. For neat, even seams on the head and face pieces, see how to sew amigurumi parts together.
- Sew the open edge of the head to the open edge of the body, working through the stitches of both edges. The head ends with 18 sts and the body with 24, so space the head stitches evenly around the body edge as you sew.
- Sew the muzzle, ears and mane to the head.
- With a single strand of black yarn, embroider the eyebrows and eyelashes.
Your toy is finished.
More animals to crochet
Questions about this zebra
Why do the legs, arms and tail have to be made before the body?
They are crocheted into the body as you go. The tail is joined in Body Rnds 9 and 10, the legs in Rnd 10 and the arms in Rnd 25, each by working sc through a body stitch and the matching stitch of the piece’s closed top edge.
Why are the head stripes worked differently from the leg stripes?
On the legs, arms, tail and body, each stripe is a full round of black. On the head, Rnds 11, 16 and 21 switch between white and black within the same round, so the black sections sit on the sides of the face and the center stays white.
What does “2 more sc to shift the ending point” mean?
After completing the round, you work 2 extra sc to move your position along the edge before flattening the piece. They don’t start a new round or change the stitch count. On the legs, the pattern gives these extra stitches for the left leg; on the arms, they are part of Rnd 18.
When should I put in the safety eyes?
Insert them between Head Rnds 15 and 16, 6 sts apart, after working Rnds 12–15. The head is still wide open then, which makes it easy to reach inside and secure the backs.
How do I sew the head to the body when the edges have different stitch counts?
Stuff the head and body first, then sew through the stitches of both open edges, spacing the head’s 18 sts evenly around the body’s 24 sts.