Mini Gosling Crochet Pattern: A One-Piece Plush Amigurumi Goose
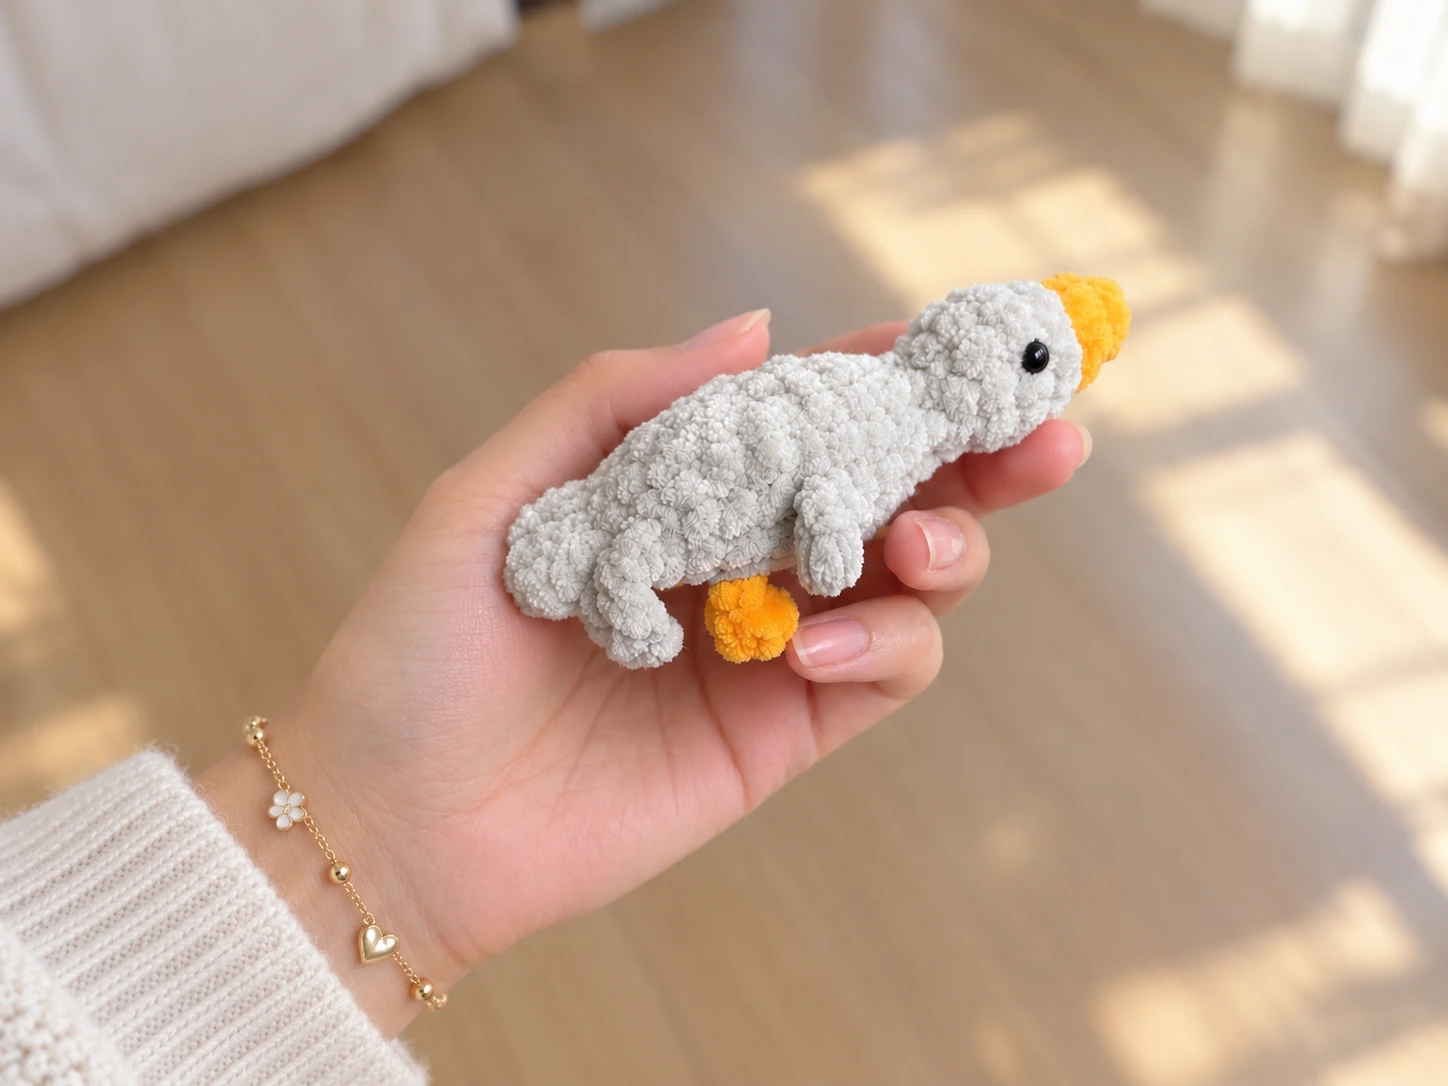
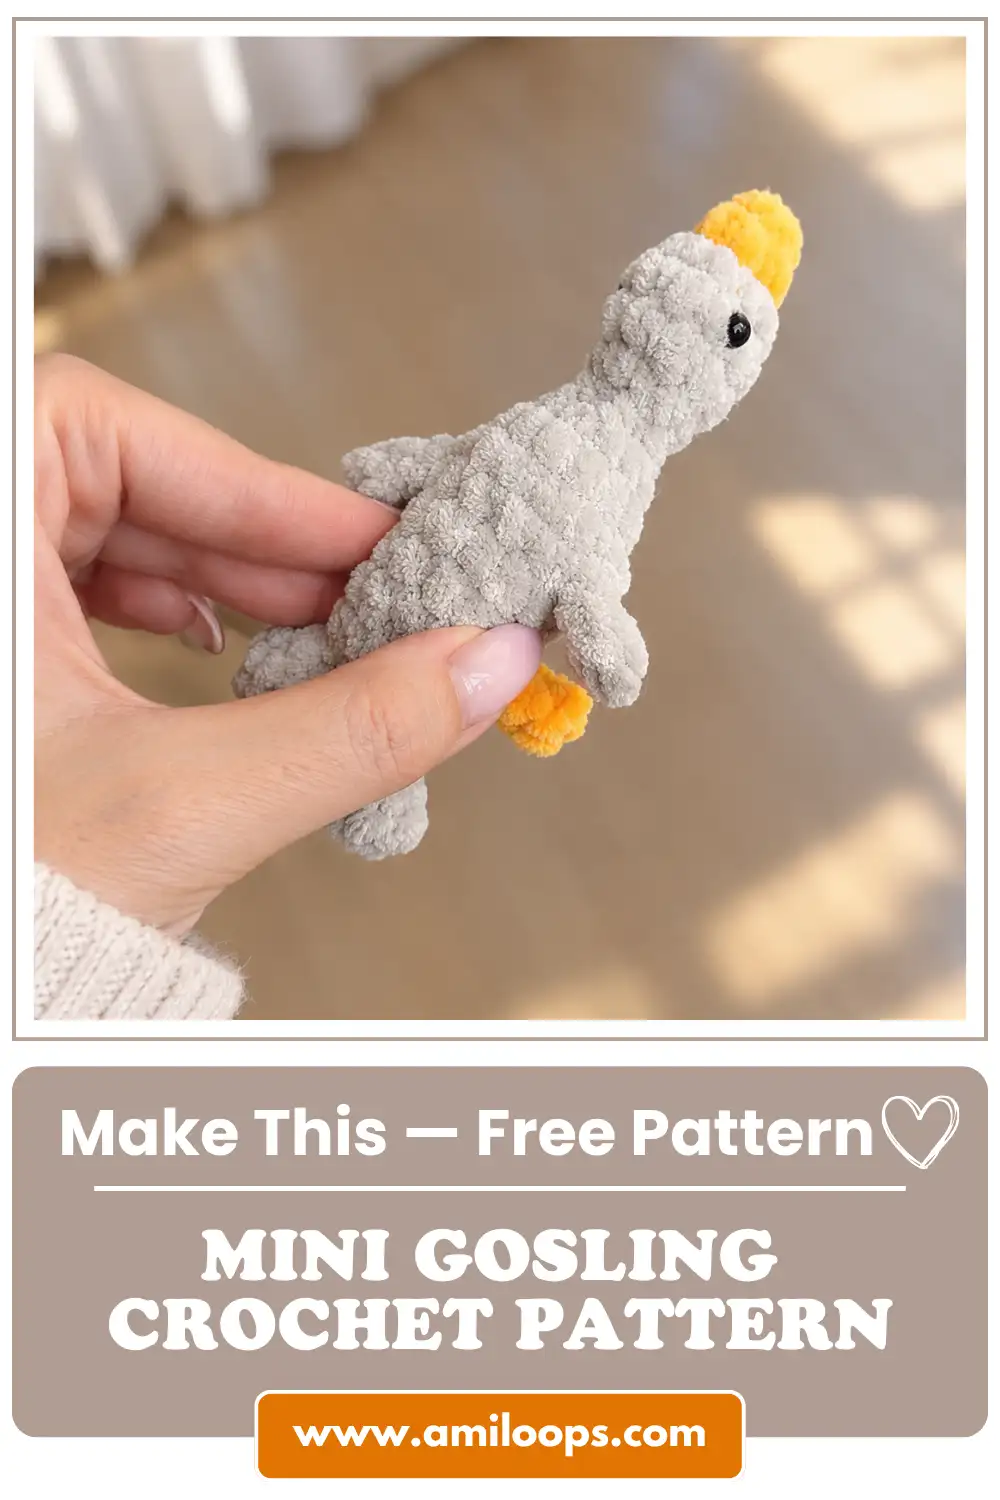
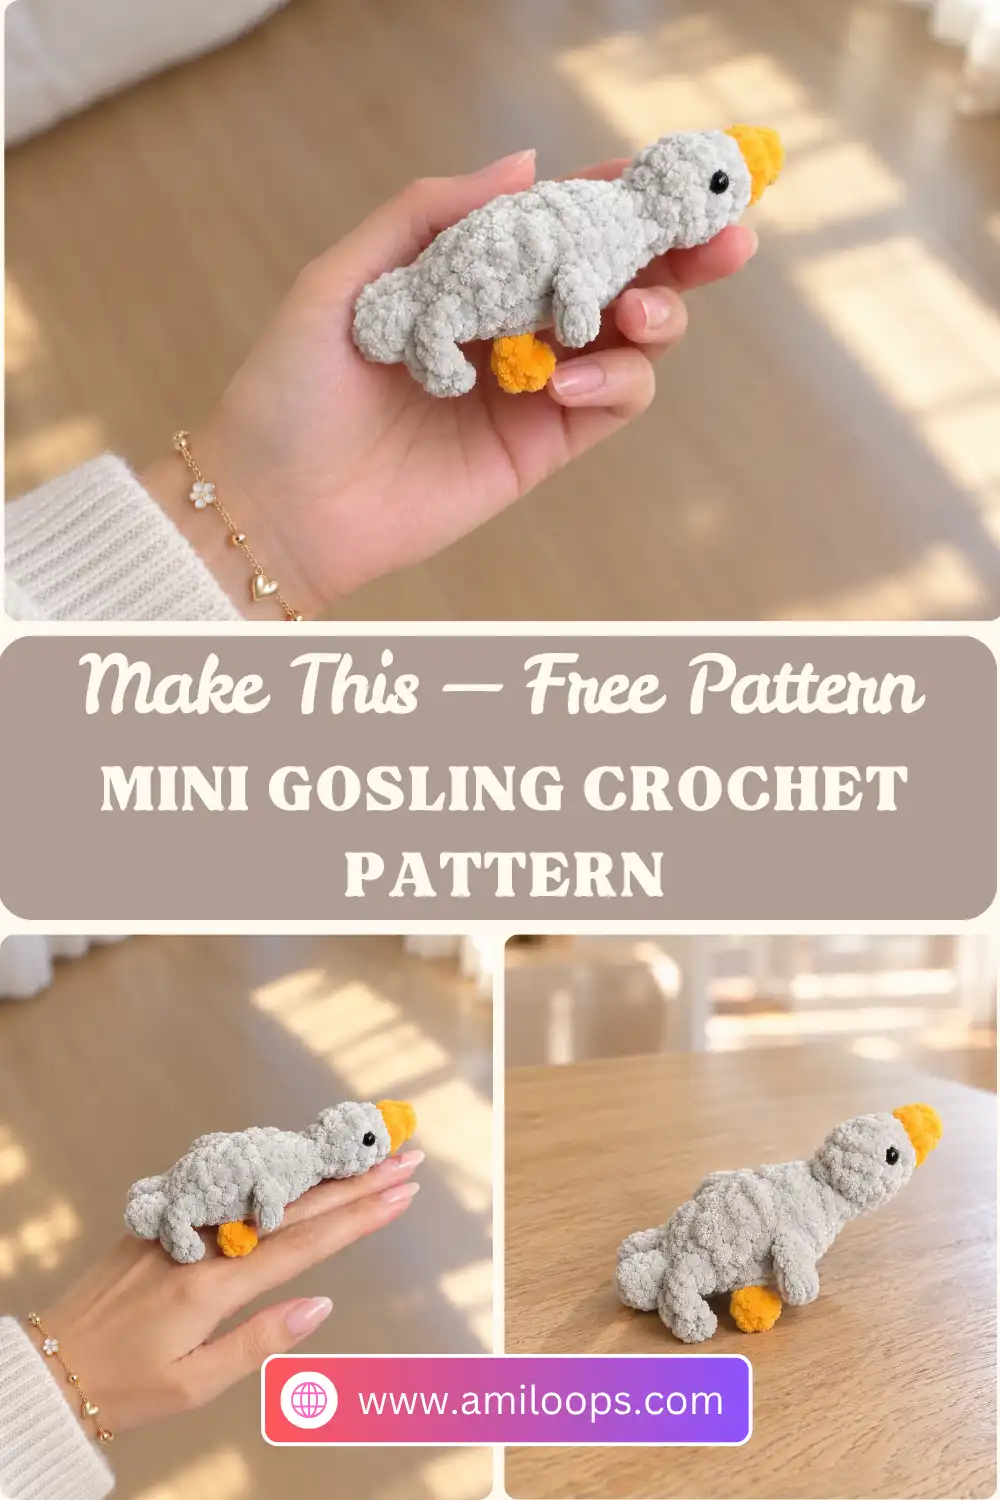
This mini gosling crochet pattern turns a handful of plush-yarn rounds into a little goose with a slim neck, a bright orange beak and a plump body. Tiny wings, two orange feet and a three-point tail are all crocheted right into the piece, so the finished gosling has plenty of personality for its size.
What makes this pattern satisfying is how the whole shape grows from one starting point. You begin at the tip of the beak, work up through the head and down a narrow neck, then widen into the body in a single round. The wings and feet are short chains worked along the way, and the tail closes the last opening, so there are no separate parts to join afterward.
Materials Abbreviations Body Tail Finishing FAQ
Before your first stitch: The gosling is worked in one piece, starting with the orange beak, and there are no joining steps between rounds. Keep your fiberfill within reach, because you stuff as you go: the opening narrows at the neck and closes completely at the tail.
Keep your place: Plush yarn can make individual stitches hard to see, so place your stitch marker at the start of each round and move it up as you go. Accurate counting matters most in Rnds 11 and 14, where the wings and feet are placed by stitch count.
Materials
- Plush yarn, 100 g/120 m, in 2 colors: a main color (MC) for the body, such as white, gray or black, and an orange contrast color (CC) for the beak and feet.
- Crochet hook: one that suits your gauge. The designer used a 3.75 Clover hook.
- Fiberfill
- Yarn needle
- Stitch marker
- 6 mm eyes
Abbreviations (US terms)
This pattern is written in US crochet terms. If you usually work from UK patterns, the Craft Yarn Council’s list of standard crochet abbreviations is a handy side-by-side reference.
| Abbreviation | Meaning |
|---|---|
| MR | magic ring |
| ch | chain |
| sc | single crochet |
| hdc | half double crochet |
| sl st | slip stitch |
| inc | increase (2 sc in the same stitch) |
| dec | decrease (work the next 2 sts together as 1) |
| FLO | front loop only |
| st(s) | stitch(es) |
How the gosling takes shape
Rnds 1–2 form the beak in CC. After the switch to MC, the next rounds build the head, which is where the eyes go at the end (at Rnd 4). Rnd 6 halves the stitch count to start the neck, and Rnd 9 jumps from 5 to 12 stitches to open out the body.
The details are placed by counting. In Rnd 11, each wing follows a run of 6 sc, so the two wings end up on opposite sides of the body. In Rnd 14, the feet are separated by only 2 sc, so they sit close together.
Body
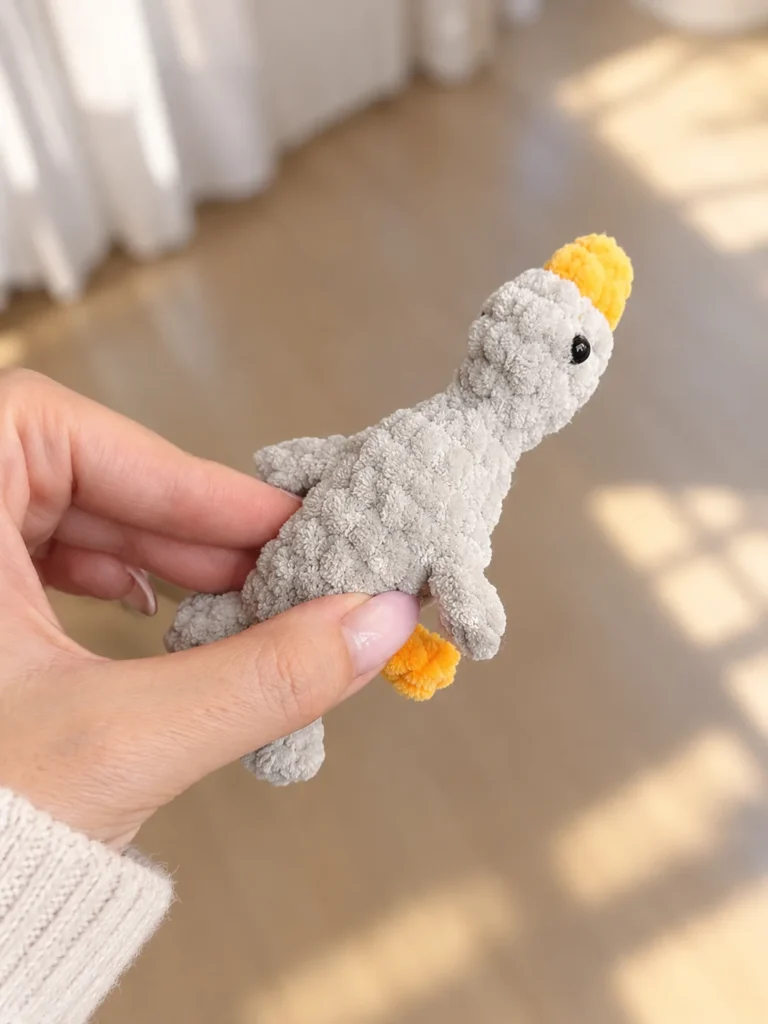
Begin with CC; this first part is the beak. The pattern starts with a magic ring. If you’d like a refresher, see our step-by-step guide to crocheting the magic ring.
Rnd 1: With CC, 5 sc in MR (5 sts).
Rnd 2: Sc in each st around (5 sts).
Color change: Switch to MC for the head and body. Work the next round in FLO. For a tidy switch between colors, see how to change colors in amigurumi.
Rnd 3: Working in FLO, inc in each st around (10 sts).
Rnds 4–5: Sc in each st around (10 sts).
Rnd 6: Dec 5 times (5 sts).
Stuffing the head: The opening is now only 5 stitches wide and stays that way through the neck, so this is a good moment to make sure the head has its fiberfill.
Rnds 7–8: Sc in each st around (5 sts). Rnd 8 is optional; you can skip it.
Rnd 9: Inc in each of the next 2 sts, 3 sc in each of the next 2 sts, inc in the next st (12 sts).
Reading Rnd 9: This round is worked over just 5 stitches: 2 increases, then 3 sc into each of the next 2 stitches, then 1 more increase. Those two 3-sc groups are what let the body grow from 5 to 12 stitches in one round.
Rnd 10: Sc in each st around (12 sts).
Rnd 11: Sc in the next 6 sts, WING, sc in the next 6 sts, WING (12 sts).
WING: Ch 3, hdc in the 2nd ch from the hook and in the next ch, then hdc in the base of the chain. The base of the chain is the stitch the chain grew from. After the wing, continue with the next sc of the round.
Rnds 12–13: Sc in each st around (12 sts).
Rnd 14: Sc in the next 2 sts, FOOT, sc in the next 2 sts, FOOT, sc in the next 8 sts (12 sts).
FOOT: Switch to CC and ch 3. Hdc in the 2nd ch from the hook, sl st in the next ch, then sl st in the base of the chain. Switch back to MC and continue the round.
Rnd 15: Sc in each st around (12 sts).
Rnd 16: Dec 6 times (6 sts). Work an offset stitch to shift your position, then make the tail.
Before the tail: Finish stuffing the body now. The tail is worked through both layers of the flattened opening, so the gosling is closed once it’s done. The offset stitch is only a positioning step that moves your starting point to the edge where the tail begins. For a few pointers on even filling, see how to stuff amigurumi without lumps.
Tail
Flatten the opening and work through both layers.
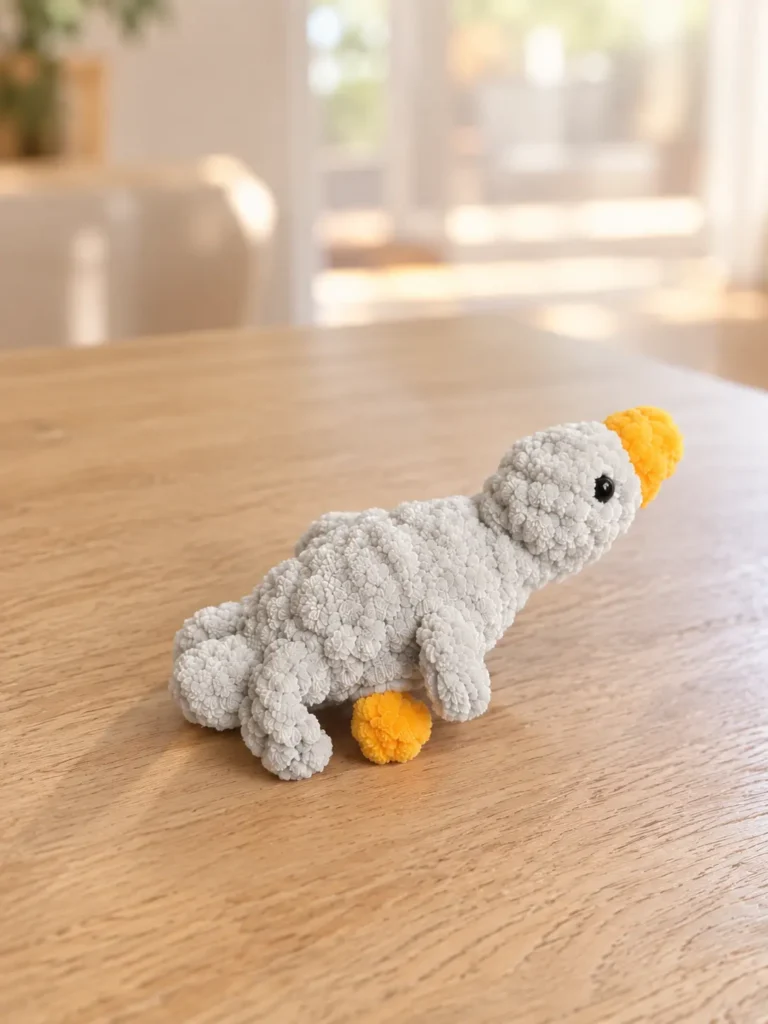
Tail: [Sc through both layers, ch 3, hdc in the 2nd ch from the hook and in the next ch, sl st in the base of the chain] 3 times.
Counting the tail: Rnd 16 leaves 6 stitches, which flatten into 3 pairs. That matches the 3 tail repeats: each sc joins one pair, and each little chain makes one small point, just like the wings.
Finishing
- Fasten off, cut the yarn, and weave in the end.
- Glue the eyes onto the sides of the head at Rnd 4.
About the eyes: The eyes are glued on in this pattern. If the gosling is intended for a young child, review the U.S. CPSC’s guidance on small parts in toys before choosing how to finish the face.
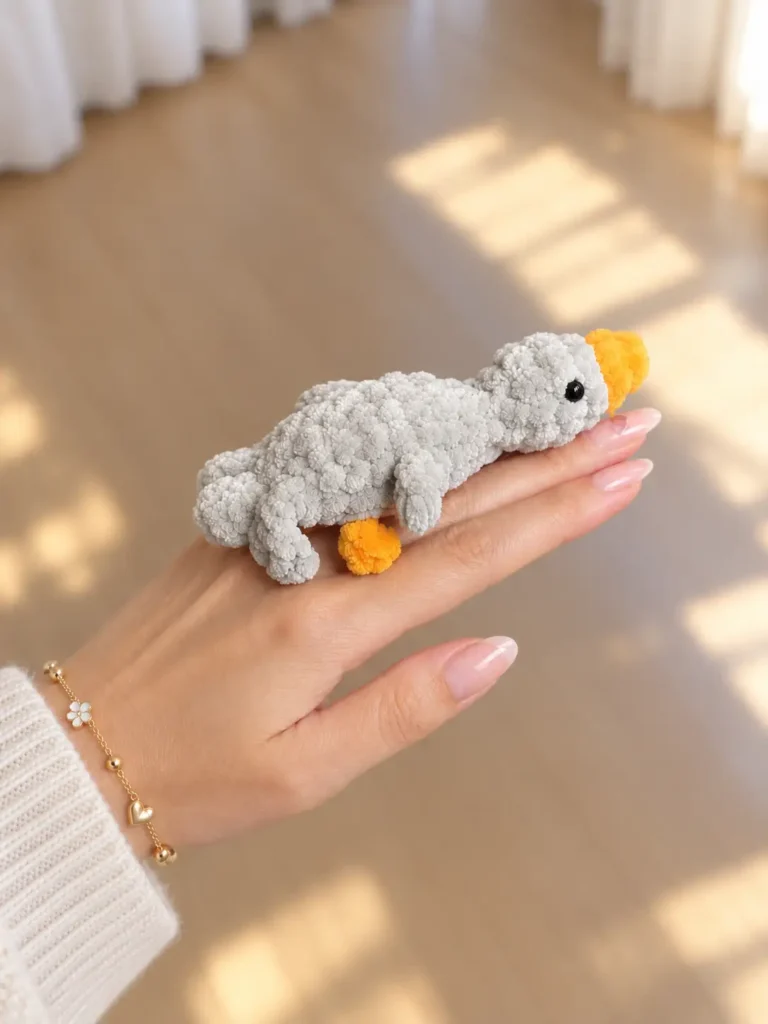
Your gosling is done.
More geese to crochet
Questions about the mini gosling
Can I leave out Rnd 8?
Yes. The pattern marks Rnd 8 as optional. Skipping it gives the neck one fewer 5-stitch round before the body widens in Rnd 9.
Why does the stitch count stay at 12 in the wing and foot rounds?
Each wing and foot is a short chain worked back toward the body and finished in the base of the chain. The pattern gives 12 sts for both Rnd 11 and Rnd 14, so count only the sc of the round, not the wing or foot stitches.
When should I stuff the gosling?
Stuff as you go. Fill the head before the narrow neck rounds make it harder to reach, and finish the body before you flatten the opening for the tail, since the tail closes the piece.
What colors can I use?
The main color can be white, gray, black or another shade you like for the head and body. The beak and feet are worked in an orange contrast color.