Velour Frog Amigurumi Pattern: A Round One-Piece Frog with Bobble Eyes
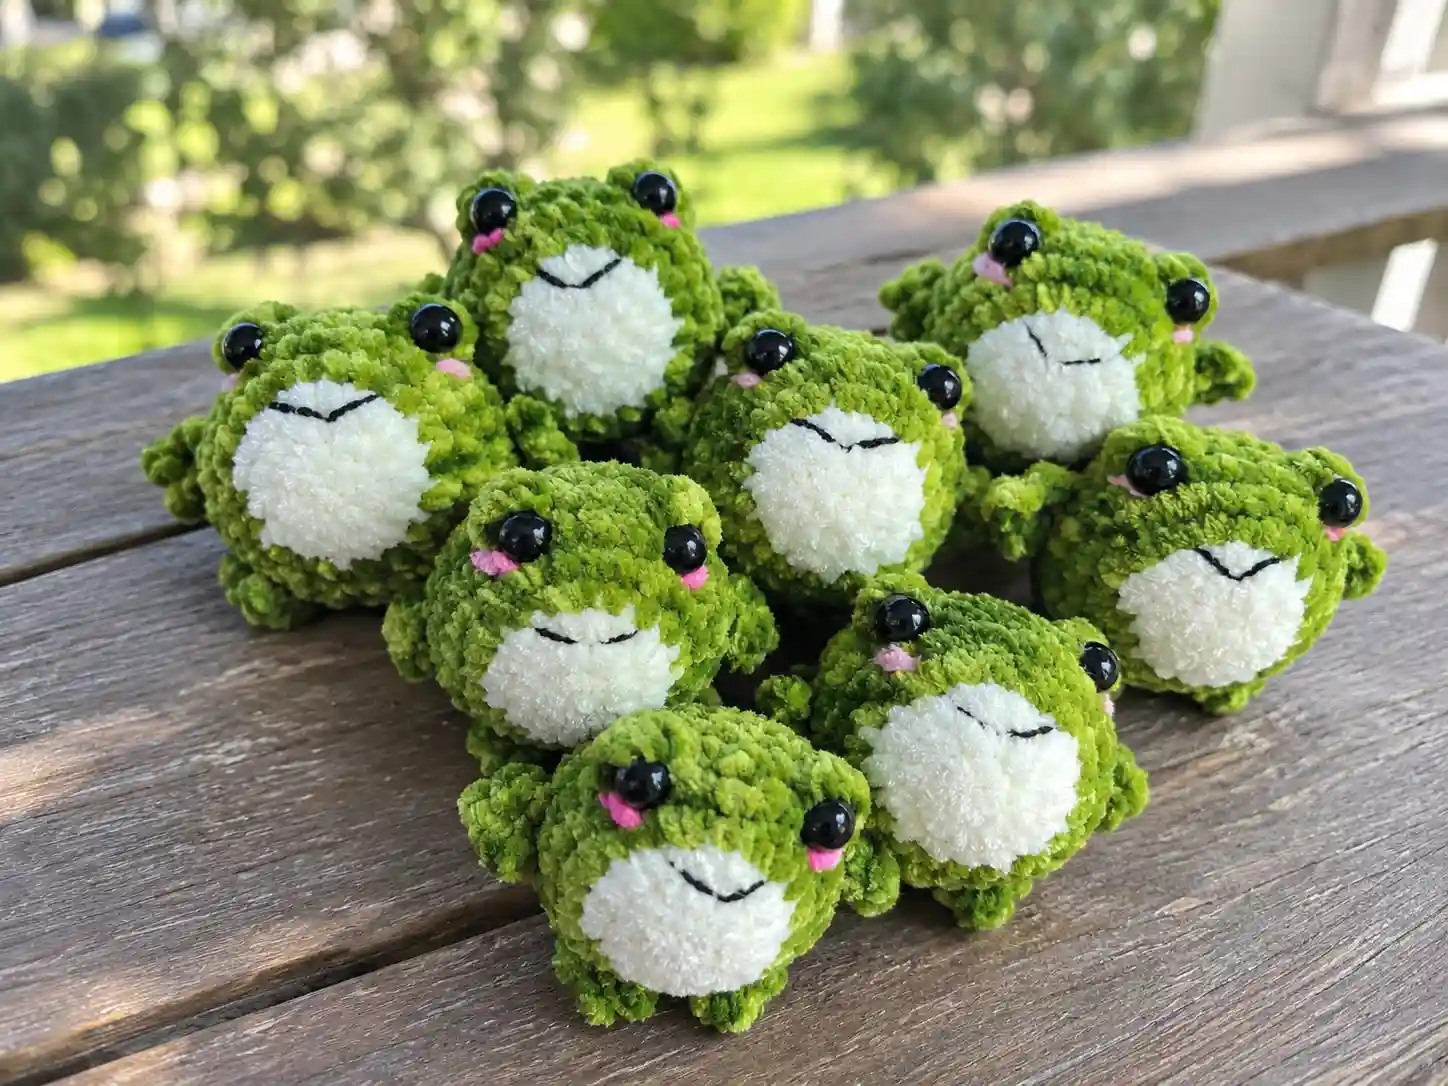
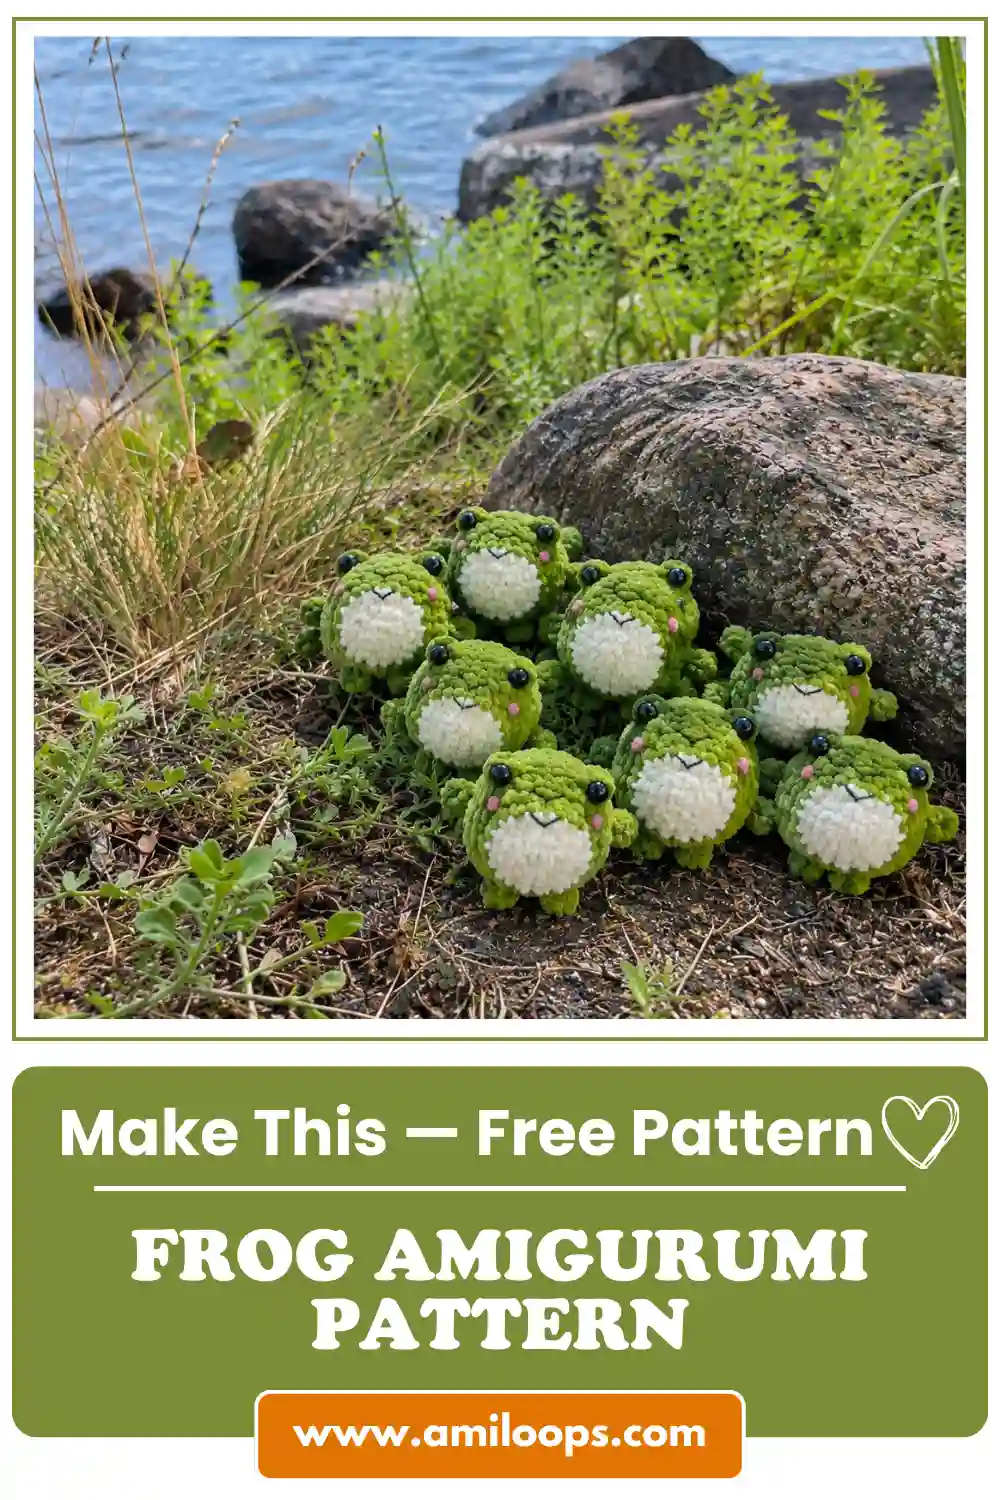
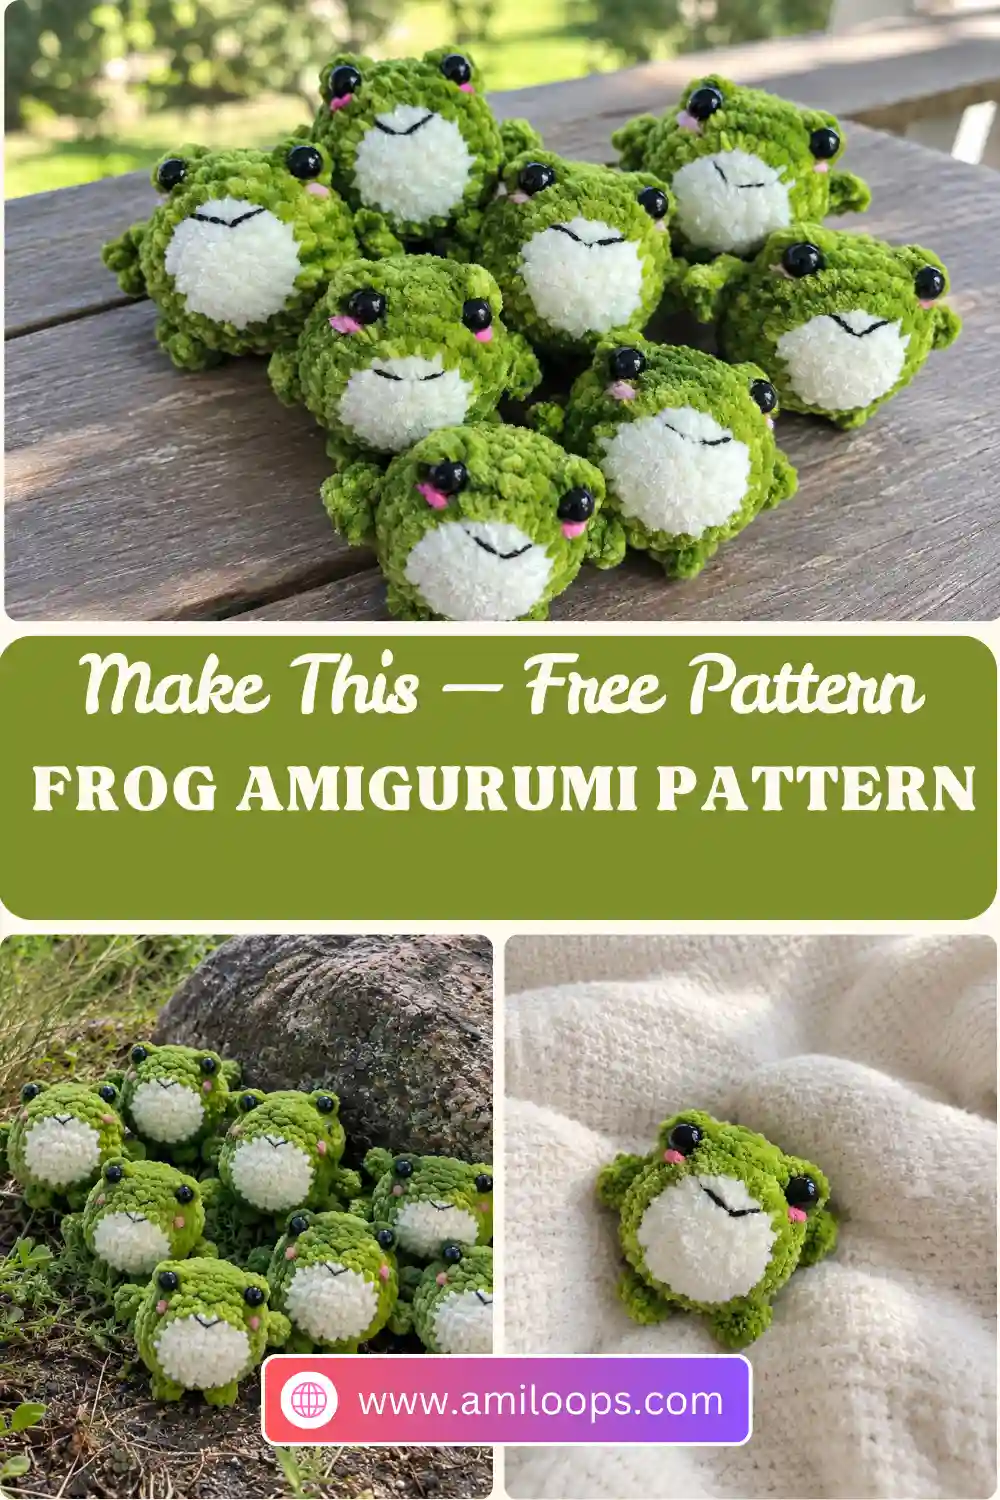
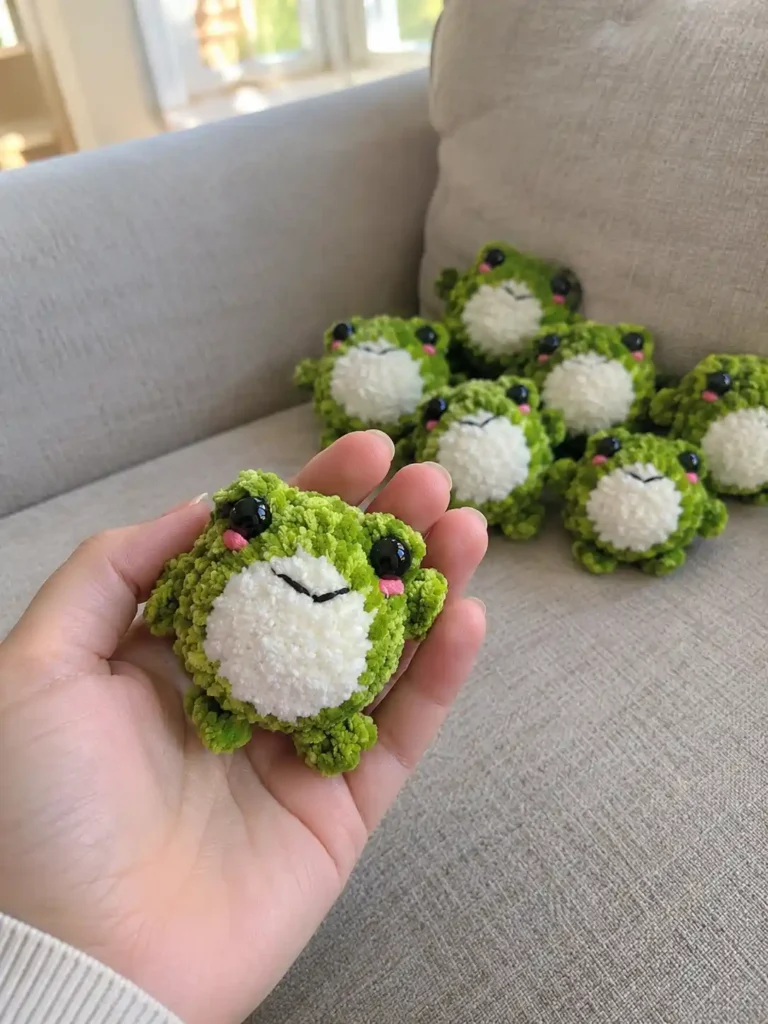
This velour frog amigurumi is a little round frog in soft plush yarn. It has a white front, two raised eye bobbles and four tiny three-toed feet that grow straight out of the body. A bit of pink for the cheeks and a few details in black cotton thread finish the face.
The whole body is worked in one piece from a magic ring. The first three rounds are white, and the frog turns green at Rnd 4. One round, Rnd 6, places both eye bobbles and all four chain legs. After two plain rounds, the body decreases back down to six stitches, so there are no separate legs or eye pieces to sew on.
Materials Abbreviations Special stitches Frog body Finishing FAQ
Before your first stitch: Have your white and green yarn ready. The body changes color only once, from white to green after Rnd 3, and stays green to the end.
Practice the special stitches first: Rnd 6 uses both the eye bobble and the Leg. If you read through them now, that round will go smoothly when you reach it.
Materials
- Velour (velvet) yarn: green (main color) and white, plus a small amount of pink for the cheeks
- Crochet hook: 2.75–3 mm
- Eyes: black, 10 mm
- A small amount of black cotton thread for the face details
- Hollofiber stuffing
- Scissors, needle and glue
Abbreviations
This pattern uses US crochet terms. If you usually work from UK patterns, the Craft Yarn Council’s crochet abbreviations chart lists standard stitch names and compares US and UK terms.
| Abbreviation | Meaning |
|---|---|
| ch | chain |
| dc | double crochet |
| dec | decrease (sc the next 2 sts together) |
| inc | increase (2 sc in the same st) |
| MR | magic ring |
| Rnd(s) | round(s) |
| sc | single crochet |
| sl st | slip stitch |
| st(s) | stitch(es) |
| yo | yarn over |
Special stitches
Eye bobble: Work 5 dc in the same st and close them together with one shared top. To do this, yo, insert hook in the st, yo and pull up a loop, then yo and pull through 2 loops. Repeat this 4 more times in the same st (6 loops on hook). Yo and pull through all 6 loops.
Leg: Ch 4, sl st in the 3rd ch from hook; this ch is the anchor for the toes. [Ch 3, sl st in the same anchor ch] 2 times. Sl st in the base of the Leg.
Each Leg makes three small chain toes that share one anchor ch, so it looks like a tiny three-toed foot. The final sl st goes back into the base where the Leg began, which brings you back to the body without using up a stitch from the round.
Frog body
Start with white. If you’re new to the starting loop, this guide shows how to crochet a magic ring step by step.
Rnd 1: 6 sc in MR (6 sts).
Rnd 2: Inc in each st around (12 sts).
Rnd 3: [Sc in the next st, inc] 6 times (18 sts).
Color change: Change to green (main color). Green is used for the rest of the body. For a clean switch, see how to change colors in amigurumi.
Rnd 4: [Sc in the next 2 sts, inc] 6 times (24 sts).
Rnd 5: [Sc in the next 3 sts, inc] 6 times (30 sts).
Reading Rnd 6: This round places the frog’s face and feet. The two eye bobbles come first, with 5 sc between them, and the four Legs follow around the rest of the round. Each bobble is worked into one st, while each Leg ends back at its own base and uses no st, so the sc and bobbles alone add up to 30. Counting each group of sc as you go keeps everything in place.
Rnd 6: Sc in the next 2 sts, eye bobble in the next st, sc in the next 5 sts, eye bobble in the next st, sc in the next 4 sts, work Leg, sc in the next 5 sts, work Leg, sc in the next 5 sts, work Leg, sc in the next 5 sts, work Leg, sc in the next 2 sts (30 sts).
Check your bobbles: You should now see two bobbles on one side and four little feet around the rest of the body. Depending on which side of the fabric faces you, a bobble can pop toward the inside of the body. If one has sunk inward, gently push it to the outside so it stands up as an eye bump.
Rnds 7–8: Sc in each st around (30 sts), 2 rounds.
Eyes and stuffing: If your 10 mm eyes have locking backs, fit them at the two eye bobbles now, while you can still reach inside. Start stuffing with hollofiber as you work Rnds 9–11, and add a little more before you close the last 6 sts, until the frog holds its round shape.
Rnd 9: [Sc in the next 3 sts, dec] 6 times (24 sts).
Rnd 10: [Sc in the next 2 sts, dec] 6 times (18 sts).
Rnd 11: [Sc in the next st, dec] 6 times (12 sts).
Rnd 12: Dec 6 times (6 sts).
Finishing the frog
The pattern ends at Rnd 12. These closing steps follow the usual way to finish a small amigurumi that decreases to 6 sts.
- Fasten off, leaving a tail. Thread the tail onto the needle, weave it through the front loops of the last 6 sts, pull to close the hole, then hide the end inside the body. This guide to fastening off and weaving in ends walks through it.
- If you didn’t fit the eyes earlier, attach the 10 mm black eyes now, one on each eye bobble.
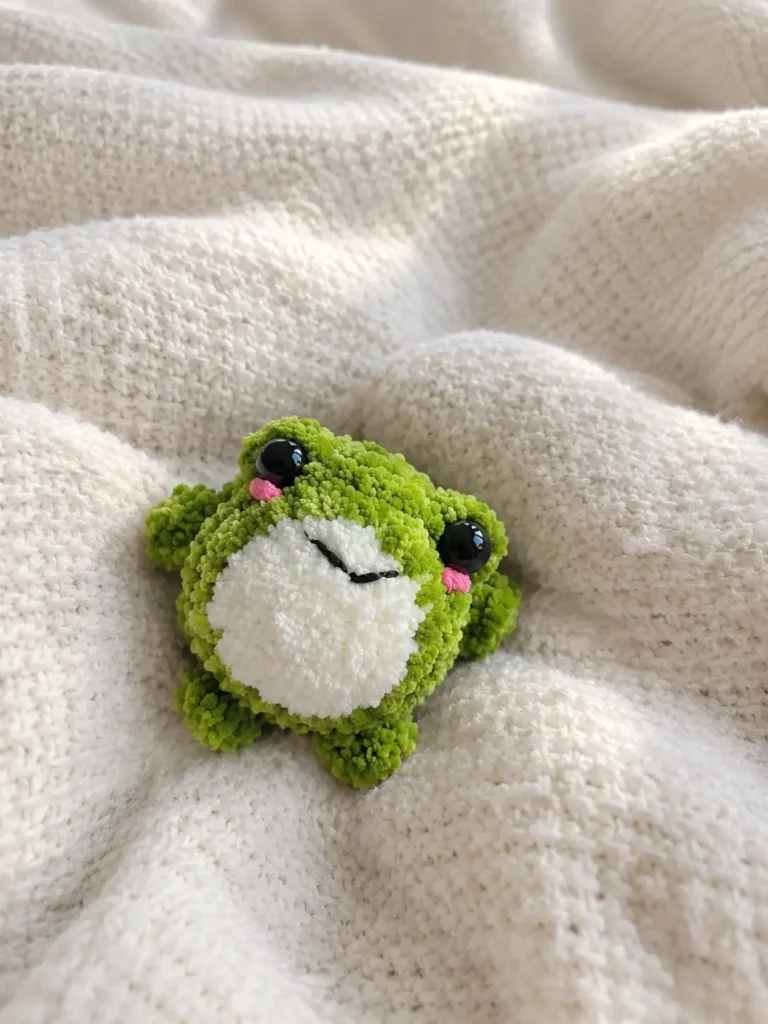
- Add the face: stitch pink cheeks and a small mouth in black cotton thread. In the pattern photos, the cheeks sit beside the eyes and the mouth sits on the white front; the exact placement is up to you.
Questions about this velour frog
Why is Rnd 6 still 30 stitches after adding four legs?
Only the sc and the two eye bobbles are worked into stitches from Rnd 5, and together they add up to 30. Each Leg is made of chains and sl sts and ends with a sl st back into its own base, so the Legs aren’t counted.
When should I stuff the frog?
Start during the decrease rounds, Rnds 9–11, while the opening is still wide. Add a little more before you close the last 6 sts so the frog keeps its round shape.
Where do the 10 mm eyes go, and how are they attached?
Each eye goes on one of the two eye bobbles from Rnd 6. The pattern lists 10 mm black eyes and glue but doesn’t specify how the eyes are fixed. If your eyes have locking backs, fit them before you finish stuffing and close the body. Eyes and other small parts can be a choking hazard for young children, so review the CPSC’s small parts guidance before giving the frog to a little one.
Can I use a different yarn instead of velour?
The pattern is written for velour yarn with a 2.75–3 mm hook. Another yarn will still work with the same stitch counts, but the frog’s size and texture will change. Adjust your hook so the stitches stay tight enough to hide the stuffing.