Miniature Amigurumi Parrot Crochet Pattern: Step-by-Step Guide
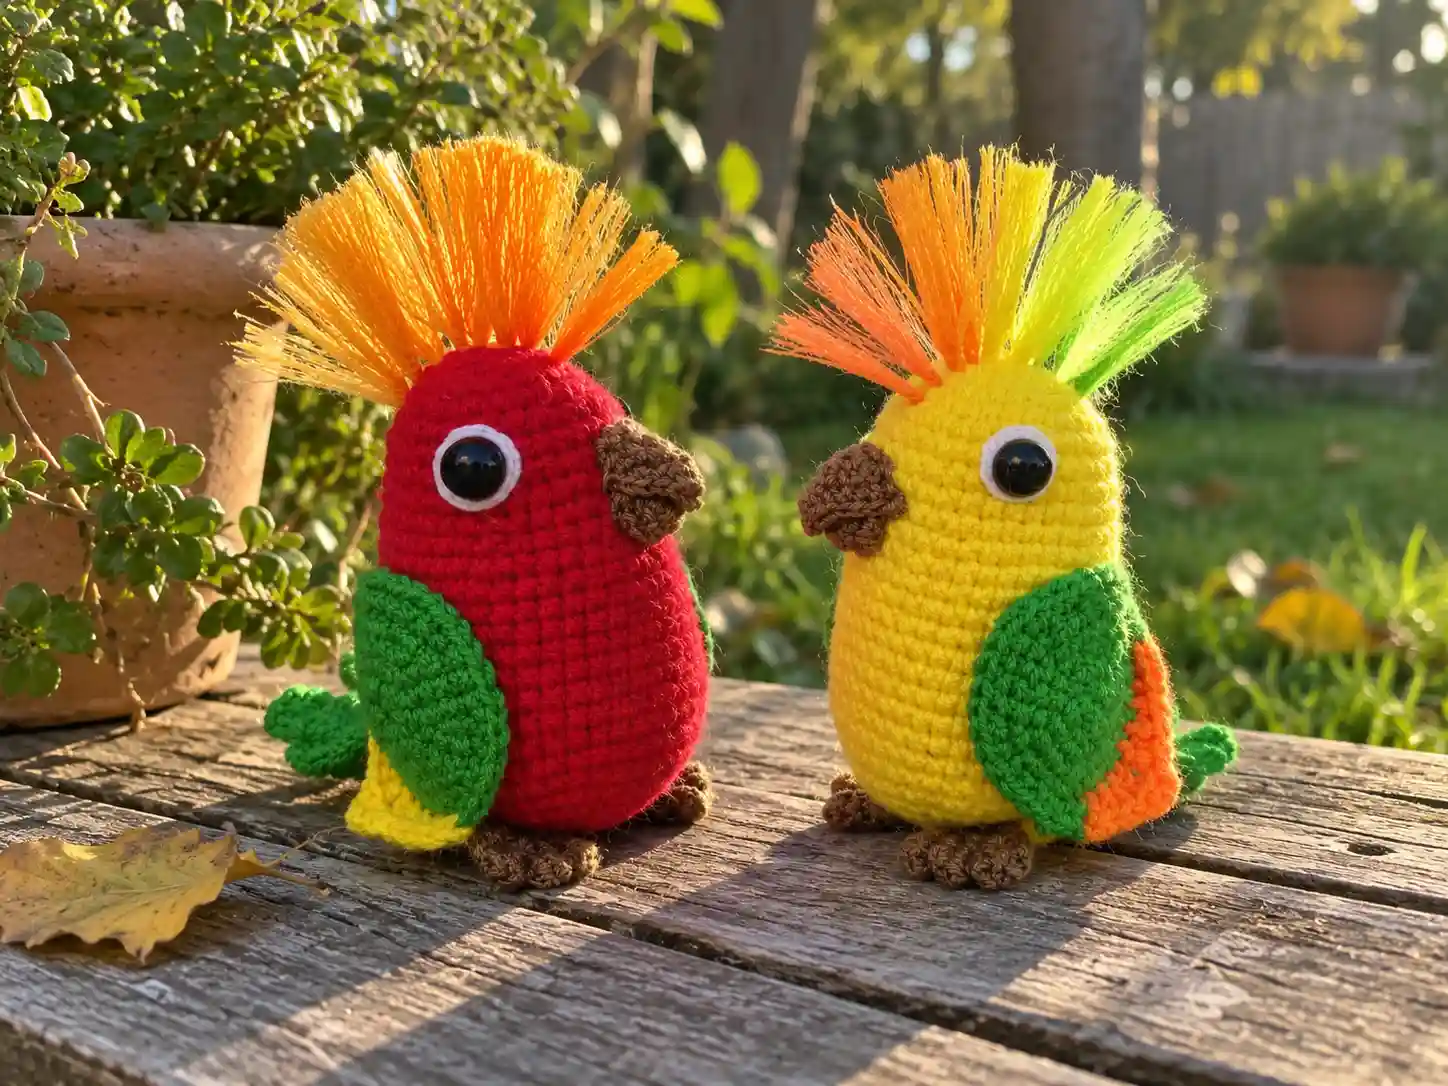
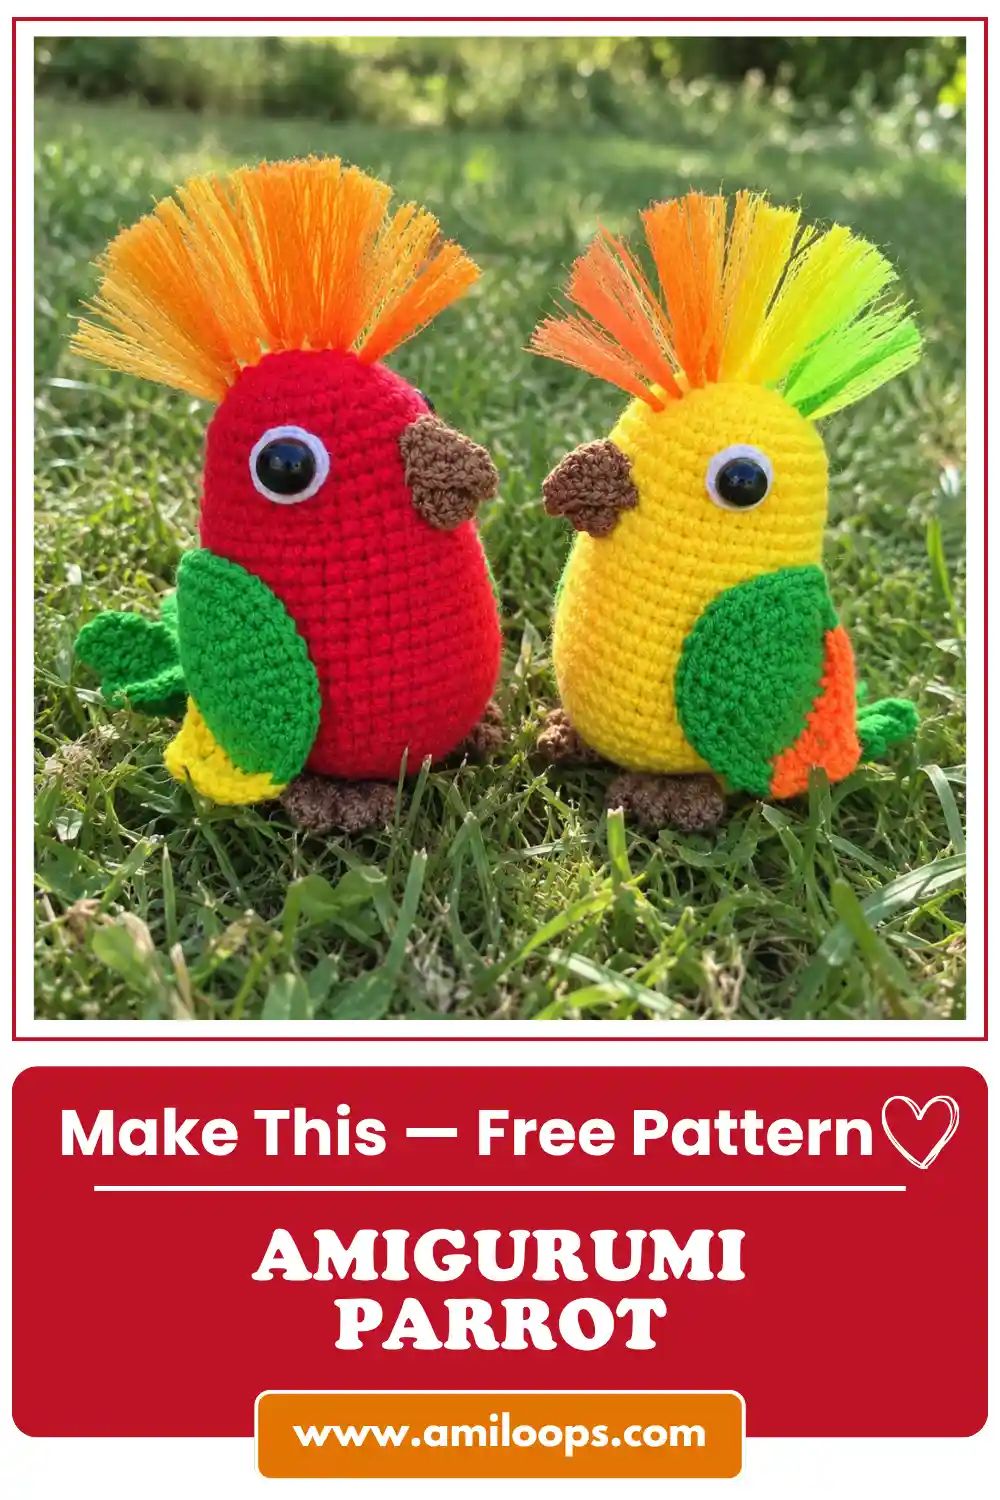
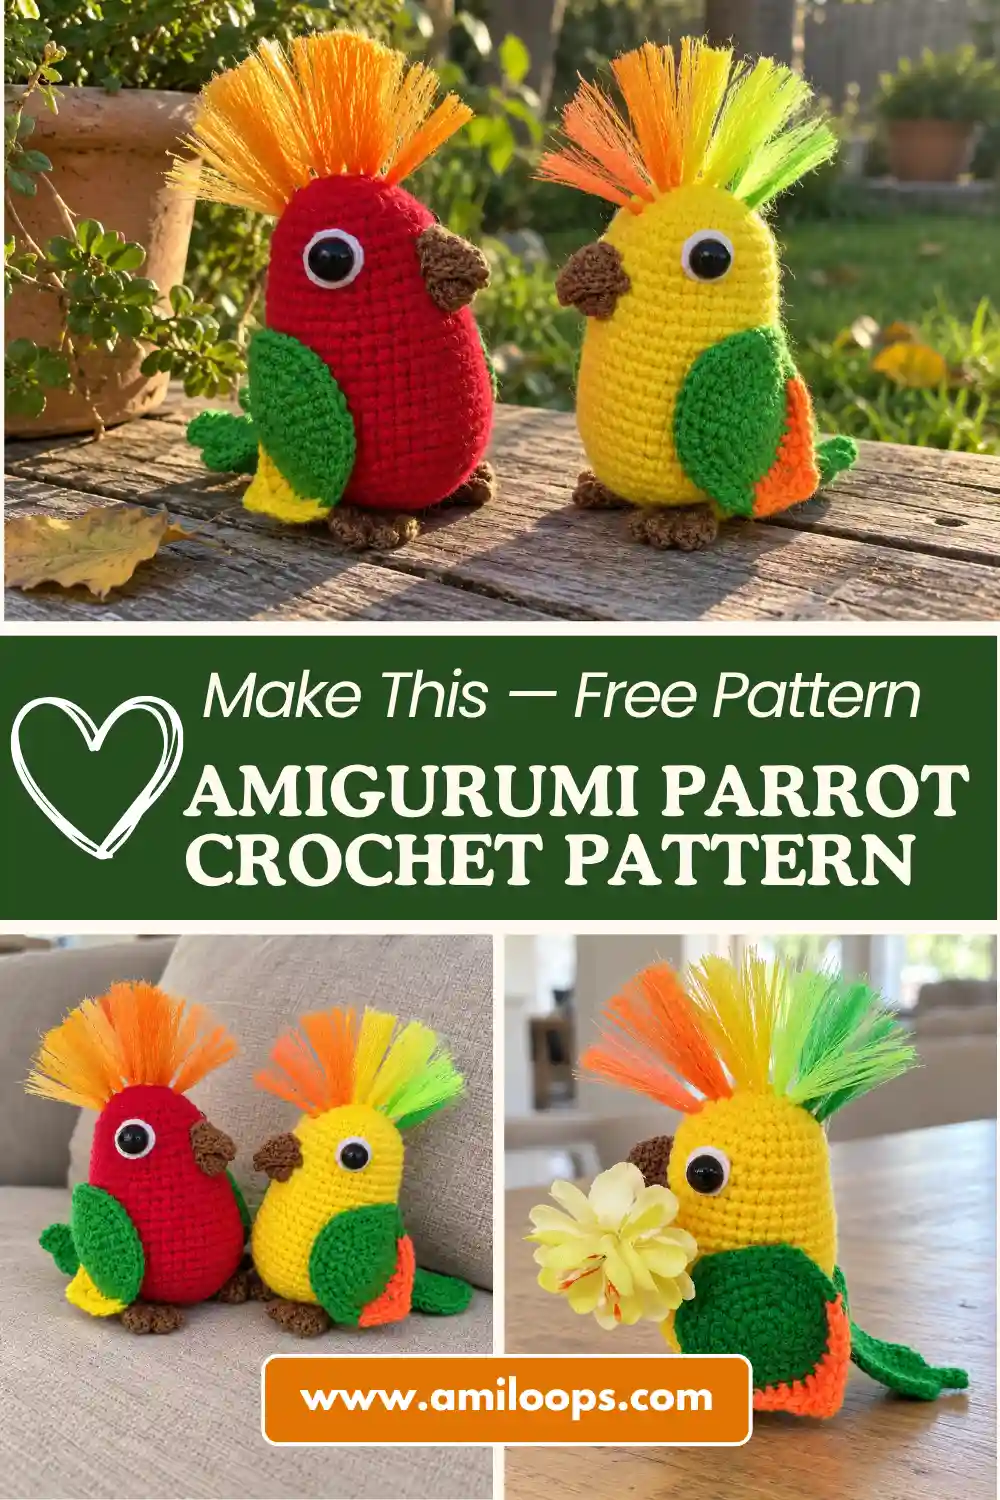
Crafting a delightful miniature amigurumi parrot crochet pattern brings a vibrant touch of exotic wildlife into your handmade collection. Standing at a charming height without its crest, this small plush project showcases intricate color work and detailed shaping that makes it a rewarding challenge for intermediate makers. Working in continuous spiral rounds helps maintain a seamless silhouette, ensuring that every curve from the crown down to the base of the body flows naturally without jarring transitions.
Construction begins right at the crown of the head and progresses downward continuously into the main body structure, allowing you to build the core shape in one uninterrupted piece. Along the way, the design incorporates striking color accents on the wings to highlight the characteristic plumage of a tropical bird. Careful attention to stitch counts and strategic increases will ensure that your finished creation achieves the proper proportions and a balanced stance.
About This Parrot Crochet Pattern
This detailed amigurumi project yields a petite avian companion that measures approximately eight centimeters in height, excluding its decorative head crest. Because the entire upper body and torso are worked as a single continuous piece starting from the top of the head, you will experience fewer seams on the primary structure. This method creates a sturdy core that easily supports the subsequent attachment of wings, tail feathers, and a finely shaped beak.
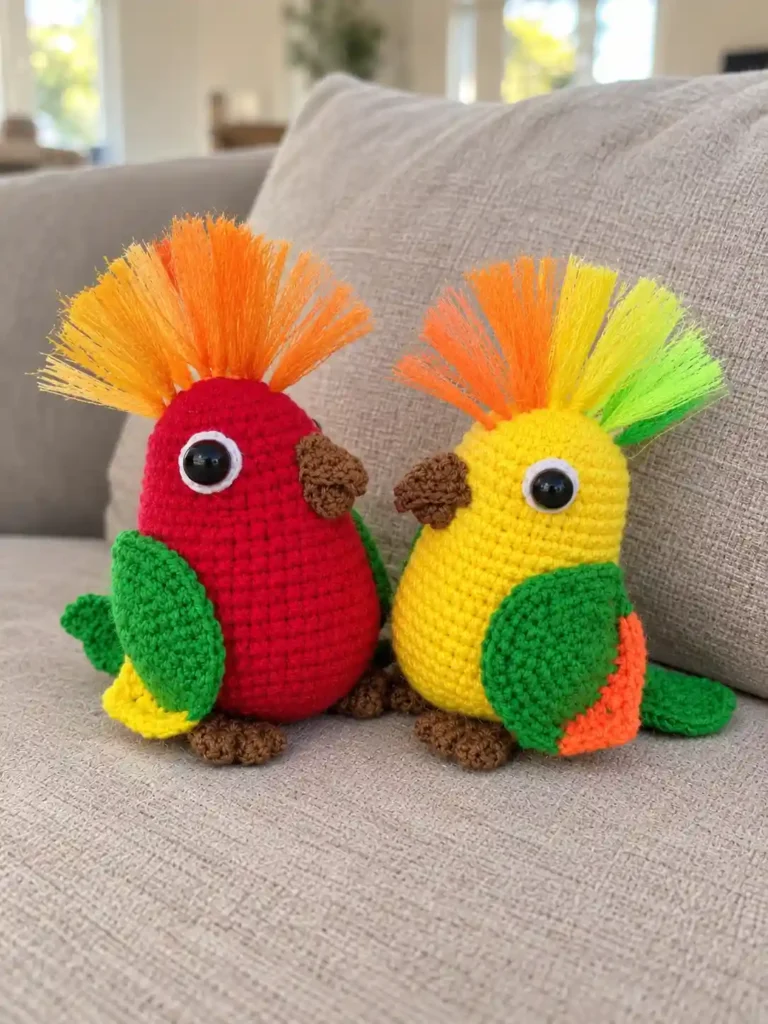
The pattern features contrasting color elements on the wings to capture a realistic feathered appearance, while internal copper wire reinforcement inside the tail element gives you complete freedom to adjust and pose the tail. Thoughtful structural additions like felt backing circles behind the safety eyes add depth and expression to the face, elevating the final look of your miniature creation. Whether displayed on a desk or gifted to a bird enthusiast, this charming project offers plenty of engaging details.
Materials and Tools
Gathering the correct supplies before you begin ensures a smooth crafting process. You will need specific high-bulk acrylic yarns for the main body and wings, alongside finer mercerized cotton for precise beak shaping. Having both a 2.0 mm and a 1.5 mm hook on hand allows you to switch between hook sizes depending on the yarn weight and the desired tightness of your stitches.
- Pekhorka “Detskaya Novinka” – high-bulk 100% acrylic, 50 g – 200 m for head & body, wings, legs, tail
- KARTOPU Kristal 100% acrylic, 100 g – 450 m (for green color)
- Clover crochet hook 2.0
- Vita Coco 100% mercerized cotton, 50 g – 240 m (for beak)
- Clover crochet hook 1.5
- Toy stuffing (fiberfill)
- Thin copper wire for tail reinforcement
- Satin ribbon width 1.5 cm, length 40 cm
- Plastic safety eyes with washers
- Small pieces of felt for eye decoration
- Yarn needle, sewing thread, lighter
Crochet Abbreviations
This pattern uses standard US crochet terminology and abbreviations. Keeping a few stitch markers nearby will help you keep track of your spiral rounds as you work through the head, body, and limbs.
- ch — chain
- sc — single crochet
- hdc — half double crochet
- dc — double crochet
- dec — invisible decrease
- inc — increase
- sl st — slip stitch
Construction Overview
The construction journey begins at the uppermost crown of the head, working in continuous rounds downward into the body. As you shape the head and torso, you will establish the foundation for facial features and limb placements. A repurposed satin ribbon forms the vibrant decorative head crest, adding a unique textural element that defines the parrot’s silhouette.
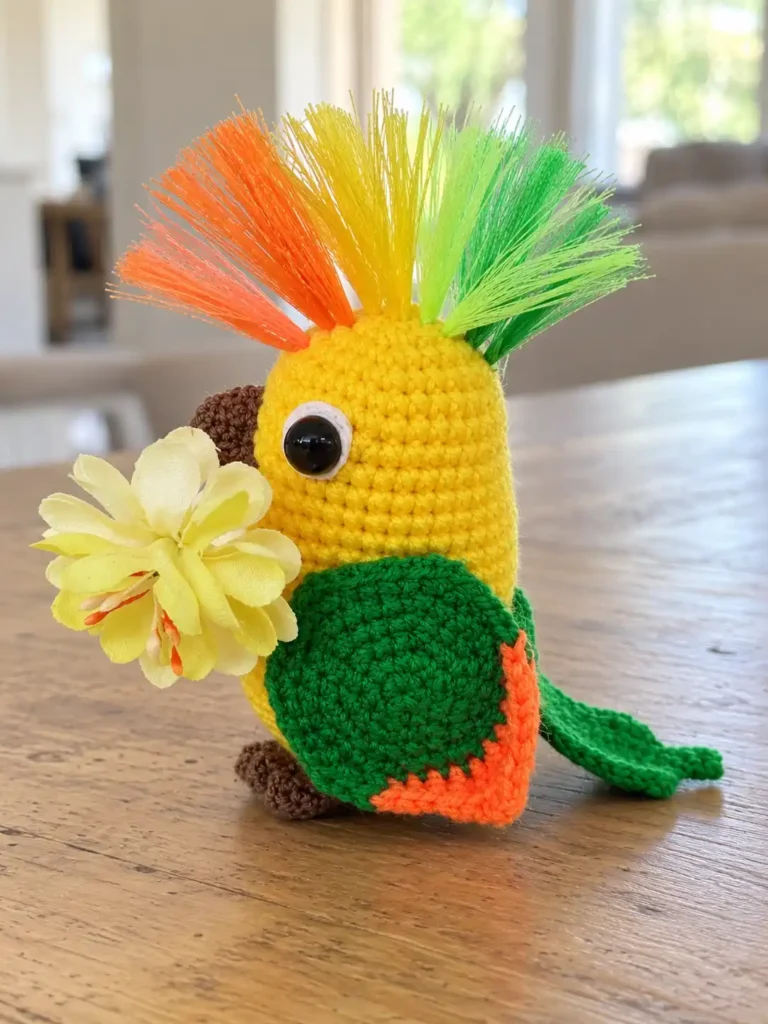
Separate components like the wings, beak parts, legs, and tail are crocheted individually before being joined to the main body. The tail incorporates a thin copper wire for structural rigidity and posability, while the feet feature individual toes built directly using chain stitches. Careful assembly ensures all components sit harmoniously together for a balanced final figure.
Before You Start
Take a moment to organize your workspace and verify that you have both the 2.0 mm and 1.5 mm Clover hooks available to accommodate the different yarn thicknesses. Because amigurumi worked in continuous rounds lacks clear turning seams, keeping stitch markers handy is essential for tracking your progress on the head and body. Reviewing the abbreviation list and sorting your colored yarns beforehand will streamline your stitching sessions.
Pay close attention to safety eye placement intervals, as inserting them early into the upper head rows prevents complications later. Having small felt circles prepared to back the safety eyes will give your parrot a polished, expressive look. Work slowly through the initial magic ring rounds to ensure a tight, uniform tension that prevents fiberfill stuffing from showing through.
Parrot Crochet Pattern
Follow these component-by-component instructions carefully, noting that round six of the head and body totals 36 stitches, and rows 17 through 22 maintain a steady count of 42 stitches.
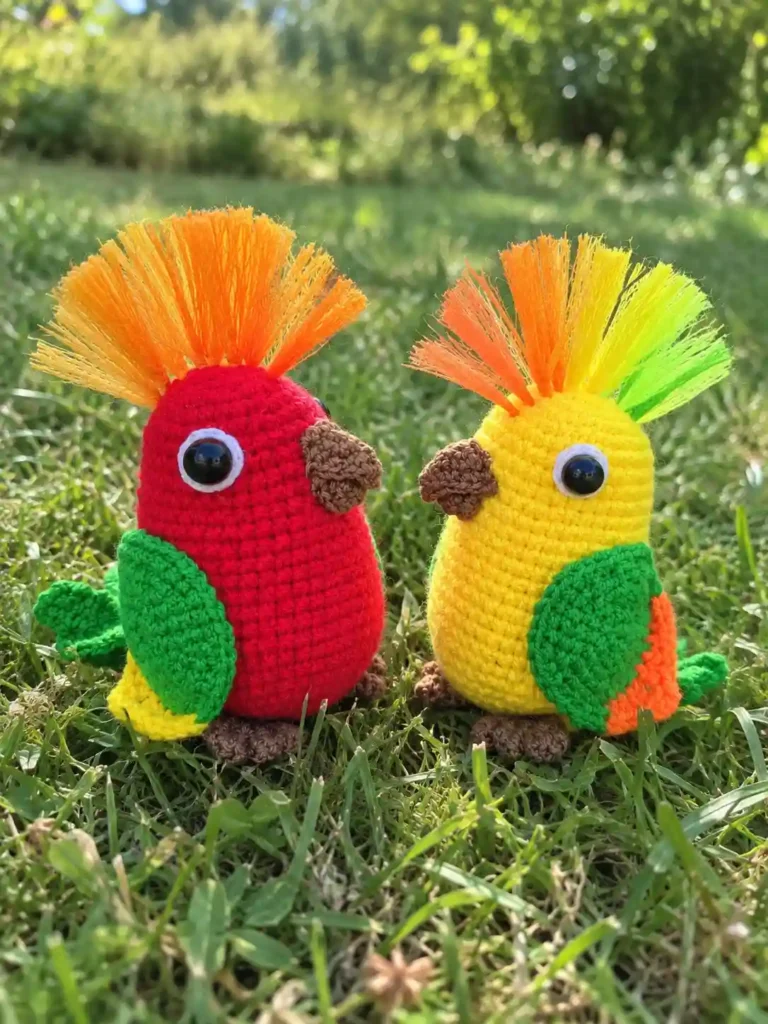
Head and Body
- Round 1: 6 sc in a magic ring. (6)
- Round 2: 6 inc. (12)
- Round 3: (1 sc, inc) x 6. (18)
- Round 4: (2 sc, inc) x 6. (24)
- Round 5: (3 sc, inc) x 6. (30)
- Round 6: (4 sc, inc) x 6. (36)
- Rounds 7-9: 36 sc. (36)
- Round 10: (11 sc, inc) x 3. (39)
- Rounds 11-15: 39 sc. (39)
- Round 16: (12 sc, inc) x 3. (42)
- Rounds 17-22: 42 sc. (42)
- Round 23: (5 sc, dec) x 6. (36)
- Round 24: (4 sc, dec) x 6. (30)
- Round 25: (3 sc, dec) x 6. (24)
- Round 26: (2 sc, dec) x 6. (18)
- Round 27: (1 sc, dec) x 6. (12)
- Round 28: 6 dec. (6)
Wings
- Round 1: 6 sc in a magic ring. (6)
- Round 2: 6 inc. (12)
- Round 3: (1 sc, inc) x 6. (18)
- Round 4: 1 sc, inc, (2 sc, inc) x 5, 1 sc. (24)
- Round 5: (3 sc, inc) x 6. (30)
- Round 6: 2 sc, inc, (4 sc, inc) x 5, 2 sc. (36)
Beak (Bottom Part)
- Round 1: Start working in a magic ring with 5 sc, turn, then follow the schematic chart (incorporating sc, hdc, sc inc, picot). (1)
Beak (Top Part)
- Round 1: Follow the schematic chart (incorporating sc, hdc, hdc inc, sc inc, picot). (1)
Legs
- Round 1: 6 sc in a magic ring. (6)
- Round 2: (inc, 2 sc) x 2. (8)
- Round 3: 8 sc. (8)
- Round 4: 3 ch, 2 sc along the chain, sc into the foot (working through both sides). Repeat and work 2 more fingers in the same manner. (1)
Tail
- Round 1: 19 ch, 16 sc, 4 sc in 1, 16 sc down the other side, 3 sc in 1, 13 sc, 1 ch, turn, 14 sc, 3 sc in 1, 14 sc, 1 ch, turn, 14 sc, sl st. (1)
Assembly and Finishing
Proper assembly brings your amigurumi parrot to life with accuracy and balance. Safety eyes must be inserted and secured between rows 7 and 8, keeping a twelve-stitch distance between their centers, and backed with felt circles before you finish stuffing the head.
When attaching facial features, sew the bottom beak part first, followed by the top beak part to ensure correct alignment at the center front. For the legs, fold the openings in half and crochet across both sides while forming the fingers before securely sewing them to the body flanks.
- Cut satin ribbon into 5 cm lengths, treat edges with fire, pull transversal thread leaving 1 cm, pull ribbons through crown holes and sew together inside.
- Insert and secure safety eyes between rows 7 and 8 with 12 stitches distance between centers, backed with felt circles.
- Sew bottom beak part first, then top beak part to the head.
- Fold legs in half and crochet across both sides while making the fingers, then sew to the body.
- Insert copper wire while crocheting the tail for rigidity, then sew tail to the body.
Pattern Notes and Troubleshooting
Managing Shaping and Stuffing Pucker
If the head or body shape begins to pucker during construction, make sure that you add fiberfill stuffing incrementally rather than packing it all in at once. Gradual stuffing allows the stitches to distribute tension evenly around the fiberfill, preserving smooth contours across the increased and decreased rounds.
Preventing Ribbon Fraying for the Crest
Working with satin ribbons for the decorative crest requires care when cutting synthetic fibers. If the satin ribbon edges begin to fray after cutting, carefully pass a flame quickly over the cut satin edges using a lighter to seal the threads cleanly.
Securing Tail Wire and Stability
Integrating the thin copper wire correctly inside the tail element is essential for achieving sturdy posing support without poking through the crochet stitches. Additionally, when preparing the lower limbs, folding the leg openings flat and whipstitching across both layers ensures a stable base so your finished toy balances correctly when seated or standing.
Finishing Checklist
Perform a thorough final inspection of your completed parrot to ensure structural integrity and neat craftsmanship. Verify that all loose yarn tails are securely woven inside the toy and check that eye washers are locked firmly before sealing the head stuffing.
- Check that all loose yarn tails are securely woven inside the toy.
- Verify eye washer security before sealing the head stuffing.
- Confirm ribbon crest fringes are evenly pulled and secured.
- Inspect symmetry of both attached wings on the body flanks.
- Ensure the beak parts align properly at the center front.
- Verify that leg placement allows the toy to balance correctly.