Cozy Little Bear in a Sweater Crochet Free Pattern
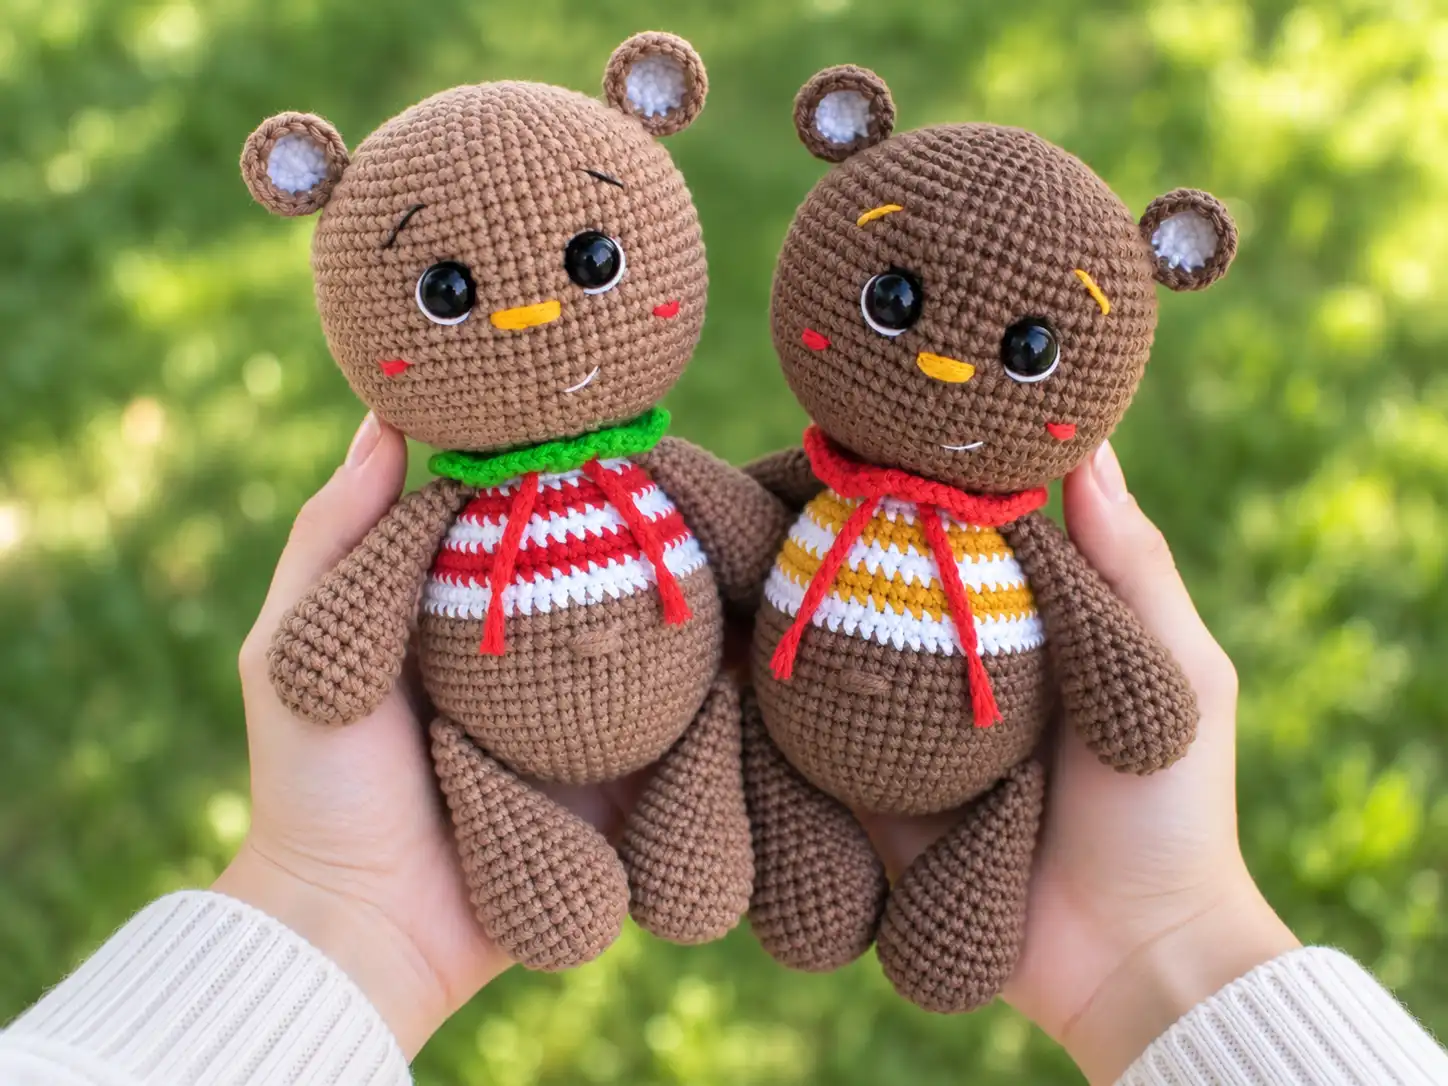
Handmade toy making brings immense joy, especially when working on a project as delightful as this little bear in a sweater. This charming little bear in a sweater amigurumi pattern guides you through creating a cuddly companion complete with a cozy wardrobe. By gathering your cotton-acrylic yarn colors and preparing your workspace, you can bring this lovable character to life stitch by stitch with wonderful texture and warmth.
The construction journey starts with crafting individual independent limbs before seamlessly joining them together into the main body structure. Utilizing standard crochet techniques including single crochet, double crochet, increases, and decreases, crafters of various skill levels can easily follow along. Every component is designed to fit harmoniously, resulting in a wonderfully structured toy that sits beautifully on a shelf or brings comfort as a handmade gift.
About This Little Bear in a Sweater Crochet Pattern
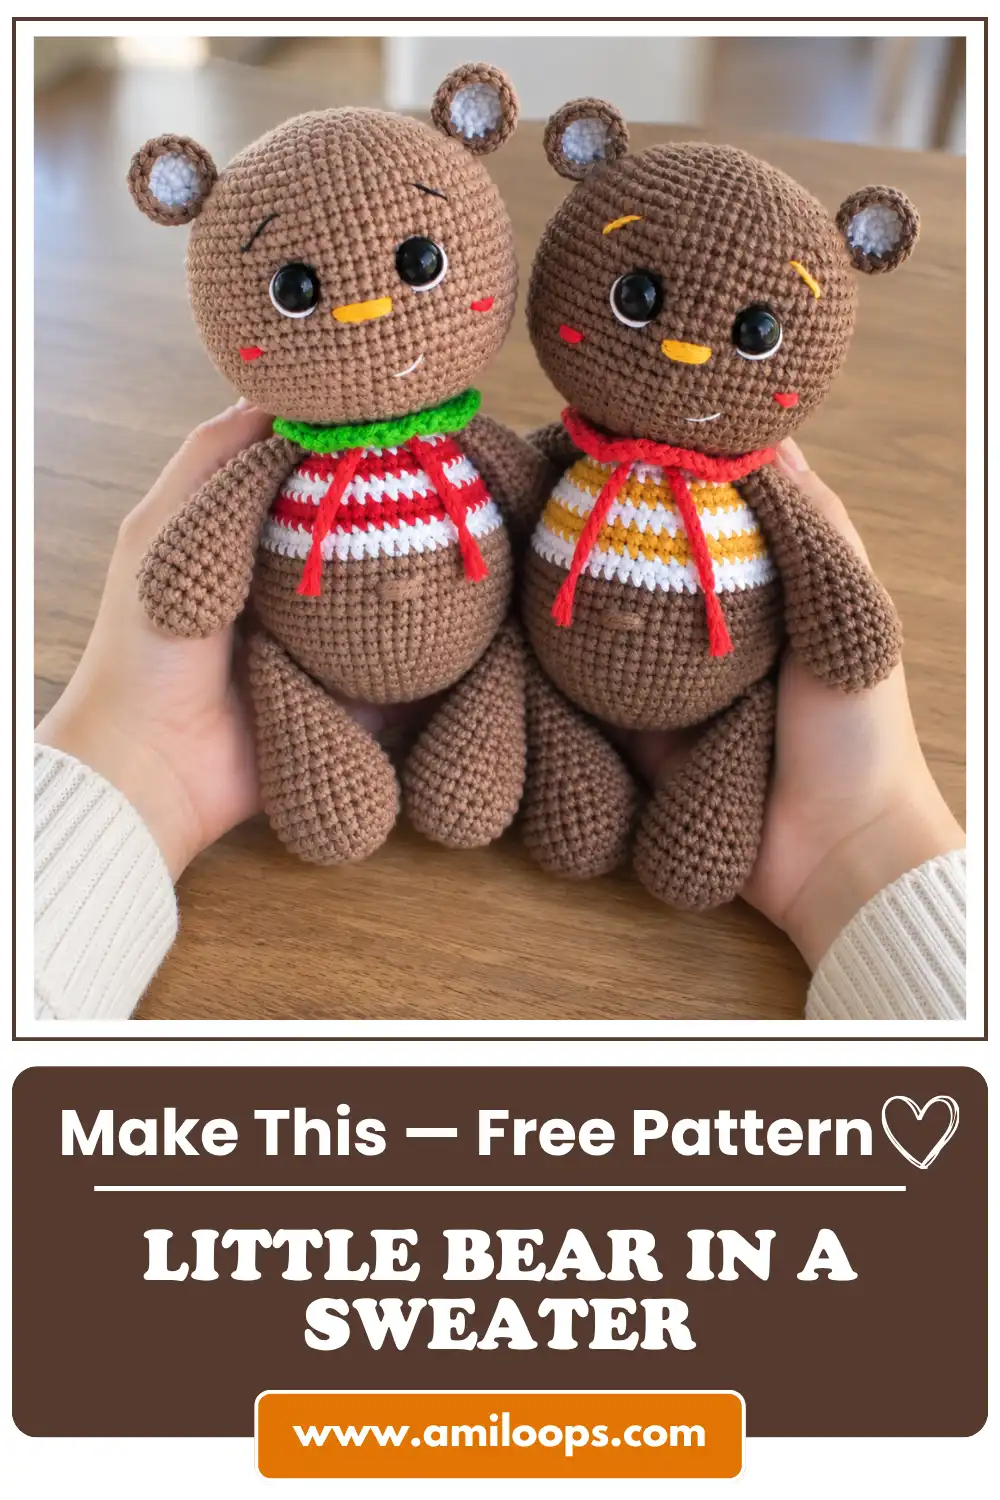
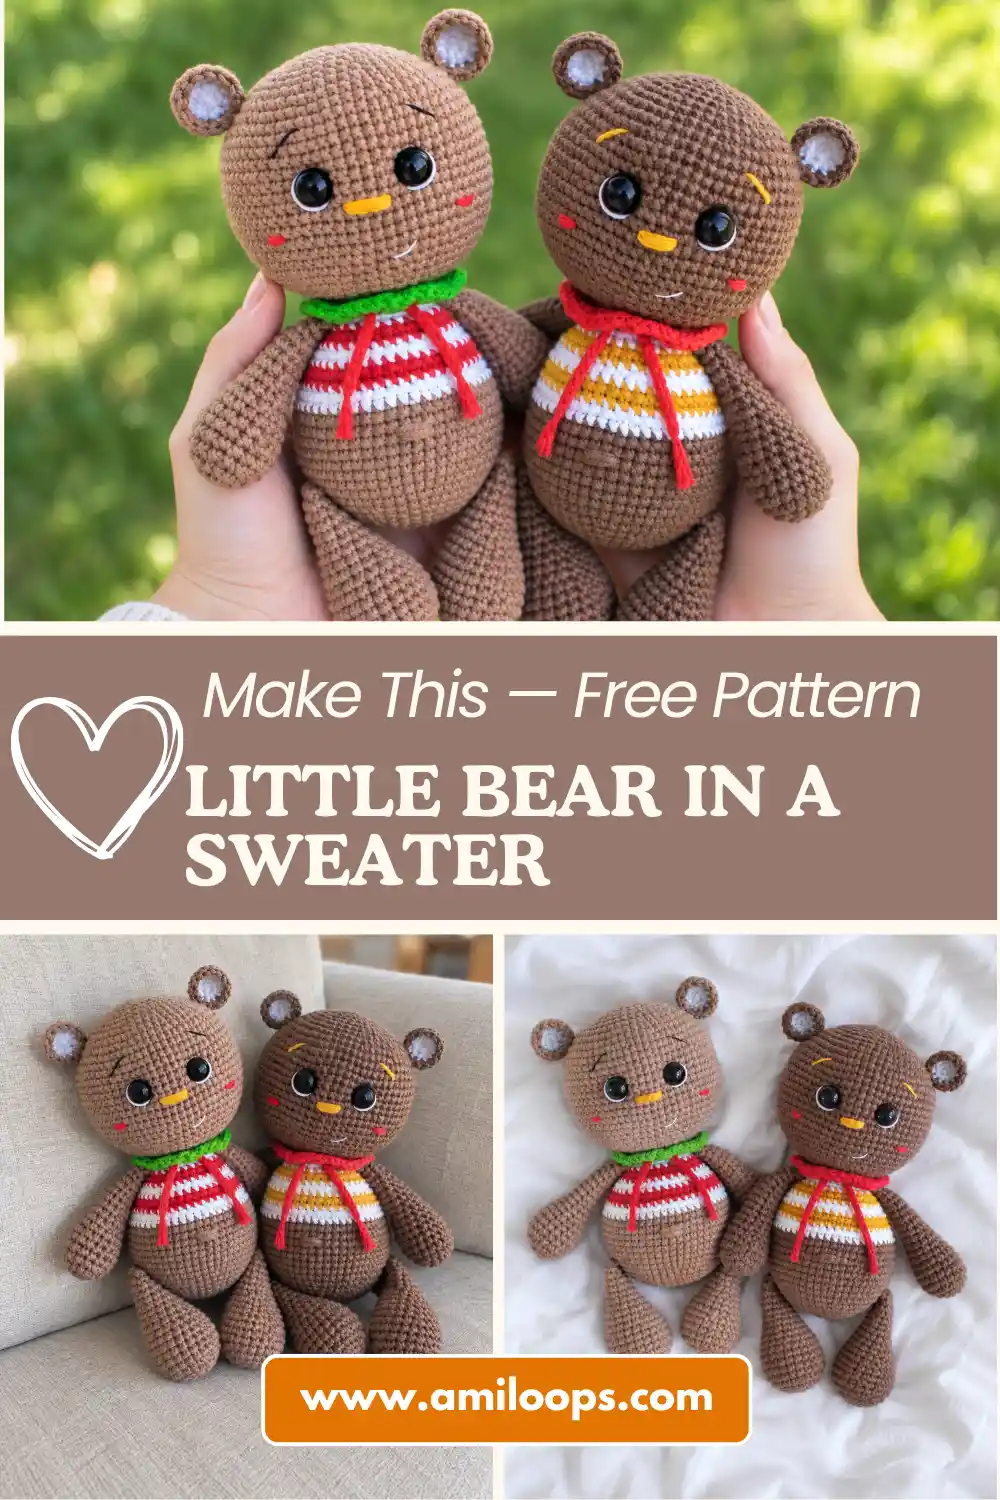
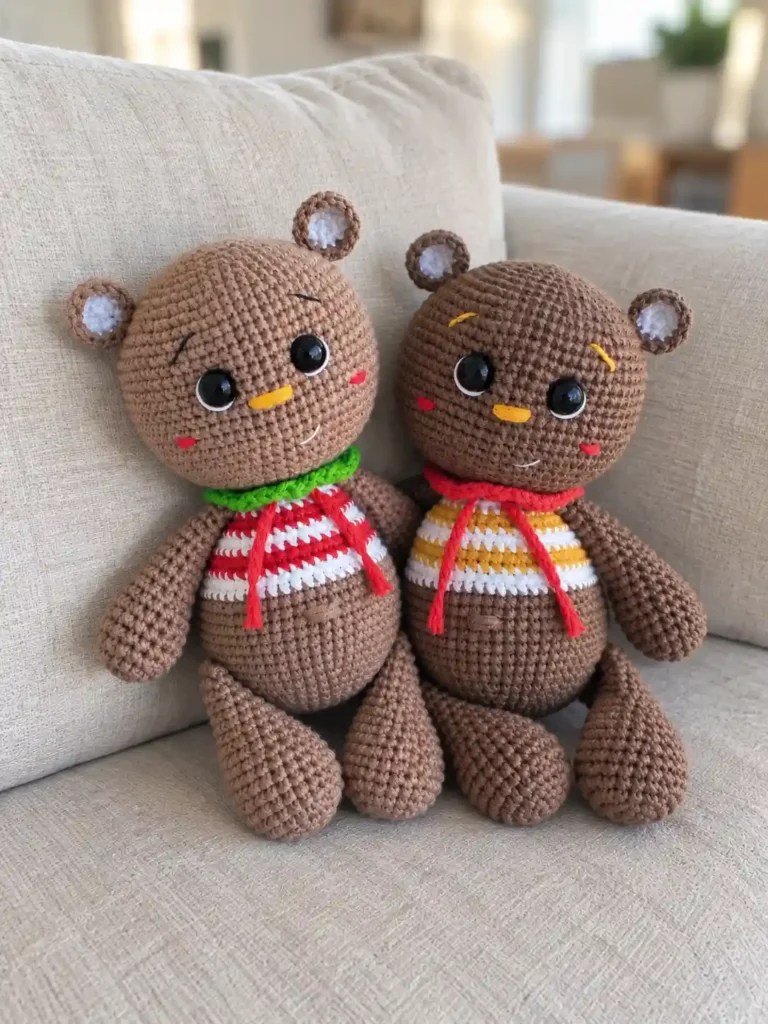
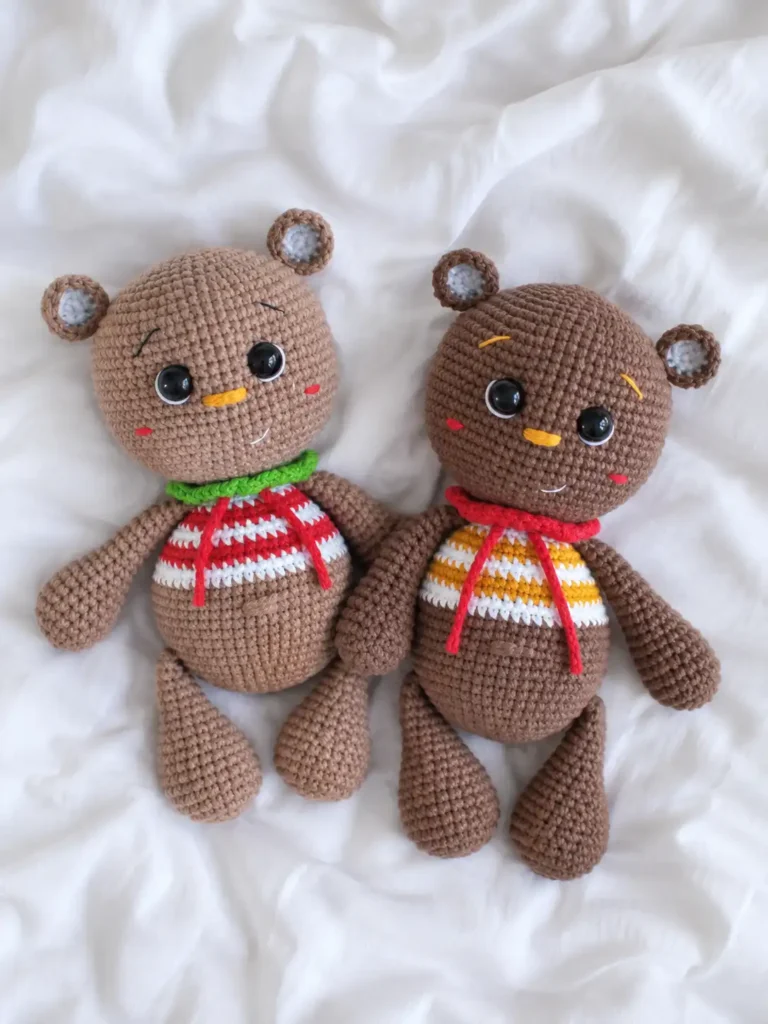
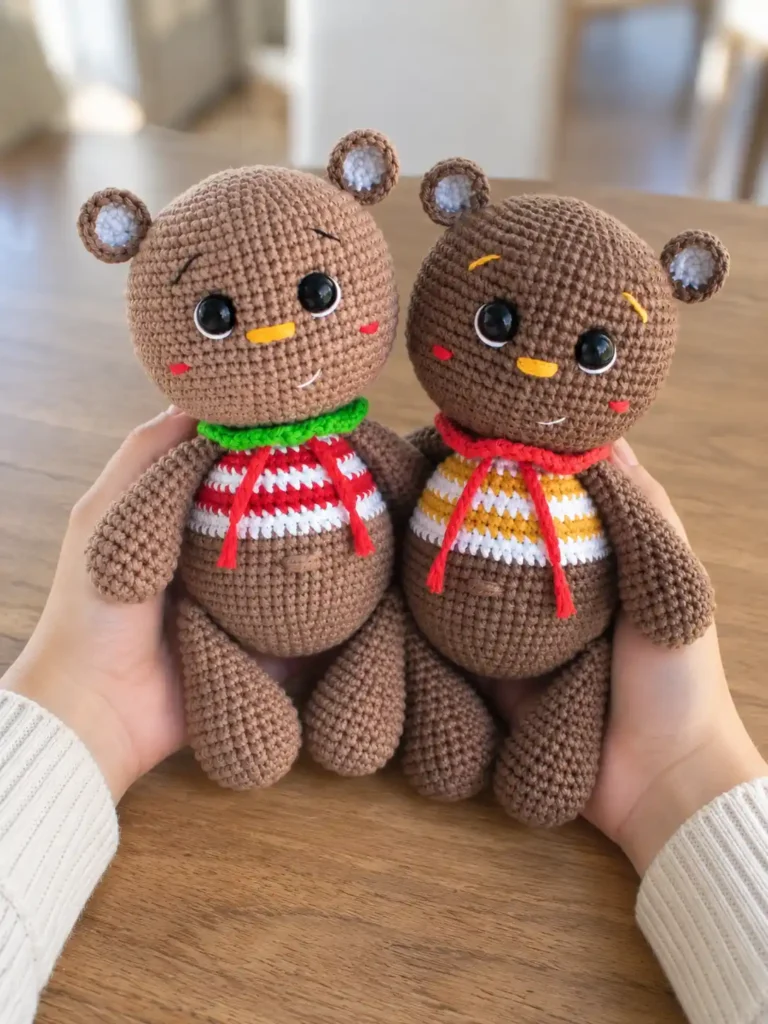
The project centers around an amigurumi crocheted bear wearing a striped sweater featuring alternating bands of white and red. This classic color combination gives the sweater a timeless, cheerful aesthetic that stands out wonderfully against the rich brown body yarn. To complete the garment look, a decorative green collar is added using the front loops of the final body round, creating a polished neckline framing the bear.
Expressive facial features bring personality to the design through an embroidered nose, mouth, eyebrows, and cheeks, paired with safety eyes or half-balance beads measuring twelve millimeters. A small rounded tail is securely sewn onto the lower back, while the ears are constructed in two distinct layers joined together for stability. Because the head carries substantial weight, the neck requires dense stuffing to ensure a sturdy, upright posture without wobbling.
Materials and Tools Needed
Successful amigurumi creation relies on having the proper supplies organized before you begin your first stitch. You will need specific cotton-acrylic blend yarns such as Alize Cotton Gold and YarnArt Jeans in various shades, along with a two-millimeter crochet hook, polyester fiberfill stuffing, and a tapestry needle for assembly. Having these items ready ensures a smooth and enjoyable crafting experience from start to finish.
- Alize Cotton Gold Hobby (55% хлопок/45% акрил) 50г/165м коричневого (493) и горчичного (02) цвета
- Alize Cotton Gold (55% хлопок/45% акрил) 100г/330м белого (55) и красного (56) цвета
- Yarn Art Jeans (55% хлопок/45% акрил) 50г/160м цвета «кофе с молоком» (71)
- Alize Cotton Gold (55% хлопок/45% акрил) 100г/330м белого (55), красного (56), салатового (126) цвета
- Наполнитель (холлофайбер и пр.)
- Крючок №2
- Черные полубусины (или глазки на безопасном креплении) d=12 мм
- Клей (если вы используете полубусины)
- Толстая игла для сшивания деталей
- Ножницы
Crochet Abbreviations Guide
Understanding standard US crochet abbreviations is essential for interpreting the pattern instructions accurately. Each term represents a specific stitch or technique used throughout the construction of the limbs, body, and head. Familiarize yourself with these standard abbreviations before diving into the individual parts to ensure your stitch counts remain consistent.
- mr — magic ring
- ch — chain
- sl st — slip stitch
- sc — single crochet
- dc — double crochet
- inc — increase
- dec — decrease
- flo — front loop only
- blo — back loop only
Construction Overview and Workflow
The construction strategy follows a modular approach, beginning with independent smaller pieces before building the central framework. You will work on the limbs, ears, and tail separately, stuffing them appropriately as instructed. Once the foundational pieces are completed, the main body is worked from the base upwards, ingeniously incorporating the legs and arms directly into the rounds for maximum structural integrity.
After the body and head are fully formed, attention shifts to facial shaping, embroidery, and surface details like the collar and ties. Packing the neck area firmly with fiberfill is a vital step that provides the necessary support for attaching the large head securely. Finishing touches such as symmetrical ear placement and tail attachment complete the charming appearance of your handmade bear.
Before You Start Your Project
Take a moment to organize your yarn skeins by color number to avoid confusion during the color changes on the striped sweater body. Check that your two-millimeter hook has a comfortable grip and that your stitch markers are within arm’s reach to track round beginnings. Preparing your polyester fiberfill in manageable tufts will also make the continuous stuffing process much smoother as you build each section.
Little Bear in a Sweater Crochet Pattern
Follow these detailed round-by-round instructions carefully to create each anatomical part and garment detail of your bear.
Legs
| Round | Instruction | Stitch Count |
|---|---|---|
| Round 1 | 6 sc in mr | 6 |
| Round 2 | 6 inc | 12 |
| Round 3 | (1 sc, inc)*6 | 18 |
| Round 4 | 1 sc, inc, (2 sc, inc)*5, 1 sc | 24 |
| Rounds 5-7 | 24 sc | 24 |
| Round 8 | 3 sc, dec, (6 sc, dec)*2, 3 sc | 21 |
| Round 9 | 21 sc | 21 |
| Round 10 | (5 sc, dec)*3 | 18 |
| Round 11 | 18 sc | 18 |
| Round 12 | 2 sc, dec, (4 sc, dec)*2, 2 sc | 15 |
| Round 13 | 15 sc | 15 |
| Round 14 | (3 sc, dec)*3 | 12 |
| Rounds 15-19 | 12 sc | 12 |
Arms
| Round | Instruction | Stitch Count |
|---|---|---|
| Round 1 | 6 sc in mr | 6 |
| Round 2 | 6 inc | 12 |
| Round 3 | (1 sc, inc)*6 | 18 |
| Rounds 4-6 | 18 sc | 18 |
| Round 7 | 2 sc, dec, (4 sc, dec)*2, 2 sc | 15 |
| Round 8 | 15 sc | 15 |
| Round 9 | (3 sc, dec)*3 | 12 |
| Round 10 | 12 sc | 12 |
| Round 11 | 2 sc, dec, 4 sc, dec, 2 sc | 10 |
| Rounds 12-19 | 10 sc | 10 |
Body
| Round | Instruction | Stitch Count |
|---|---|---|
| Round 1 | 6 sc in mr | 6 |
| Round 2 | 6 inc | 12 |
| Round 3 | (1 sc, inc)*6 | 18 |
| Round 4 | 1 sc, inc, (2 sc, inc)*5, 1 sc | 24 |
| Round 5 | (3 sc, inc)*6 | 30 |
| Round 6 | 2 sc, inc, (4 sc, inc)*5, 2 sc | 36 |
| Round 7 | (5 sc, inc)*6 | 42 |
| Round 8 | 3 sc, inc, (6 sc, inc)*5, 3 sc | 48 |
| Round 9 | (7 sc, inc)*6 | 54 |
| Round 10 | Work 10 sc, join 1st leg with 6 sc, work 21 sc, join 2nd leg with 6 sc, work 11 sc | 54 |
| Rounds 11-17 | 54 sc | 54 |
| Round 18 | 54 sc | 54 |
| Round 19 | (7 sc, dec)*6 | 48 |
| Round 20 | 48 sc | 48 |
| Round 21 | 3 sc, dec, (6 sc, dec)*5, 3 sc | 42 |
| Round 22 | 42 sc | 42 |
| Round 23 | (5 sc, dec)*6 | 36 |
| Round 24 | 36 sc | 36 |
| Round 25 | 2 sc, dec, (4 sc, dec)*5, 2 sc | 30 |
| Round 26 | Work 6 sc, join 1st arm with 5 sc, work 10 sc, join 2nd arm with 5 sc, work 4 sc | 30 |
| Round 27 | (3 sc, dec)*6 | 24 |
| Round 28 | 24 sc in blo | 24 |
Body Trim and Collar
| Detail | Instruction | Stitch Count |
|---|---|---|
| Collar | Join green yarn, ch 2, 1 dc, then 2 dc in each free loop around, sl st in 2nd ch | — |
| Ties | Insert hook under collar, ch 10, cut, pull tight, and fray end. Repeat for second tie. | — |
Belly Button
| Detail | Instruction | Stitch Count |
|---|---|---|
| Embroidery | Embroider between Rounds 15 and 16 with width of 3 sc using 3-4 stitches | — |
Tail
| Round | Instruction | Stitch Count |
|---|---|---|
| Round 1 | 6 sc in mr | 6 |
| Round 2 | 6 inc | 12 |
| Round 3 | 12 sc | 12 |
| Round 4 | 6 dec | 6 |
Head
| Round | Instruction | Stitch Count |
|---|---|---|
| Round 1 | 6 sc in mr | 6 |
| Round 2 | 6 inc | 12 |
| Round 3 | (1 sc, inc)*6 | 18 |
| Round 4 | 1 sc, inc, (2 sc, inc)*5, 1 sc | 24 |
| Round 5 | (3 sc, inc)*6 | 30 |
| Round 6 | 2 sc, inc, (4 sc, inc)*5, 2 sc | 36 |
| Round 7 | (5 sc, inc)*6 | 42 |
| Round 8 | 3 sc, inc, (6 sc, inc)*5, 3 sc | 48 |
| Round 9 | (7 sc, inc)*6 | 54 |
| Round 10 | 4 sc, inc, (8 sc, inc)*5, 4 sc | 60 |
| Round 11 | (9 sc, inc)*6 | 66 |
| Rounds 12-22 | 66 sc | 66 |
| Round 23 | (9 sc, dec)*6 | 60 |
| Round 24 | 4 sc, dec, (8 sc, dec)*5, 4 sc | 54 |
| Round 25 | (7 sc, dec)*6 | 48 |
| Round 26 | 3 sc, dec, (6 sc, dec)*5, 3 sc | 42 |
| Round 27 | (5 sc, dec)*6 | 36 |
| Round 28 | 2 sc, dec, (4 sc, dec)*5, 2 sc | 30 |
| Round 29 | (3 sc, dec)*6 | 24 |
| Round 30 | 1 sc, dec, (2 sc, dec)*5, 1 sc | 18 |
| Round 31 | (1 sc, dec)*6 | 12 |
| Round 32 | 6 dec | 6 |
Muzzle Shaping
| Detail | Instruction | Stitch Count |
|---|---|---|
| Indentation | Create eye indentations between Rounds 15-18 | — |
Inner Ear
| Round | Instruction | Stitch Count |
|---|---|---|
| Round 1 | 6 sc in mr | 6 |
| Round 2 | 6 inc | 12 |
Outer Ear
| Round | Instruction | Stitch Count |
|---|---|---|
| Round 1 | 6 sc in mr | 6 |
| Round 2 | 6 inc | 12 |
| Round 3 | Join inner and outer ear together with sc | 12 |
| Round 4 | 12 sc | 12 |
Assembly and Joining Techniques
Assembling your amigurumi bear requires patience and precise alignment to ensure all components sit symmetrically. Stuffing the neck firmly provides the essential foundation before sewing the head onto the body. Additionally, attaching the ears symmetrically at the designated round level and positioning the tail correctly on the lower back brings the entire character to life.
- Stuff legs up to Round 14, flatten edges, and crochet 6 sc across.
- Stuff arms up to Round 11, flatten edges, and crochet 5 sc across.
- Crochet legs into Round 10 and arms into Round 26 of the body.
- Sew tail between Rounds 8 and 10 of the body.
- Sew head to body, stuffing the neck firmly.
- Attach ears symmetrically at the level of Round 10 of the head.
Pattern Notes and Troubleshooting
Preventing a Wobbling Head
If you notice that your finished bear’s head wobbles or leans to one side, it is almost always due to insufficient stuffing in the upper neck region. Packing the neck tightly with fiberfill during the final body rounds creates a solid column that can easily support the heavy head structure. Always check neck firmness before sewing the head pieces permanently together.
Securing Limb Joins Cleanly
When joining limbs directly into the body rounds, making sure to catch both layers of the flattened edge securely is vital for structural stability. Take your time aligning the stitches across the flattened openings of the arms and legs so they integrate smoothly into the working round without creating unsightly gaps or loose stitches.
Achieving Flat Collar Placement
The decorative green collar adds a wonderful finishing touch to the sweater base, but it needs to lie flat against the chest and shoulders. Working into the front loops left during Round 28 of the body provides a clean starting ridge. Following the double crochet increases precisely will ensure the collar flares out gently without bunching up.
Final Finishing Checklist
Before declaring your handmade toy complete, run through this final checklist to ensure every detail meets your high standards. Verifying symmetry and secure attachments will guarantee your little bear in a sweater is durable and ready for display or gifting.
- Verify all limb joins are secure and symmetrical.
- Check that the collar lies flat.
- Ensure facial features are securely embroidered or glued.
- Confirm the head is firmly attached without drooping.