Kvaka the Little Froggy — Free Crochet Pattern with Rosy Cheeks
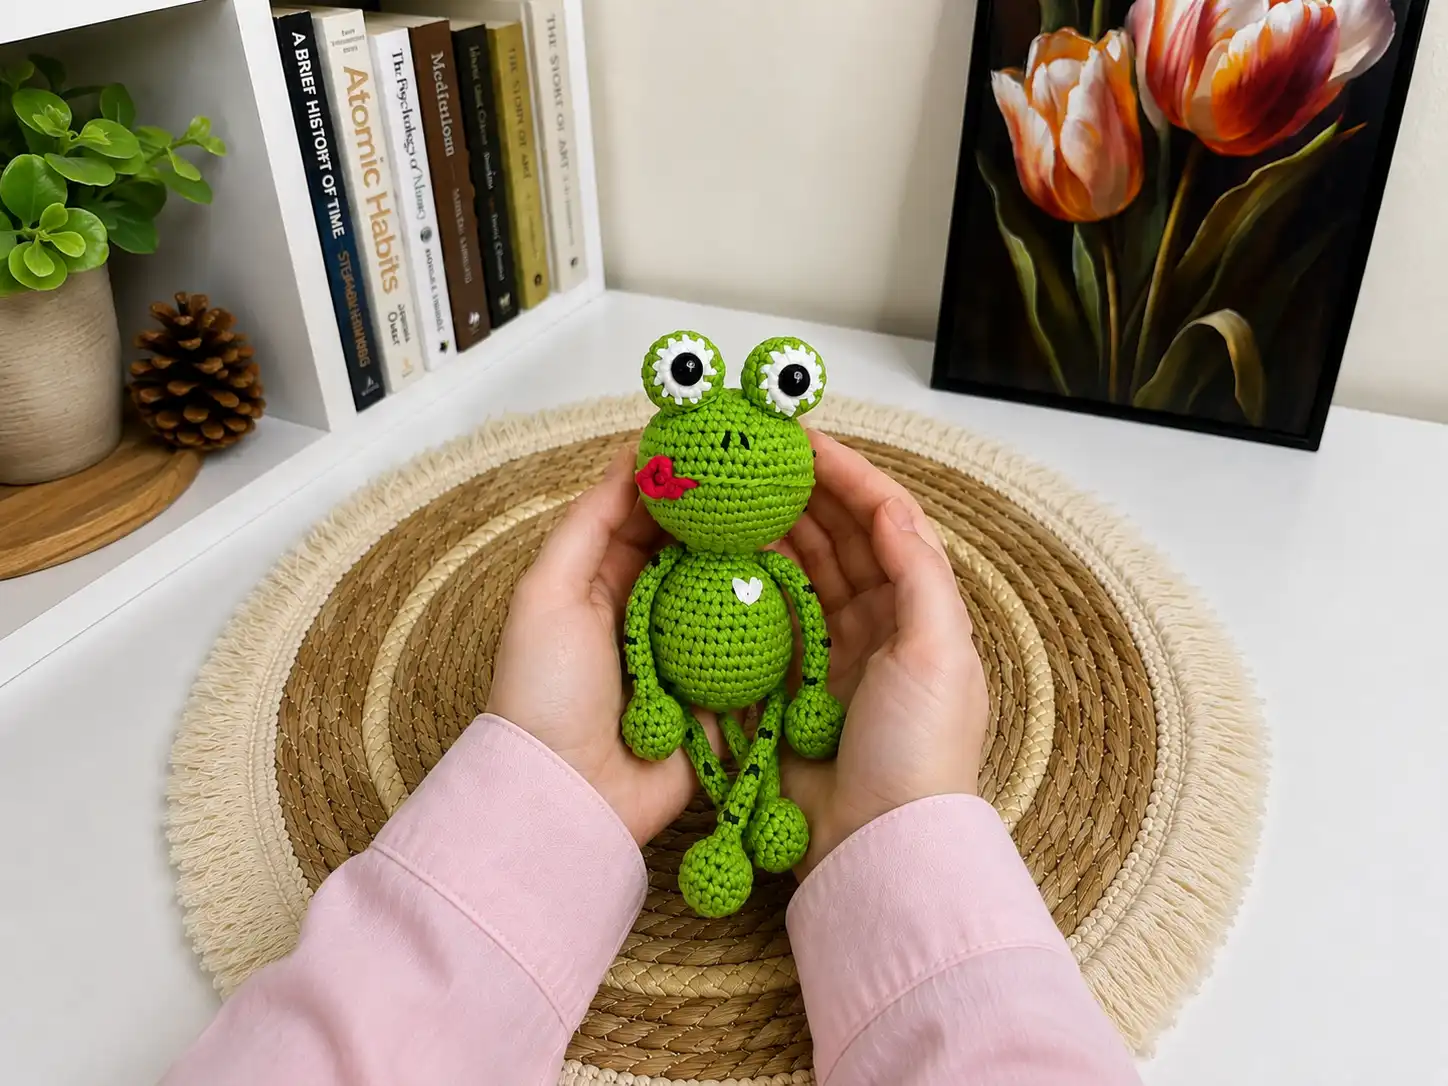
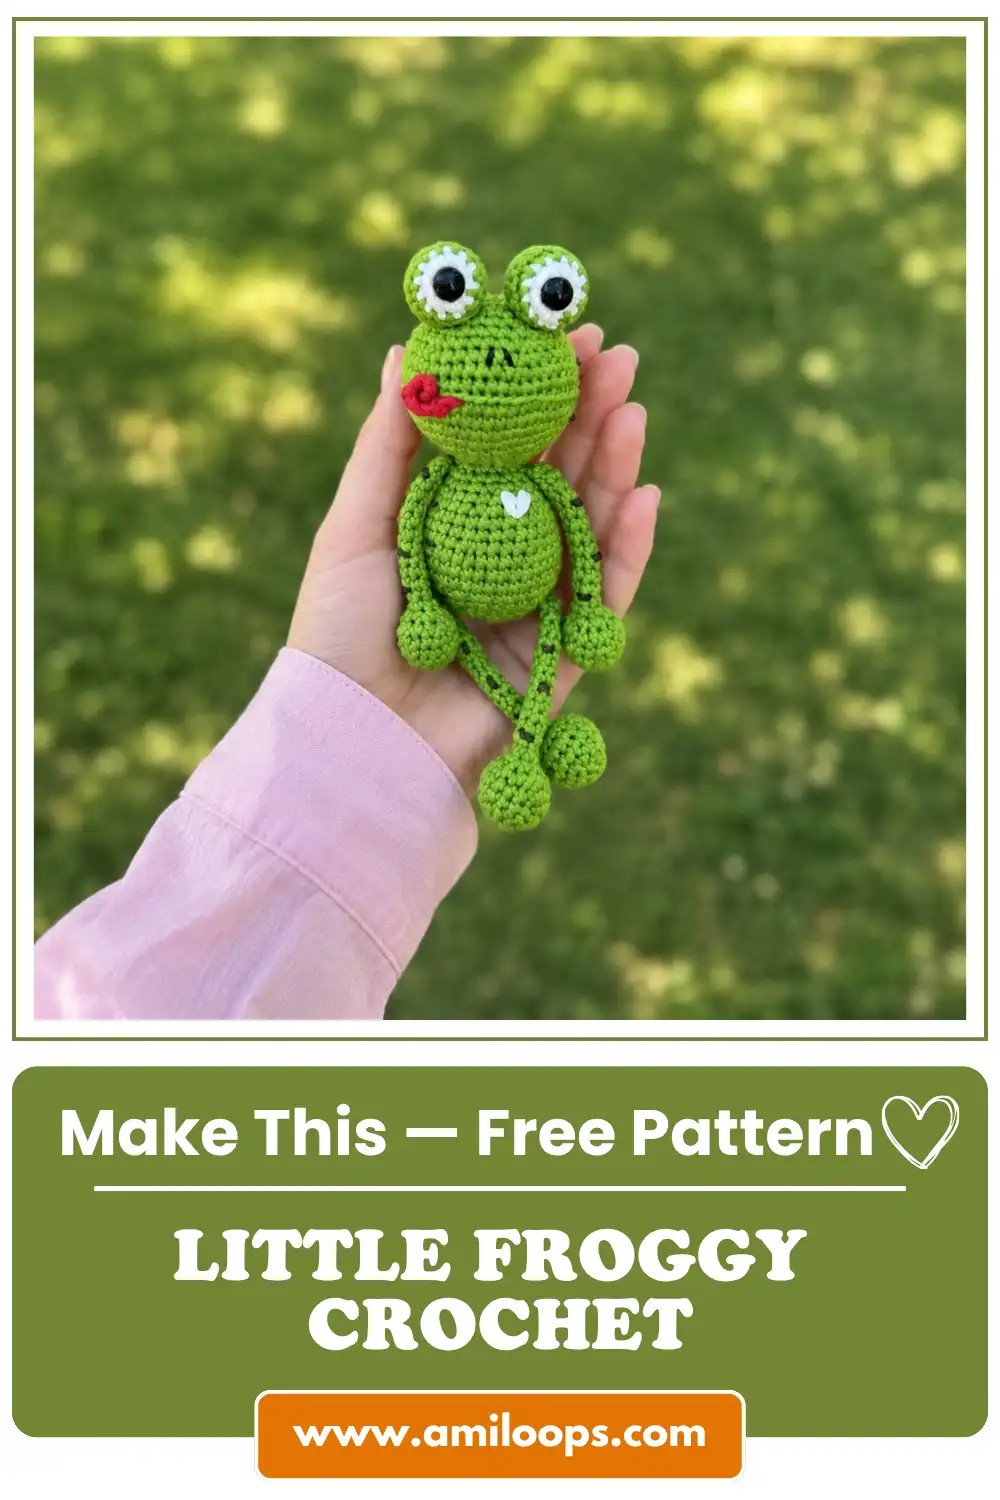
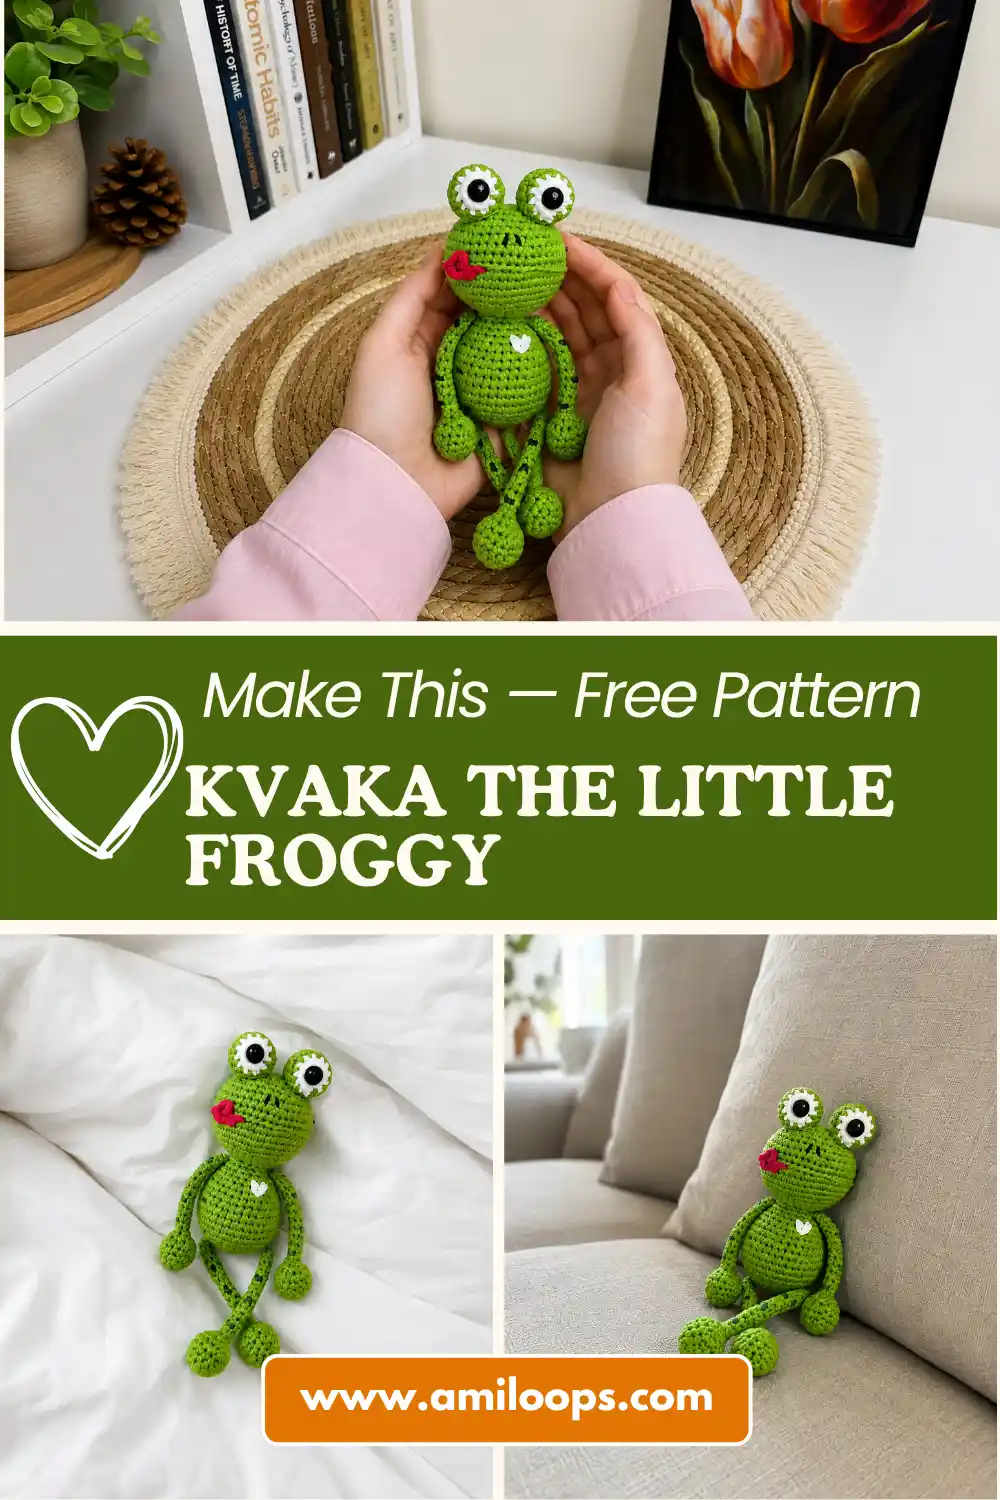
This kvaka the little froggy free crochet pattern turns a handful of soft sage-green yarn into the squishiest pocket-sized amphibian you’ve ever met — round white-and-black eyes, tiny dark green warts, and a little pink tongue peeking out from an embroidered smile. Tuck a rattle inside and she jingles. Add a loop and she becomes a pendant. Either way, she fits right in your palm. Let’s make her together.
🩷 Pattern Highlights
- Cuteness Rating: 🩷🩷🩷🩷🩷
- Finished Size: approx. 4.5 in (11 cm) tall, sitting (estimated — not stated in the original pattern)
- Difficulty: Intermediate (estimated — not stated in the original pattern)
- Hook Size: steel 4 (2.0 mm) — no standard US letter equivalent for this steel size
- Yarn Palette: soft sage green (body), soft white (eyes), red (tongue), deep forest green (warts)
- Key Detail: glossy 8mm safety eyes and a tiny crocheted tongue tucked under her chin
- Estimated Time: 4–6 hours (estimated — not stated in the original pattern)
What You’ll Need for This Free Crochet Pattern
Kvaka is a small piece, but she has a lot of little moments — so a smooth, splitty-free yarn makes all the difference when you’re working those tiny decrease rounds.
- Yarn: YarnArt Jeans or a US alternative like Drops Muskat or Paintbox Cotton DK — this yarn falls into the DK / Light Worsted (3) weight category, which is exactly what gives Kvaka her smooth, defined stitches
- Soft sage green — main color (body, head, legs)
- Soft white — eye centers
- Red — tiny crocheted tongue
- Deep forest green — warts
- Hook: 2.0 mm steel hook (labeled “steel 4” in the original pattern — no direct US letter equivalent for this size, so grab a steel crochet hook rather than a lettered one)
- Safety eyes: 8mm, one pair — small enough to keep her expression sweet and round
- Stuffing: polyester fiberfill
- Optional — rattle insert: if you want her to jingle
- Optional — textured ring: if you want to hang her as a pendant
- Tapestry needle for sewing on the eyes and weaving in ends
- Stitch marker to track your rounds
- Scissors
Abbreviations
| Abbreviation | Meaning |
|---|---|
| mr | magic ring |
| sc | single crochet |
| ch | chain |
| sl st | slip stitch |
| inc | increase (2 sc in same stitch) |
| inv dec | invisible decrease |
| BLO | back loop only |
| *x | repeat the sequence in parentheses the stated number of times |
| ( ) | total stitch count at the end of the row |
Before You Begin — Tips for the Cutest Kvaka Ever
A few small things make a big difference on a piece this size.
🩷 Chloe’s Detail Tip: Kvaka starts with two eye pieces worked in our magic ring tutorial technique, and you’ll be leaning on invisible decrease constantly through the head and legs. If either of those still feels a little fuzzy, it’s worth a quick refresher before you pick up your hook — this pattern uses them a lot.
🩷 Chloe’s Detail Tip: Those glossy 8mm eyes are what give her that surprised, curious little frog expression. Before you snap the safety washers in, hold the eye piece under a bright lamp and check it straight-on — once they click into place there’s no going back. Our safety eyes tutorial walks through getting them level every time.
🩷 Chloe’s Detail Tip: Decide now whether you’re making Kvaka as a plain toy, a jingly rattle, or a hanging pendant — all three use the same body and head, they just finish differently at the very last round. There’s no wrong choice, but it’s easier to plan your stuffing if you know which one you’re going for.
Let’s Make Kvaka the Little Froggy
Kvaka comes together in four pieces: two eyes, four legs, and one continuous body-and-head. The legs get crocheted right into the body as you go, so there’s very little sewing at the end — just the eyes.
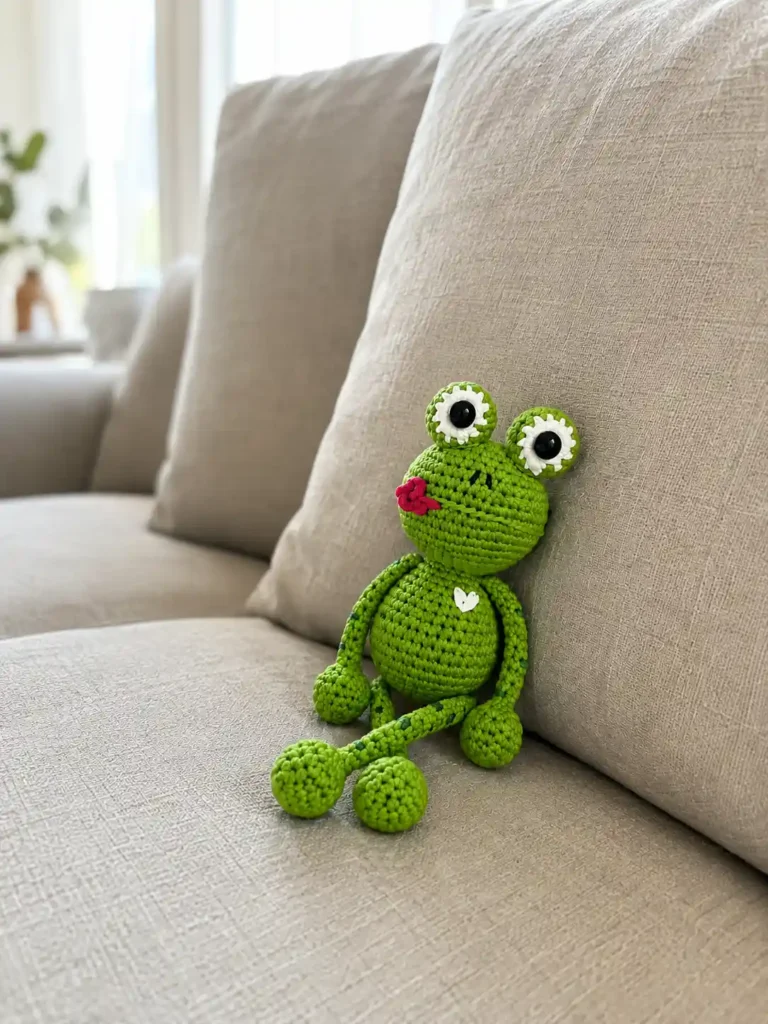
Eyes (make 2)
Starting method: magic ring
Row 1: 6 sc in mr (6)
Row 2: 6 inc (12)
Row 3: (1 sc, 1 inc) *6 (18)
Rows 4–5: 18 sc (2 rows) (18)
Row 6: (1 sc, 1 inv dec) *6 (12)
Row 7: 6 inv dec (6)
After Row 1: don’t pull the magic ring closed too tightly — leave a small hole here for the safety eye post to go through later.
Before Row 3: switch from white to your main sage green.
After Row 5: this is when you insert the safety eye into this piece.
After Row 6: stuff lightly with fiberfill.
Finishing: close the opening and leave a long tail for sewing. Bring this tail out between rows 4 and 5 so it’s ready for attaching to the head later.
🩷 Chloe’s Detail Tip: This little white-and-green eye piece with the black safety eye nested inside is honestly the cutest part of the whole build — that tiny ring of white around the glossy black center is what makes her look so alert and froggy. Make both eyes before moving on so you can compare them side by side.
Legs (make 4)
Starting method: magic ring
Row 1: 6 sc in mr (6)
Row 2: 6 inc (12)
Row 3: (1 sc, 1 inc) *6 (18)
Rows 4–5: 18 sc (2 rows) (18)
Row 6: (1 sc, 1 inv dec) *6 (12)
Row 7: 6 inv dec (6)
Rows 8–19: 6 sc (12 rows) (6)
After Row 6: stuff lightly. Only the bottom of the leg gets fiberfill — everything from row 8 up to the top stays unstuffed and flat.
Finishing: work 1 inv dec, then fold the flat part of the leg in half and crochet 2 sc through both layers to close it. Fasten off and cut, leaving a small tail — these tails get worked right into the body when you attach each leg, so no separate sewing needed.
Four identical little legs, thickened at the tip and flat along the top — this is the part where you can already picture her sitting up.
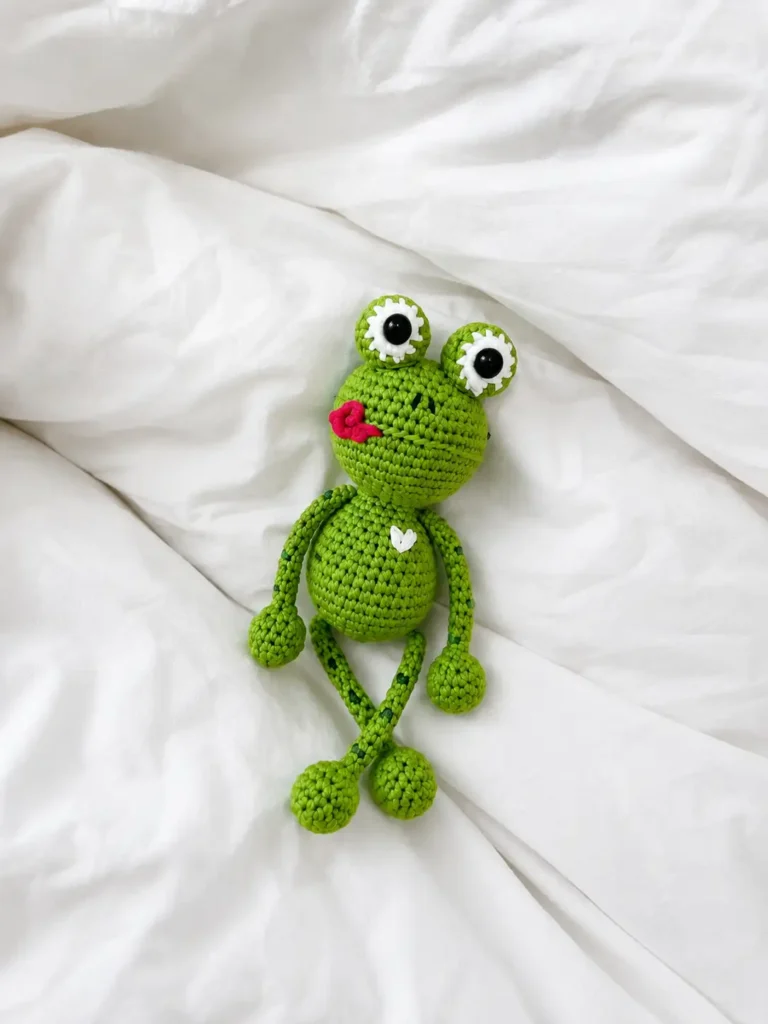
Body + Head
Starting method: magic ring
Row 1: 6 sc in mr (6)
Row 2: 6 inc (12)
Row 3: (1 sc, 1 inc) *6 (18)
Row 4: (2 sc, 1 inc) *6 (24)
Row 5: (3 sc, 1 inc) *6 (30)
Row 6: 5 sc, 2 sc together with the leg, 13 sc, 2 sc together with the leg, 8 sc (30)
This is where the lower legs get attached: for those “2 sc together with the leg” stitches, you’re inserting your hook through a body stitch and the corresponding stitch on the leg piece at the same time, then working a normal sc — it joins the leg on without changing your overall stitch count. Make sure both legs land in matching spots before you continue.
Row 7: (4 sc, 1 inc) *6 (36)
Rows 8–10: 36 sc (3 rows) (36)
Row 11: (4 sc, 1 inv dec) *6 (30)
Rows 12–13: 30 sc (2 rows) (30)
Row 14: (3 sc, 1 inv dec) *6 (24)
Row 15: 24 sc (24)
Row 16: (2 sc, 1 inv dec) *6 (18)
Row 17: 4 sc, 2 sc together with the leg, 7 sc, 2 sc together with the leg, 3 sc (18)
This attaches the upper legs the same way as Row 6. Take an extra moment to check that these line up symmetrically with the lower legs — shift a stitch or two if you need to so she doesn’t end up lopsided.
Row 18: (1 sc, 1 inv dec) *6 (12)
Stuff the body firmly through this opening, then keep crocheting straight into the head — no break in the yarn.
Head (continued from the body)
Row 1: (1 sc, 1 inc) *6 (18)
Row 2: (2 sc, 1 inc) *6 (24)
Row 3: (3 sc, 1 inc) *6 (30)
Row 4: (4 sc, 1 inc) *6 (36)
Row 5: (5 sc, 1 inc) *6 (42)
Row 6: (6 sc, 1 inc) *6 (48)
Rows 7–8: 48 sc (2 rows) (48)
Row 9: 15 sc, 21 sc in BLO, 12 sc (48)
Working that middle stretch in back loops only creates a subtle ridge across the face — this is where her mouth line will sit, and it’s also where you’ll attach the tongue later.
Row 10: (6 sc, 1 inv dec) *6 (42)
Start stuffing the head from here, adding a little more with each round as it narrows.
Row 11: 42 sc (42)
Row 12: (5 sc, 1 inv dec) *6 (36)
Row 13: (4 sc, 1 inv dec) *6 (30)
If you’re making the rattle version, this is when the rattle insert goes in, nestled among the stuffing.
Row 14: (3 sc, 1 inv dec) *6 (24)
Row 15: (2 sc, 1 inv dec) *6 (18)
Row 16: (1 sc, 1 inv dec) *6 (12)
Stuff firmly here before closing. If you want Kvaka as a plain toy with no pendant loop, stop here: work 6 inv dec, close the opening, fasten off, and weave in your ends — she’s done.
Row 17 (pendant version only): 2 inv dec, 1 sl st, ch 9, 8 sc along the chain starting in the 2nd chain from the hook, sl st (row is not complete — total not stated in the original pattern)
This forms a small loop at the top of her head for hanging. It’s a partial round, so don’t worry that it doesn’t come back to a clean stitch count.
Finishing: close the opening, sew the other end of the loop down securely, fasten off, cut the yarn, and weave in all ends.
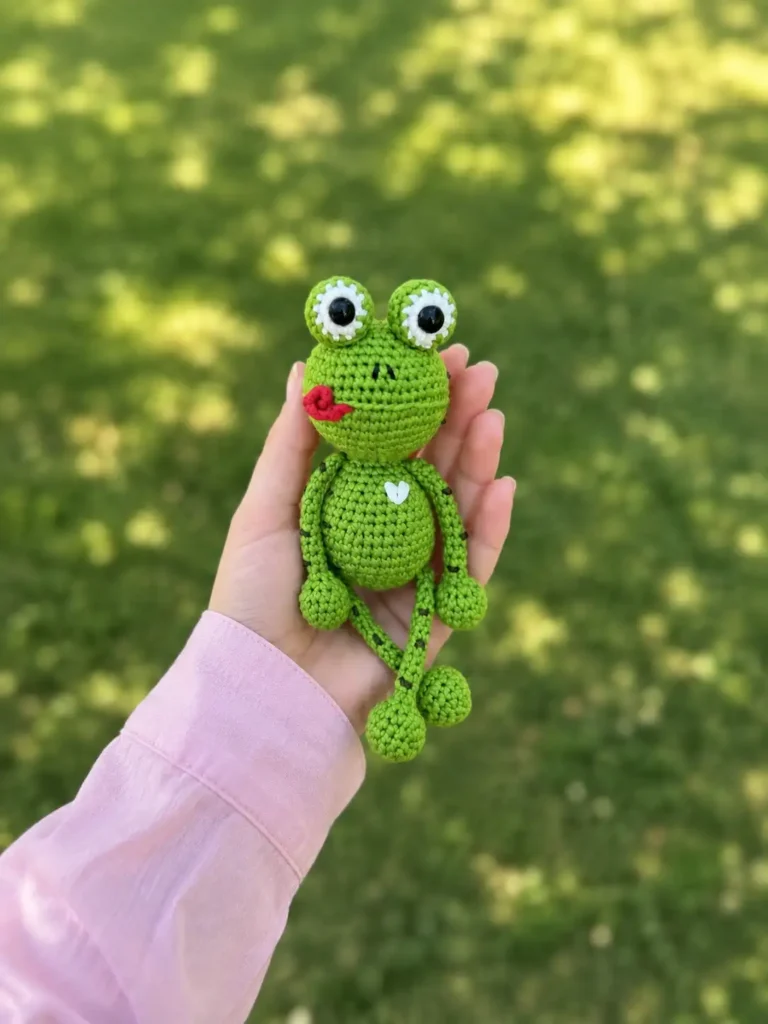
Assembling Your Froggy
- Make sure both eye pieces have their safety eyes inserted and are lightly stuffed before setting them aside.
- Attach all four legs directly into the body as you crochet Rows 6 and 17 — lower pair first, upper pair second, checking that they mirror each other.
- Stuff the body firmly at the base of the head, then continue stuffing the head gradually as you work Rows 10 through 16, adding more with each narrowing round.
- If making the rattle version, tuck the rattle insert into the stuffing around Row 13.
- Choose your ending: 6 inv dec and close for a plain toy, or work the Row 17 chain loop and attach your textured ring for a pendant.
- Sew the finished eye pieces onto the head between rows 13 and 14. The original pattern spaces them about 3 sc apart, but you can adjust slightly for the expression you like best.
- Weave in every loose end before moving on to her finishing details.
Making It Extra Cute — Finishing Details
This is where Kvaka goes from “a green frog shape” to an actual little character, and it’s my favorite part every single time.
🩷 Chloe’s Detail Tip: Embroider her nose as two small stitches just above where her eyes are sewn, and add a tiny heart shape on her chest in a contrasting color — it’s a small detail but it’s the first thing people notice when they pick her up.
Scatter a few little dark forest green warts across her back and head using simple embroidered bumps or small satin-stitch dots — this is really where you can decide how many she gets and how they’re spread, so have fun with it.
For the tongue: attach red yarn under the free front loops left from Row 9 of the head (that BLO row you worked earlier is exactly what makes this possible). Chain 11, then work 10 sl st back along the chain starting in the 2nd chain from the hook, finishing with 1 more sl st right next to where you first attached the yarn. Cut the yarn, bring both tails through to the inside of the head, tie them off, and tuck the knot away so it disappears.
Not part of the original pattern, but entirely optional if you’d like: two tiny embroidered pink dots on her cheeks, just below the eyes, give her a slightly blushing, extra-sweet look — purely a styling choice, not a required step.
Chloe’s Final Look
I’ve had this little frog sitting on my desk for two days now and I keep picking her up. That soft sage green against the white eye rims, the tiny red tongue tucked under her chin, those scattered dark green warts — she’s got so much personality for something this small. Try her as a jingly rattle for a little one, or add the loop and hang her from a bag zipper. If frogs have completely won you over, our frog ballerina pattern and our tiny crochet frog pattern are both very much worth a look too. 🩷
FAQ
What yarn is best for the kvaka the little froggy free crochet pattern?
A smooth DK/Light Worsted weight yarn like YarnArt Jeans, Drops Muskat, or Paintbox Cotton DK works best to give the frog defined, tight stitches.
How long does it take to crochet this frog amigurumi?
It takes approximately 4 to 6 hours to complete, making it a wonderful weekend project for intermediate crocheters.
Can I turn this frog amigurumi into a keychain?
Yes! The pattern includes instructions to finish the head with a chained loop instead of closing it completely, perfect for attaching a ring.ac