Free Spiderman Amigurumi Keychain Pattern — Tiny Hero on a Web
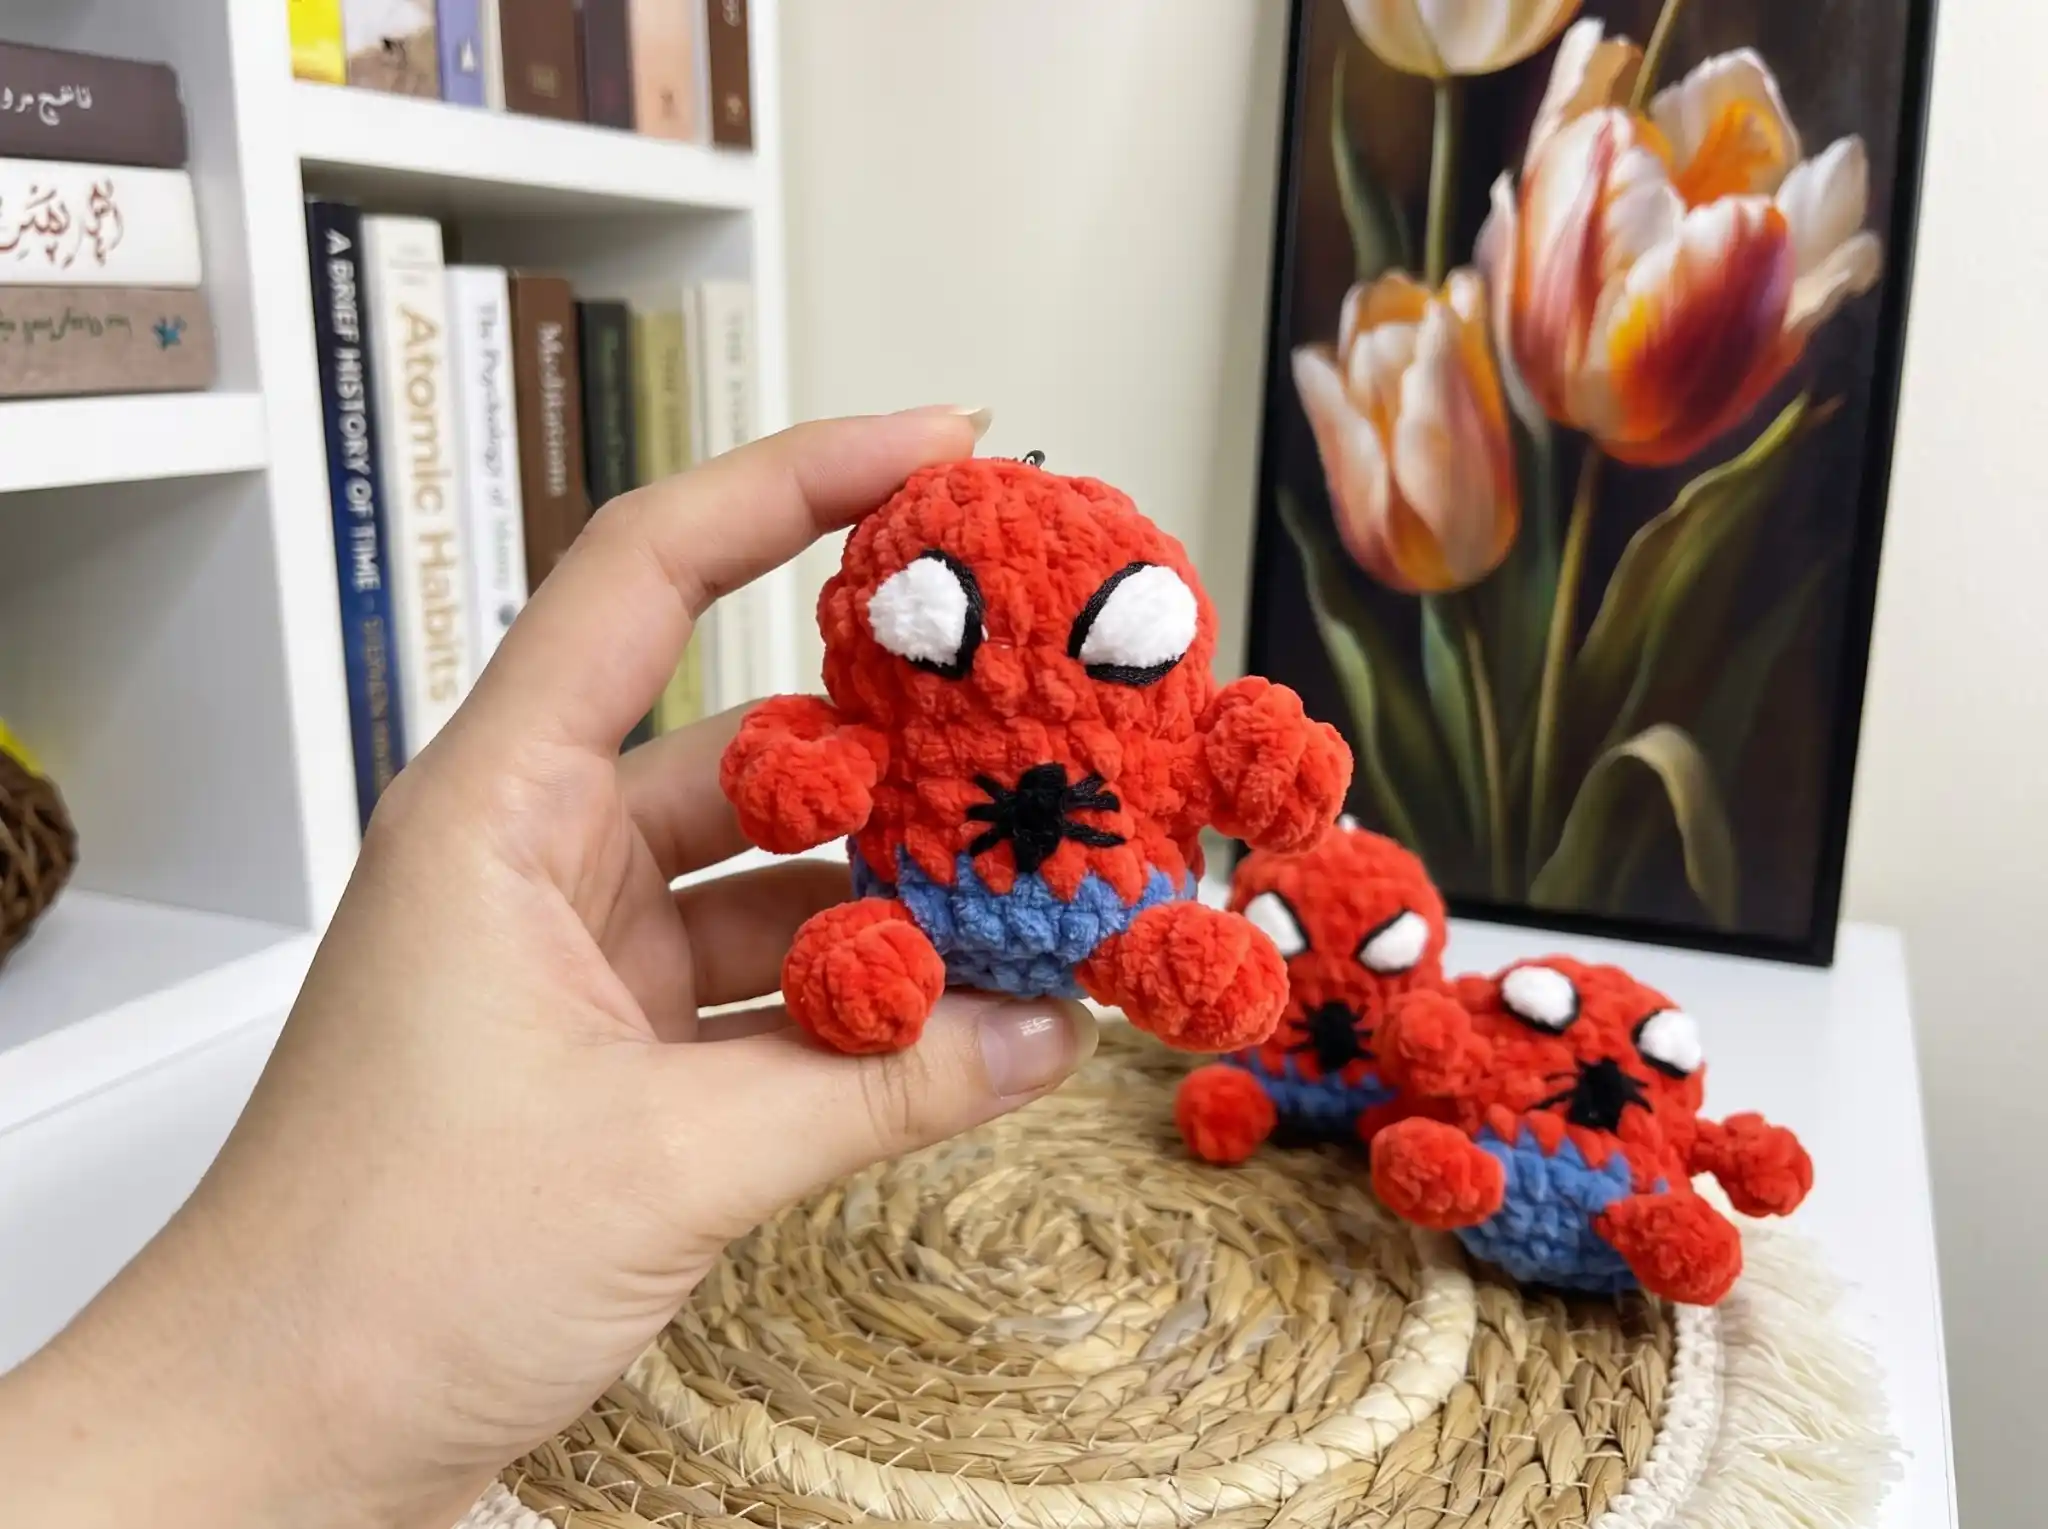
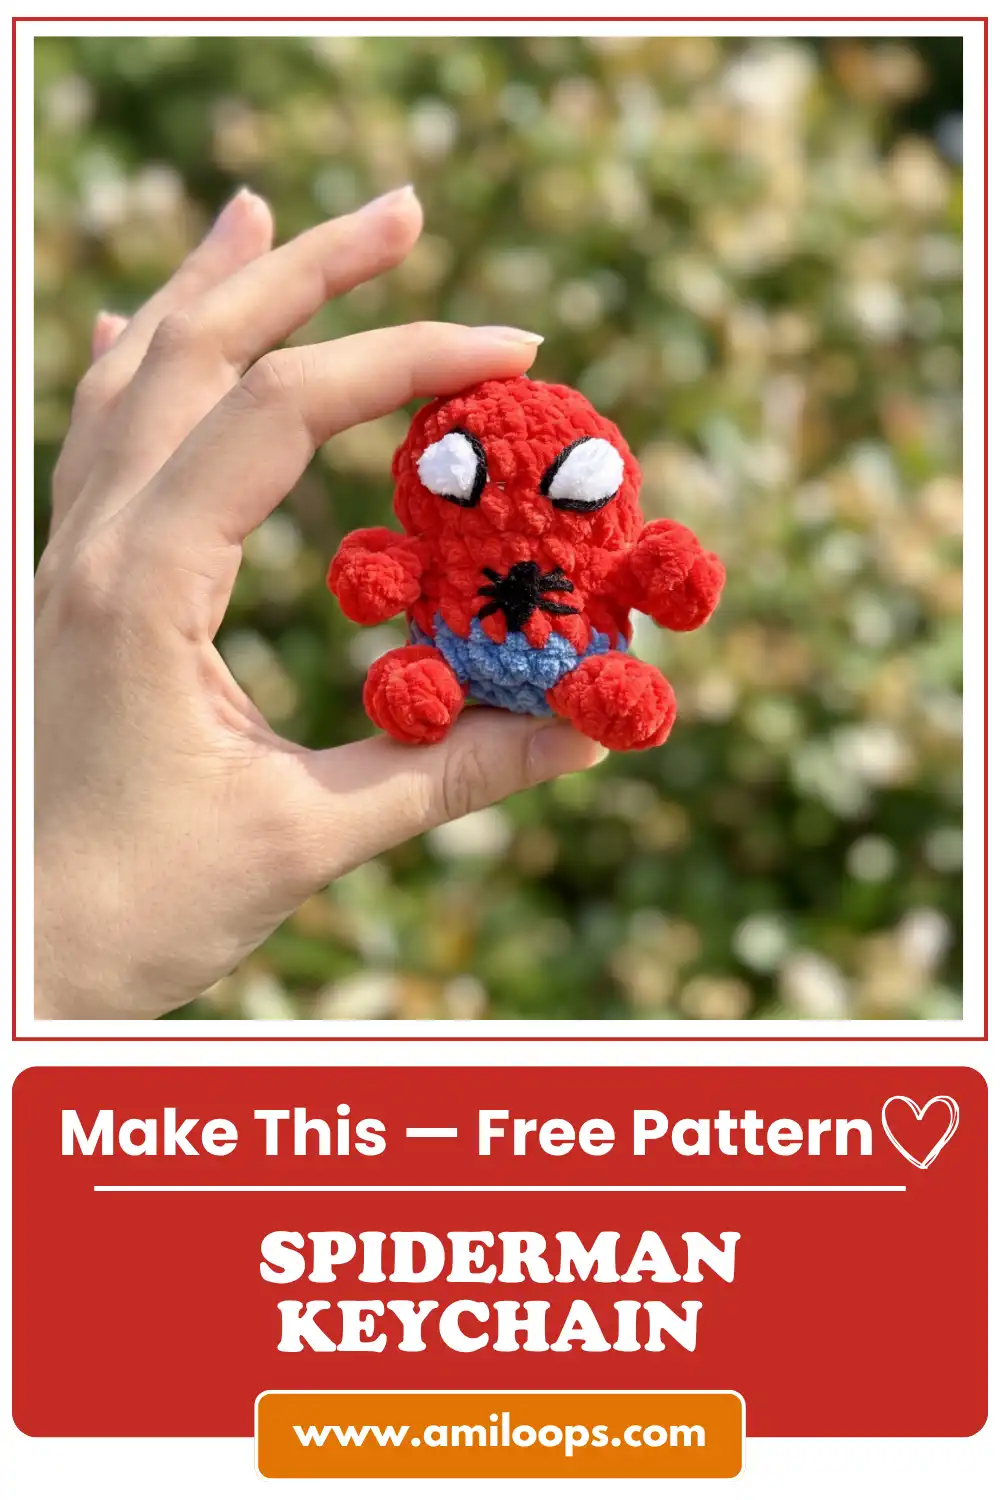
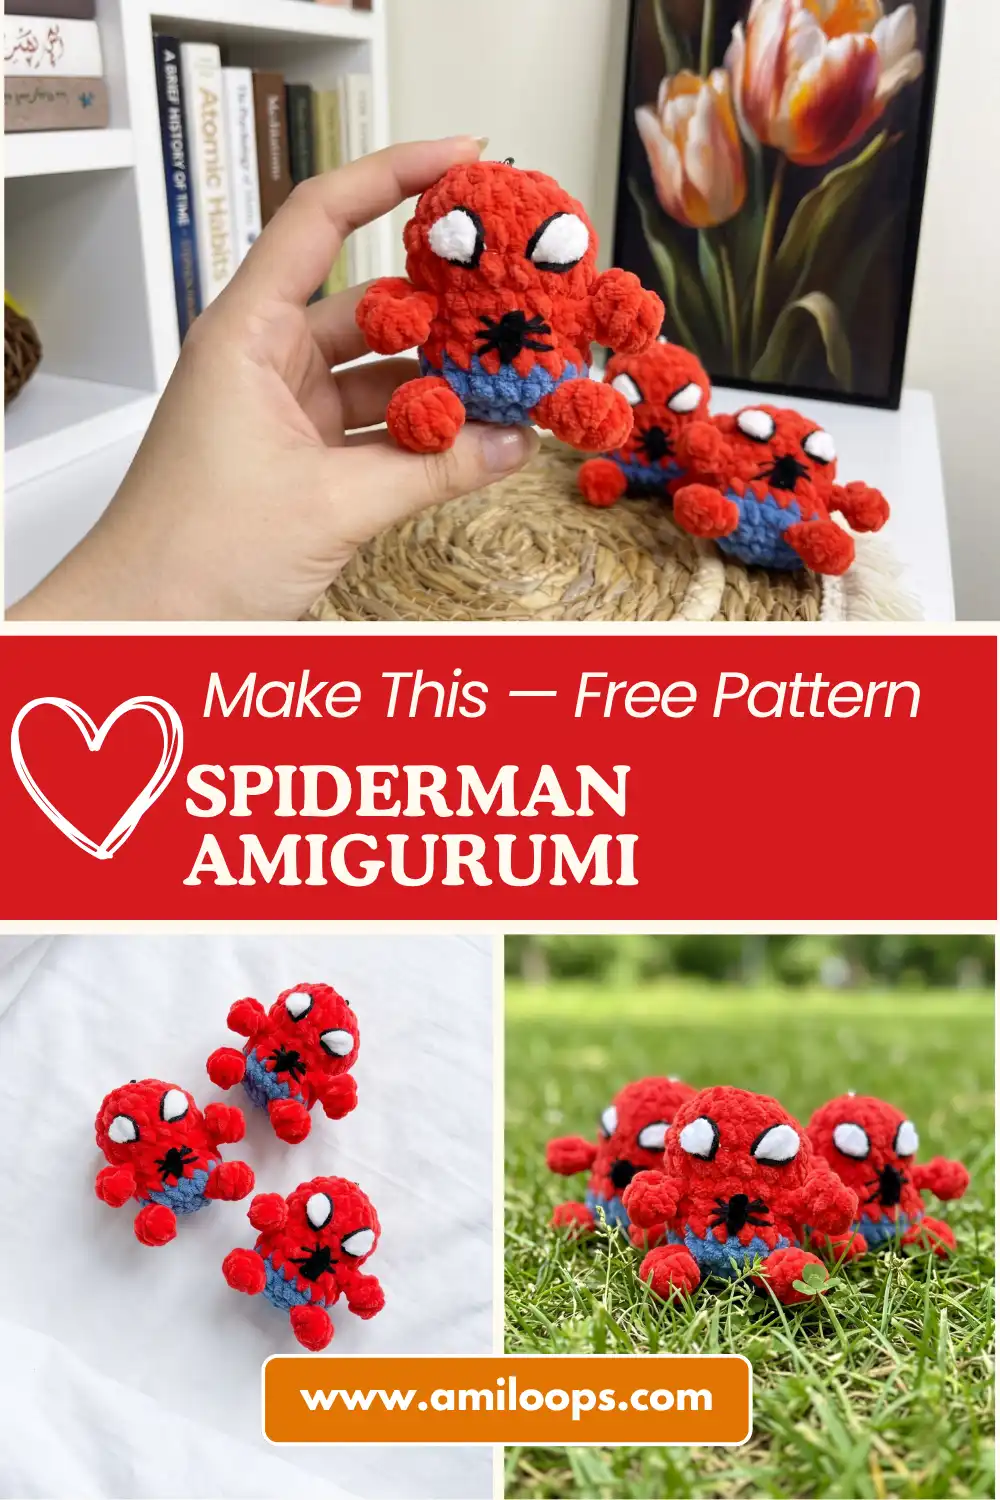
This spiderman amigurumi keychain free pattern shrinks a whole hero down into something you can actually carry — a pocket-sized wall-crawler with a rounded blue body, tiny red limbs, and a spider stitched right over the heart. I named mine before I’d even finished the second leg. There’s something about how small he turned out that makes him feel less like a costume and more like a companion. Ready to make your own?
📖 Meet Spider-Man
- 🌟 Personality: quick, brave, a little mischievous
- 🎨 Color Palette: classic hero red against deep midnight blue, finished with a small black-and-white spider emblem
- 📏 Size: approx. 3 in (7.5 cm) — a true pocket-sized piece
- 🪝 Hook: 3.75 mm (approx. US F/5)
- ⏱️ Time: 2–3 hours
- ✨ Signature Detail: the hand-embroidered spider sitting square on his chest
- 💡 Difficulty: Beginner–Intermediate
Materials for This Spiderman Amigurumi Keychain Free Pattern
This little hero doesn’t ask for much — which is part of the charm of a keychain-sized project. What he does ask for, he asks for specifically, so it’s worth taking a moment with the yarn before you pick up your hook.
- Bulky (5) chenille-style yarn in hero red and deep midnight blue — approx. 3.5 oz / 131 yds total (a single 100g/120m skein of each color is plenty, with room to spare). US alternatives: Bernat Baby Velvet, Premier Parfait, or any comparable plush chenille.
- A small amount of white yarn or embroidery floss, for the eyes
- A small amount of black yarn or embroidery floss, for the eye outlines and the spider emblem
- Hook: 3.75 mm (approx. US F/5)
- Polyester fiberfill stuffing
- Tapestry needle
- Stitch marker
The chenille does most of the emotional work here. It catches the light a little differently than plain acrylic, and on something this small, that softness keeps him from looking stiff or plastic — more like a toy that’s already been loved a bit, right out of the box. This yarn falls under the Bulky (5) weight category, which is part of why he stitches up quickly without losing any of that plush, huggable texture.
Don’t feel locked into an exact brand match. What matters far more than the label on the skein is the weight and the finish — you want something bulky enough to cover your stitches cleanly at this scale, with enough softness that the finished piece feels good to hold. A stiffer worsted-weight acrylic will still work, but it changes the character a little; the plush yarns give him that slightly fuzzy, slightly worn-in look that makes a keychain feel like it’s already been on a few adventures before it ever leaves your hook.
You genuinely don’t need much of either color. A single small skein of each covers the whole body with room left over, and the white and black are used in such small amounts that leftover embroidery floss from another project will do the job just as well. This is one of those rare patterns where the materials list is almost an afterthought — the real work happens in the shaping, not the shopping.
Abbreviations
| Abbreviation | Meaning (US Standard) |
|---|---|
| mr | Magic Ring |
| sc | Single Crochet |
| inc | Increase |
| dec | Invisible Decrease |
| ch | Chain |
| sl st | Slip Stitch |
| dc | Double Crochet |
| cluster | 4 dc worked into the same stitch, sharing one top — used to shape the little legs |
Before We Begin: Getting Ready for Your Spiderman Amigurumi Keychain Free Pattern
Every character on this site starts the same quiet way — with a ring that closes into nothing, and a small pile of yarn that doesn’t look like anything yet. If you haven’t made one before, our magic ring tutorial walks through it slowly and clearly. It’s simpler than it looks, and every single row that follows depends on getting that first loop snug.
The decreases in this pattern are what give the head and shoulders their shape, and they’re also the part most likely to leave a small gap if you rush them. I always use an invisible decrease here rather than a standard one — our invisible decrease tutorial shows exactly why it matters. On a piece this small, a stray hole is impossible to hide, so it’s worth the extra few seconds per stitch.
And because this whole hero is stuffed mid-pattern rather than all at once at the end, it’s worth reading through our guide to stuffing amigurumi before you start. Firm, even stuffing is what keeps a keychain-sized piece from going floppy in your bag — you want just enough give that he still feels soft in your hand, but not so little that his shape sags after a week of being carried around.
One more thing, and this is the part I never rush no matter how small the project is: give yourself permission to go slowly with the details. A keychain this size lives or dies by its face and its emblem. Two extra minutes on the eyes is never wasted time.
It’s tempting, with a project this small, to treat it as something to knock out quickly between other things. I’d gently push back on that instinct. A keychain doesn’t take long to make, but it does take attention — every stitch is visible at this scale in a way it simply isn’t on a larger doll. The tiny arm and leg loops in particular reward a bit of patience; take an extra beat to snug the chain stitches before working the cluster, and the limbs come out looking sculpted rather than stringy. That small difference is most of what separates a character you’re proud to clip onto your bag from one you tuck into a drawer.
The Pattern
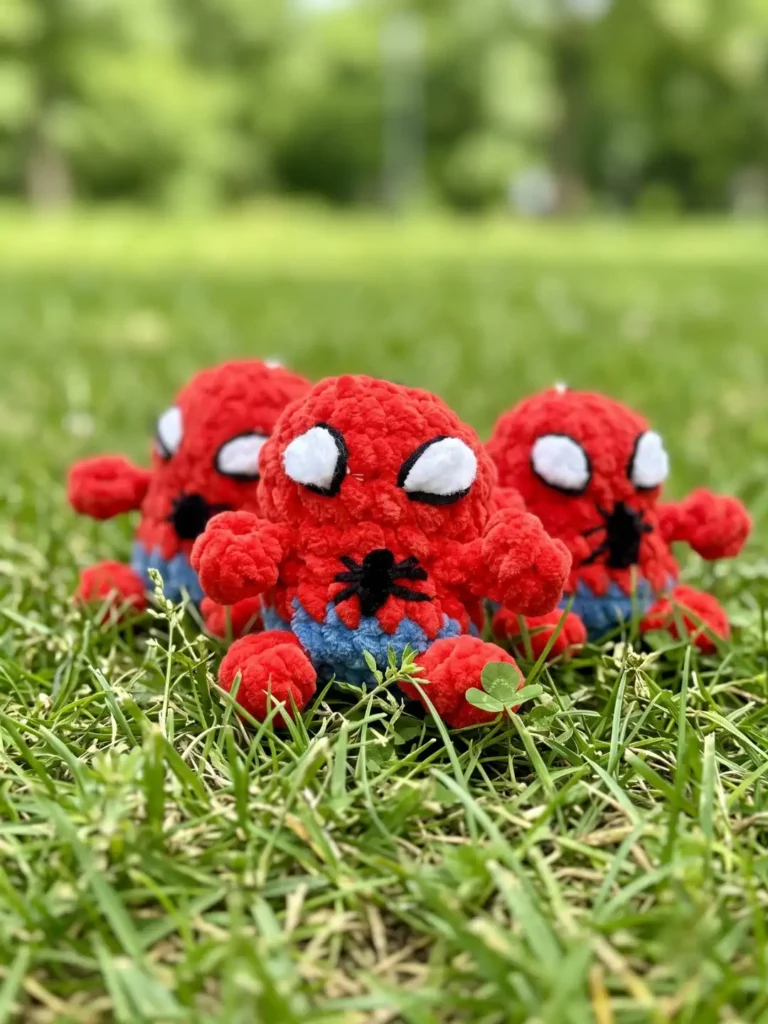
Body & Head (×1)
He starts as one continuous piece — body, head, arms, and legs all worked from the same ring, with the color change happening partway through. There’s no separate torso to sew on later, no head to attach afterward. He simply grows, all at once, into himself.
Yarn: starts in blue, changes to red after Row 3
Starting Method: Magic Ring
Row 1: 8 sc in mr (8)
✨ Sophie’s Note: Eight stitches into a closed ring — this is the entire beginning. Pull the tail snug and there’s already a small, solid circle sitting in your palm. It doesn’t look like a superhero yet. It looks like a promise of one.
Row 2: 3 inc [blue], (then crochet the leg in red: ch 3, from the 2nd ch from hook: cluster, sl st and sl st into the base of the stitch) [red], 2 inc [blue], (leg) [red], 3 inc [blue] (16)
✨ Sophie’s Note: This is the row where he becomes recognizable. Two tiny red legs branch off mid-round, each one just a few chains and a cluster stitch — barely there, and yet the whole silhouette shifts the moment they appear. This is also where you’ll first pick up the red yarn, so keep your tail ends tidy; you’ll be weaving in several small ones by the end.
Row 3: 16 sc (16)
After Row 3, change color to red.
Row 4: 16 sc (16)
✨ Sophie’s Note: Once the red takes over, the transformation happens fast — this is the row where “little blue ring” quietly becomes “small red hero.” The legs are already there waiting underneath, like he’d been red all along and was just getting started.
Row 5: 2 sc, dec, 2 sc (then crochet the arm: ch 4, from the 2nd ch from hook: 2 sl st and sl st into the base of the stitch), dec, 2 sc, dec (crochet the arm), 2 sc, dec (12)
✨ Sophie’s Note: The arms appear the same way the legs did — small chained loops tucked into the shaping row, easy to miss if you’re not watching for them. This is the row that starts pulling his shoulders in and gives him something like a waist. Use your invisible decrease here; it’s the difference between a smooth red curve and four visible little dents.
Row 6: (1 sc, inc) * 6 (18)
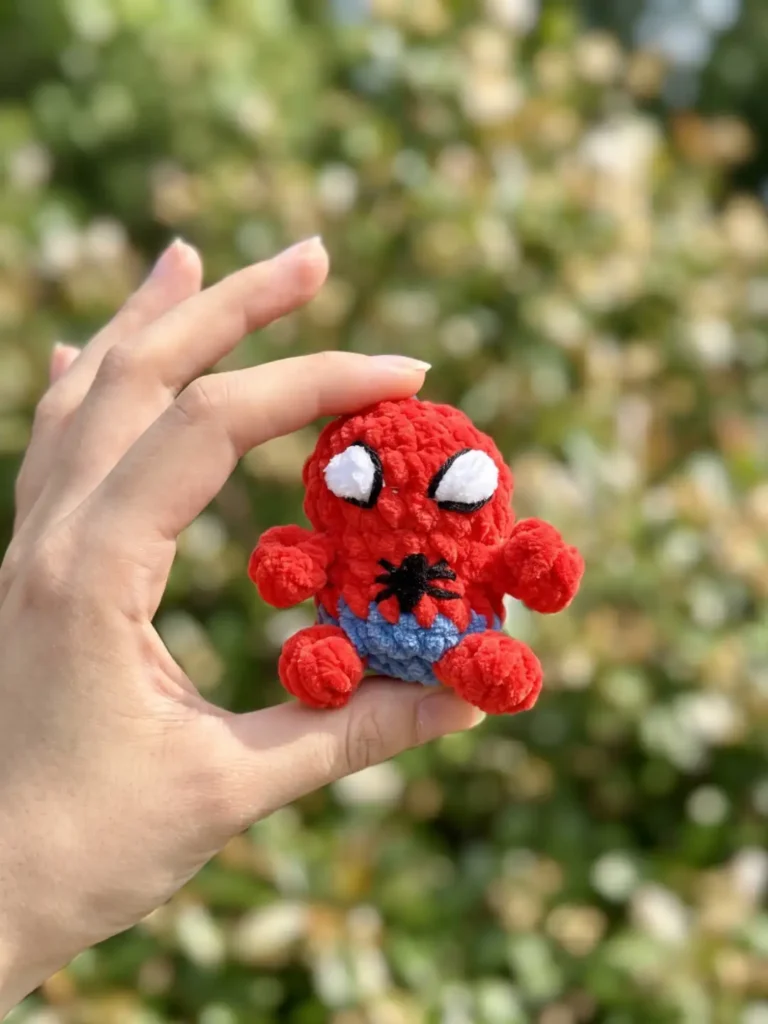
✨ Sophie’s Note: After the narrowing of Row 5, this row opens back out again — this is the chest and shoulders filling in. Set it down for a second and look at the profile. There’s already a small hero-shaped silhouette here, even without a face.
Rows 7–8: 18 sc (18)
Row 9: (1 sc, dec) * 6 (12)
After Row 9, stuff the piece.
✨ Sophie’s Note: This is the moment to stop and stuff him — not after Row 10, but here, before the opening narrows further. Push the fiberfill down into the legs and arms first with the blunt end of your needle so they hold their shape, then fill the body firmly. A keychain gets handled far more than a shelf piece ever will, so don’t be shy with the stuffing here.
Row 10: 6 dec (6)
✨ Sophie’s Note: Six decreases and the top closes almost on its own. Cinch the last stitches shut, and just like that, the whole piece — head, body, arms, legs — is finished from a single continuous round. Fasten off, leaving a tail long enough to weave in securely, since this little guy is going to be pulled around by his own weight before long.
Assembly & Finishing Touches
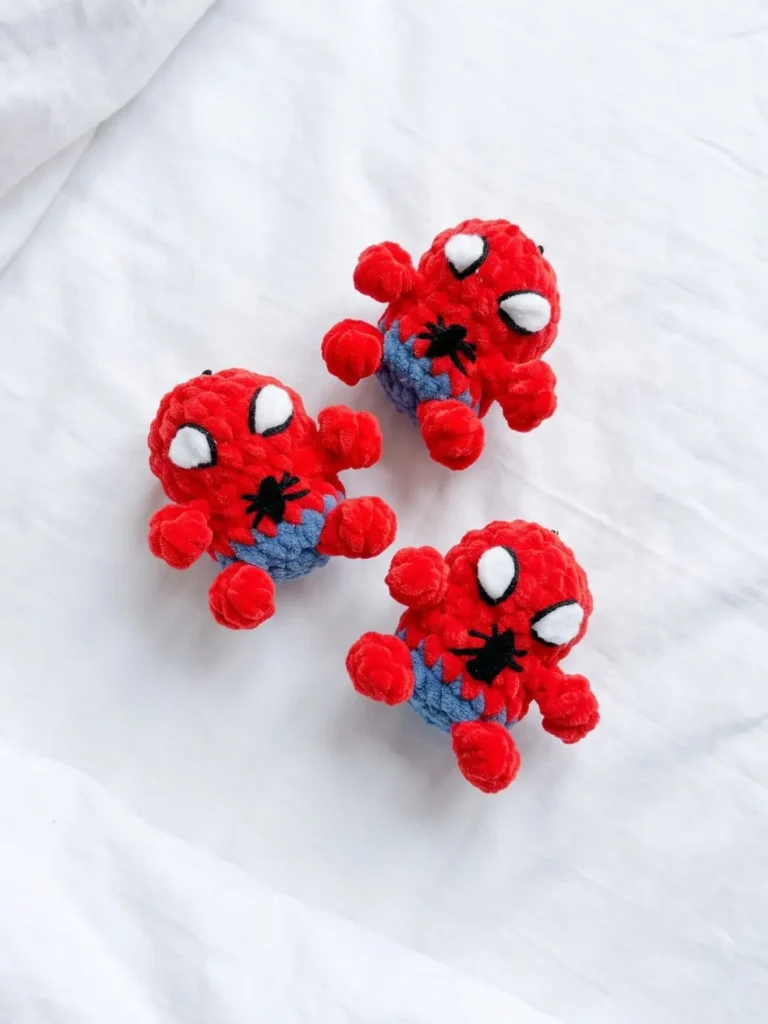
There’s no sewing pieces together here — the arms and legs were built right into the shaping rows, so by the time Row 10 closes, he’s already whole. What’s left is the part that actually gives him a face and turns him from “small red-and-blue shape” into “him.”
- Weave in all your tails securely, including the small ones left from the color change and from each arm and leg — a keychain gets tugged on, so loose ends aren’t worth the risk.
- Thread white yarn or embroidery floss onto your tapestry needle and make 2–3 small stitches for each eye, placed a little above the widest point of the head.
- Outline each white eye with a few black stitches. This is the step that decides his whole expression — set the outline slightly higher and he looks alert and ready; set it lower and he looks sleepy and unbothered. Both are valid. Neither is wrong.
- Embroider the spider across the chest in black, using simple straight stitches for the body and legs. Keep it small and slightly imperfect — a spider that’s a touch lopsided reads as hand-stitched and characterful, not as a mistake.
- Give him a last once-over. Press gently on the stuffing to check there are no soft spots, and trim any embroidery tails close to the surface.
Accessories & Little Extras
The pattern itself doesn’t call for a removable outfit — his whole look is built into the stitches and the embroidery, not added on afterward. But there are two small extras worth considering if you want to take this from “finished amigurumi” to “actual, functional keychain.”
A small metal jump ring or lobster clasp, looped through a stitch at the very top of the head before you weave in that final tail, turns him into something you can genuinely clip to a bag or a set of keys. It’s a two-minute addition, easy to skip if you’d rather keep him as a tiny stand-alone plush.
If you want a little more detail without adding a single extra row, try a few faint gray straight stitches radiating out from the spider on his chest — a suggestion of a web rather than a fully drawn one. It’s subtle, it takes almost no time, and it gives the emblem a bit more presence without competing with it.
Meet Spider-Man
He’s sitting on my desk right now, barely taller than my thumb, legs slightly bent like he’s about to push off from somewhere. The spider on his chest is a little crooked — I didn’t fix it, because it looks more like it was actually stitched by hand, which it was. That’s the strange thing about a piece this small: it takes almost no yarn and almost no time, and it still ends up feeling like someone rather than something.
There’s a particular kind of satisfaction in finishing a project you can hold entirely in one closed hand. Bigger dolls take up an evening, sometimes several — this one asks for an afternoon, and gives back something you’ll actually see every day, swinging from a bag or catching the light on a windowsill. Clip him somewhere he’ll get noticed. Let him ride along to school, to work, wherever your keys go. Make yours, give him a spot on a backpack zipper or a set of keys, and let him go be small and brave somewhere out in the world.
FAQ
What yarn is best for this Spiderman amigurumi keychain?
A bulky (weight 5) chenille-style yarn is highly recommended. It gives the finished keychain a soft, plush texture while helping it stitch up quickly and cleanly.
How long does it take to crochet this keychain?
The entire project works up very fast and typically takes about 2 to 3 hours from start to finish, including the embroidery details.
Can beginners make this pattern?
Yes! It uses basic stitches and works up as one continuous piece. The most challenging parts are a simple color change and taking your time with the small embroidery details.