Mini Dragon Crochet Pattern: A 10 cm Amigurumi Dragon With Crocheted-In Legs
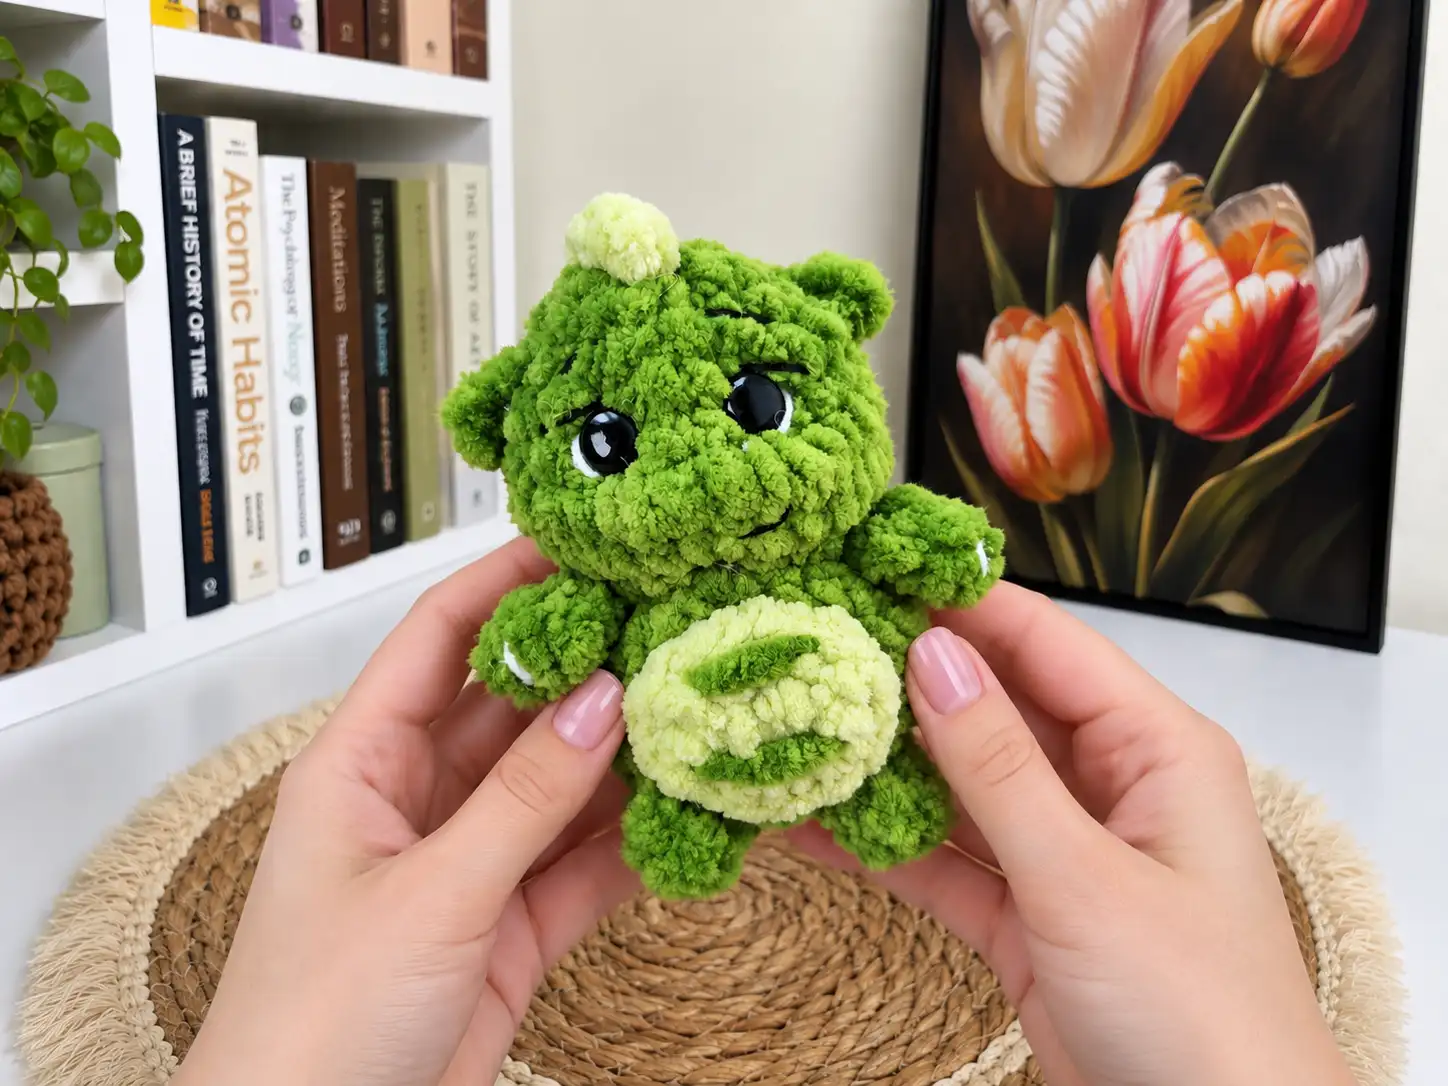
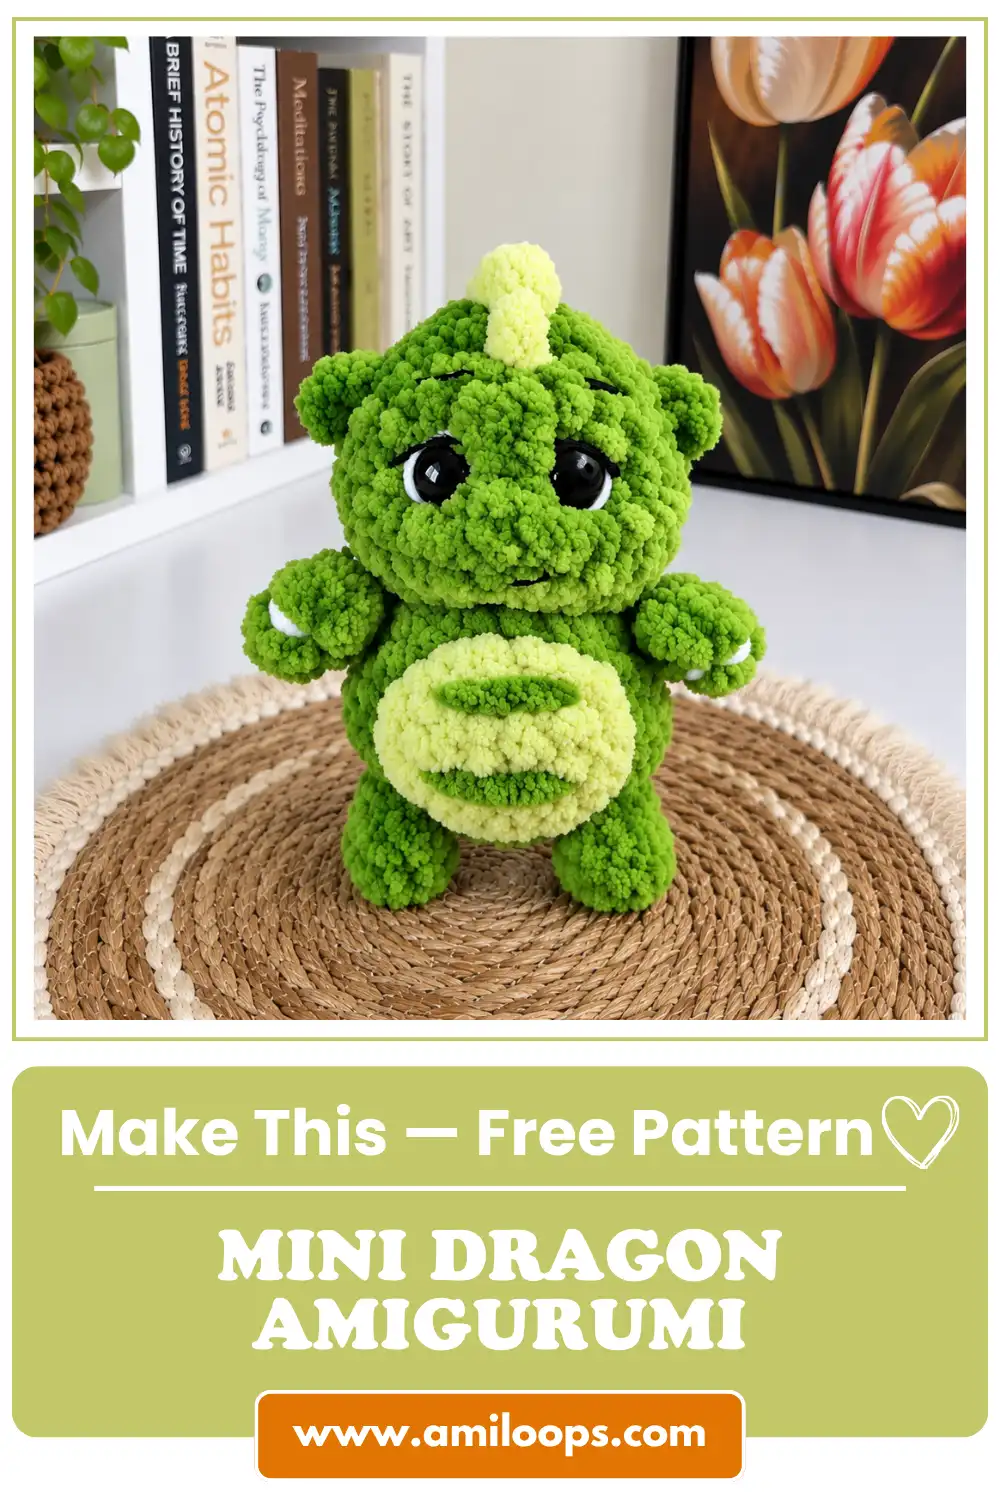
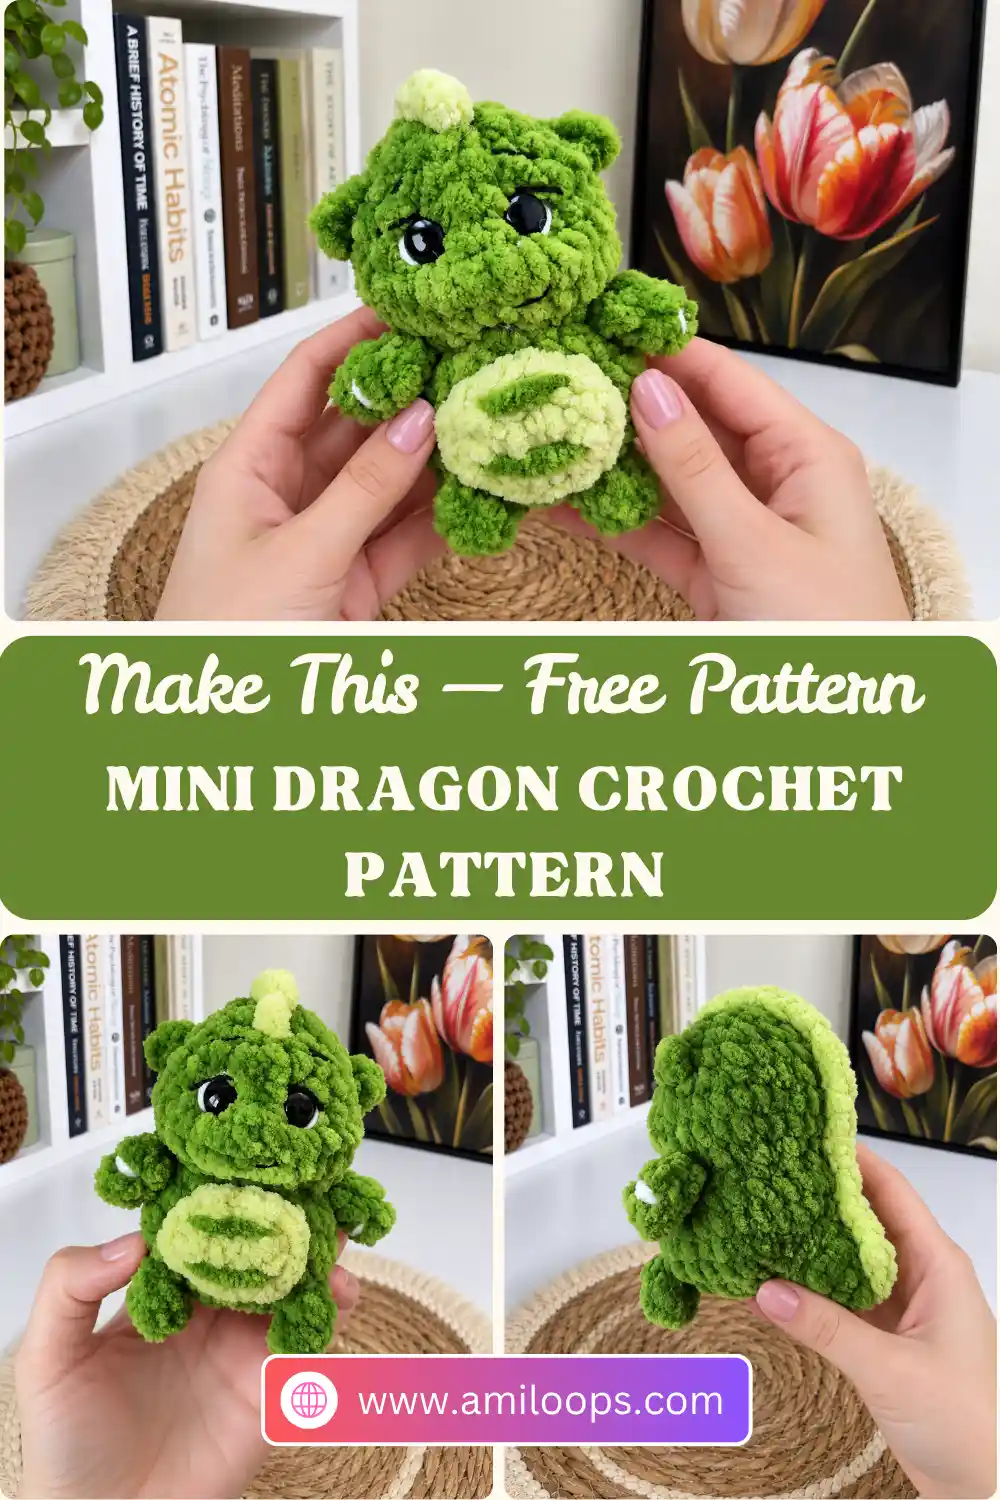
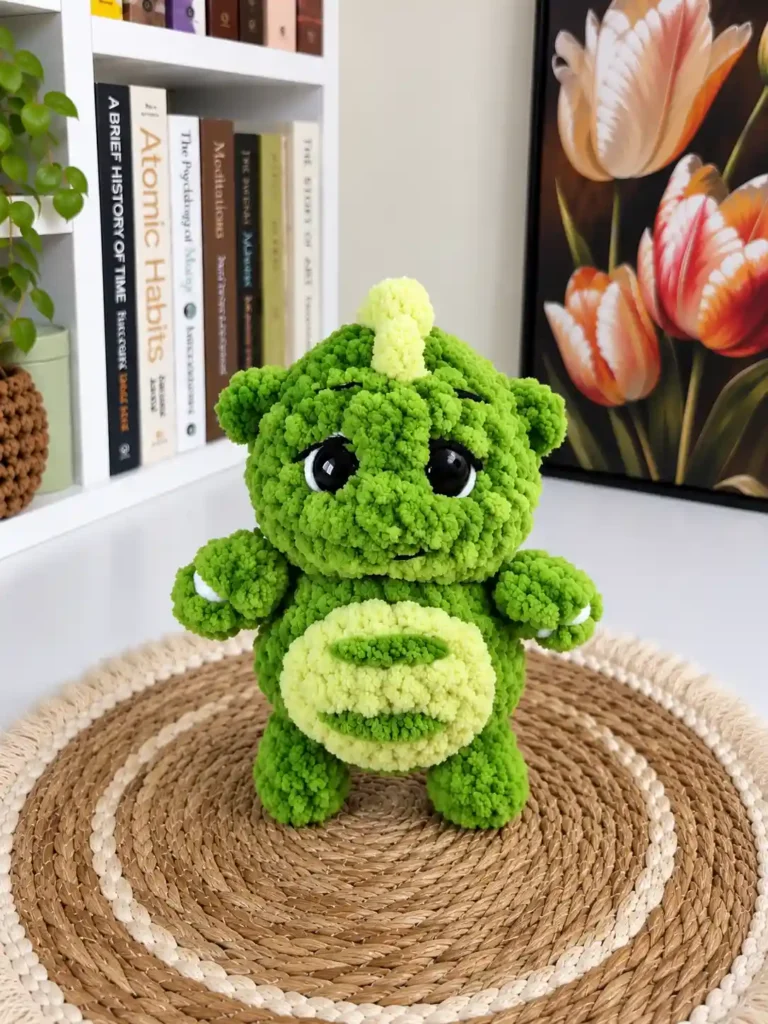
This mini dragon crochet pattern makes a green dragon just 10 cm (about 4 in) tall — small enough to close your hand around, detailed enough that people will pick it up to look at its face. Almost all of that character comes from three finishing touches: a sculpted indent at the outer corner of each eye, a pale belly patch sewn on and striped with green, and a light green crest that runs from the tip of the tail right over the top of the head.
The construction is worth understanding before you pick up the hook. All four legs are crocheted into the body instead of being sewn on afterward: two are worked into Round 4 near the base, and two more into Round 8, where the body narrows to 16 stitches. Body and head are then one continuous piece — Round 9 opens straight back out to 32 stitches for the head — so the only parts you attach by hand are the belly patch and the tail.
Materials · Before you start · Abbreviations · Legs · Body & head · Face · Belly · Tail · FAQ
Gather your materials
- Main green yarn: Pukka Lindo Baby (100 g = 120 m), color No. 32.
- Light green yarn: Wolans Bunny Baby, color No. 46 — for the belly and the crest.
- Yarnart Jeans: green for the thread sculpting, plus white and black for the eyes and face details.
- Stuffing: hollofiber.
- Safety eyes: 10 mm.
- Crochet hook: No. 3.5, as listed in the source pattern.
- A long yarn needle for the thread sculpting, the embroidery and sewing on the belly patch and tail.
Finished height: 10 cm (about 4 in) with the yarns and hook listed above.
Before you start
Make all four legs first. Two of them are crocheted into Round 4 of the body and the other two into Round 8, so all four need to be finished and sitting beside you before the body gets that far.
Three pieces begin in a magic ring. The legs, the body-head and the tail all start with stitches worked into a magic ring; only the belly starts from a chain. If you want a refresher before casting on something this small, see how to crochet the magic ring step by step.
Leave long tails on two pieces. The belly patch and the tail are both sewn onto the finished body, so cut a generous tail when you finish each of them rather than trimming close.
Abbreviations used in this pattern
| Abbreviation | Meaning |
|---|---|
| MR | Magic ring |
| ch | Chain |
| sc | Single crochet |
| inc | Increase — 2 sc in the same stitch |
| dec | Decrease — work the next 2 stitches together as 1 |
| sl st | Slip stitch |
| hdc | Half double crochet |
US crochet terminology is used throughout. MR is defined by this pattern itself; the rest are standard, and the Craft Yarn Council publishes the full list of crochet abbreviations along with a US/UK comparison if you also follow UK-written patterns.
Legs (make 4)
Worked in main green yarn. Each leg is a narrow 4-stitch tube — four rounds in total, and it stays open at the top so it can be joined into the body.
Rnd 1: 4 sc in MR (4)
Rnds 2–4: 4 sc (4)
Cut the yarn — do not close the tube. Repeat until you have four identical legs.
Body and head (one piece)
Worked in main green yarn from the base upward, with no break between body and head.
Rnd 1: 8 sc in MR (8)
Rnd 2: 8 inc (16)
Rnd 3: 16 inc (32)
Joining a leg as you crochet: hold one finished leg against the body at the point named in the round below. Because the leg tube is only 4 stitches around, you flatten it and work into two of its loops at a time with the hook, so its four loops are taken in by the two stitches the round calls for. No sewing and no yarn tail to hide.
Rnd 4: 10 sc, join one leg with 2 sc (the leg has 4 loops — pick up two loops at a time with the hook), 8 sc, join the second leg with 2 sc, 10 sc (32)
Rnds 5–6: 32 sc (32)
Rnd 7: [2 sc, 1 dec] 8 times (24)
Joining the upper legs: the two remaining legs go in exactly as in Round 4, two loops at a time — but here each one is taken in by 1 sc and 1 dec worked together, so the join uses 3 stitches of the body and leaves 2 behind. Keep them sitting level with each other as you work.
Rnd 8: [1 sc, 1 dec] 2 times, join one leg with 1 sc and 1 dec, then [1 sc, 1 dec] 2 times, join the second leg with 1 dec and 1 sc, then 1 dec, 1 sc, 1 dec, 1 sc (16)
Rnd 9: 16 inc (32)
Rnds 10–11: 32 sc (32)
Rnd 12: [2 sc, 1 dec] 8 times (24)
Rnd 13: 24 sc (24)
Rnd 14: [1 sc, 1 dec] 8 times (16)
Eyes: insert and secure the 10 mm safety eyes between Rnds 12 and 13, leaving 4 stitches between them. The pattern gives this step after Round 14, while the opening is still wide enough to reach the washers from inside. Our guide to attaching safety eyes safely covers the washer step in more detail.
Stuffing: stuff the piece once the eyes are secured, before the final two decrease rounds close it.
Rnd 15: [2 sc, 1 dec] 4 times (12)
Rnd 16: 6 dec (6)
Close the opening and hide the yarn tail inside the piece.
Shaping the face
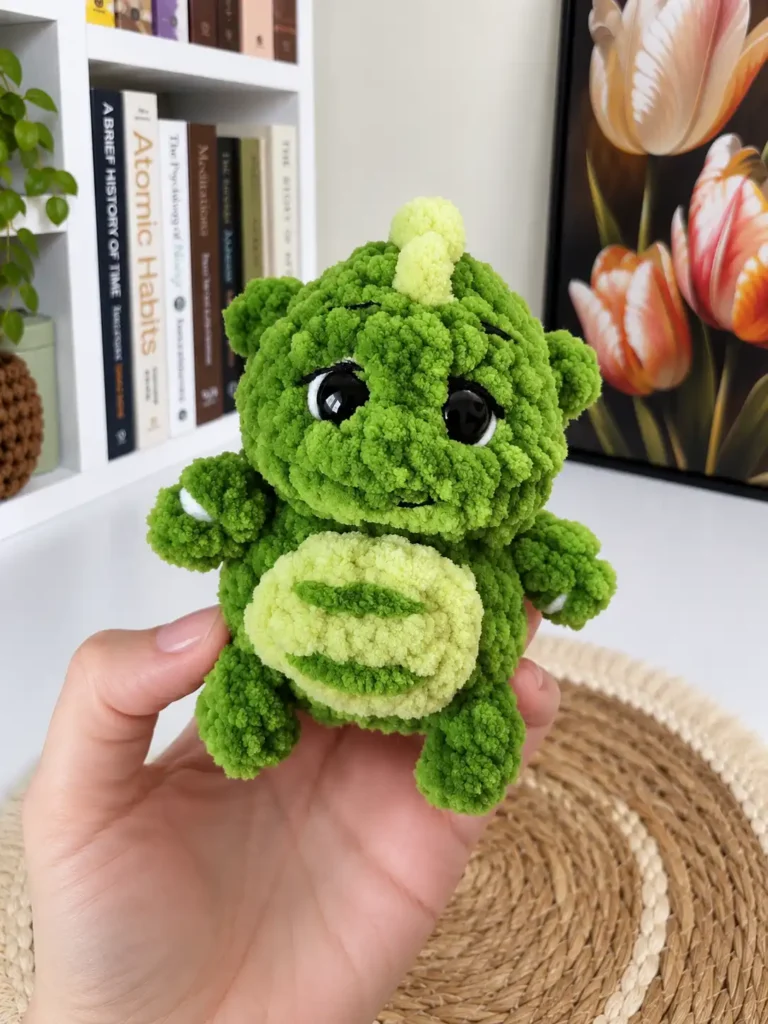
Thread sculpting: using the green Yarnart Jeans yarn, sculpt the right eye first, then work the left eye exactly the same way. A long needle carries the yarn through the stuffed head and brings it out beside the outer corner of the eye; drawing the yarn through pulls that corner inward and gives the face its expression. The source shows this as a photo sequence rather than a written stitch path, so work it gradually and check the face from the front before you pull the yarn tight.
The whites of the eyes: with fine white yarn, embroider a small white mark just below the outer edge of each black eye.
Brows and mouth: separate two finer strands from the black yarn and embroider the eyebrows, the little flick lines above the eyes, and the mouth at the side.
Ears and toes
Ear: at eye level, insert the hook into the side of the head, pull up a loop of the main green yarn, work 2 turning ch, 1 hdc, then work 1 sl st into a stitch higher up. Cut the yarn, fasten off and hide the tail in the work. Work the matching ear on the other side of the head at the same height.
Toes: take fine white yarn doubled and make 2 stitches on each of the upper legs.
Belly patch
Worked in the light green yarn. This is the one piece that starts from a chain rather than a magic ring, which is what gives it an oval shape instead of a circle.
Rnd 1: Ch 4; starting in the second chain from the hook, work 3 inc, then 3 inc along the other side of the chain (12)
Rnd 2: [1 sc, 1 inc] 6 times (18)
Work 1 sl st into the first stitch of Rnd 2. Cut a longer yarn tail and use it to sew the patch to the front of the body. Then, with the main green yarn, work two little stripes across the patch. If pinning and stitching a flat patch onto a curved body is new to you, our guide to sewing amigurumi parts together walks through placing a piece before you commit to the first stitch.
Tail
Worked in main green yarn.
Rnd 1: 4 sc in MR (4)
Rnd 2: 4 inc (8)
Rnd 3: [1 sc, 1 inc] 4 times (12)
Rnd 4: 12 sc (12)
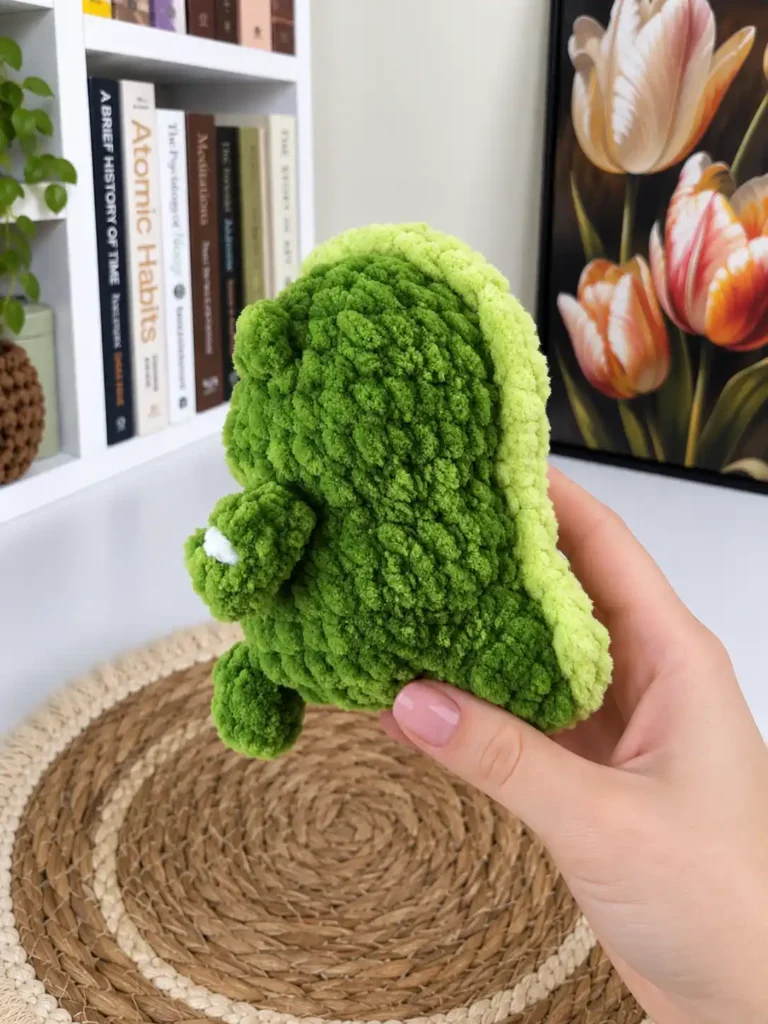
Cut a longer yarn tail and use it to sew the piece to the back of the dragon. Stuff the tail as you close the seam.
Crest
With the light green yarn, work the crest from the tail up to the top of the head, working 2 sc in each stitch. It is worked into the surface of the finished, stuffed dragon rather than made as a separate piece, and the doubled stitches are what make it stand up as a ridge along the back.
More dragons to crochet
Questions about this dragon
Do I sew the legs onto the finished body?
No. All four legs are crocheted into the body while you work it. Two legs are joined in Round 4 with 2 sc each, and two more in Round 8 with 1 sc and 1 dec each. Each leg is a 4-stitch tube, and you pick up two of its loops at a time with the hook so its four loops are taken in by the stitches the round calls for. That is why all four legs must be finished before you start the body.
Where exactly do the safety eyes go?
The 10 mm eyes are inserted and secured between Rounds 12 and 13, with 4 stitches left between them. The pattern gives this step after Round 14 in the working order, while the piece is still open and you can reach the washers from inside. If the finished dragon is headed for a home with a baby or toddler, the U.S. CPSC’s small parts guidance for toys and children’s products is worth reading before you decide between safety eyes and embroidery.
When do I add the stuffing?
The body-head is stuffed after the eyes are secured and before Round 15, since Rounds 15 and 16 close the opening down to 6 stitches. The tail is stuffed at the end, as you sew it to the dragon’s back. The legs are narrow 4-stitch tubes and the pattern gives them no stuffing step.
What does the thread sculpting actually do?
It creates the indentation at the outer corner of each eye. A long needle carrying green yarn passes through the stuffed head and comes out beside the outer eye corner, and drawing the yarn through pulls that point of the head inward. The right eye is sculpted first, then the left one exactly the same way.
Why does Round 8 look so different from the rounds around it?
Underneath the leg joins it is an ordinary decrease round: 24 stitches worked as 1 sc and 1 dec eight times over, coming out at 16 — the same shaping as Round 14. What makes it look complicated is that two of those eight repeats also take in an upper leg. If you count as you go, the whole round should use up all 24 stitches of Round 7 and leave you with exactly 16.