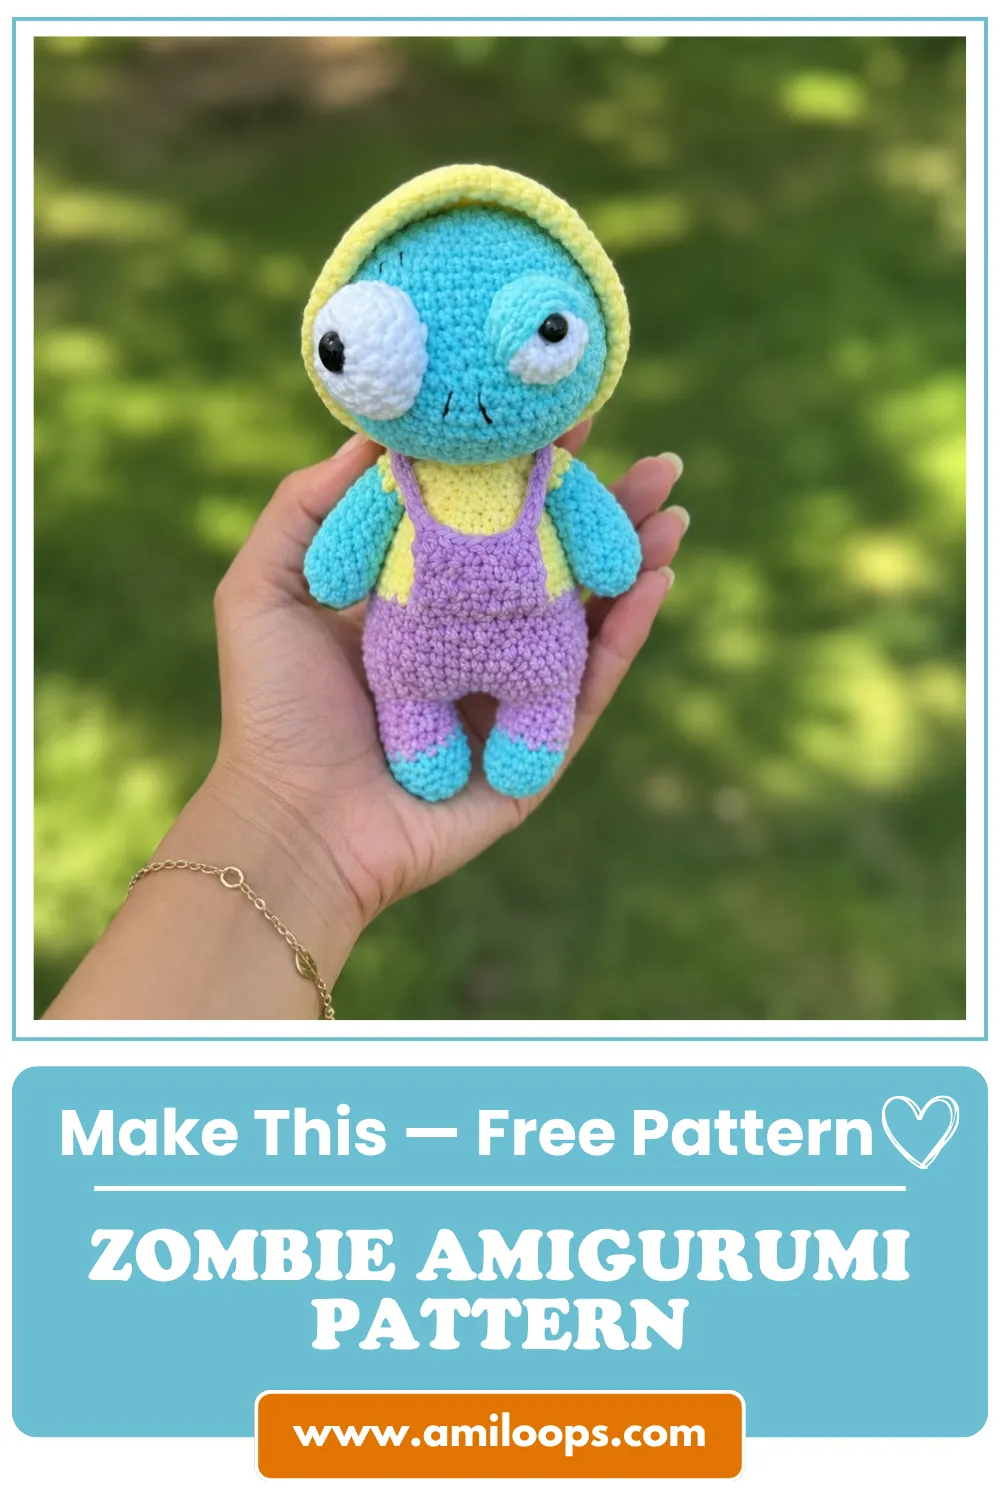
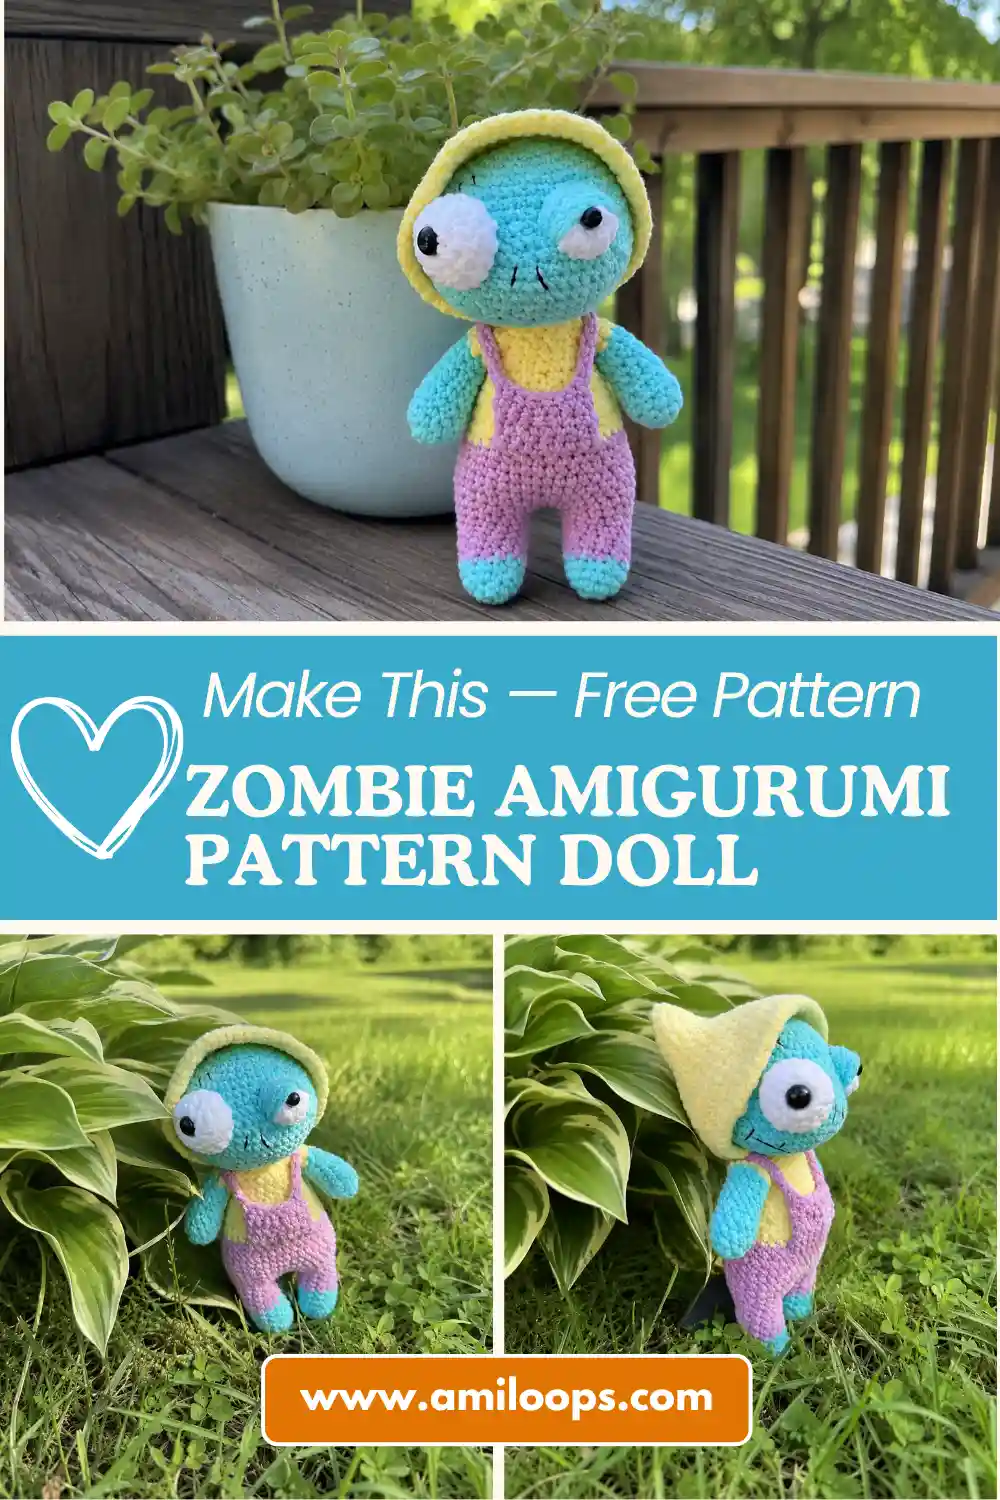
Free Crochet Zombie Amigurumi Pattern — Sleepy Little Zombie in a Patchwork Hood
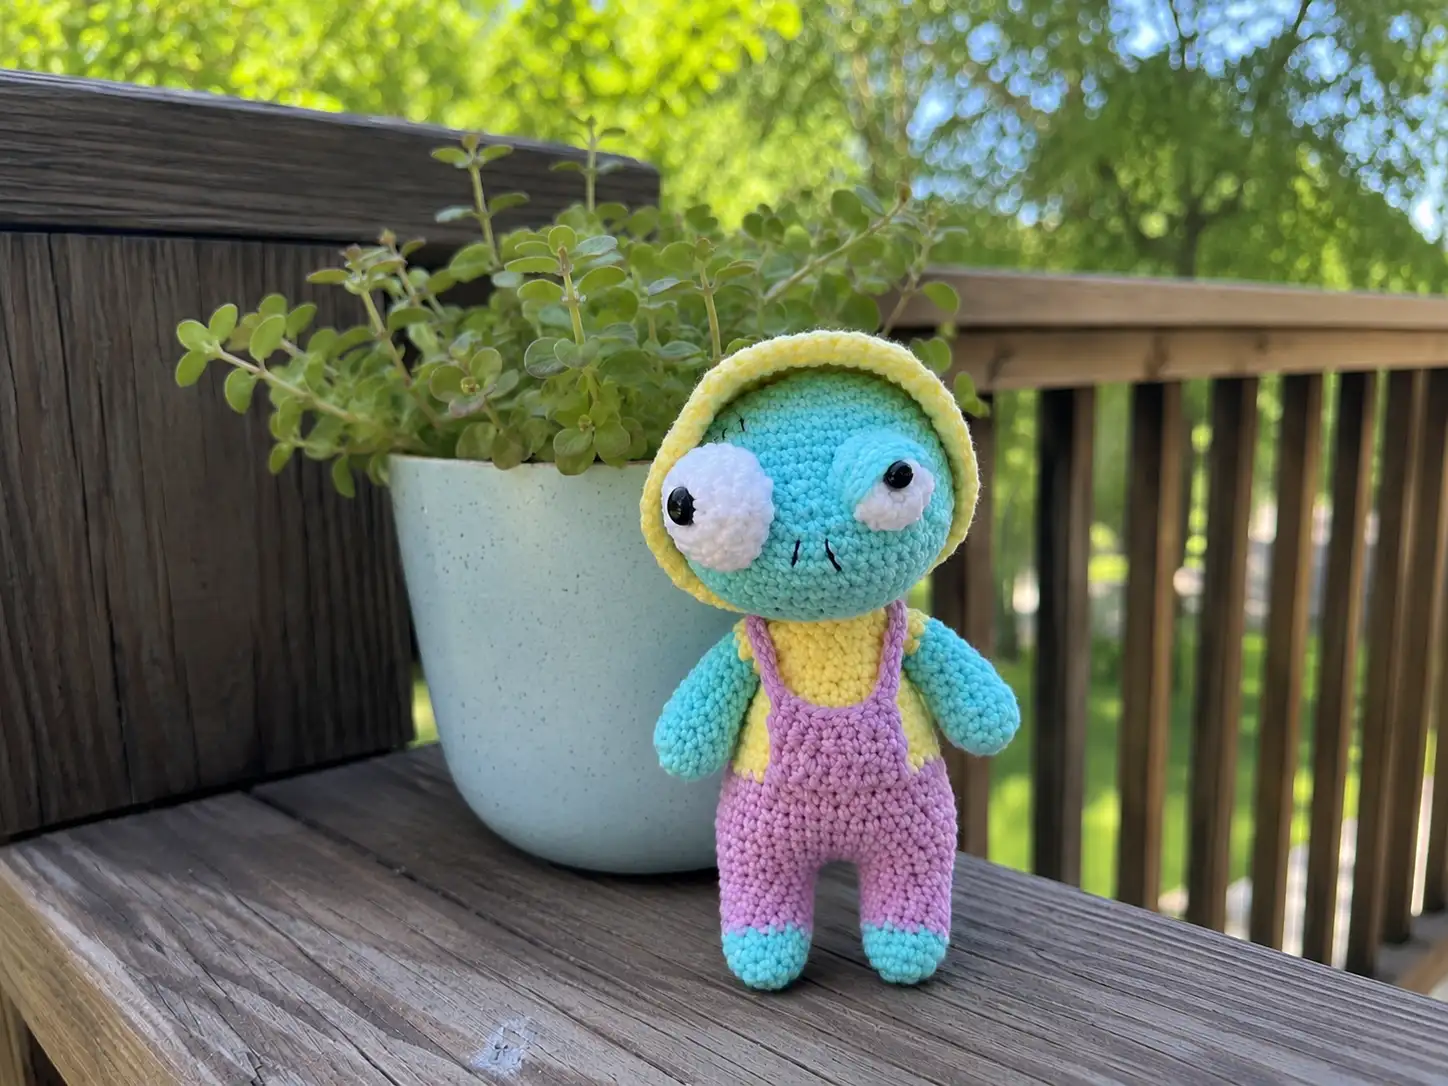
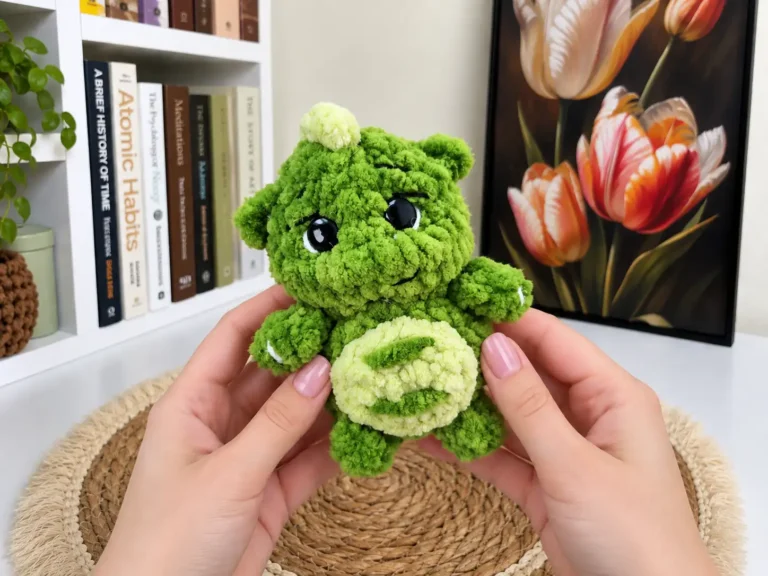
This free zombie amigurumi pattern brings to life a quiet, shuffling little creature who looks more like he needs a nap than a graveyard — soft moss-green skin, a slightly crooked stitched smile, and a hood he refuses to take off. I named mine Oswin somewhere around the third row of his hood. He’s not scary. He’s just sleepy, and a little lonely, and looking for somewhere to sit. If you’ve been wanting to make something with a bit of unexpected personality, this is a good place to start.
📖 Meet Oswin
- 🌟 Personality: sleepy, gentle, quietly affectionate
- 🎨 Color Palette: faded moss green skin, a warm brick-red sweater and hood, deep charcoal trousers
- 📏 Size: 8.7 in (22 cm)
- 🪝 Hook: E/4 (3.5 mm) for the body, US 7 (4.5 mm) for the hood
- ⏱️ Time: 12-16 hours
- ✨ Signature Detail: a small stitched-shut pocket on his sweater, like he’s keeping something safe inside
- 💡 Difficulty: Intermediate
Materials for Your Free Zombie Amigurumi Pattern
The yarn does a lot of the emotional work here. A chenille yarn like Himalaya Dolphin Baby (or the US-friendly alternatives Bernat Baby Velvet and Premier Parfait) gives Oswin’s skin a slightly worn, huggable texture — nothing sharp or graphic about him, just soft and a little rumpled, like a favorite blanket that’s been through a lot.
- Main color (head/skin): faded moss green — approx. 1/2 skein, Bulky (5) chenille
- Sweater and hood color: warm brick-red — approx. 1/2 skein, Bulky (5) chenille
- Pants color: deep charcoal — Bulky (5) chenille
- White — small amount, for the eye patches
- Assembly thread: a reinforced Fingering (1) weight thread for sewing pieces together
- Embroidery thread: black Fingering (1) weight, for the mouth
- Hook: 3.5 mm (approx. US E/4) for the body, and 4.5 mm (approx. US 7) for the hood
- Safety eyes: 10 mm or 12 mm, black
- Stuffing, tapestry needle, sewing needle, scissors, stitch markers, sewing pins
This yarn falls under the Bulky (5) weight category — thick enough to build up fast, soft enough that Oswin never feels stiff or doll-like.
Because this pattern uses safety eyes, take a look at the CPSC’s toy safety guidance if Oswin is headed to a home with very young children — secure the backings firmly and double-check them before gifting.
Abbreviations Used in This Zombie Amigurumi Pattern
| Abbreviation | Meaning |
|---|---|
| ch | chain |
| sc | single crochet |
| sl st | slip stitch |
| inc | increase |
| dec | invisible decrease |
| BLO | back loop only |
| FLO | front loop only |
Before Oswin Comes to Life — Technique Notes
Every character on this site starts the same quiet way: with a magic ring. If you haven’t made one before, our magic ring tutorial walks through it slowly — it’s the very first stitch Oswin’s head, arms, and legs all begin from, and it’s simpler than it looks.
✨ Sophie’s Note: Wherever this pattern calls for a decrease, I’ve written it as an invisible decrease rather than a standard sc2tog. The stitch counts are identical to the original pattern — only the method changes, and it leaves Oswin’s shaping rounds smooth instead of gapped. If you’d like a refresher, our invisible decrease tutorial covers it step by step.
Take your time with the stuffing, especially in the head and body — Oswin’s slightly soft, slouchy posture is part of what makes him feel sleepy rather than stiff. Our stuffing guide has tips on getting an even fill without overstuffing away that gentle slump.
The Zombie Amigurumi Pattern
Arms (make 2)
Start in the main (moss green) color.
Row 1: ch 2, 6 sc in the second ch from hook (6)
Row 2: 6 inc (12)
Rows 3-11: sc around (12) — 9 rows
Row 12: sc around (12)
Note: switch to the sweater color after Row 11 — the arm sleeve begins here.
Stuff lightly. Fold the arm in half and crochet 6 sc through both layers to close the end. Fasten off, cut the yarn, and weave in the end. Set both arms aside — they’ll be crocheted directly into the body later, not sewn on.
Legs (make 2)
Start in the main (moss green) color.
Row 1: ch 2, 6 sc in the second ch from hook (6)
Row 2: 6 inc (12)
Rows 3-6: sc around (12) — 4 rows
Rows 7-10: sc around (12) — 4 rows
Note: switch to the pants color after Row 6.
On the second leg only: do not fasten off. Chain 3, then join both legs together and continue straight into the body.
✨ Sophie’s Note: This is the moment the two separate legs stop being pieces and become the beginning of a whole body. There’s something satisfying about that first joining round — everything after this is one continuous shape.
Body
Continue in the pants color, straight from the legs.
Row 11: 12 sc along the right leg, 3 inc along the chain, 12 sc along the left leg, 3 inc along the chain (36)
Row 12: (5 sc, inc) × 6 (42)
Rows 13-18: sc around (42) — 6 rows
Row 19: (5 sc, dec) × 6 (36)
Row 20: in BLO, sc around (36)
Row 21: sc around (36)
Row 22: (4 sc, dec) × 6 (30)
Rows 23-24: sc around (30) — 2 rows
Row 25: (3 sc, dec) × 6 (24)
Rows 26-27: sc around (24) — 2 rows
Row 28: (2 sc, dec) × 6 (18)
Row 29: 2 sc, 6 sc along the right arm, 3 sc, 6 sc along the left arm, 1 sc (18)
Row 30: sc around (18)
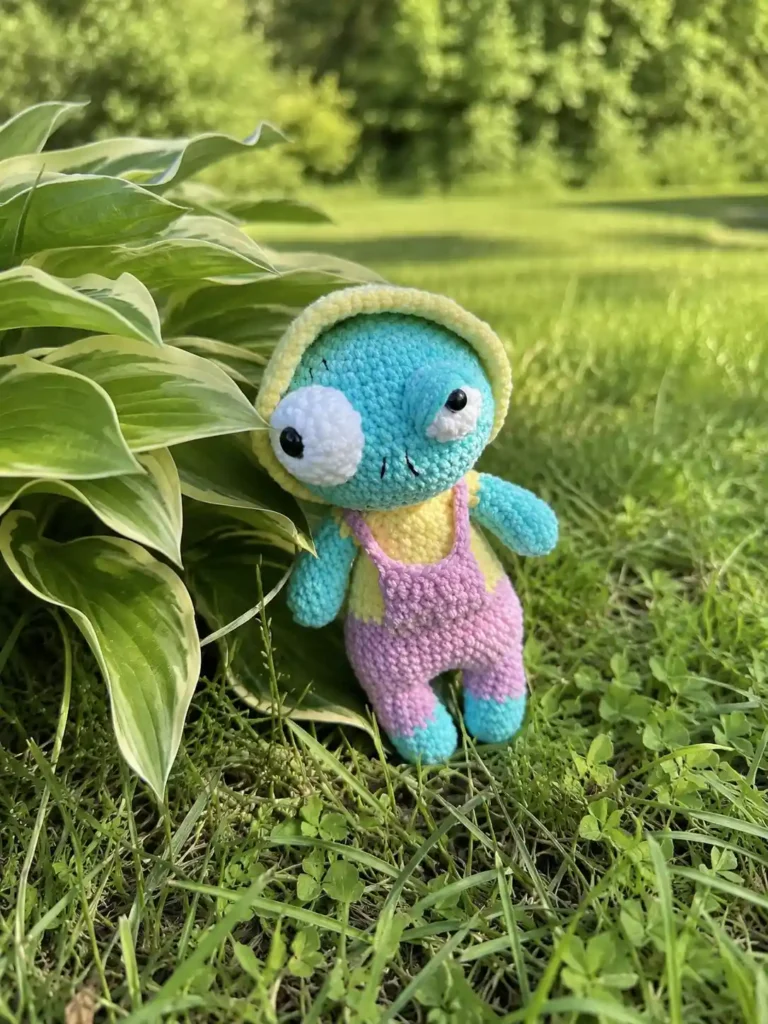
Note: switch to the sweater color after Row 19. Work Row 20 in BLO only — this is what gives the sweater hem its little ridge. In Row 29, the arms are crocheted directly into the body; check that they land symmetrically before you continue.
Stuff the body gradually as you go, rather than all at once at the end — it’s easier to keep his slouchy shape even that way. Fasten off, cut the yarn, and weave in the end.
Head
Work in the main (moss green) color.
Row 1: ch 2, 6 sc in the second ch from hook (6)
Row 2: 6 inc (12)
Row 3: (sc, inc) × 6 (18)
Row 4: (2 sc, inc) × 6 (24)
Row 5: (3 sc, inc) × 6 (30)
Row 6: (4 sc, inc) × 6 (36)
Row 7: (5 sc, inc) × 6 (42)
Row 8: (6 sc, inc) × 6 (48)
Row 9: (7 sc, inc) × 6 (54)
Row 10: (8 sc, inc) × 6 (60)
Rows 11-15: sc around (60) — 5 rows
Row 16: (8 sc, dec) × 6 (54)
Row 17: (7 sc, dec) × 6 (48)
Row 18: (6 sc, dec) × 6 (42)
Row 19: (5 sc, dec) × 6 (36)
Row 20: (4 sc, dec) × 6 (30)
Row 21: (3 sc, dec) × 6 (24)
Row 22: (2 sc, dec) × 6 (18)
Row 23: (sc, dec) × 6 (12)
Row 24: 6 dec (6)
Stuff as you go — the head is the roundest part of him, and it holds its shape best with steady, gradual filling rather than one big push at the end. Fasten off, leaving enough tail to sew the head to the body.
✨ Sophie’s Note: Set the head down before you close it up and look at it straight on. Even without the eyes yet, there’s already something there — a shape that’s waiting to become someone.
Eye Patches (make 1 of each)
Work both in white.
Eye 1
Row 1: ch 2, 6 sc in the second ch from hook (6)
Row 2: 6 inc (12)
Row 3: sc around (12)
Eye 2
Row 1: ch 2, 6 sc in the second ch from hook (6)
Row 2: 6 inc (12)
Row 3: sc around (12)
Row 4: (sc, inc) × 6 (18)
Row 5: sc around (18)
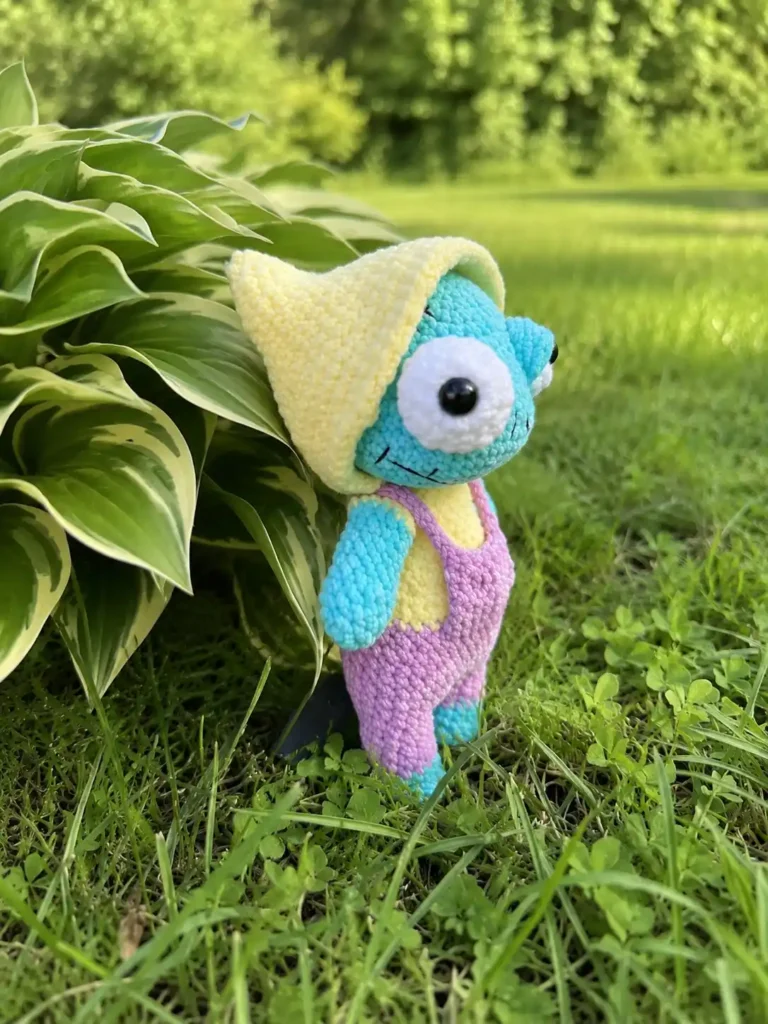
Fasten off both, cut the yarn, and weave in the ends. Notice the two patches are slightly different sizes — that small mismatch is exactly what gives Oswin his sleepy, one-eye-half-open look.
Hood
Switch to the 4.5 mm hook (US 7) and work in the sweater/hood color.
Row 1: ch 2, 6 sc in the second ch from hook (6)
Row 2: 6 inc (12)
Row 3: sc around (12)
Row 4: (sc, inc) × 6 (18)
Row 5: sc around (18)
Row 6: (2 sc, inc) × 6 (24)
Row 7: sc around (24)
Row 8: (3 sc, inc) × 6 (30)
Row 9: sc around (30)
Row 10: (4 sc, inc) × 6 (36)
Row 11: sc around (36)
Row 12: (5 sc, inc) × 6 (42)
Row 13: sc around (42)
Row 14: (6 sc, inc) × 6 (48)
Row 15: sc around (48)
Row 16: (7 sc, inc) × 6 (54)
Row 17: sc around (54)
Row 18: (8 sc, inc) × 6 (60)
Row 19: sc around (60)
Note: if the hood feels snug once it’s on, work one more increase round before fastening off.
Fasten off, cut the yarn, and weave in the ends.
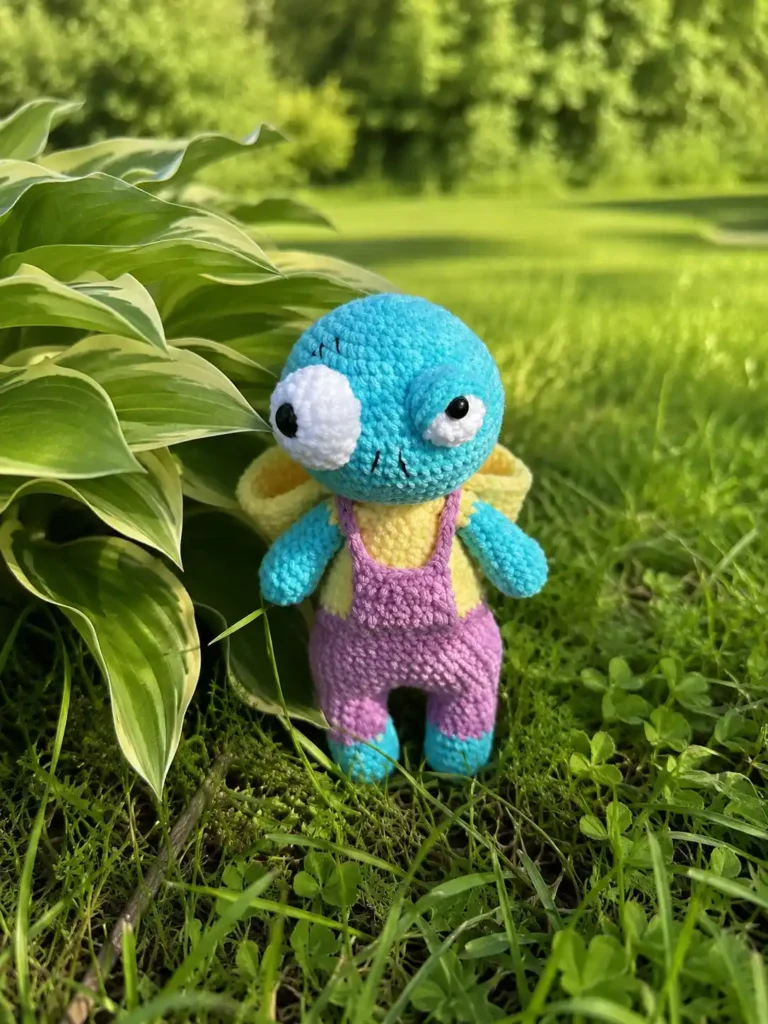
Return to Row 20 of the body — the round worked in BLO. Working into the remaining front loops (FLO) of that same round, join the pants color and work the pocket:
Row 1: 8 sc, ch, turn (8)
Rows 2-4: 8 sc, ch, turn (8) — 3 rows
Row 5: sc across (8)
Fasten off and weave the tail inside the body. To finish, chain 18, slip stitch it to the back of the pocket in FLO, then chain another 18 and secure it to the front — this becomes the little strap that holds the pocket shut.
✨ Sophie’s Note: This is Oswin’s signature detail, and it’s a small one — a pocket sewn shut, like he’s keeping something private. I like to imagine there’s a pressed flower in there, or a folded note. You’ll never know. That’s kind of the point.
Assembling Your Zombie Amigurumi
- Sew the head onto the body, keeping the seam centered so Oswin can sit with a slight, natural forward tilt.
- Pin the white eye patches to the front of the head before committing to placement — try them a row higher or lower first. Moved even one row, his expression shifts from “startled” to “half-asleep,” which is the look we’re going for. Insert the safety eyes through the center of each patch and secure the backings, then sew the patch edges down.
- Sew the hood on, angling it slightly forward so it shadows his brow — this is what gives him that sleepy, half-hidden look rather than a fully alert one.
- For the mouth and nose: mark the line with pins first, adjusting until it sits slightly crooked — perfectly straight looks less like Oswin and more like a mannequin. Bring the embroidery thread up from the bottom of the head, out at one corner of the mouth, and carry it over the pins, securing the shape with small stitches as you go.
Once the eyes and mouth are set, the safety eye placement matters more than almost anything else in this pattern — a millimeter can be the difference between “sleepy” and “startled.” For a closer look at getting that placement right the first time, our safety eyes tutorial is worth a read before you commit to the final position, and our sewing guide covers keeping seams invisible when you attach the head and hood.
Oswin’s Sweater, Hood, and Pocket
Unlike some of the characters I’ve made, Oswin’s outfit isn’t removable — the sweater, hood, and pocket are all built directly into the body as you go, which gives him a slightly rumpled, lived-in look rather than a costume that was added on afterward. The BLO round at the sweater hem creates a subtle ridge, like a cuff. The hood, worked on a slightly larger hook, drapes rather than sits stiffly.
If you want to give your Oswin something extra, a thin embroidered line along the pocket edge in a contrasting thread adds a stitched, patched-together look — like it’s been mended more than once. It’s a small addition, but it deepens that “keeping something safe” feeling the pocket already gives him.
Meet Oswin
Oswin is sitting on my shelf right now, hood pulled slightly forward, head tilted just enough that he looks like he’s mid-yawn rather than mid-haunt. His eyes are uneven on purpose — one a little wider than the other — and his mouth has that gentle, crooked line that makes him look like he’s about to say something quiet and a little funny. He’s not the kind of character that startles anyone. He’s the kind you’d find a spot for on a windowsill, or tucked next to a stack of well-loved books, keeping watch in his own sleepy way. Name yours whatever feels right the moment you set the last stitch. He’ll let you know if it fits.
FAQ
What yarn is best for this zombie amigurumi?
A Bulky (5) chenille yarn like Himalaya Dolphin Baby, Bernat Baby Velvet, or Premier Parfait works best to give the zombie a soft, huggable texture.
How long does it take to crochet this zombie amigurumi?
It takes approximately 12 to 16 hours to complete this intermediate-level crochet project.
Are safety eyes safe for young children on this amigurumi?
If the toy is intended for very young children, ensure you follow CPSC toy safety guidance by securing backings firmly, or consider embroidering the eyes instead.