Meet Pip: A Funny Ghost Amigurumi Free Pattern With a Secret Wire Soul
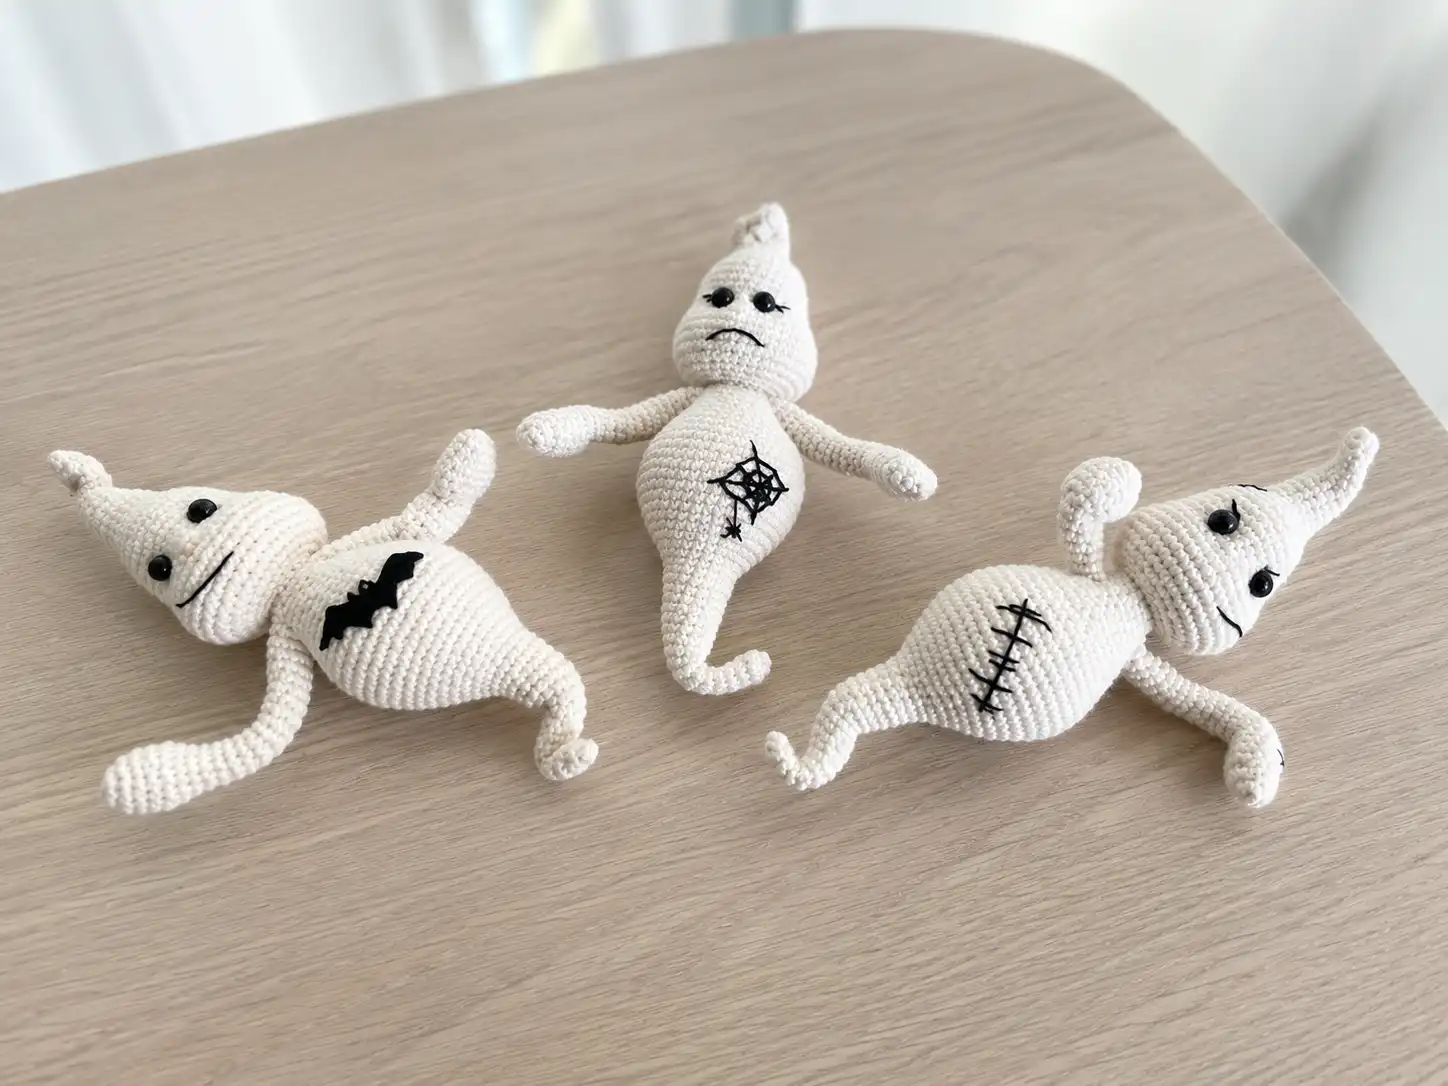
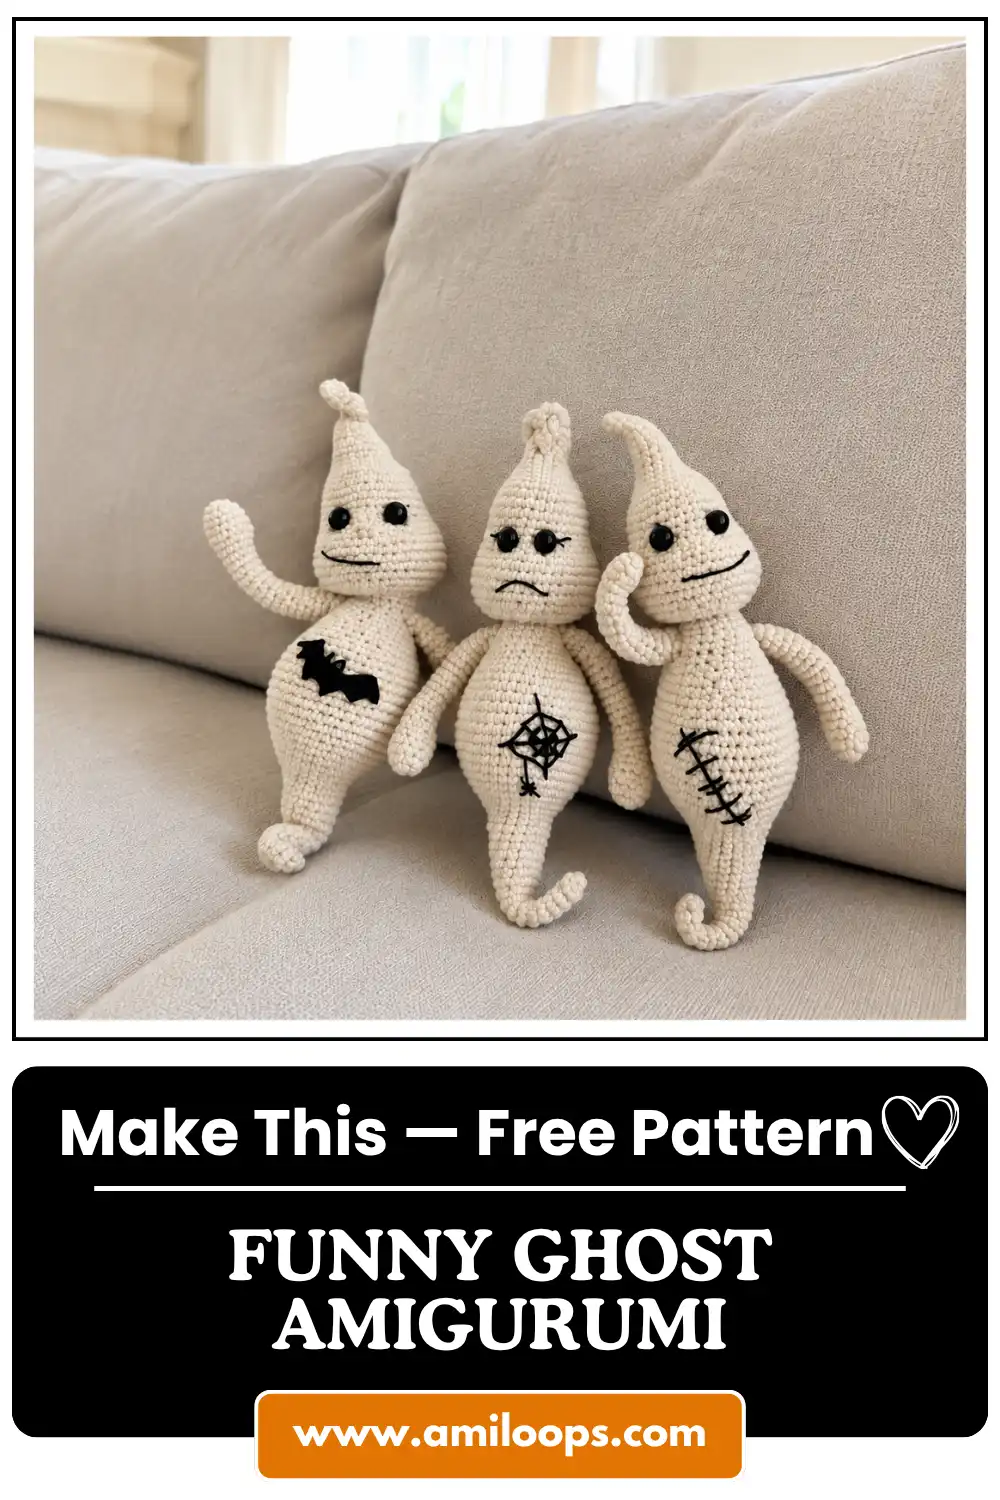
This funny ghost amigurumi free pattern brings to life a small round spirit with a wire frame hidden beneath the yarn, so he can bend into whatever mood strikes him — mischievous, gentle, a little bit sad. I named mine Pip before his face was even finished. Something about the way his arms flop to the side makes him feel more like a companion than a decoration.
📖 Meet Pip
- 🌟 Personality: gentle, a little mischievous, endlessly patient
- 🎨 Color Palette: soft cream-white body with soot-black eyes and details
- 📏 Size: 7.9 in
- 🪝 Hook: steel 2.0 mm (no direct US letter equivalent — closest is US B/1, 2.25mm)
- ⏱️ Time: 8-12 hours
- ✨ Signature Detail: a hidden wire skeleton that lets him hold any pose you give him
- 💡 Difficulty: Intermediate
Materials for This Funny Ghost Amigurumi Free Pattern
The whole point of Pip is that he’s soft everywhere except where he needs to hold a shape — so the yarn and the wire are doing two very different jobs here, and both matter.
- Main Yarn: Cream or white DK/Light Worsted (3) weight yarn — I used YarnArt Jeans, but Drops Muskat or Paintbox Cotton DK work beautifully as a US alternative. The slight sheen of a mercerized cotton gives him that soft, ghostly glow rather than a flat white.
- Accent Yarn: A small amount of black lace-weight yarn for the facial embroidery and any decorative details — this is where his whole personality gets decided.
- Hook: 2.0 mm (steel 4) — a fine hook for a fine, defined stitch.
- Wire: Craft or floral wire, plus electrical tape, for the arm and body armature. This is what lets Pip bend at the elbows and lean into a pose instead of sitting stiffly upright.
- Stuffing: Polyester fiberfill.
- Eyes: 8mm half-bead eyes, or safety eyes if you prefer.
- Other: Tapestry needle, scissors, pliers (for shaping and taping the wire).
This yarn falls under the DK / Light Worsted (3) category — smooth enough to keep his round shape crisp without the stitches disappearing into each other.
Abbreviations
| Abbreviation | Meaning |
|---|---|
| mr | magic ring |
| sc | single crochet |
| inc | increase — 2 sc in the same stitch |
| inv dec | invisible decrease — worked through the front loops of the next 2 stitches |
| sl st | slip stitch |
Before the Story Begins — Technique Notes
Every character begins with a magic ring, and Pip is no exception — if you haven’t made one before, our magic ring tutorial walks through it quietly and clearly, and it’s the foundation of everything you’re about to build.
This pattern already calls for the invisible decrease rather than a standard decrease, which is exactly what you want here — it keeps the surface smooth, so nothing distracts from the wire’s gentle bends underneath.
Because Pip has a wire skeleton running through his arms, body, and head, take your time with the stuffing around it — you want enough fill to keep him soft and huggable, but not so much that it fights the wire’s shape. Patience here is what makes the difference between a toy that just sits there and one that can actually lean, tilt, and reach.
Pattern: Bringing a Funny Ghost Amigurumi to Life, Piece by Piece
Arms (make 2)
Yarn: cream or white
Row 1: 6 sc in mr (6)
Row 2: 6 inc = 12 sts (12)
Row 3: (3 sc, inc) × 3 = 15 sts (15)
Rows 4-6: 15 sc (15)
Row 7: (1 sc, inv dec) × 5 = 10 sts (10)
Rows 8-22: 10 sc (10)
Finishing: Pull the yarn through, cut, leaving a short tail.
✨ Sophie’s Note: The two arms aren’t twins. One stays straight; the other gets a piece of wire inserted and the end wrapped in electrical tape, so it can bend at the elbow. It’s a small asymmetry, but it’s what gives Pip a gesture instead of just a limb.
Body
Yarn: cream or white
Row 1: 6 sc in mr (6)
Rows 2-5: 6 sc (6)
Row 6: (1 sc, inc) × 3 = 9 sts (9)
Rows 7-8: 9 sc (9)
Row 9: (2 sc, inc) × 3 = 12 sts (12)
Rows 10-12: 12 sc (12)
Row 13: (3 sc, inc) × 3 = 15 sts (15)
Rows 14-15: 15 sc (15)
Row 16: (4 sc, inc) × 3 = 18 sts (18)
Rows 17-19: 18 sc (18)
✨ Sophie’s Note: Here’s where the wire enters the body. Cut a piece, bend loops at both ends, and wrap them in electrical tape so nothing pokes through later. Slide it into the tail you’ve left and stuff loosely around it — this is the spine Pip will lean on for the rest of his life.
Row 20: (2 sc, inc) × 6 = 24 sts (24)
Row 21: 24 sc (24)
Row 22: (3 sc, inc) × 6 = 30 sts (30)
Row 23: 30 sc (30)
Row 24: (4 sc, inc) × 6 = 36 sts (36)
Row 25: 36 sc (36)
Row 26: (5 sc, inc) × 6 = 42 sts (42)
Row 27: 42 sc (42)
Row 28: (6 sc, inc) × 6 = 48 sts (48)
Rows 29-32: 48 sc (48)
Row 33: (6 sc, inv dec) × 6 = 42 sts (42)
Row 34: 42 sc (42)
Row 35: (5 sc, inv dec) × 6 = 36 sts (36)
Row 36: 36 sc (36)
Row 37: (4 sc, inv dec) × 6 = 30 sts (30)
Row 38: 30 sc (30)
Row 39: (3 sc, inv dec) × 6 = 24 sts (24)
Row 40: Crochet 24 sc, joining in half of each arm along the way — 5 sts per side: 7 sc, 5 sc across the arm and body together, 7 sc, 5 sc across the arm and body together (24)
✨ Sophie’s Note: This is the moment the arms stop being separate pieces and become part of Pip. Stuff the body, then build a small U-shaped wire frame — cut to the width of the body plus both arms, bend a loop at each end, tape it — and thread it through both arms so the whole upper half moves as one. Stuff the arms lightly around it.
Row 41: Crochet 24 sc (24)
Row 42: (2 sc, inv dec) × 6 = 18 sts (18)
✨ Sophie’s Note: Crochet the leftover yarn tails from the arms into this row and pull them well — and pull the stitches snug all the way around where the arms meet the body. This seam is what will carry the weight of every pose he holds later, so it’s worth the extra tug.
Row 43: 18 sc, sl st (18)
Finishing: Finish stuffing the body, cut the yarn, and leave a tail for sewing.
Head
Yarn: cream or white
Row 1: 6 sc in mr (6)
Rows 2-4: 6 sc (6)
Row 5: (1 sc, inc) × 3 = 9 sts (9)
Row 6: 9 sc (9)
Row 7: (2 sc, inc) × 3 = 12 sts (12)
Row 8: 12 sc (12)
Row 9: (3 sc, inc) × 3 = 15 sts (15)
Rows 10-11: 15 sc (15)
Row 12: (4 sc, inc) × 3 = 18 sts (18)
Rows 13-14: 18 sc (18)
✨ Sophie’s Note: Just like the body, the head gets its own piece of wire threaded into the tail, with stuffing packed around it. This is what lets Pip tilt his head instead of just facing forward forever.
Row 15: (2 sc, inc) × 6 = 24 sts (24)
Row 16: (3 sc, inc) × 6 = 30 sts (30)
Rows 17-22: 30 sc (30)
Row 23: (4 sc, inc) × 6 = 36 sts (36)
Row 24: (5 sc, inc) × 6 = 42 sts (42)
Row 25: (6 sc, inc) × 6 = 48 sts (48)
Rows 26-28: 48 sc (48)
✨ Sophie’s Note: If you’re using safety eyes, this is the moment to place them — between rows 21 and 22, with 5 stitches between the two eyes for a standard, alert expression. Move them closer together for something sadder, or further apart for something wider-eyed and more startled. This one decision changes his whole face.
Row 29: (6 sc, inv dec) × 6 = 42 sts (42)
Row 30: (5 sc, inv dec) × 6 = 36 sts (36)
Row 31: (4 sc, inv dec) × 6 = 30 sts (30)
Row 32: (3 sc, inv dec) × 6 = 24 sts (24)
Row 33: (2 sc, inv dec) × 6 = 18 sts (18)
✨ Sophie’s Note: Stuff the head firmly here — you want him solid enough to hold his shape, but not so packed that he loses all his softness.
Row 34: (1 sc, inv dec) × 6 = 12 sts (12)
Row 35: 6 inv dec, sl st (6)
Finishing: Close the opening, fasten off, and cut the yarn.
Assembly: Where Pip Becomes Someone
This is the part where three separate pieces stop being parts and start being a ghost.
- Sew the head to the top of the body, using the tail left at the base of the head.
- Gently bend the wire tails protruding from the head and body into your preferred pose — this is your one real chance to give him a starting posture before the face makes it permanent.
Giving Pip His Face — The Part That Decides His Whole Personality
This pattern doesn’t come with a separate outfit, but the decoration is where the real character work happens — and it’s worth treating it with just as much care as any dress or cape.
- Sew on the eyes and embroider the face by inserting and bringing the needle out through the base of the head. Every knot you tie here disappears once the head is sewn to the body, so there’s no need to hide your stitches.
- For a good-natured or mischievous ghost, place the eyes with 5 stitches between them. For a sadder expression, bring them in to 3 stitches apart.
- While fastening the eye threads, pull them slightly tighter than feels natural — this creates a small indentation that seats the eyes a little deeper, which reads as far more expressive than eyes sitting flush on the surface.
- Embroider a nose with a few short horizontal stitches, about 2 stitches wide, just below the eyes — straighten the yarn as you go so it lies flat rather than looping.
- Add a mouth, eyelashes, and eyebrows to taste. A single curved line reads as gentle; a jagged one reads as impish; a downturned one reads as shy or sad.
- A light dusting of dry pastel on the cheeks is optional, but it softens the whole face — it’s a small touch that makes him feel more like a character and less like a shape.
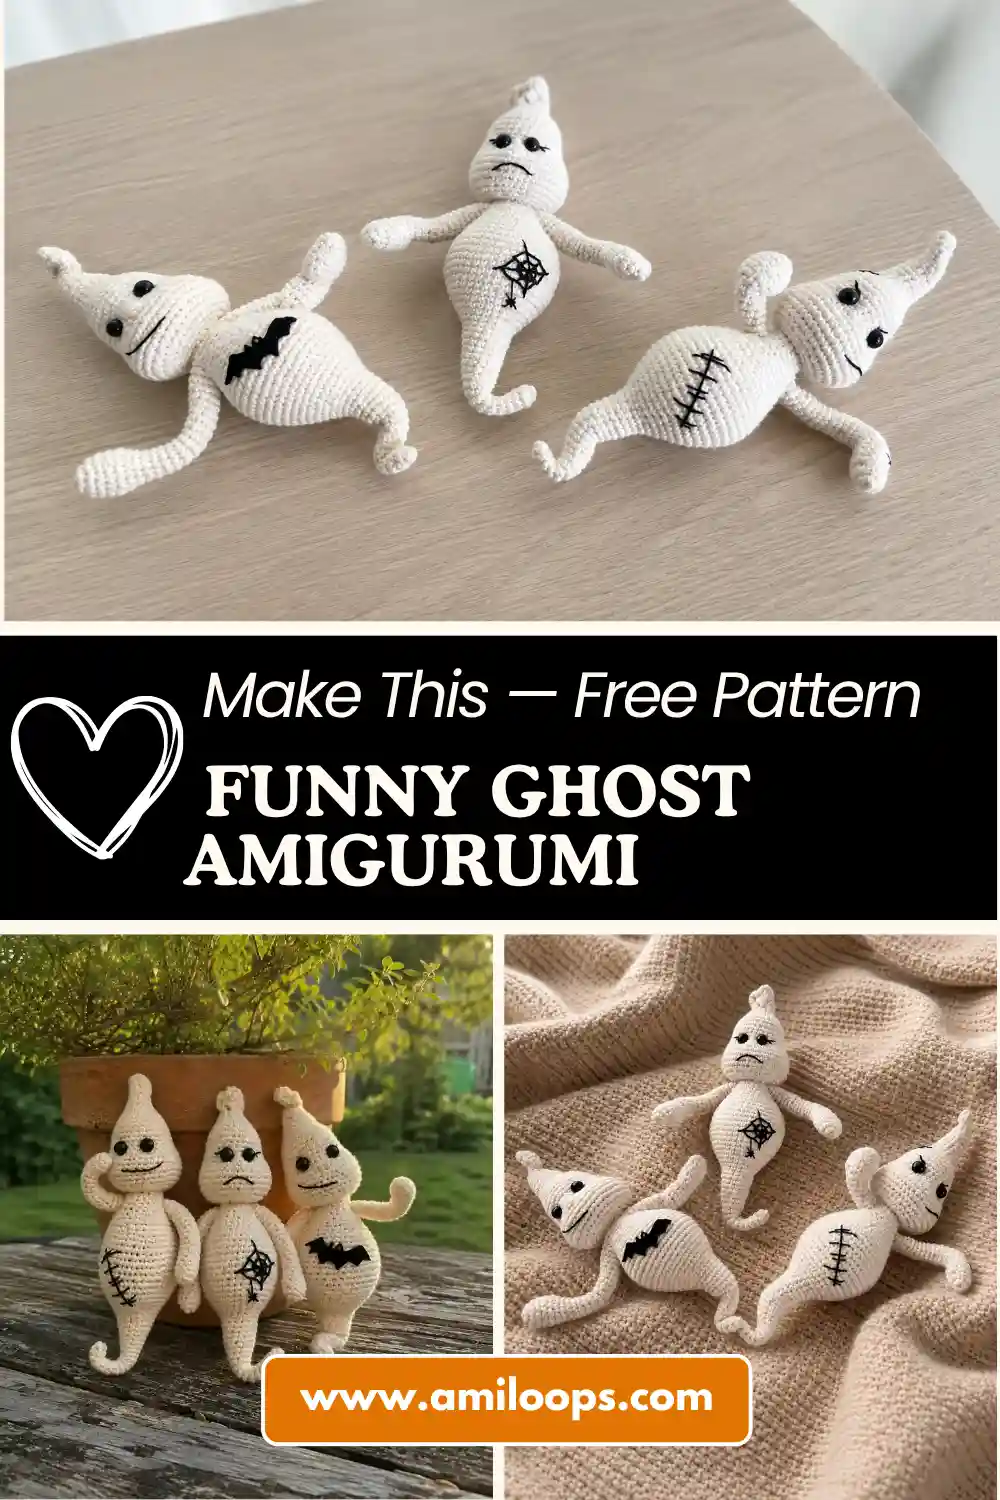
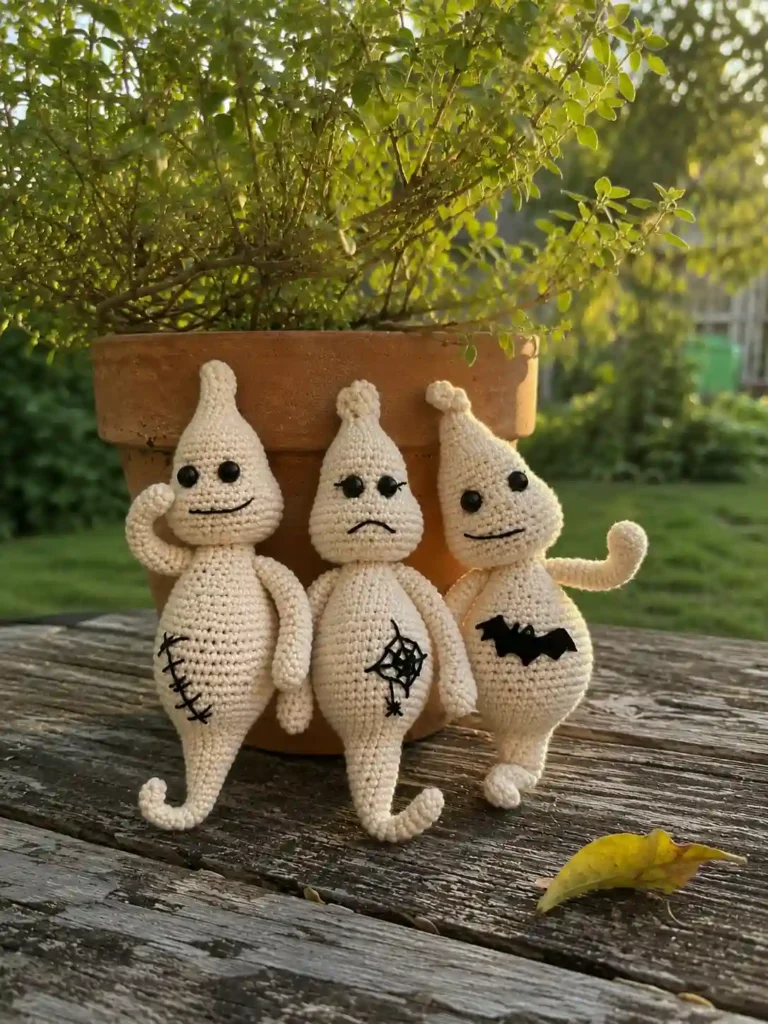
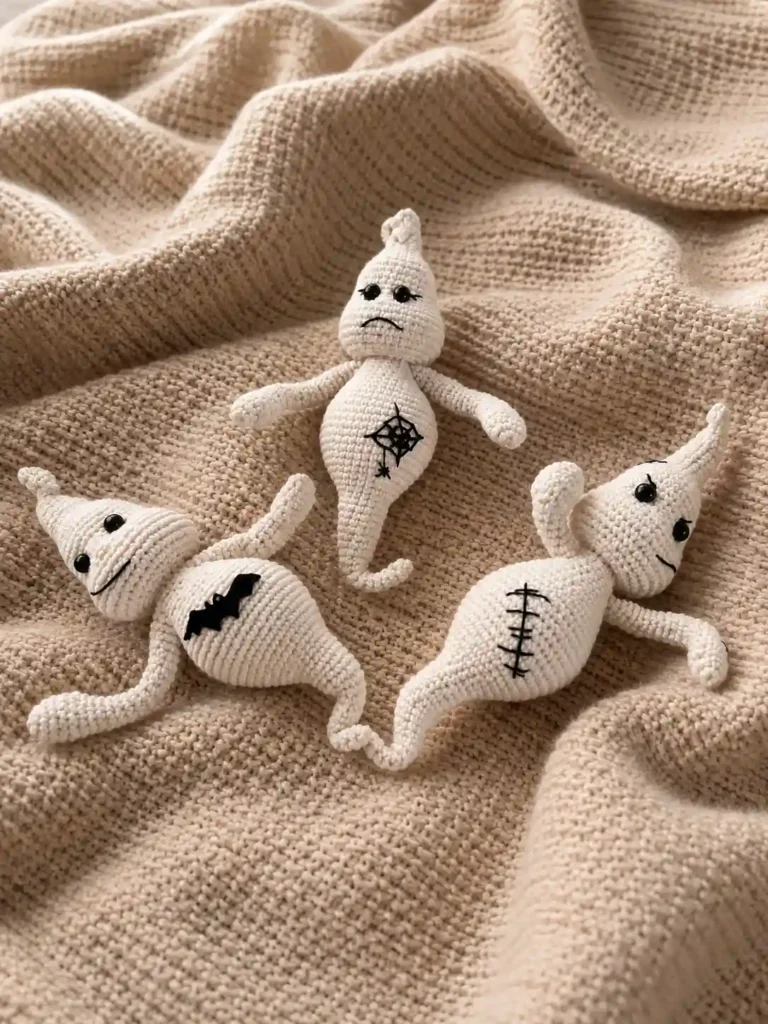
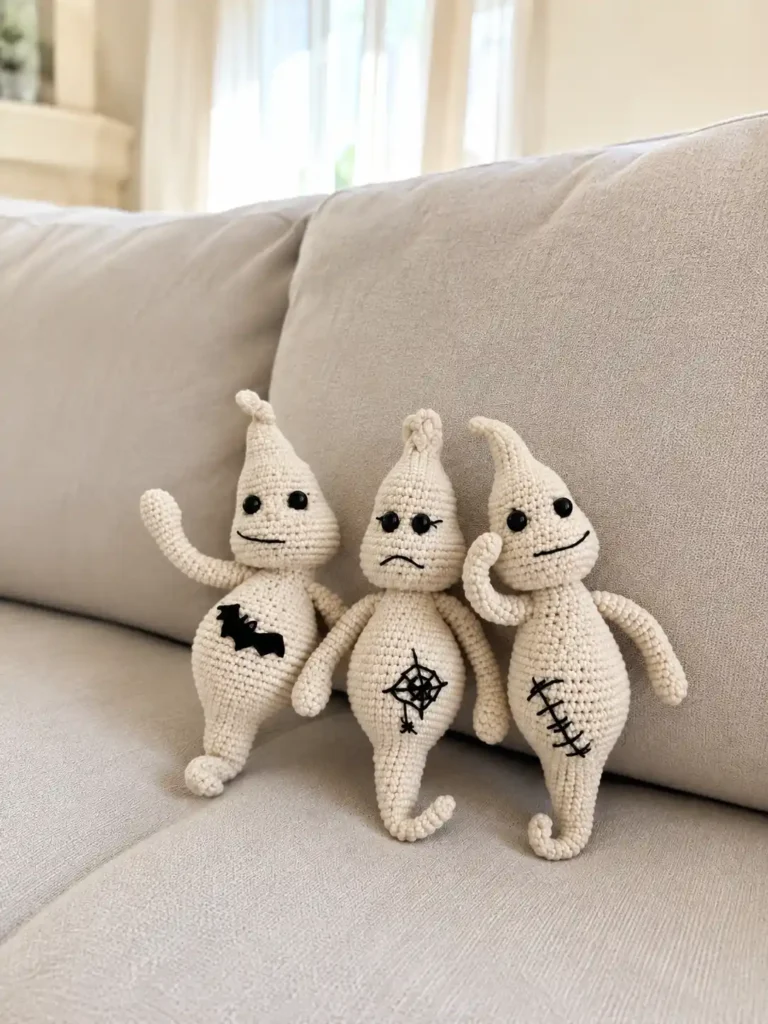
- For a more decorated, Halloween-leaning ghost, consider adding embroidered scars, a small appliqué bat, or a spiderweb-and-spider motif to the belly. None of these change the pattern — they’re entirely yours to add or skip.
✨ Sophie’s Note: Because this same shape can become three completely different ghosts just by changing eye spacing and mouth curve, don’t feel locked into one expression. I made three from this same pattern before I settled on Pip — a bolder one with wide-set eyes and a crooked grin, and a quieter one with narrow eyes and a small, worried mouth. Same body. Three entirely different souls.
If you want a companion piece with the same seasonal spirit, our crochet snowman pattern uses a similarly playful, top-hatted charm and makes a fun shelf-mate once October turns into December.
Meet Pip
Pip sits on my windowsill now, one arm bent slightly forward like he’s waving, head tilted just a little to the left. He’s not scary — not really. He’s the kind of ghost who’d rather make you laugh than jump out at you. That’s the thing about giving a shape a wire spine and a crooked little smile: it stops being a toy and starts being someone with a mood of its own. Make yours gentle, or make him mischievous, or make him a little sad — name him, bend him into a pose, and let him haunt a bookshelf or a windowsill through the whole month of October.
A note on safety: half-bead eyes and safety eyes both count as small parts, so if this one is destined for a home with young children, check the CPSC guidance on choking hazards before you decide how to finish his face.
FAQ
Is this funny ghost amigurumi free pattern suitable for beginners?
This pattern is rated as intermediate. While the stitches are simple, it involves working with a hidden wire armature and managing invisible decreases for a smooth finish.
What kind of yarn is best for this crochet ghost?
A cream or white DK/Light Worsted (3) weight yarn works best. Mercerized cotton is highly recommended as it provides a soft, ghostly glow and keeps the shape crisp.
Can I wash this amigurumi if it has a wire skeleton?
Because of the craft wire inside, it is best to gently spot-clean this amigurumi rather than fully submerging or machine washing it, which could cause the wire to rust or lose its shape.