Little Bulb Amigurumi Pattern: A Tiny Crochet Sprout with Wings and Pink Buds
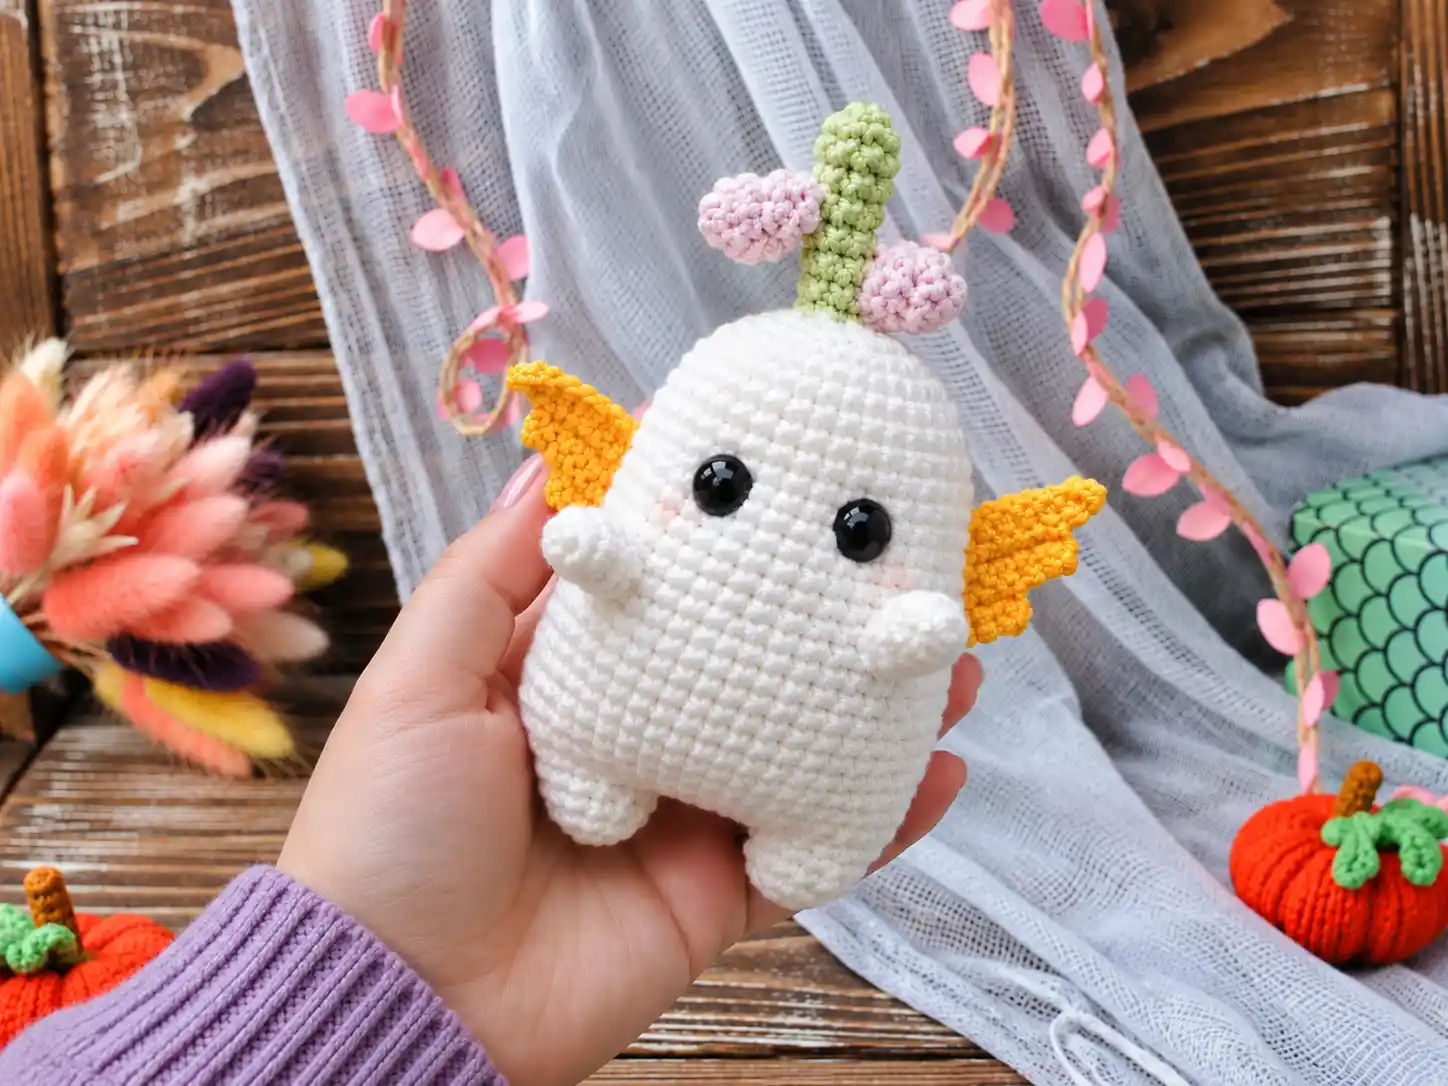
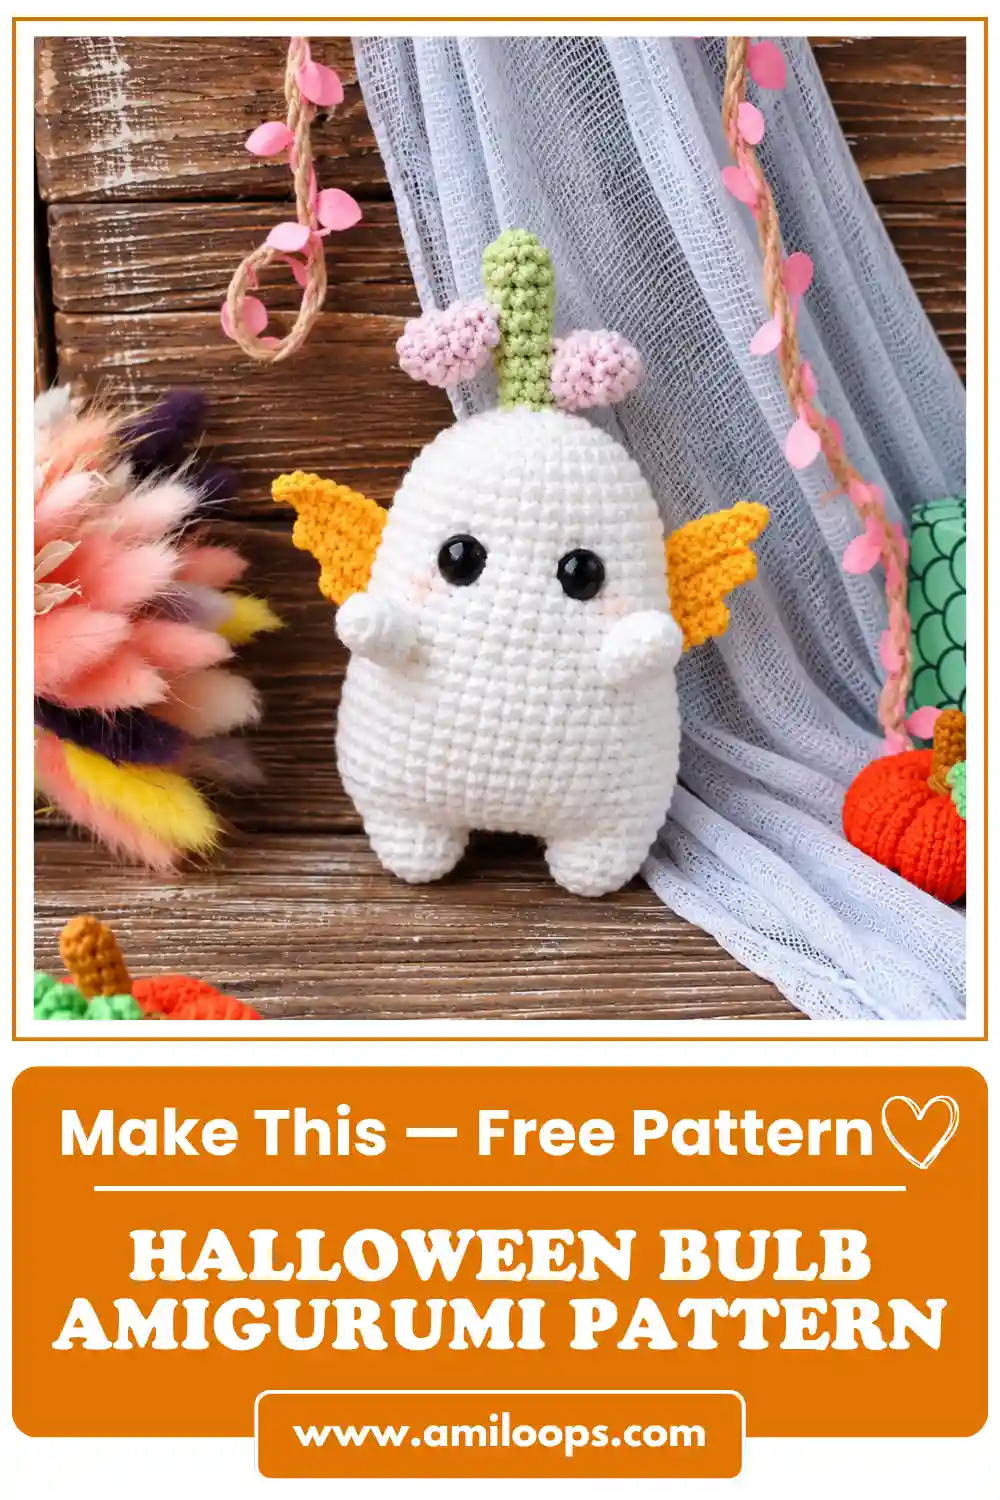
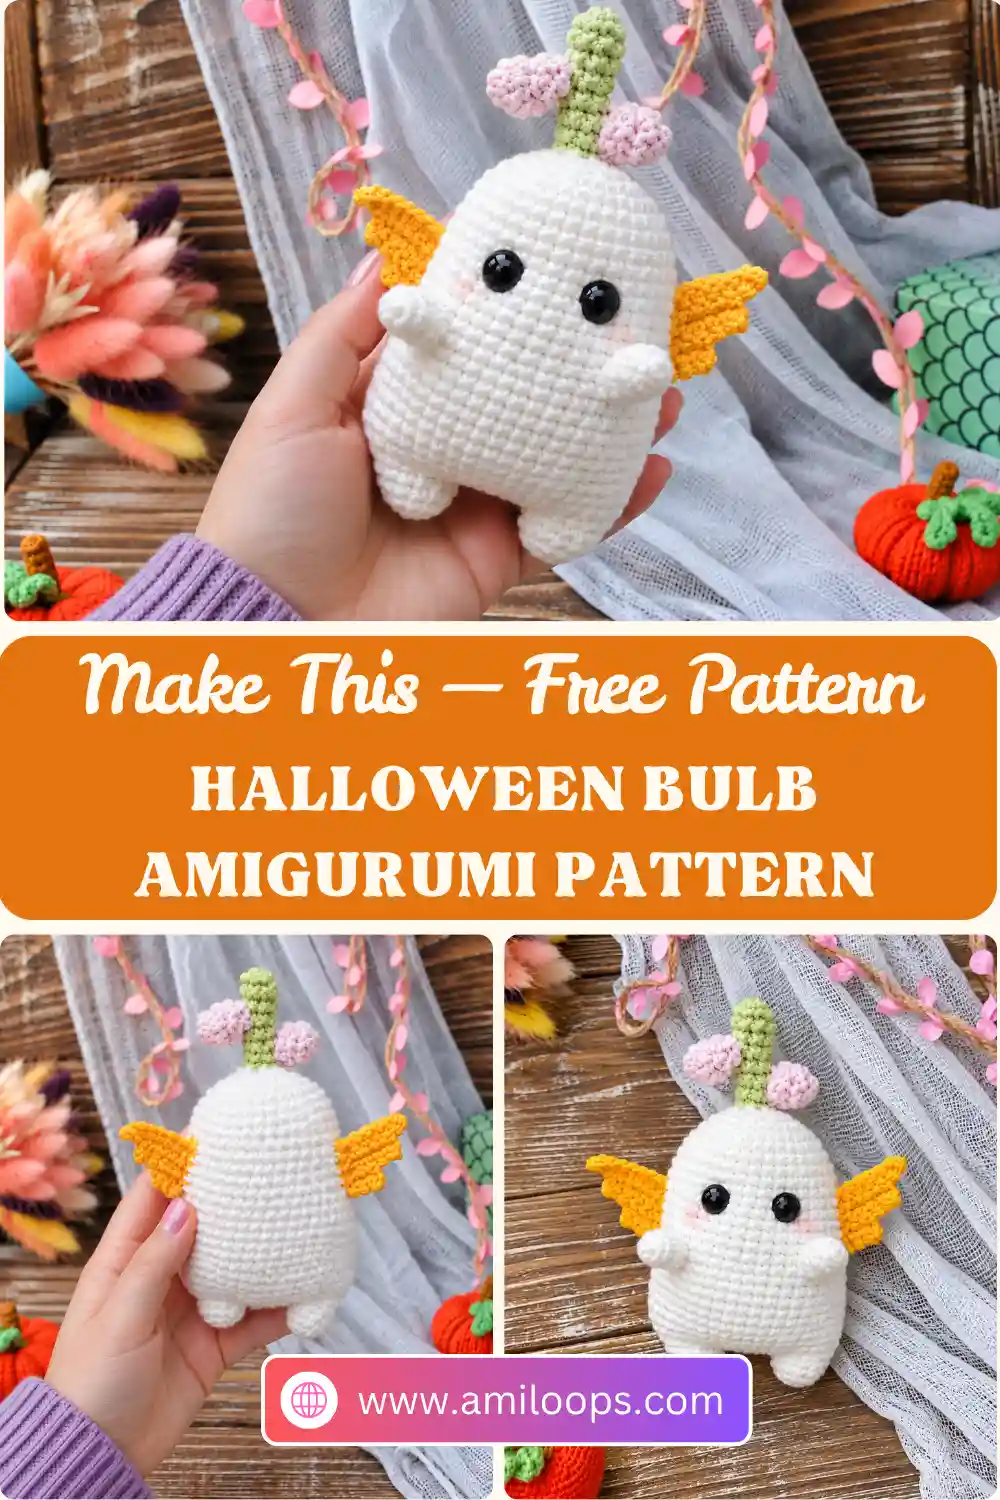
This bulb amigurumi pattern turns a tiny white bulb into a little character with plenty of personality: two stubby legs, a round head with 8 mm safety eyes, a green stem sprouting from the top, two pink buds and a pair of small yellow wings. The pattern gives a finished size of 7 cm (about 2¾ in), so it works up as a sweet pocket-sized make.
What makes it satisfying is how much of it comes off the hook in one piece. You crochet both legs, link them with a short chain, and keep going in continuous rounds straight through the body and head. Then you switch to green and the stem grows right out of the top, so there is no stem to attach later. Only the arms, buds and wings are made separately and sewn on at the end, along with a pair of embroidered cheeks.
Materials Abbreviations Legs, Body and Head Arms Buds Wings Assembly FAQ
Skill level: Easy · Finished size: 7 cm (about 2¾ in) · Terms: US crochet
Before your first stitch: The legs, body and head are worked from the feet up in continuous rounds, without joining at the end of each round. Keep a stitch marker in the first stitch of every round. Rnds 4–14 are eleven plain rounds of 48 stitches, and it is easy to lose your place without one.
Plan your colors: White forms the legs, body, head and arms, green forms the stem, pink is for the buds and yellow is for the wings. The only color change inside a piece happens at the top of the head, where the stem begins.
Materials
- Main color (legs, body, head and arms): Karamelka yarn, white
- Wings: yellow yarn, YarnArt Jeans, color 35
- Stem: green yarn, YarnArt Jeans, color 11
- Buds: pink yarn, YarnArt Jeans, color 74
- 1.5 mm crochet hook
- 8 mm safety eyes
- Scissors
- Stitch markers
Abbreviations
This pattern uses US crochet terms. If you usually work from UK patterns, the Craft Yarn Council’s crochet abbreviations chart is a handy side-by-side reference.
| Abbreviation | Meaning |
|---|---|
| MR | Magic ring |
| ch | Chain |
| sc | Single crochet |
| inc | Increase: 2 sc in the same stitch |
| dec | Decrease: sc 2 stitches together (sc2tog) |
| st(s) | Stitch(es) |
| Rnd | Round |
| [ ] … times | Repeat the steps in brackets the stated number of times |
| ( ) | At the end of a round: total stitches in that round |
Legs, Body and Head
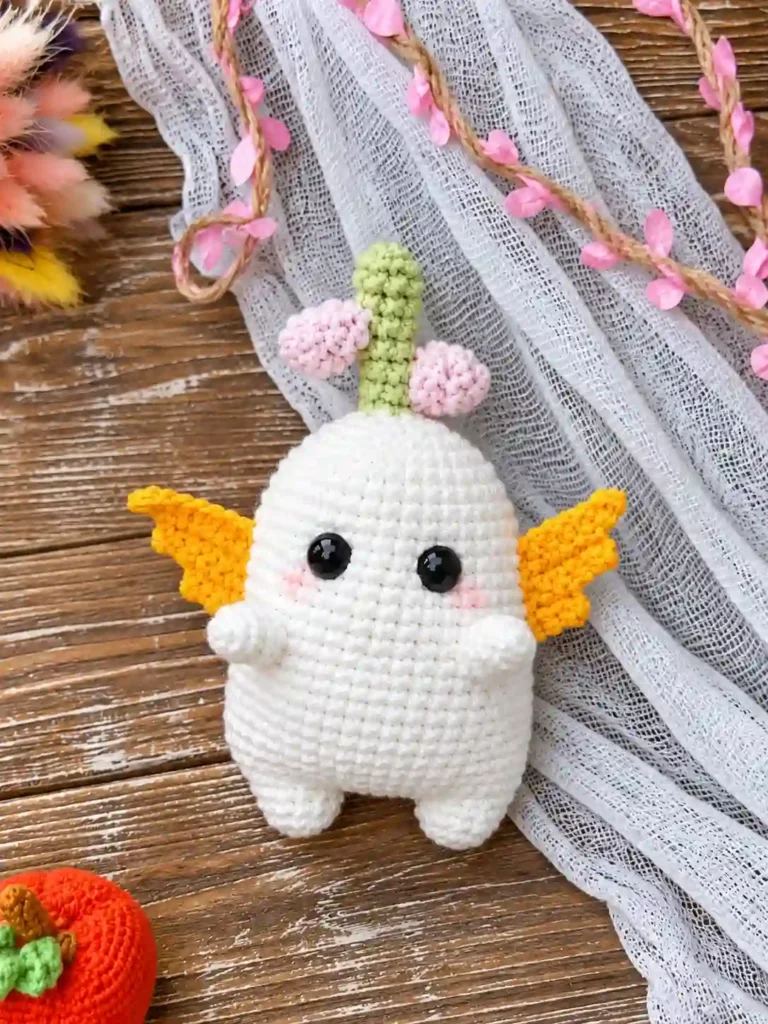
Work in continuous rounds.
First Leg (white)
Rnd 1: 6 sc in MR (6)
Rnd 2: Inc in each st around (12)
Rnds 3–4: Sc in each st around (12)
Fasten off, leaving a yarn tail.
Second Leg (white)
Make it the same way as the first leg, but do not cut the yarn. You will keep working from this leg straight into the body.
Body and Head (white)
Join the legs: Continuing from the second leg, ch 6 toward the first leg.
How the join works: The 6-chain bridges the gap between the legs. In the next round you travel all the way around the first leg, back along one side of the chain, all the way around the second leg, and then along the other side of the same chain. That closes the loop and gives you the 36-stitch base of the body.
Rnd 1: 12 sc around the first leg, 6 sc along the chain, 12 sc around the second leg, 6 sc along the other side of the chain (36)
Mark the beginning of the round with a stitch marker.
Rnd 2: [5 sc, inc] 6 times (42)
Rnd 3: [6 sc, inc] 6 times (48)
Rnds 4–14: Sc in each st around (48)
Rnd 15: [6 sc, dec] 6 times (42)
Rnds 16–21: Sc in each st around (42)
Eye placement: Insert the safety eyes between the 4th and 5th of these six 42-st rounds (between Rnds 19 and 20), with 4 sts between the eyes. Lock the backs on while the head is still open. Our guide on how to safely attach safety eyes to your amigurumi walks through the process.
Rnd 22: [5 sc, dec] 6 times (36)
Rnds 23–24: Sc in each st around (36)
Rnd 25: [4 sc, dec] 6 times (30)
Rnd 26: [3 sc, dec] 6 times (24)
Stuffing: The pattern doesn’t name a stuffing step, but the finished bulb has a plump, rounded shape. With the eye backs already secured, this is a comfortable point to fill the legs, body and head with fiberfill while the opening is still wide enough to reach inside. Top up just before Rnd 29 closes it down to 6 sts. For tips on getting a smooth shape, see how to stuff amigurumi without lumps.
Rnd 27: [2 sc, dec] 6 times (18)
Rnd 28: [Sc, dec] 6 times (12)
Rnd 29: Dec 6 times (6)
Stem (green)
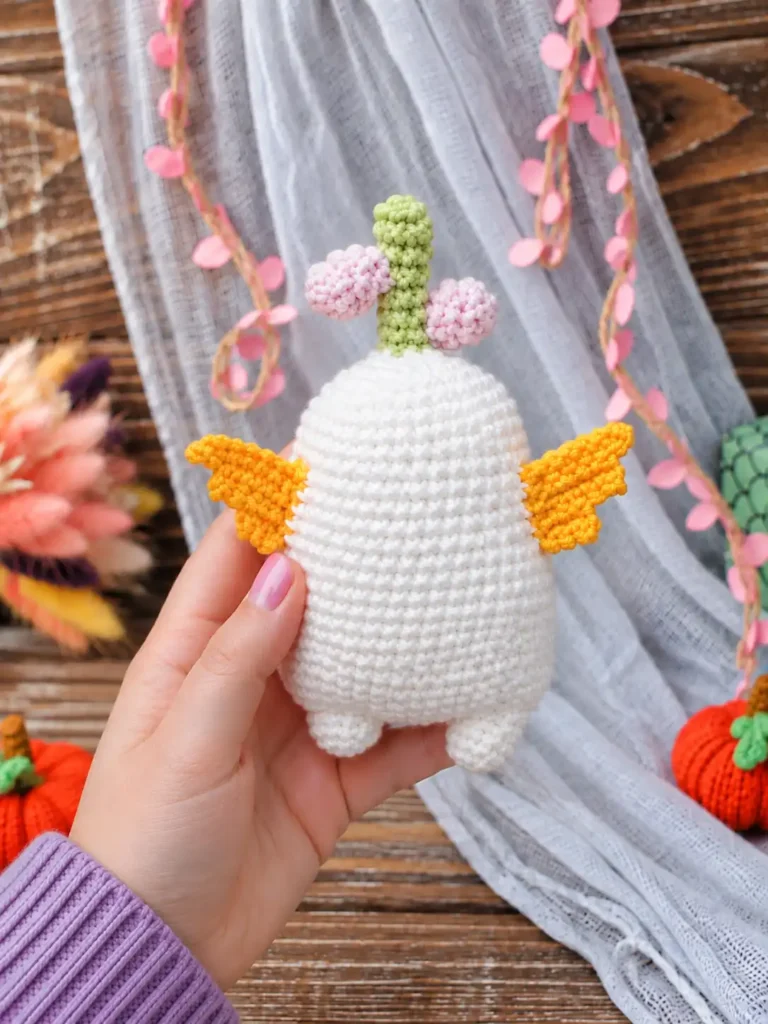
Color change: Join the green yarn. For a tidier switch, you can finish the last stitch of Rnd 29 by pulling the final loop through with green, as shown in this color-change tutorial from Yarnspirations.
Rnds 30–36: Sc in each st around (6)
Fasten off, leaving a yarn tail. Sew the opening closed.
Arms (white, make 2)
Rnd 1: 6 sc in MR (6)
Rnds 2–4: Sc in each st around (6)
Fasten off, leaving a yarn tail for sewing.
Buds (pink, make 2)
Rnd 1: 6 sc in MR (6)
Rnds 2–3: Sc in each st around (6)
Fasten off, leaving a yarn tail for sewing.
Wings (yellow, make 2)
Work in rows, turning with a turning chain. Each step narrows the wing on the same edge, which gives it a stepped, bat-like outline.
Draft note: The number of rows worked in each step needs clarification before you crochet the wings.
Step 1: Ch 8. Don’t count the first ch from the hook. Work 1 row of 7 sc, using a turning chain. Instruction pending clarification.
Step 2: Work 5 sc, leaving the remaining 2 sts unworked. Work 1 row of 5 sc, using a turning chain. Instruction pending clarification.
Step 3: Work 3 sc, leaving the remaining 2 sts unworked. Work 1 row of 3 sc, using a turning chain. Instruction pending clarification.
Fasten off, leaving a yarn tail for sewing.
Assembly
- Sew on the arms, one on each side of the body.
- Embroider the cheeks just below the eyes; they are soft pink on the finished bulb.
- Sew the two buds onto the green stem, one on each side.
- Sew on the wings, one on each side of the back.
A helpful note: Use the tails you left on each small piece for sewing. Pinning a piece in place first lets you check it from the front, sides and back before you commit. For stitch-by-stitch help, see how to sew amigurumi parts together.
Questions about the Little Bulb
How big is the finished Little Bulb?
The pattern gives a finished size of 7 cm (about 2¾ in), worked with a 1.5 mm hook. Your bulb may come out slightly larger or smaller depending on your yarn and tension.
How are the two legs joined into the body?
Keep the yarn attached after the second leg and ch 6 toward the first leg. Rnd 1 of the body then works 12 sc around the first leg, 6 sc along the chain, 12 sc around the second leg and 6 sc along the other side of the chain, for 36 sts.
Where do the safety eyes go?
Between Rnds 19 and 20, which are the 4th and 5th of the six plain 42-stitch rounds, with 4 sts between the eyes. Secure them while the head is still open.
Do I need to sew on the stem?
No. The stem is worked straight on from the top of the head. Join green after Rnd 29, work Rnds 30–36 with 1 sc in each of the 6 sts, then fasten off and sew the opening closed.
How many buds does the bulb have, and where do they go?
Make two pink buds, each a 6-stitch piece worked for 3 rounds. Sew them onto the green stem, one on each side, after the arms and cheeks are done.