Little Gnome Crochet Pattern: Free Amigurumi Doll with a Leafy Hat
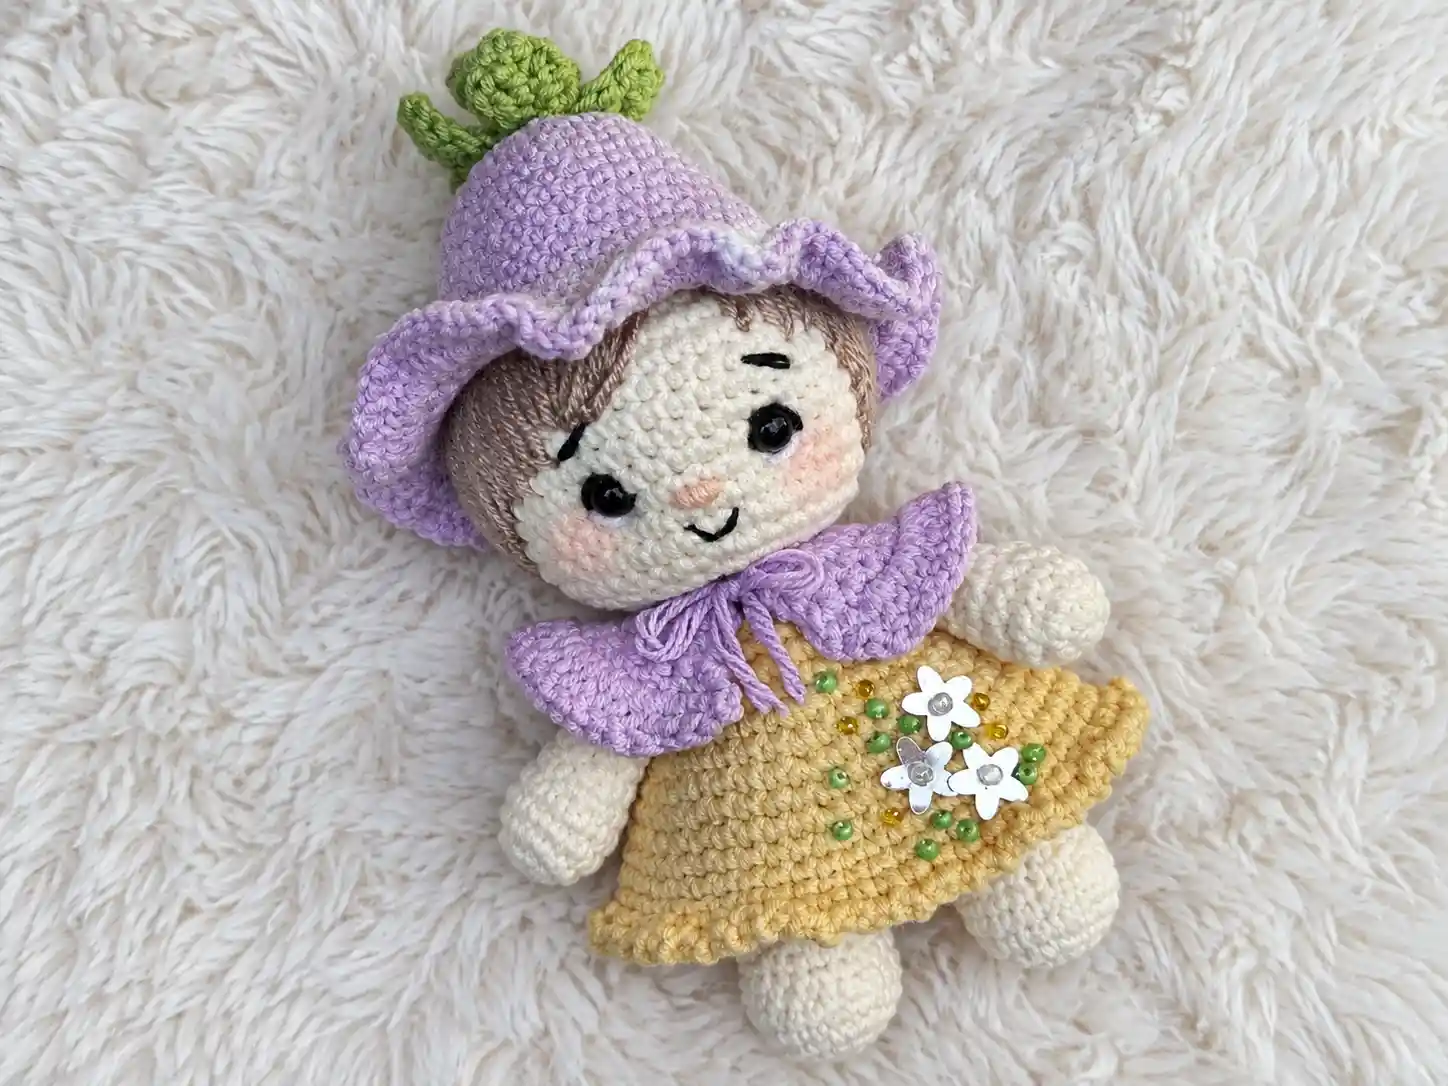
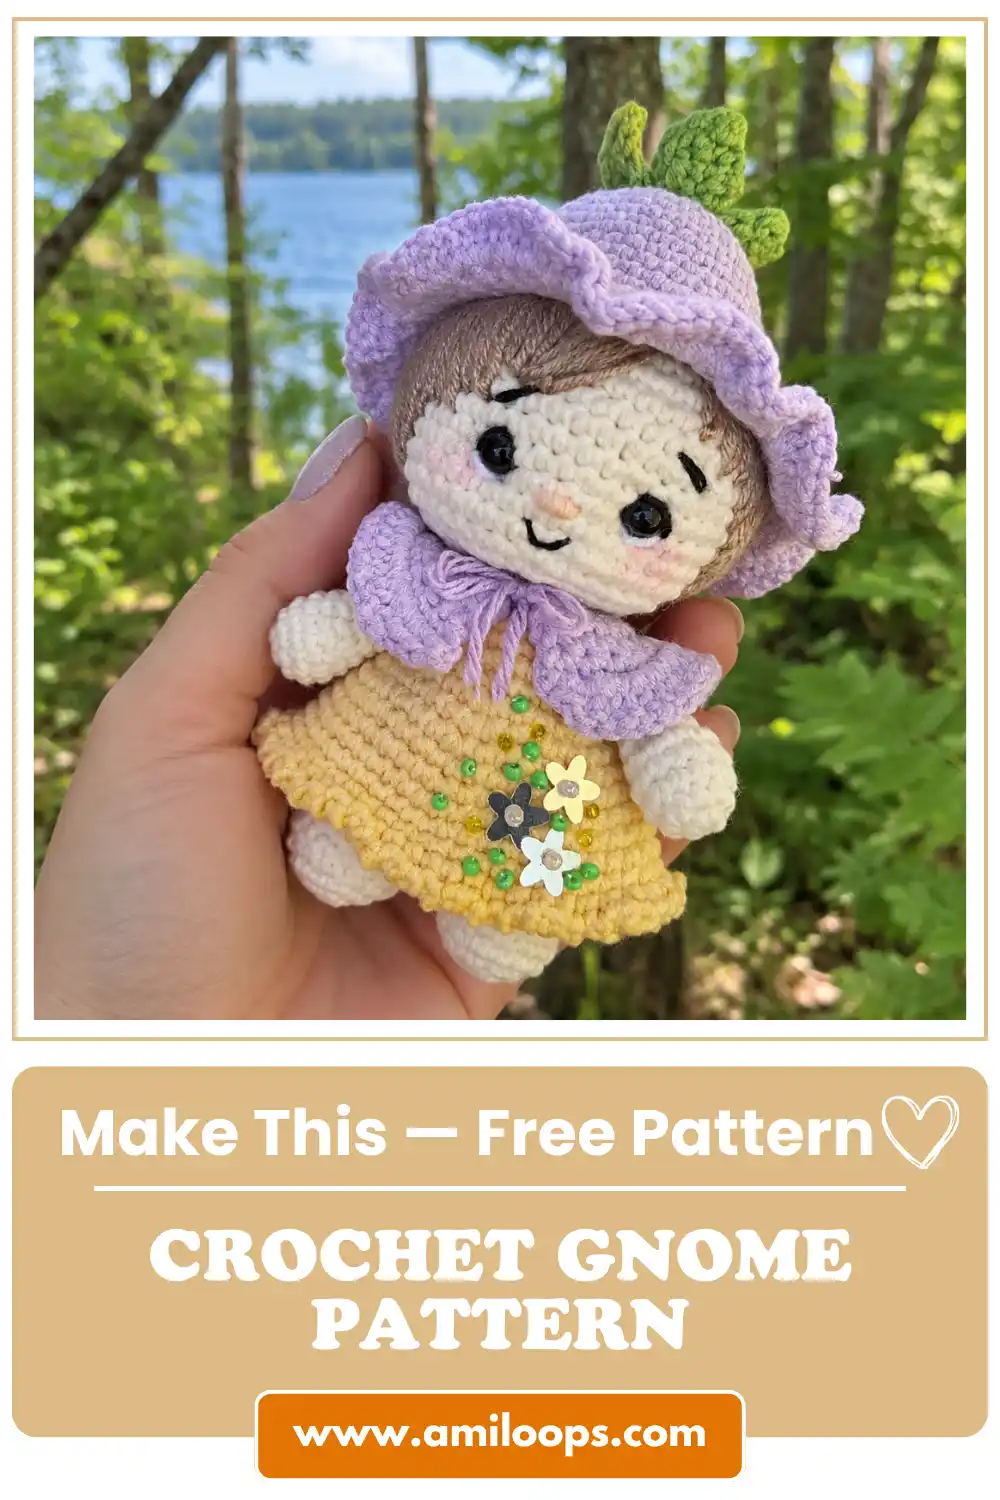
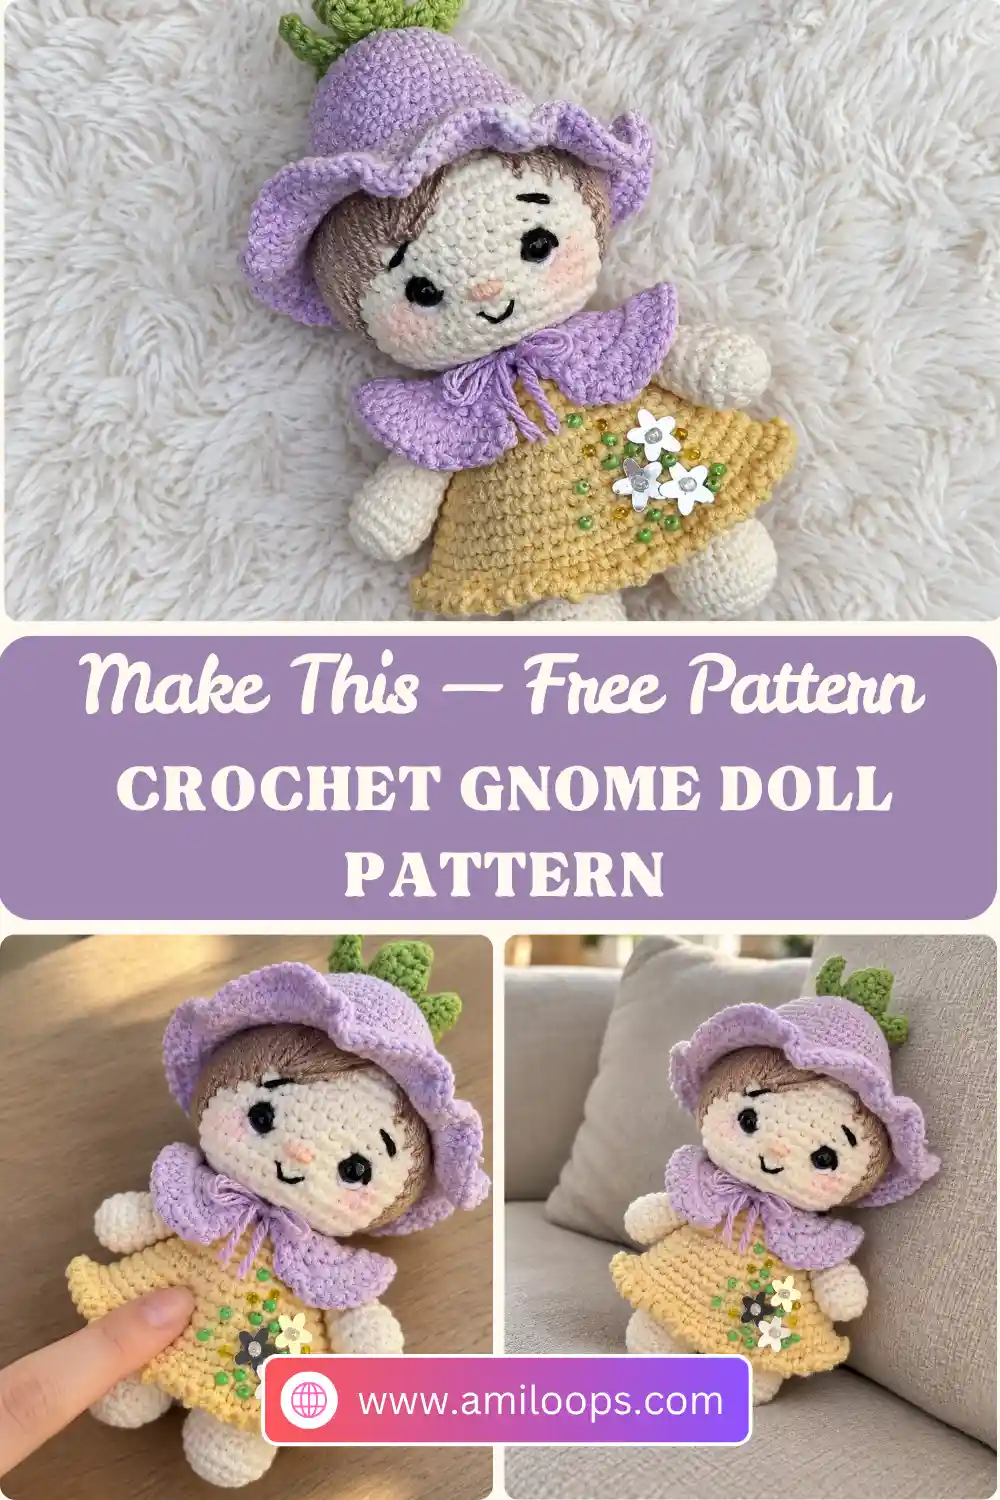
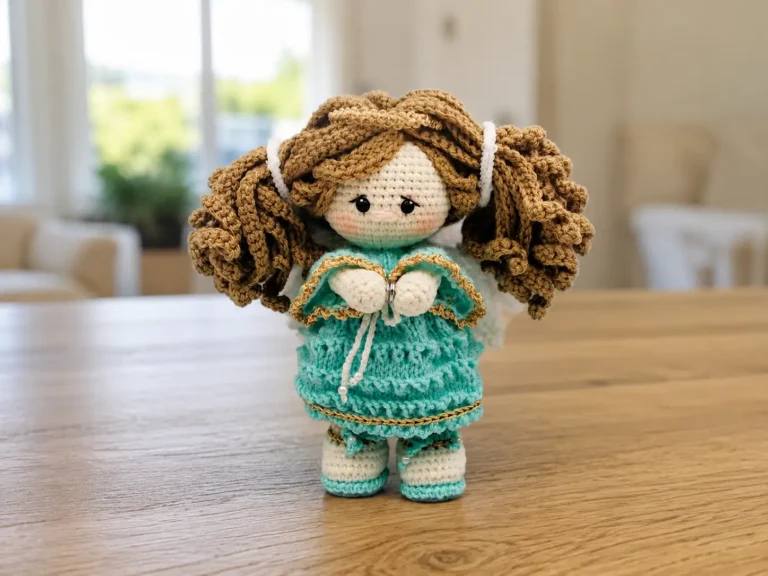
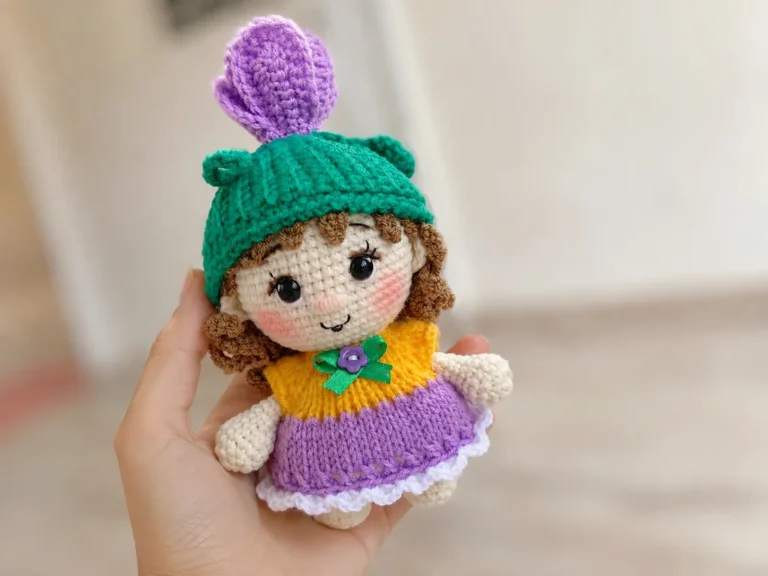
This little crochet gnome pattern makes a soft doll who is half garden gnome, half flower bud: a tall hat with a ruffled brim, five crochet leaves and a tiny stem sitting on top of it like a calyx, and a skirt that flares straight out of her body. A separate ruffled collar with ties finishes the neck, and a full head of Alize Extra hair is sewn on densely enough to hide every gap.
What makes her satisfying to work is the construction. The two legs, the whole torso and the neck share one continuous set of round numbers — you crochet the legs, join them with a single chain, and keep counting right up to Rnd 20. The dress is then picked up from the free loops left behind by a back-loop round, so the skirt is part of the body rather than a piece you attach afterwards. That leaves only the arms, the head, the hat, the calyx and the hair to sew.
Materials Abbreviations Pattern Finishing FAQ
Before your first stitch: the legs and the body share one run of round numbers, 1 through 20. Rnds 1–7 are the legs and Rnd 8 is the round that joins them together, so don’t reset your counter when you move on to the body.
Keep the front loops of Rnd 19: that body round is worked in back loops only, and the ring of free front loops it leaves is exactly where Rnd 1 of the dress is worked. Leave those loops alone until you get to the skirt.
About the stuffing: stuffing is on the materials list and the timing is left to you. Fill each closed piece as you go, while the opening is still wide — the head and the body are much easier to shape before the closing decreases tighten them. Our guide to stuffing amigurumi without lumps covers how firm to go.
Gather your materials
- Body: YarnArt Jeans — 03
- Dress: YarnArt Jeans — 88
- Hat and collar: YarnArt Jeans — 89
- Calyx and leaves: Gazzal Jeans — 1128
- Hair: Alize Extra — 95
- 2 mm hook
- 4 mm eyes
- Stuffing
- A large needle for sewing the pieces together
- Stitch marker
- Scissors
Abbreviations used here
The pattern is written in US crochet terms, and these are the only abbreviations it uses. If you ever want to check one against the standard list, or work out whether a pattern you have found elsewhere is written in US or UK terms, the Craft Yarn Council’s crochet abbreviations page is the reference to keep open.
| Abbreviation | Meaning |
|---|---|
| MR | magic ring |
| ch | chain |
| sl st | slip stitch |
| sc | single crochet |
| inc | increase: 2 sc in the same stitch |
| dec | decrease: work the next 2 sts together as 1 sc |
| hdc | half double crochet |
| dc | double crochet |
| BLO | work in the back loop only |
Legs (make 2)
Every piece worked in the round here opens with 6 sc in a magic ring. If that start still gives you trouble, our step-by-step magic ring tutorial walks through pulling it closed neatly.
Rnd 1: 6 sc in MR (6)
Rnd 2: 6 inc (12)
Rnd 3: [3 sc, inc] 3 times (15)
Rnds 4–7: 15 sc (4 rnds)
Fasten off and cut the yarn. Work the second leg the same way, but do not cut the yarn — that working end carries straight on into the body.
Body
Continue working on the second leg. Ch 1 and join to the first leg.
How the join counts: that single chain is worked into twice during Rnd 8 — once after you come off the first leg, and once after you come off the second. Fifteen stitches around each leg plus those two stitches is what brings the round to 32.
Rnd 8: 15 sc around the first leg, 1 sc in the ch, 15 sc around the second leg, 1 sc in the ch (32)
Rnds 9–13: 32 sc (5 rnds)
Rnd 14: [6 sc, dec] 4 times (28)
Rnd 15: 28 sc (28)
Rnd 16: [5 sc, dec] 4 times (24)
Rnd 17: 24 sc (24)
Rnd 18: [2 sc, dec] 6 times (18)
Color change: change to yellow. On the materials list, the dress color is YarnArt Jeans 88. If you would like the change to sit cleanly, you can optionally complete the last pull-through of the previous stitch with the new color, as Yarnspirations demonstrates — just keep the change at the point the pattern puts it.
Rnd 19: working in BLO, 18 sc (18)
Rnd 20: [1 sc, dec] 6 times (12)
Fasten off and cut the yarn. The 12 stitches of Rnd 20 are the neck the head will be sewn to.
Dress
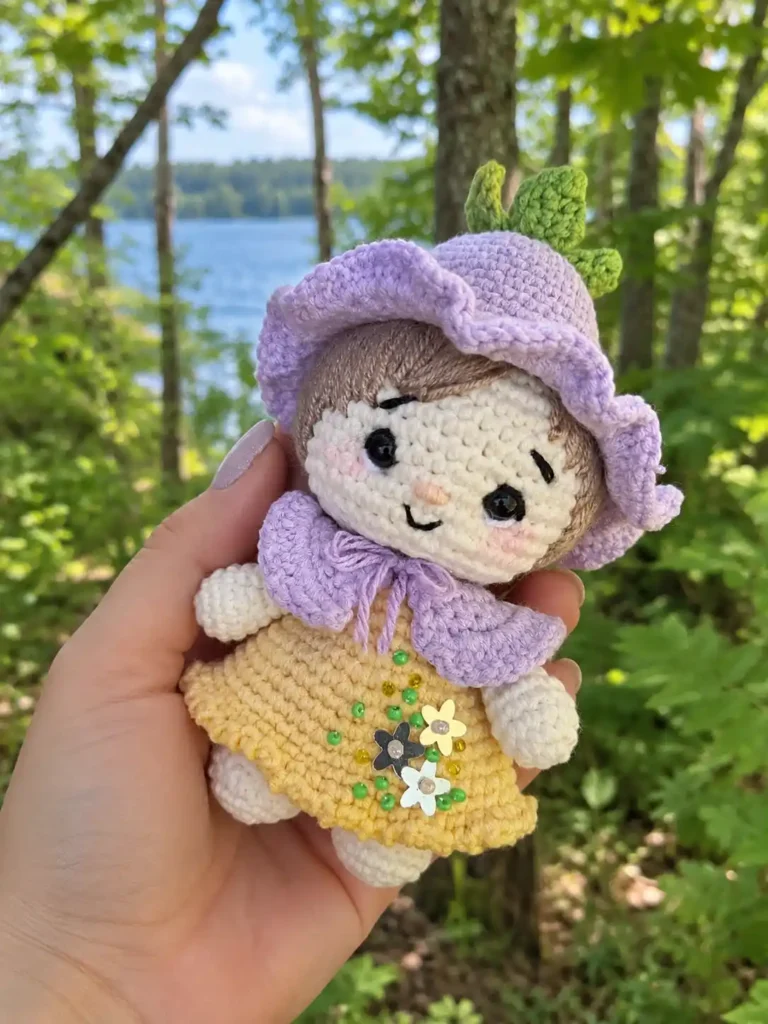
Join the yellow yarn to the free loops of Rnd 19 — the front loops you left behind when you worked that round in BLO. The dress has its own round numbering, starting again at 1.
Rnd 1: 18 sc (18)
Rnd 2: [2 sc, inc] 6 times (24)
Rnd 3: 24 sc (24)
Rnd 4: [3 sc, inc] 6 times (30)
Rnd 5: 30 sc (30)
Rnd 6: [4 sc, inc] 6 times (36)
Rnd 7: 36 sc (36)
Rnd 8: [5 sc, inc] 6 times (42)
Rnd 9: 42 sc (42)
Rnd 10: [6 sc, inc] 6 times (48)
Rnds 11–13: 48 sc (3 rnds)
Rnd 14: [1 sc, ch 2, 1 sc, ch 2] repeat to the end of the round.
Fasten off and cut the yarn. Rnd 14 is the decorative hem: the chain-2 spaces sit between the single crochets and give the skirt its scalloped edge instead of a flat finish.
Arms (make 2)
Rnd 1: 6 sc in MR (6)
Rnd 2: 6 inc (12)
Rnds 3–5: 12 sc (3 rnds)
Rnd 6: [2 sc, dec] 3 times (9)
Rnds 7–11: 9 sc (5 rnds)
Rnd 12: [1 sc, dec] 3 times (6)
Draw the opening closed, then fasten off and cut the yarn.
Head
Rnd 1: 6 sc in MR (6)
Rnd 2: 6 inc (12)
Rnd 3: [1 sc, inc] 6 times (18)
Rnd 4: [2 sc, inc] 6 times (24)
Rnd 5: [3 sc, inc] 6 times (30)
Rnd 6: [4 sc, inc] 6 times (36)
Rnd 7: [5 sc, inc] 6 times (42)
Rnds 8–17: 42 sc (10 rnds)
Eyes: insert the eyes between Rnds 14 and 15, 6 sc apart. The pattern gives this instruction here, before the decreases begin, while the head is still open and easy to reach into.
Rnd 18: [5 sc, dec] 6 times (36)
Rnd 19: [4 sc, dec] 6 times (30)
Rnd 20: [3 sc, dec] 6 times (24)
Rnd 21: [2 sc, dec] 6 times (18)
Rnd 22: [1 sc, dec] 6 times (12)
Fasten off, and leave a long yarn tail for sewing — this is the tail that will attach the head to the 12-stitch neck.
Hat
Rnd 1: 6 sc in MR (6)
Rnd 2: 6 inc (12)
Rnd 3: [1 sc, inc] 6 times (18)
Rnd 4: [2 sc, inc] 6 times (24)
Rnd 5: 24 sc (24)
Rnd 6: [3 sc, inc] 6 times (30)
Rnd 7: 30 sc (30)
Rnd 8: [4 sc, inc] 6 times (36)
Rnds 9–11: 36 sc (3 rnds)
Rnd 12: [5 sc, inc] 6 times (42)
Rnd 13: 42 sc (42)
Rnd 14: [6 sc, inc] 6 times (48)
Rnds 15–18: 48 sc (4 rnds)
About the brim: the last round turns the plain edge into a dense double crochet ruffle. The ch 3 counts as the first dc, so the stitch you start in ends up holding three dc, and the repeat that follows alternates two and three dc in each stitch. Work it all the way around to the end of the round — the brim is meant to be full rather than counted to a target number.
Rnd 19: Sl st, ch 3, 2 dc in the same stitch, then [2 dc in 1 st, 3 dc in 1 st] repeat to the end of the round.
Fasten off and cut the yarn.
Calyx
Leaves (make 5)
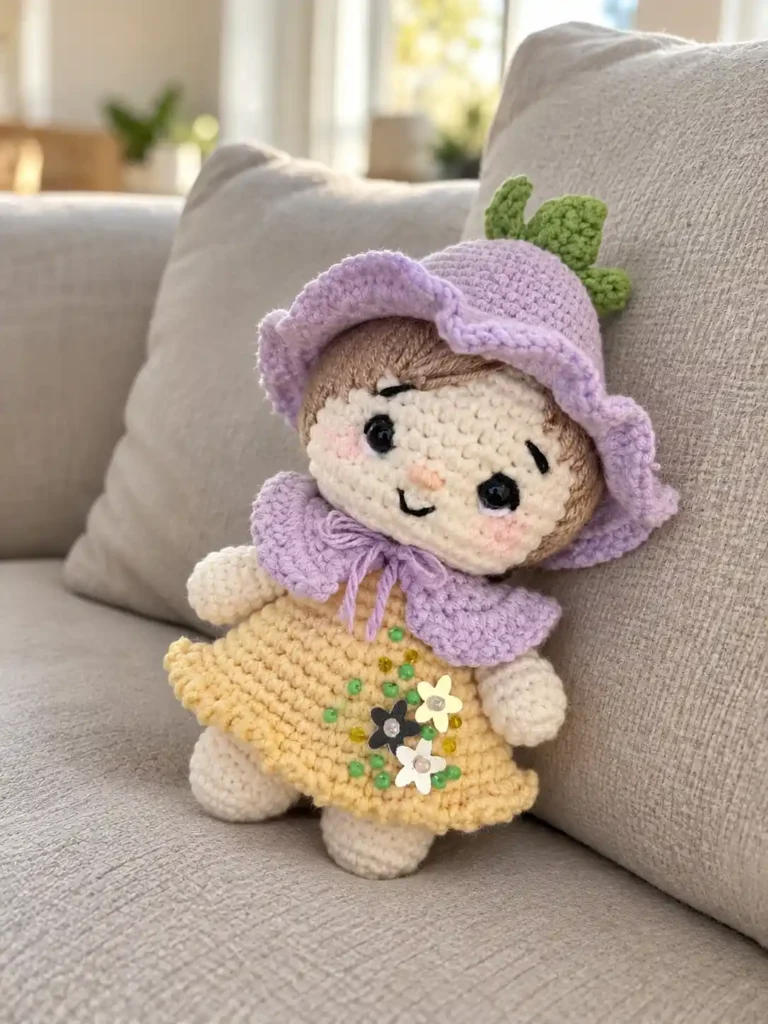
Ch 6. The whole leaf is one pass back along that chain, with the 3 sc worked into a single stitch forming the point at the far end.
Leaf: starting in the 2nd ch from the hook — 1 sc, 1 hdc, 1 dc, 1 hdc, 3 sc in the stitch, 1 hdc, 1 dc, 1 hdc, 1 sc (11)
Fasten off and cut the yarn.
Stem
Rnd 1: 6 sc in MR (6)
Rnds 2–6: 6 sc (5 rnds)
Fasten off and cut the yarn.
Order matters here: sew the leaves to the hat first, and only then sew the stem to the leaves.
Collar
The collar is the one piece worked flat: rows, turning at the end of each row. Ch 15 to begin.
Row 1: starting in the 2nd ch from the hook, 14 inc (28)
Rows 2–4: 28 sc (28)
Row 5: [3 sc, inc] 7 times (35)
Row 6: 1 sc, 2 hdc in 1 st, [2 dc in 1 st] 31 times, 2 hdc in 1 st, 1 sc
Fasten off and cut the yarn. Row 6 works across all 35 stitches of Row 5 — one stitch at each end, and 31 doubled stitches between them — which is what makes the outer edge flare.
Make ties at both ends of Row 1. Row 1 is the neck edge, so the ties end up at the throat.
Finishing
- Make the hair. Cover the whole head all the way around, sewing densely so no gaps show.
- Add the sculpting stitches — the shaping pull-through.
- Embroider the face.
The hair is the step worth slowing down for: because the hat sits on top and the calyx above that, the coverage around the back and sides is what the doll is judged on once everything is assembled.
Assembly
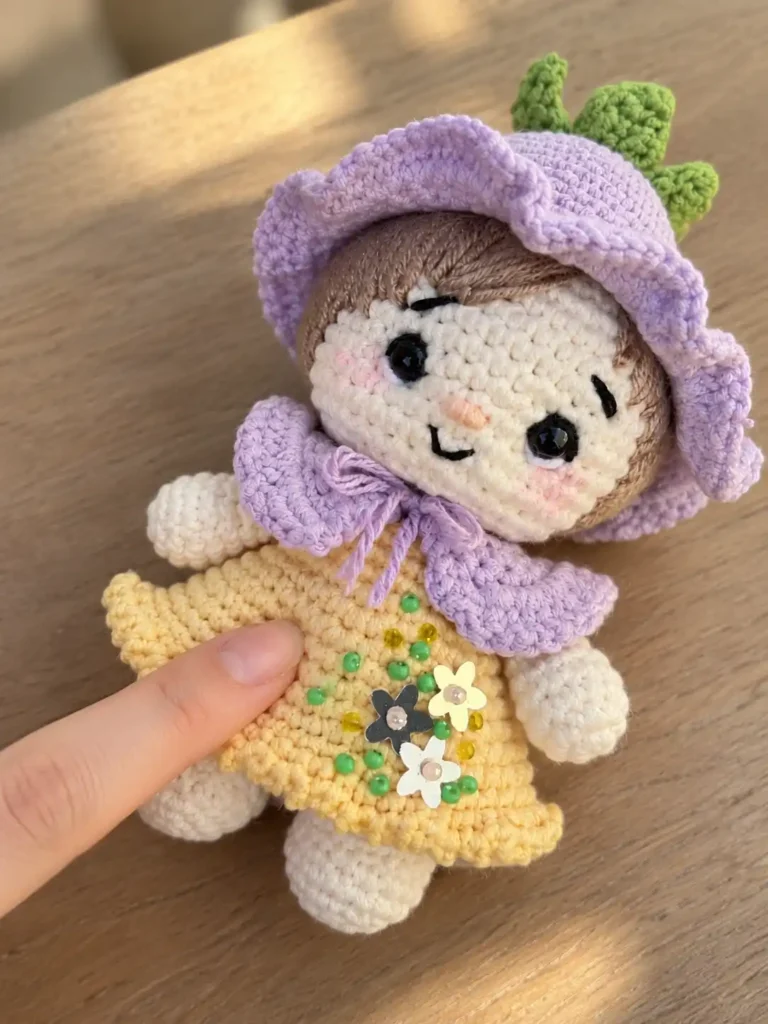
- Sew the arms to the body between Rnds 18 and 19.
- Sew on the head.
- Put the collar on the doll.
- Sew on the hat.
On the arm placement: Rnds 18 and 19 of the body are the shoulder area just below the neck, right where the skirt is picked up — so the arms sit at the top of the dress. If your seams tend to show, our guide to sewing amigurumi parts together covers pinning and placing before you commit to a stitch.
Questions about this gnome
How do the two legs become one body?
Both legs are worked to Rnd 7. The first is fastened off and cut; the second keeps its working yarn. You ch 1 on the second leg and join it to the first, then Rnd 8 works 15 sc around the first leg, 1 sc in that chain, 15 sc around the second leg and 1 sc in the chain again — 32 stitches, and two legs have become one body.
Where does the dress attach?
Rnd 19 of the body is worked in back loops only, which leaves a full ring of free front loops. You join the yellow yarn to those loops and work Rnd 1 of the dress — 18 sc — straight into them, so the skirt grows out of the body instead of being sewn on.
When do the eyes go in?
The 4 mm eyes go between Rnds 14 and 15 of the head, 6 sc apart. The pattern gives that instruction after Rnds 8–17 and before the decreases start at Rnd 18, so you set them while the head is still open.
How does the calyx go together on the hat?
You make five leaves and one small stem, all in the calyx color. The pattern is specific about the order: sew the five leaves to the hat first, then sew the stem to the leaves.
Is the collar worked in the round like the rest of the doll?
No — it is the one flat piece. You ch 15 and work in rows, turning at the end of each row, through Row 6’s hdc and dc edge. Ties are then made at both ends of Row 1, and the assembly step simply puts the collar on the doll rather than sewing it in place.