Mischievous Cat Crochet Pattern: A Standing Plush Kitty
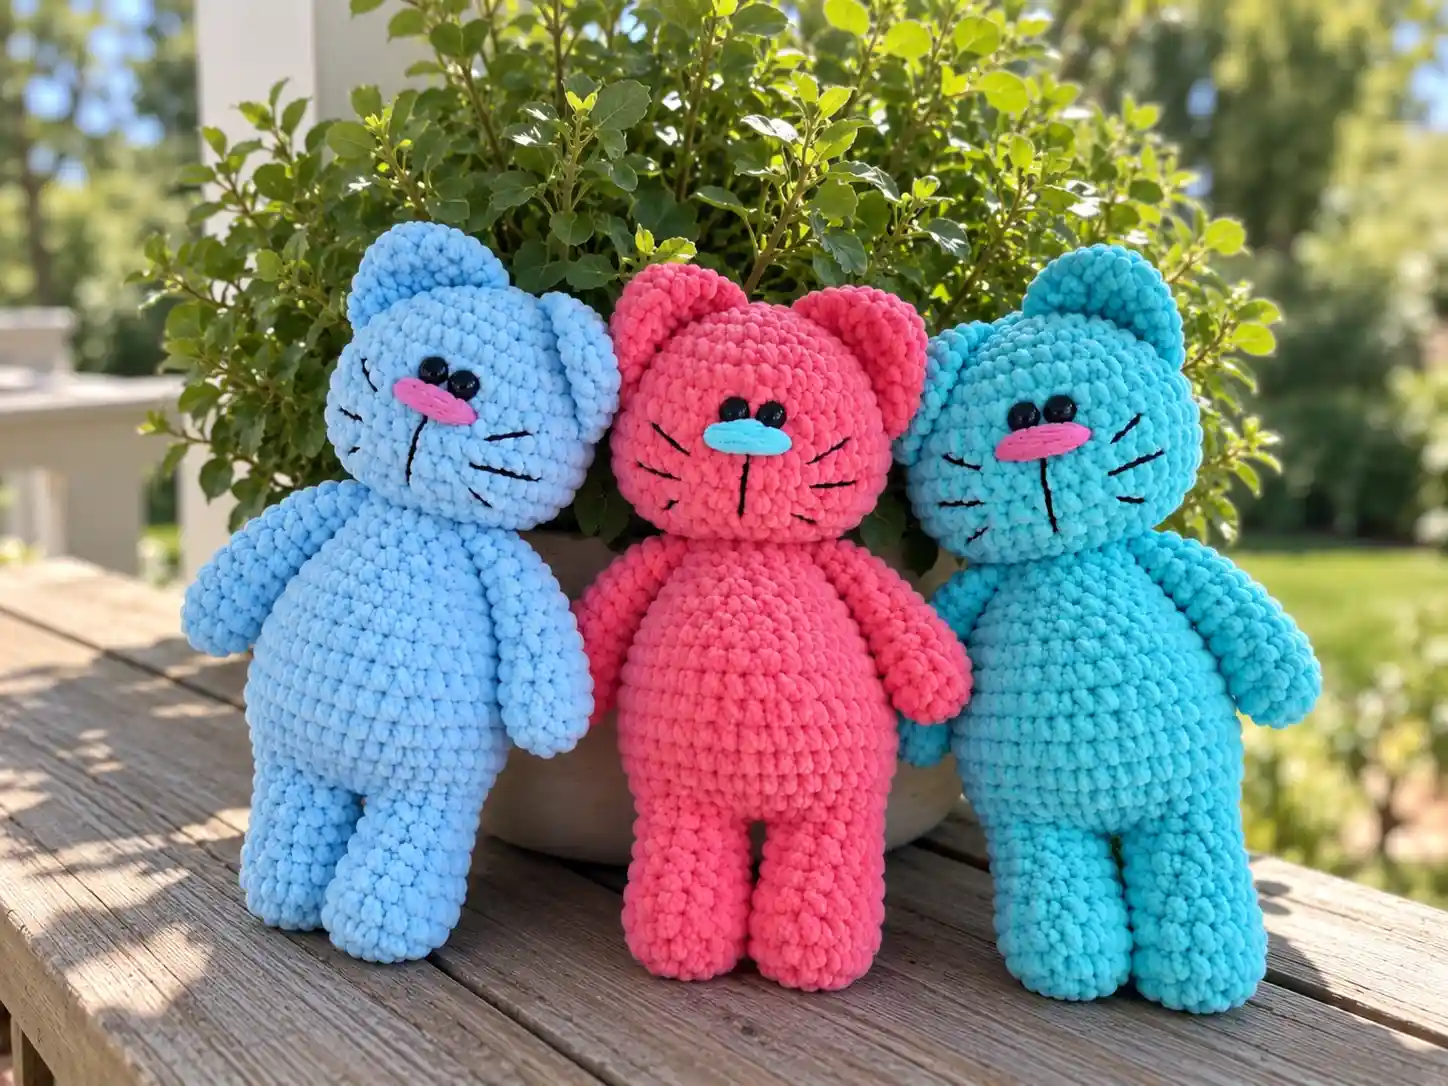
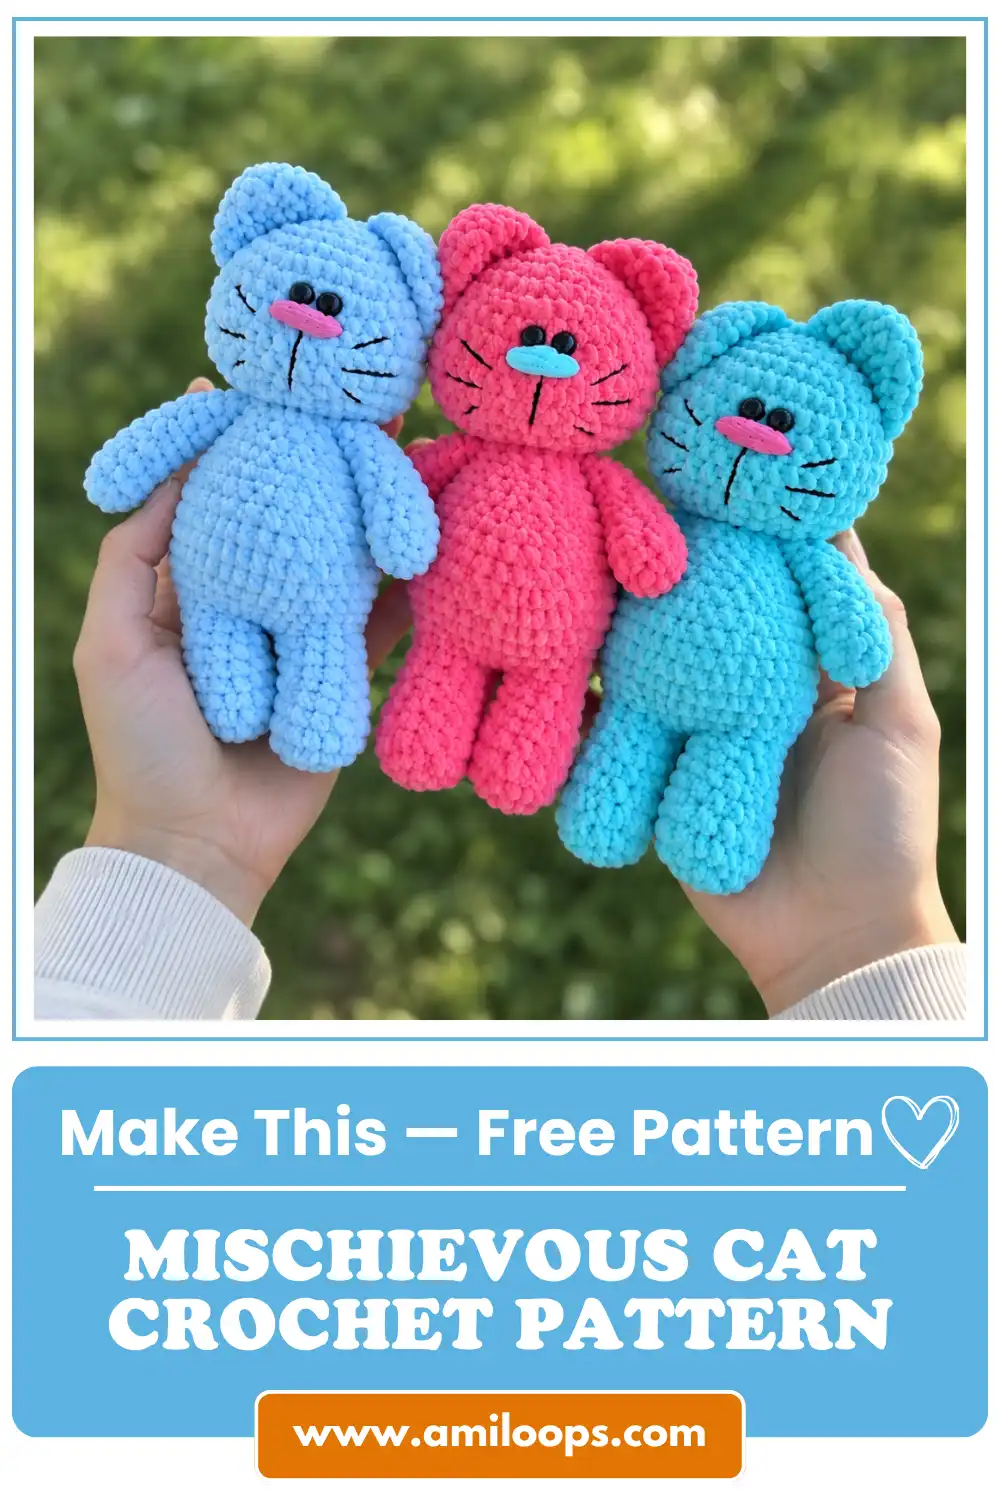
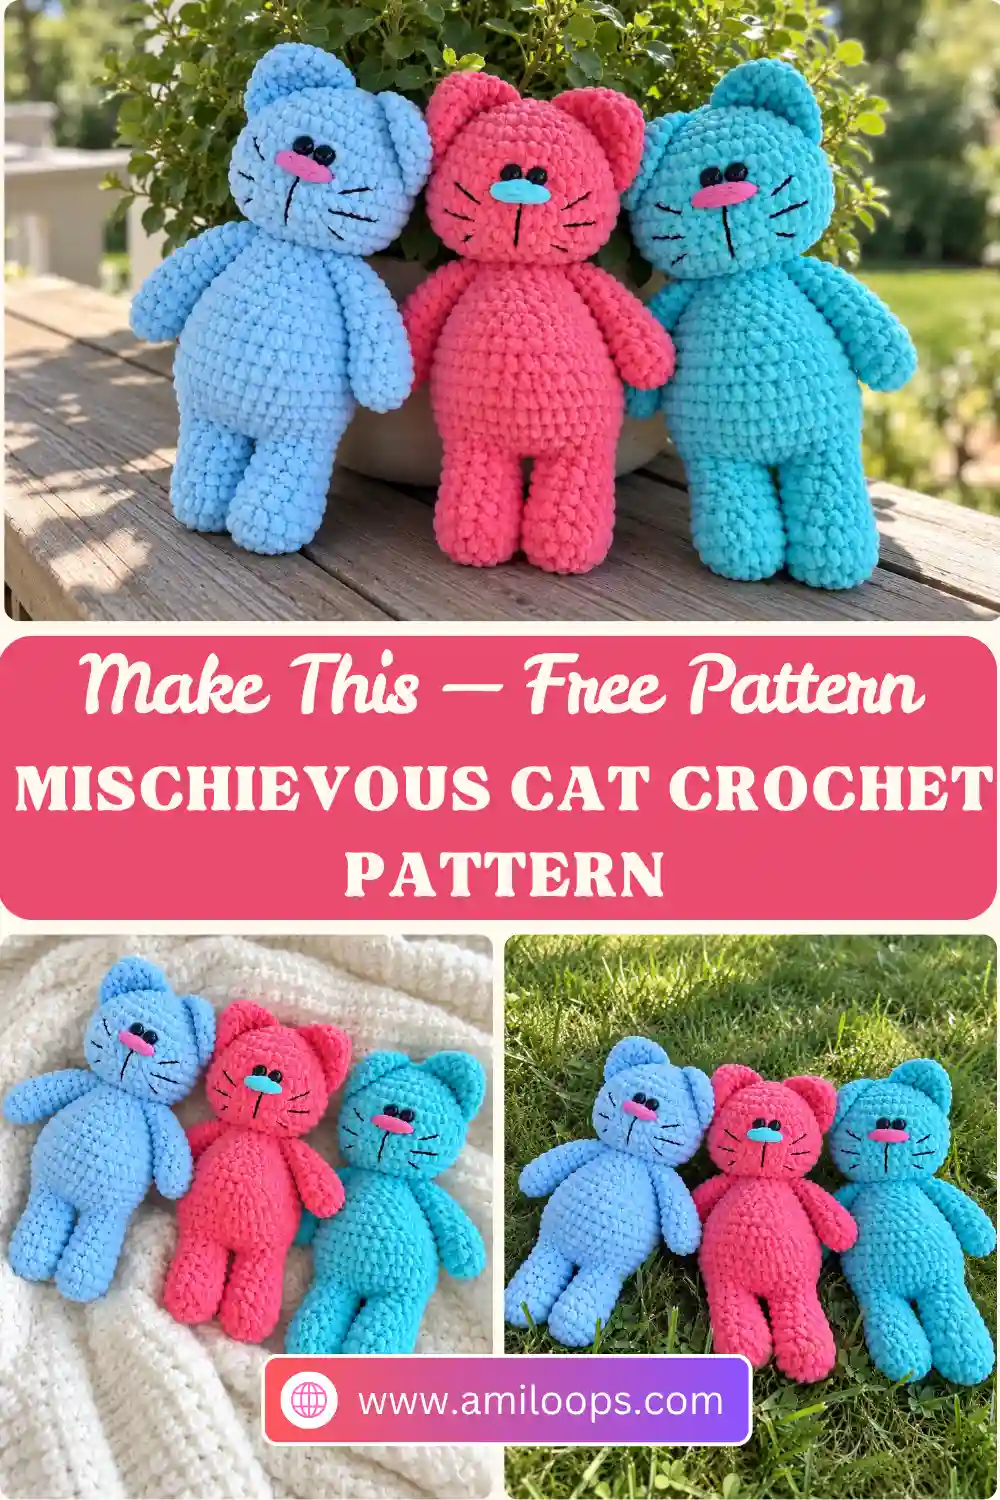
There is something disarming about a cat that stands on its own two legs and looks ready to knock something off a shelf. This mischievous cat crochet pattern produces exactly that: a standing plush kitty that measures 23 cm (9″) tall, worked in a soft chunky yarn that blurs individual stitches and gives the figure a rounded, huggable silhouette. Every round is written out below, from the opening chain to the final sewing pass, so you can follow the construction without guessing at what comes next.
The build is highly modular. A head, two legs that merge into one continuous body, two hands, two ears and a tail come together as a central standing structure with five flat appendages attached around it. That structure is what gives the finished cat its posture: the legs carry the weight, the body tapers into a narrow neck, and everything else is sewn on flat so it drapes rather than sticks out. Once you understand how those pieces relate, the rounds themselves read quickly.
About This Mischievous Cat Crochet Pattern
The shaping in this project stays within a narrow set of moves. Single crochet (sc), increase (inc), and decrease (dec) carry essentially every round, with a chain (ch) opening each piece. There are no clusters, no bobbles, no front or back loop work, and no mid-round color changes to track. What varies is placement rather than technique: the same three stitches are redistributed round by round to produce a rounded head, a tapering torso, slim limbs and a pair of flared ears. That consistency is what makes the long pattern below quick to read.
Character comes from the finishing rather than the stitching. The plush yarn produces a soft, slightly shaggy surface that swallows fine detail, so the nose and whiskers are added afterwards in a much finer thread, the kind listed among the materials below. Worked over the bulky base, that thread stays visible and crisp where a strand of plush yarn would sink into the pile and blur. It is a small step at the very end of the process, but it is the one that turns a soft plush shape into a face.
Materials and Tools
The yarn list is short. This project uses 1 skein of chunky plush yarn, Himalaya Dolphin Baby, which is what produces the dense, fuzzy surface the finished cat relies on. Assembly is handled differently: standard sewing thread matched to the yarn color is used strictly for joining the pieces, rather than the plush yarn you crocheted with. Set a length of it aside with your other tools so you are not hunting for it once every piece is finished, and check the full list below before you begin.
- 1 skein of Himalaya Dolphin Baby yarn
- 4.00 mm crochet hook
- 10.00 mm safety eyes (1 pair)
- Thread for facial embroidery (e.g., YarnArt Jeans)
- Fiberfill stuffing
- Sewing thread for assembly
Crochet Abbreviations
Every abbreviation used below follows standard US crochet abbreviations, and the full list appears after this paragraph. One detail is worth flagging before you reach Round 1: instead of a traditional magic ring, each piece opens with a chain 2, then works its first round of stitches into the second chain from the hook. The instruction reads the same way every time, so once you have made the first piece the opening becomes automatic. If you are new to reading amigurumi abbreviations, keep the list nearby while you work through the first few rounds.
- sc — single crochet
- inc — increase
- dec — decrease
- ch — chain stitch
- sl st — slip stitch
- Rnd / R — Round
Construction Overview
The most distinctive step in this build happens at the transition from legs to body. Both legs are crocheted individually as short tubes, then joined with a chain-2 bridge that becomes the crotch of the standing figure. From that point forward you are no longer working two pieces: the round simply continues across the first leg, over the chain, across the second leg, and back along the opposite side of the chain. The body grows out of that single joined round, which is why there is no seam between the legs and the torso.
Stuffing follows an equally clear rule: only the head and the main body piece receive fiberfill. Everything else stays empty. That single decision shapes how the finished cat sits, because the two filled sections hold their volume while the flat pieces fold and lie against them. It also affects the order of work, since the body has to be filled while its opening is still wide enough to reach into rather than after the final decrease round closes it. Guidance on stuffing an amigurumi evenly is useful here, because the head and body are the only places where density matters at all.
Before You Start
Five pieces in this pattern are never stuffed: the two hands, the two ears, and the tail. Each one is folded flat and its open edge closed before it goes anywhere near the body. This is not a shortcut. Flat appendages sit differently against a plush surface than round ones do, because they hinge, they fold, and they follow the curve of the body instead of standing away from it. If you stuff them out of habit, the cat will read as stiff and the proportions will shift.
It helps to know in advance what each flat piece is supposed to look like coming off the hook. The hands begin as short tubes that widen to 12 stitches and then narrow to 9 stitches before running straight for the rest of their length, so a slight step partway along is correct, not a mistake. The ears finish as shallow half-cones that flare to 25 stitches, which looks wrong until you press them and the triangle appears. Recognizing both shapes early saves a lot of second-guessing during assembly.
Mischievous Cat Crochet Pattern
Two stitch counts are worth keeping in mind before you begin. The head reaches its widest point of 42 stitches at Round 7 and holds that width through Round 11, then decreases steadily to close. The body arrives at exactly the same maximum of 42 stitches and holds it across Rounds 12, 13 and 14 before its own taper begins. Both pieces therefore share one maximum circumference, and the rounds below are written in the order you will work them, part by part.
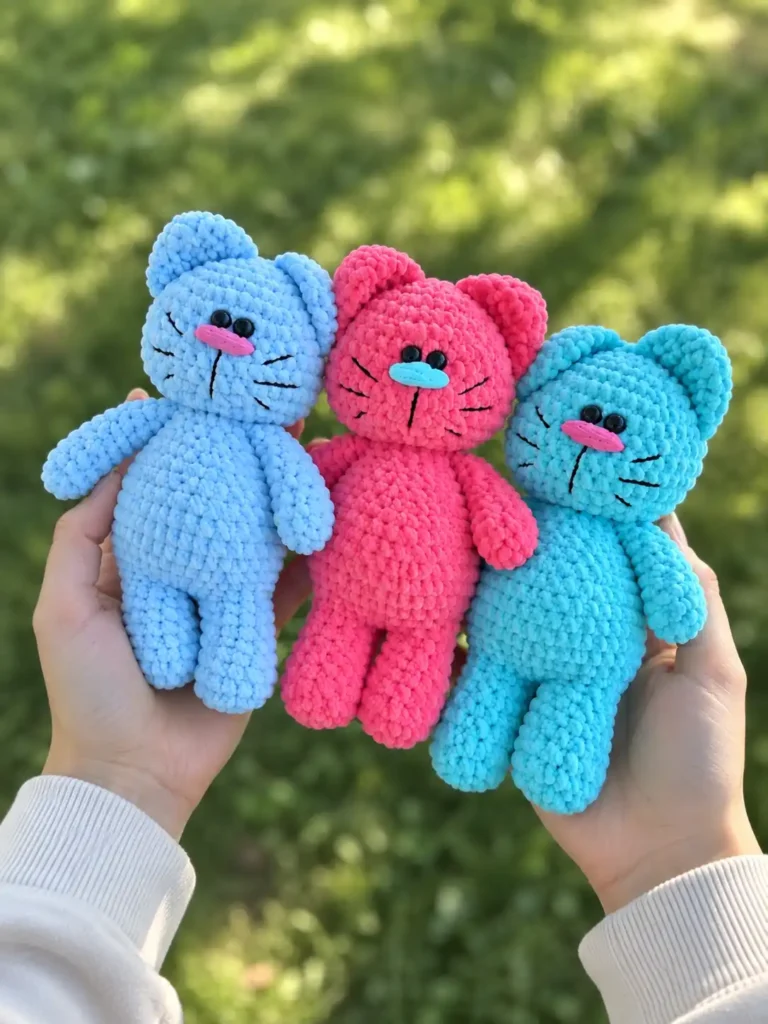
Head
- Round 1: ch 2, 6 sc in the 2nd ch from the hook (6 sts)
- Round 2: (inc) x 6 (12 sts)
- Round 3: (sc, inc) x 6 (18 sts)
- Round 4: (2 sc, inc) x 6 (24 sts)
- Round 5: (3 sc, inc) x 6 (30 sts)
- Round 6: (4 sc, inc) x 6 (36 sts)
- Round 7: (5 sc, inc) x 6 (42 sts)
- Rounds 8-11: 42 sc (42 sts)
- Round 12: (5 sc, dec) x 6 (36 sts)
- Round 13: (4 sc, dec) x 6 (30 sts)
- Round 14: (3 sc, dec) x 6 (24 sts)
- Round 15: (2 sc, dec) x 6 (18 sts)
- Round 16: (sc, dec) x 6 (12 sts)
Legs
- Round 1: ch 2, 6 sc in the 2nd ch from the hook (6 sts)
- Round 2: (inc) x 6 (12 sts)
- Rounds 3-7: 12 sc (12 sts)
Body
Count check: Round 8 is the joining round and should finish with 28 stitches. That total only works if you crochet along both sides of the chain that bridges the two legs: the front of the chain on the way across, and the opposite side of the same chain on the way back.
- Round 8: 12 sc on the first leg, sc in next 2 ch, 12 sc on the second leg, sc in next 2 ch (opposite side of the chain) (28 sts)
- Round 9: 6 sc, inc, 13 sc, inc, 7 sc (30 sts)
- Round 10: (7 sc, inc, 6 sc, inc) x 2 (34 sts)
- Round 11: (7 sc, inc) x 2, (8 sc, inc) x 2 (38 sts)
- Round 12: (8 sc, inc) x 2, (9 sc, inc) x 2 (42 sts)
- Rounds 13-14: 42 sc (42 sts)
- Round 15: (5 sc, dec) x 6 (36 sts)
- Round 16: 36 sc (36 sts)
- Round 17: (4 sc, dec) x 6 (30 sts)
- Round 18: 30 sc (30 sts)
- Round 19: (3 sc, dec) x 6 (24 sts)
- Round 20: 24 sc (24 sts)
- Round 21: (2 sc, dec) x 6 (18 sts)
- Round 22: 18 sc (18 sts)
- Round 23: (sc, dec) x 6 (12 sts)
- Round 24: 12 sc (12 sts)
Hands
- Round 1: ch 2, 6 sc in the 2nd ch from the hook (6 sts)
- Round 2: (inc) x 6 (12 sts)
- Rounds 3-5: 12 sc (12 sts)
- Round 6: (dec) x 3, 6 sc (9 sts)
- Rounds 7-13: 9 sc (9 sts)
Ears
- Round 1: ch 2, 5 sc in the 2nd ch from the hook (5 sts)
- Round 2: (inc) x 5 (10 sts)
- Round 3: (sc, inc) x 5 (15 sts)
- Round 4: (2 sc, inc) x 5 (20 sts)
- Round 5: (3 sc, inc) x 5 (25 sts)
Tail
- Round 1: ch 2, 6 sc in the 2nd ch from the hook (6 sts)
- Rounds 2-9: 6 sc (6 sts)
Assembly and Finishing
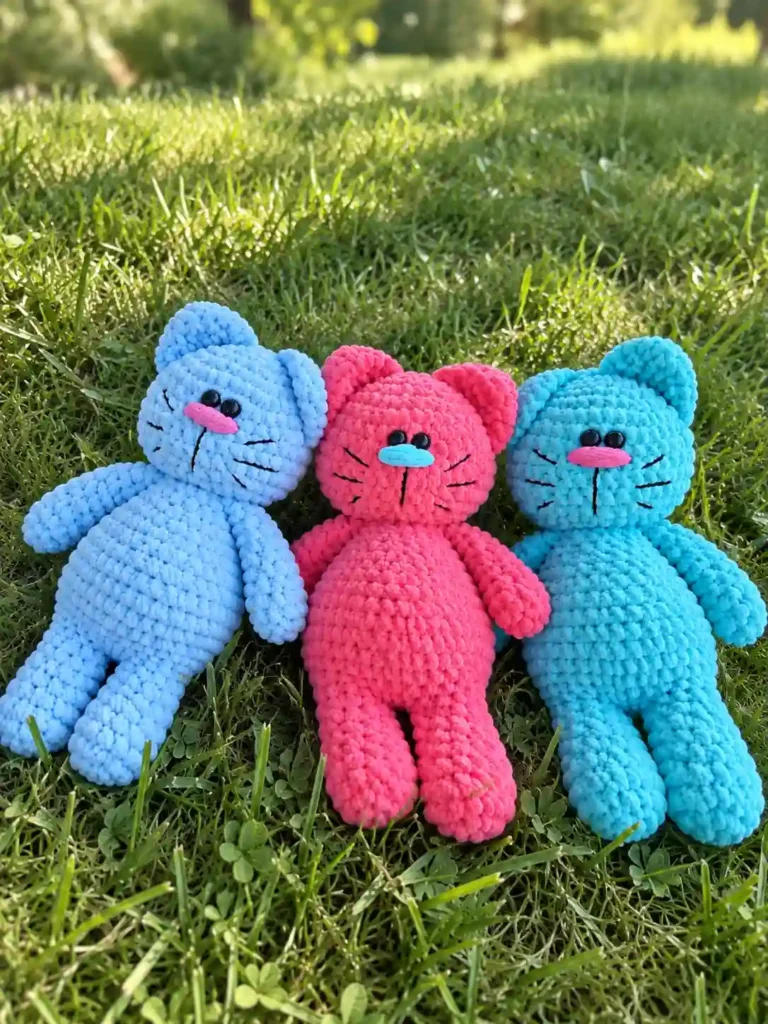
Placement is what makes this face work. The safety eyes go in between Rounds 8 and 9 of the head with exactly 1 stitch between them, and that narrow spacing is what produces the cat’s up-to-something expression. Insert them while the head is still open and unstuffed, so you can reach the backs to secure the washers. The nose is then embroidered centrally below the eye line, between Rounds 10 and 11, which keeps the muzzle compact and reinforces the same close-set proportions. If you have not worked with this hardware before, a short guide on inserting safety eyes covers the mechanics.
The neck joint carries the whole head, so it is sewn twice. The first pass connects Round 16 of the head to Round 24 of the body; a second pass then runs through Round 15 of the head and Round 23 of the body, catching the hands into the same joint. Two overlapping lines of stitching spread the load across two rounds instead of one, which is what keeps the head from pivoting and the arms from working loose. Take your time on this step, since it is far easier to sew well once than to repair later. Detailed technique for sewing amigurumi parts together is worth a look if seams tend to show in your work.
- Insert safety eyes between Rounds 8 and 9 of the head, 1 stitch apart.
- Sew head to the body connecting Rnd 16 of the head to Rnd 24 of the body.
- Fold hands flat, do not stuff, and sew open edges closed.
- Sew hands to the body near the neck.
- Reinforce the neck and hands by sewing a second pass connecting Rnd 15 of the head to Rnd 23 of the body.
- Fold ears flat, do not stuff, and sew edges together before sewing to head.
- Sew tail edges flat together and attach to body without stuffing.
- Sculpt the face by pulling thread to create indents for the eyes.
- Embroider a pink nose between Rnd 10 and 11, and black whiskers on the muzzle.
Pattern Notes and Troubleshooting
When the Body Count Misses at Round 8
If Round 8 finishes with fewer than 28 stitches, the joining chain is almost always the cause. The chain that bridges the two legs has two usable sides, and the round has to travel along both: 2 single crochet worked across the front of the chain on the way between the legs, and 2 more worked into the opposite side of the same chain on the return. Skipping the second pair is the most common way to end up short here. Count before moving on, because every increase round afterwards is built on that number.
A Wobbly Neck After Assembly
A head that tips or swivels usually means the second sewing pass was skipped. The reinforcement line connecting Round 15 of the head to Round 23 of the body is easy to treat as optional once the first seam looks tidy, but it is doing structural work rather than cosmetic work. Go back in with sewing thread and add it; you can work over the existing seam without unpicking anything. The difference is immediate, since the head settles into position and stops rotating when the cat is picked up by the body.
Sewing Through Plush Yarn
Plush yarn is difficult to sew with. It catches, it splits, and it refuses to pull tight through a dense fabric, which leaves seams that look loose no matter how carefully you place them. The fix is the material rather than the method: switch to the standard sewing thread listed in the materials section and let the pile of the yarn hide the stitches for you. Because the surface is fuzzy, a thin matching thread disappears completely once the seam is closed, so there is nothing gained by struggling with the thicker strand.
A Face That Looks Flat
If the finished head reads as blank, the sculpting step was probably missed. Face sculpting pulls thread through the head to draw the safety eyes backward into the fabric, creating two indents where the eyes sit below the surrounding surface. On a plush yarn this matters more than usual, because the pile is deep enough that eyes sitting flush on top look like they are floating. Work the sculpting thread from the back of the head, pull until the indent appears, and secure it inside where the stuffing will cover the knot.
Finishing Checklist
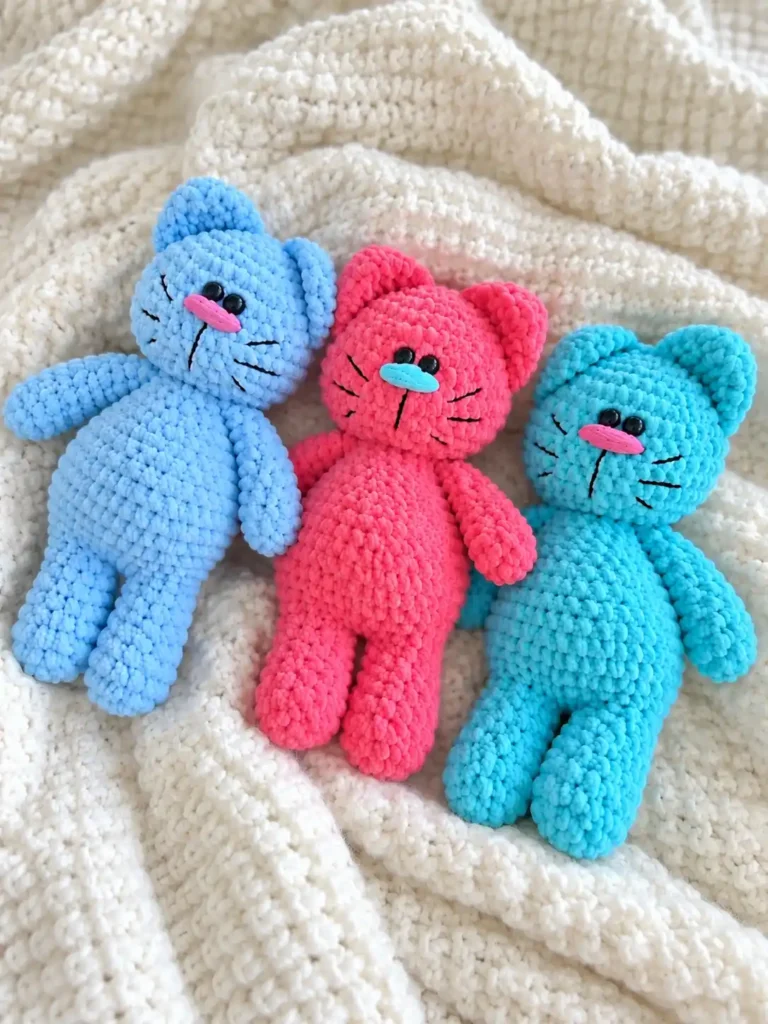
Two details are easy to overlook at the very end. The first is the yarn tails: each appendage is fastened off with a 5 cm tail, and every one of those should be pushed through into the stuffed body cavity rather than trimmed flush at the surface, where it can work its way back out. The second is the nose position, so check that the embroidered nose sits exactly one stitch laterally away from the eye line, because a nose that drifts even slightly off center changes the whole expression. Run through the checklist below before you call the cat finished.
- Ensure the neck joint is double-sewn for stability.
- Confirm hands, ears, and tail are completely flat and unstuffed.
- Check that eyes are deeply indented via face sculpting.
- Verify all 5 cm yarn tails from parts are hidden inside the body.
- Confirm three black whiskers are embroidered on each side.