How to Crochet the Pink Panther: Step-by-Step Amigurumi Pattern
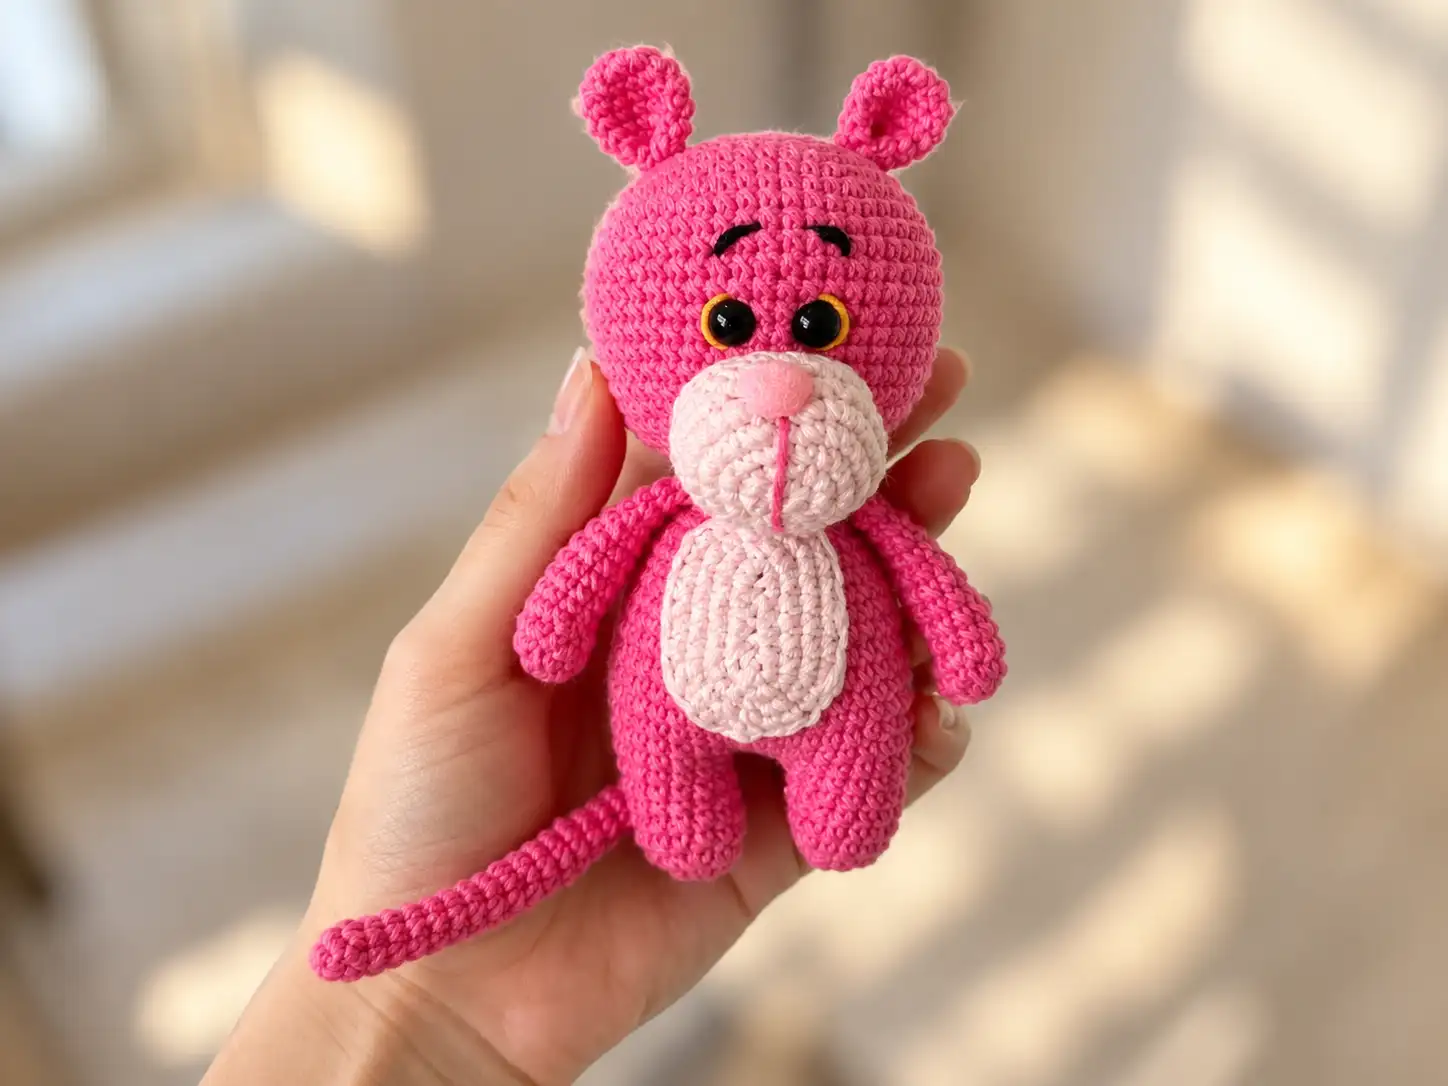
Creating a Pink Panther amigurumi offers a highly rewarding technical journey into shaped crochet construction and expressive character detailing. This highly recognizable character design relies heavily on precision in continuous spiral rounds to build its slender, elongated, and elegant form smoothly from top to bottom. Because the pattern uses continuous spiral rounds, you can avoid the visible, distracting seams that frequently occur when joining rounds with a slip stitch and a chain. This technique ensures that the stuffed fabric maintains a uniform, polished appearance, which is absolutely essential for capturing the smooth, sleek look of this iconic cartoon feline without any structural interruptions along the back.
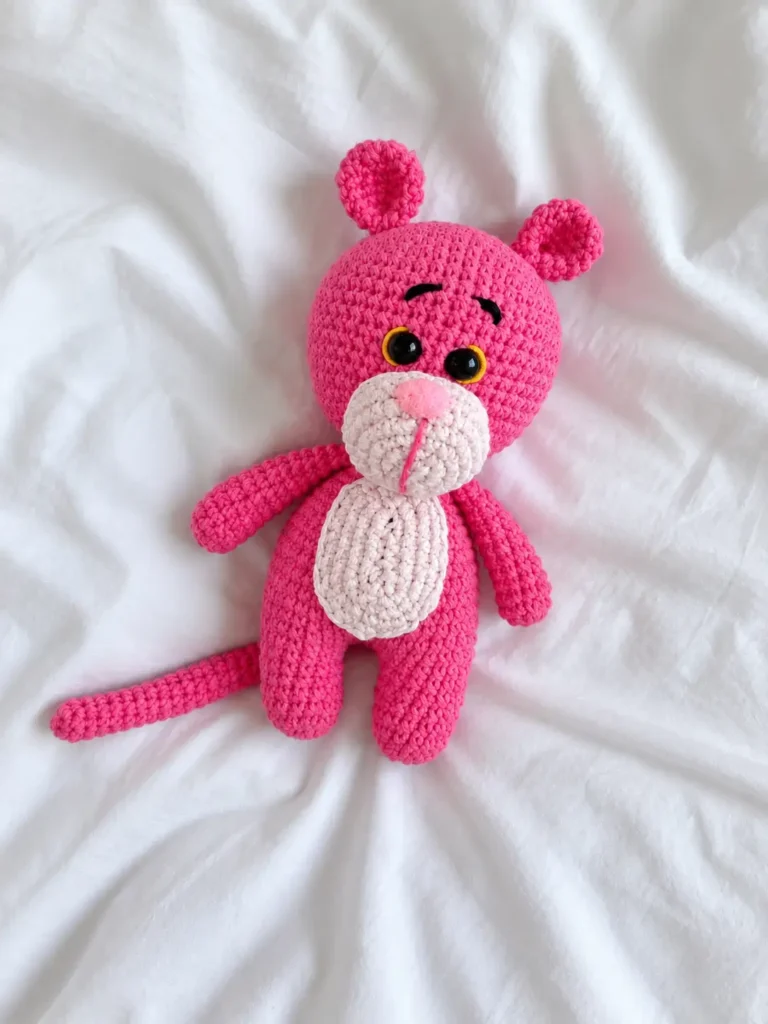
The methodical assembly of this classic character demands a patient, structured approach to limb integration and finishing details. A major highlight of the project is that the design incorporates a one-piece leg-to-body join, creating a sturdy foundation for the stuffed figure and completely eliminating the need for bulky, awkward seams at the base of the torso. Navigating this leg-to-body transition smoothly requires focused counting, but the resulting seamless crotch area makes the finished piece much more durable. By carefully observing the structural sequences detailed throughout the pattern, you can successfully produce a beautifully proportioned figure that confidently stands as a testament to your advancing crochet skills.
About This Pink Panther Crochet Pattern
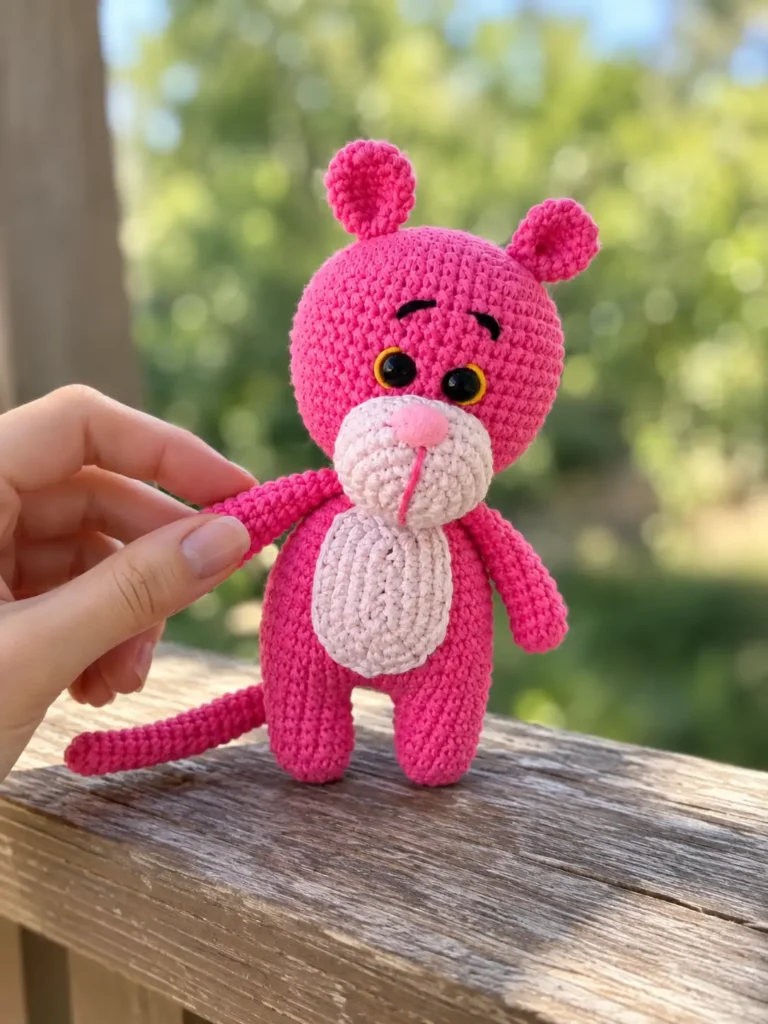
Understanding the overall structural architecture of this project is highly beneficial before you begin manipulating your yarn and hook. One of the most efficient design choices here is that the body requires crocheting the arms in as you go, significantly reducing the amount of sewing needed during the final assembly phase. This integrated approach not only streamlines your finishing process but also guarantees that the lanky arms remain securely anchored within the dense stitches of the torso. When you crochet limbs directly into the working round, they lay much flatter against the sides of the body compared to limbs that are sewn on externally after stuffing.
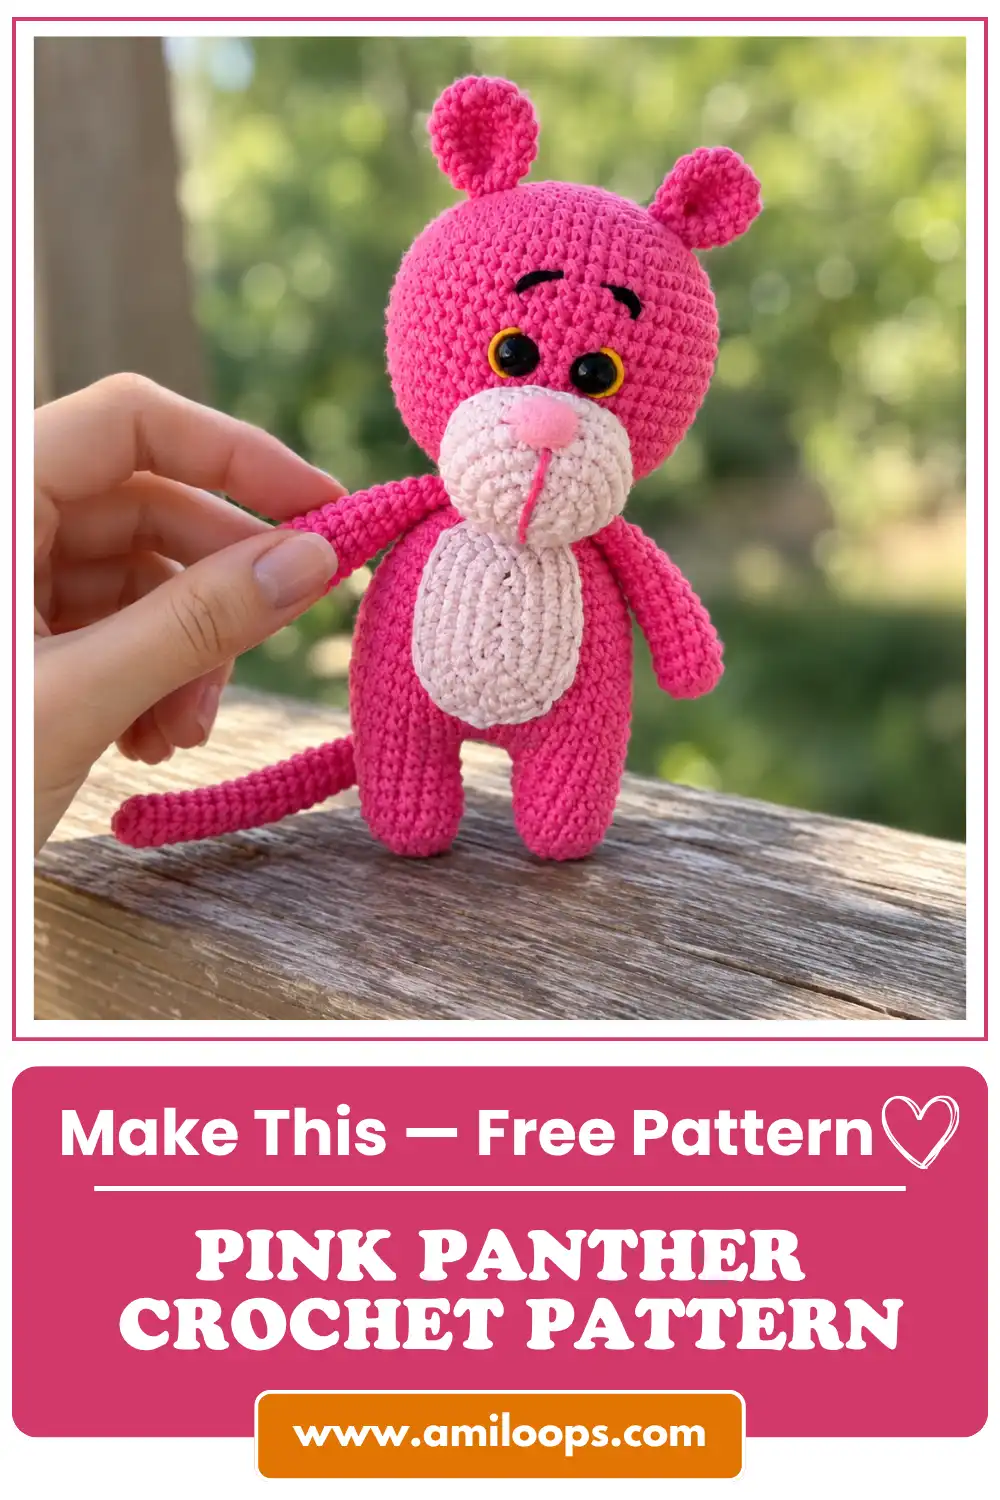
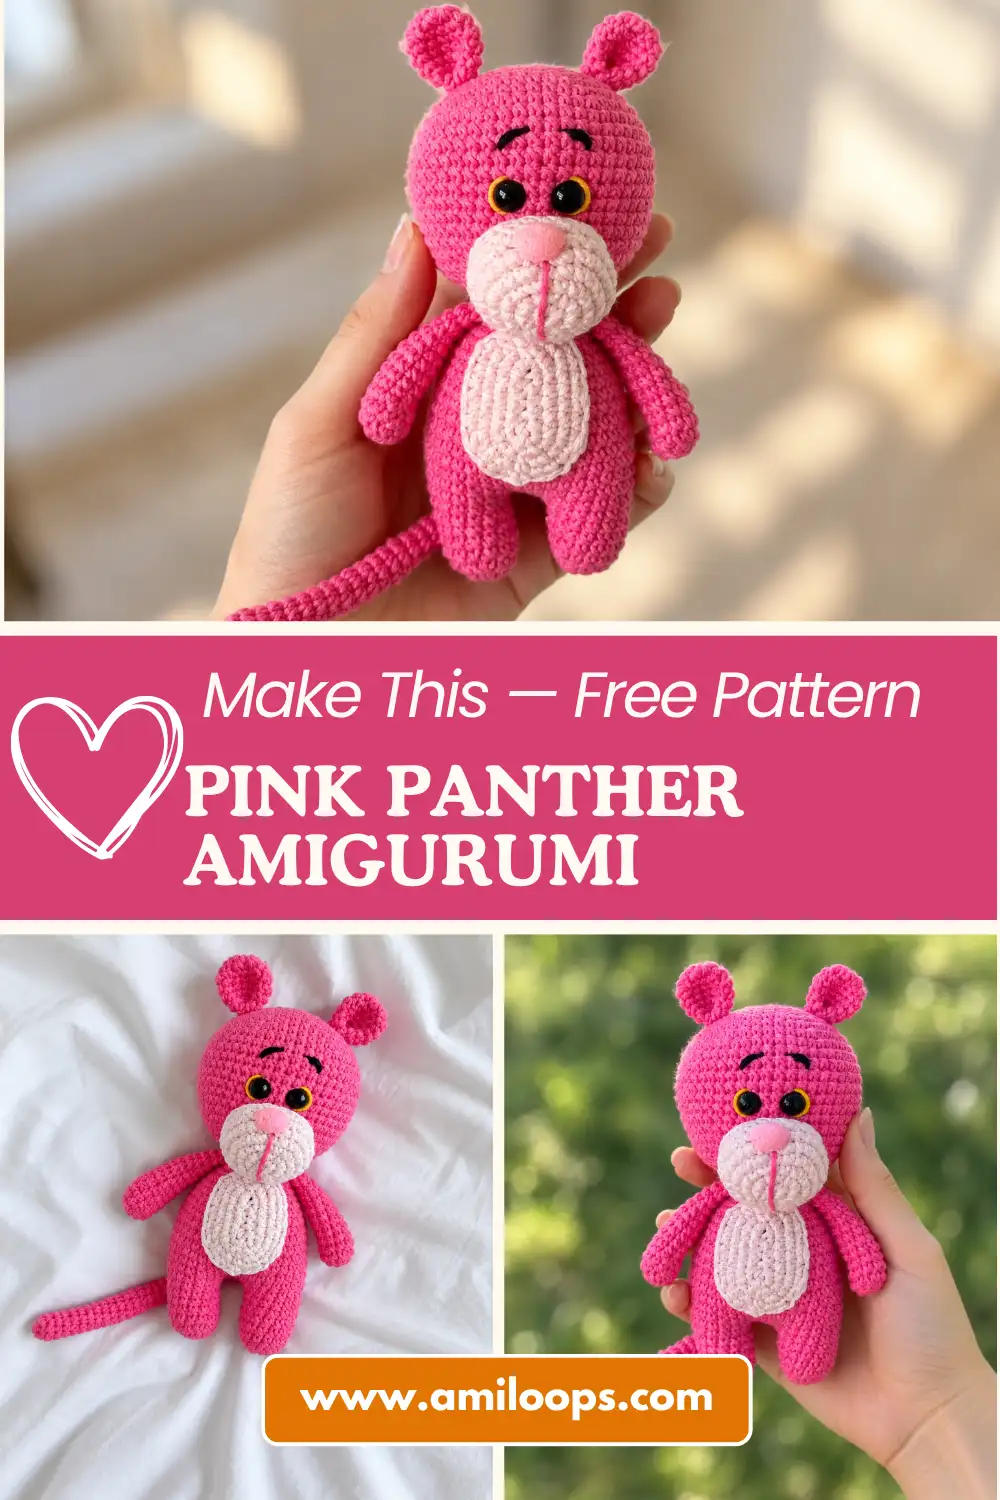
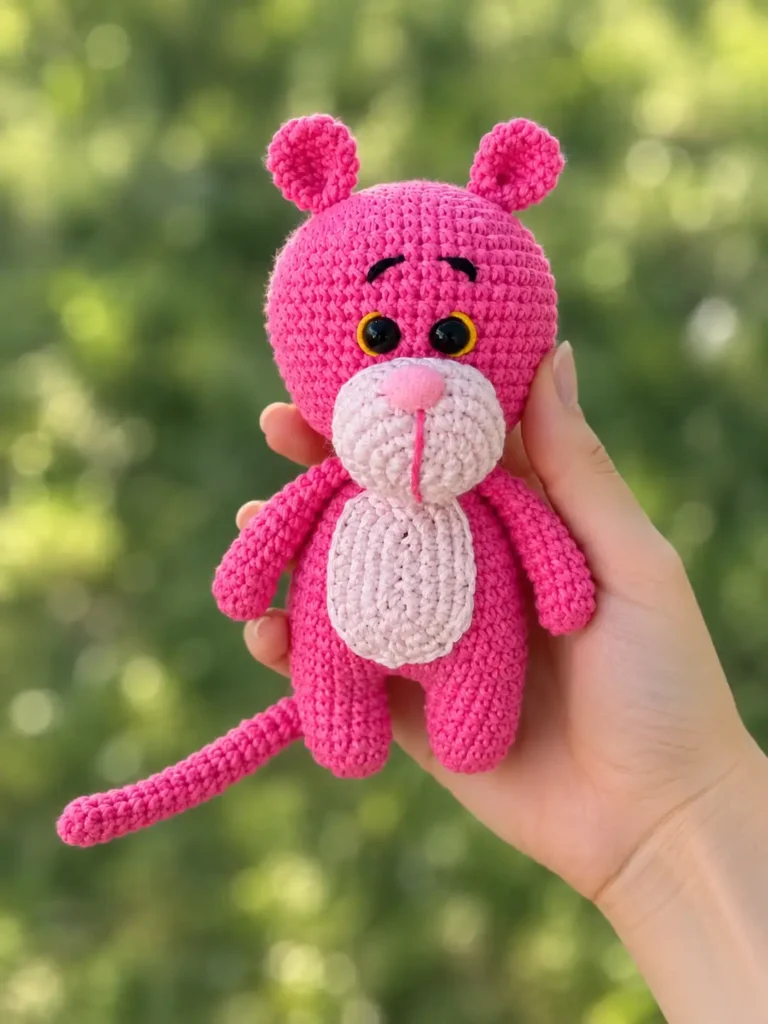
Beyond the structural advantages of the seamless limb integration, the pattern heavily emphasizes expressive character accuracy through multi-dimensional facial construction. The face features layered details: a separate muzzle, embroidered accents, and safety eyes, all working together to form the distinct, unmistakable visage of the classic cartoon character. Constructing the face in separate layers allows the snout to protrude naturally, while the strategic embroidery defines the specific, slightly mischievous expression that fans immediately recognize. Taking your time to position these layered facial components accurately will drastically elevate the final presentation of the completed toy.
Materials and Tools
Gathering the correct supplies and accurately matching your colors is the very first step toward a successful and satisfying build. For the main structure, you must ensure you have both pink and light pink shades of sport weight yarn to accurately capture the character’s signature two-toned coloration. Using a consistent sport weight yarn across both colors ensures that the gauge remains identical when you transition from the main body to the lighter muzzle and chest patch, preventing any warping or uneven tension in the fabric.
Alongside your primary yarn colors and crochet hook, preparing your fine detailing supplies in advance will prevent frustrating interruptions during the delicate finishing stages. It is essential to gather small amounts of yellow, black, and pink embroidery thread for facial details before you begin stitching the head. The yellow thread forms the striking accents around the eyes, the black thread creates the highly expressive slanted eyebrows, and the pink thread defines the subtle vertical line down the snout, making these small supplies just as critical as the main yarn.
- YarnArt Jeans (color 59, pink) – Main color
- YarnArt Jeans (color 74, light pink) – For muzzle and chest
- 2.0 mm to 2.5 mm crochet hook
- Toy stuffing (fiberfill)
- 8 mm safety eyes
- 12 mm x 10 mm safety nose (approximate size)
- Embroidery thread (yellow for eyes, black for eyebrows, pink for snout line)
- Tapestry needle for assembly
Crochet Abbreviations
Familiarizing yourself thoroughly with the specific terminology used in this technical guide ensures accurate, seamless interpretation of the row-by-row instructions. The pattern uses standard US terminology including magic ring, single crochet, and increases/decreases to dictate the shaping of each component. Reviewing these abbreviations before you begin will help you maintain a steady, uninterrupted crocheting rhythm, significantly reducing the likelihood of misreading a complex shaping section or placing a stitch incorrectly during the continuous rounds.
Understanding exactly how these abbreviated techniques interact within the pattern is key to achieving the correct character proportions. The single crochet stitch forms the dense, tightly woven fabric necessary to hide the internal fiberfill, while the strategically placed increases and decreases manipulate that fabric into the distinct curves of the head and the long, slender tubes of the limbs. Keep this abbreviation list handy as a quick reference guide while you work through the more intricate sections of the body and chest patch.
- MR — magic ring
- sc — single crochet
- inc — increase
- dec — decrease
- ch — chain
- st/sts — stitch/stitches
- rnd/rnds — round/rounds
Construction Overview
The structural sequence of this character design dictates a highly specific order of operations designed to maximize the stability of the long, slender figure. The process begins with Part 1: Head, which is worked top-down, ending with an irregular decrease round that perfectly shapes the lower neck opening. Managing this top-down approach requires careful counting as the circumference expands outward to accommodate the layered facial features before rapidly tapering back down to securely meet the narrow opening of the body torso.
Moving downward to the lower half of the figure, the torso construction introduces advanced but highly satisfying joining techniques to create a unified structural base. The sequence for Part 6: Body starts by joining the two previously crocheted legs with a central chain, works upwards to form the hips and belly, and culminates by incorporating the arms at Rnd 17. Building the body upwards from the joined legs creates a seamless, incredibly strong lower half that can support the weight of the stuffed head without the weakness of a sewn waistline joint.
The final major structural component involves creating the distinct lighter-colored belly detail that contrasts with the main pink body. Part 8: Chest Patch is crocheted as an oval around a foundation chain, adding a vital layer of visual texture to the character’s front profile. Crocheting a flat oval requires working down one side of the initial chain and back up the opposite side, utilizing carefully placed increases at both ends to turn the corners smoothly without puckering the fabric.
Before You Start
Diligent preparation is absolutely vital for smooth execution, especially concerning the rigid facial hardware that gives the character its classic expression. You must have safety eyes and a safety nose ready before beginning the head and muzzle, as these hard plastic components need to be inserted and secured with their backing washers before the crocheted shapes are fully closed and stuffed. Attempting to force these rigid pieces into the fabric after the head is already finished and filled with fiberfill can severely warp your stitches and compromise the permanent security of the safety washers.
Equally important to the plastic hardware is preparing your physical workspace with the correct finishing tools for the layered components. You should prepare a tapestry needle for assembling the muzzle, chest, ears, and tail, ensuring that the needle’s eye is appropriately sized to comfortably accommodate the sport weight yarn without splitting the delicate plies. Organizing these essential assembly items before you stitch the very first magic ring allows you to transition seamlessly from crocheting the individual parts to the critical sewing phases without losing your creative momentum.
Pink Panther Crochet Pattern
Follow these technical rounds methodically, utilizing a reliable stitch marker to track the continuous spiral rounds accurately as you build each section. Maintaining a firm, consistent tension throughout these instructions will guarantee that your stuffed fabric remains dense enough to completely hide the internal fiberfill and support the distinctive, elongated shaping.
Head
Round 1: 7 sc in a MR. (7 sts)
Round 2: 7 inc. (14 sts)
Round 3: (1 sc, inc) 7 times. (21 sts)
Round 4: (2 sc, inc) 7 times. (28 sts)
Round 5: (3 sc, inc) 7 times. (35 sts)
Round 6: (4 sc, inc) 7 times. (42 sts)
Round 7: (5 sc, inc) 7 times. (49 sts)
Rounds 8-18: 49 sc. (49 sts)
Round 19: (5 sc, dec) 7 times. (42 sts)
Round 20: (4 sc, dec) 7 times. (35 sts)
Round 21: (3 sc, dec) 7 times. (28 sts)
Round 22: (2 sc, dec) 7 times. (21 sts)
Round 23: Make 3 dec evenly spaced around. (18 sts)
Ears
Round 1: 7 sc in a MR. (7 sts)
Round 2: 7 inc. (14 sts)
Rounds 3-4: 14 sc. (14 sts)
Round 5: (5 sc, dec) 2 times. (12 sts)
Muzzle
Round 1: 6 sc in a MR. (6 sts)
Round 2: 6 inc. (12 sts)
Round 3: (1 sc, inc) 6 times. (18 sts)
Round 4: (2 sc, inc) 6 times. (24 sts)
Round 5: (3 sc, inc) 6 times. (30 sts)
Rounds 6-7: 30 sc. (30 sts)
Round 8: (3 sc, dec) 6 times. (24 sts)
Arms
Round 1: 6 sc in a MR. (6 sts)
Round 2: 6 inc. (12 sts)
Rounds 3-4: 12 sc. (12 sts)
Round 5: 2 dec, 8 sc. (10 sts)
Rounds 6-14: 10 sc. (10 sts)
Legs
Round 1: 6 sc in a MR. (6 sts)
Round 2: 6 inc. (12 sts)
Round 3: (3 sc, inc) 3 times. (15 sts)
Rounds 4-7: 15 sc. (15 sts)
Body
Round 1: Ch 4, join with a sc to the second leg. Sc around the leg, sc in the chains, sc around the first leg, sc in the opposite side of the chains. (38 sts)
Round 2: 4 sc, inc, 2 sc, inc, 16 sc, inc, 2 sc, inc, 10 sc. (42 sts)
Rounds 3-8: 42 sc. (42 sts)
Round 9: (5 sc, dec) 6 times. (36 sts)
Round 10: 36 sc. (36 sts)
Round 11: (4 sc, dec) 6 times. (30 sts)
Rounds 12-13: 30 sc. (30 sts)
Round 14: (3 sc, dec) 6 times. (24 sts)
Round 15: 24 sc. (24 sts)
Round 16: (2 sc, dec) 6 times. (18 sts)
Round 17: 18 sc. Crochet the arms into the sides of the body during this round. (18 sts)
Round 18: 18 sc. (18 sts)
Tail
Round 1: 7 sc in a MR. (7 sts)
Rounds 2-27: 7 sc. (7 sts)
Chest Patch
Foundation: Ch 7, insert hook into the 2nd ch from the hook:
Round 1: inc, 4 sc, 3 sc in the last ch (working around to the opposite side of the chain), 4 sc, inc. (15 sts)
Round 2: 2 inc, 4 sc, 3 inc, 4 sc, 2 inc. (22 sts)
Round 3: (1 sc, inc) 2 times, 4 sc, (1 sc, inc) 3 times, 4 sc, (1 sc, inc) 2 times. (29 sts)
Round 4: 29 sc. (29 sts)
Assembly and Finishing
The comprehensive assembly phase requires careful, deliberate placement of the individual components to accurately capture the character’s iconic proportions and signature posture. During the construction of the head, notice that Head Round 7 reaches the maximum diameter of 49 stitches, creating the broad, expansive upper cranial structure that supports and frames the facial features. When attaching the ears, muzzle, and embroidered details, you should consistently use this maximum 49-stitch width as a reliable visual reference point to ensure all the components are centered accurately.
Similarly, the lower body requires attention to its maximum width to ensure the figure sits correctly when displayed. Body Round 2 increases the total stitch count to 42 stitches for the hips, rapidly establishing the wider, heavier base necessary for the lanky figure to sit securely without constantly tipping over. Aligning the chest patch centrally against this wider 42-stitch hip section ensures that the lighter belly coloring is highly visible when the completed amigurumi is viewed directly from the front.
Securing the upper limbs demands a bit of intuitive visual alignment to achieve perfect symmetry across the torso. Because the pattern does not dictate the exact, specific stitch numbers for attaching the arms during Round 17, they must be aligned symmetrically by eye on the left and right sides of the body before you crochet them into the active round. Take your time pinning these flattened arm components firmly in place before committing to your final single crochets, verifying their balance and vertical alignment from multiple angles to avoid a twisted appearance.
- Insert 8mm safety eyes between Rounds 13-14, with a distance of 2 sc between them.
- Embroider yellow thread around the outer edges of the safety eyes for accent. Embroider black eyebrows slanting downwards toward the center over the eyes.
- Stuff and sew the muzzle to the head starting just below the eyes at Round 15.
- Insert or embroider the nose on the top center of the muzzle, and embroider a vertical line straight down from the base of the nose to the bottom of the muzzle.
- Fold the ear pieces flat and crochet or sew the open ends together. Sew the ears to the head across Rounds 5-6.
- Stuff only the bottom half of the arms. Pinch the tops flat and crochet or sew the sides together. Attach them to the body during Round 17.
- Fasten off the first leg. Do not fasten off the second leg; continue directly into Body Round 1.
- Stuff the body firmly, starting around Round 10. Leave a long tail after finishing for sewing the head to the body.
- Fold the end flat and sew the sides together (do not stuff). Sew it to the back of the body.
- Fasten off and leave a long tail. Sew the chest patch onto the front belly of the body.
Pattern Notes and Troubleshooting
Mastering the Leg Join
Creating a flawlessly seamless transition from the tops of the individual legs directly into the base of the torso is a critical structural milestone for this design. The technique of joining legs involves connecting two separate tubular pieces with a central chain to form one continuous, much larger round for the body, which creates an exceptionally solid and unified foundation for the internal stuffing. Mastering this specific join technique elevates the durability of the toy significantly compared to sewing the limbs on independently.
However, transitioning from the round tubes to the straight chain can sometimes cause tension issues that leave unsightly gaps in the fabric. When executing the sequence for joining the legs, it is vital to ensure that your stitches are placed precisely into both the front and back loops of the joining chain to prevent prominent holes from forming in the crotch area. If you only catch a single loop of the chain, the pressure of the firm fiberfill will stretch that loop outward and expose the stuffing.
Managing the Oval Chest Patch
The layered, light pink chest detail requires specific oval-shaping techniques to lay properly and attractively against the curved torso. When crocheting around a chain to create this oval base, you must work consistently down one side of the foundation chain and seamlessly up the opposite side in continuous rounds. This technique forces the stitches to radiate outward from a central horizontal line rather than a single center point, producing the elongated shape necessary to cover the character’s long belly.
Because the increases are concentrated heavily at the two extreme ends of the chain, the tension distribution can sometimes cause the flat piece to warp or bowl inwards. It is completely normal for oval shapes to cup slightly as you continue adding rounds; there is no need to aggressively stretch or block the piece at this stage. Sewing it down firmly and methodically to the tightly stuffed belly using a tapestry needle will flatten it out securely and permanently against the body’s natural curve.
Refining the Narrow Tail
The incredibly slender, long tail presents a few unique challenges regarding tension management and maintaining a consistent tubular structure. To achieve the correct cartoonish proportions, the tail must remain exactly 7 stitches wide for a total of 27 consecutive rounds, creating a distinctively long, narrow appendage characteristic of this specific feline. Because you are working in continuous spirals, you must keep your tension meticulously even so the tube does not accidentally expand or contract in width.
Working repeatedly into such a small circumference can cause the fabric to twist naturally along the bias of the yarn. Because a 7-stitch tube is exceptionally tight and dense, it may naturally curl or spiral as you work the rounds upwards. Instead of trying to force your stitches straight while holding the hook, simply complete the 27 rounds, fasten off, and then roll the finished tube firmly between the palms of your hands to easily straighten the fabric out before attaching it securely to the back of the body.
Finishing Checklist
The final review process is where the character truly comes to life through precise detailing and careful adjustments to the completed forms. Before you commit to the final head attachment, confirm the stitch counts at the base of the neck. The final round of the head requires three arbitrarily spaced decreases to bring the total count down smoothly from 21 to 18, ensuring a perfectly snug fit against the corresponding 18-stitch opening at the top of the body.
Cross-referencing these final structural details alongside the facial embroidery guarantees a highly polished, durable amigurumi that stays true to the source design. Verify the arms are stuffed only halfway to allow them to lay completely flat against the sides of the body without sticking out stiffly. Furthermore, ensure the embroidered black eyebrows slant sharply inward, which is the exact detail necessary to capture the character’s classic, highly recognizable expression.
- Verify the arms are stuffed only halfway to allow them to lay flat against the body.
- Ensure the eyebrows slant inward for the characteristic expression.
- Check that the yellow embroidery neatly outlines the safety eyes.
- Confirm the vertical line below the nose is centered on the muzzle.
- Ensure the tail is folded flat at the base before sewing.
- Verify the head is firmly attached to the 18-stitch opening of the body.