Sea Horse Amigurumi Pattern: Complete Crochet Guide
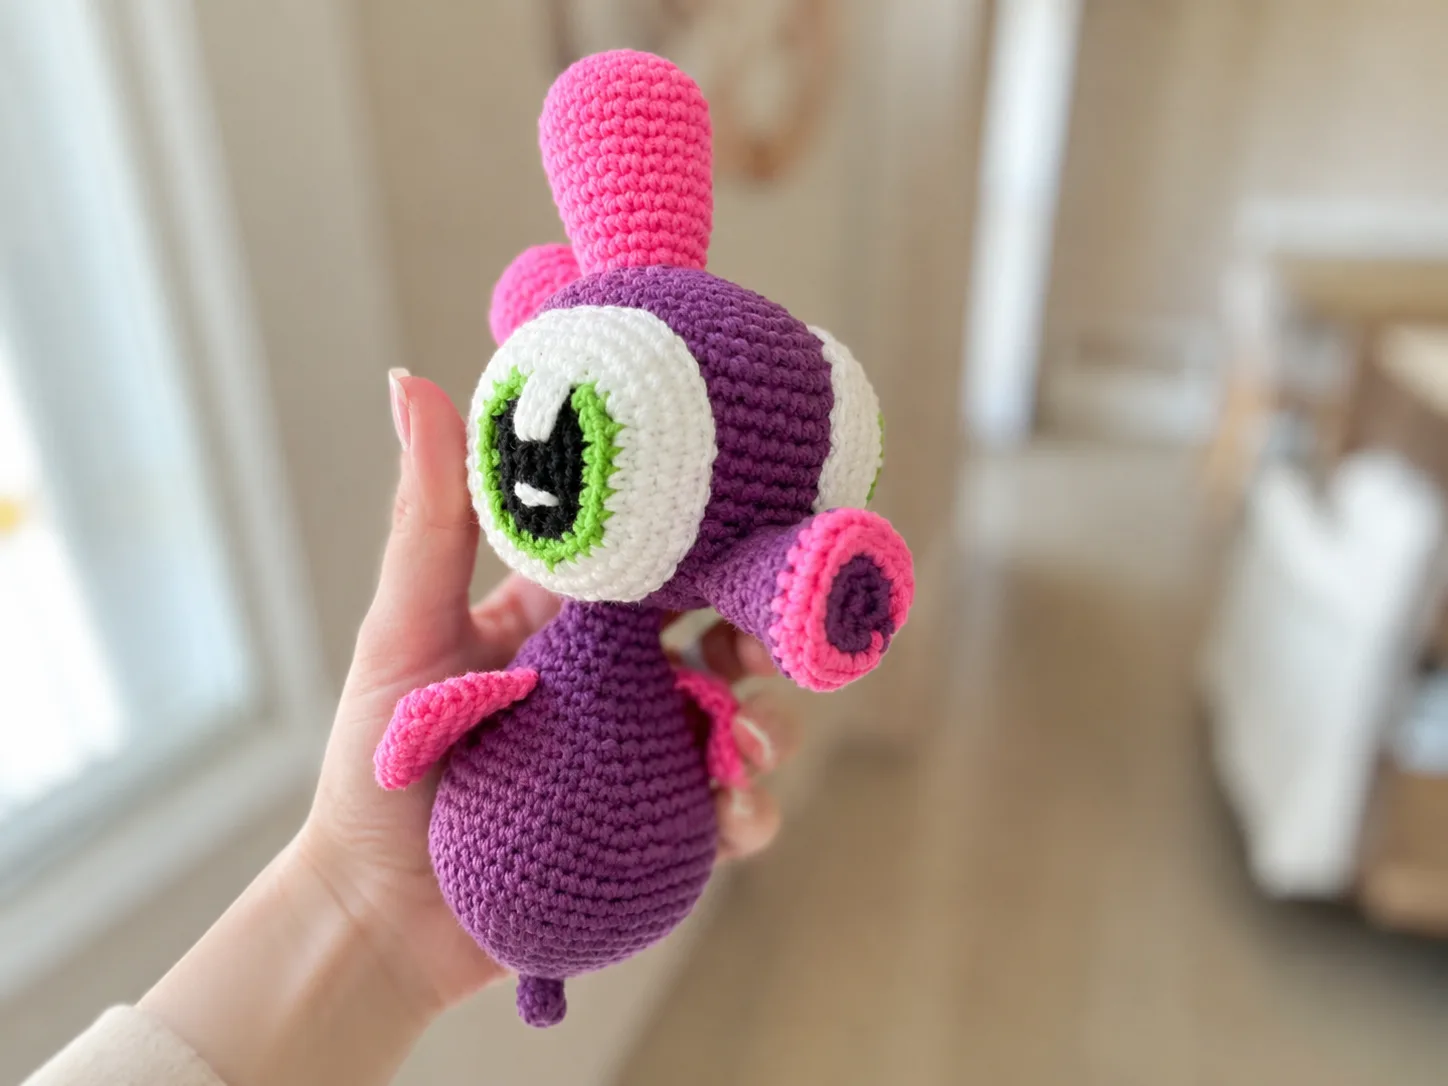
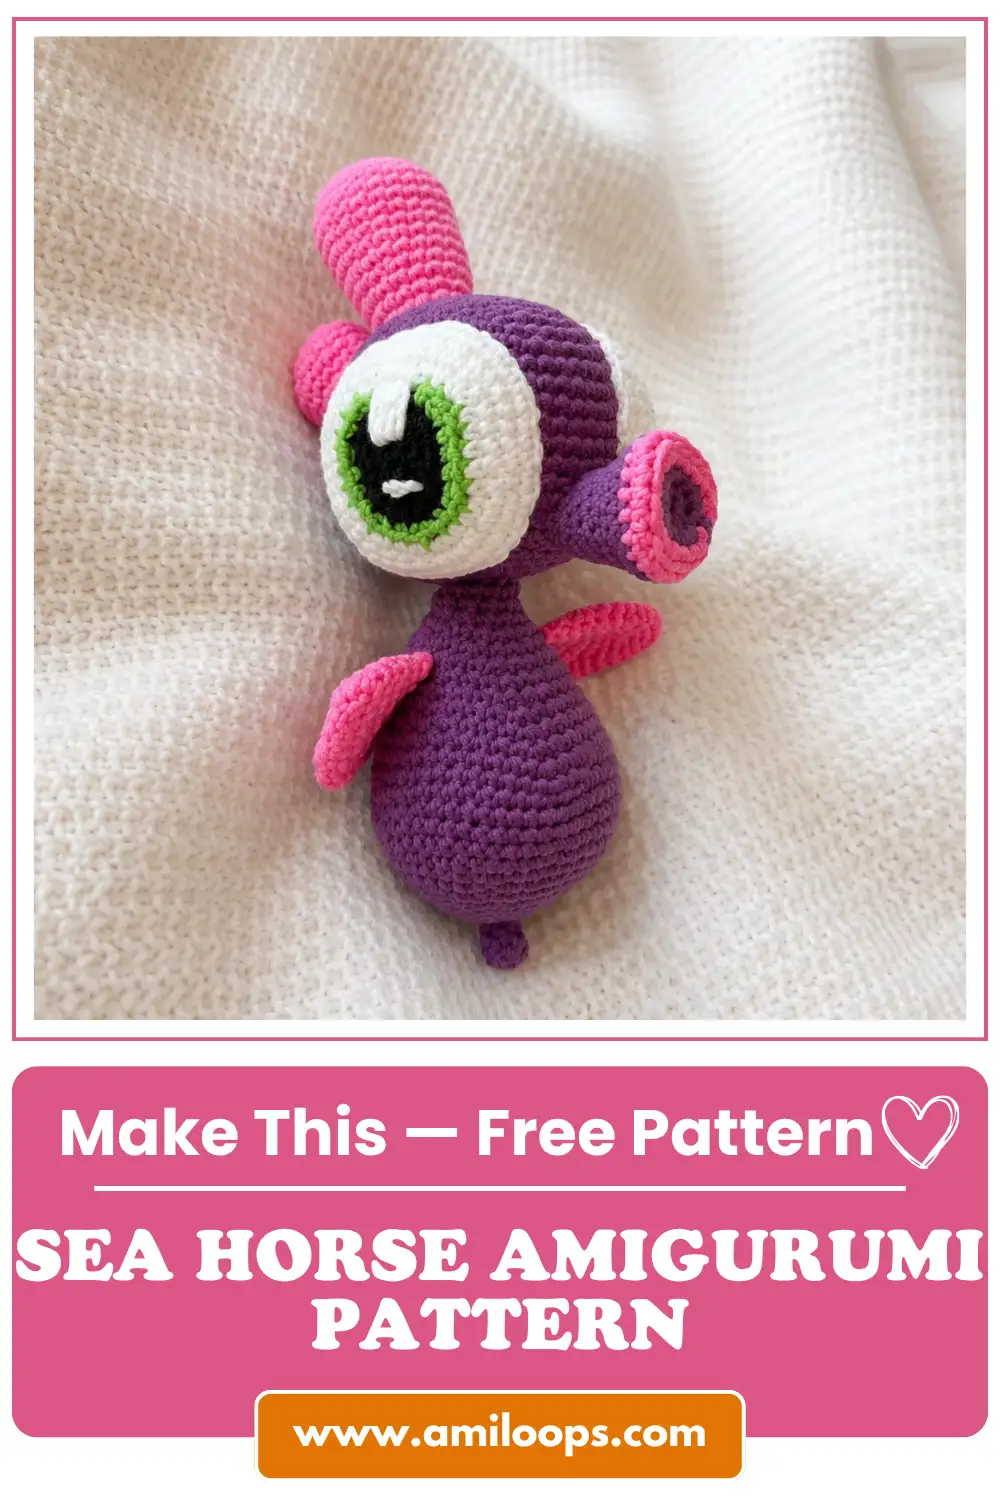
Crafting a sea horse amigurumi pattern requires a balance of smooth stitch transitions and firm structural support. This charming aquatic design features a contoured head, a tapered lower body with wired tail stabilization, and a distinct trio of crests along the spine. Working with contrasting colors highlights the characterful silhouette, creating a vibrant finished toy that stands out in any handmade collection.
Before starting your project, gathering the correct tools ensures a clean result without open gaps. Using tight single crochet rounds keeps the polyester fiberfill safely tucked inside, while internal craft wire provides flexible poseability for the curled tail. Following exact stitch counts across each piece helps keep all proportions balanced during final assembly.
About This Sea Horse Crochet Pattern
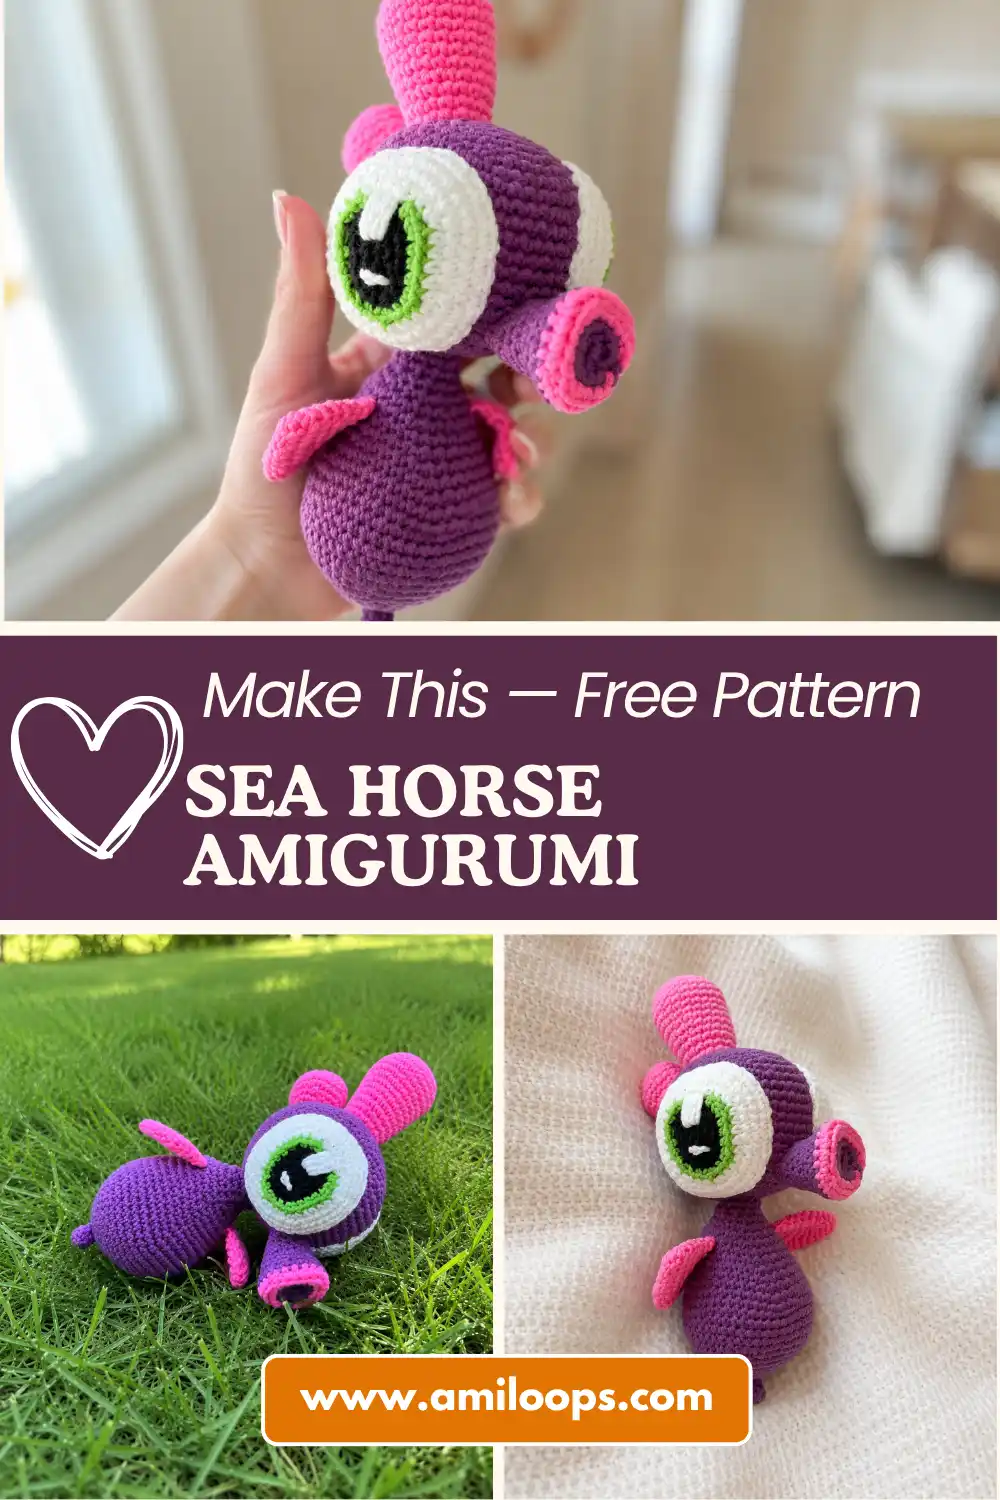
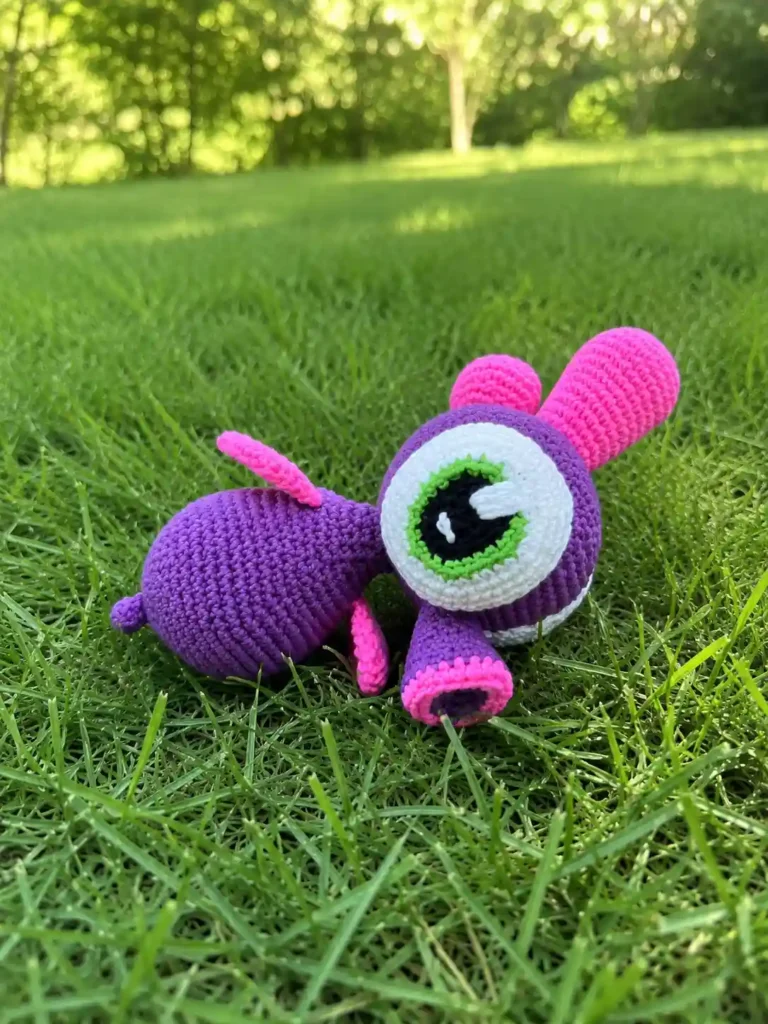
The sea horse amigurumi pattern features a thoughtful combination of seven distinct parts assembled into a cohesive aquatic figure. The head and body are worked as a single continuous foundation, minimizing bulky seams around the neck region. Bright pink accents across the nose, crests, and side fins stand out against the deep purple main body, creating a striking visual contrast.
Detailed features make this project visually rewarding to build from start to finish. The multi-layered eyes use black, green, and white rounds worked in the back loops to add dimensional depth without complex embroidery. Adding three graduated crests from largest to smallest along the back of the head provides an iconic sea horse profile that holds its shape.
Materials and Tools
Selecting appropriate yarn and structural materials ensures your amigurumi maintains its shape over time. Sport weight cotton-acrylic yarn provides clear stitch definition while remaining soft to the touch. A smaller hook size compacts the single crochet stitches to prevent stuffing from showing through.
- YarnArt Jeans yarn, color 50 (deep purple)
- YarnArt Jeans yarn, color 59 (bright pink)
- YarnArt Jeans yarn, color 01 (white)
- YarnArt Jeans yarn, black
- YarnArt Jeans yarn, green
- 2mm crochet hook (or any size you’re comfortable working with)
- Polyester fiberfill stuffing
- 2.5mm craft wire, 15–18 cm / 6–7 in (length depends on your gauge)
- Tape (to insulate the wire ends)
- Yarn/tapestry needle
Crochet Abbreviations
Reviewing standardized US crochet terms helps ensure every increase and decrease is placed correctly. Understanding these abbreviations makes tracking instructions effortless as you work through rounds and rows.
- mr — magic ring
- ch — chain
- sc — single crochet
- sl st — slip stitch
- inc — increase (2 sc in same stitch)
- dec — invisible decrease (or sc2tog)
- st(s) — stitch(es)
- BLO — back loop only
- FO — fasten off
Construction Overview
Construction begins at the top of the head and flows continuously down into the main body, tapering gradually toward the lower tail section. The head is shaped with symmetrical increases before narrowing slightly at the neck. Expanding the lower torso creates room for polyester fiberfill before inserting insulated craft wire down into the narrow end of the tail.
Secondary elements are crocheted separately in matching yarn shades before attachment. The nose begins with a small magic ring, expands into a rounded snout, and includes a back-loop round for structural definition. The three crests utilize progressive round counts to form clean conical points, while the flat side fins are folded and stitched closed along their top edges.
Before You Start
Preparing your materials before beginning stitch work prevents interruptions during shaping rounds. Wrap both tips of your craft wire with protective tape to prevent sharp ends from catching on yarn fibers or poking through the fabric. Having a tapestry needle ready makes attaching small parts much easier later.
Maintaining uniform tension throughout continuous rounds ensures all pieces match the planned proportions. Counting stitches at the end of key rounds verifies that increases are spaced evenly across the surface. Checking your work periodically prevents shaping errors from affecting final symmetry.
Sea Horse Crochet Pattern
Follow the canonical pattern rounds below in order, maintaining consistent stitch gauge across all individual parts.
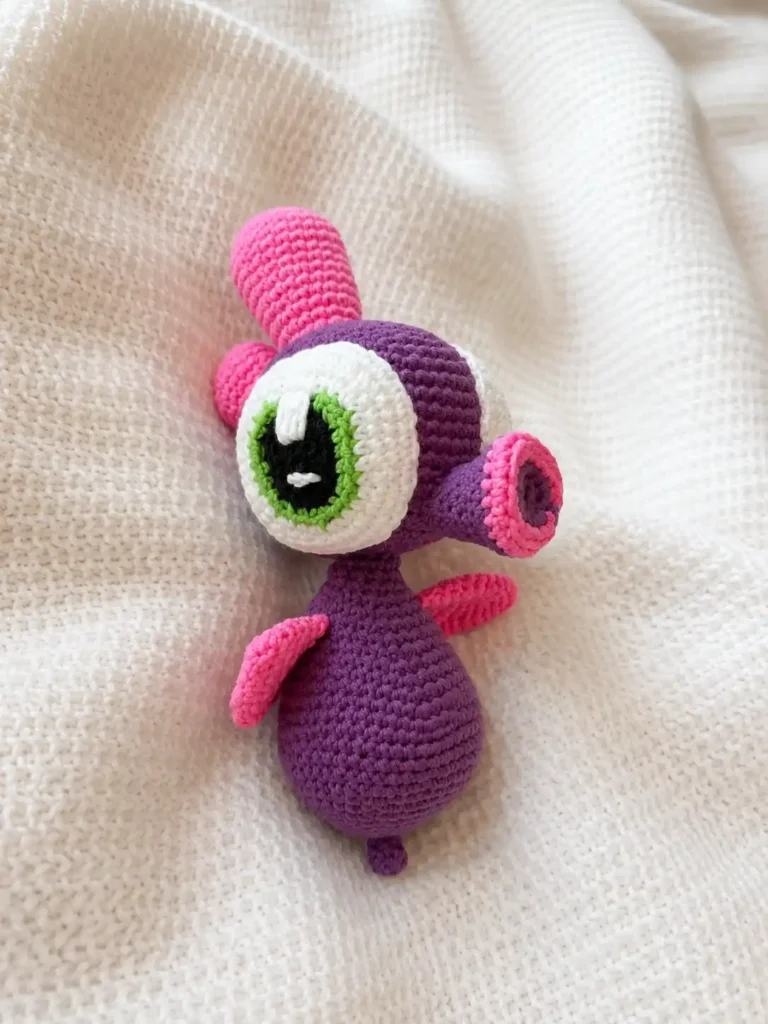
Part 1: Head & Body
| Round | Instructions | Stitch Count |
|---|---|---|
| Rnd 1 | 6 sc in mr | 6 |
| Rnd 2 | 6 inc | 12 |
| Rnd 3 | (1 sc, inc) x6 | 18 |
| Rnd 4 | 1 sc, inc, (2 sc, inc) x5, 1 sc | 24 |
| Rnd 5 | (3 sc, inc) x6 | 30 |
| Rnd 6 | 2 sc, inc, (4 sc, inc) x5, 2 sc | 36 |
| Rnd 7 | (5 sc, inc) x6 | 42 |
| Rnd 8 | 3 sc, inc, (6 sc, inc) x5, 3 sc | 48 |
| Rnd 9–16 | sc around (48) — 8 rounds even | 48 |
| Rnd 17 | 3 sc, dec, (6 sc, dec) x5, 3 sc | 42 |
| Rnd 18 | (5 sc, dec) x6 | 36 |
| Rnd 19 | 2 sc, dec, (4 sc, dec) x5, 2 sc | 30 |
| Rnd 20 | (3 sc, dec) x6 | 24 |
| Rnd 21 | 1 sc, dec, (2 sc, dec) x5, 1 sc | 18 |
| Rnd 22 | (1 sc, dec) x6 | 12 |
| Rnd 23–25 | sc around | 12 |
| Rnd 26 | (3 sc, inc) x3 | 15 |
| Rnd 27 | (4 sc, inc) x3 | 18 |
| Rnd 28 | (2 sc, inc) x6 | 24 |
| Rnd 29 | 6 sc, inc, (4 sc, inc) x2, 7 sc | 27 |
| Rnd 30 | sc around | 27 |
| Rnd 31 | 7 sc, inc, (5 sc, inc) x2, 7 sc | 30 |
| Rnd 32 | 8 sc, inc, (6 sc, inc) x2, 7 sc | 33 |
| Rnd 33 | 9 sc, inc, (7 sc, inc) x2, 7 sc | 36 |
| Rnd 34 | 10 sc, inc, (8 sc, inc) x2, 7 sc | 39 |
| Rnd 35 | 11 sc, inc, (9 sc, inc) x2, 7 sc | 42 |
| Rnd 36 | 12 sc, inc, (10 sc, inc) x2, 7 sc | 45 |
| Rnd 37 | 13 sc, inc, (11 sc, inc) x2, 7 sc | 48 |
| Rnd 38–40 | sc around (48) — 3 rounds even | 48 |
| Rnd 41 | 3 sc, dec, (6 sc, dec) x5, 3 sc | 42 |
| Rnd 42 | (5 sc, dec) x6 | 36 |
| Rnd 43 | sc around | 36 |
| Rnd 44 | 2 sc, dec, (4 sc, dec) x5, 2 sc | 30 |
| Rnd 45 | sc around | 30 |
| Rnd 46 | (3 sc, dec) x6 | 24 |
| Rnd 47 | sc around | 24 |
| Rnd 48 | (2 sc, dec) x6 | 18 |
| Rnd 49 | (1 sc, dec) x6 | 12 |
| Rnd 50 | 6 dec | 6 |
| Rnd 51–55 | sc around | 6 |
Part 2: Nose
| Round | Instructions | Stitch Count |
|---|---|---|
| Rnd 1 | 9 sc in mr | 9 |
| Rnd 2 | ch 1, (3 sc in next st, 2 sc) x3, sl st to join | — |
| Rnd 3 | ch 1, (3 sc in next st, 4 sc) x3 | — |
| Rnd 4 | 21 sc, worked in BLO | 21 |
| Rnd 5 | sc around | 21 |
| Rnd 6 | (4 sc, dec) x3, 3 sc | 18 |
| Rnd 7 | (2 sc, dec) x4, 2 sc | 14 |
| Rnd 8–9 | sc around | 14 |
| Rnd 10 | (1 sc, dec) x4, 2 sc | 10 |
| Rnd 11 | sc around | 10 |
Part 3: Large Crest
| Round | Instructions | Stitch Count |
|---|---|---|
| Rnd 1 | 6 sc in mr | 6 |
| Rnd 2 | 6 inc | 12 |
| Rnd 3 | (1 sc, inc) x6 | 18 |
| Rnd 4 | (2 sc, inc) x6 | 24 |
| Rnd 5–7 | sc around | 24 |
| Rnd 8 | (6 sc, dec) x3 | 21 |
| Rnd 9–11 | sc around | 21 |
| Rnd 12 | (5 sc, dec) x3 | 18 |
| Rnd 13 | sc around | 18 |
| Rnd 14 | (4 sc, dec) x3 | 15 |
| Rnd 15 | sc around | 15 |
Part 4: Medium Crest
| Round | Instructions | Stitch Count |
|---|---|---|
| Rnd 1 | 6 sc in mr | 6 |
| Rnd 2 | 6 inc | 12 |
| Rnd 3 | (1 sc, inc) x6 | 18 |
| Rnd 4–6 | sc around | 18 |
| Rnd 7 | (4 sc, dec) x3 | 15 |
| Rnd 8–10 | sc around | 15 |
| Rnd 11 | (3 sc, dec) x3 | 12 |
| Rnd 12 | sc around | 12 |
Part 5: Small Crest
| Round | Instructions | Stitch Count |
|---|---|---|
| Rnd 1 | 6 sc in mr | 6 |
| Rnd 2 | (1 sc, inc) x3 | 9 |
| Rnd 3 | (2 sc, inc) x3 | 12 |
| Rnd 4–6 | sc around | 12 |
| Rnd 7 | (2 sc, dec) x3 | 9 |
| Rnd 8 | sc around | 9 |
Part 6: Fins
| Round | Instructions | Stitch Count |
|---|---|---|
| Rnd 1 | ch 8; starting in 2nd ch from hook: 6 sc, 3 sc in next ch, 5 sc, inc | 16 |
| Rnd 2–4 | sc around | 16 |
| Rnd 5 | (dec, 6 sc) x2 | 14 |
| Rnd 6 | (5 sc, dec) x2 | 12 |
| Rnd 7 | sc around | 12 |
Part 7: Eyes
| Round | Instructions | Stitch Count |
|---|---|---|
| Rnd 1 | ch 5; starting in 2nd ch from hook: inc, 2 sc, 3 sc in next ch, 2 sc, inc | 11 |
| Rnd 2 | 2 inc, 2 sc, 3 inc, 2 sc, 2 inc | 18 |
| Rnd 3 | (1 sc, inc) x2, 2 sc, (1 sc, inc) x3, 2 sc, (1 sc, inc) x2 | 25 |
| Rnd 4 | (2 sc, inc) x2, 2 sc, (2 sc, inc) x3, 2 sc, (2 sc, inc) x2 | 32 |
| Rnd 5 | (3 sc, inc) x2, 2 sc, (3 sc, inc) x3, 2 sc, (3 sc, inc) x2 | 39 |
| Rnd 6–7 | sc around | 39 |
Assembly and Finishing
Assembling the sea horse amigurumi pattern requires strategic positioning so all facial features and spinal details align properly. Securing the nose to the front of the head first establishes a center reference point for placing the eyes and top crests.
Aligning the three crests along the top and back of the head creates a continuous ridge that transitions smoothly into the body contour. Using long yarn tails left during fastening off ensures every piece remains anchored tightly to the main body.
- Sew the nose to the front of the head.
- Sew the three crests to the top of the head in a single row, largest to smallest, down the center.
- Sew the two fins to the sides of the body.
- Sew the two eyes to the sides of the head, then embroider a white highlight stitch on each.
Pattern Notes and Troubleshooting
Managing Wire Insertion and Tail Flex
Inserting craft wire into narrow crochet pieces can cause snagging if the ends are left bare. Wrapping both tips with electrical or painter’s tape creates a smooth buffer that glides through polyester fiberfill without catching inner loops. Ensure the wire sits centrally within the tail so it bends fluidly without creating lumps under the fabric surface.
Achieving Clean Color Changes on the Snout
Switching yarn shades between deep purple and bright pink on the nose requires neat transitions. Complete the final yarn over of the stitch before the color swap using the new working yarn. This prevents color bleeding across rounds and ensures the back-loop ridge remains crisp and well-defined.
Keeping Eye Rounds Flat and Symmetrical
The oval eyes rely on precise increase placement across multiple color rounds. If the edges begin to curl inward prematurely, check that your stitches worked in the back loops maintain uniform tension. Lightly stuffing the eye assembly before sewing gives it a rounded profile that sits neatly against the curved sides of the head.
Finishing Checklist
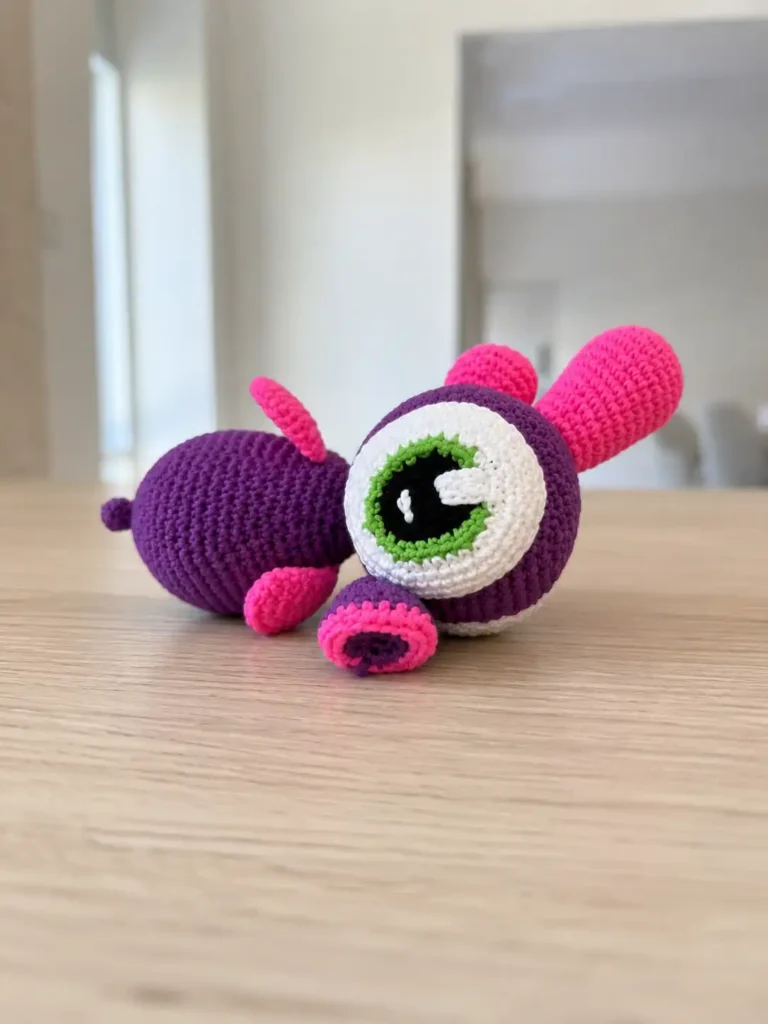
Completing a final check ensures your sea horse amigurumi meets quality standards and stays securely constructed.
- Confirm the head and body are stuffed firmly while keeping wire centered in the tail.
- Verify the three crests are stitched in descending size order along the head center.
- Ensure side fins are attached symmetrically on both sides of the torso.
- Check that white highlights are embroidered clearly on both eye pieces.
Explore Related Patterns
If you enjoyed making this project, explore our collection of aquatic designs. Try our jellyfish amigurumi pattern for more ocean-inspired creations, or check our guide on how to stuff amigurumi to refine your shaping techniques.
FAQ
What yarn is best for this sea horse amigurumi pattern?
Sport weight cotton-acrylic blend yarn (such as YarnArt Jeans) is ideal because it provides tight stitch definition, durability, and smooth colors without fuzziness.
How do you keep the amigurumi sea horse tail curled and stable?
Inserting a 15–18 cm piece of 2.5mm craft wire with taped safety ends into the center of the tail allows you to pose and curl it safely.
Is this sea horse amigurumi pattern suitable for beginners?
This pattern is best for confident advanced beginners or intermediate crocheters comfortable with continuous rounds, color switches, back-loop stitches, and assembling separate parts.