Free Amigurumi Penguin Pattern — Little Bow-Tie Penguin
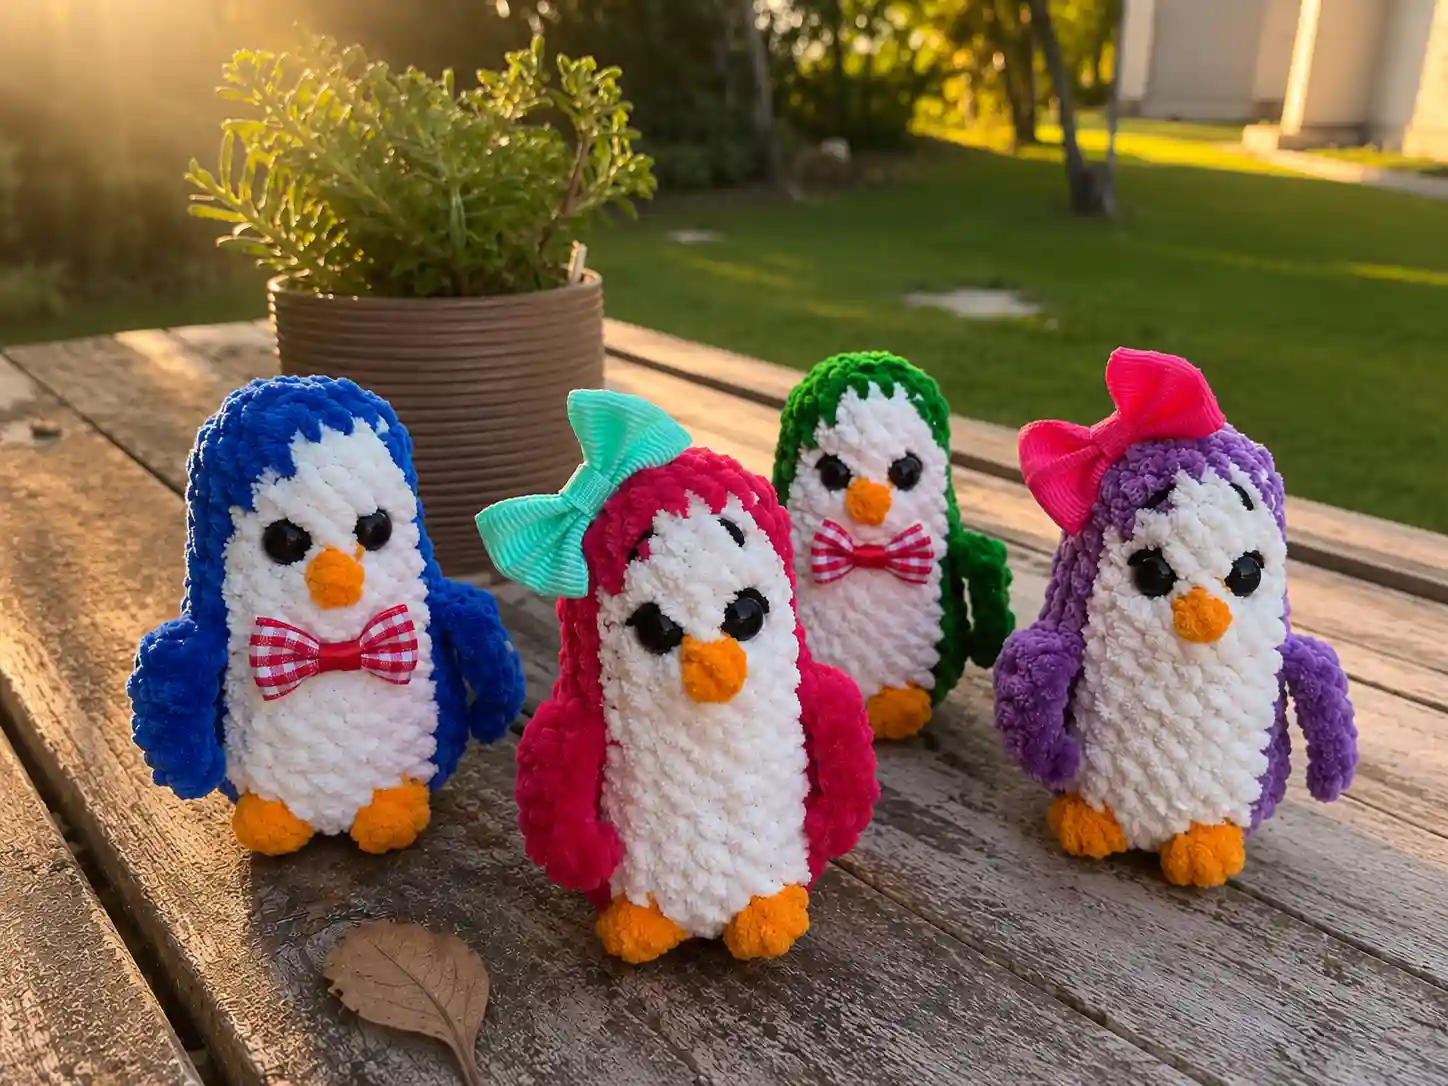
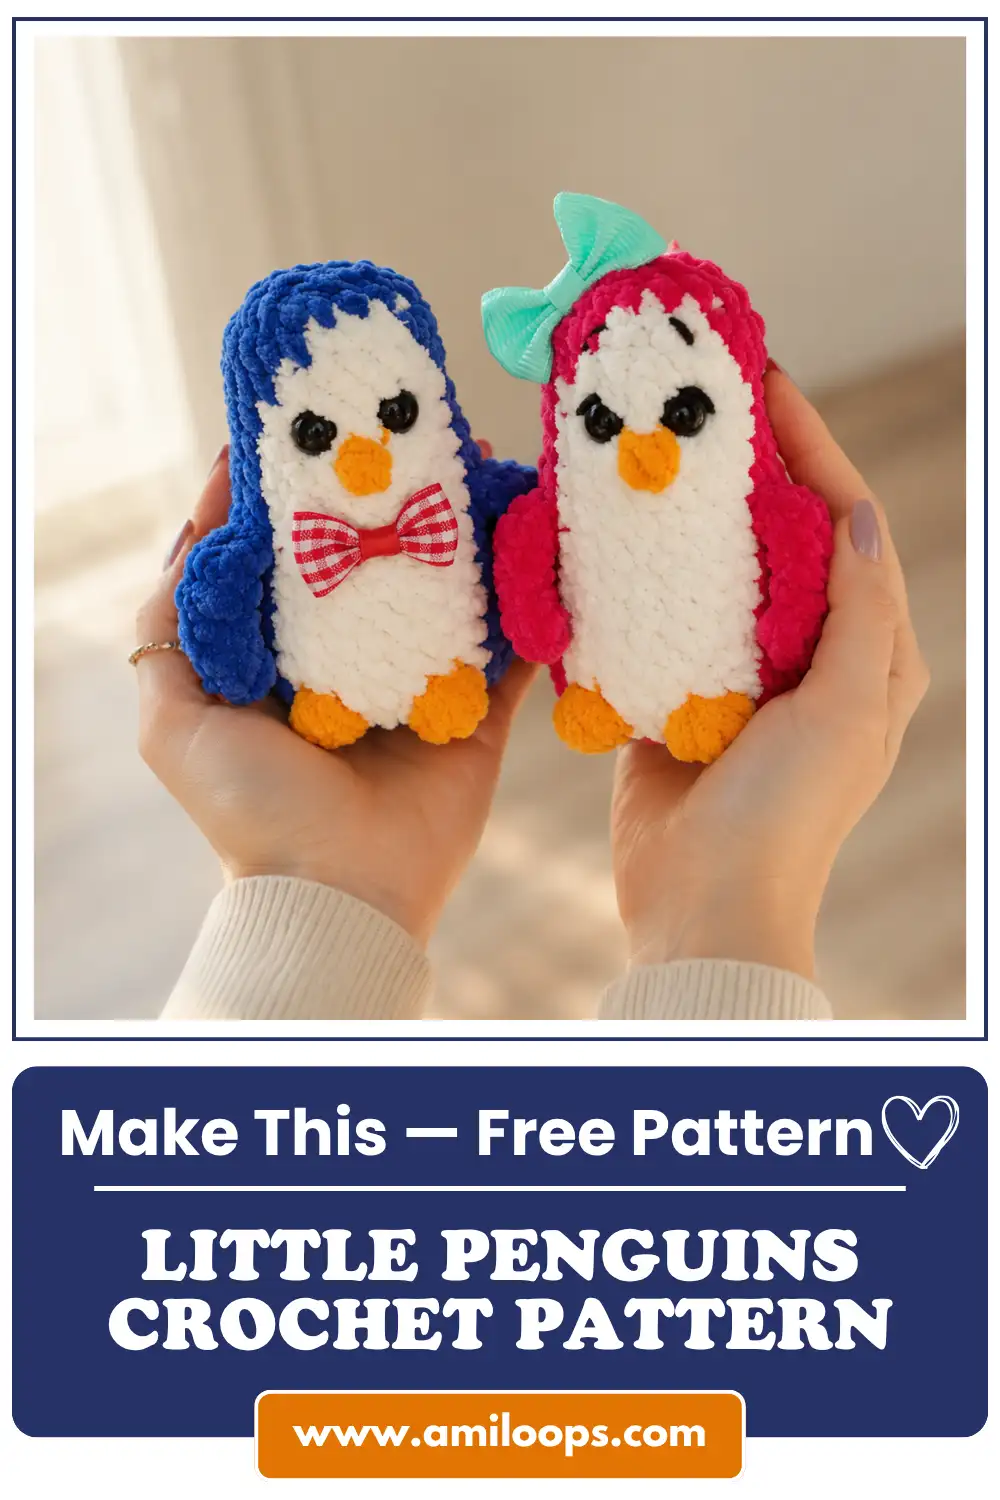
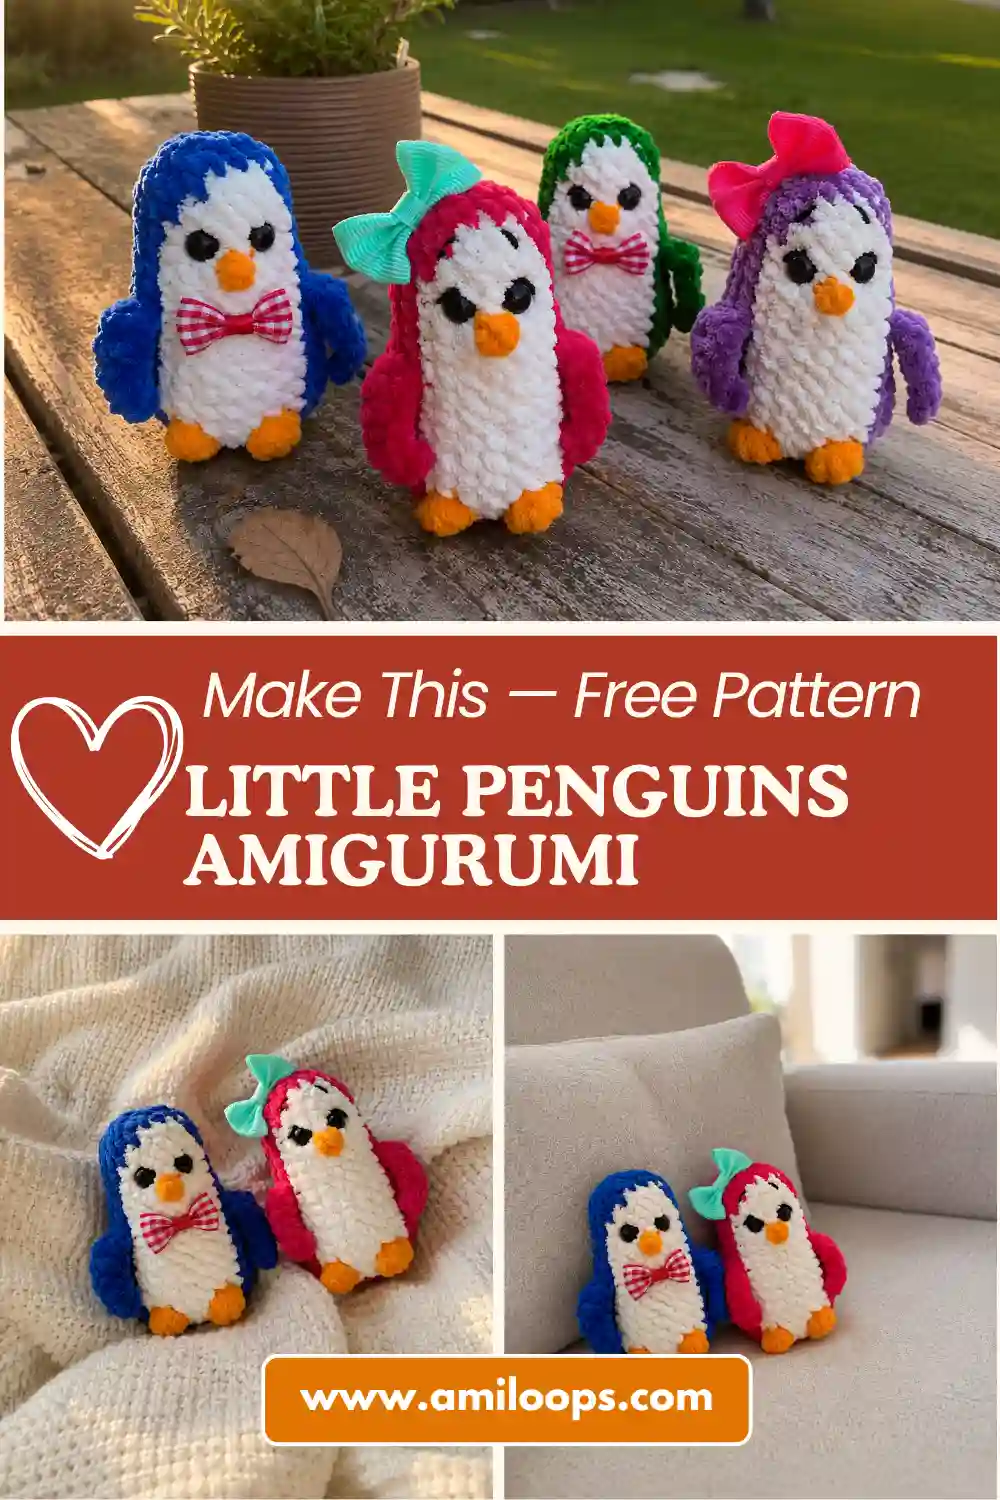
This little amigurumi penguin pattern makes a round, huggable penguin no taller than your palm — tiny wings, a stitched-on bow, and a look that’s somehow always about to say something. I named mine Percy before the beak was even on. If you’ve got a small ball of chenille yarn and a quiet afternoon, this is a lovely place to start.
📖 Meet Percy
- 🌟 Personality: cheerful, tidy, quietly proud
- 🎨 Color Palette: deep emerald green with a soft white belly and warm marigold feet and beak
- 📏 Size: 3.5 in (9 cm)
- 🪝 Hook: 3.5 mm (US E/4)
- ⏱️ Time: 3-4 hours
- ✨ Signature Detail: a puffed-out little tail that makes him look like he’s mid-waddle, plus a bow tie he wears like he chose it himself
- 💡 Difficulty: Intermediate
What You’ll Need for This Amigurumi Penguin Pattern
Percy is worked in a Bulky (5) chenille yarn — the original pattern uses LaVita Velur, and a Bulky (5) chenille like Lion Brand Comfy Chenille or Bernat Baby Blanket Dappled will give you the same soft, plush finish. You’ll want three small amounts: a main color for the body, white for the belly panel, and a warm accent for the feet and beak. This yarn weight falls under the Craft Yarn Council’s Bulky (5) classification — it’s thick, quick to work up, and forgiving of small tension inconsistencies, which makes it a nice choice for a penguin who’s meant to look a little round and soft rather than precise.
- Bulky (5) chenille yarn — main color, white, and feet/beak color (small amounts of each)
- 3.5 mm (US E/4) crochet hook
- Fiberfill stuffing
- 8 mm safety eyes
- Stitch marker
- Tapestry needle
- Small amount of DK/Light Worsted (3) yarn in a dark contrast color, for embroidering the eyebrows
- A small ribbon or crocheted bow, for finishing
- Scissors
Abbreviations
| Abbreviation | Meaning (US Standard) |
|---|---|
| ch | chain |
| sc | single crochet |
| sl st | slip stitch |
| inc | increase |
| inv dec | invisible decrease |
| hdc | half double crochet |
| dc | double crochet |
| puff st | puff stitch (several partially-completed stitches pulled together at the top into one) |
| ( ) | total stitch count at the end of the round |
Before You Begin: Getting Ready for This Amigurumi Penguin
Percy doesn’t start with a magic ring — he begins from a small chain, so if you’ve only ever started amigurumi from a ring, don’t worry, the shaping still works exactly the same way once the first round is in place. What he does use is a lot of continuous rounds and one very quiet trick: an invisible decrease every time the pattern needs to pull two stitches into one. I’ve converted every plain “dec” in this pattern to invisible decrease — the stitch counts haven’t changed at all, but the line where two stitches become one stays smooth instead of leaving a small gap, which matters on a body this compact.
✨ Sophie’s Note: You’ll also be switching colors often in this one — main color to white and back, sometimes within the same round. Our color change tutorial is worth a look before you start if you haven’t carried a second color through continuous rounds before. It’s a small habit that makes the whole thing feel much less fiddly once it clicks.
Because Percy is stuffed as you go rather than all at once at the end, our stuffing guide is a good companion for this one too — a little at a time, gently, so the lower body stays round instead of lumpy.
Crocheting Percy: Body and Head
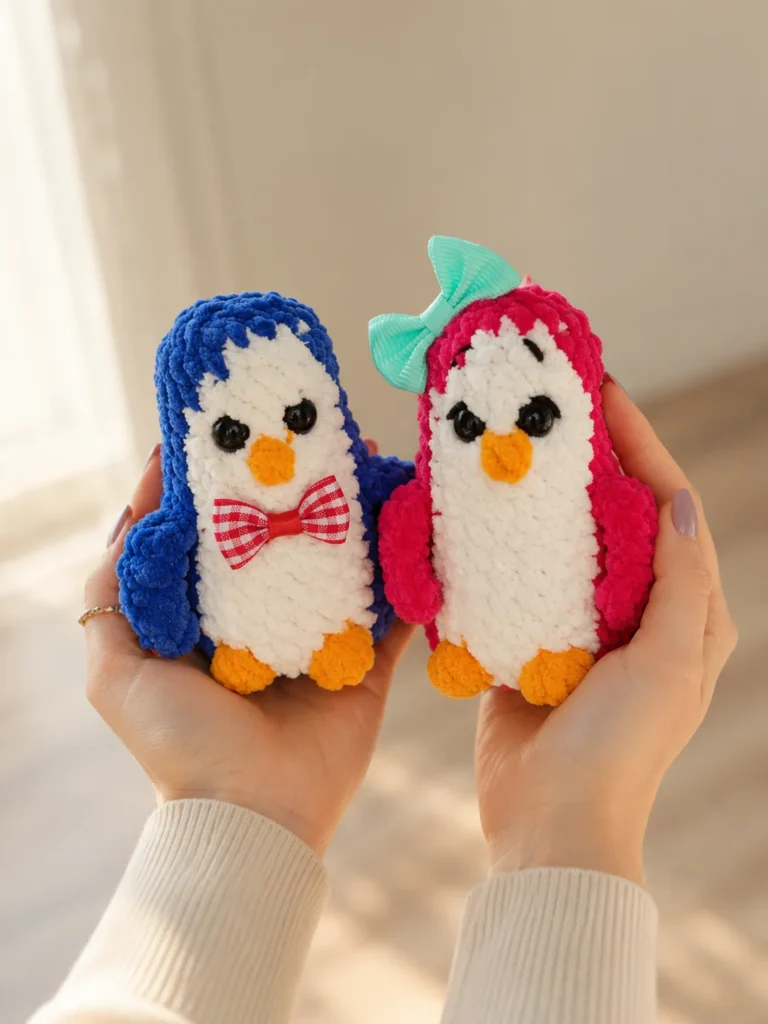
This whole penguin is one continuous piece — no separate parts to sew on later, aside from the eyes and the bow. Stuff as you go: keep it fairly firm through the lower body so it holds its shape, but don’t overstuff the very bottom rounds, or the base will bulge instead of sitting flat.
Row 1: from the second ch of a starting chain of 6, work: inc, 3 sc, 4 sc in one st, 3 sc, inc (14)
Row 2: 2 inc, 3 sc, 4 inc, 3 sc, 2 inc (22)
Row 3: 5 sc, 3 hdc in one st (this is the beginning of the tail), 8 sc, puff st of 4 dc with a shared top in the feet/beak color (this forms one foot), 3 sc in white, second foot (worked the same way, feet/beak color), 3 sc (24)
✨ Sophie’s Note: That 3-hdc bump in Row 3 is the very beginning of the tail — you’ll see it start to stand slightly proud of the round almost immediately. Leave it be for now; it gets flattened into shape two rows down, and later, once he’s stuffed, you’ll actually push a little extra filling up into it to make it puff out properly. It’s one of my favorite small details in this whole design — it’s what makes him look like he’s caught mid-waddle rather than just standing still.
Row 4: 5 sc, 3 hdc (tail), 7 sc, 7 sc in white, 2 sc (24)
Row 5: 5 sc, decrease the 3 tail hdc together into one stitch, 7 sc, 7 sc in white, 2 sc (22)
✨ Sophie’s Note: A quick honesty flag on that tail decrease: the original instructions point to a photo for exactly how those three stitches come together, and that image didn’t make it through translation. What’s described is a straightforward three-into-one decrease worked the same way you’d combine any group of stitches — so bring the three hdc together into a single stitch, the normal way you’d close them off. It doesn’t need to be exact. A stitch or two of wiggle room here won’t show once he’s stuffed and the tail is puffed out.
Rows 6-8 (repeat this round 3 times): 13 sc, 7 sc in white, 2 sc (22)
This is the part where Percy just gets to be a small green cylinder for a little while — three quiet rounds where nothing changes but the height. It’s a nice stretch to crochet without much thinking, and a good place to notice how the white belly panel is already starting to read as a shape of its own, even before the wings and face show up.
Row 9: 12 sc, wing (ch 7, then from the second ch from the hook work: 1 sl st, 1 sc, 1 hdc, 3 dc along the chain), 1 sc, 7 sc in white, 1 sc, second wing (worked the same way), 1 sc (22)
✨ Sophie’s Note: The wings are worked as little chains right off the body — no separate pieces, nothing to sew on later. They’ll want to flop a bit while you’re working the rest of the rounds, and that’s completely fine. Once he’s stuffed and standing on his own, they settle down against his sides on their own.
Rows 10-11 (repeat this round 2 times): 13 sc, 7 sc in white, 2 sc (22)
Row 12: 13 sc, 3 sc in white, puff st of 2 hdc in the feet/beak color (this is the beak), 3 sc in white, 1 sc (21)
✨ Sophie’s Note: This round is worked one stitch short of a full repeat on purpose — the original pattern calls it out directly, so move your stitch marker over by one stitch here rather than treating it as a mistake. It’s a small deliberate shift that lets the beak land in exactly the right spot on the next few rows.
Row 13: inv dec, 9 sc, inv dec, 1 sc, 7 sc in white, 1 sc (20)
✨ Sophie’s Note: Same honesty flag as before — the original notes a photo for exactly where these two decreases should sit, and that image didn’t carry over. Space them evenly across the front of the face as written above; the stitch count will land correctly either way, and small placement differences won’t be noticeable once the eyes go in.
Row 14: 12 sc, 7 sc in white, 1 sc (20)
Row 15: 13 sc, 5 sc in white, 2 sc (20)
Row 16: 14 sc, 3 sc in white, 3 sc (20)
The white belly panel is narrowing quickly now, tucking itself in as the head starts to curve toward closing. This is the stretch where Percy stops looking like a tube and starts looking like someone.
Row 17: (3 sc, inv dec) repeated 4 times (16)
Row 18: 8 inv dec (8)
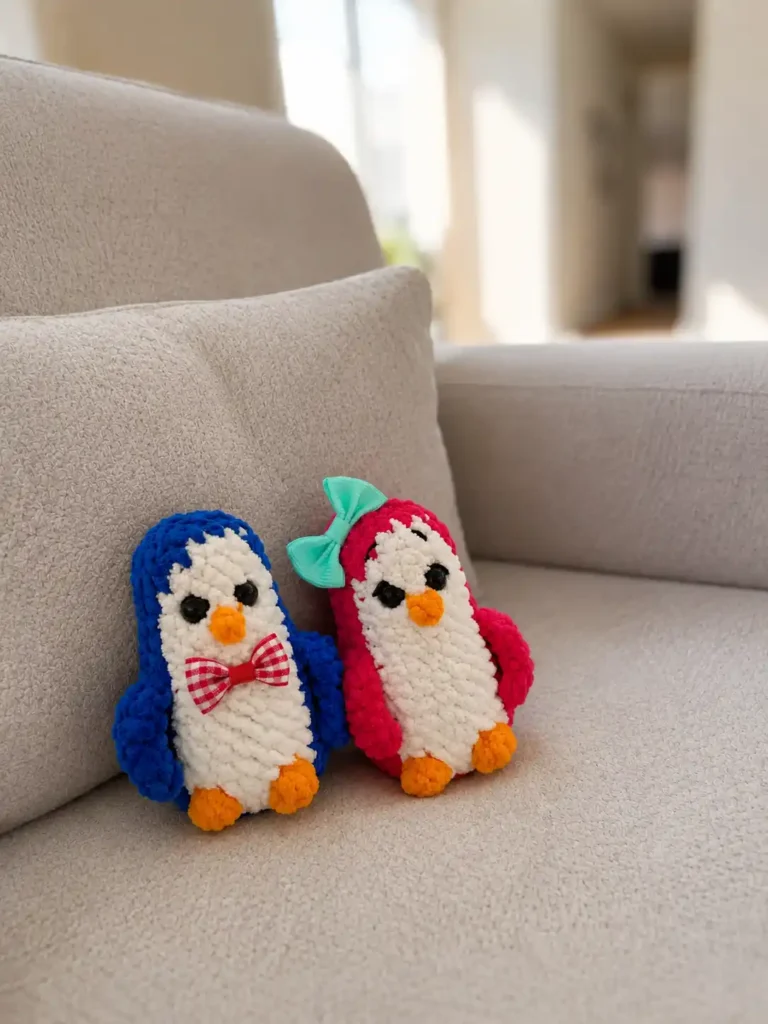
Finishing: Stuff the head firmly the rest of the way, then close the opening. Using a tapestry needle or the blunt end of a knitting needle, reach in and gently pull some of the stuffing up into the tail bump from Rows 3-5 — this is what makes it puff out and round off properly instead of sitting flat against the body. While you’re in there, adjust the beak into place so it sits forward and center.
Assembly
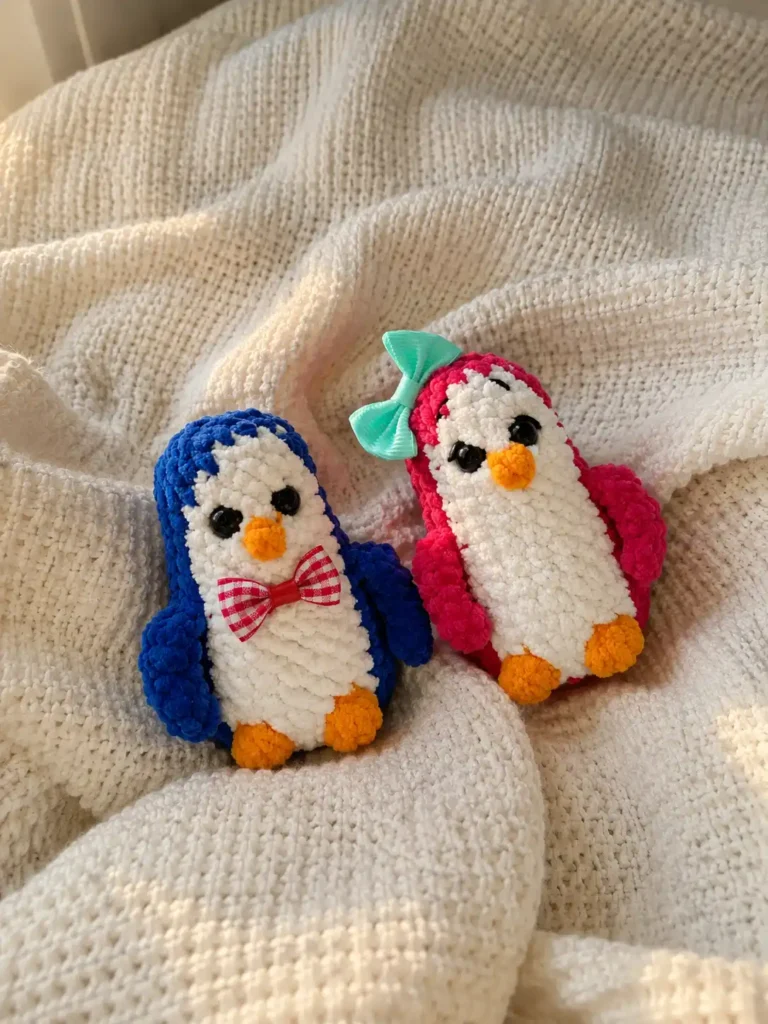
- Install the safety eyes between Rows 13 and 14, spacing them about 3 sc apart measured between the eye stems. Our safety eyes tutorial walks through getting the backing washer properly locked before you finish stuffing around them — it’s much easier to adjust eye position now than after the head is fully closed.
- Finish stuffing and close the head as described above.
- Shape the tail by working stuffing up into it from inside, then adjust the beak so it points forward.
- Move the eyes a half-round higher or lower if you want a slightly different expression — pulled up gives him a more alert, curious look, while sitting them a touch lower makes him read as sleepier and rounder-cheeked.
Dressing Percy: The Bow Tie & Finishing Touches
Using a DK/Light Worsted (3) yarn in a dark contrast color, embroider a small pair of eyebrows just above the eyes — this is a tiny detail, but it’s the one that decides whether Percy looks curious, surprised, or a little smug. Angle them slightly and he looks thoughtful; keep them flat and he looks perpetually a little startled, in a good way.
Finish with a small bow at the neck or head, either tied from ribbon or crocheted from a scrap of contrast yarn and glued in place. It’s a small addition, but it’s the detail that gives him the sense of having gotten dressed for something — like he’s on his way somewhere, even if that somewhere is just your bookshelf.
If you’d like to make a small flock of them, my colleague Chloe has a button-eyed amigurumi penguin with a completely different construction and expression — the two make a nice pair sitting side by side. For another small chenille bird with a similar wings-and-waddle charm, her chenille goose pair is worth a look too.
Meet Percy, Your New Amigurumi Penguin
Meet Percy. He’s sitting on the shelf by my desk right now, bow tie slightly crooked, tail puffed out like he just waddled over and hasn’t quite settled. He’s small enough to fit in one hand, but there’s something about the tilt of his beak and the round set of his eyes that makes him feel like he has opinions about things. That’s the part I love most about a pattern this size — you spend three or four quiet hours on him, and by the end he’s stopped being a ball of chenille and started being someone with a name. Make yours in whatever color feels right — red, purple, blue, it hardly matters — give him a bow of his own, and find him a spot where he can be seen. He’s earned one. 🧶
FAQ
What yarn is best for this amigurumi penguin pattern?
A Bulky (5) chenille yarn, like Lion Brand Comfy Chenille or Bernat Baby Blanket Dappled, is ideal. It gives the penguin a soft, plush finish that hides tension inconsistencies well.
Can a beginner make this amigurumi penguin?
This is an intermediate pattern because it involves frequent color changes and invisible decreases. However, ambitious beginners can easily tackle it by taking it one round at a time.
How long does it take to crochet this amigurumi penguin?
It generally takes about 3 to 4 hours to complete, making it a perfect quick weekend crochet project.