Free Lulu the Duck and Lolo the Drake Crochet Pattern — A Matching Pair
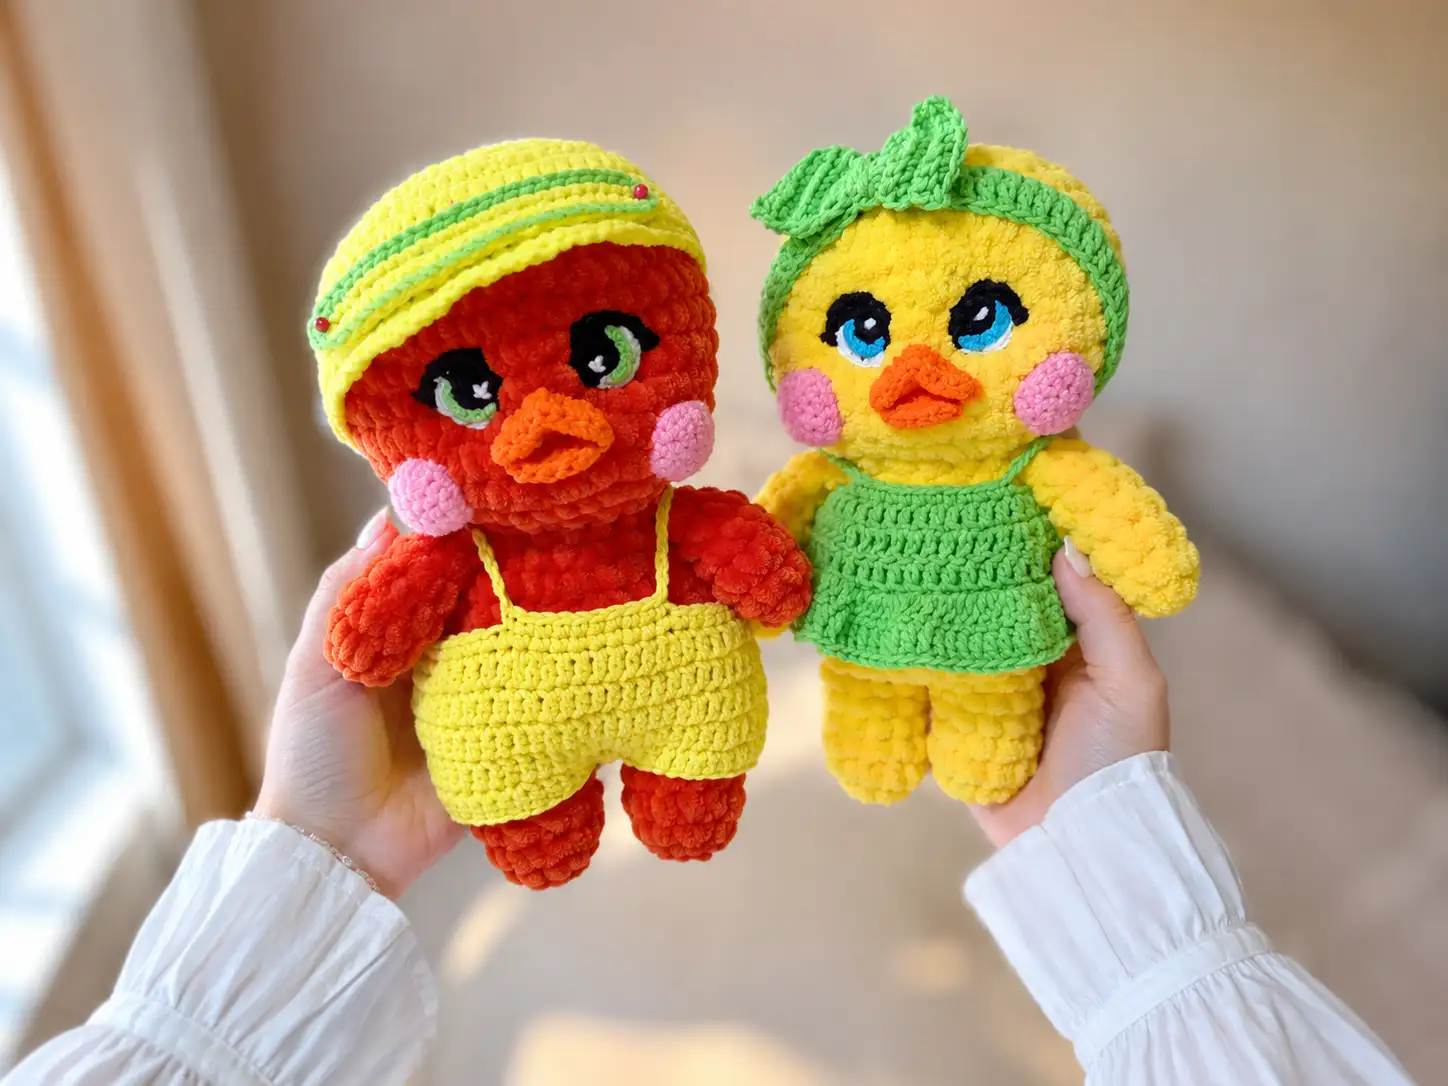
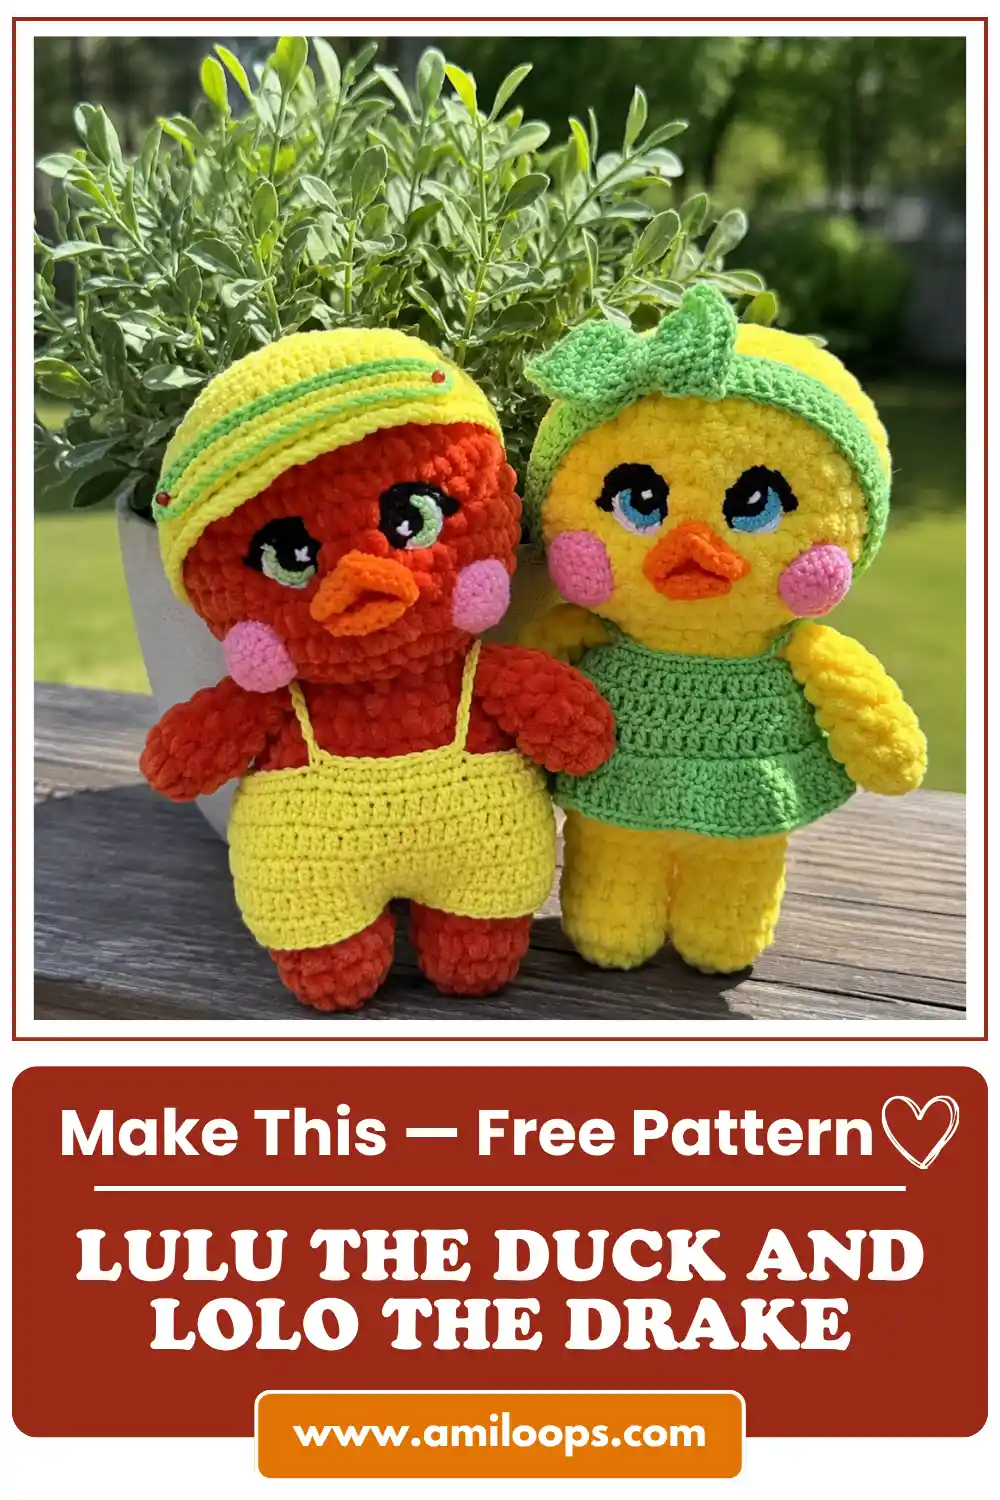
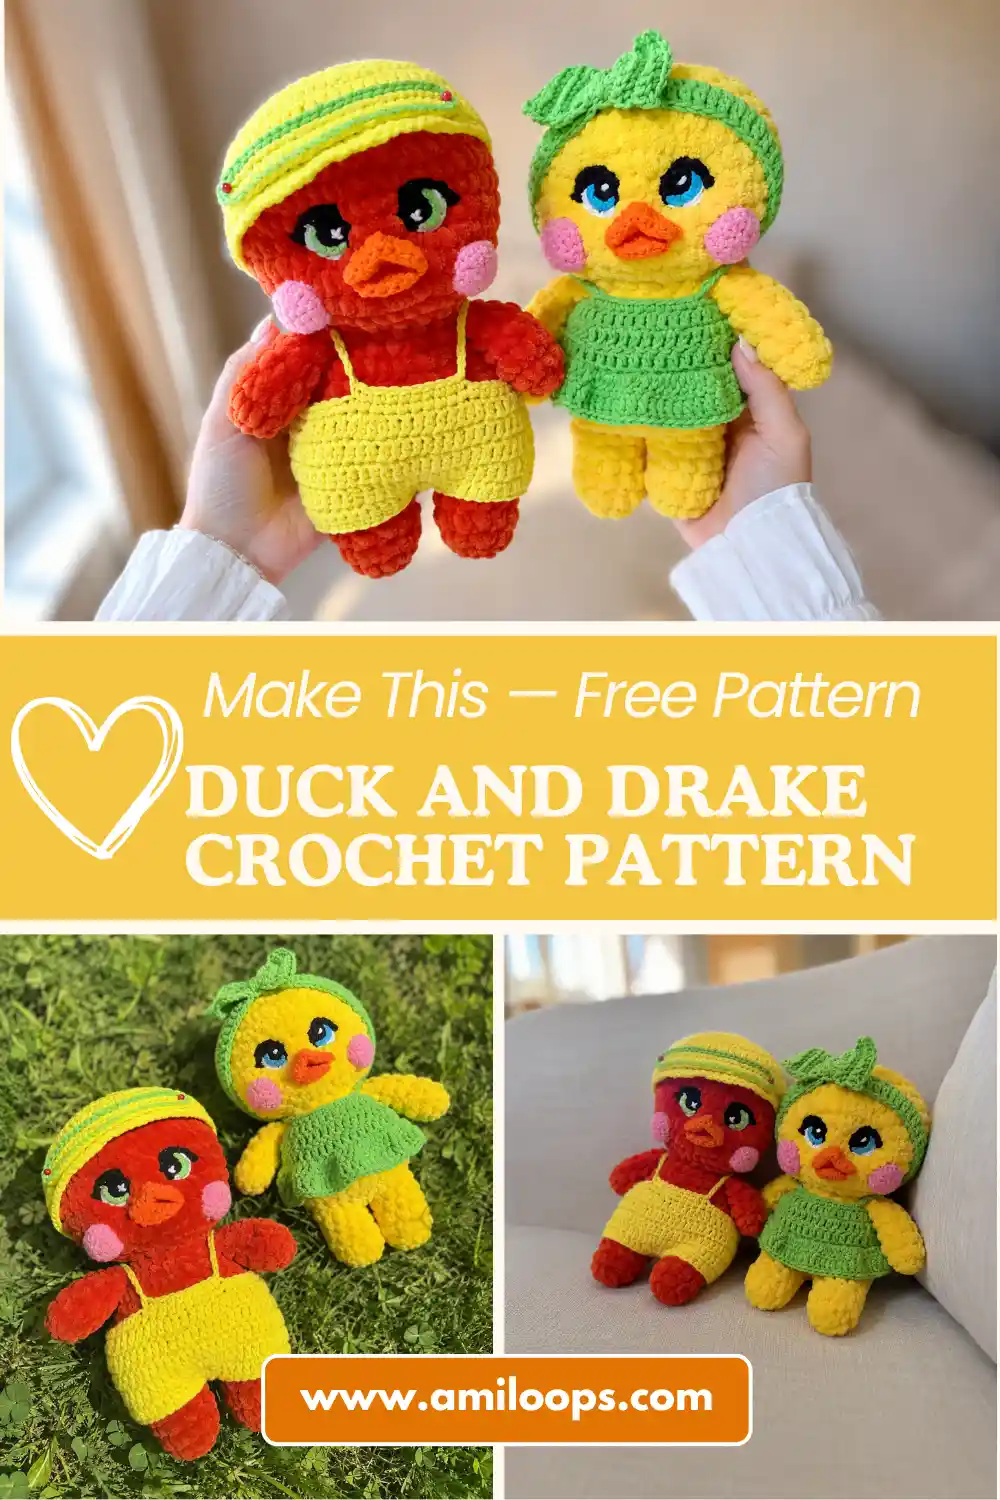
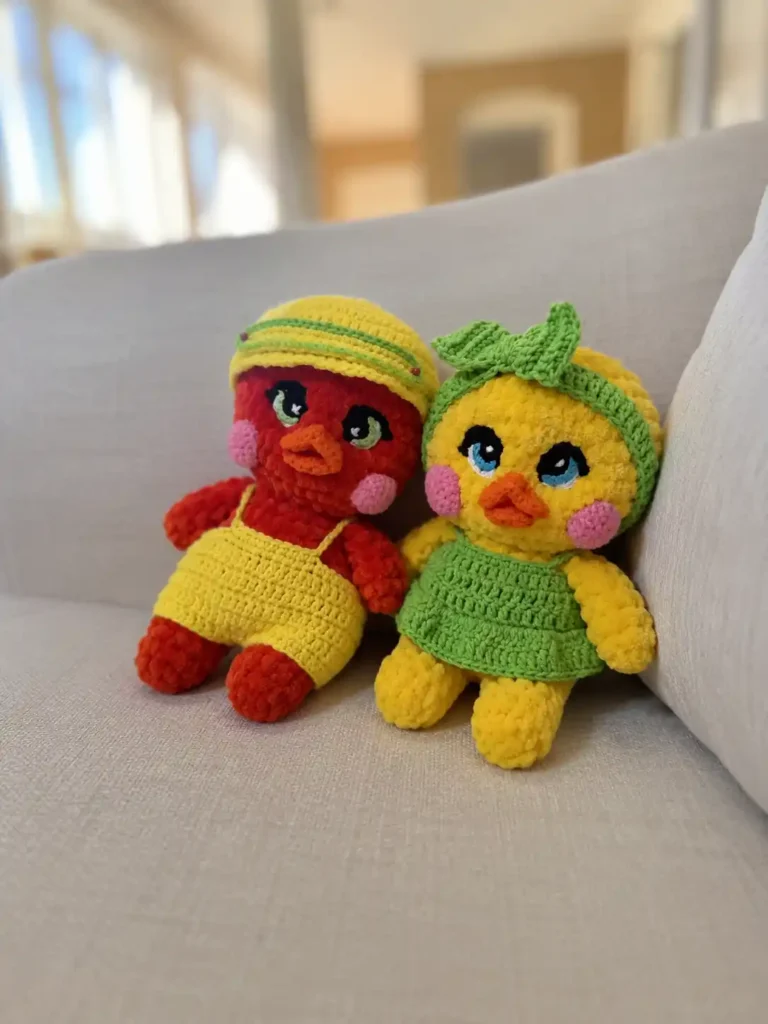
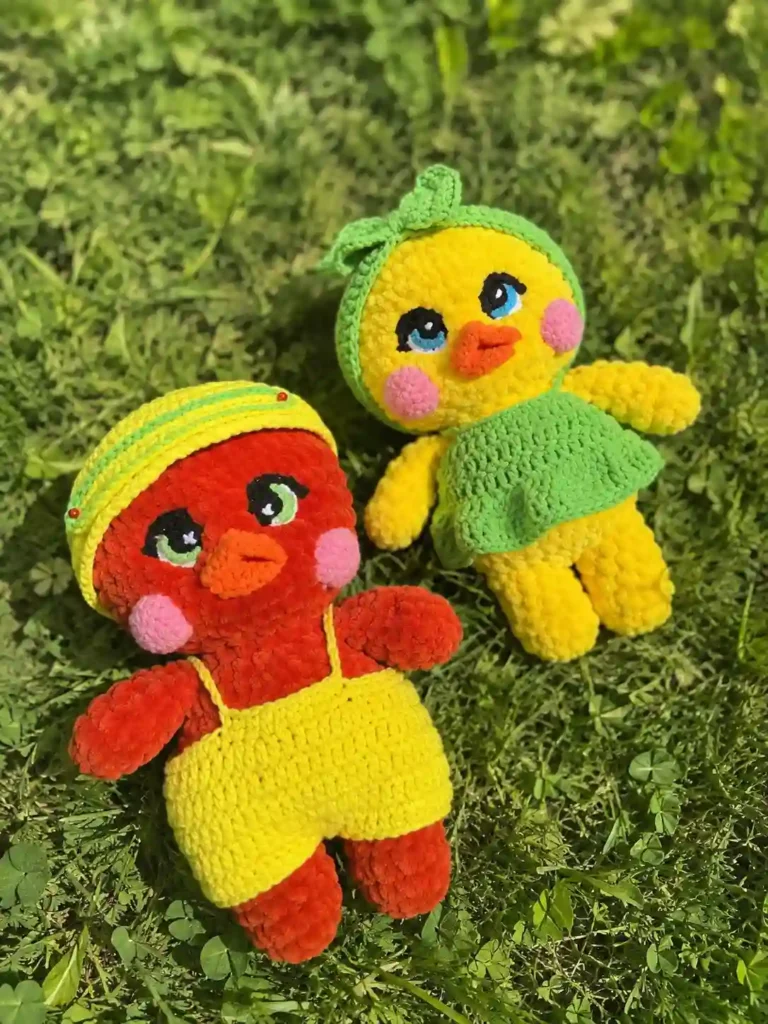
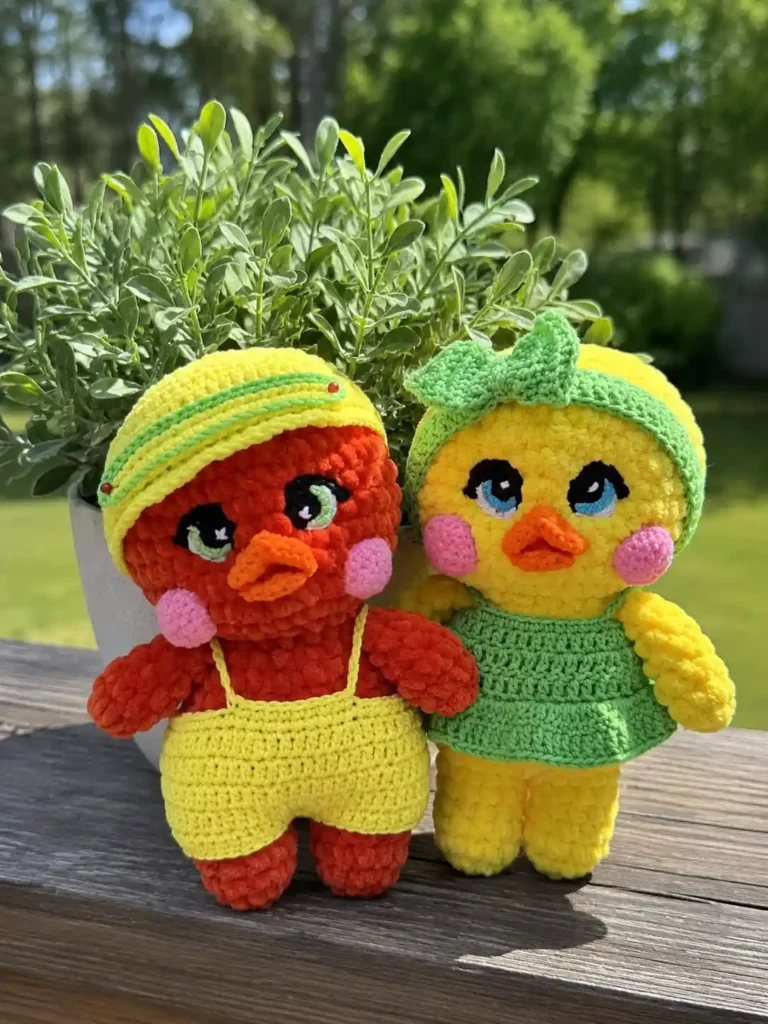
This Lulu the Duck and Lolo the Drake free crochet pattern gives you a matching amigurumi duo — one girl duck in a sundress and headband, one boy drake in a cap and shorts — built from the same 7.5-7.9 in body worked twice. I’ll be honest: this is not a quick-scrap project. It’s chenille, buttonholes, and two full outfits. But it’s the kind of investment piece that becomes a keepsake, not a giveaway.
🧶 What You’ll Need
- 💰 Yarn Needed: ~63g (about 2.2 oz) of bulky chenille per bird for the body (about 126g / 4.4 oz total if you’re making both Lulu and Lolo); a small amount of DK-weight cotton or acrylic in your chosen accent color for the eyes, beak, and clothes; a small amount of DK-weight yarn in a skin-tone shade for the cheeks
- 🎨 Colors: chenille in your bird’s main color (or similar bulky chenille from your stash); black, white, and one accent color for the eyes; a coordinating DK cotton for the beak and clothing pieces; any leftover DK for the cheeks
- 🪝 Hook: 2.5mm (no direct US letter equivalent — closest standard size is US C/2, 2.75mm) for the DK details, plus E/4 (3.5mm) for the chenille body
- ⏱️ Time: Multiple sessions — this is a two-bird, two-outfit build, not a one-sitting project
- 📏 Finished Size: 7.5-7.9 in (19-20 cm) per bird
- 💡 Difficulty: Intermediate to Advanced — this uses dc and hdc increases/decreases, joined rounds, buttonholes, and a face-sculpting sewing technique on top of standard amigurumi shaping
- 🎁 Great For: a nursery shelf set, a baby shower gift, or a “his and hers” keepsake pair
What You’ll Need for This Lulu the Duck and Lolo the Drake Crochet Pattern
Both birds share the exact same body, head, cheeks, beak, and eyes — you’re just making that sequence twice. Where they split is the outfit: Lulu gets a dress, headband, and bow; Lolo gets a cap and shorts. That means your yarn list has three tiers.
For the body of each bird, you’ll want a bulky (5) weight chenille — something soft and squishy that holds its shape once stuffed. The source pattern calls for about 63g (2.2 oz) per bird. Chenille yardage varies a lot by brand, so I won’t put a false number on that — grab a full skein and expect to use most of it per bird.
For the eyes, beak, and clothing, you want a DK/light worsted (3) weight cotton or cotton-blend, worked on a much smaller hook. This falls under Craft Yarn Council’s DK/Light Worsted (3) category, so anything in that weight from your stash will behave the same way. Bernat Baby Velvet is a solid, widely available chenille if you’re buying the body yarn fresh; for the DK details, any smooth cotton or cotton-blend works.
For the cheeks, all you need is a scrap of DK-weight yarn in a warm pink or skin-tone shade — genuinely one of the smallest amounts in this whole pattern.
You’ll also need: a tapestry needle, stuffing, regular sewing thread (not yarn) for attaching the eyes, and 2 small buttons for the dress.
🧶 Scrap Check: The cheeks and eyes together use barely any yarn — this is the part of the pattern where your smallest, most awkward leftover balls finally earn their keep. Don’t buy anything new for these two pieces.
Abbreviations Used in This Lulu the Duck and Lolo the Drake Pattern
| Abbreviation | Meaning |
|---|---|
| mr | Magic ring |
| ch | Chain |
| sc | Single crochet |
| hdc | Half double crochet |
| dc | Double crochet |
| inc | Increase (2 sc in the same stitch) |
| inv dec | Invisible decrease — worked through the front loops only of the next 2 stitches, so no gap shows |
| dc-inc | Double crochet increase (2 dc in the same stitch) |
| hdc-inc | Half double crochet increase (2 hdc in the same stitch) |
| dc-dec | Double crochet decrease (2 dc worked together as one) |
| sl st | Slip stitch |
| BLO | Back loop only |
| FLO | Front loop only |
| ( )×n | Repeat the instructions in parentheses n times |
Smart Crafter Tips for This Duck and Drake Crochet Pair
A few things worth knowing before you pick up your hook:
Since the cheeks, eyes, and cap all start the exact same way, a tight foundation matters more here than usual. If your rings tend to loosen up, our magic ring tutorial covers the fix in under two minutes.
You’ll notice I swapped the source pattern’s decrease method for an invisible decrease throughout the sc shaping on the body, head, and eyes — same stitch counts, just no visible gap along the seam line. If that technique is new to you, our invisible decrease tutorial walks through it step by step.
With this many separate pieces — wings, legs, cheeks, two beak halves, two eyes, two eyeliner pieces, plus a bow and a strap — sewing is genuinely where most of your time goes, not the stitching itself. Our guide on sewing amigurumi parts together has tricks for keeping seams clean, which matters most on the beak where two curved pieces have to meet neatly.
One more practical note: the source pattern calls for a 2.5mm hook, which doesn’t have a clean US letter match. If you don’t own a 2.5mm, Craft Yarn Council’s hook size chart can help you compare — sizing down slightly from a US C/2 (2.75mm) is your closest option for the smaller detail pieces.
Lulu the Duck and Lolo the Drake Crochet Pattern — The Shared Body
Both birds are built from this exact same sequence — work through it once for Lulu and once for Lolo before you touch either outfit. Stitch counts are shown in parentheses after each row.
Wings / Arms (make 4 total — 2 per bird)
Row 1: 2 ch, 6 sc in the first ch from the hook (6)
Row 2: (1 sc, inc) around (9)
Rows 3-5: sc in each st around, unchanged for 3 rows (9)
Row 6: (1 sc, inv dec) around (6)
Finishing: Stuff lightly, but only at the very start of the piece — the rest stays flat. Fold it in half and crochet 3 sc through both layers to close the tip, then sl st. Cut the yarn, leaving a tail for sewing.
Legs (make 2 per bird)
Row 1: 2 ch, 6 sc in the first ch from the hook (6)
Row 2: inc in each of the 6 sts around (12)
Rows 3-5: sc in each st around, unchanged for 3 rows (12)
Finishing: Cut the yarn on the first leg and weave in the end. Leave a long working loop on the second leg — you’ll crochet directly into the body from here without a break.
Body (Joining the Legs)
Row 1: 1 ch, 12 sc across the first leg, 1 sc into the joining ch, 12 sc across the second leg, 1 sc into the joining ch (27)
Row 2: 12 sc, inc, 12 sc, inc (28)
Row 3: 6 sc, inc, 13 sc, inc, 7 sc (30)
Row 4: (4 sc, inc) around ×6 (36)
Rows 5-6: sc in each st around, unchanged for 2 rows (36)
Stuff the body now, before it starts to narrow — it’s much easier to pack evenly at this stage than after the shaping rows.
Row 7: (4 sc, inv dec) around ×6 (30)
Row 8: sc in each st around, unchanged (30)
Row 9: (3 sc, inv dec) around ×6 (24)
Row 10: (2 sc, inv dec) around ×6 (18)
Row 11: 4 sc, 3 sc worked through one wing to attach it, 5 sc, 3 sc worked through the second wing to attach it, 3 sc (18)
Finish stuffing the body firmly before moving into the head — you won’t get another chance once the neck closes in.
Head
Row 12: inc in every st around (36)
Row 13: (5 sc, inc) around ×6 (42)
Row 14: (6 sc, inc) around ×6 (48)
Rows 15-19: sc in each st around, unchanged for 5 rows (48)
Row 20: (6 sc, inv dec) around ×6 (42)
Row 21: (5 sc, inv dec) around ×6 (36)
Row 22: (4 sc, inv dec) around ×6 (30)
Row 23: (3 sc, inv dec) around ×6 (24)
Row 24: inv dec around ×12 (12)
Row 25: inv dec around ×6 (6)
Finishing: Stuff the head firmly, then cut the yarn and close the opening by pulling the tail through the remaining stitches. Weave in the end.
Cheeks (make 2 per bird)
Row 1: 6 sc in mr (6)
Row 2: inc in every st (12)
Row 3: (1 sc, inc) around ×6 (18)
Row 4: sc around, join with sl st (19)
Finishing: Cut the yarn, leaving a tail for sewing. Sew the cheek on with the wrong side facing out — it gives a smoother, flatter finish against the head than the right side does.
Beak — Upper Part
Row 1: ch 10, 8 sc starting in the 2nd ch from the hook, inc, 8 sc back along the other side of the chain (18)
Row 2: (inc, 8 sc) ×2 (20)
Row 3: inc, 9 sc, (1 sc, inv dec) ×3, sl st (18)
Finishing: Cut the yarn, leaving a tail for sewing.
Beak — Lower Part
Row 1: ch 6, 4 sc starting in the 2nd ch from the hook, inc, 4 sc (10)
Row 2: sc in each st around, unchanged (10)
Finishing: Cut the yarn, leaving a short tail for sewing.
Eyes (make 2 per bird)
Row 1: 6 sc in mr, black yarn (6)
Row 2: inc in every st, black yarn (12) — change to white in the very last stitch, then cut the black.
Row 3: (1 sc, inc) ×2, sl st, white yarn (7)
Finishing: Cut the white yarn and bring the tail to the wrong side. Using whatever color you like for the iris, work a surface slip stitch (chain-stitch embroidery) between rows 2 and 3 — 5 slip stitches total. Bring that end to the wrong side too.
Winged Eyeliner — Right Eye
Row 1: sl st, 2 sc along the black, BLO 3 sc along the white, ch 3 (9)
Join the black yarn to the eye leaving a short 1.5 in (4 cm) tail. Cut, leaving a tail — after sewing the eye on, tie the two ends together and hide them inside the head.
Winged Eyeliner — Left Eye
Row 1: ch 3, BLO 3 sc along the white, 2 sc along the black, sl st (9)
After sewing the eye on, tie the ends together and hide them inside the head.
Lulu’s Outfit — Dress, Headband, and Bow
Once Lulu’s body is finished and stuffed, this is where she gets her personality. All three clothing pieces use the DK-weight cotton, not the chenille.
Dress
Row 1: ch 40, 38 dc starting in the 2nd ch from the hook (39)
Row 2: ch 2, 3 dc, (dc-inc, 9 dc) ×3, dc-inc, 4 dc (44)
Row 3: ch 2, 41 dc (43)
Row 4: BLO ch 2, 41 dc-inc (84)
Row 5: ch 2, 82 dc (84)
Edging (worked directly after Row 5, no break): ch 1, 8 sc, 4 sc into the same stitch, 4 sc, ch 15 (skip 9 sts), 13 sc, ch 15 (skip 9 sts), 4 sc, ch 5 (this is a buttonhole), 3 sc, ch 5 (a second buttonhole), 5 sc, sl st. Cut the yarn and weave in the end.
Headband
Rows 1-2: ch 60, then crochet 2 rows of 60 dc (120)
Finishing: Cut the yarn and weave in the end.
The Bow
Row 1: ch 10, 9 sc starting in the 2nd ch from the hook (10)
Rows 2-14: BLO sc around, unchanged for 13 rows (9)
Finishing: Cut the yarn and weave in the ends. Pinch the strip in the center and wrap it tightly with a center band (ch 7, 6 sc starting in the 2nd ch from the hook) to form the bow shape.
🧶 Scrap Check: The dress edging is where the two buttonholes live — count your chain-5 gaps carefully before you sew the buttons on, since it’s much easier to fix now than after the yarn’s woven in.
Lolo’s Outfit — Cap and Shorts
Lolo’s build is genuinely a bit more forgiving than Lulu’s dress — if you’re making both, I’d start with him.
Cap
Row 1: 8 sc in mr (8)
Row 2: ch 3, 7 hdc-inc, 1 dc worked into the base of the starting ch, sl st (19)
Row 3: ch 3, 15 dc-inc, 1 dc worked into the base of the ch, sl st (35)
Row 4: ch 3, (1 dc, dc-inc) ×15, 1 dc, 1 dc worked into the base of the ch, sl st (51)
Row 5: ch 3, (2 dc, dc-inc) ×15, 2 dc, 1 dc worked into the base of the ch, sl st (67)
Rows 6-9: dc in each st around, unchanged for 4 rows (64)
Row 10: ch 1, 16 sc, then FLO: (1 hdc, hdc-inc, (dc-inc, 1 dc) ×6, dc-inc, 1 hdc), then 31 sc (72)
Strap: ch 25, starting in the 2nd ch from the hook, 23 sc, 3 sc into the same st, 23 sc, inc, sl st. Work a surface slip stitch around the strap’s perimeter for a clean edge. Cut and weave in.
Finishing: Sew the strap to the cap.
Shorts
Row 1: join a chain of 58 dc into the round (58)
Rows 2-4: ch 2, 58 dc, sl st — unchanged for 3 rows (61)
Row 5: ch 3, 13 dc, dc-dec, 27 dc, dc-dec, 14 dc (59)
Row 6: ch 3, (6 dc, dc-dec) ×7 (52)
Row 7: ch 1, 49 dc (50)
Row 8: ch 1, 3 sc, ch 20 (skip 17 sts), 10 sc, ch 20 (skip 17 sts), 3 sc, sl st (58)
Finishing: Cut the yarn and weave in the end. Fold the shorts evenly and sew the bottom seam with a needle, leaving openings for the legs. Cut the yarn and weave in the end.
Assembly — Putting Lulu and Lolo Together
- Sew the eyes in place between rows 17 and 18 of the head, spacing them 3-4 sc apart. Use regular sewing thread, not yarn, for a secure hold. Bring the black eyeliner thread through from inside the head to the second end, tie off, and hide the ends inside. Sew each eye around its full perimeter.
- Sew the cheeks one row below the eyes, between rows 14 and 15.
- Center the upper beak below the eyes and sew it in place. Sew the lower beak directly beneath the upper one. Stitch along the beak’s edge, then add a securing stitch or two on the inside and one on top to help it hold its shape.
- Sculpt the eyes: insert your needle into the neck between rows 12 and 13, and bring it out near the left eye, under the eyeliner. Skip one row, insert again, and bring it back out to the same spot on the neck. Re-insert into the neck and bring the needle out under the eye where the black color ends, skip one sc, insert, and bring it back to the same neck point. Gently pull both thread ends at once, pressing the eye slightly into the head so it sinks in a touch, then tie off. Repeat for the second eye as a mirror image. Tie the two ends together and hide them inside the head — this also neatens up the back of the head at the same time.
- Sew the finished bow to the headband for Lulu, or to the cap for Lolo, depending on which bird you’re finishing.
- Embroider a small highlight on each eye for the last finishing touch.
💡 Stretch It Further: You don’t have to make both birds in one go. Start with Lolo — his shorts and cap use less yarn than Lulu’s full dress and edging — and come back for Lulu whenever you’re ready for the buttonholes. Or drop the matching color scheme entirely and use whatever DK scraps you have on hand so each bird gets its own personality instead of a coordinated one. A finished pair like this sells well as a set at craft markets, and makes a genuinely memorable baby gift — two keepsakes for close to the cost of two skeins of chenille.
Mia’s Take
This one took me longer than almost anything else in my scrap bin rotation, and I’m not going to pretend otherwise — two full bodies, two outfits, and enough sewing to test your patience along the way. But there’s something satisfying about finishing a matching pair instead of a single toy. If you’re taking this on, make Lolo first. His build is more forgiving, and by the time you get to Lulu’s buttonholes, you’ll have the rhythm of the pattern down. 🧶
Want a simpler bird to warm up on first? Our crochet duck pattern is a good one-bird practice run. And if the “matching pair” idea is what drew you here, our goose amigurumi couple set works the same way with a different bird.
FAQ
What yarn is best for this Lulu the Duck and Lolo the Drake amigurumi?
A bulky (weight 5) chenille yarn is highly recommended for a soft, squishy body, while a DK/light worsted (weight 3) cotton works perfectly for the finer details like clothes, eyes, and the beak.
How long does it take to crochet this duck and drake duo?
This is an intermediate-to-advanced project meant to be completed over multiple sessions, as you will be crocheting two full bird bodies alongside two detailed outfits.
What size hook do I need for this amigurumi pattern?
You will need a 3.5mm (E/4) hook for the main chenille body to ensure it holds stuffing well, and a smaller 2.5mm hook for the DK-weight details and clothing pieces.