Cute Unicorn Amigurumi Free Pattern — Opaline, the Dreamy Cloud Unicorn
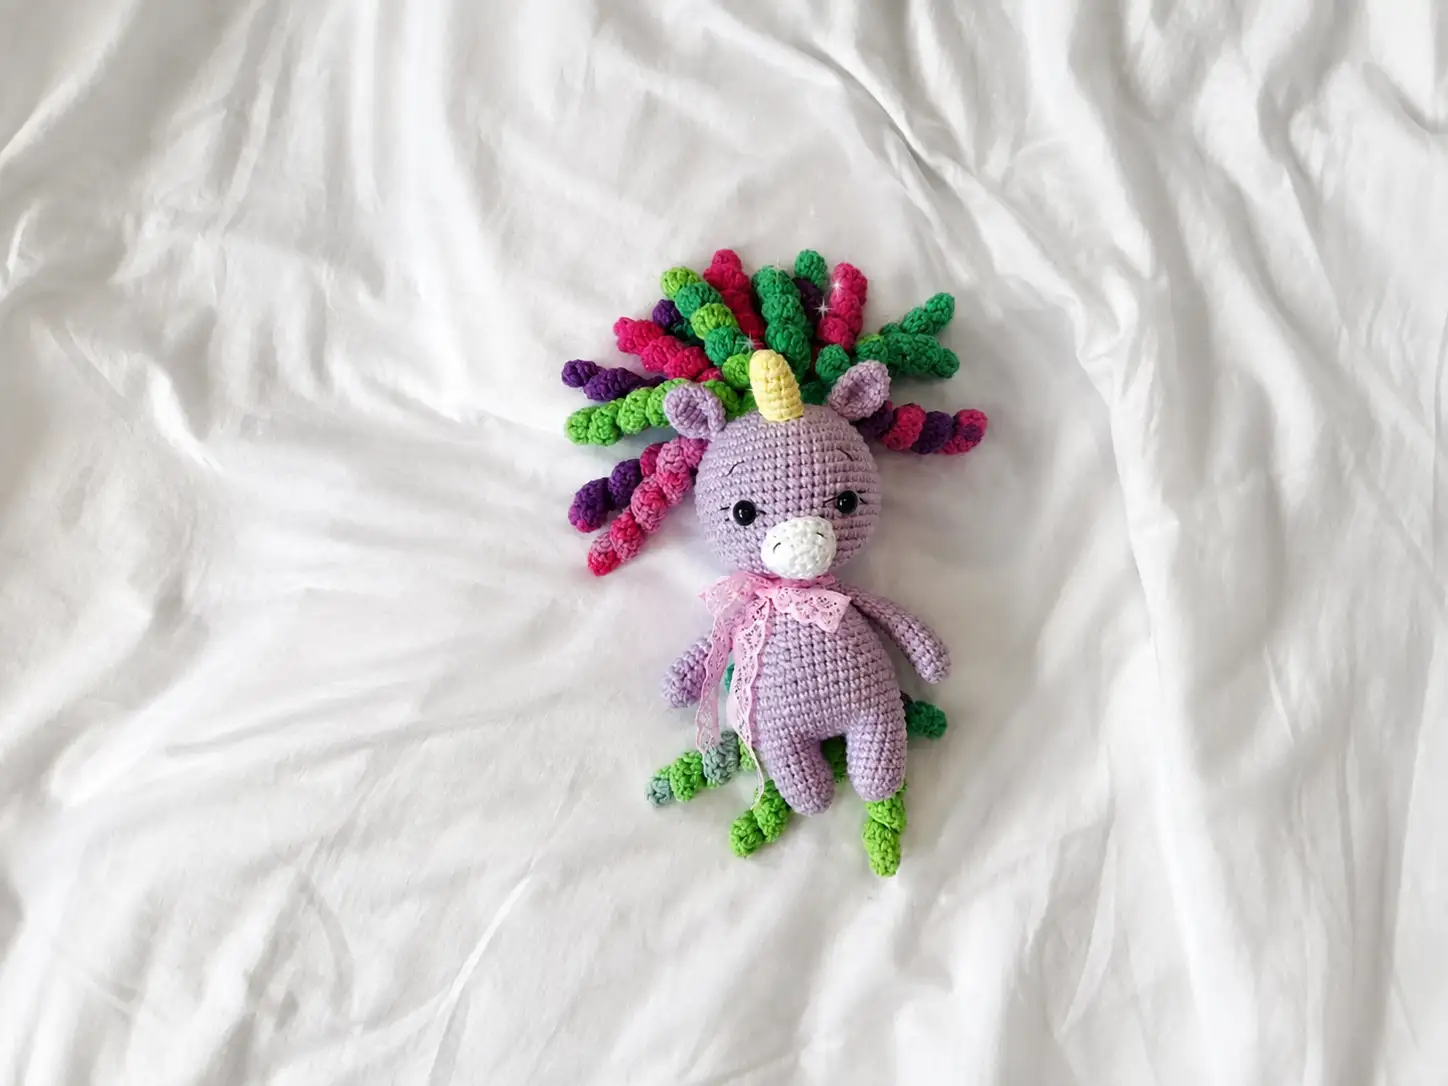
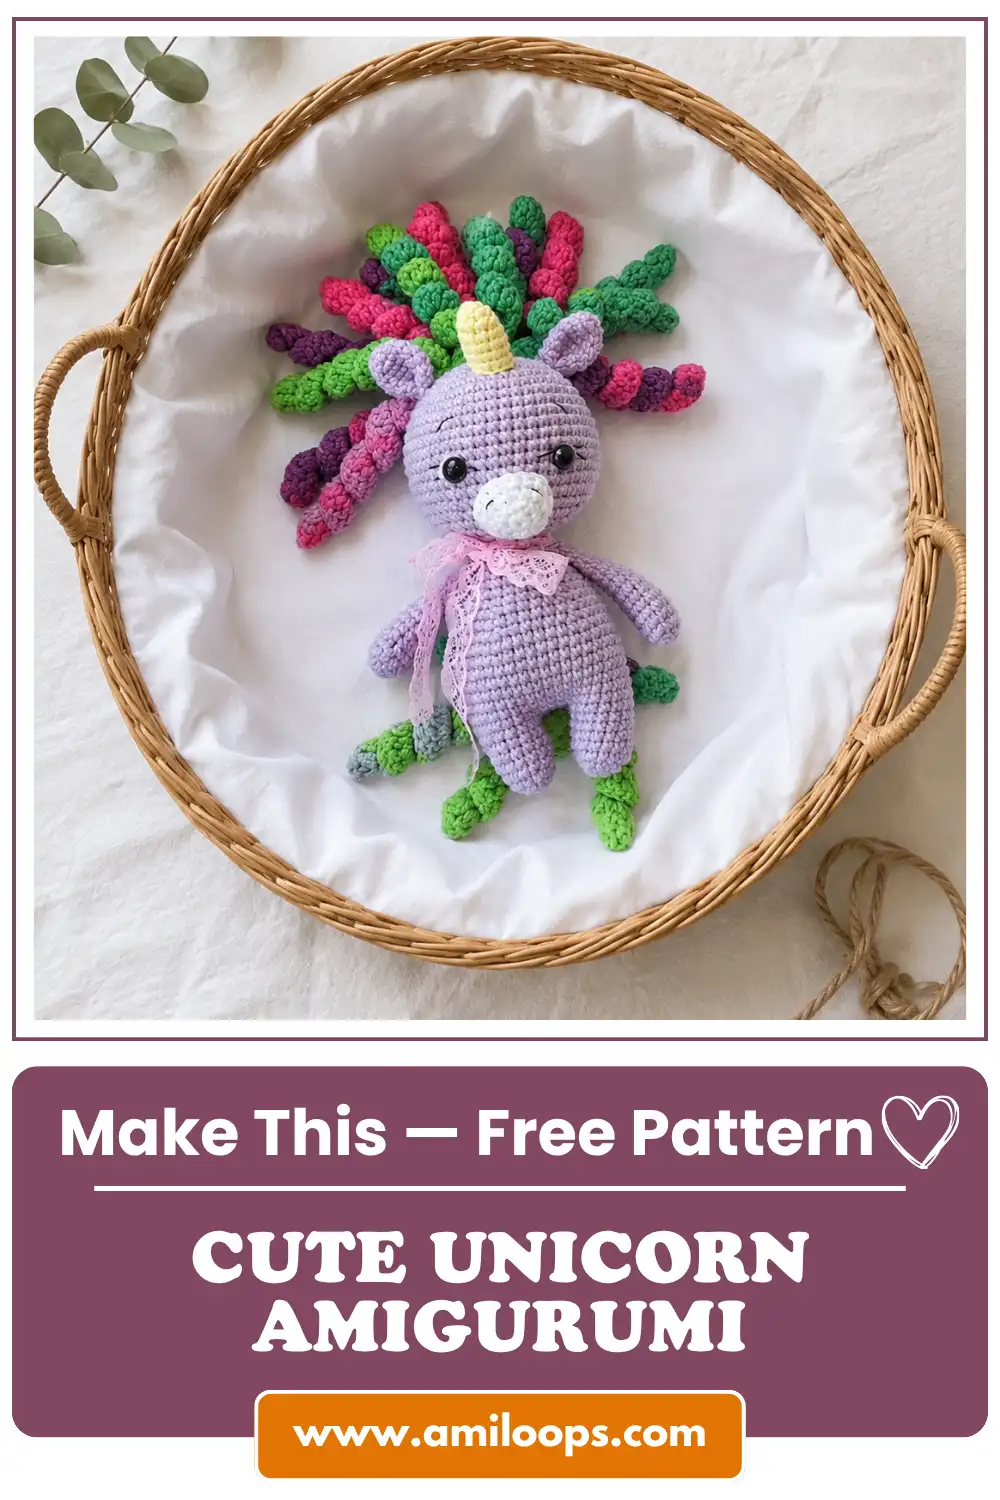
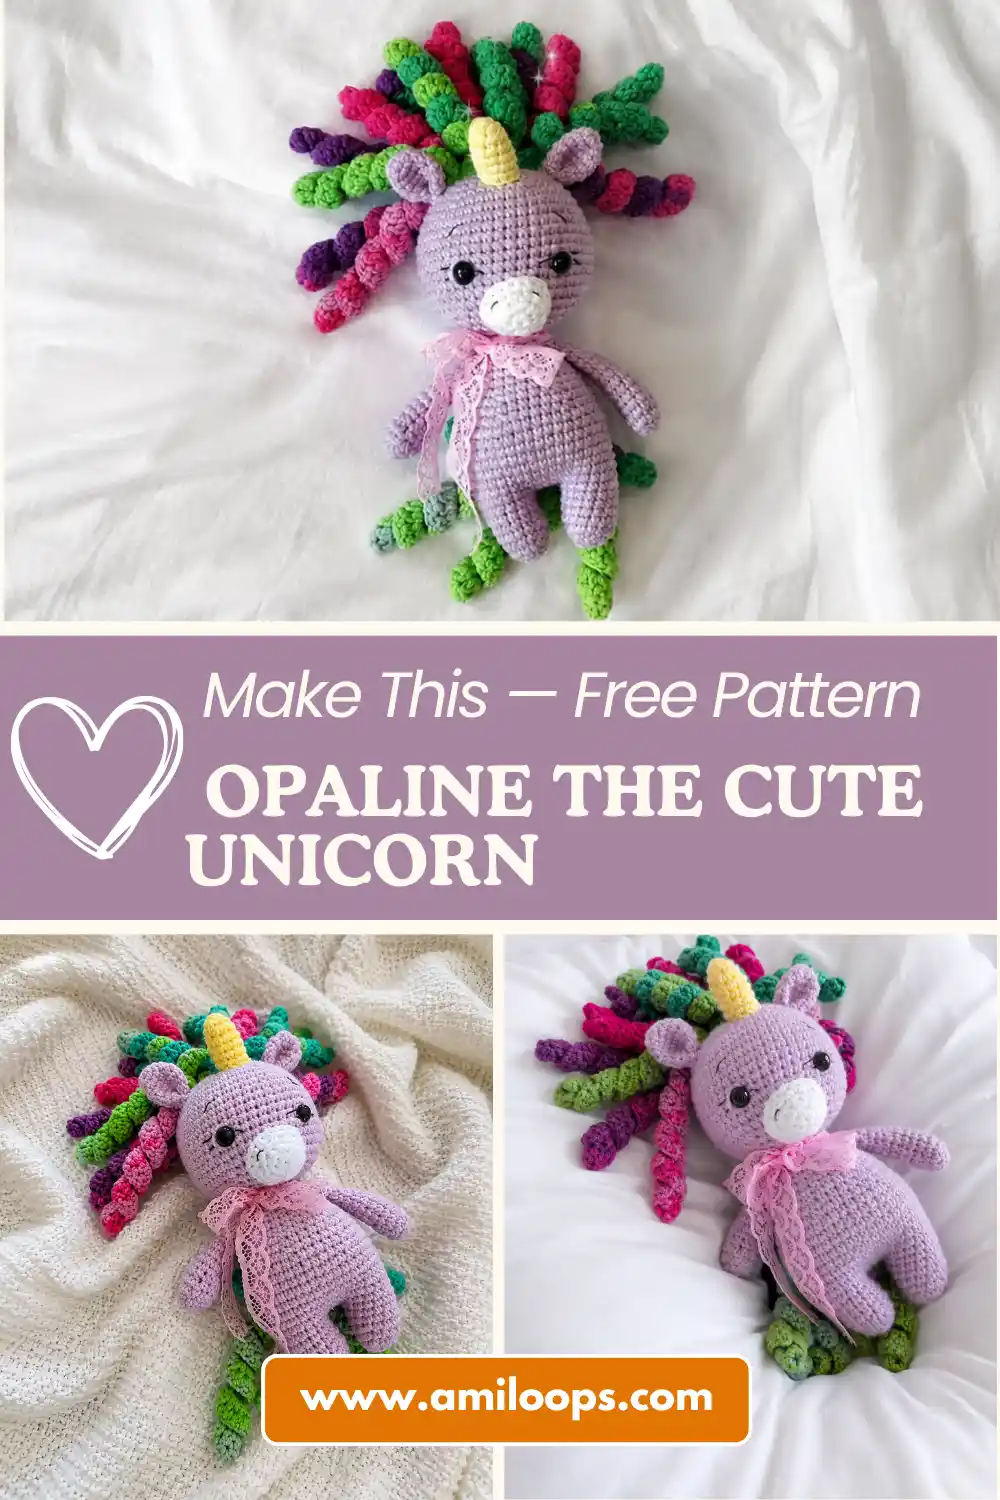
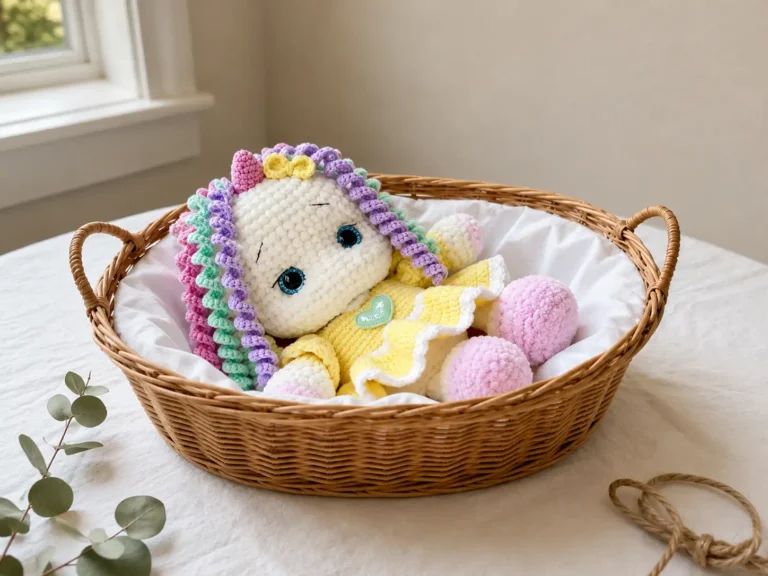
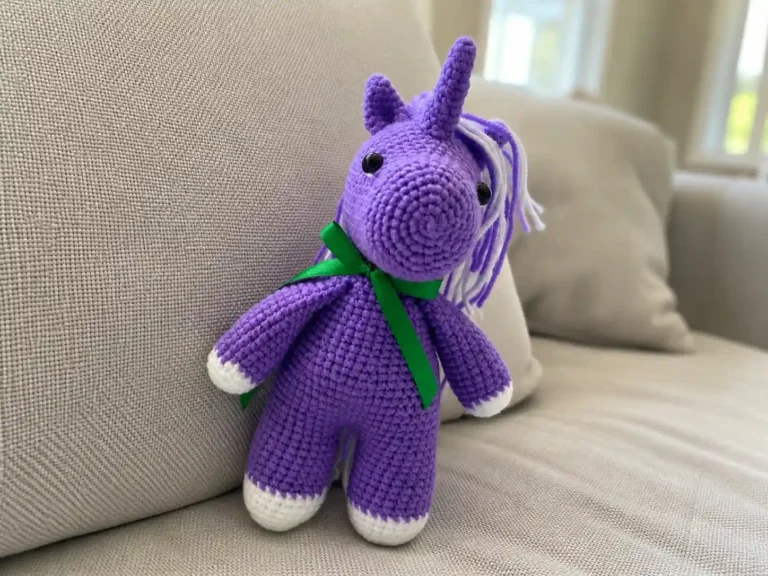
This cute unicorn amigurumi free pattern brings to life a soft, cloud-colored creature with a ribboned mane and a horn that catches the light like frosted glass. She has a dreamy stillness about her — like she’s listening for something only she can hear. I named mine Opaline before the mane was even finished. If you’ve been waiting for a project with real personality, this is a lovely place to start.
📖 Meet Opaline
- 🌟 Personality: dreamy, gentle, quietly curious
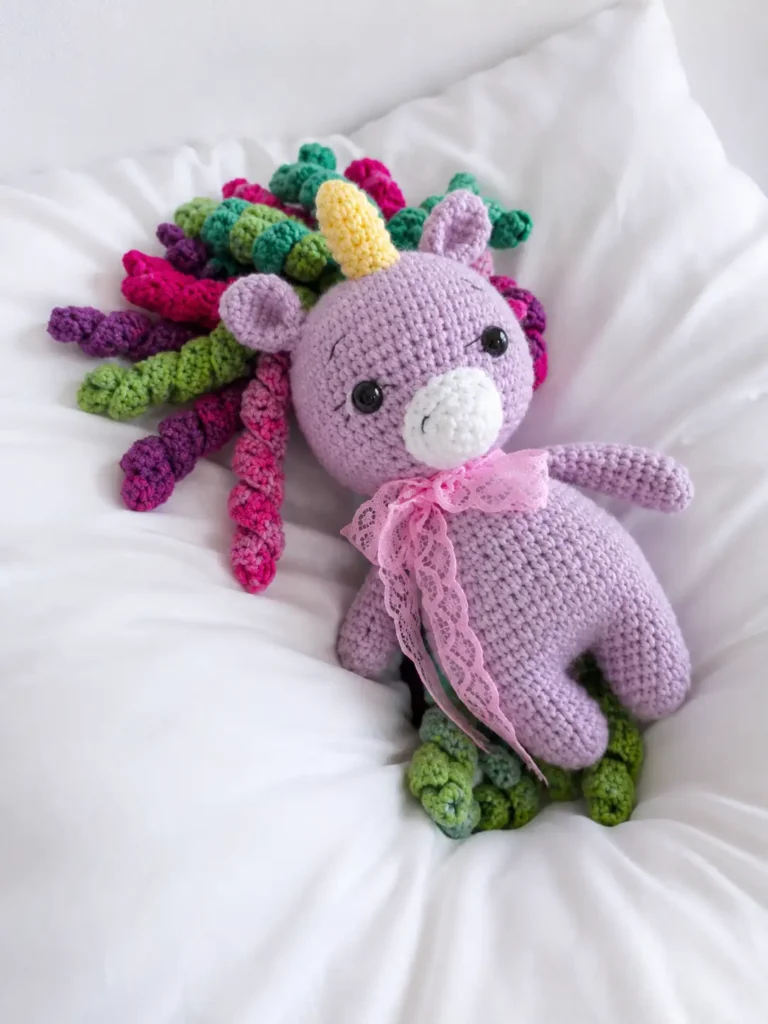
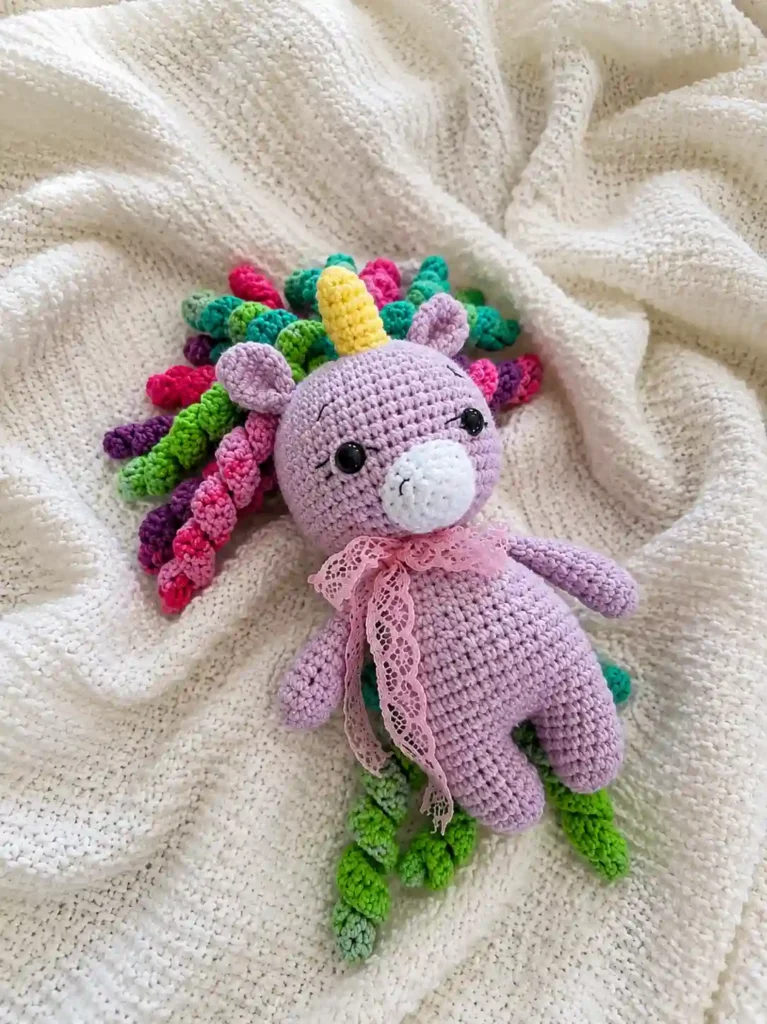
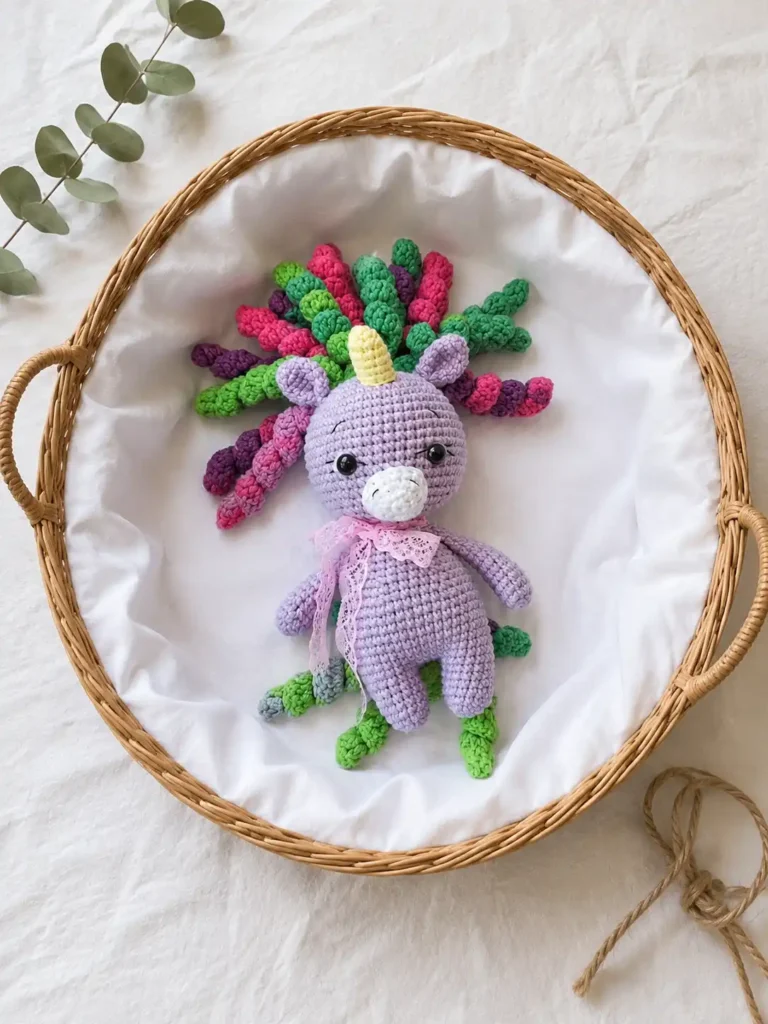
- 🎨 Color Palette: cloud-white with a mane and tail in soft lavender, blush pink, and pale mint
- 📏 Size: approx. 14 in tall (36 cm) — will vary slightly with yarn weight and tension
- 🪝 Hook: G/6 (4.0 mm)
- ⏱️ Time: 16–20 hours
- ✨ Signature Detail: hand-curled mane and tail, styled row after row into soft ringlets
- 💡 Difficulty: Advanced
What You’ll Need to Bring This Cute Unicorn Amigurumi Free Pattern to Life
Opaline is worked almost entirely in a soft cloud-white — the kind of matte worsted weight yarn that gives her a storybook quality, like she’s made of the same stuff as a quiet afternoon. This yarn falls under the Worsted (4) weight category, which gives enough structure for her curled mane to hold its shape without going stiff.
- Cloud-white worsted weight yarn (CYCA 4) — for the head, muzzle, horn, ears, arms, legs, and body
- Small amounts of soft lavender, blush pink, and pale mint worsted weight yarn — for the mane and tail curls
- A touch of pale gold or butter-yellow yarn — optional, for a single accent stitch at the horn tip
- Small amount of black or deep brown yarn — for embroidering the nostrils
- 12mm safety eyes
- 4.0mm hook (US G/6)
- Polyester fiberfill stuffing
- Tapestry needle
- Stitch marker
- Optional: a couple of long dressmaker pins, to hold the legs steady while you stuff the body
Abbreviations Used in This Cute Unicorn Amigurumi Free Pattern
| Abbreviation | Meaning |
|---|---|
| mr | magic ring |
| sc | single crochet |
| inc | increase (2 sc in next stitch) |
| inv dec | invisible decrease (worked through front loops only of the next 2 stitches) |
| ch | chain |
| dc | double crochet |
| dc-inc | 2 dc worked in the same stitch (used for shaping the mane and tail curls) |
| FO | fasten off |
Before the Story Begins — Technique Notes
✨ Sophie’s Note: Every character begins with a magic ring — it’s the small, closed loop that becomes a head, a horn, a hoof, a whole creature. If you haven’t made one before, our magic ring tutorial walks through it quietly and clearly. It’s simpler than it looks, and it’s the foundation of everything that follows.
✨ Sophie’s Note: Wherever the original pattern calls for a standard decrease, I’ve worked it as an invisible decrease instead — the stitch counts stay exactly the same, but the shaping disappears into the fabric rather than leaving a small gap. It’s a slower habit to build, but it’s the difference between a piece that looks handmade and one that looks like it was always meant to exist this way. Our invisible decrease tutorial covers it step by step.
✨ Sophie’s Note: Opaline comes together from nine separate pieces, and the sewing is where she really starts to feel like herself — where the tilt of an ear or the angle of a horn decides what kind of expression she ends up with. Take your time here. Our guide to sewing amigurumi parts is worth a look before you begin attaching anything.
The Pattern
Head (×1)
Starting Method: mr
Row 1: 7 sc in mr. (7)
Row 2: 7 inc. (14)
Row 3: (1 sc, inc) * 7. (21)
Row 4: (2 sc, inc) * 7. (28)
Row 5: (3 sc, inc) * 7. (35)
Row 6: (4 sc, inc) * 7. (42)
Row 7: (5 sc, inc) * 7. (49)
Rows 8–18: 49 sc (11 rows). (49)
✨ Sophie’s Note: This long, quiet stretch of even rounds is where the head takes on its real shape — round and a little heavy in the hand, the way a face should feel before it has an expression yet.
Row 19: (5 sc, inv dec) * 7. (42)
Row 20: (4 sc, inv dec) * 7. (35)
Row 21: (3 sc, inv dec) * 7. (28)
Row 22: (2 sc, inv dec) * 7. (21)
Row 23: 15 sc, 3 inv dec randomly placed around the row. (18)
✨ Sophie’s Note: Install the safety eyes between rows 15–16, with 8 sc between them. Move them a row higher or a stitch closer together and the whole expression shifts — this is one of those small decisions that quietly defines who she ends up being. Our safety eye placement guide is a good companion here.
Fasten off.
Muzzle (×1)
Starting Method: mr
Row 1: 6 sc in mr. (6)
Row 2: 6 inc. (12)
Row 3: (1 sc, inc) * 6. (18)
Row 4: 18 sc. (18)
Fasten off, leaving a long tail for sewing.
Horn (×1)
Starting Method: mr
Row 1: 6 sc in mr. (6)
Row 2: (1 sc, inc) * 3. (9)
Row 3: 9 sc. (9)
Row 4: (2 sc, inc) * 3. (12)
Rows 5–7: 12 sc (3 rows). (12)
Fasten off, leaving a long tail for sewing.
Ears (×2)
Starting Method: mr
Row 1: 6 sc in mr. (6)
Row 2: (1 sc, inc) * 3. (9)
Row 3: (2 sc, inc) * 3. (12)
Row 4: (3 sc, inc) * 3. (15)
Rows 5–6: 15 sc (2 rows). (15)
Row 7: 7 inv dec, 1 sc. (8)
Fasten off, leaving a long tail for sewing.
The head, muzzle, horn, and ears are done now — set them down together on the table and you’ll already see her looking back at you, even without the eyes in yet.
Arms (×2)
Starting Method: mr
Row 1: 6 sc in mr. (6)
Row 2: 6 inc. (12)
Rows 3–4: 12 sc (2 rows). (12)
Row 5: 2 inv dec, 8 sc. (10)
Rows 6–14: 10 sc (9 rows). (10)
✨ Sophie’s Note: Stuff the arms only halfway up — leave the top open and soft. A firmly stuffed arm holds a stiff, doll-like pose; a lightly filled one settles and drapes, which is what gives her that relaxed, unposed quality.
Fasten off, leaving a tail for sewing (or crochet the opening shut if you plan to attach the arms as you go).
Legs + Body (×1)
Starting Method: mr (begin with the legs)
Leg 1
Row 1: 6 sc in mr. (6)
Row 2: 6 inc. (12)
Row 3: (1 sc, inc) * 3, 6 sc. (15)
Rows 4–7: 15 sc (4 rows). (15)
Fasten off and cut the yarn.
Leg 2 — worked the same way as Leg 1, but do not fasten off. Continue directly into the body.
Row 1: 6 sc in mr. (6)
Row 2: 6 inc. (12)
Row 3: (1 sc, inc) * 3, 6 sc. (15)
Rows 4–7: 15 sc (4 rows). (15)
Body
Row 1: Ch 4, join to Leg 1 with a sc. Work 14 sc around Leg 1, 4 sc along the chain, 15 sc around Leg 2, 4 sc along the other side of the chain. (38)
Row 2: 4 sc, inc, 2 sc, inc, 16 sc, inc, 2 sc, inc, 10 sc. (42)
Rows 3–8: 42 sc (6 rows). (42)
Row 9: (5 sc, inv dec) * 6. (36)
Row 10: 36 sc. (36)
✨ Sophie’s Note: Stuff the legs firmly now, before going any further — a pair of pins pushed straight through both legs will hold them flat and steady while you keep working. It looks a little strange for a minute. It works.
Row 11: (4 sc, inv dec) * 6. (30)
Rows 12–13: 30 sc (2 rows). (30)
Row 14: (3 sc, inv dec) * 6. (24)
Row 15: 24 sc. (24)
Row 16: (2 sc, inv dec) * 6. (18)
Row 17: 18 sc. (18)
✨ Sophie’s Note: If you’d rather not sew the arms on separately later, this is the row to crochet them in — work the arm stitches together with the body stitches on either side as you go.
Row 18: 18 sc. (18)
Fasten off, leaving a long tail for sewing the head to the body.
The body is done, and there’s already a shape here that looks like it’s about to stand up.
Tail (×1)
Starting Method: ch
Strand 1 (3 curls): Ch 30. Work back down the chain in dc, alternating (1 dc, dc-inc) into every other stitch. Finish the curl with a sc in the last stitch. Without cutting the yarn, ch 30 again and repeat for the next curl — until you have 3 curls on one base.
Strand 2 (2 curls): Ch 20. Work the same way, making 2 curls on this base.
Fasten off, leaving a tail for sewing.
Mane (×1)
Starting Method: ch
The mane is made of three separate curl groups: two groups of 5 curls each, and one group of 4 curls.
For each curl: Ch 35, work back down the chain in dc, alternating (1 dc, dc-inc) into every other stitch. Finish the curl with a sc. Without cutting the yarn, ch 35 again and repeat until the group is complete.
Fasten off, leaving tails for sewing.
✨ Sophie’s Note: This is the part I always lose track of time on. Working the mane in lavender, then pink, then mint — one curl at a time — is slow, and it’s supposed to be. Curl each strand around your finger after it’s sewn on to help it hold its shape, the same way you’d finish a ribbon.
Assembly — Bringing Opaline Together
- Install the safety eyes on the head between rows 15–16, with 8 sc between them.
- Stuff the muzzle lightly and sew it to the head just below and between the eyes, centered. Embroider the nostrils if you’d like.
- Sew the horn to the top center of the head, then position the ears on either side of it — small shifts here change her whole expression, so take a moment before committing.
- Make sure the legs are firmly stuffed before finishing the body. Pins through both legs will help keep them steady and flat while you stuff the rest.
- If you didn’t crochet the arms in during Body Row 17, sew them to the sides of the body at that row now.
- Stuff the head firmly, then sew it to the body using the tail left from the body piece.
- Sew the mane groups down the back of the head and neck, and the tail strands to the lower back of the body.
A Small Addition
Opaline doesn’t need anything more than what’s already here — but if you wanted to give her a little something extra, a thin ribbon tied loosely around her neck, or a tiny cluster of embroidered flowers tucked into the base of the mane, would suit her without taking away from that quiet, unfinished-storybook look she already has.
Meet Opaline
Meet Opaline. She’s sitting on the shelf across from me right now, mane curled in three soft colors down one side of her neck, horn catching the light whenever it moves. There’s a stillness to her that I didn’t plan for — she just turned out that way, somewhere around the time I sewed her ears on. That’s the thing about a project like this one: once the pieces come together and the eyes are set just right, it stops being yarn and starts being someone. Name yours. Give her a spot on a shelf where the light reaches her. She’s earned it. 🧶
FAQ
What yarn is best for this cute unicorn amigurumi free pattern?
A matte worsted weight (CYCA 4) yarn is recommended. It gives the unicorn’s body a soft look while providing enough structure for the hand-curled mane to hold its shape.
How long does it take to crochet this unicorn?
Opaline takes approximately 16 to 20 hours to complete. The body works up quickly, but the detailed, hand-curled mane and tail require slow, deliberate work.
What size hook do I need for this amigurumi?
You will need a 4.0mm (US G/6) crochet hook to keep the stitches tight and prevent the polyester fiberfill stuffing from showing through.