Free Crochet Spider Amigurumi Pattern — Halloween Edition
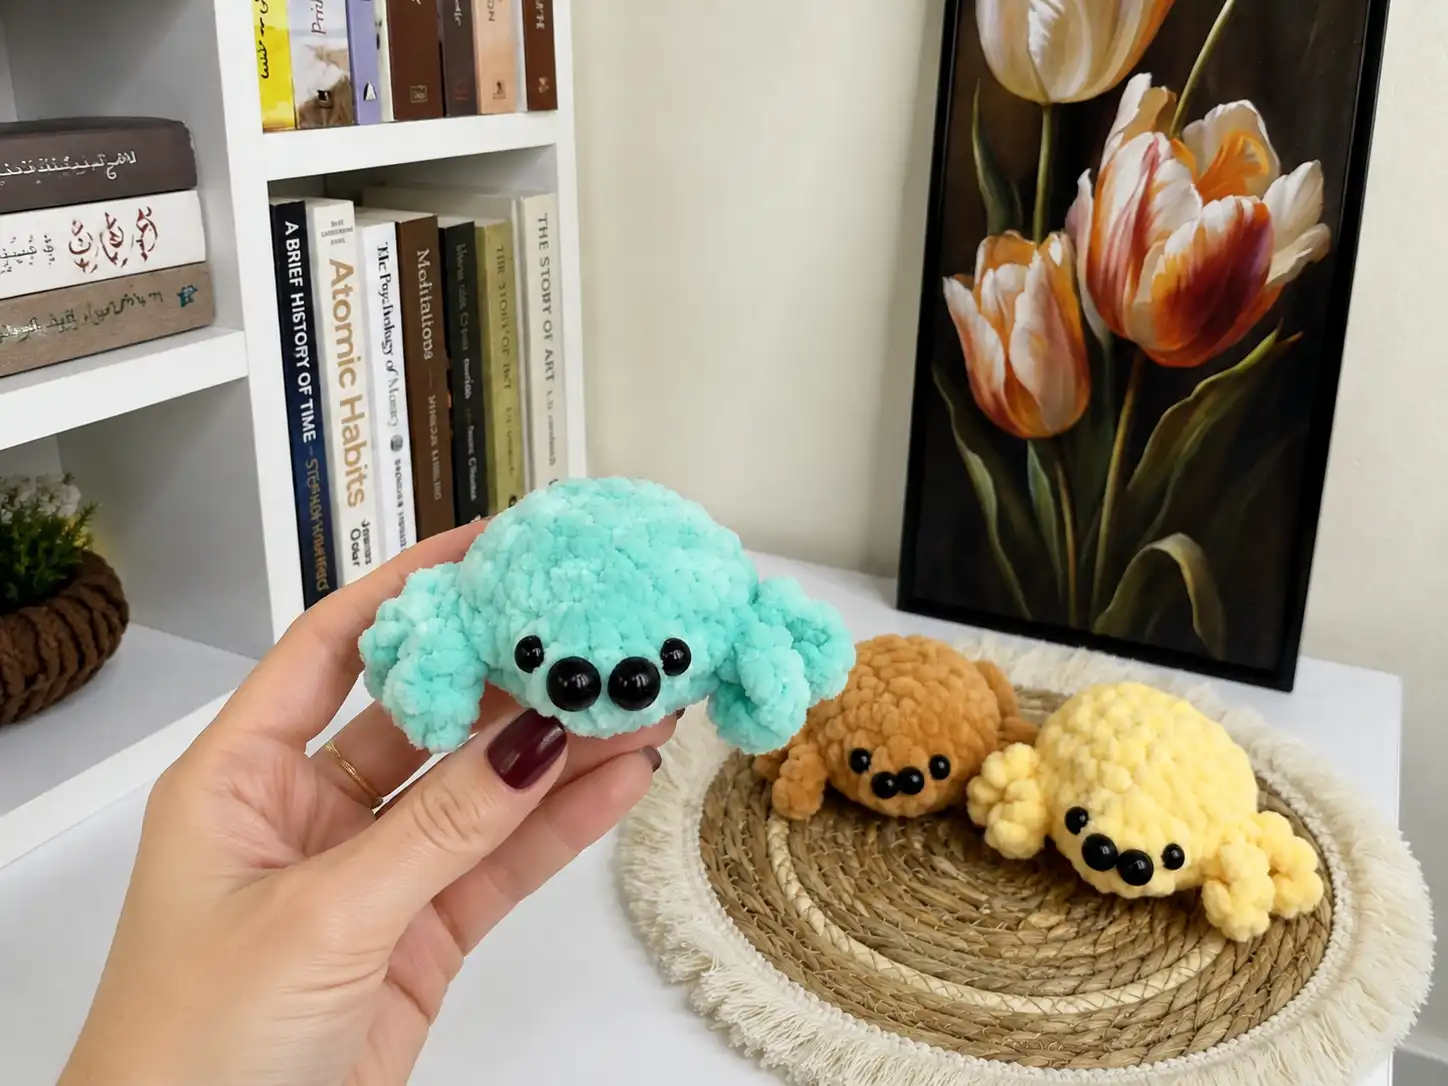
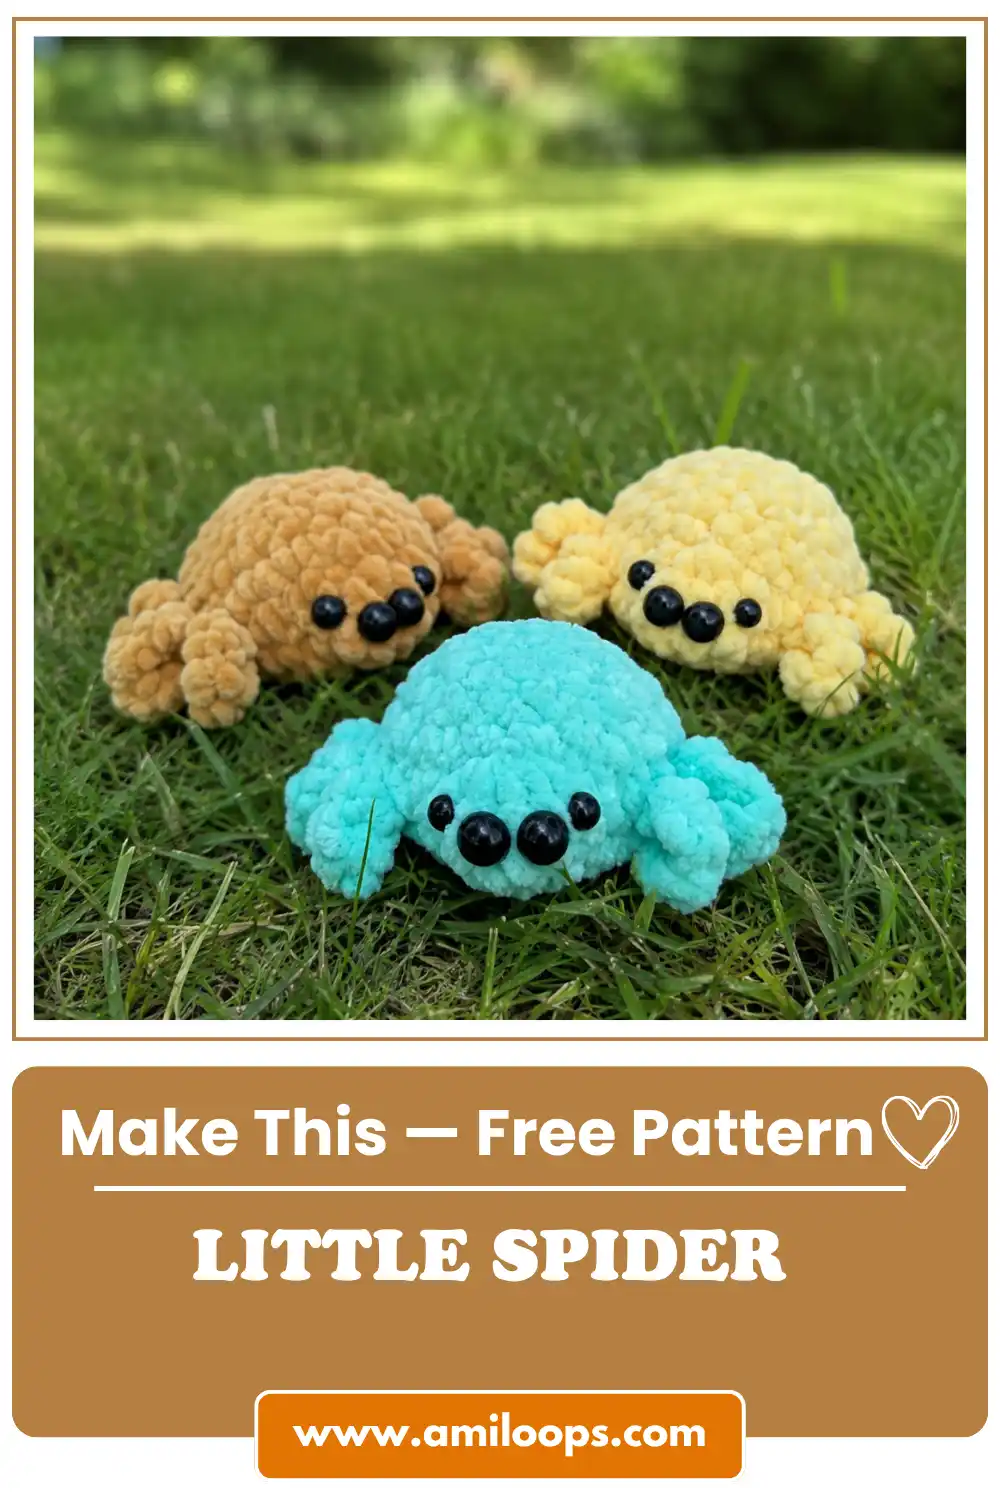
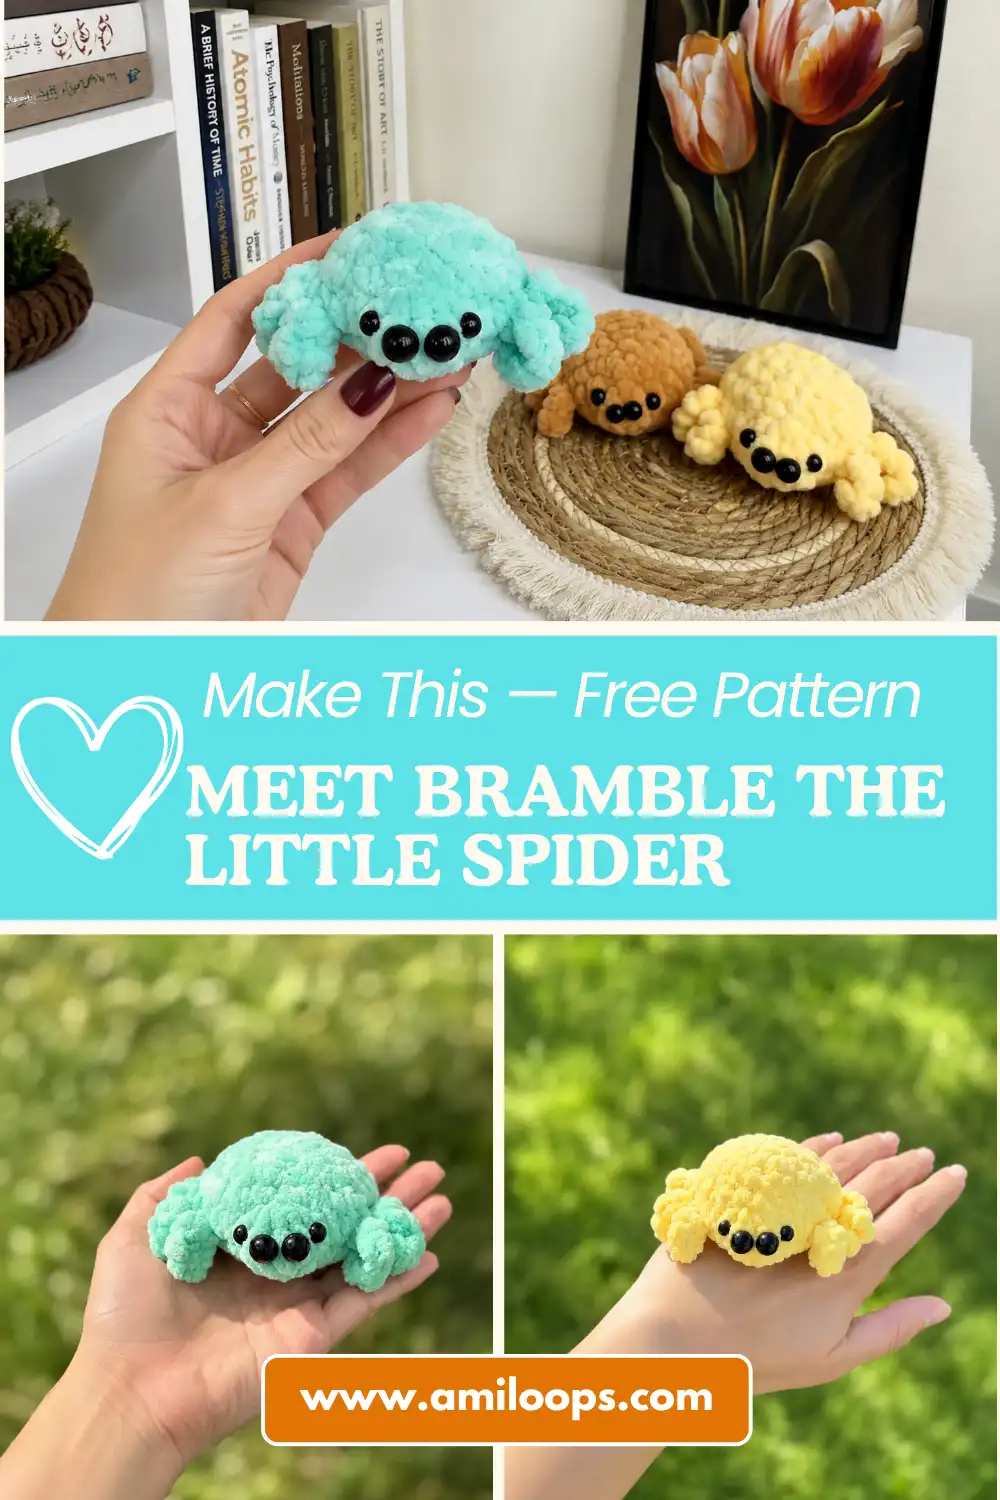
This free crochet spider amigurumi pattern makes something impossibly small and quietly brave: a spider just over two inches long, with eight curled legs and a face that reads more curious than creepy. I named mine Bramble before her legs were even finished — something about the way they curl reminded me of blackberry vines in late autumn. If you’ve got an evening and a little plush yarn, this is a lovely place to begin.
📖 Meet Bramble
- 🌟 Personality: quiet, curious, gently fierce
- 🎨 Color Palette: deep aubergine plush, fading toward near-black at the legs
- 📏 Size: 6-7 cm (2.4-2.8 in), excluding legs
- 🪝 Hook: 3.5mm (US E/4)
- ⏱️ Time: 2-3 hours, plus a little drying time for the glued eyes
- ✨ Signature Detail: eight chain-stitch legs worked straight into the body, each one curling back on itself like a comma
- 💡 Difficulty: Intermediate
Materials for This Crochet Spider Amigurumi Pattern
Bramble is worked entirely in a soft, brushed chenille — I used Lavita Velur (US alternatives: Bernat Baby Velvet or Premier Parfait). It’s classified as Bulky (5), and the nap of it does something lovely here — it blurs the individual stitches just enough that Bramble looks almost soft-bodied, the way a real spider catches light.
- Plush/chenille yarn, bulky weight, in a color that leans more “forest floor” than “Halloween decoration” — deep aubergine, charcoal, or mossy brown all give her a gentler presence
- Hook: 3.5mm (US E/4)
- Fiberfill or your preferred stuffing
- Half-bead eyes — 8mm and 5mm — plus a small amount of craft glue to set them
- Embroidery thread, for the mouth and fangs
- A yarn needle suited to plush yarn, scissors, and a stitch marker to track where each round begins
A quick note on the eyes: because they’re glued half-beads rather than locking safety eyes, they’re a little more vulnerable to tugging than a typical amigurumi face. If Bramble is headed for a very young child, it’s worth reading through the CPSC’s toy safety guidance on small, detachable parts before you decide how to finish her face — sewn or embroidered eyes are an easy substitution if you’d rather not glue.
Abbreviations
| Abbreviation | Meaning |
|---|---|
| mr | magic ring |
| ch | chain |
| sc | single crochet |
| sl st | slip stitch |
| inc | increase (2 sc in one stitch) |
| dec | invisible decrease (worked through the front loops of the next 2 stitches) |
| hdc | half double crochet |
| ( ) | number of stitches at the end of the round |
| *X | repeat the instructions in parentheses X times |
Before You Begin: Notes for This Crochet Spider Amigurumi Pattern
Every character I make starts the same way, and Bramble is no exception. If you haven’t worked one before, our magic ring tutorial walks through it quietly and clearly — it’s simpler than it looks, and it’s where every round of this pattern grows from.
One small change from the original pattern: the source calls for a standard decrease throughout. I’ve substituted an invisible decrease instead, worked through the front loops only. Both methods take two stitches down to one, so every stitch count in the pattern below is unchanged — the invisible version just leaves Bramble’s shaping smoother, with no visible gap where the rounds pull in.
And because Bramble closes up quickly at the end, don’t rush the stuffing. Our stuffing tutorial is worth a look before you get to the final rounds — with a body this small, a little goes further than you’d think.
Crochet Spider Amigurumi Pattern: Body, Head & Legs
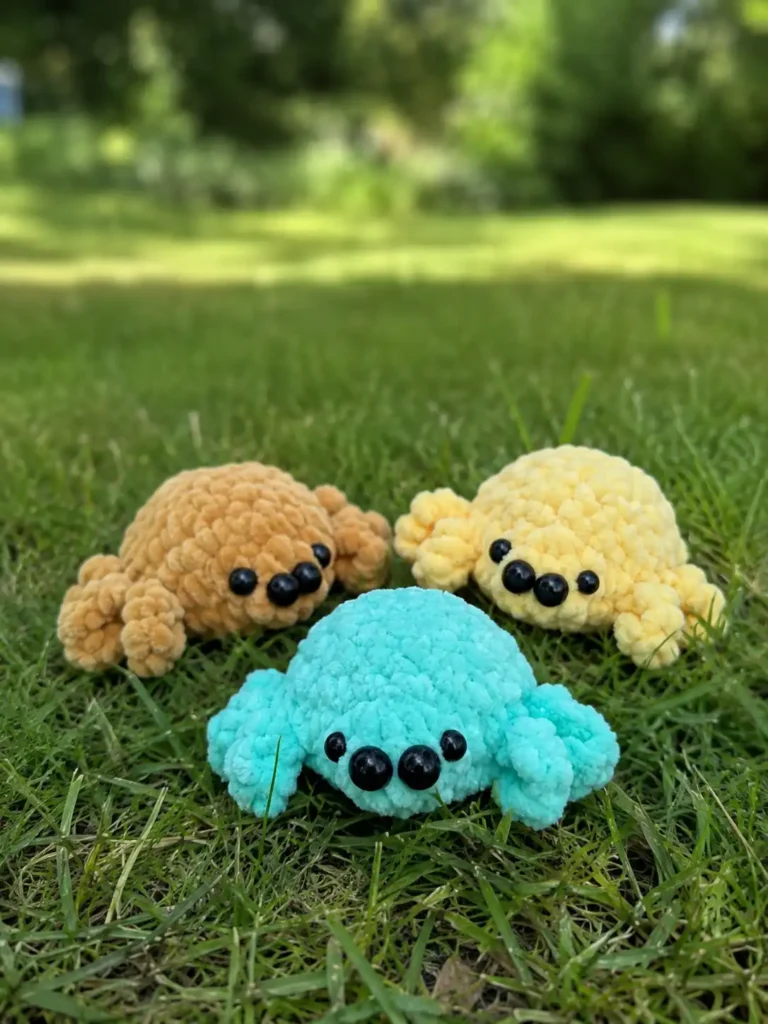
Bramble’s Body, Head & Legs (make 1)
Worked in continuous rounds, starting from a magic ring.
Row 1: 6 sc in mr (6)
Row 2: 6 inc (12)
Row 3: 12 inc (24)
These first three rounds go fast, and there’s not much to see yet — just a small, round dome, the beginning of everything. This is the part where it’s still just a shape. That changes on the next round.
✨ Sophie’s Note: Row 4 is where Bramble stops being a dome and starts being a spider. This is where the legs happen — all eight of them, worked directly off the body as little chained loops — and where the lower part of the face begins to form. Go slowly here. It’s fiddly, but it’s also the most interesting round in the whole pattern.
Row 4: 5 sc, (ch 4, 3 sc down the chain, sl st in the initial sc, sc) *4 (legs), 2 sc, 5 hdc in 1 sc, 3 sc, (ch 4, 3 sc down the chain, sl st in the initial sc, sc) *4 (legs), 5 sc (28)
Once this round is done, spread the piece out flat on your desk for a second and look at it. The legs curl to one side almost on their own — that’s the chenille doing the work, not you. It’s the first moment Bramble actually looks like a spider instead of a small colored ball.
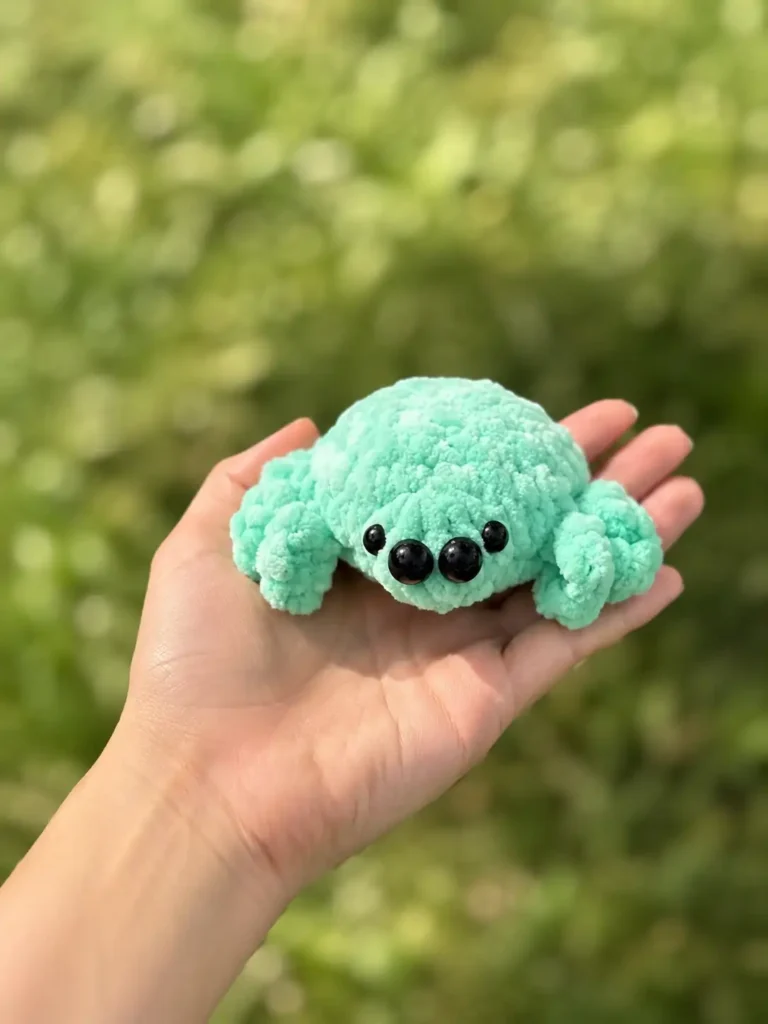
Row 5: 11 sc, 5 hdc-tog (5 hdc with 1 vertex), 12 sc (24)
That little cluster in the middle of this round — the 5 hdc worked to one point — is Bramble’s face. It sits slightly raised from the rest of the round, which is exactly why it’s the spot for the eyes later. Everything about her expression comes from this one stitch.
Row 6: (3 sc, dec) *4, 3 sc (19)
✨ Sophie’s Note: One stitch from this round doesn’t get used right away — it’s left unworked, and that shifts the marker over by a stitch so the decreases line up properly on the back of the body. Don’t fasten off or adjust anything; just carry that unworked stitch forward and let it be the first stitch of the next round.
Row 7: (2 sc, dec) *5 (15)
Row 8: (1 sc, dec) *5 (10)
✨ Sophie’s Note: Stuff her firmly now, before this round closes any further. The opening left after Row 8 is small enough that stuffing gets genuinely difficult past this point — better to overstuff slightly here than to fight a too-small hole later.
Row 9: 5 dec (5)
Finishing: Cut the yarn, leaving a 4-6 in (10-15 cm) tail. Close the opening by weaving your needle through the front loops (FLO) of the remaining 5 stitches, then pull the tail tight to draw the hole shut. Pull the tail down through the body to the tummy, fasten off, and hide the end inside.
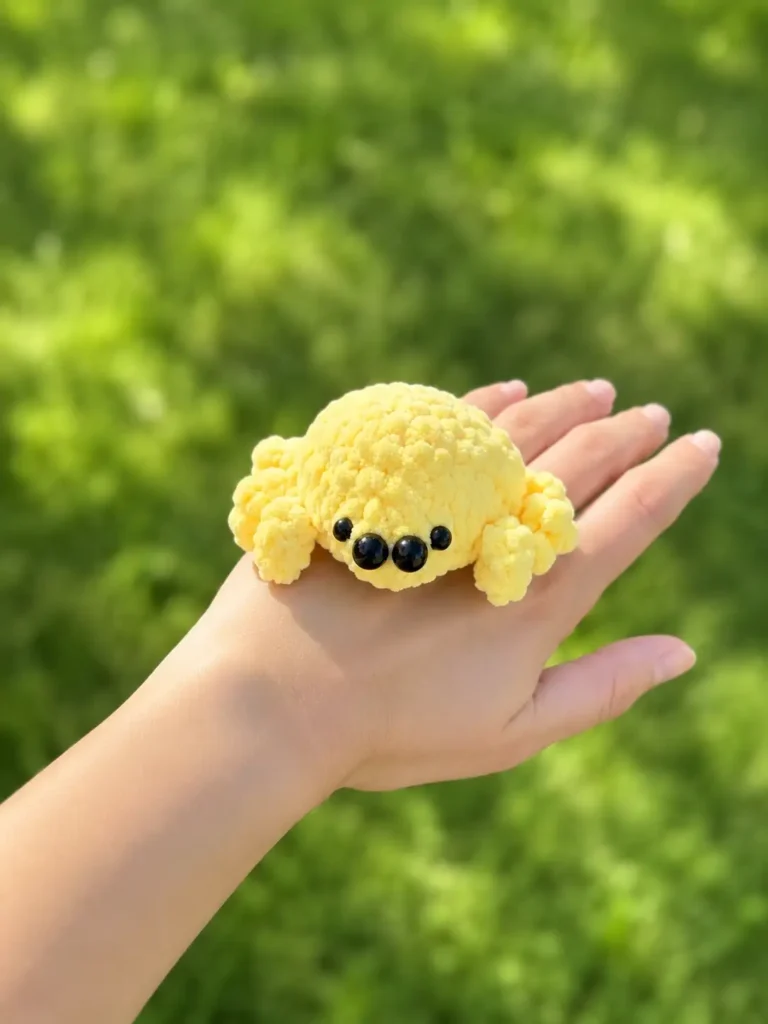
Assembly: Bringing Bramble Together
There’s no separate sewing here — Bramble is one continuous piece — but the last few details are what actually give her a personality, so take your time with them.
- Weave in your finishing tail before touching the eyes, so you’re not working around wet glue later.
- Glue the 8 mm and 5 mm half-bead eyes onto the face — the side with the raised 5-hdc puff stitch. Let the glue set fully before you move her around; half-beads shift easily while they’re still tacky.
- Embroider the mouth and fangs with thread, positioned about 2 stitches below the eyes.
Small placement choices matter more than you’d expect on a face this size. Set the fangs closer together and Bramble reads as shy, almost apologetic. Spread them a little wider and she looks like she means business. Neither is wrong — it’s just a question of who you want her to be.
A Small Accessory Idea
The original pattern doesn’t include any accessories, and honestly, Bramble doesn’t need one — but if you want to give her a little more character, a single loop of contrasting embroidery thread tied around the base of one front leg, like a tiny bracelet, is enough to make her feel like she has a story. It takes a few minutes and costs you nothing structurally; the pattern above is complete without it.
Meet Bramble: Your Crochet Spider Amigurumi, Now Complete
Meet Bramble. She’s sitting on the edge of my desk right now, legs curled slightly under her, eyes tilted just enough to one side that she looks like she’s watching something just out of frame. She’s small enough to fit in a closed hand, but she doesn’t feel small once she’s finished — there’s something about the raised little face and the curl of those eight legs that makes her feel entirely her own. Name yours something that suits the way her legs settle. Put her somewhere quiet — a windowsill, the corner of a bookshelf, next to a stack of something you’re reading. She’s the kind of creature that likes to be found, not displayed. 🧶
FAQ
What yarn is best for this crochet spider amigurumi pattern?
Bulky weight plush or chenille yarn (like Lavita Velur or Bernat Baby Velvet) is ideal, as it blurs the stitches and gives the spider a softer, realistic look.
Can beginners make this crochet spider amigurumi pattern?
This pattern is rated as intermediate. While the body is straightforward, working the chained legs directly into the rounds and using invisible decreases requires a bit of practice.
How long does it take to crochet this spider?
It typically takes about 2 to 3 hours to complete the crocheting, plus a little extra drying time to allow the glued half-bead eyes to set fully.