Free Crochet Pumpkin Pattern: A Tiny Project That Costs You Almost Nothing
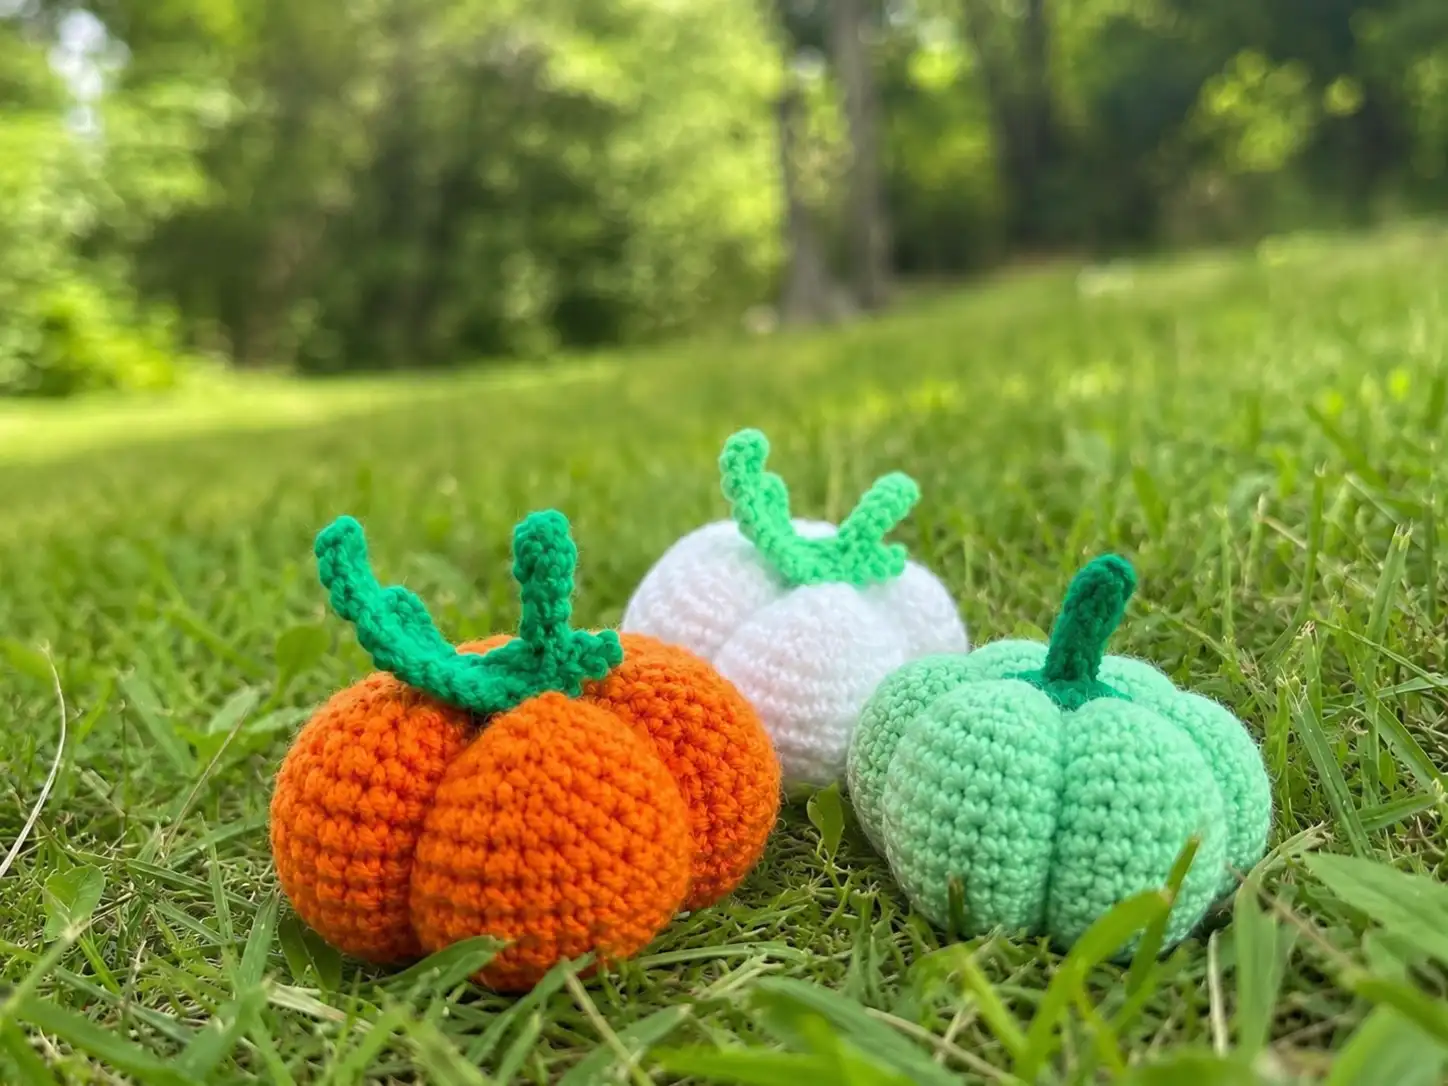
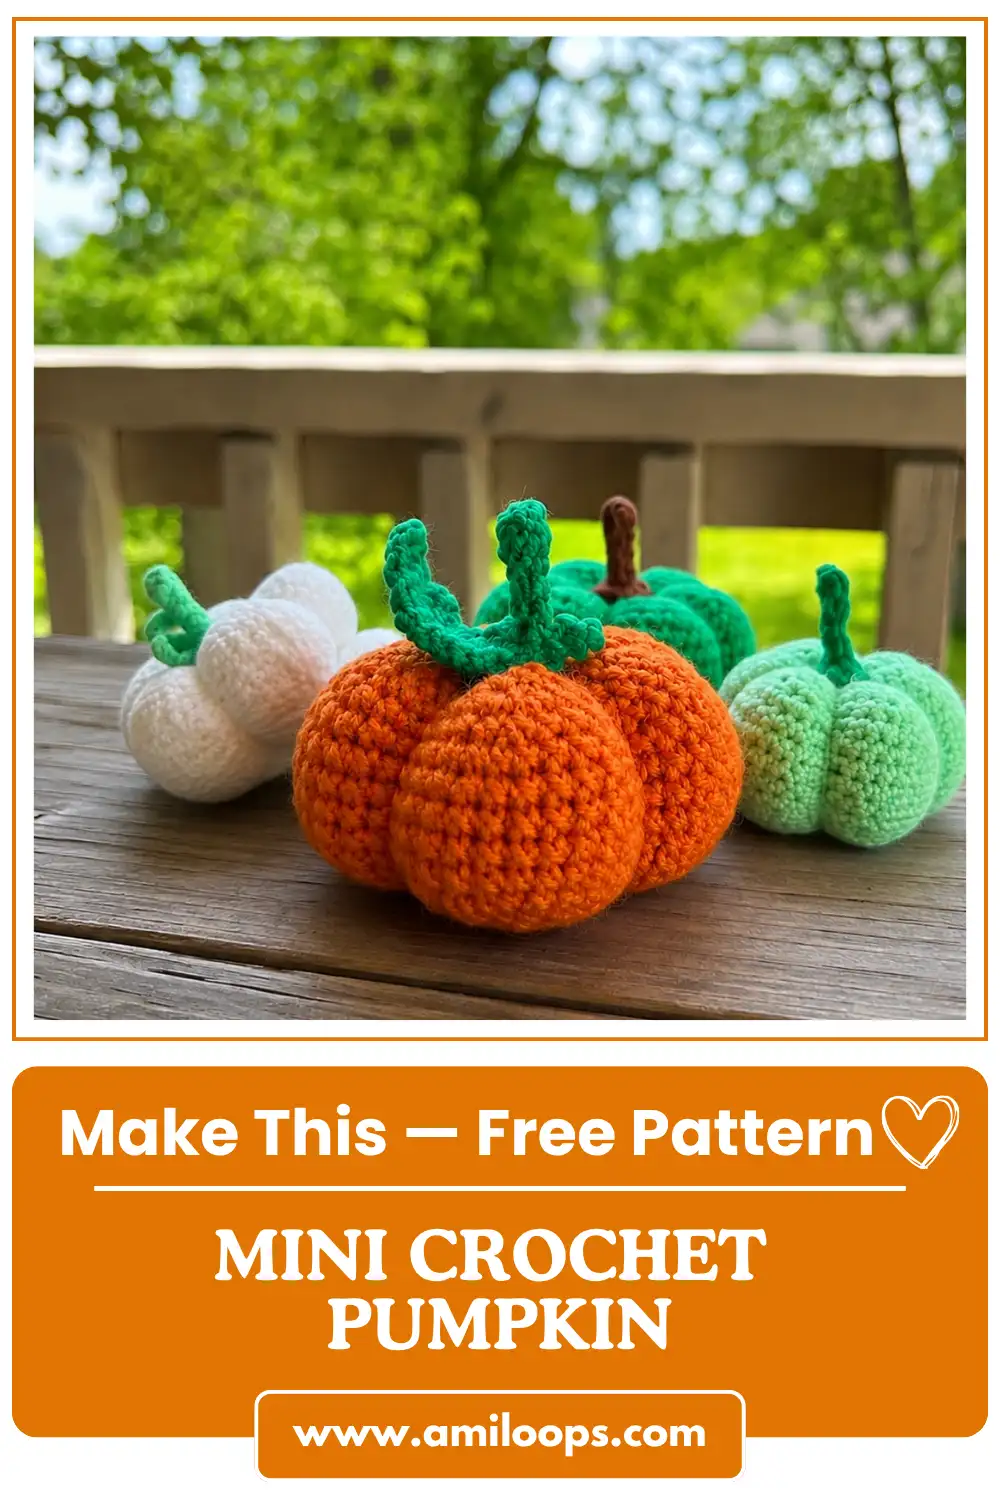
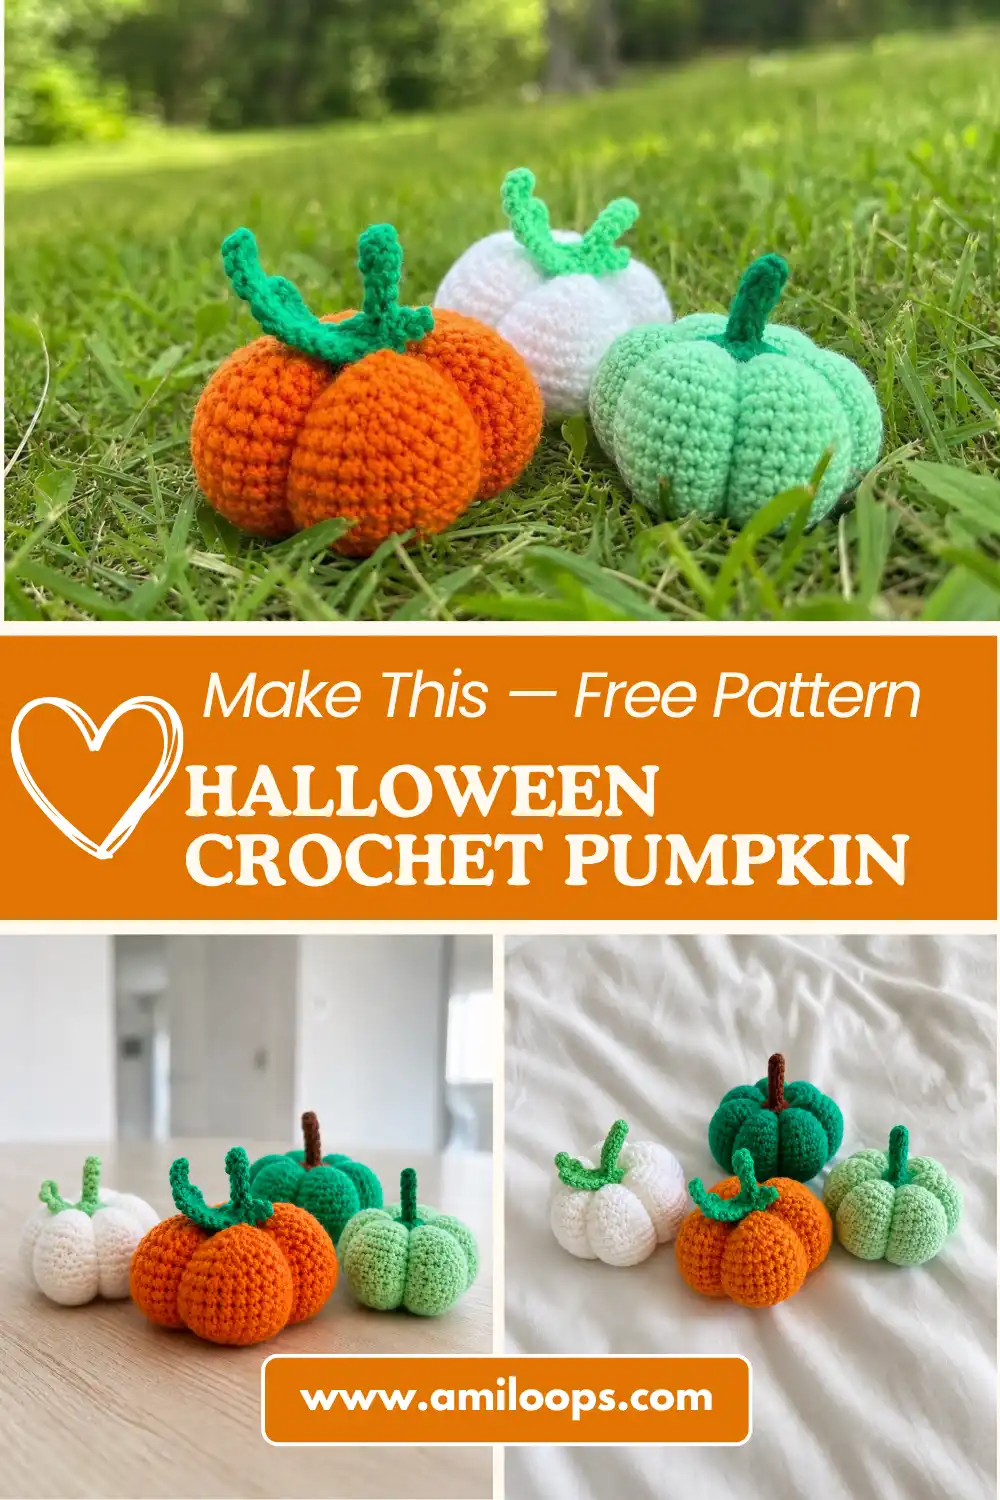
This free crochet pumpkin pattern is exactly the kind of project your scrap bin was made for — it’s small, it’s fast, and it uses only a small amount of orange and green yarn to finish. The whole pumpkin comes together in one evening, and you’ll probably have every single supply already sitting in your stash. Grab a small hook and whatever orange scrap you’ve been holding onto. This one’s quick.
🧶 What You’ll Need
- 💰 Yarn Needed: a small amount of orange (or your color of choice) and an even smaller bit of green for the stem and leaf
- 🎨 Colors: orange for the pumpkin body, green for the stem (or any two scraps you have on hand — this pattern doesn’t care about brand matching)
- 🪝 Hook: steel 4 (2.0 mm) — see the note below on substituting
- ⏱️ Time: 1-2 hours
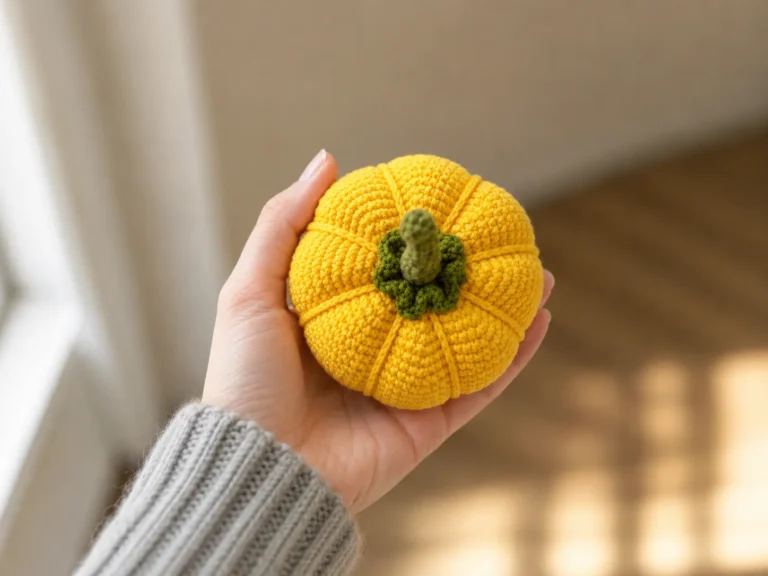
- 📏 Finished Size: 2.5 in (6.5 cm) diameter, 1 in (2.5 cm) tall, excluding the stem
- 💡 Difficulty: Beginner-friendly (a little extra patience for the leaf)
- 🎁 Great For: fall décor, mini garlands, gift toppers, sets of three or five for a windowsill
Materials for This Free Crochet Pumpkin Pattern
Here’s the honest truth about this pattern: it barely dents your stash. The original source yarn used a fine DK/Light Worsted (3) weight, but the designer’s own note applies here too — the thicker your yarn, the bigger your finished pumpkin will be. That means you can adjust this to whatever you’ve got leftover, as long as you keep a consistent weight through the whole piece.
- Orange yarn (or color of choice): a small amount — any DK/Light Worsted weight scrap from a previous project works. If you want a chunkier pumpkin, size up to a worsted weight leftover instead.
- Green yarn (or color of choice): an even smaller amount, just for the stem and optional leaf.
- Hook: steel 4 (2.0 mm). This is a genuinely small steel hook — if you don’t own one, the closest common US letter hook is a B/1 (2.25 mm), which will give you a very slightly looser, slightly larger pumpkin. Either works. You can check where steel hooks fall relative to lettered sizes on the Craft Yarn Council’s hook size chart.
- Fiberfill or other stuffing: you need barely a pinch for a piece this size — leftover stuffing from another project is more than enough.
- Yarn/tapestry needle for sewing the stem on and closing up the pumpkin.
- Stitch marker to track your rounds (optional but genuinely helpful once you hit round 10).
Abbreviations Used in This Pattern
| Abbreviation | Meaning |
|---|---|
| mr | magic ring |
| ch | chain |
| sl st | slip stitch |
| sc | single crochet |
| inc | increase (2 sc in same stitch) |
| dec | invisible decrease |
| ( )* | repeat the instructions in parentheses the stated number of times |
Smart Crafter Tips for This Free Crochet Pumpkin Pattern
A few things that’ll save you time, yarn, and frustration on this one:
If you’re new to amigurumi, this pattern starts the same way almost every amigurumi piece does — with a magic ring. Our magic ring tutorial walks through it in under two minutes if you’ve never made one before, and it’s the one skill that carries over into basically every future pattern you’ll ever make.
This little pumpkin uses a lot of increases and decreases to build its rounded shape, so keeping your stitch count honest matters more than usual. If you drift off by even one stitch around row 9, the whole shape skews. Our increase guide is worth a quick look before you start if increases still feel new.
Every decrease in this pattern should be worked as an invisible decrease, not the standard sc2tog — it keeps the pumpkin’s segment shaping clean instead of leaving little gaps along your decrease rounds. If you haven’t tried it yet, our invisible decrease tutorial covers exactly how to work it.
🧶 Scrap Check: The entire pumpkin body takes a small amount of orange yarn — this is a genuinely tiny piece, so even a leftover ball too small for anything else is probably enough. Save your greens for the stem; you’ll need even less of it.
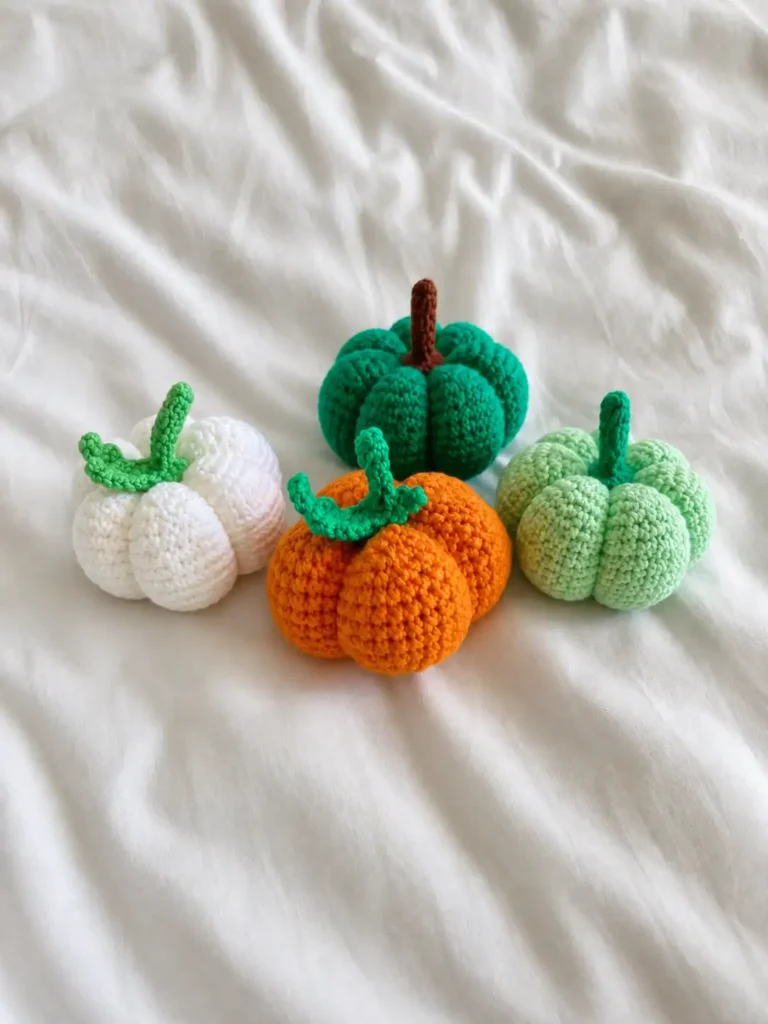
Free Crochet Pumpkin Pattern: Pumpkin Body
Yarn Color: Orange (or color of choice)
Starting Method: Magic ring
Row 1: 6 sc in mr (6)
Row 2: 6 inc (12)
Row 3: (1 sc, inc) * 6 (18)
Row 4: (2 sc, inc) * 6 (24)
Row 5: (3 sc, inc) * 6 (30)
Row 6: (4 sc, inc) * 6 (36)
Row 7: (5 sc, inc) * 6 (42)
Row 8: (6 sc, inc) * 6 (48)
Row 9: (7 sc, inc) * 6 (54)
Rows 10-14: sc even for 5 rows (54)
💡 Stretch It Further tip while you crochet: Want a slightly taller pumpkin instead of the classic squat shape? Add one or two extra rows of 54 sc here before you start decreasing. It costs you barely any extra yarn and gives the pumpkin a different silhouette entirely.
Row 15: (7 sc, dec) * 6 (48)
Row 16: (6 sc, dec) * 6 (42)
Row 17: (5 sc, dec) * 6 (36)
Row 18: (4 sc, dec) * 6 (30)
Row 19: (3 sc, dec) * 6 (24)
Row 20: (2 sc, dec) * 6 (18)
Stop here and stuff the pumpkin before you close it up. Don’t pack it in tight — this piece looks best a little soft, since you’ll be shaping segment lines into it later, and an overstuffed pumpkin fights you on that step. If stuffing amigurumi still feels fiddly, our stuffing tutorial covers how to get an even fill without lumps.
Row 21: (1 sc, dec) * 6 (12)
Row 22: 6 dec (6)
Finishing: Cut yarn leaving a tail of about 31.5 in (80 cm) — yes, that’s a long tail, and it’s intentional. You’ll use it to close the opening, and then it becomes the working yarn for shaping the pumpkin’s segments in the decoration step, so don’t trim it short.
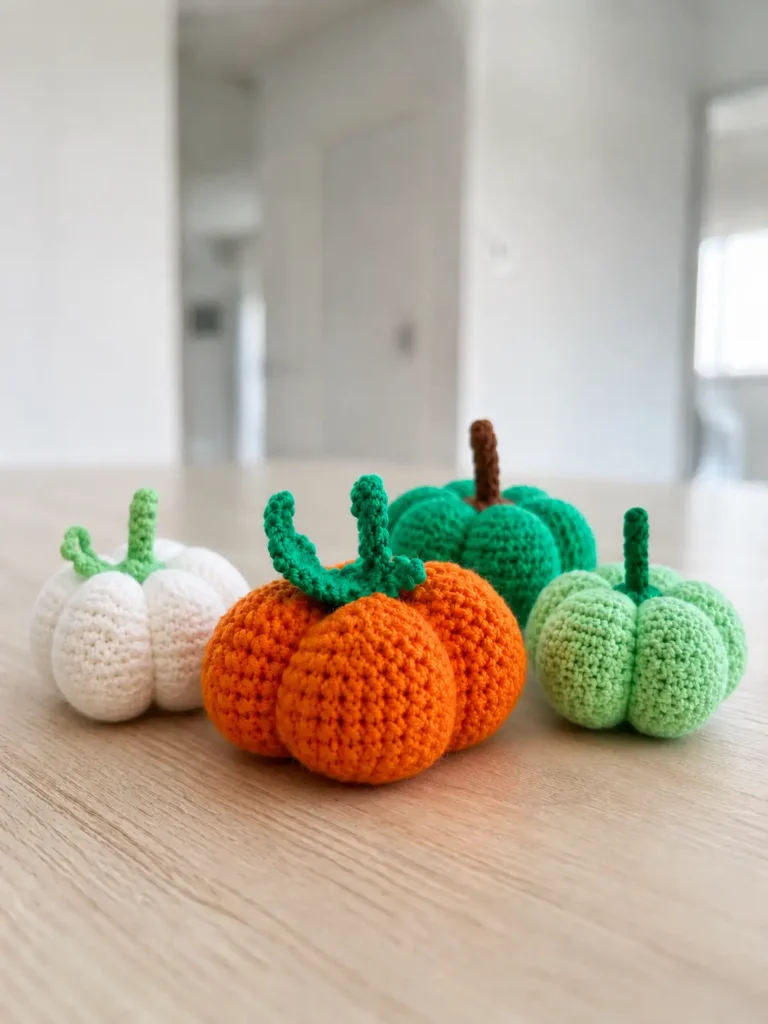
Free Crochet Pumpkin Pattern: Stem and Leaf
Yarn Color: Green (or color of choice)
Starting Method: ch 2
Row 1: 4 sc in the second ch from hook (4)
Rows 2-5: sc even for 4 rows (4)
Row 6: 3 sc, inc (5)
Row 7: 4 sc, inc (6)
Row 8: 6 inc (12)
You can stop right here and call the stem finished — a plain stem still looks completely at home on this pumpkin, and it’s the faster option if you’re short on time. If you want the little curled leaf detail, keep going below.
🧶 Scrap Check: The stem and leaf together use only a sliver of green yarn — this is the kind of tiny leftover most people would normally throw straight in the trash. Perfect use for it here.
Optional Leaf
Working from the 12 stitches of Row 8:
Leaf Row 1: ch 10, then starting in the second ch from hook, 9 sc, then 1 sc on the stem (10)
Leaf Row 2: turn and crochet 7 sc (7)
Leaf Row 3: turn the work, dec, 5 sc (6)
Stem Base: 11 sc on the stem, using the remaining stitches of Row 8 (11)
Leaf Row 4: 6 sc on the leaf (6)
Leaf Row 5: turn the work, dec, 4 sc, sl st (6)
Finishing: Leave a yarn tail of about 8-12 in (20-30 cm) and set it aside — you’ll use it to sew the stem to the pumpkin in the next step.
A quick heads-up before you dive in: this leaf is worked as a small flat piece attached directly onto the still-open stem tube, switching direction mid-row rather than following a simple round-by-round build. It’s a little unusual as amigurumi construction goes, so if the wording feels confusing on your first read-through, that’s not you — work it slowly and it’ll click once you see the leaf taking shape against the stem.
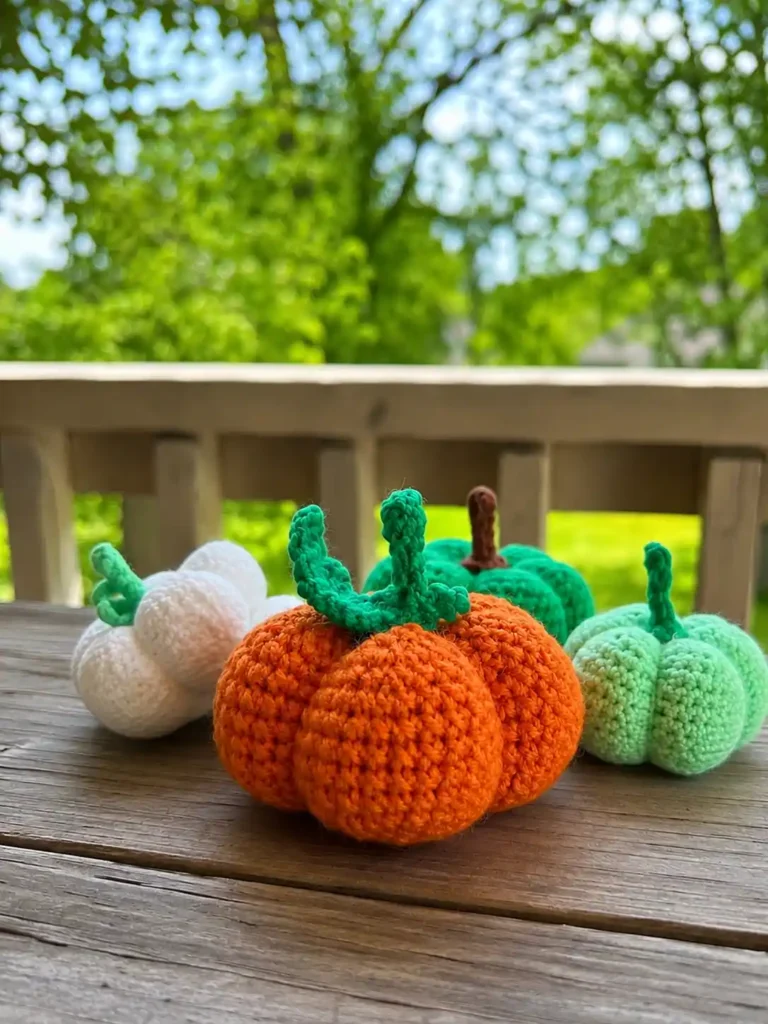
Assembly
- Using the long tail left from Row 22 of the pumpkin body, cinch the opening closed and weave the tail through to secure it — this same tail becomes your working yarn for the decoration step, so don’t weave it all the way in yet.
- Using the 8-12 in (20-30 cm) tail left on the stem, sew the stem centered onto the top of the pumpkin, over the closed opening.
- Check that the stem sits straight before you knot off — a slightly crooked stem is an easy fix now and a much harder one after the yarn is woven in.
Decoration: Shaping the Pumpkin Segments
This is the step that turns a plain orange ball into something that actually reads as a pumpkin, and it’s simpler than it looks. Using your yarn needle and the long tail from the body, sculpt six evenly spaced indentation lines running from the top of the pumpkin (around the stem) down to the bottom center, the same way you’d mark orange slices. Pull the yarn snug enough to create a visible groove, but not so tight that it puckers the stitches. Go over each line twice for a deeper, more defined groove, then fasten off and weave in your ends.
If you’re sewing safety eyes or adding a face to your pumpkin as a variation, do that before this shaping step — it’s much easier to place features on a smooth, unsculpted surface. Our sewing amigurumi parts guide covers clean, secure sewing technique if you want extra detail on this step.
💡 Stretch It Further: This tiny pumpkin is built for batches. Make five or six in slightly different shades of orange, rust, and mustard from whatever fall-toned scraps you’ve collected over the year, and you’ve got an instant windowsill garland or a bowl-filler centerpiece that cost you next to nothing. Skip the leaf on half of them to speed things up, or swap the stem color entirely for a fun mismatched look. Add a loop of thread through the stem before you weave in your ends and you’ve turned the same pattern into a mini ornament or gift topper.
Mia’s Take
A pinch of stuffing, a sliver of green, and whatever orange scrap was left in your bin — that’s genuinely all this pumpkin asks for. It’s the kind of project I keep in my back pocket every fall: fast enough to finish in one sitting, small enough that a single leftover ball covers three or four of them, and satisfying enough that it never feels like a “just using up scraps” project even though that’s exactly what it is. Make a small batch, mix your oranges, and let your stash do the work. 🧶
FAQ
What yarn is best for this free crochet pumpkin pattern?
Any leftover DK or light worsted weight yarn works perfectly. You can also use thicker worsted weight yarn if you want a slightly larger finished pumpkin.
How long does it take to crochet this amigurumi pumpkin?
This quick stash-buster project can easily be completed in 1 to 2 hours, making it an ideal choice for a single-evening craft session.
Can beginners make this crochet pumpkin?
Absolutely! This pattern uses basic amigurumi stitches (single crochet, increases, and invisible decreases) and is very beginner-friendly, though the tiny leaf might require a little extra patience.