Free Crochet Pumpkin Pattern — Ribbed Amigurumi with Button Stem
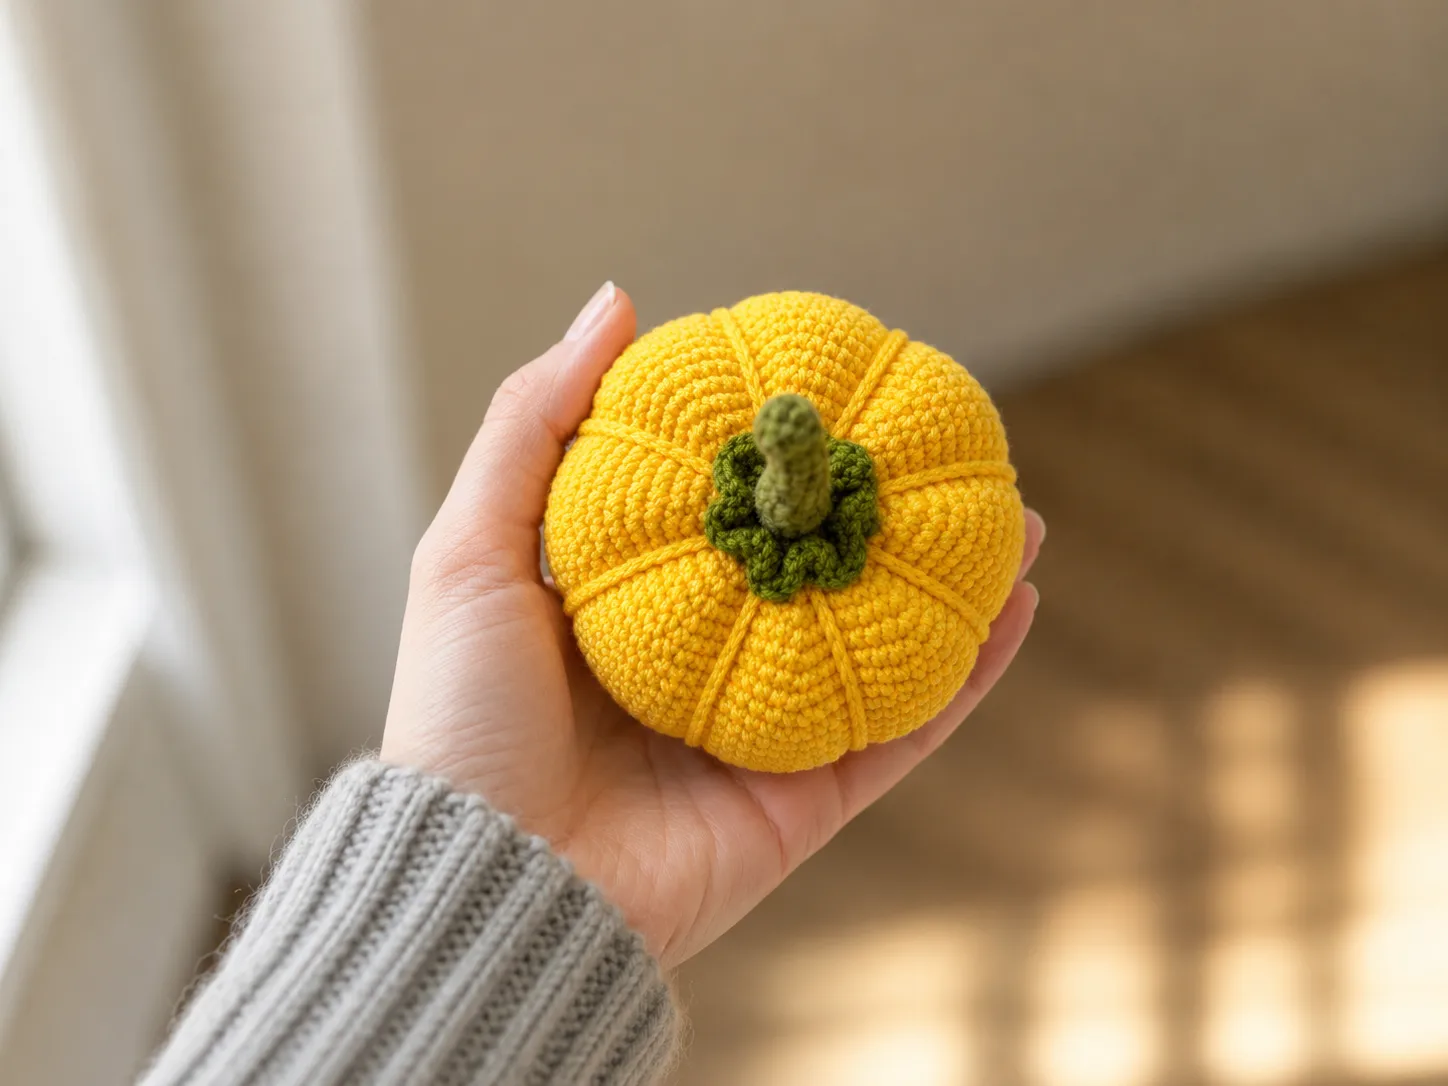
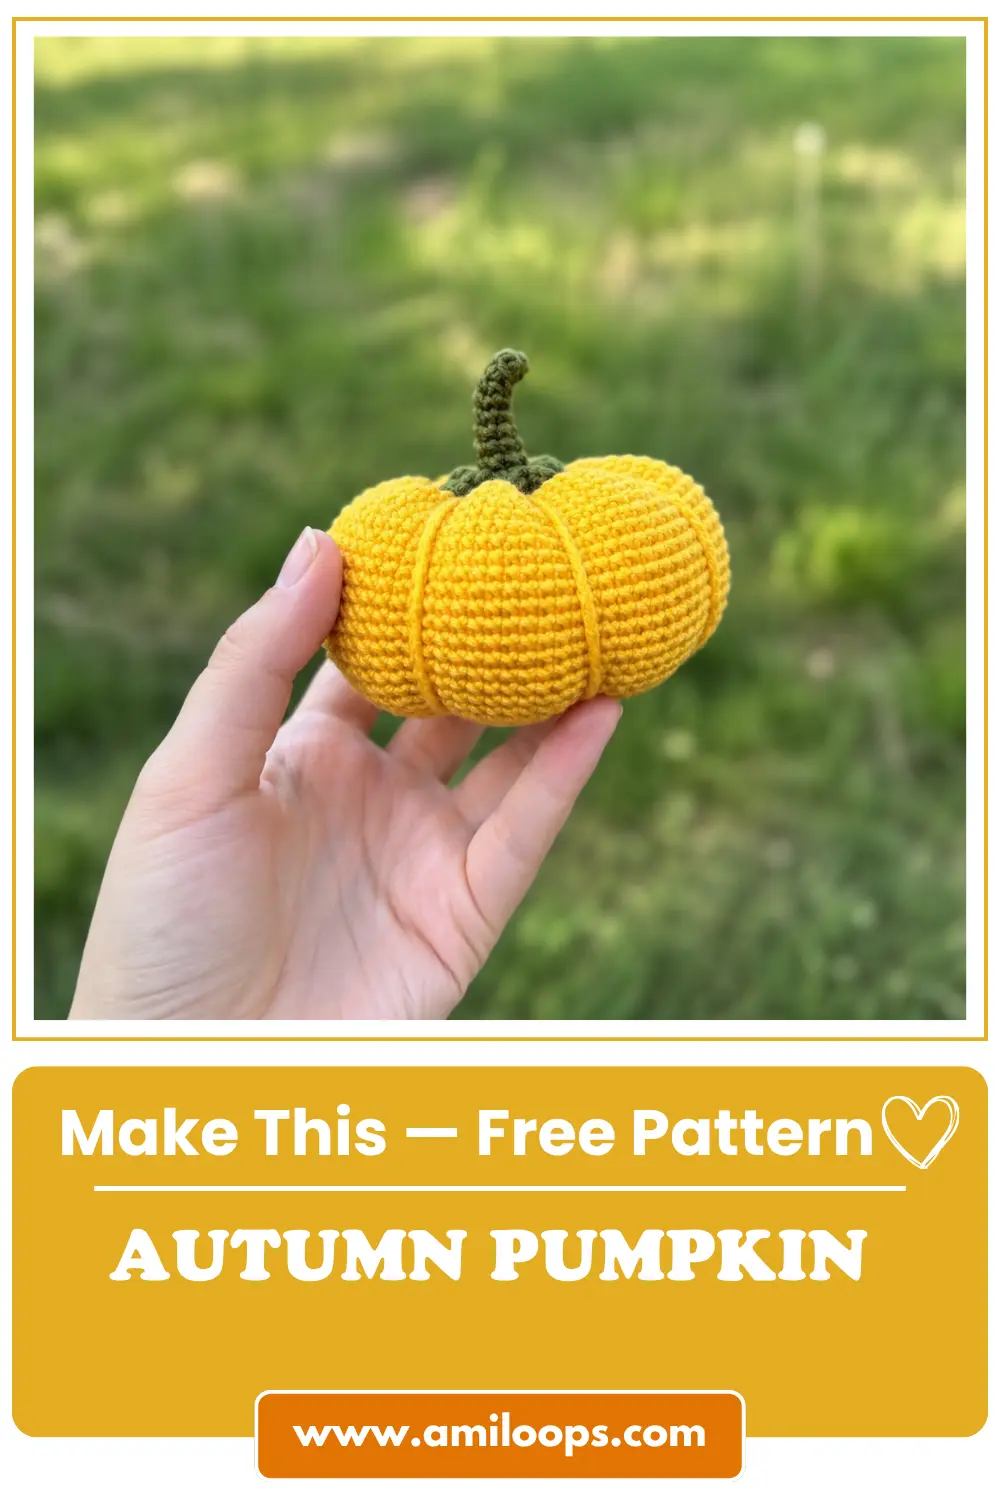
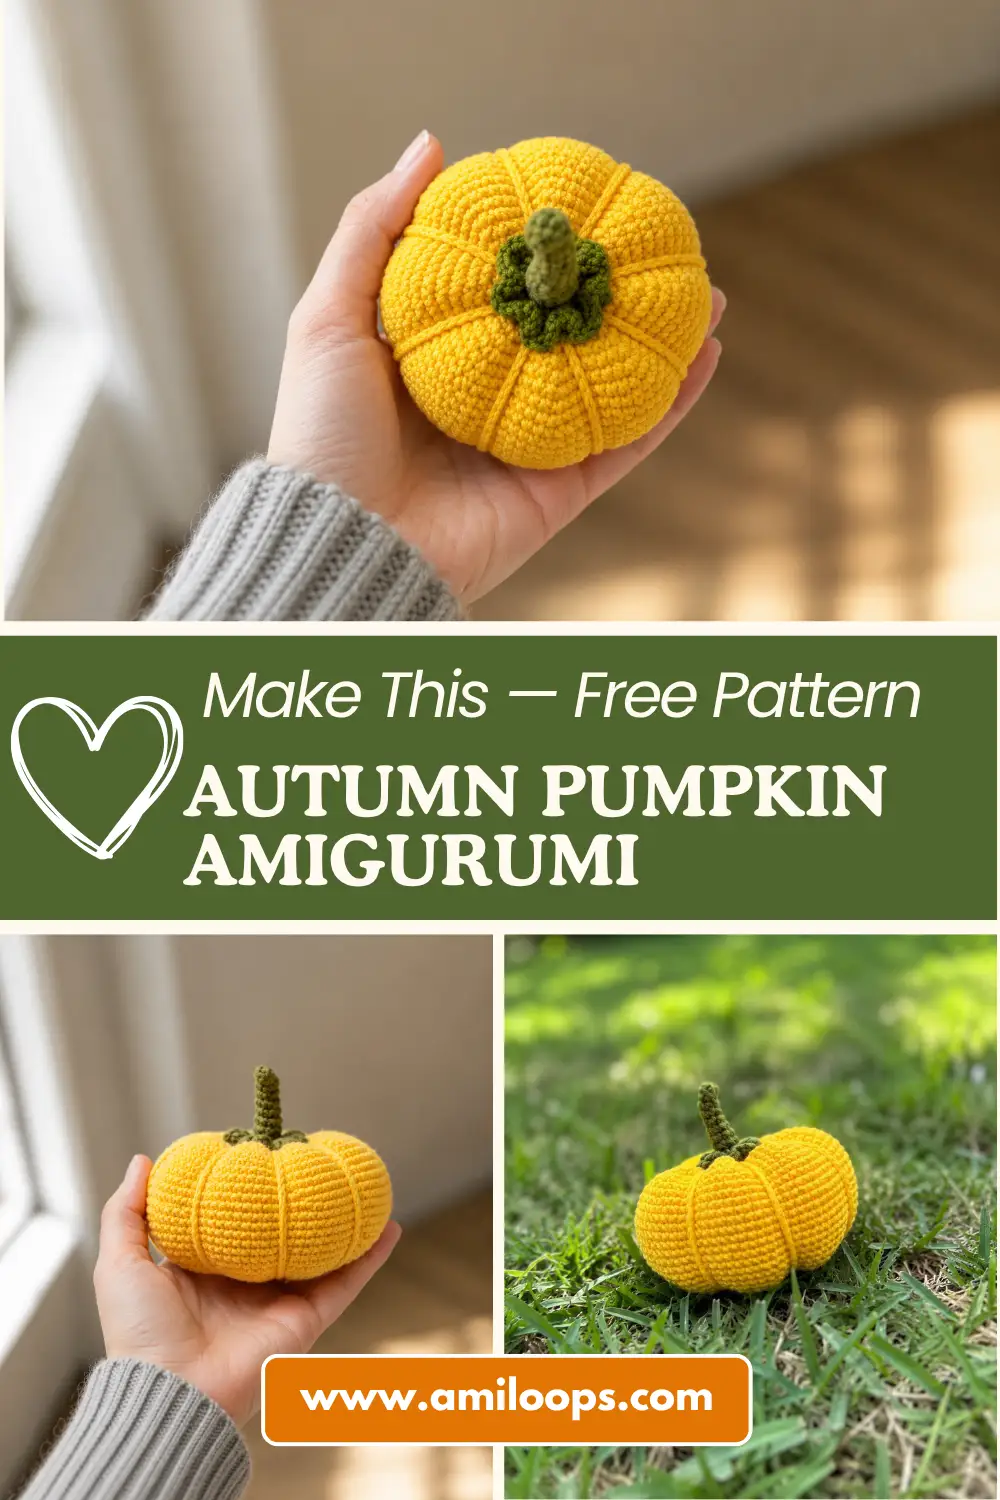
This free crochet pumpkin pattern turns two skeins of cotton-blend yarn into the coziest little autumn decoration you’ll ever make. Honestly? The ribbed “slices” running around the outside are what sold me — they make this look way more advanced than it actually is to crochet. Grab your smallest hook, a golden yellow and a leafy green, and let’s build this one piece by piece.
🧶 Why You’ll Love This Pattern
- ⭐ Difficulty: INTERMEDIATE — more on why below, but you’ve got this
- ⏱️ Time: 4-6 hours, likely across a couple of sittings
- 🪡 Sewing: Standard — sewing the stem on and attaching a button
- 🧵 Yarn: Cotton/acrylic blend in DK and Worsted weight
- 💰 Yarn needed: Not specified in the original pattern — plan for roughly half a skein of yellow and a smaller amount of green, with extra yellow on hand just in case
Okay, before we go further — I want to be upfront with you. Most of my patterns are the grab-a-giant-hook, no-sewing, one-evening kind. This one isn’t that, and I’m not going to pretend otherwise. This pumpkin has a fitted stem you’ll sew on, a button to attach at the base, and a decorative chain technique that takes a little patience. It’s not hard, exactly — it’s just not a rush job. If you’ve made an amigurumi or two already, you’ll be totally fine. If this is your very first project, it’s still doable, just go in knowing it’ll take some focus. Ready? Here’s the thing — it’s actually easier than it looks once you get going.
Materials for This Crochet Pumpkin Pattern
- Yellow yarn: A DK/Light Worsted (weight 3) cotton-acrylic blend, like Drops Muskat or Paintbox Cotton DK (US-friendly swaps for the original YarnArt Jeans)
- Green yarn: A Worsted (weight 4) cotton-acrylic blend, like Lion Brand 24/7 Cotton (a US swap for Alize Cotton Gold)
- Hook: 1.75mm — this is a genuinely tiny hook with no standard US letter equivalent, so we’re sticking with the metric size here rather than guessing at a conversion. A 2.0mm steel hook (sometimes labeled “steel 4”) also works
- A button for the base
- Polyester fiberfill (Poly-Fil by Fairfield is a solid, easy-to-find option at Joann, Michaels, or Hobby Lobby)
- A sewing needle for the button
- A large tapestry needle for sculpting and tightening the pumpkin
Quick note on that hook size: 1.75mm and 2.0mm are both on the small end, which is normal for this style of tightly-worked amigurumi. If you want to double check where your hook falls on the standard hook size chart, that’s a good place to look — just know that some of the smallest steel hooks genuinely don’t have a US letter match, and that’s fine. Use what gets you a nice, tight fabric with no stuffing peeking through.
Abbreviations Used in This Pumpkin Amigurumi Pattern
| Abbreviation | What It Means |
|---|---|
| ch | Chain |
| inc | Increase — 2 single crochets worked into the same stitch |
| 3-sc inc | Triple increase — 3 single crochets worked into the same stitch |
| sc | Single crochet |
| dec | Decrease — worked as an invisible decrease (front-loops-only method), which is our go-to at AmiLoops for a clean, gap-free finish |
| sl st | Slip stitch |
| BLO | Back loop only |
| FLO | Front loop only |
Beginner Tips Before You Start This Crochet Pumpkin Pattern
Don’t skip this part — it’ll save you some frustration later.
1. The BLO/FLO switches are the trickiest part. This pattern moves between working into both loops, then just the back loop, then just the front loop, sometimes within the same part. If that’s new to you, our right side vs. wrong side guide is worth a quick read before you start the stem — it makes those loop switches click a lot faster.
2. Never made a magic ring? No worries — our magic ring tutorial walks you through it in under two minutes, and either that or a ch-2 start works fine here.
3. Save the sewing tutorial for later. Once both pieces are done, our guide to sewing amigurumi parts together will help you get that stem attached neatly. Pinning it in place before you sew is genuinely the move — don’t skip that step.
Pattern: Pumpkin Amigurumi with Button Stem
Part 1: Pumpkin Base (Yellow) — Make 1
Start with your yellow yarn.
Row 1: ch 2 (or magic ring), 6 sc in the first ch (6)
Row 2: 6 inc (12)
Row 3: (1 sc, inc) x 6 (18)
Row 4: (2 sc, inc) x 6, worked BLO (24)
🎉 Okay, quick pause. Row 4 is worked in the back loops only — that little ridge you just created is going to matter later, so don’t panic if it looks slightly different from the rows before it. That’s supposed to happen.
Row 5: (2 sc, 3-sc inc) x 8, worked into the loops of the previous row (40)
Row 6: 3 sc, 3-sc inc, (4 sc, 3-sc inc) x 7, 1 sc (56)
Row 7: 4 sc, 3-sc inc, (6 sc, 3-sc inc) x 7, 2 sc (72)
Rows 8-9: sc around, 2 rows (72)
Row 10: 5 sc, inc, (8 sc, inc) x 7, 3 sc (80)
Row 11: sc around, 1 row (80)
Row 12: 6 sc, inc, (9 sc, inc) x 7, 3 sc (88)
🎉 You’re through the growing part! That was the widest part of the increases — everything from here settles into a rhythm.
Rows 13-23: sc around, 11 rows (88)
Row 24: (9 sc, dec) x 8 (80)
Rows 25-27: sc around, 3 rows (80)
Row 28: (8 sc, dec) x 8 (72)
Row 29: sc around, 1 row (72)
Row 30: (7 sc, dec) x 8 (64)
Row 31: (6 sc, dec) x 8 (56)
Row 32: (5 sc, dec) x 8 (48)
Row 33: (4 sc, dec) x 8 (40)
Row 34: (3 sc, dec) x 8 (32) — Time to add some stuffing! Squeeze it in there while you work this row, a little at a time so it stays even.
Row 35: (2 sc, dec) x 8 (24)
Row 36: (1 sc, dec) x 8 (16) — Top off the stuffing here, right before things close up.
Row 37: 8 dec (8)
Finishing: Sl st to close the opening and fasten off. Leave a long tail, thread it through the remaining stitches two or three times, pull it tight, tie it off, and weave in the end.
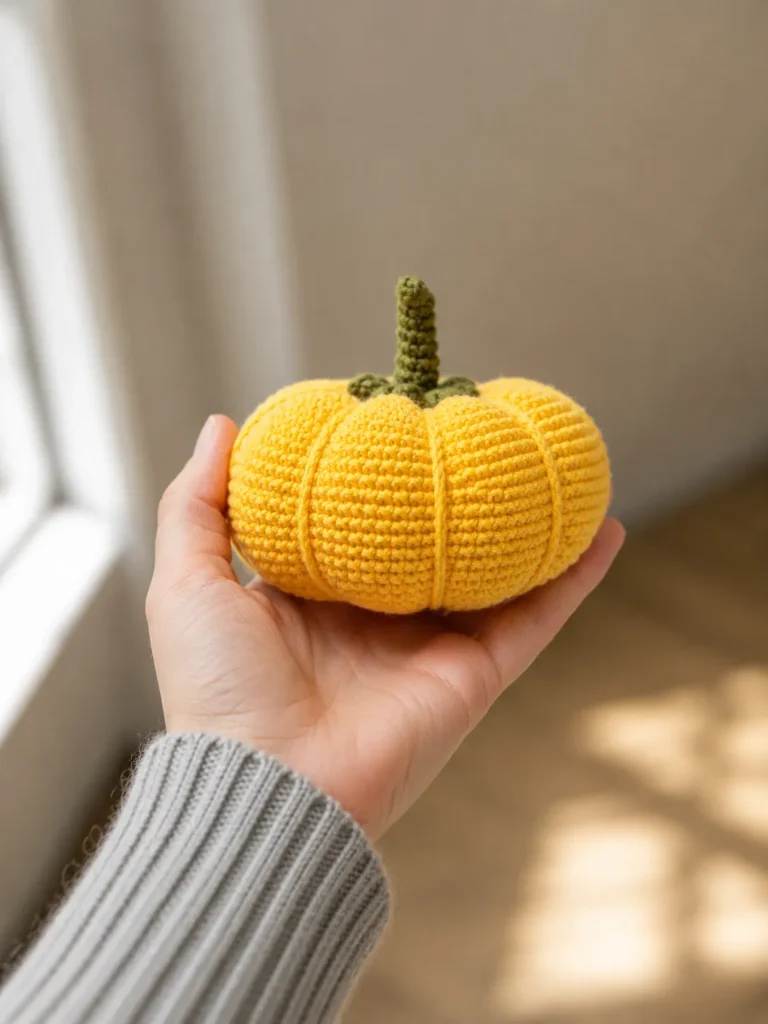
Part 2: Stem (Green) — Make 1
Switch to your green yarn for this part.
Row 1: ch 2 (or magic ring), 6 sc in the first ch (6)
Row 2: sc around, worked BLO, 1 row (6)
Row 3: 3 sc BLO, 3 sc worked through both loops as usual (6)
Row 4: 3 sc worked FLO into the previous row, 3 sc (6)
Honestly? This is the fiddliest stretch of the whole pattern — you’re deliberately switching which loops you work into, row by row, to build texture into the stem. If it feels confusing the first time through, that’s completely normal. Slow down, look at where your hook is going into the stitch, and it’ll click.
Rows 5-6: sc around, 2 rows (6)
Row 7: (2 sc, inc) x 2 (8)
Row 8: sc around, 1 row (8)
Row 9: (3 sc, inc) x 2 (10)
Row 10: (4 sc, inc) x 2 (12)
Row 11: (1 sc, inc) x 6 (18)
Row 12: 3 sc worked into each front loop of the previous row — this creates the little flared “skirt” at the base of the stem (54)
🎉 Second piece down! The stem is genuinely the more technical of the two parts, so if you just finished it, that’s worth celebrating. Everything left is sewing and decorating.
Finishing: Sl st, cut the yarn leaving a tail for sewing, and tuck that tail behind the back loops of the previous row to restore the edge.
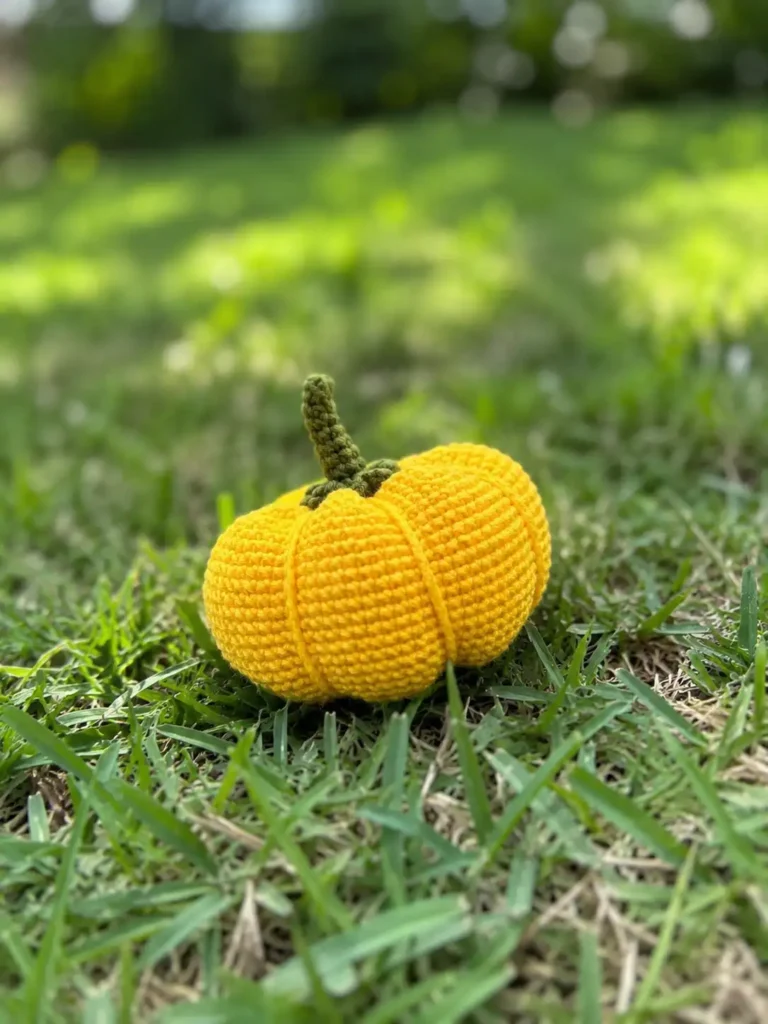
Assembly: Attaching the Stem
I’ll be straight with you — this part involves real sewing, not the “two quick stitches and done” kind. Here’s how to make it manageable:
- Line up the remaining front loops on top of the pumpkin base with the matching loops at the base of the stem.
- Pin the stem in place first if you can — it makes a huge difference for keeping it centered.
- Using your leftover green tail and a tapestry needle, sew through those matching loops all the way around, following our sewing amigurumi parts tutorial if you want a refresher on technique.
- Tie off in a secure knot and weave in the end.
Take your time here. It’s not a fast step, but it’s not a hard one either — just a patient one.
Decoration: The Ribbed Chain “Slices”
This is the part that makes this pattern stand out, and it’s genuinely satisfying once you get the rhythm down.
- Attach your yellow yarn to the top of the pumpkin, inside the circle formed by the remaining front loops (the ones you didn’t use for the stem seam), and chain.
- How many chains you need depends entirely on your own tension and stuffing — the original maker used 28 chains, but yours might need a few more or fewer. If it looks too loose or too tight once it’s secured, just unravel and adjust.
- Secure that chain with a slip stitch into the last row of stitches at the base of the pumpkin, then slip stitch over to the next stitch and chain again.
- Secure that new chain back at the top, inside the same circle, then chain and secure at the base again.
- Repeat this until you’ve made and secured eight chains total, spaced evenly around the pumpkin — these are your pumpkin’s ridges.
- After securing your last chain, leave a long tail, thread it through to the bottom of the pumpkin, and sew your button onto the base to cover the closed opening. Fasten off and weave in the end.
See? Not so scary, right? It looks complicated written out, but it’s really just chain-secure-chain-secure, eight times around. Go slow on the first couple and the rest will move fast.
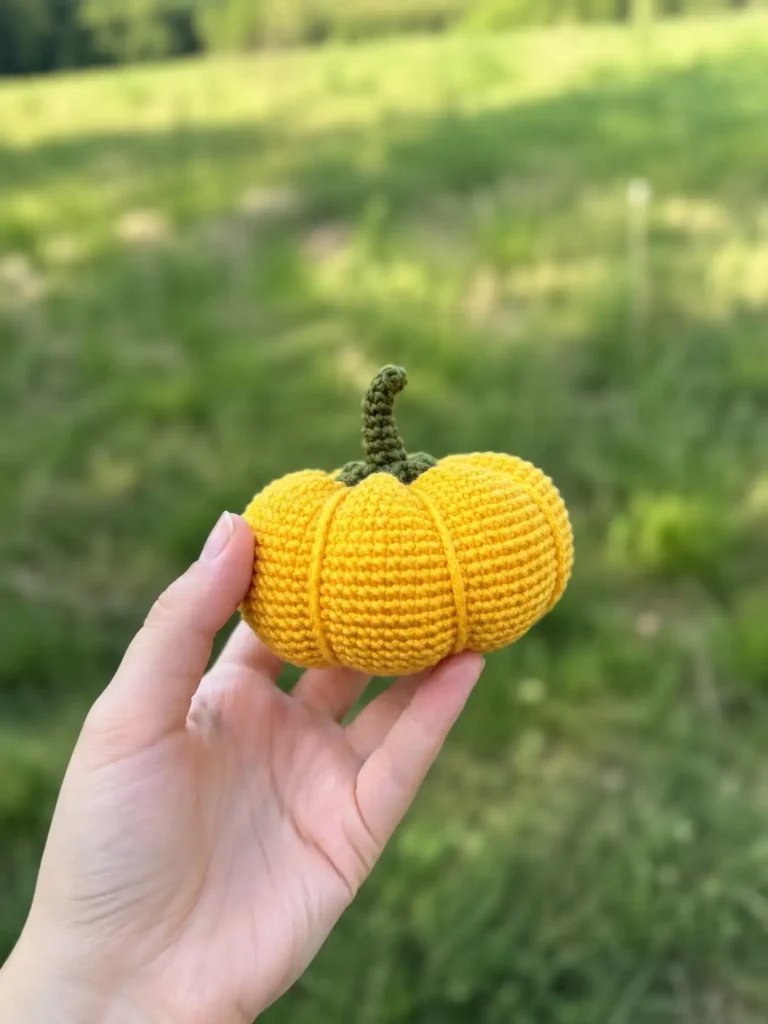
You Did It!
Look at that pumpkin. Genuinely — the ribbed slices, the little button on the bottom, that stem sitting up top like it was always meant to be there. This one took real patience, and if you stuck with it through the BLO/FLO switches and the sewing, you should be proud of yourself, no asterisks. Tag AmiLoops when you share it — I want to see every single one, slightly wonky chains and all. They’re the best kind.
FAQ
What yarn is best for this crochet pumpkin pattern?
A cotton-acrylic blend is ideal. Use a DK weight for the pumpkin body and a Worsted weight for the stem to give it the right structure and tight stitches.
How long does it take to crochet this pumpkin?
This intermediate pattern takes approximately 4-6 hours, making it a great weekend project.
Can beginners make this pumpkin pattern?
Yes, but it requires patience. It uses intermediate techniques like BLO/FLO switching, making ribbed chains, and some basic sewing for assembly.