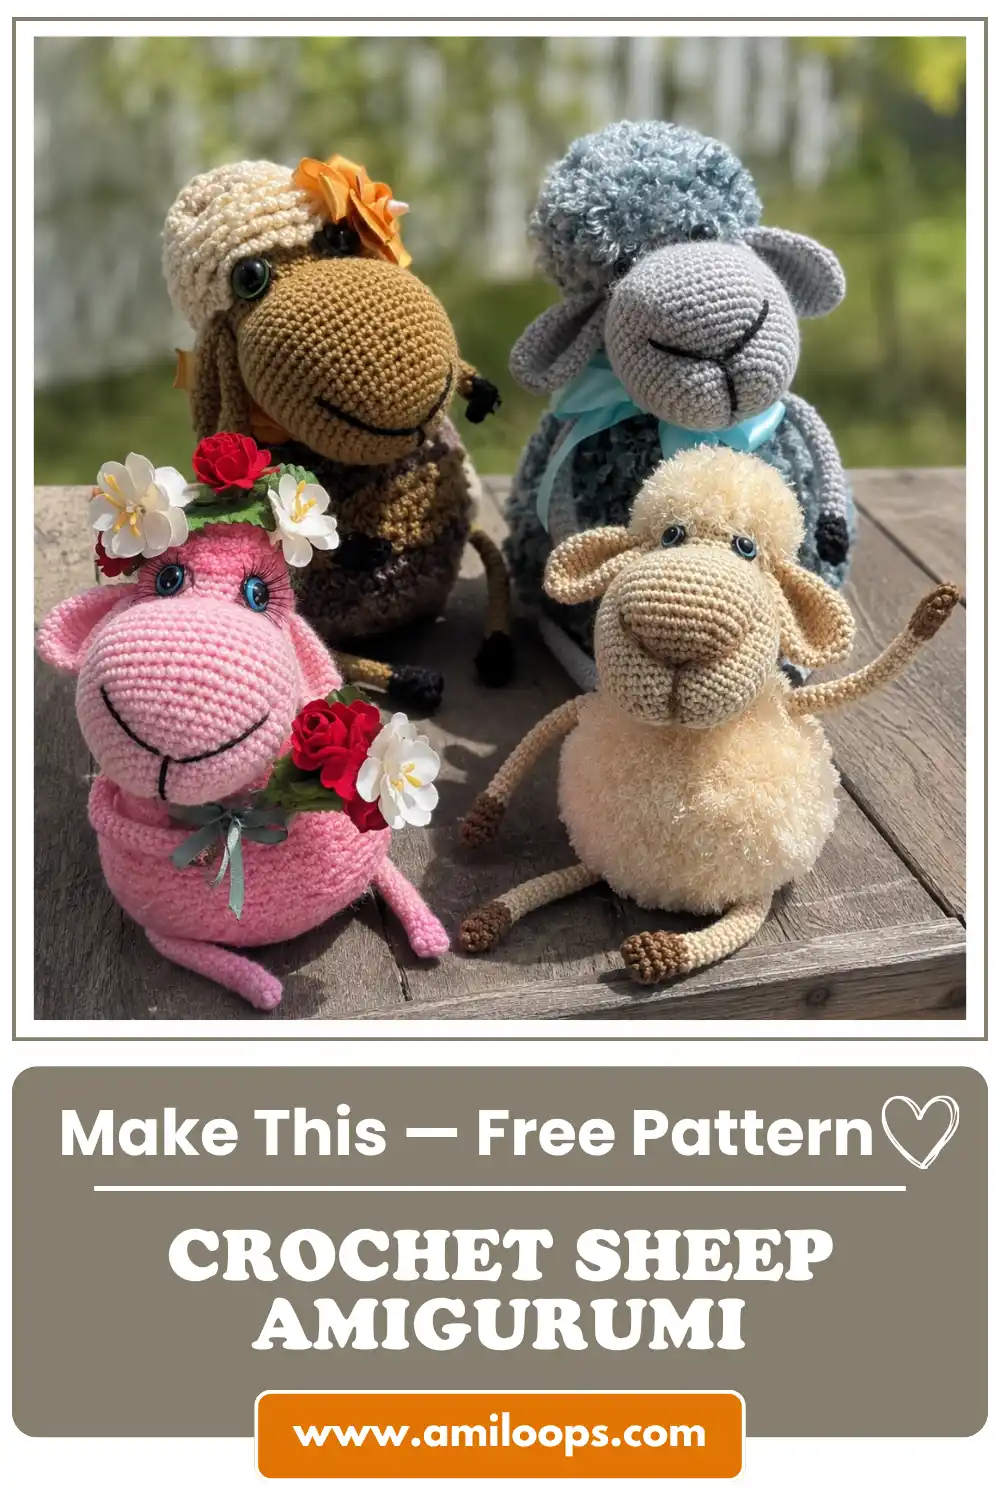
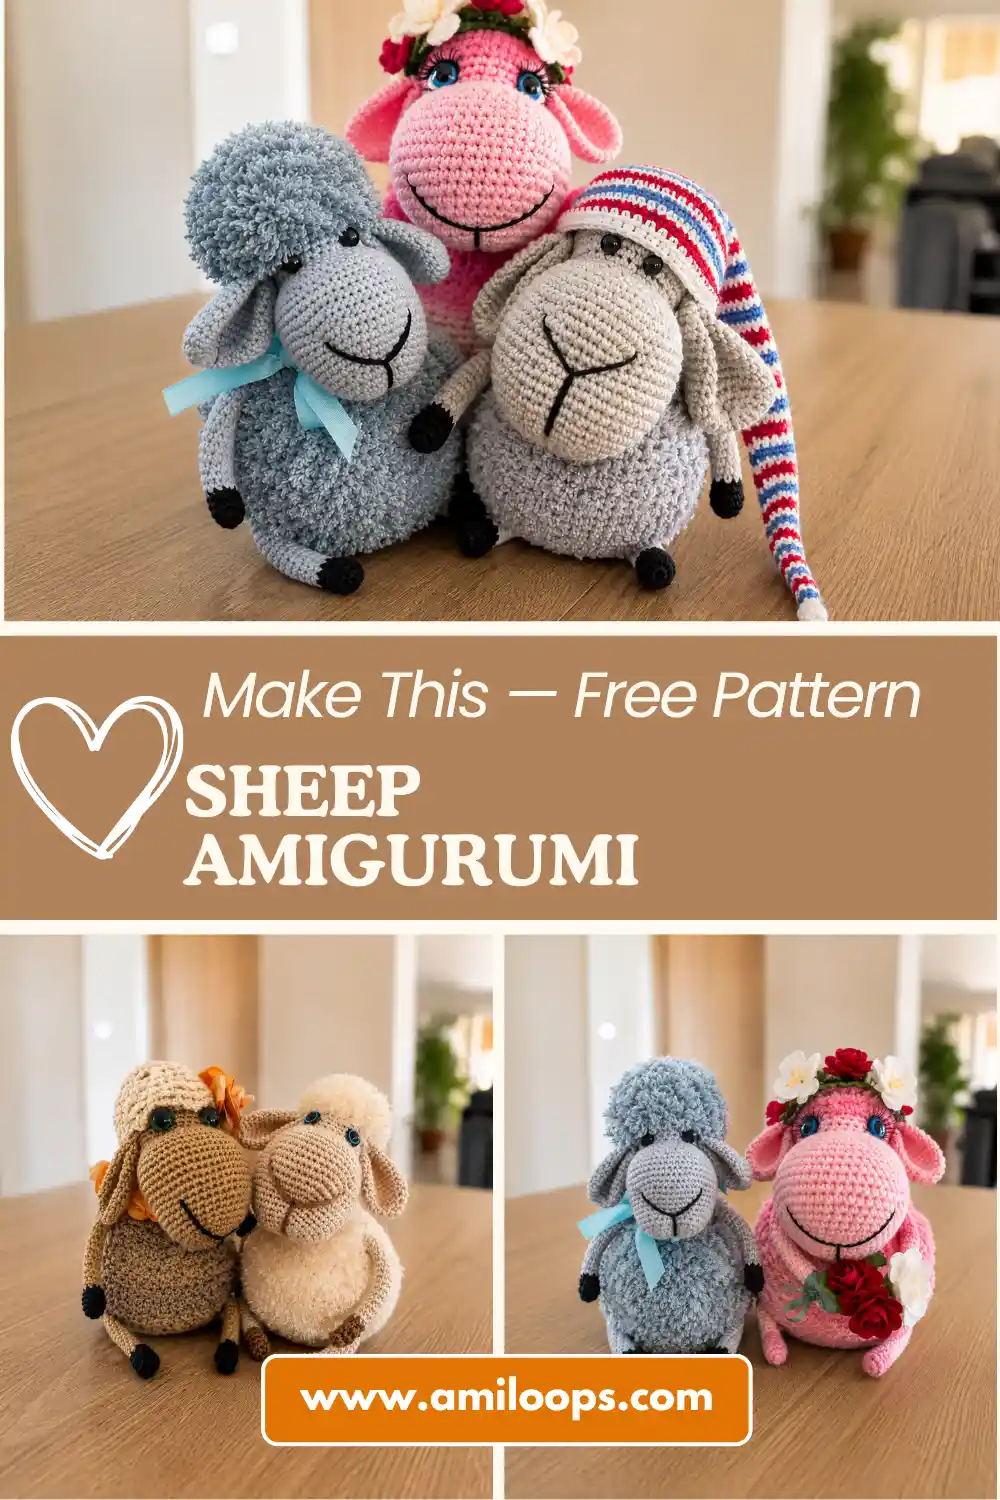
Why You’ll Love This Free Crochet Sheep Amigurumi Pattern
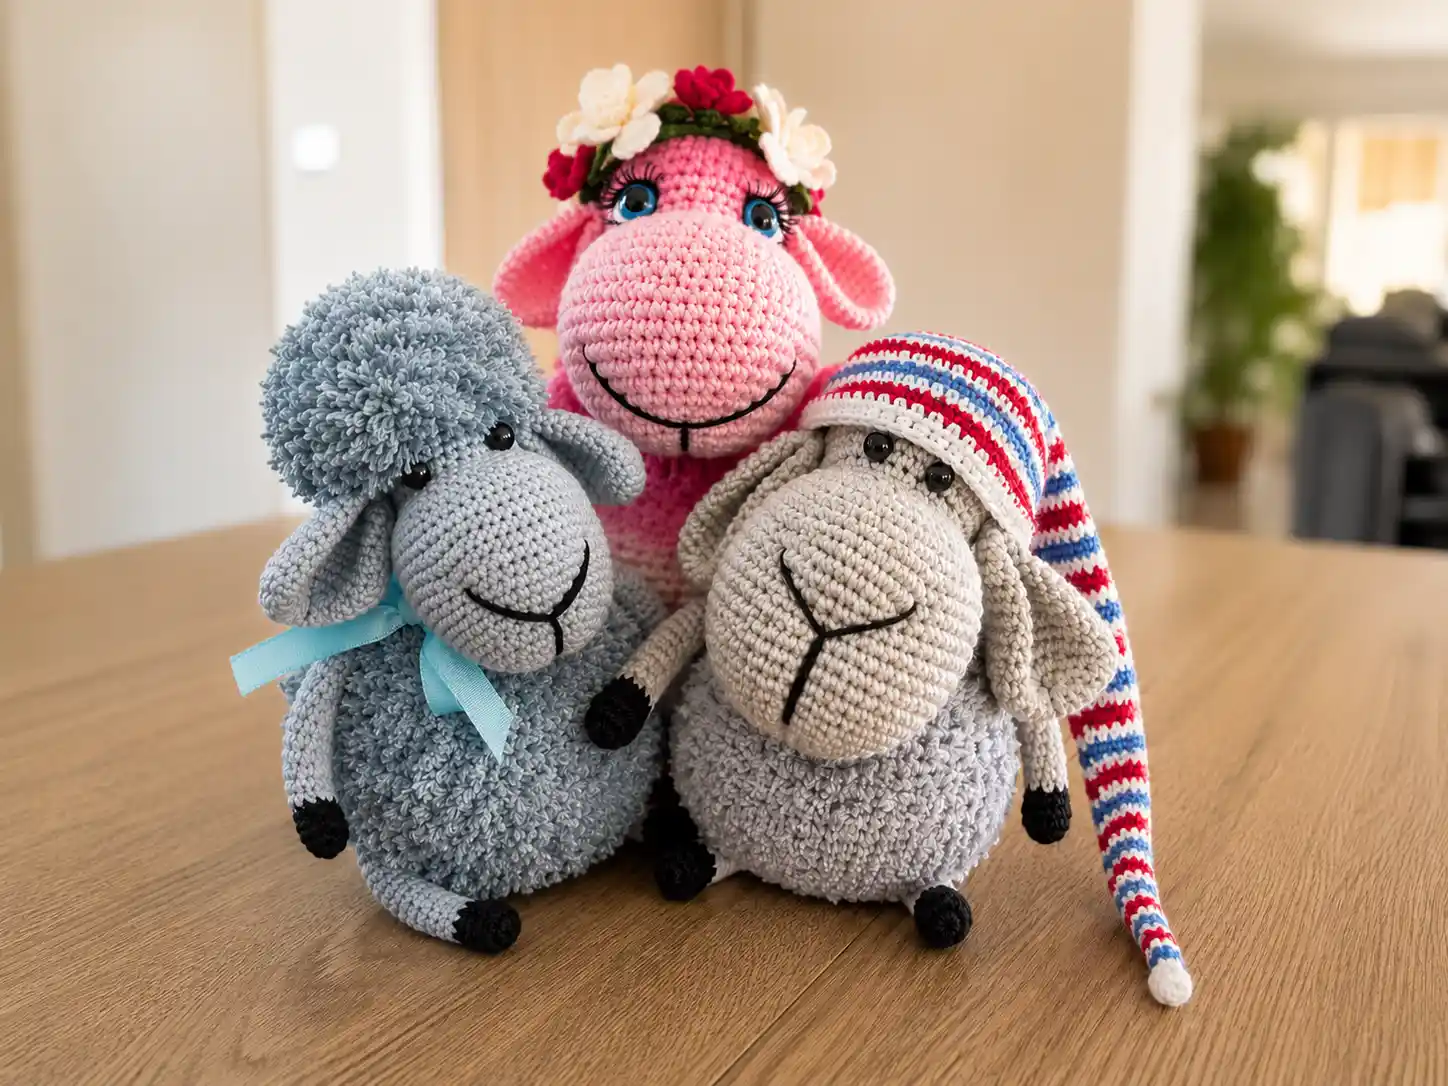
This free crochet sheep amigurumi pattern is one I’ve been wanting to try for ages — that curly little fleece texture is just too cute to resist. Fair warning up front, though: this one’s not a quick evening project. It’s a bit of a journey, with some real sewing at the end, but the payoff is a genuinely gorgeous, fluffy little sheep. Honestly? It’s worth the extra time.
🧶 Why You’ll Love This Pattern
- ⭐ Difficulty: INTERMEDIATE
- ⏱️ Time: A few sittings — this isn’t a one-evening project, but every part is manageable on its own
- 🪡 Sewing: Standard — you’ll be sewing the head, ears, arms, and legs on. I know, I know. It’s worth it, promise.
- 🧵 Yarn: A smooth yarn for the face and body, plus a curly or bouclé-style yarn for that irresistible fleece texture
- 💰 Yarn needed: Varies quite a bit depending on the size you crochet — grab an extra skein of each color just in case
I’m not going to pretend this is a beginner speed-run. It’s not. There’s back-loop-only shaping, a spiral of little chain loops for the “curls,” and honest-to-goodness sewing at assembly. But every single step is simple on its own — it’s just a lot of steps stacked together. If you’ve made a couple of amigurumi before and you’re ready for something a little more special, this is a great next project.
Materials for This Free Crochet Sheep Amigurumi Pattern
- Smooth yarn (main color): A worsted weight cotton or acrylic works beautifully here — this is your face and body base color. Grab it at Joann, Michaels, or Hobby Lobby.
- Curly/textured “fleece” yarn: This is the fun part! Look for a bouclé, curly, or eyelash-style novelty yarn in the same general color family as your main yarn — it’s what creates the fluffy sheep look on the head and body.
- Small amount of dark or contrasting yarn: For the little hooves on the arms and legs.
- Crochet hook: The original pattern just says “whatever hook matches your yarn label,” so this one’s genuinely up to you. For worsted weight, something in the 3.5–4mm (US E/4–G/6) range is a solid starting point — check our hook size guide or the Craft Yarn Council’s hook chart to match it to your specific yarn.
- Stuffing: Polyester fiberfill, added gradually as you go.
- Eyes: Beads or safety eyes — whatever size feels right for your sheep.
- Tapestry needle: For sewing all those pieces together.
- Stitch marker: Non-negotiable — you’ll be working in continuous rounds and switching techniques often.
- Optional: Black yarn for embroidering the face, a bit of thin wire if you want poseable arms and legs, and any decorations you’re feeling — ribbons, tiny flowers, a little hat.
Don’t stress about matching my exact yarn. This pattern is forgiving — as long as your two yarns (smooth + curly) are roughly the same weight, you’re good.
Abbreviations You’ll See in This Pattern
| Abbreviation | What It Means |
|---|---|
| ch | chain — the little foundation loops you start with |
| sl st | slip stitch — used here to join rounds and flatten pieces |
| sc | single crochet — your main stitch for most of this pattern |
| hdc | half double crochet — a slightly taller stitch used for the body |
| inc | increase — 2 stitches worked into the same stitch, to add width |
| dec | invisible decrease — worked through the front loops of 2 stitches to close them neatly with no gap |
| hdc-dec | the same decrease idea, but with half double crochet stitches instead |
| FLO | front loop only — working into just the front loop of a stitch |
| BLO | back loop only — working into just the back loop, leaving the front loop free to work into later |
| mr | magic ring — the adjustable loop you start round pieces with |
| FO | fasten off — finishing and cutting your yarn |
Beginner Tips Before You Start
A few things that will make this pattern make a lot more sense before you dive in:
The BLO/FLO thing looks scarier than it is. On several rows, you’ll only be working into the back loop of each stitch (BLO), which leaves the front loop sitting there untouched. Later, you go back and work into those leftover front loops to create the curl texture. If FLO and BLO still feel confusing, our right side vs. wrong side guide is a great one to have open in another tab.
Never worked a magic ring before? No worries at all — our magic ring tutorial walks you through it step by step, and you’ll use it constantly in this pattern.
This pattern uses invisible decrease throughout (any time you see “dec”), which keeps your shaping nice and smooth with no visible holes. If you’ve only ever done the sc2tog decrease, it’s worth learning — check out our invisible decrease tutorial before you start the shaping rows.
Since there’s real sewing at the end of this one, don’t skip pinning everything in place first. Our guide to sewing amigurumi parts covers exactly that.
Let’s Crochet the Head
Make 1. Worked with your smooth main color first, then switching to the curly fleece yarn partway through.
Chain 5 (do not join in a ring!), starting from the 2nd chain from the hook.
Row 1: Work across the chain (5)
Row 2: 3 sc, 3 sc in 1 st, 2 sc, inc = 10 sc (10)
Row 3: inc, 2 sc, (inc, 2 sc) not needed here — inc, 2 sc, inc x3 times, 2 sc, inc x2 times = 16 sc (16)
Row 4: 1 sc, (inc, 3 sc) x3 times, inc, 2 sc = 20 sc (20)
Row 5: 1 sc, inc, 6 sc, inc, 2 sc, inc, 6 sc, inc, 1 sc = 24 sc (24)
Row 6: (3 sc, inc) x6 times = 30 sc (30)
Row 7: 30 sc (30)
Row 8: (4 sc, inc) x6 times = 36 sc (36)
Row 9: 36 sc (36)
Row 10: (5 sc, inc) x6 times = 42 sc (42)
Row 11: 42 sc (42)
Row 12: (inc, 6 sc) x3 times, inc, 20 sc = 46 sc (46)
Row 13: (inc, 7 sc) x3 times, inc, 21 sc = 50 sc (50)
Rows 14–18: 50 sc, worked even for 5 rows (50)
🎉 Look at that — you’ve got a full round head shape going! Everything from here starts shaping back down toward the neck. You’ve got this.
Row 19: dec, (4 sc, dec) x3 times, 30 sc = 46 sc (46)
Row 20: 46 sc (46)
Row 21: dec, (3 sc, dec) x4 times, 19 sc, dec, 3 sc = 40 sc (40)
Row 22: dec, (2 sc, dec) x4 times, 18 sc, dec, 2 sc = 34 sc (34)
Row 23: dec, (1 sc, dec) x3 times, 23 sc = 30 sc (30)
Row 24: 7 sl st, 23 sc = 30 (30)
Rows 25–27: 30 sc, worked even for 3 rows (30)
After Row 27, work 12 “shifting stitches” — these are regular sc stitches that don’t count toward your total, they just help keep the piece symmetrical before the next stage. Place a new stitch marker here.
Now here’s the part that makes this sheep special: from here on, every row is worked in back loop only (BLO) of the previous row. Keep stuffing as you go.
Rows 28–31: 30 sc in BLO (30)
Row 32: (dec, 3 sc) x6 times = 24 sc (24)
Row 33: 24 sc (24)
Row 34: (dec, 2 sc) x6 times = 18 sc (18)
Row 35: 18 sc (18)
Row 36: (dec, 1 sc) x6 times = 12 sc (12)
Row 37: dec x6 times = 6 sc (6)
Cinch and fasten off — but don’t cut your yarn just yet if you’re using the same color for the curls, or attach your fleece-color yarn now if you’re switching colors.
Now for the curls: Remember all those front loops you skipped while working in BLO from Row 28 to Row 37? They’re all still sitting there, unused. Working in a spiral, go back into those leftover front loops one at a time, starting at the top of the head (Row 37) and working your way down to Row 28. In each stitch, work (ch 3, 1 sc). That little chain-3 loop is what creates the curly fleece texture — just repeat it around and down in a spiral until you run out of front loops.
🎉 That curl texture is honestly so satisfying to watch build up. Take your time with this part — it’s the detail that makes this sheep look special.
Fasten off, cut the yarn, and weave in your ends.
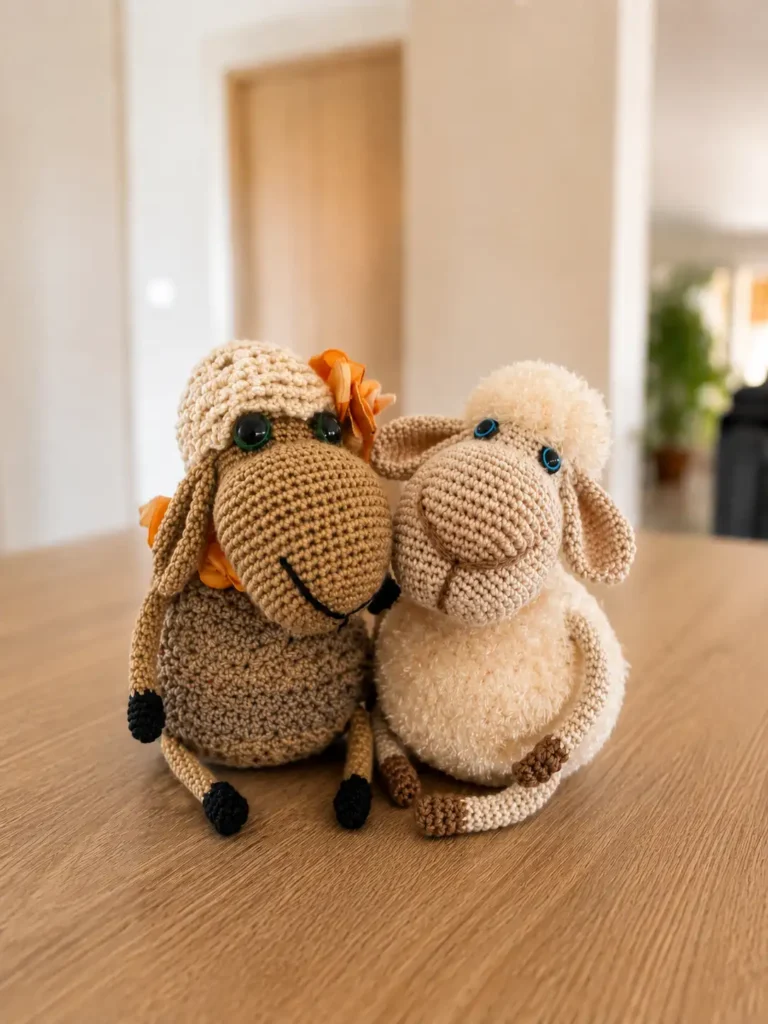
Let’s Crochet the Body
Make 1. Started with your main color, worked in continuous rounds of hdc, in back loop only throughout.
Row 1: 8 hdc in mr = 8 hdc (8)
Row 2: (2 hdc in one st) x8 times = 16 hdc (16)
Row 3: (2 hdc in one st, 1 hdc) x8 times = 24 hdc (24)
Row 4: (2 hdc in one st, 2 hdc) x8 times = 32 hdc (32)
Row 5: (2 hdc in one st, 3 hdc) x8 times = 40 hdc (40)
Row 6: (2 hdc in one st, 4 hdc) x8 times = 48 hdc (48)
Row 7: (2 hdc in one st, 5 hdc) x8 times = 56 hdc (56)
Rows 8–15: 56 hdc, worked even for 8 rows (56)
This is a great point to stuff the body firmly before it closes up too much to reach.
Row 16: (5 hdc, hdc-dec) x8 times = 48 hdc (48)
Row 17: (2 hdc, hdc-dec) x12 times = 36 hdc (36)
Row 18: (1 hdc, hdc-dec) x12 times = 24 hdc (24)
Row 19: (2 hdc, hdc-dec) x6 times = 18 hdc (18)
Rows 20–25: 18 hdc, worked even for 6 rows (18)
Now you’ll shape the neck slope in turned rows (not continuous rounds) — after Row 25, work 1 sc, 1 sl st, then turn.
Row 26: Worked in front loop only: ch 1, 2 sc, 8 hdc, 1 sc, 1 sl st, turn (12)
Row 27: Worked in back loop only: ch 1, 2 sc, 5 hdc, 1 sc, 1 sl st (9)
Just like the head, attach your fleece-color yarn (or keep going with what’s on your hook) and work into the leftover front loops. This time, work the spiral of (ch 3, 1 sc) in each stitch from the top edge of the neck all the way down to the bottom of the body.
Fasten off, cut the yarn, and weave in your ends.
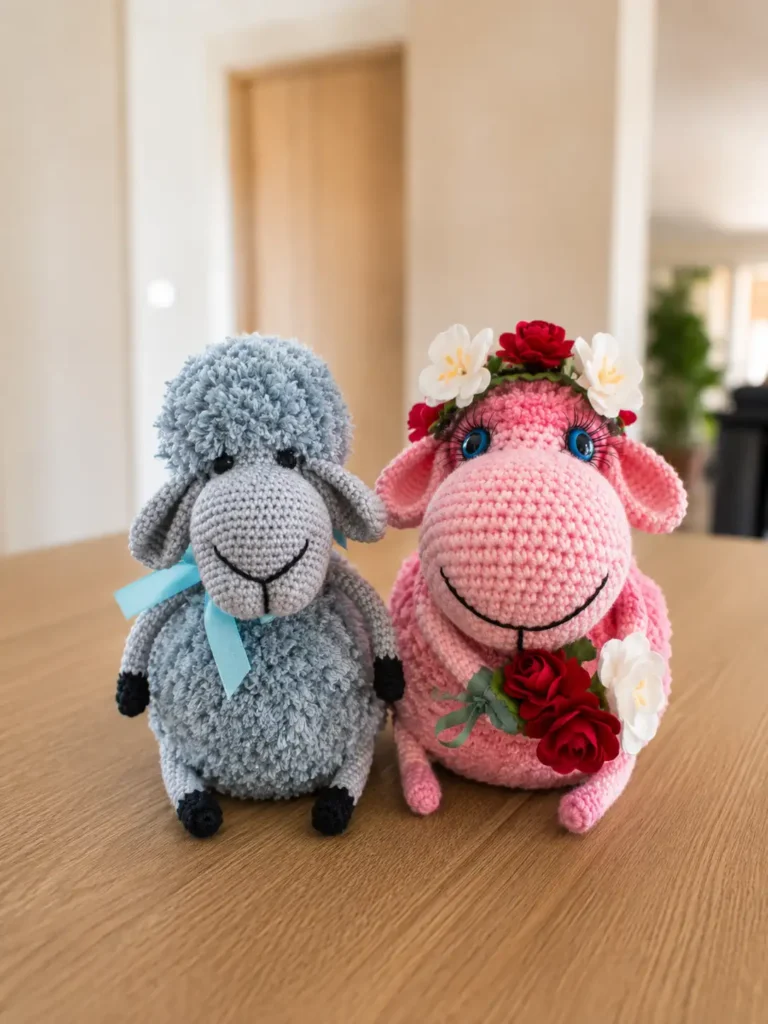
Ears (Make 2)
Start with a magic ring, using your main color.
Row 1: 5 sc in mr = 5 sc (5)
Row 2: inc x5 times = 10 sc (10)
Row 3: (inc, 1 sc) x5 times = 15 sc (15)
Row 4: (inc, 2 sc) x5 times = 20 sc (20)
Rows 5–12: 20 sc, worked even for 8 rows (20)
Row 13: Fold the ear in half and work 10 sc through both layers (10)
Row 14: Fold the piece in half again and work 4 sc through both layers (4)
Fasten off, leaving a yarn tail for sewing later.
Arms & Legs (Make 4)
Chain 8 and join into a ring with a slip stitch, using your main color.
Rows 1–15: 8 sc in the round, main color (8)
Switch to your dark or contrasting color for the hooves here.
Rows 16–18: 8 sc in the round, contrasting color (8)
Row 19: Flatten the hoof by folding it in half, and work 4 sc through both layers, contrasting color (4)
Fasten off. If you want your sheep’s limbs to be poseable, this is a great spot to slide a thin piece of wire inside before you fasten off completely.
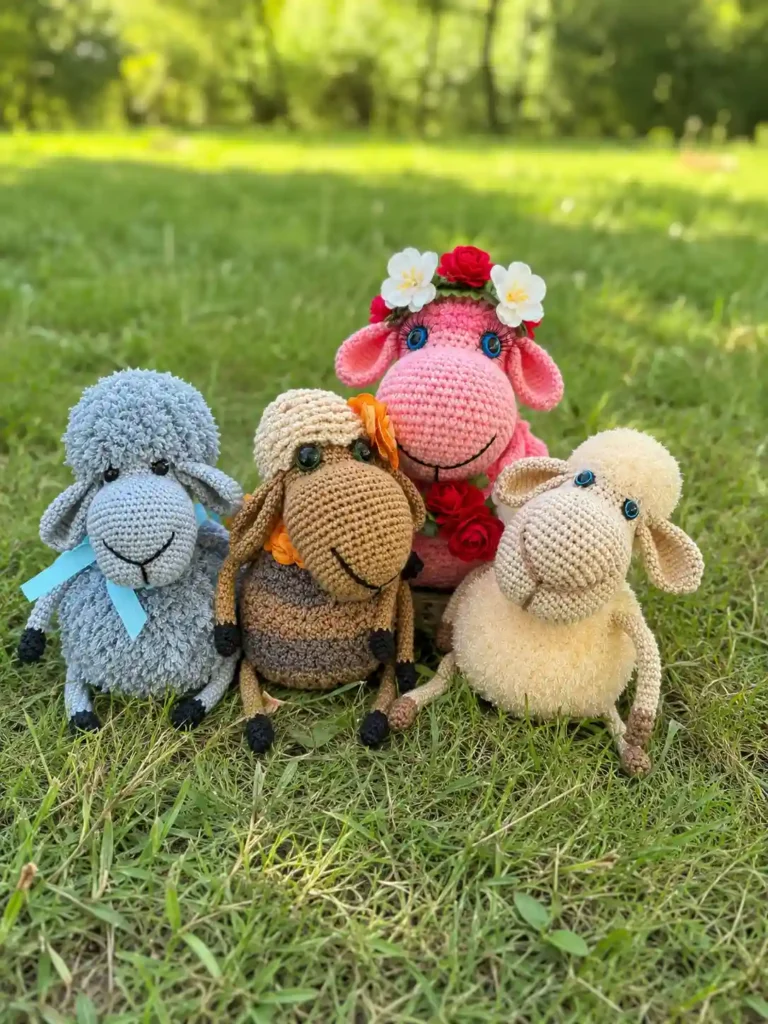
Assembly
Okay, this is the part where I always tell myself “just two more seams” and then keep going anyway. It’s worth it. Pin everything first — trust me on this.
- Pin the head to the neck slope of the body, matching up the upper edge of the neck with the lower edge of the curly texture on the head, so they sit flush against each other.
- Turn the sheep and look at it from every angle before you commit — make sure the head is sitting straight and facing the way you want.
- Once you’re happy with the placement, sew the head to the neck.
- Sew the ears onto the head.
- Sew the legs on so your sheep can sit confidently on its own.
- Sew the arms on wherever feels right for the pose you want.
🎉 You did the sewing! That’s genuinely the hardest part of this whole pattern, and you got through it. Everything left is just the fun decorating part.
Decorating Your Sheep
- Attach the eyes on Row 26 of the head, spaced about 4–5 stitches apart. You can add them while you’re crocheting that round, or sew/glue them on afterward — whichever feels easier.
- Embroider a little Y-shaped nose and mouth using black yarn.
- If you want a soft blush, lightly tint the inside of the ears and the nose area.
- From here, it’s all yours — ribbons, tiny flowers, beads, or even a crocheted hat. Make it as extra as you want.
You Did It!
Seriously — look at your little curly sheep. This was not a small project, and if you made it all the way through the BLO shaping, the curl spiral, and every seam, you should be genuinely proud of yourself. This one takes patience, and you brought it. Tag us if you share your sheep — I want to see every single curl. 🐑
Feeling good about sewing now? Our stuffing guide and safety eyes tutorial are great next reads if you want to make this a whole flock.
FAQ
What yarn is best for this crochet sheep amigurumi?
A smooth worsted weight cotton or acrylic is perfect for the face and body base, combined with a curly, bouclé, or eyelash-style novelty yarn to create the fluffy fleece texture.
Is this free crochet sheep amigurumi pattern suitable for beginners?
This is an intermediate pattern. While the stitches are basic, it involves back-loop-only shaping and a fair amount of sewing, making it ideal for crocheters who already have a few amigurumi projects under their belt.
How much yarn do I need to crochet this sheep?
Yarn usage varies depending on your hook size and tension. It’s recommended to have at least one full skein of your smooth main color and one of your curly fleece yarn.