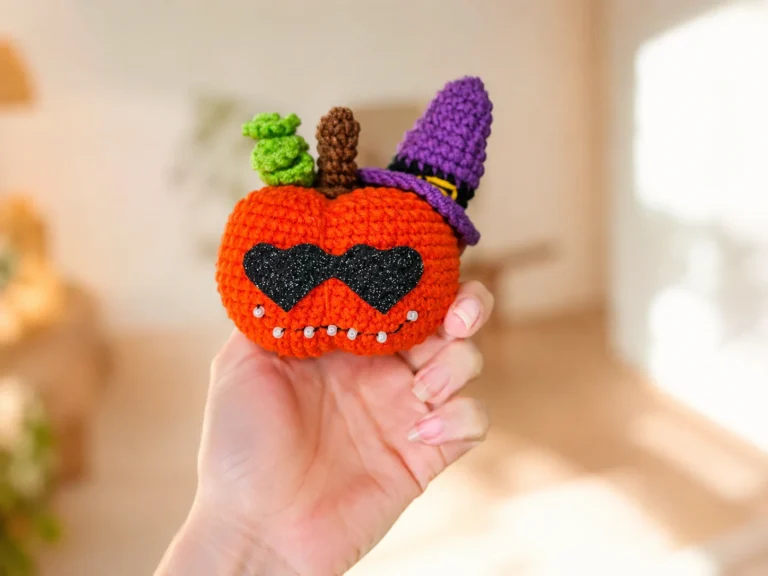
A Crochet Halloween Pumpkin Free Pattern That Costs Almost Nothing to Make
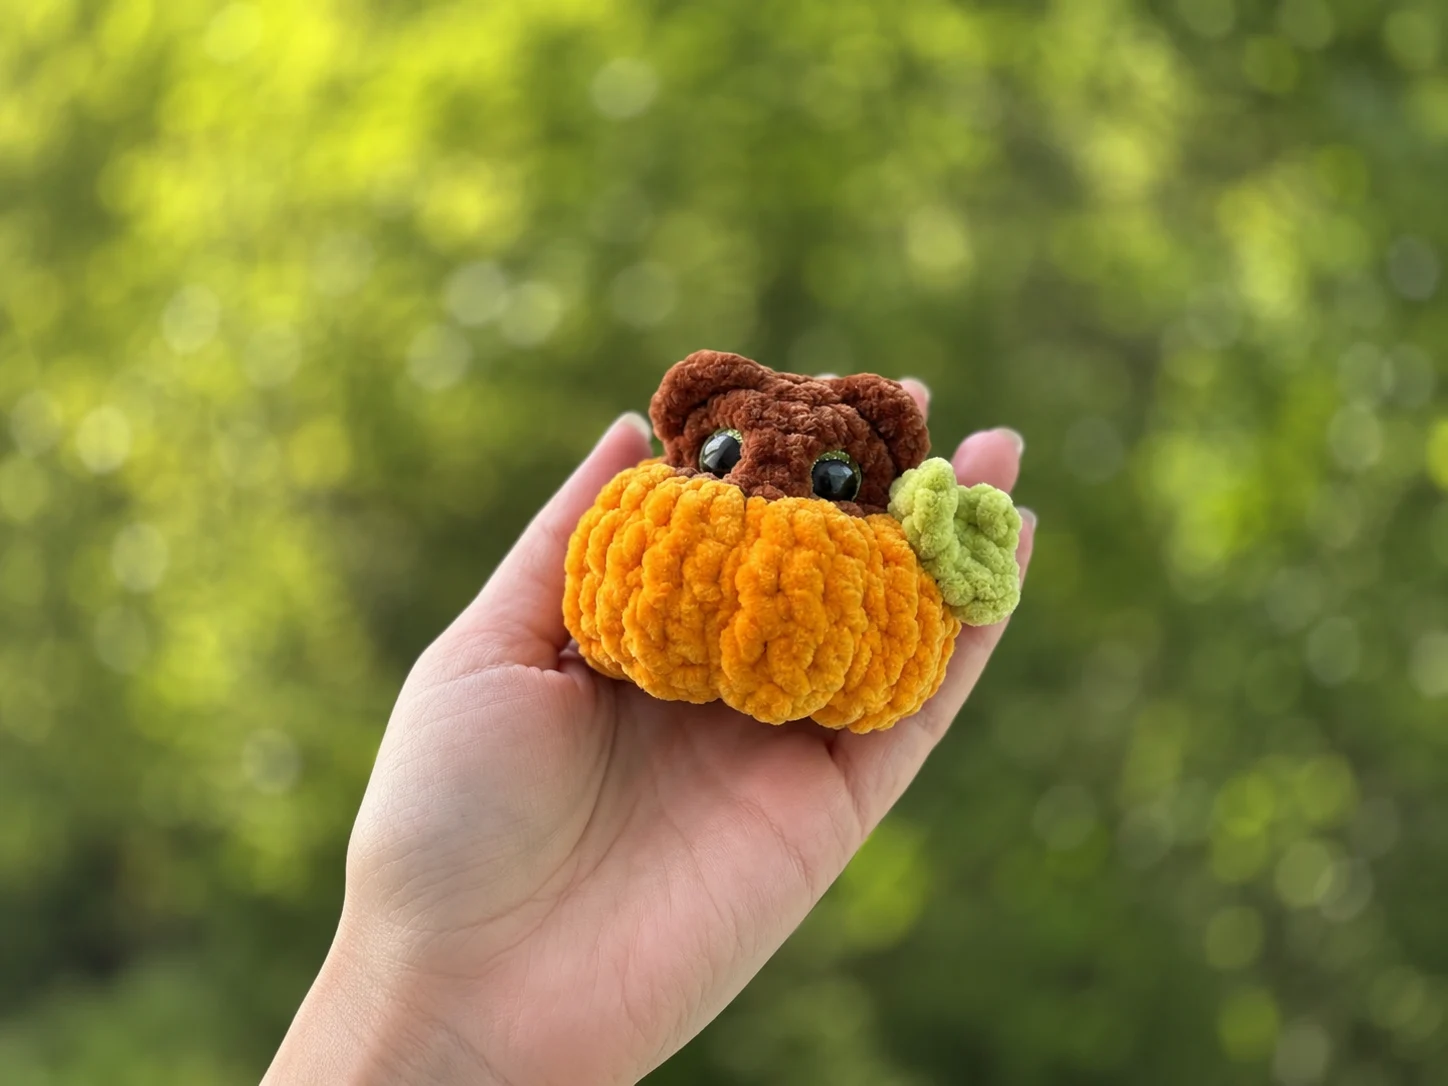
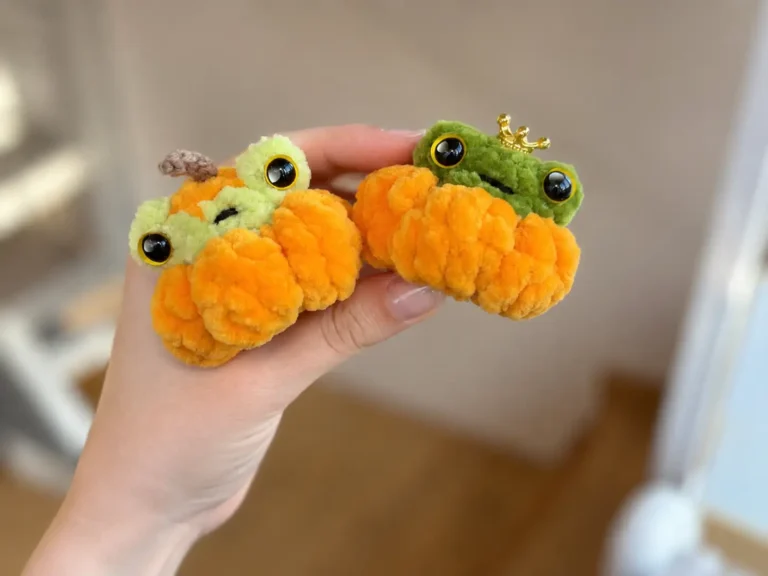
This crochet halloween pumpkin free pattern is ten rows long. Ten. That’s the whole thing — a brown teddy bear head that turns into a ribbed orange pumpkin halfway up, with ears crocheted straight onto the finished toy and one little leaf sewn to the side. It uses leftover chenille from your bin and finishes in an evening. Grab your scraps.
🧶 What You’ll Need
- 💰 Yarn Needed: a small amount of each color — this is a scrap project, not a skein project (see the note below on why I’m not giving you exact yards)
- 🎨 Colors: brown, orange, green (or any similar shades from your stash), plus a DK cotton in any color for face sculpting
- 🪝 Hook: G/6 (4.0 mm)
- ⏱️ Time: about 1–2 hours
- 📏 Finished Size: not stated in the source pattern — expect a small palm-sized piece at this hook and yarn weight
- 💡 Difficulty: Intermediate (the rows are easy; the face sculpting is the fussy part)
- 🎁 Great For: fall decorations, gift toppers, market items, autumn table sets
About that yardage: the source pattern didn’t state it, and I’m not going to invent a number and have you buy yarn you don’t need. Here’s what I can tell you honestly — at G/6 (4.0 mm) with bulky chenille, a ten-row piece like this is nowhere close to a full 100g ball. If you’ve got a partial ball of orange chenille left over from any fall project, you’re covered. The brown is smaller still. The leaf is a genuine scrap — four chains and one round of stitches.
Materials for This Crochet Halloween Pumpkin Free Pattern
- Brown bulky chenille — the source used Himalaya Dolphin Baby in #80378. In the US, Bernat Baby Velvet or Premier Parfait Chunky work the same way. Any bulky chenille in a warm brown will do.
- Orange bulky chenille — the source used Wolans Bunny Baby #25. Same US substitutes apply. This is the color that becomes the pumpkin, so pick the one you actually like looking at.
- Green bulky chenille — Wolans Bunny Baby #46 or equivalent. You need almost nothing here. A leftover length is plenty.
- DK cotton for sculpting — the source used YarnArt Jeans. Drops Muskat or Paintbox Cotton DK are the US equivalents. This thread gets buried inside the toy, so the color truly doesn’t matter. Use whatever DK cotton is closest to your hand.
- Hook: G/6 (4.0 mm)
- 12 mm safety eyes (the source used sparkle eyes)
- Polyester fiberfill
- Tapestry needle and scissors
All three chenille yarns fall into the Bulky (5) weight category — the thick, squishy kind that eats up a project fast and hides imperfect tension while it’s at it. That’s the real reason chenille is a great scrap yarn: mismatched brands blend together better than they have any right to.
🧶 Scrap Check: Mixing chenille brands across the brown and orange is fine here, because the color change happens at a hard structural line — Row 6, where the pumpkin ribs start. Any slight difference in thickness reads as intentional texture, not a mistake. That’s the kind of forgiveness a scrap bin needs.
Abbreviations
| Abbreviation | Meaning |
|---|---|
| mr | magic ring |
| ch | chain |
| sc | single crochet |
| hdc | half double crochet |
| dc | double crochet |
| dc3tog | double crochet 3 together (3 dc worked off as 1 stitch) |
| inc | increase (2 sc in the same stitch) |
| inv dec | invisible decrease |
| sl st | slip stitch |
| FO | fasten off |
Smart Crafter Tips Before You Start This Crochet Halloween Pumpkin Free Pattern
Count your ribs, not your rows. From Row 6 on, every “3 dc in 1 st” cluster becomes a pumpkin rib. There are eight of them. Once you can see the ribs, you can stop counting stitches and start counting bumps — which is much easier on chenille, where individual stitches disappear into fuzz. Two front ribs sit under the eyes. That’s your placement guide for everything.
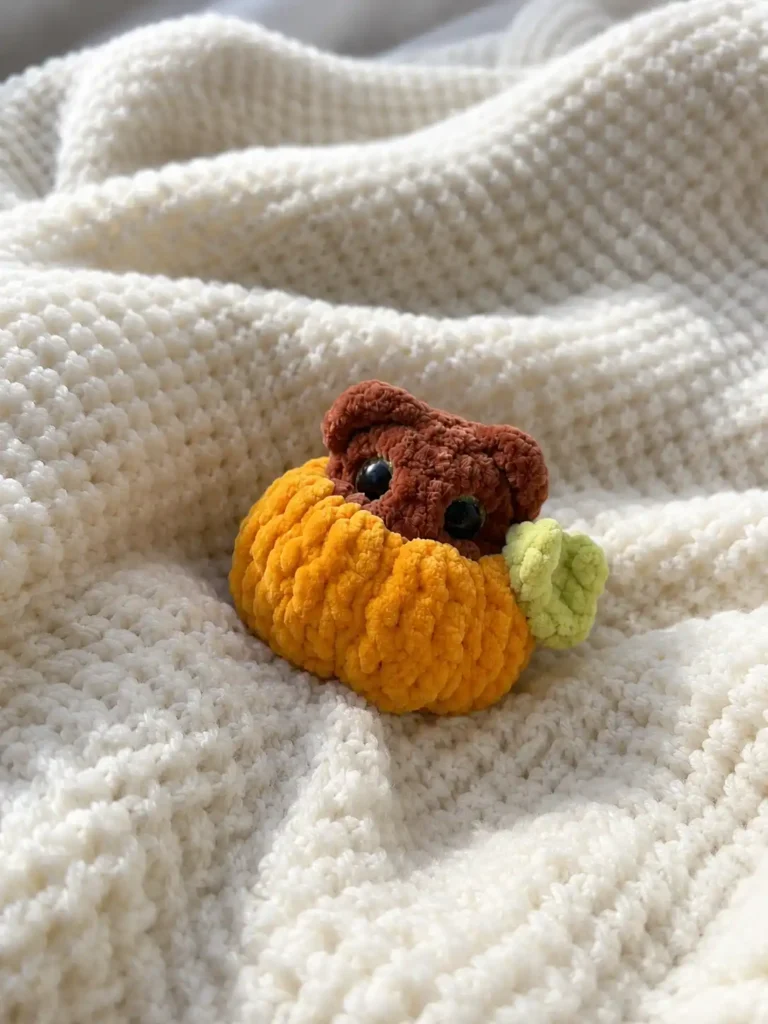
Do the eyes early, and do them from the inside. This pattern has you install the 12 mm eyes right after Row 6, while the opening is still wide. That’s not a suggestion — once Row 9 closes things down, you cannot get your fingers in to lock the washers. Our guide on how to attach safety eyes safely covers the washer step in detail if you’ve had one pop loose before.
The color change is the only tricky transition. You go brown to orange between Rows 5 and 6, and the join sits right at the base of the first rib round, where the dc clusters will partly cover it. If your changes tend to show, our color change tutorial has the method I use — swap on the last yarn over of the final brown stitch and the seam vanishes.
Chenille worm-holes: prevent, don’t repair. Bulky chenille loves to shed a loop mid-round. Work a little tighter than feels comfortable and keep your yarn under mild tension coming off the ball. If a strand does slip, fix it immediately — chenille does not forgive being frogged five rounds later.
🧶 Scrap Check: No chenille in your bin? Make this in worsted acrylic on a smaller hook instead. You’ll get a firmer, smaller pumpkin with sharper rib definition and it’ll cost you even less. The ribs actually read better in a smooth yarn — the fuzz is what softens them.
The Crochet Halloween Pumpkin Free Pattern, Row by Row
Work in continuous rounds throughout the head unless told otherwise, and keep a stitch marker in the first stitch of each round. That marker also marks the center back of the pumpkin, which you’ll need for eye placement — so don’t move it around casually.
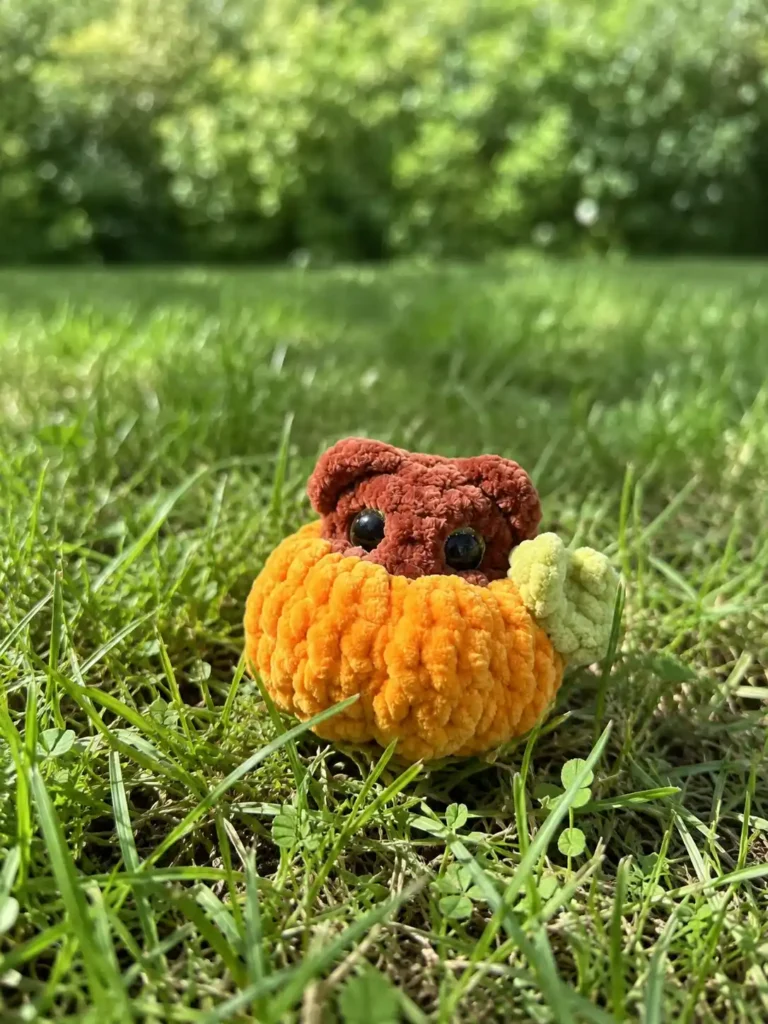
Head & Pumpkin (make 1)
Yarn: brown, then orange
Start: magic ring
Row 1: 8 sc in mr [brown] (8)
Row 2: 8 inc [brown] (16)
Rows 3–5: 16 sc (3 rows) [brown] (16)
Row 6: (3 dc in 1 st, 1 sc) × 8 [orange] (32)
Rows 7–8: (3 dc, 1 sc) × 8 (2 rows) [orange] (32)
Row 9: (dc3tog, 1 sc) × 8 [orange] (16)
Row 10: 8 inv dec [orange] (8)
📌 Change color to orange before Row 6.
👁️ Insert safety eyes after Row 6. The stitch marker indicates the middle of the back. Insert the 12 mm safety eyes in the front between Rows 3 and 4, at a distance of 4 sc apart. The eyes should sit above the two front ribs of the pumpkin — use the front sections as your guide. Inserting them at this stage lets you attach the safety washers easily and securely from the inside, before the opening narrows.
🧸 After Row 9, stuff the bear’s head firmly and fill the pumpkin.
Finishing: Close the opening and weave the end in on the inside.
A few practical notes on those ten rows, because they’re doing more work than they look like they’re doing:
Rows 1–5 are the bear’s head. That’s it — a tiny brown ball, five rows tall. If you’ve made any small amigurumi before, this part will feel almost too easy.
Row 6 is where the whole thing happens. You go from 16 stitches to 32 in a single round by working three double crochets into every other stitch. Those dc clusters stand proud of the surface, and the plain sc between them becomes the valley. Eight clusters, eight valleys — that’s your pumpkin, built in one round.
Rows 7 and 8 stack more clusters directly on top of the first ones, which is what gives the ribs their height. Work your 3 dc into the middle dc of the cluster below to keep the ribs stacked in a straight vertical line. If they start to spiral, you’ve drifted a stitch.
Row 9 collapses each cluster back down with a dc3tog, and Row 10 closes it up with 8 invisible decreases. New to that decrease? Our invisible decrease tutorial shows the front-loops-only method — it’s the difference between a clean closed top and a visibly gappy one, and on a piece this small the top is right in the viewer’s eye line.
🧶 Scrap Check: Stuff in two stages, not one. Firm up the bear’s head first through the opening at Row 9, then pack the pumpkin body around it. If you stuff it all at once you’ll flatten the ribs from the inside. Our guide to stuffing amigurumi without lumps is worth two minutes before you start on this one, because chenille shows every lump.
Ears (make 2)
Yarn: brown
Start: crocheted directly onto the finished toy, between Rows 1 and 2 of the head
Row 1: Insert the hook from the top left, between Rows 1 and 2 of the head, pull up the brown yarn and secure it with a sl st. Work 3 dc into the stitch below, and sl st into the row one below that. (5)
📌 Work the second ear in mirror image.
Finishing: FO and cut yarn. Weave in the ends from the ears.
This is my favorite shortcut in the whole pattern. There’s no separate ear piece, no pinning, no sewing, no agonizing over symmetry with a tapestry needle. You surface-crochet a five-stitch cluster straight onto the finished head and it stands up on its own. Total yarn cost per ear: a few inches. Total assembly time: about ninety seconds for both.
Leaf (make 1)
Yarn: green
Start: ch 4
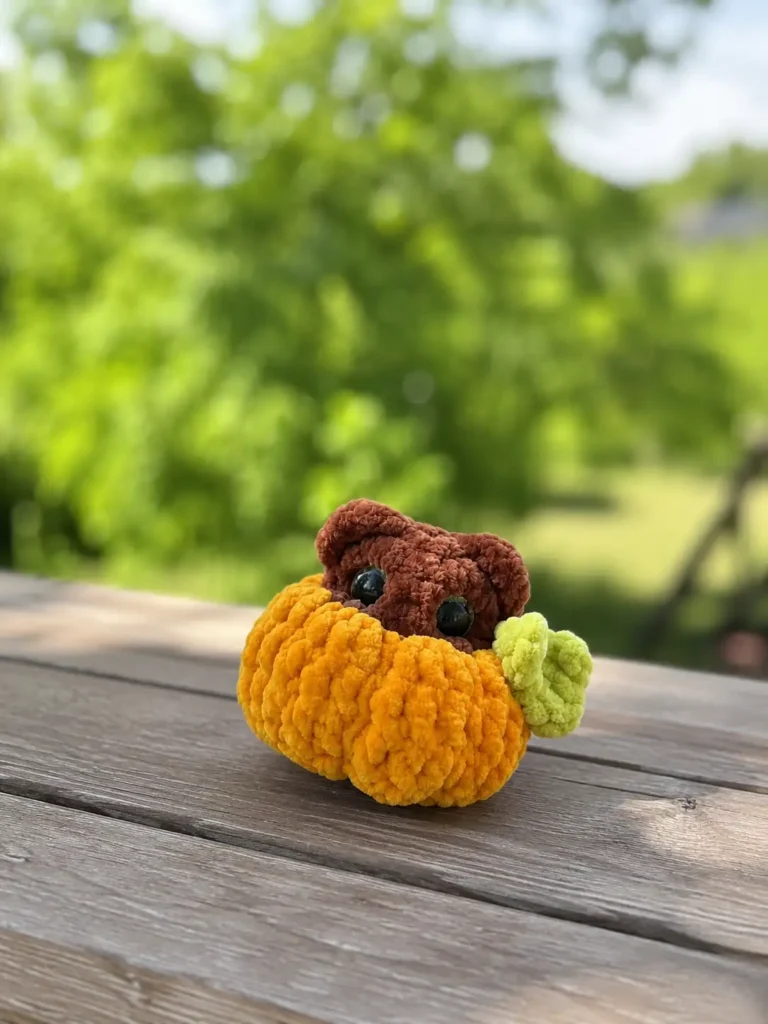
Row 1: In the second chain from the hook, work this combination: sl st, dc, ch, dc, sl st. In the next chain along the foundation, work this combination: hdc, (ch 2, sc in second chain from hook), hdc (in the same stitch where the first hdc was worked). In the last chain of the foundation chain, work 3 sc. And along the other side, in one stitch work the combination again: hdc, (ch 2, sc in second chain from hook), hdc (in the same stitch where the first hdc was worked). (18)
Finishing: Sl st and cut a long tail for sewing the leaf on.
Read that one slowly before you pick up your hook. It’s a single round worked around both sides of a four-chain foundation, and the little (ch 2, sc in second chain from hook) bits are picots that form the pointed lobes. It looks intimidating written out and takes about three minutes in practice. Work it once as a test with any green scrap — if it comes out wonky, you’ve lost four chains’ worth of yarn and learned the shape.
Assembly
- Sew the leaf to the side of the pumpkin using the long tail you left. That’s the only sewing in this pattern — the ears are already attached, since they were crocheted directly onto the finished toy.
- Anchor the leaf with a few small stitches through the base of a rib rather than into a valley. The rib gives you something firm to sew into, and the leaf sits up instead of flopping.
- Weave the tail into the pumpkin body and out through the bottom before trimming, so no green shows on the surface.
If sewing small pieces onto stuffed chenille is where your projects usually go sideways, our guide to sewing amigurumi parts covers the ladder-stitch approach that keeps attachments invisible.
Face Sculpting & Finishing
This is the step that turns a brown ball in an orange pot into a bear peeking out of a pumpkin. Skip it and the piece still works. Do it and the piece gets its personality.
Eye installation: Insert the 12 mm sparkle safety eyes in the front, between Rows 3 and 4 of the head, 4 sc apart from each other. The eyes should sit strictly above the two front ribs of the pumpkin.
Face sculpting: Now sculpt the face to sink the muzzle deeper into the pumpkin. Using the DK cotton thread, insert the needle from the bottom of the pumpkin and up into the muzzle, following the numbered sequence from the source photo: points 1, 4, 5 and 8 sit at the bottom center of the pumpkin, and points 2 and 3 (beside the right eye) and 6 and 7 (beside the left eye) sit on the bear’s muzzle. Pull the thread tight, making sure the pull is even on both sides. Tie the threads tightly together and weave the ends in.
Two things I’d tell a friend doing this for the first time. First, use a long doll needle if you have one — a standard tapestry needle will technically work but you’ll fight it. Second, tighten gradually and check the front after each pull. Sculpting is a one-way operation on chenille; you want to sneak up on the right depth rather than yank and hope.
⚠️ Safety note: 12 mm safety eyes are a small-parts hazard. If this is going to a child under three, embroider the eyes with black yarn instead — on a face this small, two satin-stitch ovals look just as good. The U.S. Consumer Product Safety Commission has current guidance on small parts in children’s toys if you’re making these to sell.
💡 Stretch It Further: Make a row of three. The rib construction in Rows 6–9 is a standalone pumpkin — leave out the brown head rows entirely, start Row 6 straight from a 16-stitch orange base, and you’ve got a plain pumpkin with no bear in it. Do one bear-in-pumpkin plus two plain pumpkins in different oranges (deep rust, pale apricot, whatever’s in the bin) and you’ve got a three-piece autumn mantel set out of leftovers. Add a scrap of jute twine around each stem and they look like they came from a shop. Total cost if you’re working from your bin: nothing.
Mia’s Take
Ten rows, three chenille scraps, one leaf, and a bit of patient sculpting — that’s the entire budget for this one. I like patterns where the clever bit does the heavy lifting, and here it’s Row 6, where a single round of dc clusters turns a plain brown ball into something with structure. Make one to learn the rib trick, then make two more without the bear and put the set on your mantel. That’s a whole autumn display for the cost of what was already sitting in your basket. 🧶
FAQ
What yarn is best for this crochet halloween pumpkin?
Bulky (5) weight chenille yarn is best for this project because it works up quickly, hides imperfect tension, and creates a thick, squishy ribbed texture.
How long does it take to crochet this bear in a pumpkin amigurumi?
This pattern takes approximately 1 to 2 hours to complete, as the main pumpkin body and bear head consist of only 10 rows in total.
Can beginners make this crochet halloween pumpkin pattern?
This pattern is rated as intermediate; while the basic crochet rows are simple and fast, the face sculpting and structural stitch transitions require a bit of patience and precision.