Plush Cow Amigurumi Pattern: Free Pocket-Size Crochet Cow
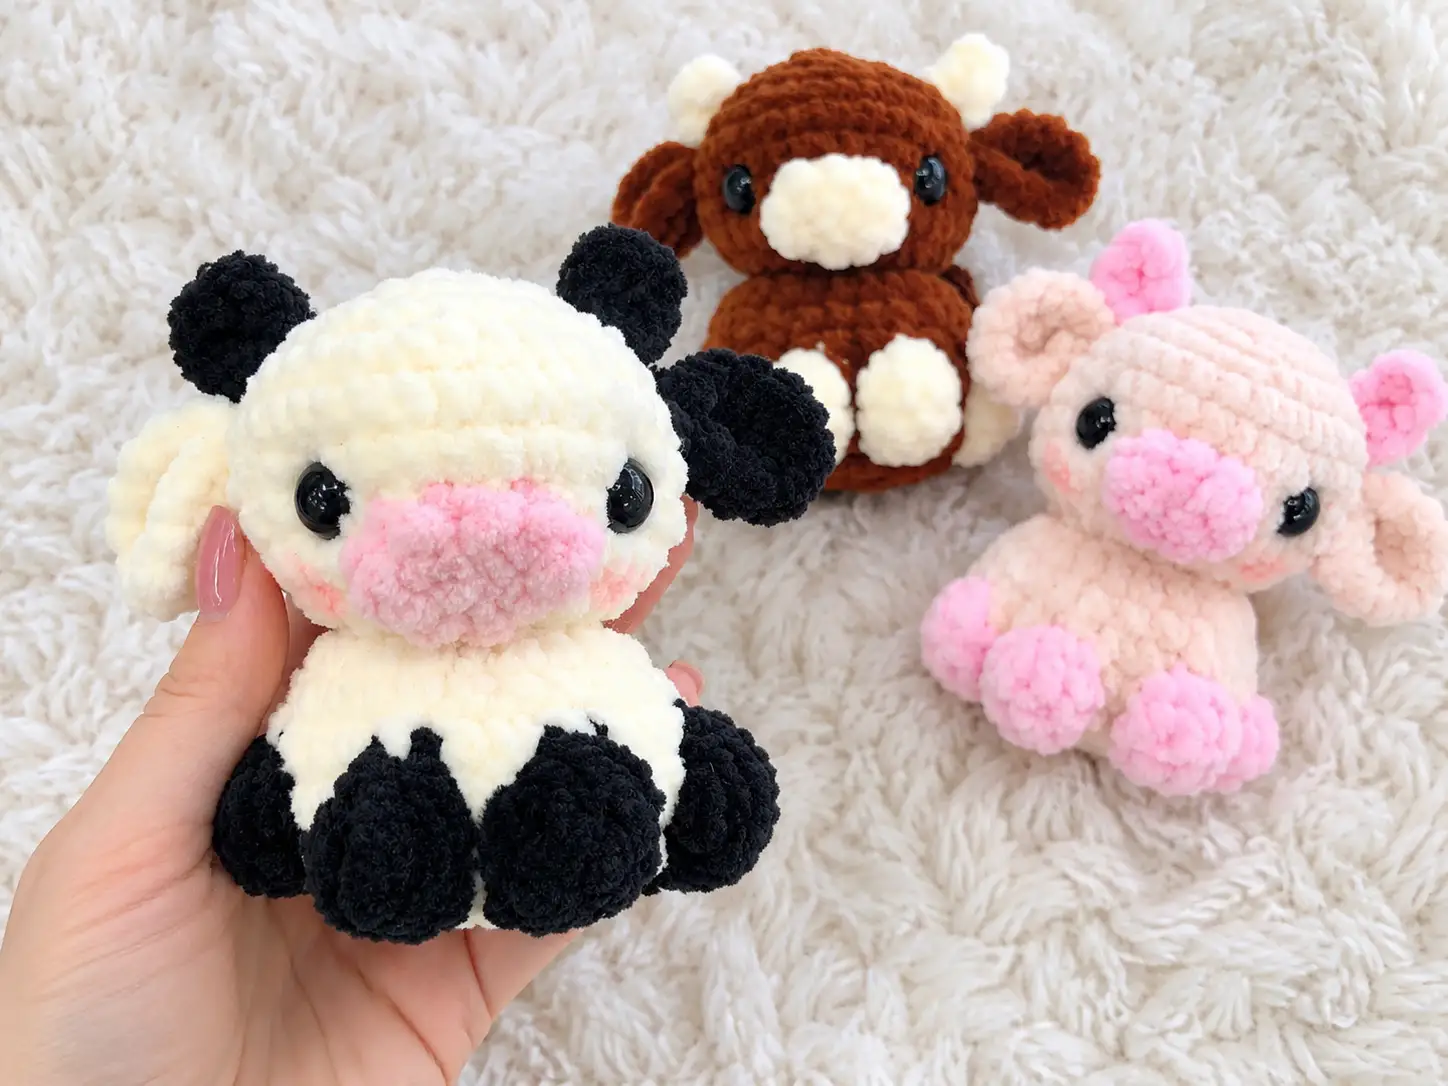
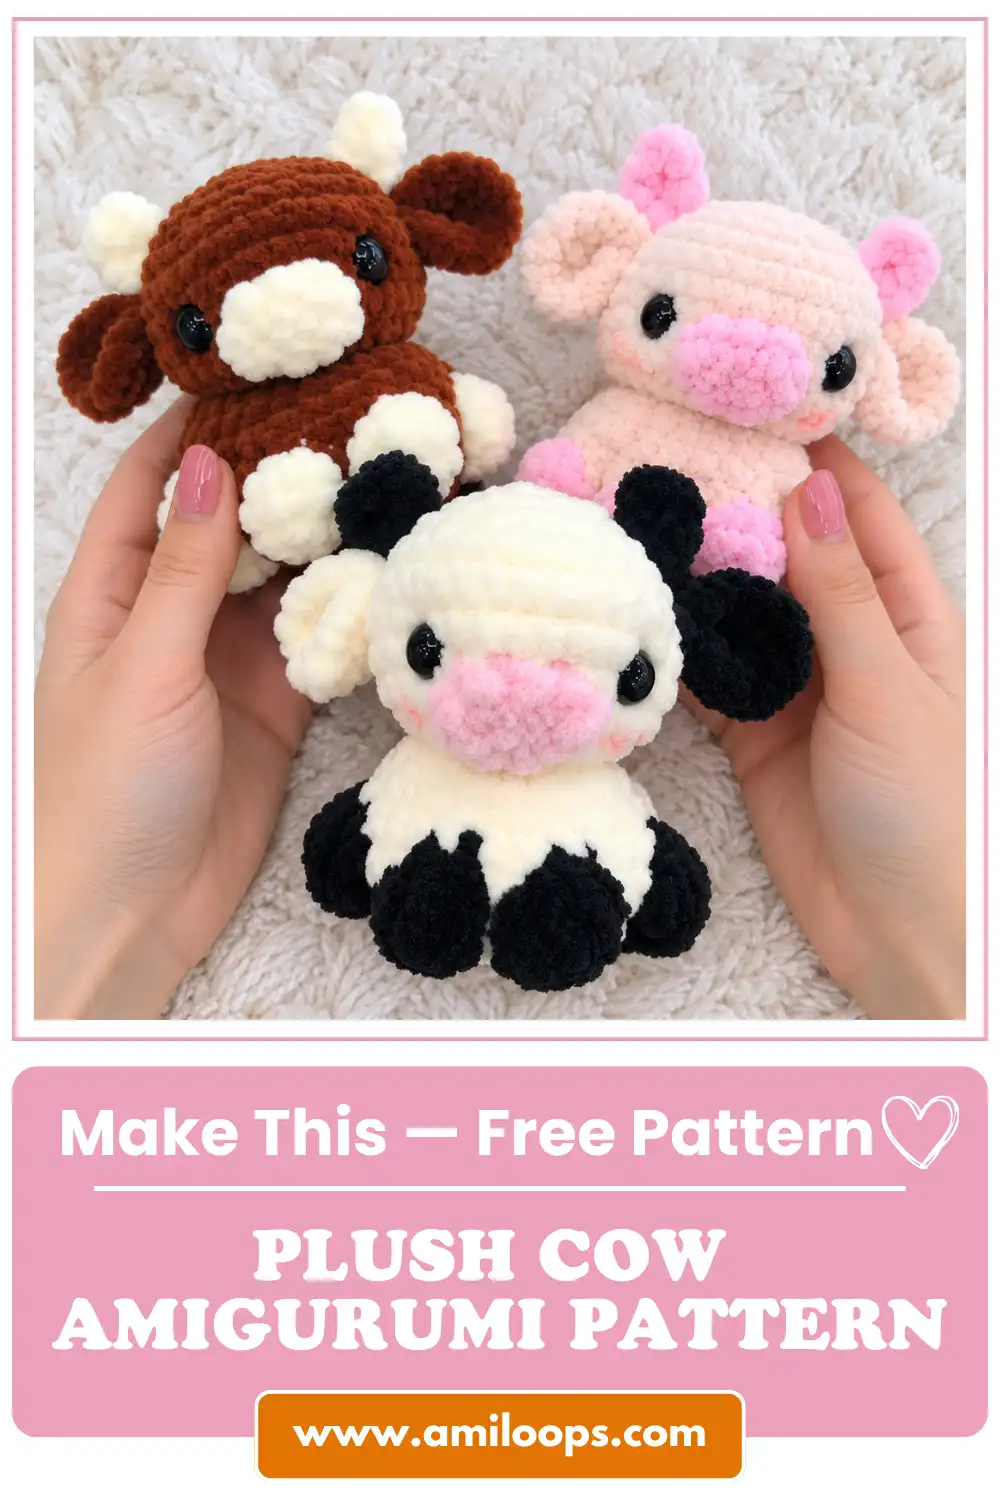
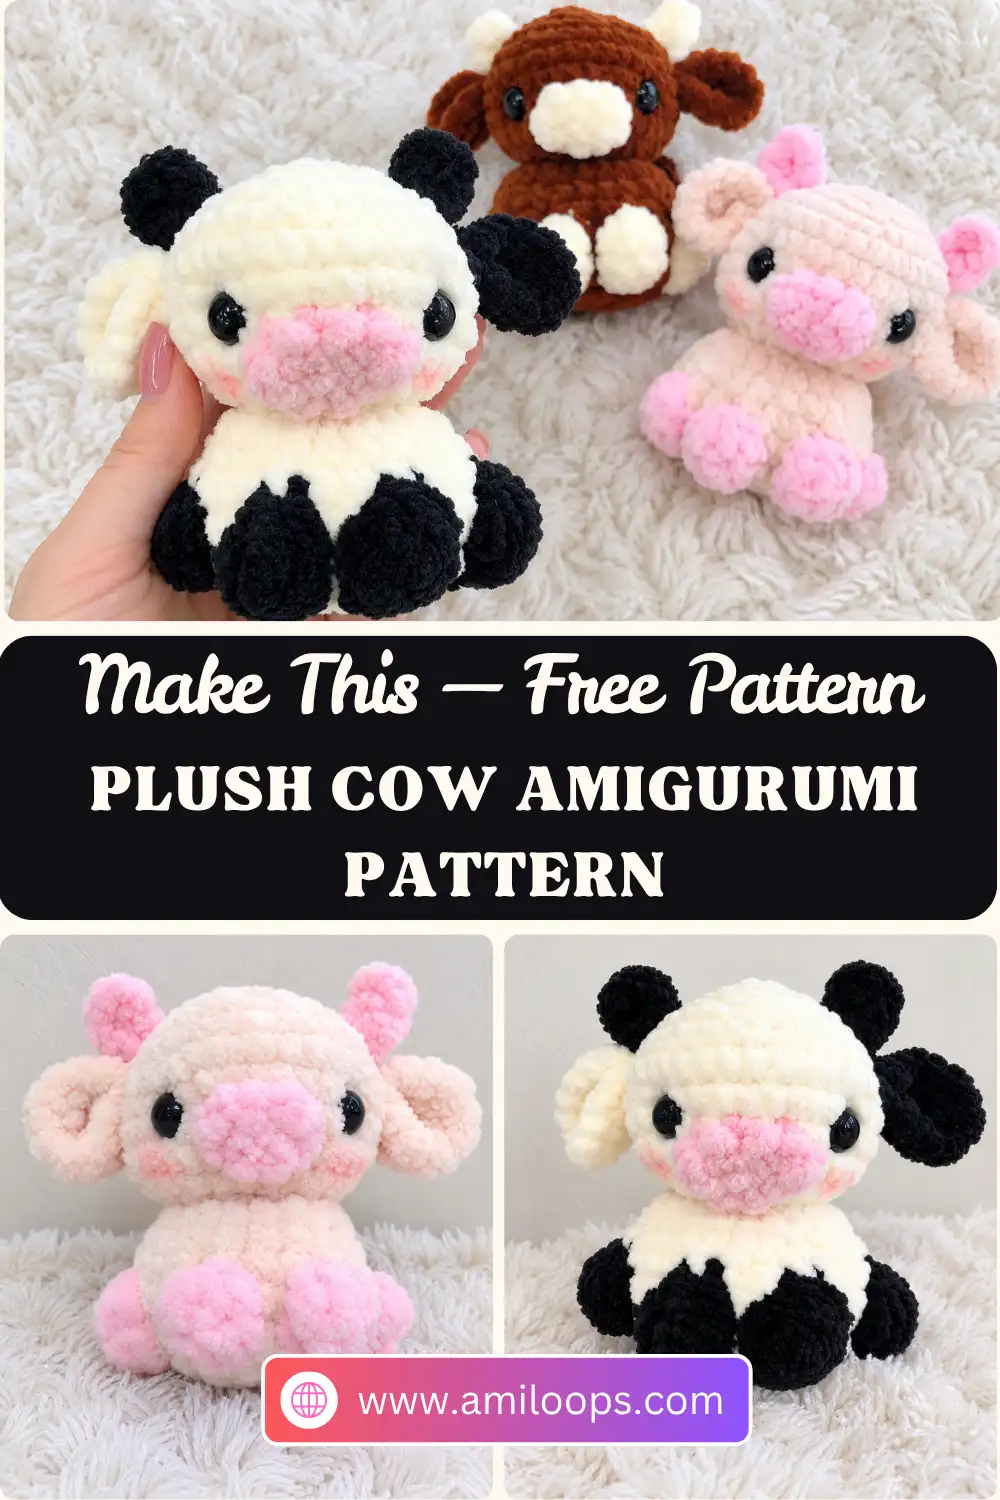
This plush cow amigurumi pattern makes a pocket-size cow about 9 cm (3.5 in) tall, with a beige body, four black feet, a little black patch on the head, a pink snout, safety eyes and two tiny black horns. Worked in plush yarn, it has the rounded, squeezable look that makes small farm animals so easy to love.
The body and head are crocheted as one continuous piece. Black double crochet groups in Rnds 4 and 5 raise the feet around the base, Rnd 9 narrows to form the neck, and the head grows and closes without a separate seam, with its black patch worked right into the stitches. That leaves only the snout, ears and horns to sew on.
Materials Before you start Abbreviations Body and head Snout Ears Horns FAQ
Materials
- Main color (MC): plush yarn, Himalaya Dolphin Baby 80308 – beige, for the body, head and one ear
- Contrasting color (CC): Himalaya Dolphin Baby 80311 – black, for the feet, head patch, horns and the second ear
- Snout: Himalaya Dolphin Baby 80319 – pink
- Crochet hook, size 3.5
- 10 mm safety eyes
- Stuffing: hollow fiber, synthetic down or polyester fiberfill
- Dental floss or other thread for sculpting the eyes
- Large-eye needle for sewing the pieces together
- Scissors
- Stitch marker for the beginning of the round
With the recommended materials, the finished cow is about 9 cm (3.5 in) tall. Your own size will depend on your yarn, hook, technique and tension.
Before you start
Work in continuous spiral rounds: do not join with a slip stitch and do not chain at the start of a round. Mark the first stitch of each new round; a safety pin, paper clip, strand of contrasting yarn or purpose-made stitch marker all work.
Count from the marker: the black feet in Rnds 4 and 5 and the black patch in Rnds 12–18 are placed by counting stitches from the start of the round. Move the marker up every round and count the sc between the color groups as you go.
Working with two colors: the body and head use MC and CC in the same rounds. To switch, work the last pull-through of the stitch before the change with the new yarn, and carry the unused strand loosely on the inside of the piece. This guide to changing colors in amigurumi walks through it, and Yarnspirations shows the same pull-through in its color-change tutorial.
Skill level: the pattern assumes basic crochet skills and a working knowledge of standard abbreviations. It uses US crochet terminology throughout.
Abbreviations
| Abbreviation | Meaning |
|---|---|
| MC | main color (beige) |
| CC | contrasting color (black) |
| MR | magic ring |
| ch | chain |
| sc | single crochet |
| dc | double crochet |
| sl st | slip stitch |
| st(s) | stitch(es) |
| inc | increase: 2 sc in the same st |
| dec | decrease: single crochet the next 2 sts together (2 sts become 1) |
| dc4tog | double crochet 4 together: 4 dc worked over the next 4 sts and closed with one shared top |
| [ ] … times | repeat the instructions in brackets the stated number of times |
For the standard US names behind these abbreviations, the Craft Yarn Council keeps a clear list of crochet abbreviations.
Body and Head
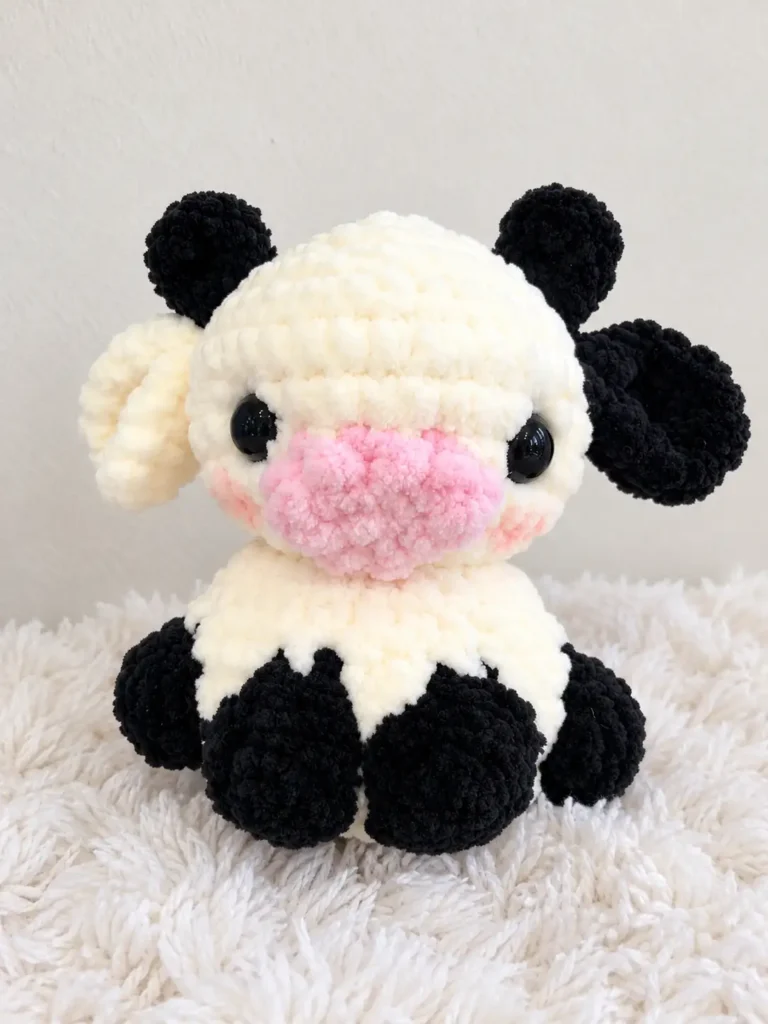
How this piece is built: Rnds 1–8 form the body, with the black groups of Rnds 4 and 5 shaping four feet around the base. Rnd 9 narrows the neck to 12 sts, and Rnds 10–20 grow and close the head. The black patch runs through Rnds 12–18.
Rnd 1: With MC, 6 sc in MR (6 sts).
Rnd 2: 6 inc (12 sts).
Rnd 3: 12 inc (24 sts).
Color change: Rnd 4 brings in CC for the feet. Work each group of 4 dc in CC and every sc between the groups in MC.
Rnd 4: With MC, 6 sc; with CC, 4 dc in the next st; with MC, 3 sc; with CC, 4 dc in the next st; with MC, 2 sc; with CC, 4 dc in the next st; with MC, 3 sc; with CC, 4 dc in the next st; with MC, 6 sc (36 sts).
Lining up Rnd 5: each CC dc4tog in the next round is worked over the 4 dc of one group you just made, closing it into a foot. The MC sc fall in the same 6, 3, 2, 3 and 6 sts as in Rnd 4.
Rnd 5: With MC, 6 sc; with CC, dc4tog; with MC, 3 sc; with CC, dc4tog; with MC, 2 sc; with CC, dc4tog; with MC, 3 sc; with CC, dc4tog; with MC, 6 sc (24 sts).
Color change: CC is not used again until Rnd 12. Carry it on the inside, or cut it with a tail to weave in and join it again at Rnd 12. Rnds 6–11 are worked in MC only.
Rnds 6–8: Sc in each st around (24 sts). This is 3 rounds.
Stuffing tip: Rnd 9 halves the stitch count for the neck, so stuff the body firmly before you work it, while the opening is still wide. Keep adding fiberfill as the head grows; this guide to stuffing amigurumi without lumps has more help.
Rnd 9: 12 dec (12 sts).
Rnd 10: 12 inc (24 sts).
Rnd 11: [Sc in the next st, inc] 12 times (36 sts).
Color change: Rnds 12–18 work a small black patch into the head. In each round, work the stitches marked CC in black and everything else in MC. The patch widens from 1 to 7 sts over Rnds 12–15, then narrows through Rnds 16–18.
Rnd 12: With MC, 8 sc; with CC, 1 sc; with MC, 27 sc (36 sts).
Rnd 13: With MC, 7 sc; with CC, 3 sc; with MC, 26 sc (36 sts).
Rnd 14: With MC, 6 sc; with CC, 5 sc; with MC, 25 sc (36 sts).
Rnd 15: With MC, 5 sc; with CC, 7 sc; with MC, 24 sc (36 sts).
Eyes: Insert the safety eyes between Rnds 13 and 14, 10 sts apart. On the finished cow, the black patch sits at one side of the face, beside the black ear. Setting the eyes now, while the head is still open, lets you reach inside to secure the backs; see how to attach safety eyes for the steps.
Rnd 16: With MC, 4 sc, dec; with CC, 4 sc, dec; with MC, [4 sc, dec] 4 times (30 sts).
Rnd 17: With MC, 3 sc, dec, sc in the next st; with CC, 2 sc, dec; with MC, [3 sc, dec] 4 times (24 sts).
Rnd 18: With MC, 2 sc, dec, 2 sc; with CC, dec; with MC, [2 sc, dec] 4 times (18 sts).
Color change: The patch is complete. Cut CC with a tail to weave in and finish the head in MC.
Before closing: Finish stuffing the head firmly now; the last two rounds leave only a small opening.
Rnd 19: [Sc in the next st, dec] 6 times (12 sts).
Rnd 20: 6 dec (6 sts).
Finishing the head: Fasten off and cut the yarn. Sculpt the eyes slightly with the dental floss or thread.
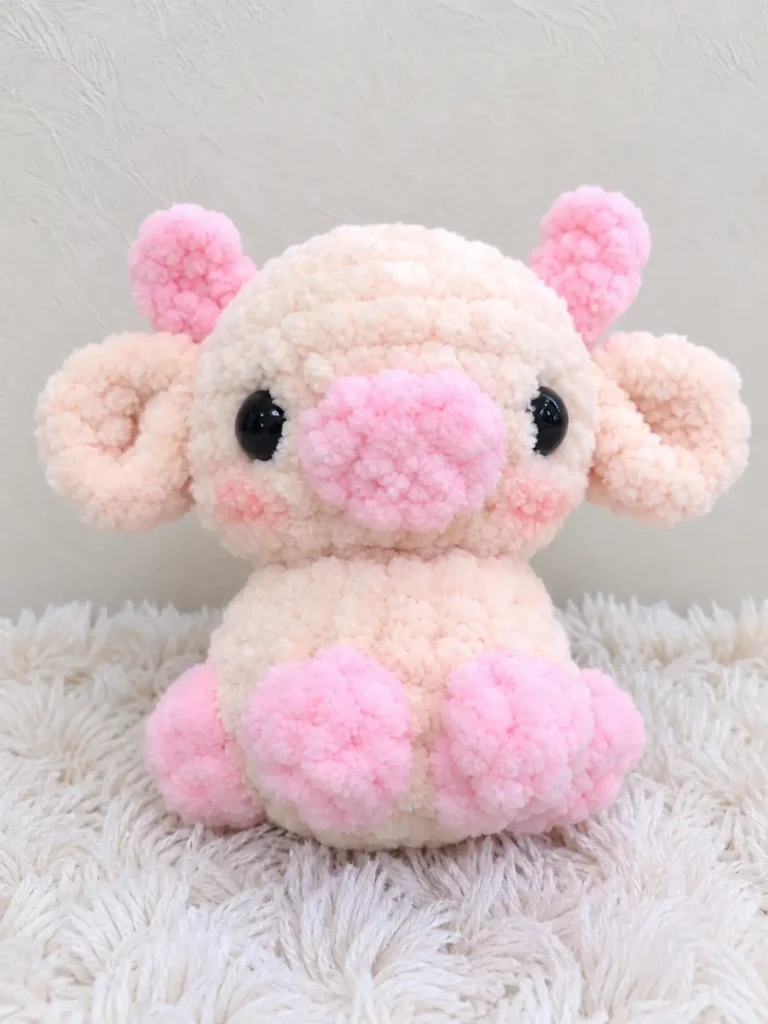
Snout
With pink, ch 4. Start in the 2nd ch from the hook.
Rnd 1: Sc in the next 2 ch, 3 sc in the last ch, then working along the other side of the chain, 3 sc; sl st to join (8 sts).
Attaching the snout: Fasten off, leaving a tail for sewing. Sew the snout on with the wrong side facing out, centered between Rnds 11 and 13. If you are unsure which face is which, this guide to telling the right side from the wrong side helps.
Ears (make 2)
Make one ear in MC and one in CC.
Rnd 1: 6 sc in MR (6 sts).
Row 2: Ch 1, turn, 6 inc (12 sts). Join the two edges with a sl st.
Attaching the ears: Fasten off, leaving a tail for sewing. Sew each ear on between Rnds 14 and 15, 3–4 sts away from the eye, with the black ear on the same side as the black patch.
Horns (make 2)
With CC, ch 3. Start in the 2nd ch from the hook.
Row 1: Sc in the next ch, dc in the last ch. Join the two edges with a sl st.
Attaching the horns: Fasten off, leaving a tail for sewing. Sew one horn just above each ear: one with the right side facing out and the other with the wrong side facing out, so the pair mirrors each other.
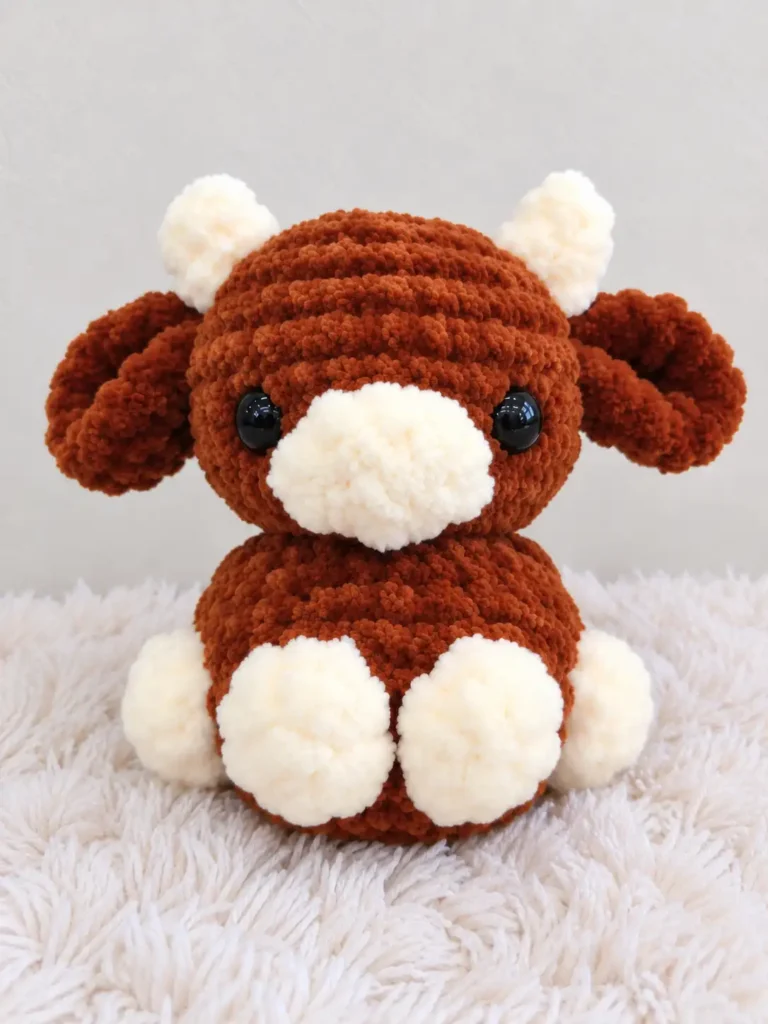
More farm friends to crochet
Questions about this cow
How big is this plush cow?
It is about 9 cm (3.5 in) tall when made with the recommended plush yarn and a size 3.5 hook. Your yarn, hook, technique and tension can make it larger or smaller.
Which parts are worked in black?
The four 4-dc groups in Rnd 4 and the dc4tog that close them in Rnd 5 make the black feet, and the CC stitches in Rnds 12–18 form a small patch on the head. The horns and one ear are black too, while the snout is pink.
How do Rnds 4 and 5 shape the feet?
Rnd 4 works 4 dc into a single stitch in four places, raising the count from 24 to 36 sts. Rnd 5 closes each of those groups with a dc4tog, bringing the count back to 24 sts and leaving four raised black feet around the base.
Why does the stitch count drop to 12 in the middle of the piece?
The body and head are one continuous piece. Rnd 9 decreases to 12 sts to form the neck, then Rnds 10 and 11 increase back to 24 and 36 sts to start the head.
When do I put in the safety eyes?
After Rnd 15 and before Rnd 16. Place the 10 mm eyes between Rnds 13 and 14, 10 sts apart, while the head is still open.
Which side of the snout and horns should face out?
Sew the snout on with the wrong side facing out. Sew one horn with the right side facing out and the other with the wrong side facing out, so the pair mirrors each other just above the ears.