Mini Hamster Crochet Pattern: A Free Puff Stitch Amigurumi in One Piece
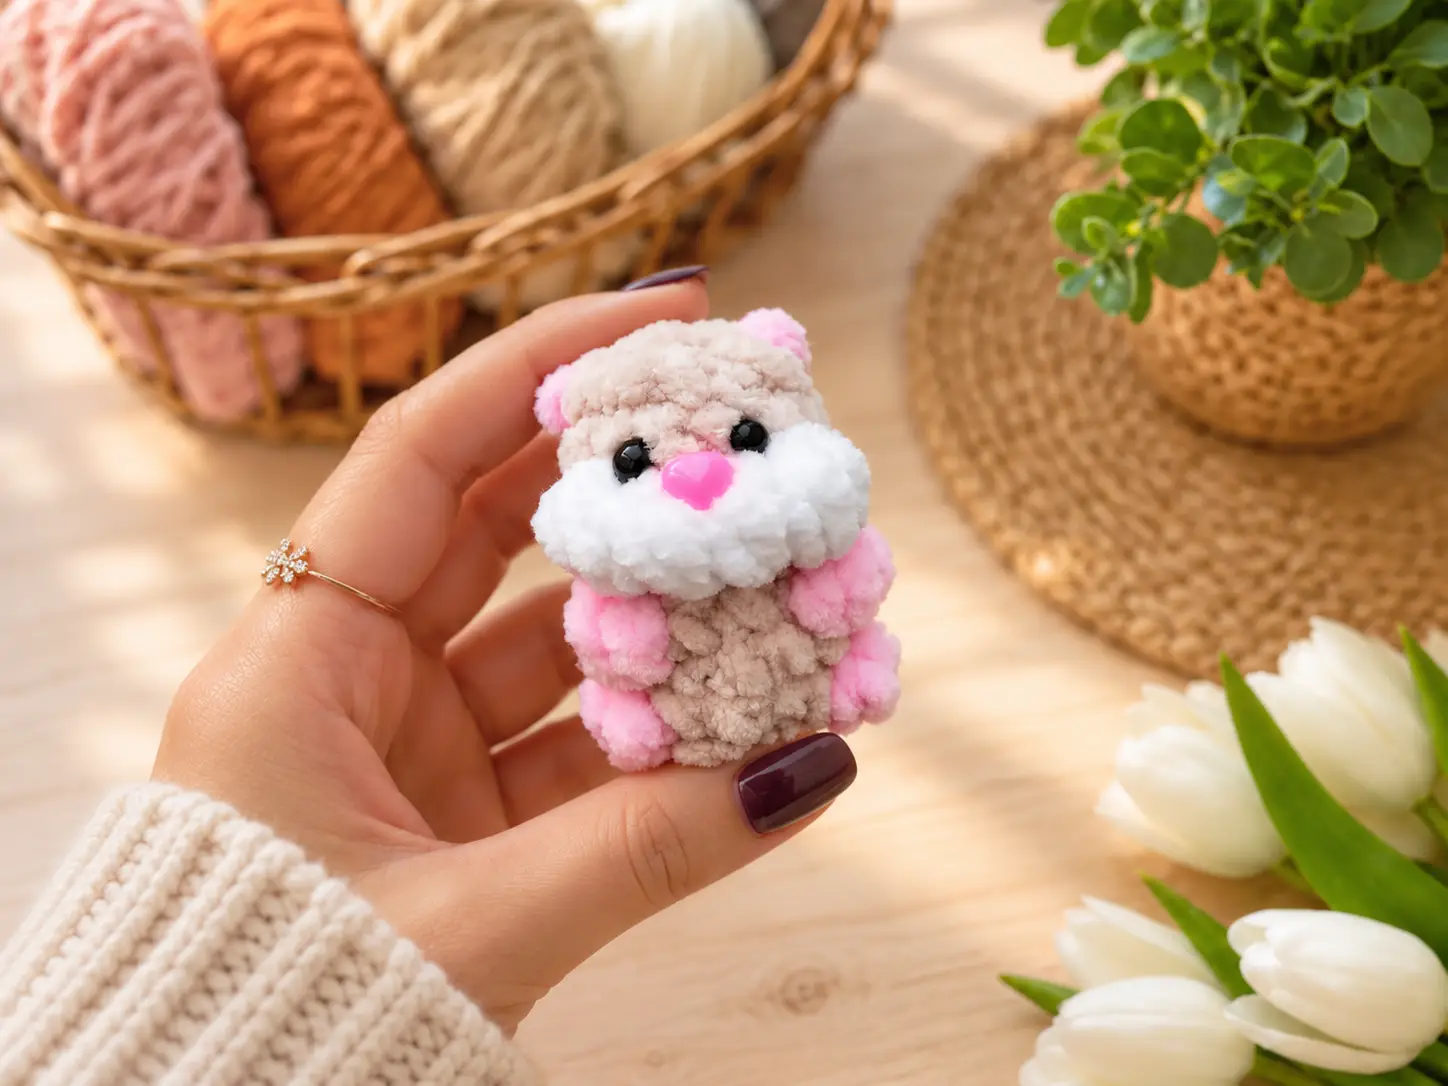
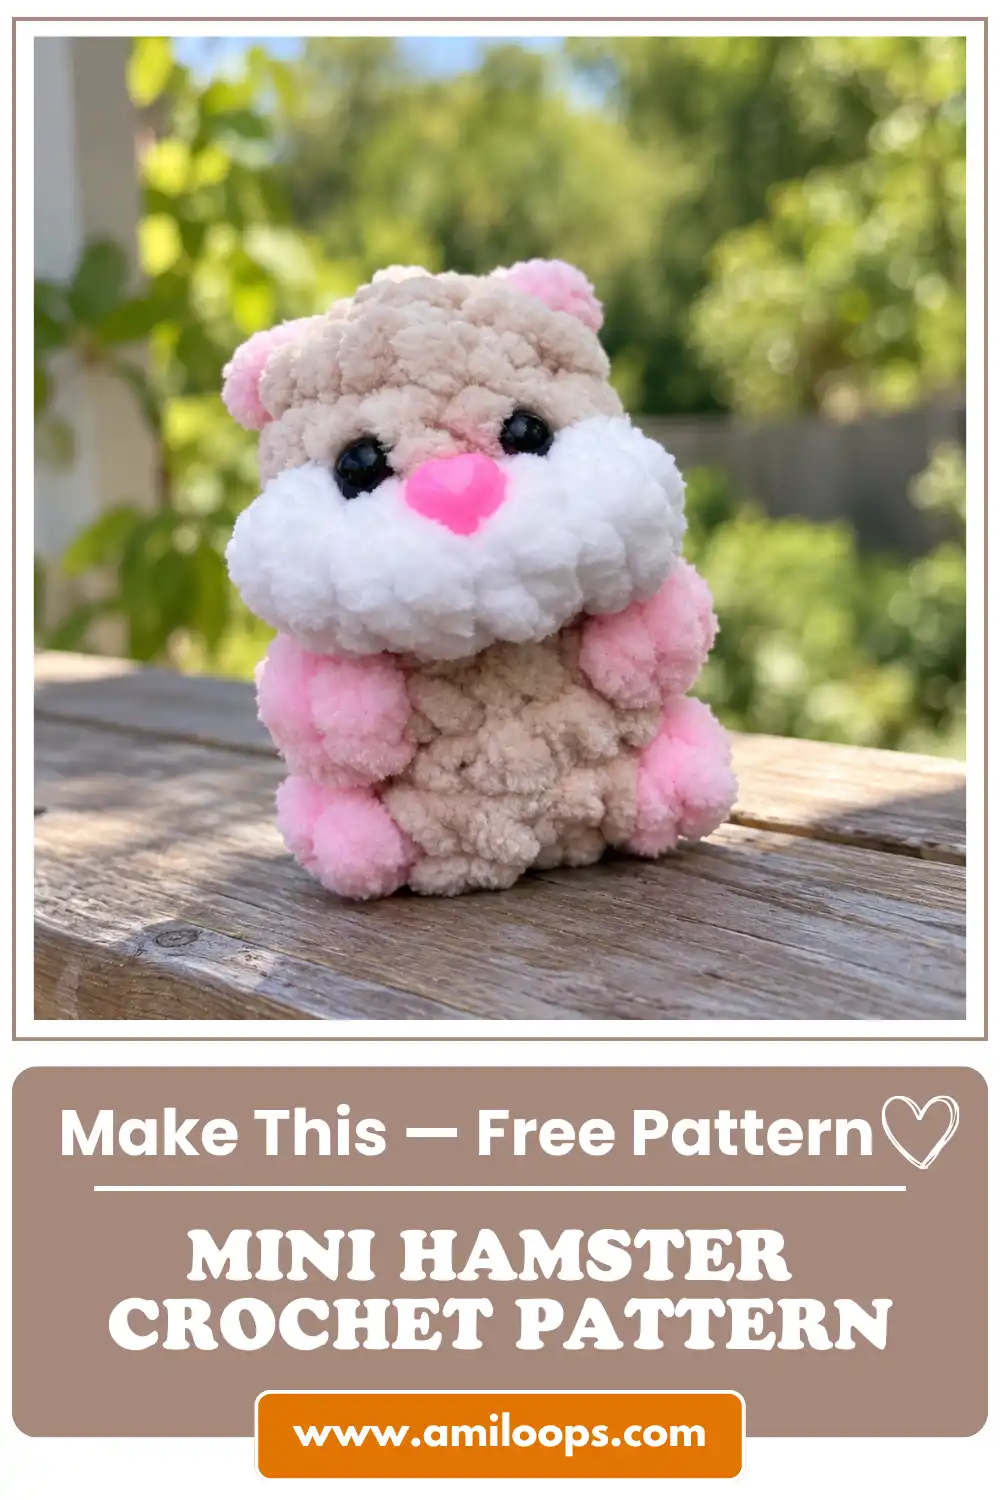
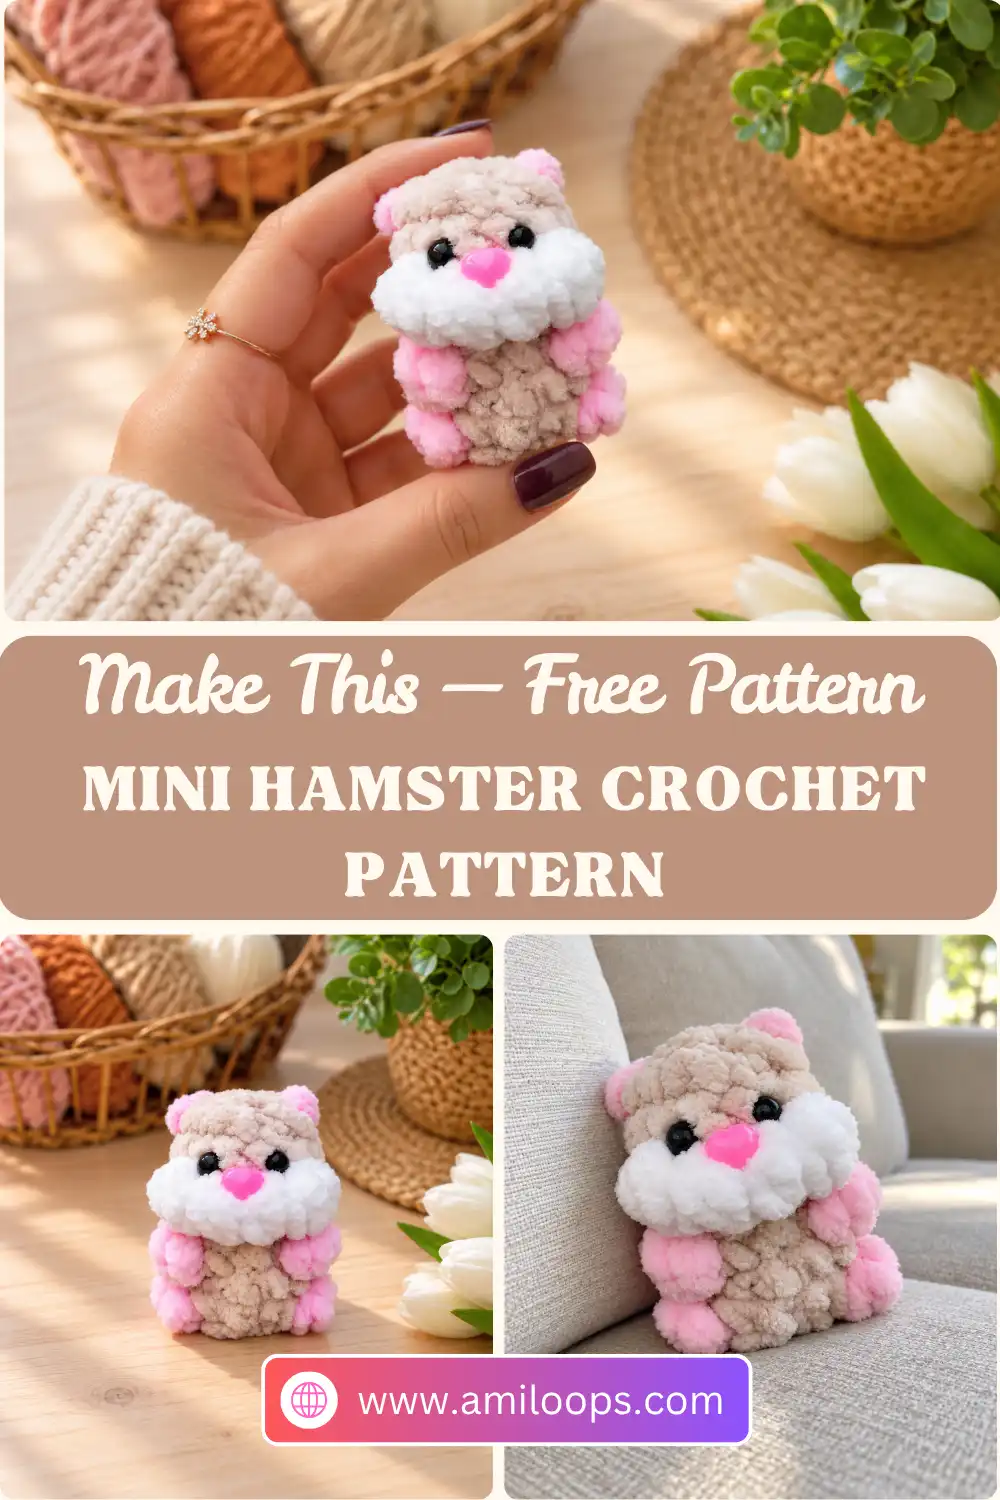
This mini hamster crochet pattern packs a lot of character into a very small piece. You start at the top of the head with a magic ring, grow to just 12 stitches around, and keep that count almost all the way down. Instead of sewing on cheeks and paws, you crochet them in as raised puff stitches: white puffs form the full cheeks, and contrast-color puffs become the little paws. Plush yarn keeps the whole hamster soft, and two tiny ears and a short tail finish the look.
The whole hamster is one piece with a clear rhythm. After three setup rounds, you alternate puff-stitch rounds with plain single crochet rounds. Then you stuff the piece, work the tail into the last round, decrease, and cinch the opening closed. The ears are crocheted straight onto the finished piece, so the only extra parts are the eyes and nose.
Materials Stitches Pattern Ears and face FAQ
Before your first stitch: Have all three colors within reach. Rounds 4, 6 and 8 switch colors in the middle of the round, and each switch lasts only one to four stitches before you go back to the main color.
Plan your eyes and nose: The pattern lists 6 mm half-bead eyes and a 7 mm nose but gives no separate step for attaching them. If yours fasten with locking backs, set them before you stuff the hamster after Rnd 8, while you can still reach inside.
Materials
- Plush yarn: 120 m/100 g, in a main color (MC), white, and a contrast color (CC). The original sample uses beige for MC and pink for CC.
- Crochet hook: 3.5 mm
- Stuffing
- Eyes: 6 mm half-bead eyes
- Nose: 7 mm
Abbreviations and special stitches
This pattern uses US crochet terms. If you usually work from UK patterns, the Craft Yarn Council’s list of crochet abbreviations shows US and UK stitch names side by side.
| Abbreviation | Meaning |
|---|---|
| ch | chain |
| sl st | slip stitch |
| sc | single crochet |
| dc | double crochet |
| MR | magic ring |
| inc | increase (2 sc in the same st) |
| dec | decrease (sc the next 2 sts together, turning 2 sts into 1) |
| st(s) | stitch(es) |
| MC | main color |
| CC | contrast color |
Puff stitch (puff st)
In this pattern, a puff stitch is made from either 3 dc or 2 dc, and each round tells you which. Work that number of dc into the same st, leaving the last loop of each dc on the hook. Then yarn over and pull through all loops on the hook. Each puff uses 1 st and counts as 1 st.
Count your loops: Before the final yarn over, a 3-dc puff has 4 loops on the hook and a 2-dc puff has 3. Checking this is a quick way to confirm you made the right size, especially in Rnd 4, which uses both.
Tail
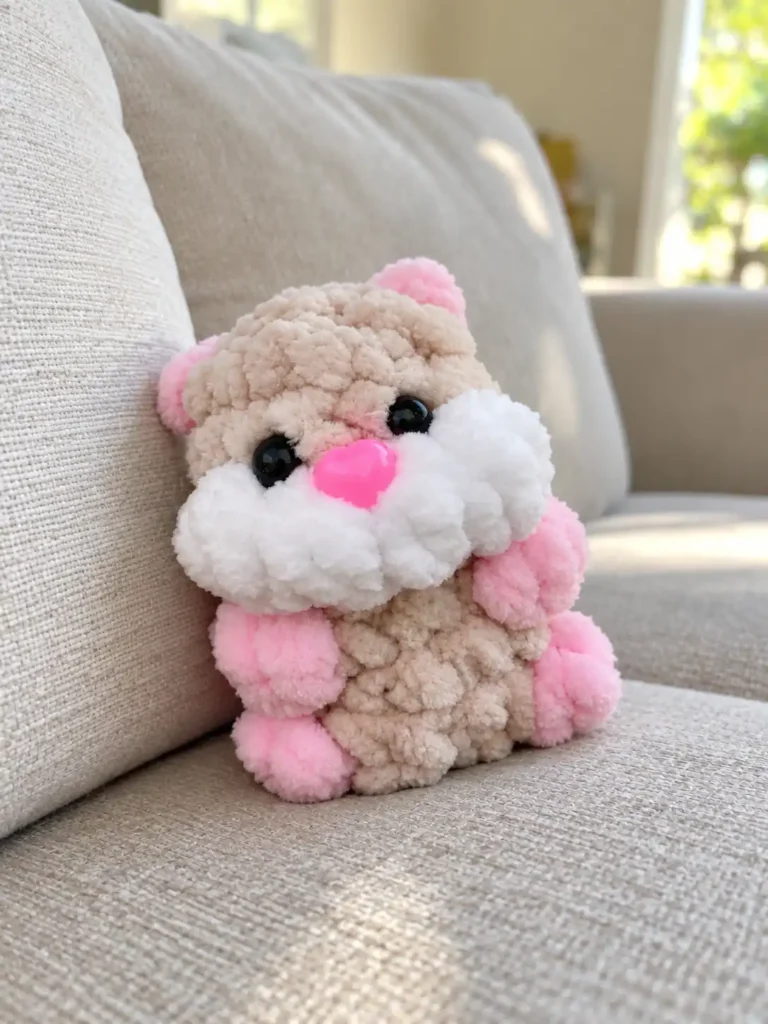
Sc in the st, ch 2, sl st in the 2nd ch from the hook, then sl st in the same st as the sc. The short chain makes a small point, and the last sl st anchors it where you started. You work the tail once, at the beginning of Rnd 9.
Hamster (one piece, starting at the head)
Start in MC with a magic ring and work in continuous rounds without joining. A stitch marker in the first st of each round helps: the puff placements count from it, and the tail in Rnd 9 starts there. If you haven’t made a magic ring before, follow our guide, How to Crochet the Magic Ring (Magic Circle).
Rnd 1: Work 6 sc in a MR. (6)
Rnd 2: Inc in each st around. (12)
Rnd 3: Sc in each st around. (12)
Color change: In Rnd 4, you work four puff stitches in a row in white, then go back to MC. A common method is to finish the last pull-through of the stitch before the change with the new color, as shown in the Yarnspirations color-change tutorial. For more amigurumi-specific tips, see our guide on how to change colors seamlessly in amigurumi.
Rnd 4: Sc in the next 4 sts. Change to white. Work a 3-dc puff st in the next st, a 2-dc puff st in each of the next 2 sts, then a 3-dc puff st in the next st. Change to MC. Sc in the next 4 sts. (12)
Cheeks: These four white puffs become the hamster’s cheeks, which makes this side the front. The beginning of the round sits roughly opposite them, at the back.
Rnd 5: Sc in each st around. (12)
Color change: Rnds 6 and 8 each have two single 3-dc puff stitches in CC, with MC single crochet between them. In the original sample, the puffs in Rnd 6 are the front paws and the puffs in Rnd 8 are the feet. Switch to CC only for each puff, then go back to MC for the single crochet stitches.
Rnd 6: Sc in the next 4 sts. Change to CC, 3-dc puff st in the next st. Change to MC, sc in the next 3 sts. Change to CC, 3-dc puff st in the next st. Change to MC, sc in the next 3 sts. (12)
Rnd 7: Sc in each st around. (12)
Rnd 8: Sc in the next 4 sts. Change to CC, 3-dc puff st in the next st. Change to MC, sc in the next 4 sts. Change to CC, 3-dc puff st in the next st. Change to MC, sc in the next 2 sts. (12)
Stuff the hamster. Rnd 9 closes the bottom, so add stuffing now until the piece is as firm as you like. If your eyes or nose have locking backs, set them before you stuff.
Rnd 9: Work the tail in the first st (sc, ch 2, sl st in the 2nd ch from the hook, sl st in the same st as the sc). Dec 6 times. (6)
Round shift: The tail uses the first st, which leaves 11 sts of Rnd 8 for the decreases. Your 6th dec takes the last st of Rnd 8 together with the top of the tail’s sc, so the round finishes one st past its starting point. That’s the shift in the start of the round. The tail itself sits at the back, opposite the cheeks.
Close it up: Cinch the opening closed, secure the yarn and fasten off. Hide the yarn ends inside the piece. Our guide to fastening off and weaving in ends in amigurumi walks through this final step.
Ears and face
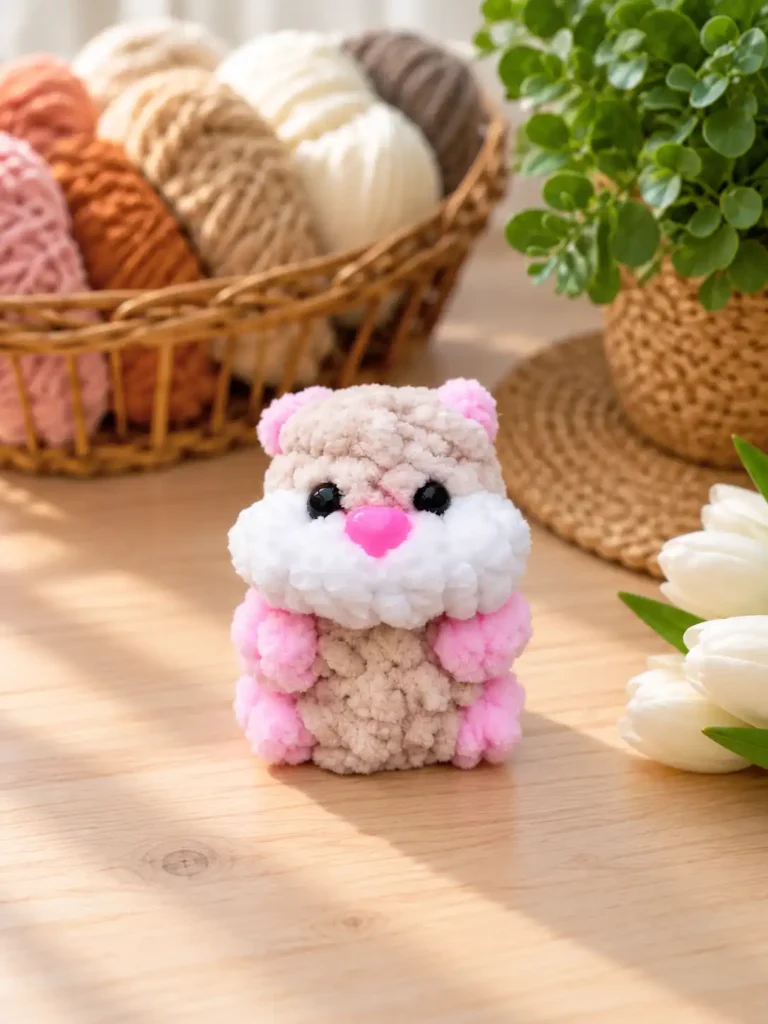
The two ears are worked straight onto the finished piece. Each one is just a chain and a slip stitch, which makes a tiny nub. The pattern doesn’t set an exact spot or a color for them; the original sample has pink ears near the top of the head, one on each side.
Ears (make 2): Join the yarn in a st where you want the ear, ch 1, sl st in the same st. Secure the yarn and fasten off.
Eyes and nose: The pattern has no separate placement step for the 6 mm half-bead eyes and 7 mm nose. In the original sample, the eyes sit just above the white cheeks, one on each side, and the nose sits at the top center of the white area. Position them by eye so the face suits your hamster.
More hamsters to make
Questions about this mini hamster
What’s the difference between the 3-dc and 2-dc puff stitches?
You make both the same way: work the stated number of dc into the same stitch, leaving the last loop of each on the hook, then yarn over and pull through all loops. A 3-dc puff has 4 loops on the hook before that last pull-through, and a 2-dc puff has 3. Rnd 4 uses both sizes for the cheeks. Rnds 6 and 8 use only 3-dc puffs.
Which yarn colors do I need?
You need three colors: a main color (MC) for the single crochet, white for the four cheek puffs in Rnd 4, and a contrast color (CC) for the paw puffs in Rnds 6 and 8. The original sample pairs a beige main color with pink.
When should I stuff the hamster and add the eyes?
Stuff it after Rnd 8, before the tail and decreases of Rnd 9. If your eyes or nose use locking backs, set them before stuffing, while you can still reach inside.
Why does the start of the round shift in Rnd 9?
The tail uses the first stitch, which leaves 11 stitches of Rnd 8 for 6 decreases. The last decrease takes the final stitch of Rnd 8 together with the top of the tail’s sc, so the round ends one stitch past its usual start. You then cinch the opening closed.
How are the ears attached?
They aren’t made separately. For each ear, join the yarn in a stitch on the finished piece, ch 1, sl st in the same stitch, then secure the yarn and fasten off. The original sample has two pink ears near the top of the head, one on each side.