Deer in a Scarf Crochet Pattern: A Free Amigurumi with Worked-In Arms
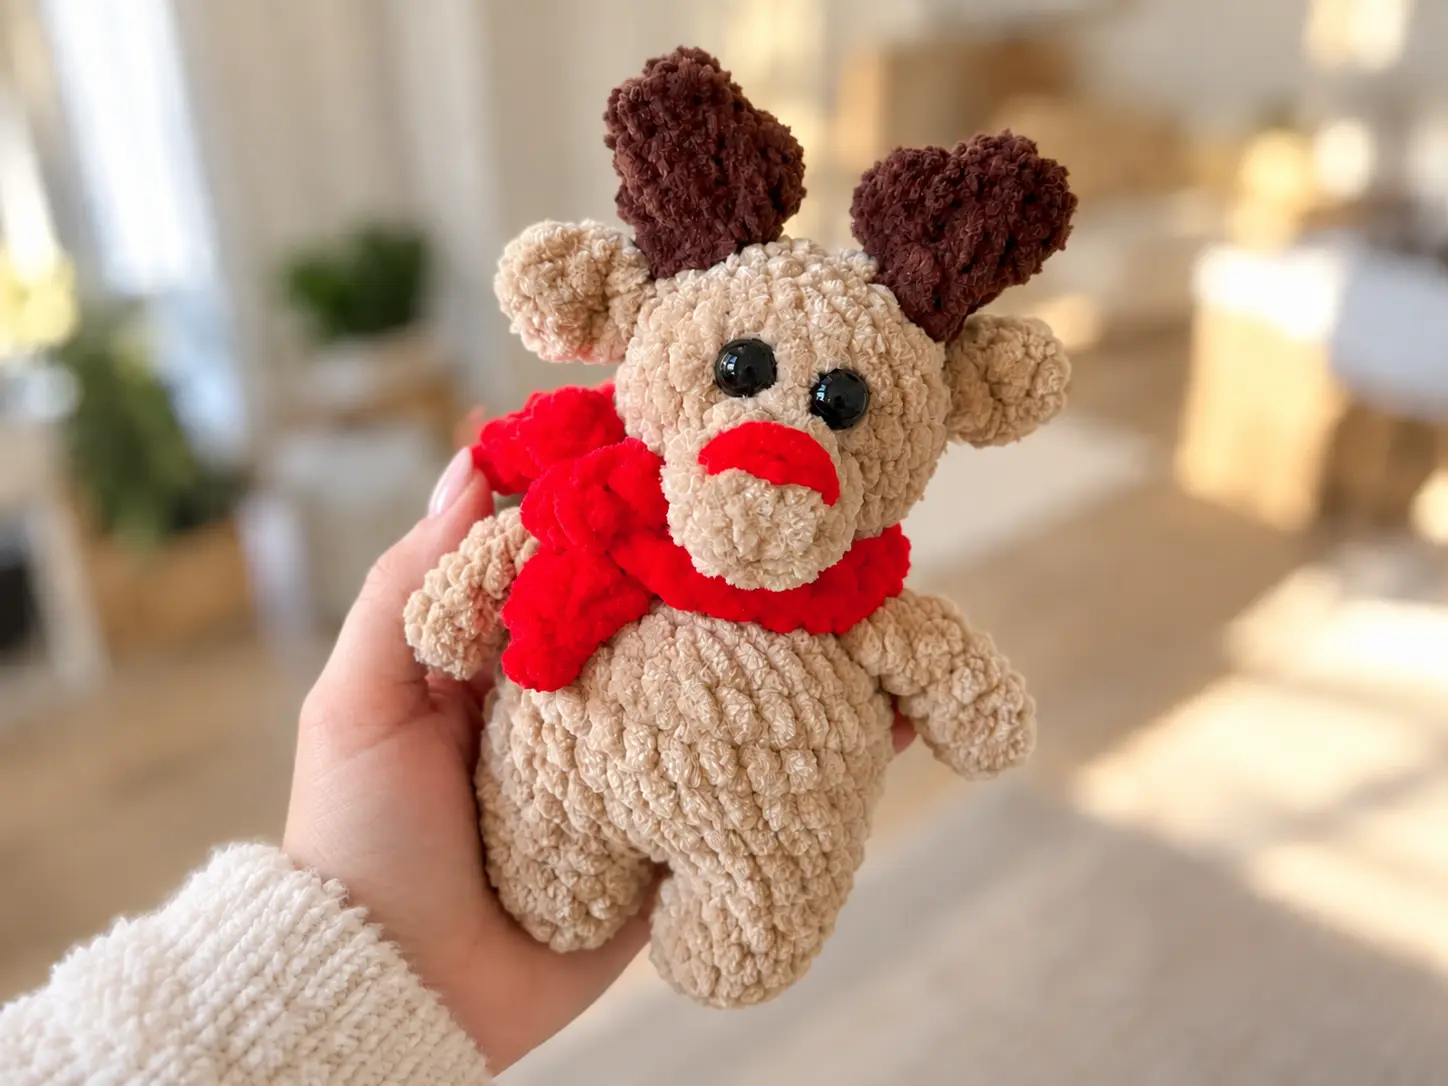
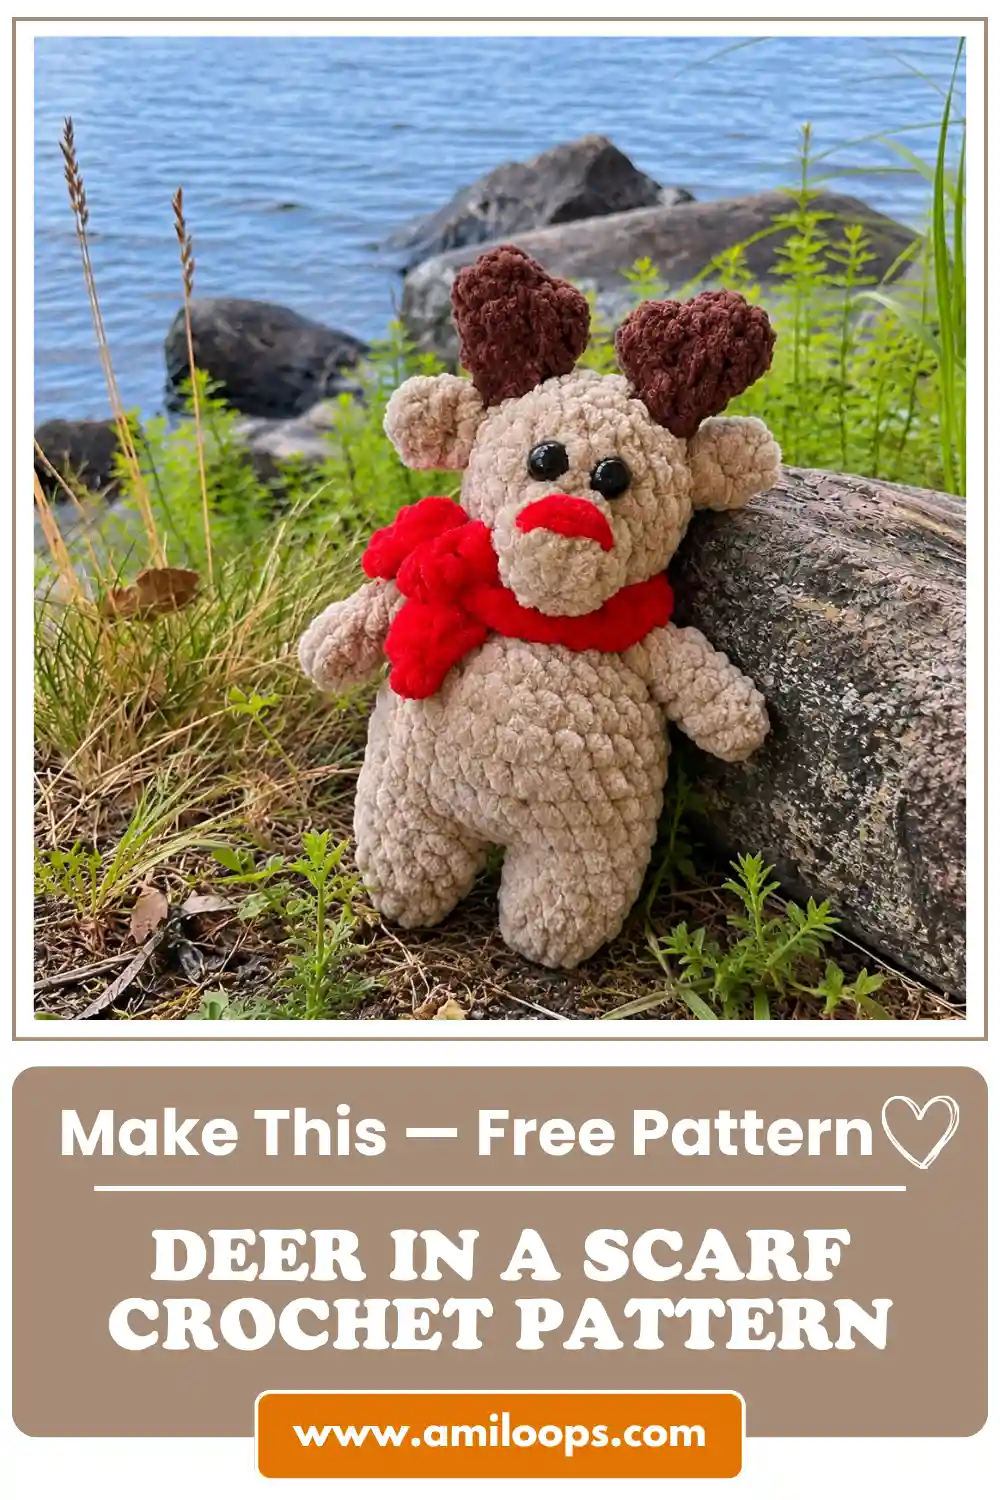
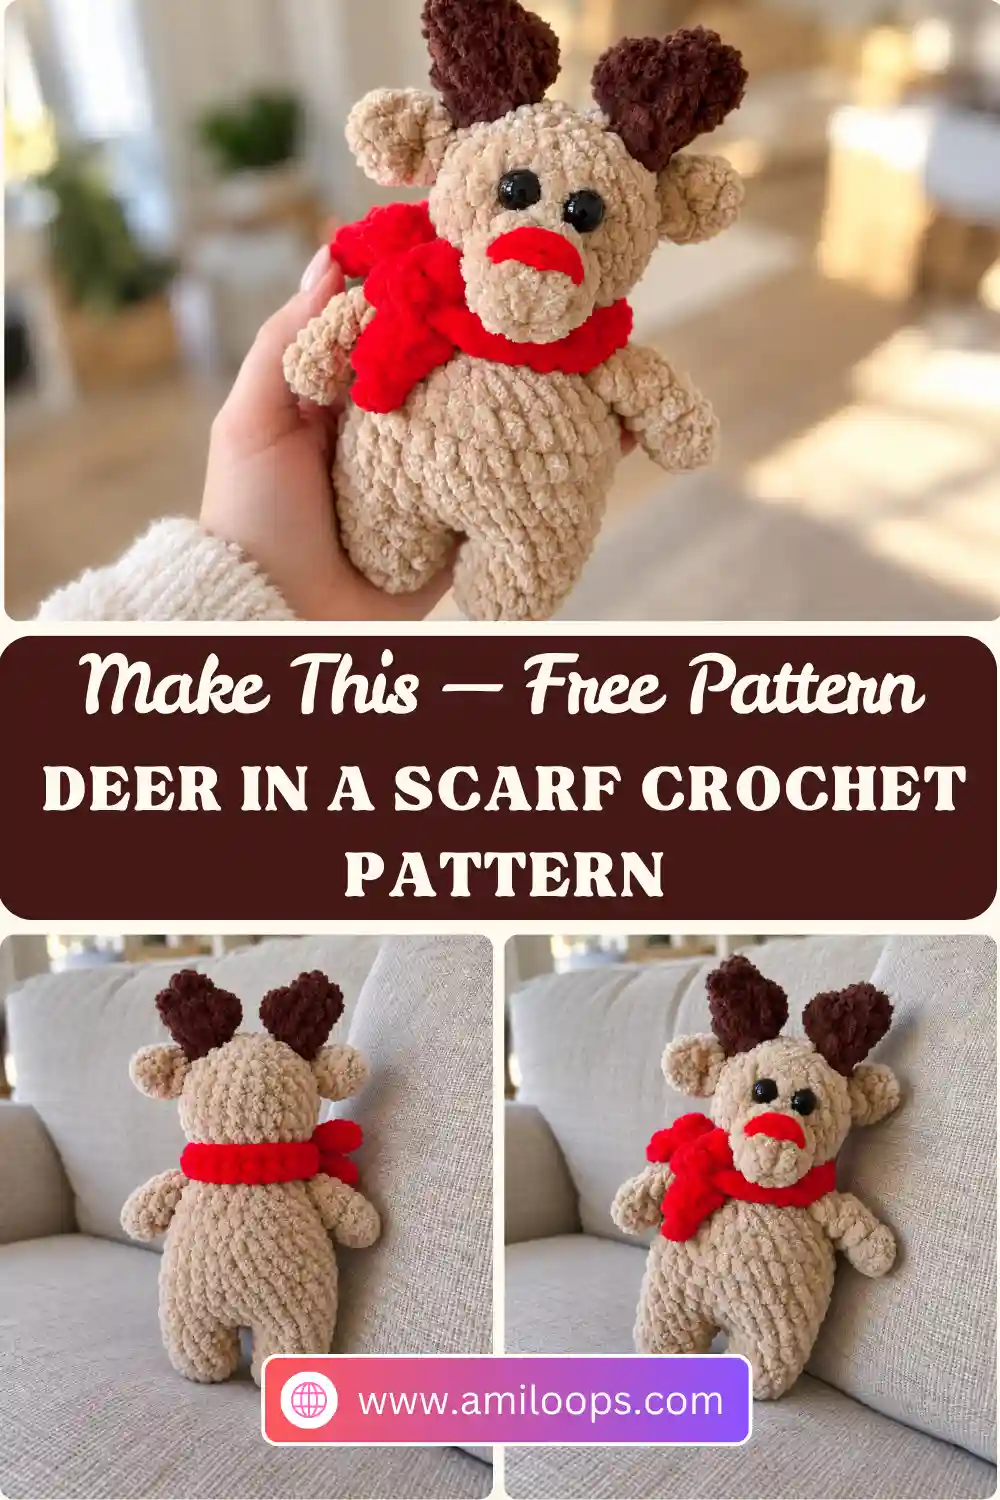
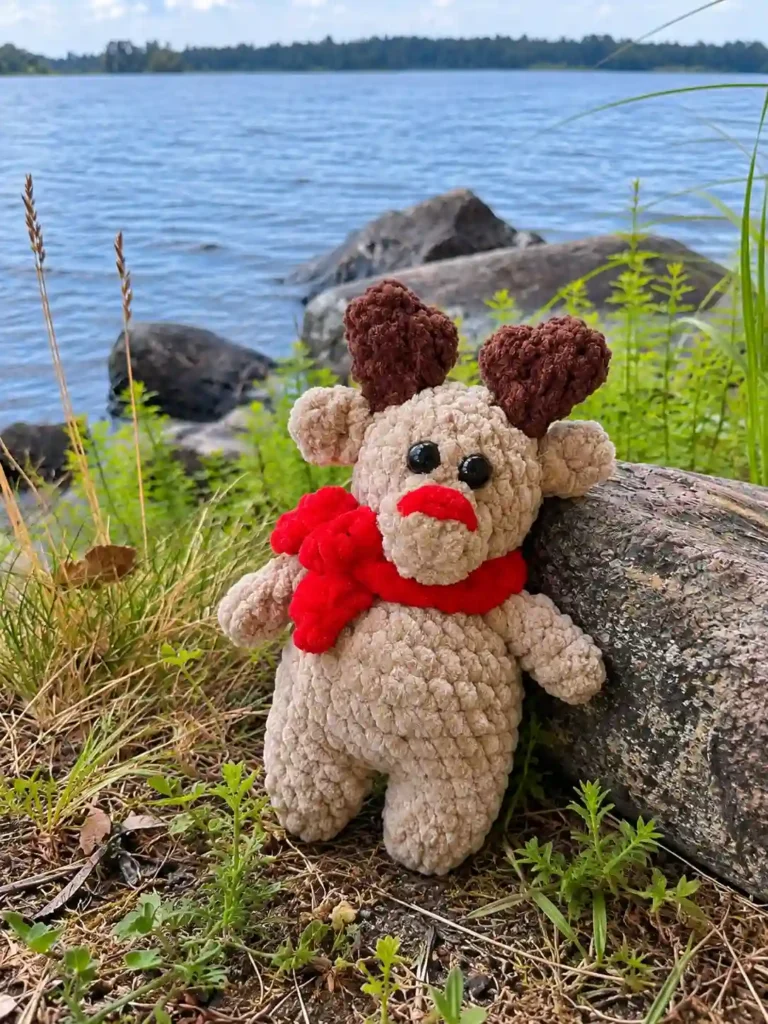
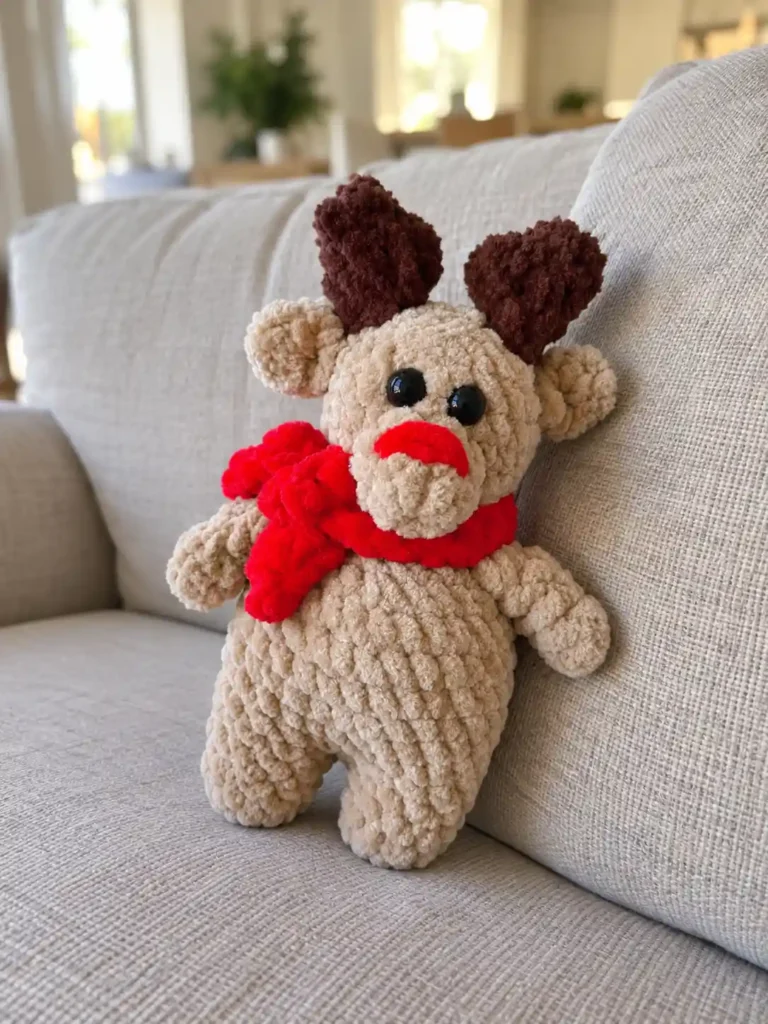
A small deer with a scarf around his neck, two folded ears, and a pair of stubby antlers with a bobble partway up each one. He stands on two little legs that are joined to each other early on, so he holds himself upright instead of slumping sideways. This deer in a scarf crochet pattern is built from short rounds and tiny pieces, and his face only arrives at the very end, when the muzzle, ears and antlers are sewn into place.
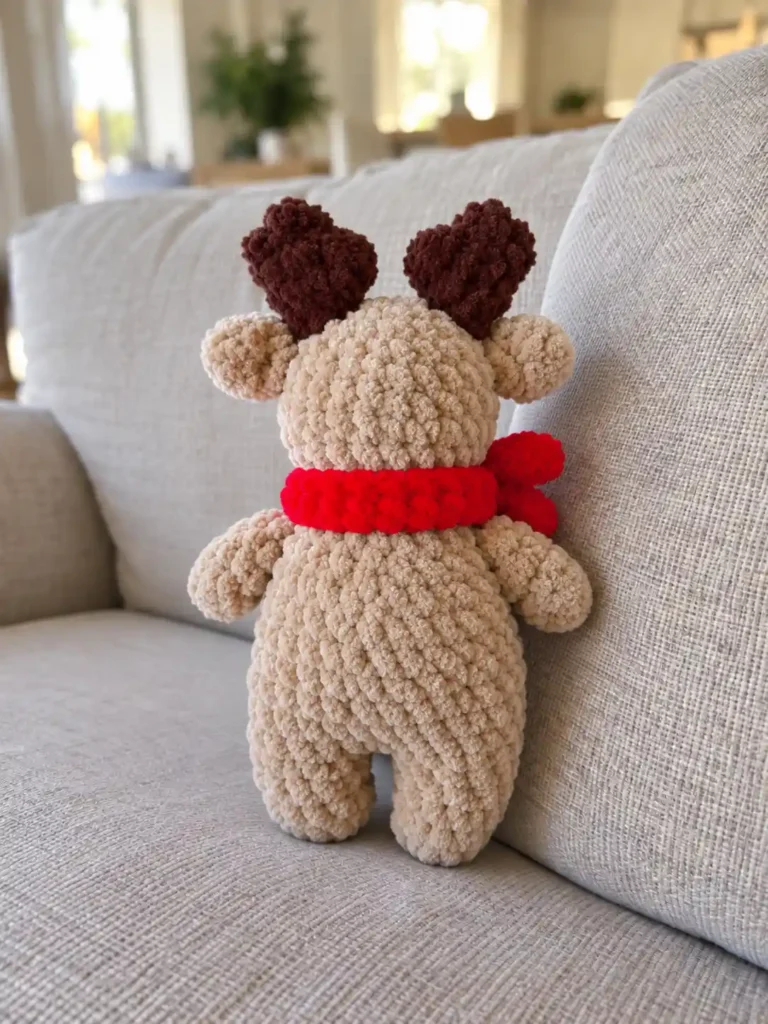
The construction is the part worth reading before you pick up your hook. The legs, body and head are one continuous piece: you crochet two legs, bridge them with two chains, and never cut the yarn again until the head is closed at the top. The arms are not sewn on either — they are crocheted into Rnd 14 as the body passes them. Only the muzzle, ears and antlers are attached afterward, and the scarf is a single row of half double crochet worked back along a starting chain.
Materials Abbreviations Small pieces Legs and body Head Assembly Scarf FAQ
Before your first stitch: every crocheted piece here begins with a magic ring — the scarf is the one exception, and it starts from a chain. The pattern gives no joining slip stitch and no turning chain anywhere, so the rounds are written the way small amigurumi like this is normally worked: in continuous rounds, spiralling without a join. A marker parked in the first stitch of each round will save you a lot of recounting on pieces this small. The number in parentheses at the end of a round is the stitch count you should have when that round is finished.
Finish the small pieces first: the arms especially. Rnd 14 of the body crochets them in as you work past them, so both arms need to be done and flattened before you get there. The ears, muzzle and antlers can wait until assembly, but it is easier to make all four small pieces in one sitting while the stitch pattern is fresh.
Gather your materials
- Yarn in your deer color. The source names no yarn weight and no hook size, so pair the two yourself for a firm fabric with no gaps for the stuffing to show through.
- Yarn for the scarf, in whatever color you like — the source does not name one.
- Red yarn for embroidering the nose.
- A pair of 8 mm eyes, placed between Rnds 20 and 21 with one stitch between them.
- Fiberfill. The only stuffing the pattern asks for is a light amount in the muzzle.
- A yarn needle for sewing on the parts, embroidering the nose and hiding the ends.
- A stitch marker — optional, but a spiral is much easier to track with one.
- Scissors.
Abbreviations used in this pattern
US crochet terminology is used throughout, and only the abbreviations this pattern actually uses are listed below. The Craft Yarn Council’s crochet abbreviation list is the quickest place to confirm a US stitch name, or to compare it against the UK term that shares it.
| Abbreviation | Meaning |
|---|---|
| MR | Magic ring |
| ch | Chain |
| sc | Single crochet |
| hdc | Half double crochet |
| sl st | Slip stitch |
| inc | Increase: 2 sc in the same stitch |
| dec | Decrease: work the next 2 stitches together as 1 |
| st(s) | Stitch(es) |
| Rnd | Round |
The small pieces
Arms (make 2)
Rnd 1: 5 sc in MR
Rnds 2–5: 5 sc (4 rounds)
Flatten the piece in half and work 2 sc through both layers.
A helpful note: the arm tube has 5 stitches, an odd number, and the pattern closes it with 2 sc across the flattened edge exactly as written — which leaves one of the five stitches uncaught. Work it as given rather than adding a third stitch. That flattened end is the one Rnd 14 crochets into the body, so it is held shut there as well.
Ears (make 2)
Rnd 1: 6 sc in MR
Rnd 2: 6 sc
Flatten the piece in half and work 3 sc through both layers. Fold in half again and join the corners with a sl st. Leave a yarn tail for sewing.
A helpful note: the second fold is what gives the ear its cupped shape instead of a flat leaf. The slip stitch through the two corners holds that fold permanently, so pinch the ear into the shape you want before you make it.
Muzzle
Rnd 1: 8 sc in MR
Rnds 2–3: 8 sc (2 rounds)
Leave a yarn tail for sewing. This is the one piece the pattern asks you to stuff, lightly, and that happens during assembly.
Antlers (make 2)
Rnd 1: 6 sc in MR
Rnd 2: 6 sc
About the bobble in the next round: the three single crochets all go into the same stitch and are gathered together so that they stand in for that one stitch. The stated total is what tells you so — Rnd 3 ends at 6, the same as Rnd 2, and three separate stitches would have taken it to 8. The source does not describe how to close the bobble, so work it the way you normally would and carry on around.
Rnd 3: 1 sc, bobble made of 3 sc in the next st, 4 sc (6)
Rnd 4: 6 sc
Leave a yarn tail for sewing. Make the second antler the same way, and keep the bobbles on matching sides so the pair reads as a set when you attach them.
Legs and body
Make two legs, following Rnds 1–4 for each one.
Rnd 1: 5 sc in MR
Rnd 2: 5 inc (10)
Rnds 3–4: 10 sc (2 rounds)
On the first leg, fasten off and cut the yarn. On the second leg, do not cut the yarn: ch 2 and join to the first leg with a sl st.
A helpful note: those two chains become the little bridge between the legs, and every round from Rnd 5 on begins at that junction — so the stitches counted out in Rnd 14 for the arms are measured from it too. Lay both legs side by side and decide which side of the bridge you want to be the front before you slip stitch them together.
Rnd 5: 10 sc around the first leg, 2 sc in the chains, 10 sc around the second leg, 2 sc in the chains (24)
Reading the repeats: from here on, brackets do the counting for you — [3 sc, inc] 6 times means working the sequence inside the brackets six times around, which is 24 stitches of work producing 30. If bracket notation is new to you, the Craft Yarn Council’s guide to reading crochet patterns covers the convention.
Rnd 6: [3 sc, inc] 6 times (30)
Rnds 7–11: 30 sc (5 rounds)
Rnd 12: [3 sc, dec] 6 times (24)
Rnd 13: [2 sc, dec] 6 times (18)
In the next round the arms are worked in.
How the join works: hold a flattened arm against the body where it belongs and work the next 2 sc through the arm and the body at the same time, catching both layers of the arm end with each stitch. Those 2 stitches count as 2 body stitches, not extra ones — which is why Rnd 14 still adds up to 18: 4 + 2 + 6 + 2 + 4. Keep both arms pointing the same way before you stitch the second one on.
Rnd 14: 4 sc, 2 sc working through the arm and the body together, 6 sc, 2 sc working through the second arm and the body together, 4 sc (18)
Rnd 15: [1 sc, dec] 6 times (12)
Head
Do not cut the yarn — continue working the head.
Rnd 16: 12 inc (24)
Rnds 17–21: 24 sc (5 rounds)
Insert the 8 mm eyes. Place them between Rnds 20 and 21, with 1 sc between the eyes.
A helpful note: a single stitch between the eyes puts them very close together, which is what gives this deer his young face — but it also means a stitch either way is visible. Set the eyes in place, look at the head from the front, and adjust before you fix them permanently. The head closes completely at Rnd 24, so the eyes must be in and secured before then.
About stuffing: the pattern names a stuffing point only for the muzzle, so the body and head are left to your judgment. If you want a firm figure, this is the practical moment to decide — add fiberfill through the opening now and top up once more before the final round, because Rnd 24 closes the piece for good.
Rnd 22: [2 sc, dec] 6 times (18)
Rnd 23: [1 sc, dec] 6 times (12)
Rnd 24: 6 dec
Close the work. Cut the yarn and hide the end inside the piece.
Assembly
- Sew on the muzzle, ears and antlers.
- Stuff the muzzle lightly.
- Embroider the nose with red yarn.
A helpful note: the pattern does not fix the positions of the muzzle, ears and antlers, so pin all four pieces on first and look at the face from the front before a single stitch goes in — small shifts change the expression completely on a head this size. The muzzle is easier to stuff while its seam is still partly open, which is a matter of sequence rather than a change to the method. If attaching parts neatly is the step you dread, our guide to sewing amigurumi parts together covers placement and invisible seams.
The scarf
Scarf: Ch 32. Beginning in the third chain from the hook, work 30 hdc. At the end, ch 2 and finish with a sl st. Hide the yarn ends.
A helpful note: starting in the third chain from the hook sets the first two chains aside as the edge, which leaves exactly 30 chains for the 30 hdc — the count confirms itself as you go. The closing ch 2 mirrors that edge at the other end. Keep the chain relaxed; a tight foundation will make the finished scarf curl instead of lying around the neck.
More small amigurumi to make next
Questions about this deer
The antler bobble uses three stitches — why does Rnd 3 still count 6?
Because the three single crochets share one stitch and are gathered together, so the group occupies a single stitch position instead of three. The stated total is what tells you: Rnd 3 finishes at 6, exactly as Rnd 2 did, and three separate stitches in place of the bobble would have taken the round to 8.
Why does Rnd 5 come to 24 stitches?
Each leg contributes its 10 stitches, and the two joining chains are worked into twice — once as you pass them on the way out and once on the way back. Rnd 5 travels 10 sc around the first leg, 2 sc in the chains, 10 sc around the second leg, then 2 sc in the chains again: 10 + 2 + 10 + 2 = 24.
Is the head made separately and sewn on?
No. After Rnd 15 the pattern tells you not to cut the yarn: Rnd 16 works 12 inc into those 12 stitches and the head grows straight out of the body in the same spiral. The pieces made separately are the arms, ears, muzzle and antlers — and of those, the arms are crocheted in at Rnd 14 rather than sewn on later.
The pattern only mentions stuffing the muzzle — what about the rest?
The single stuffing instruction in this pattern is the light stuffing in the muzzle during assembly. Nothing is specified for the body and head, so how firm you make them is your decision — and the moment to make it is before Rnd 24, since that round closes the piece and leaves no opening afterward. The arms and ears are flattened and stitched shut as they are finished, so they have no opening to stuff at all.