Mini Bobble Bear Crochet Pattern (Easy No-Sew Guide)
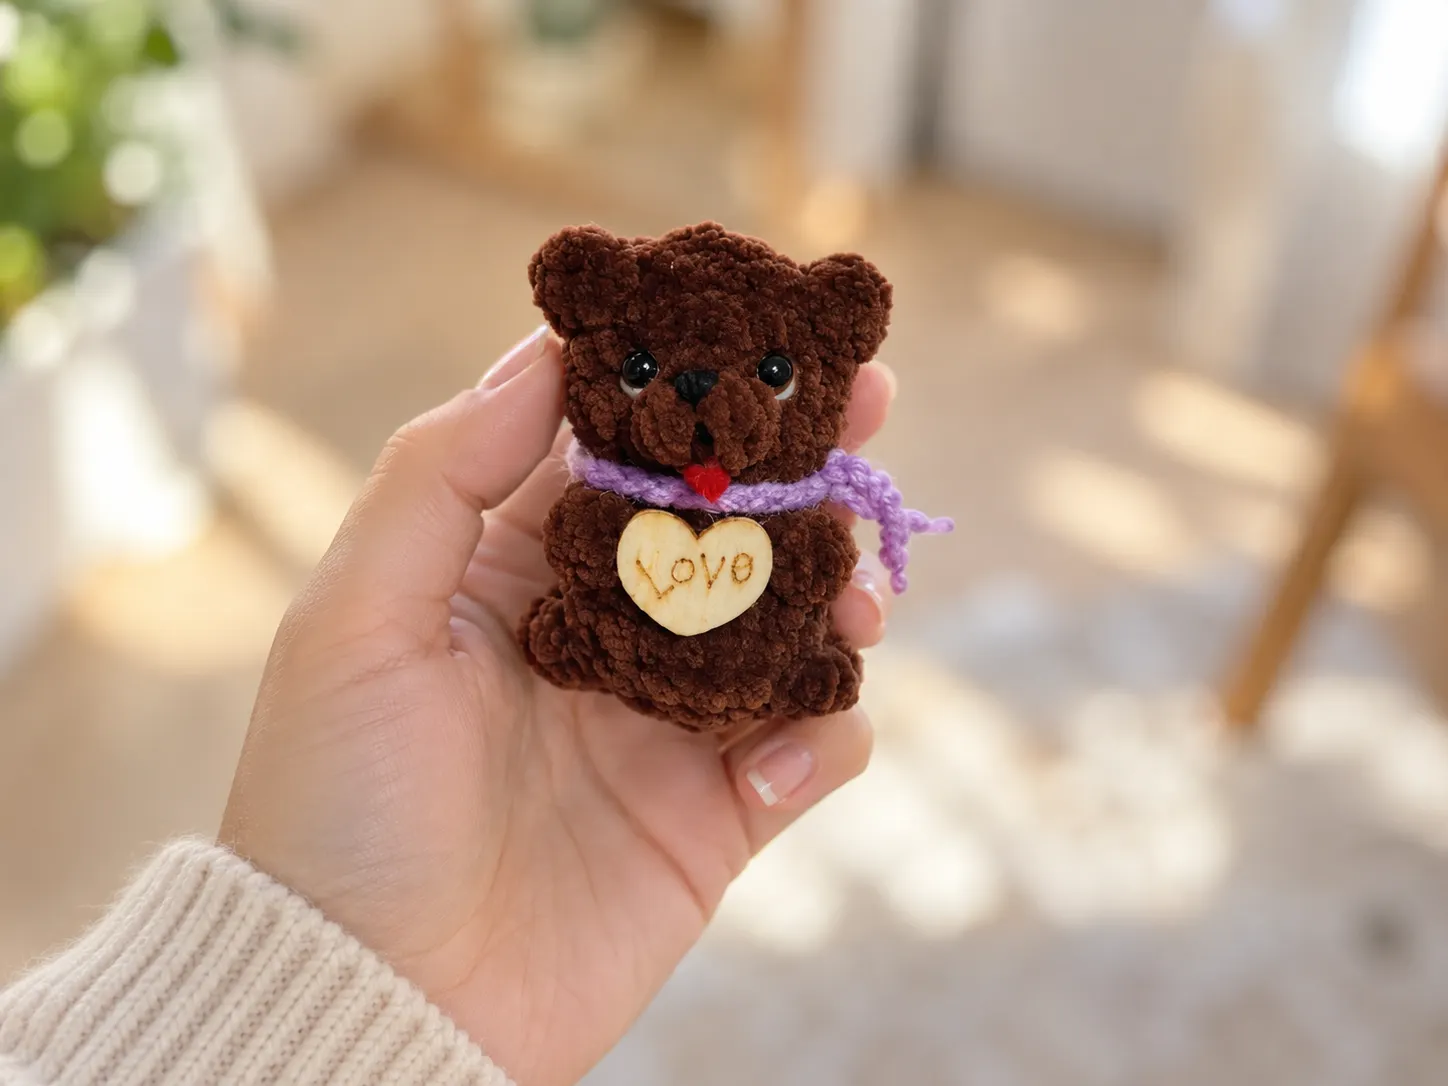
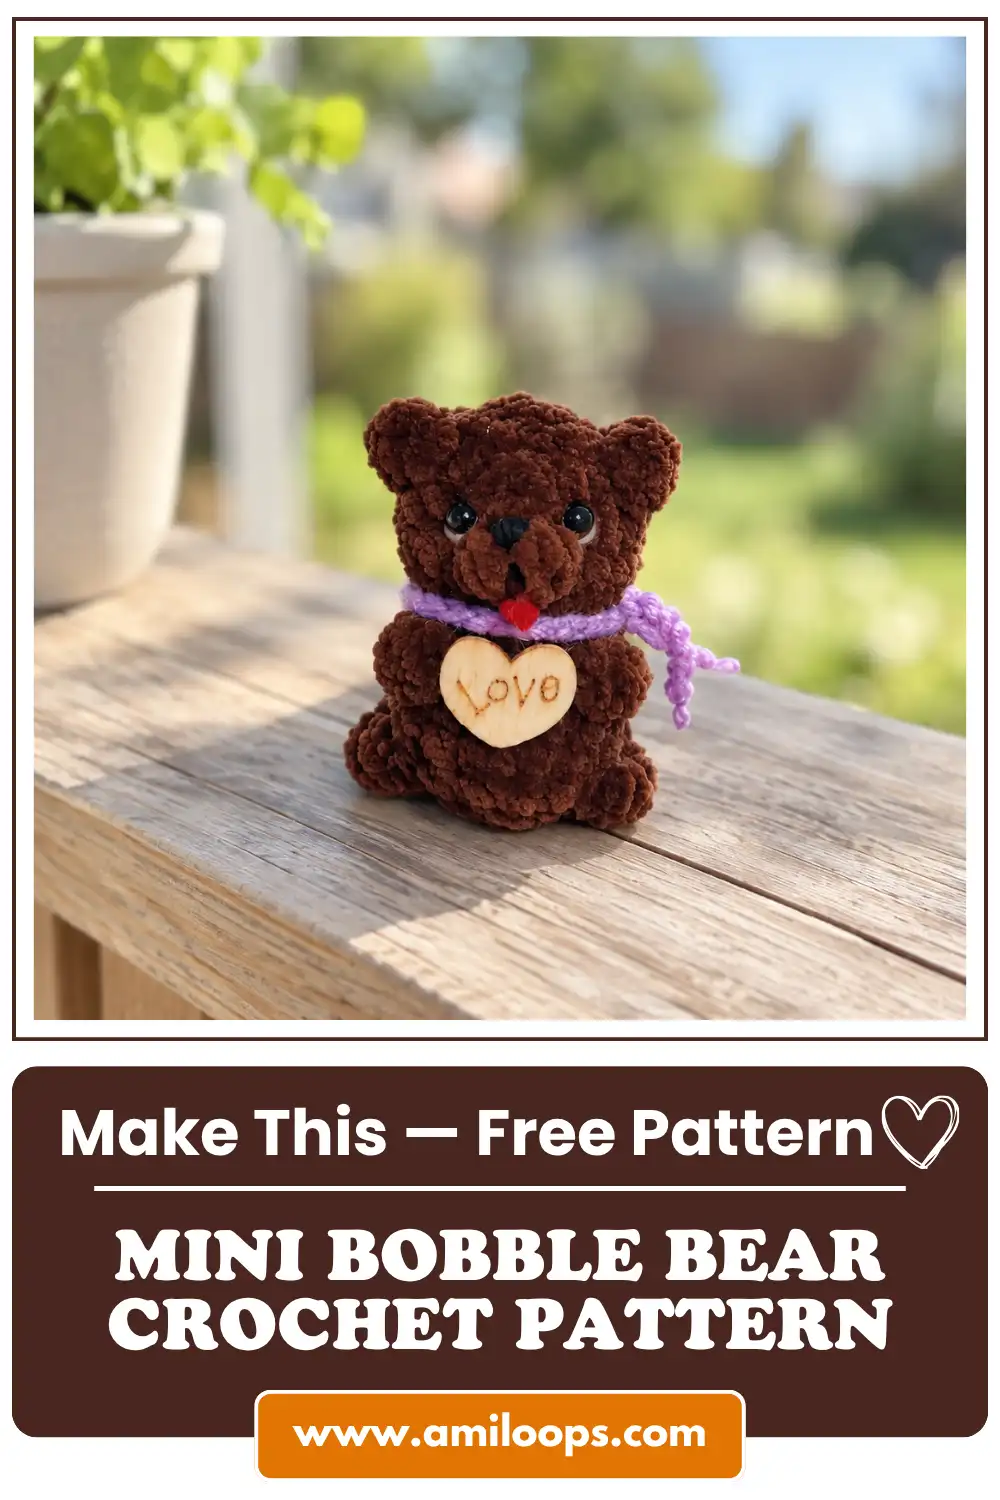
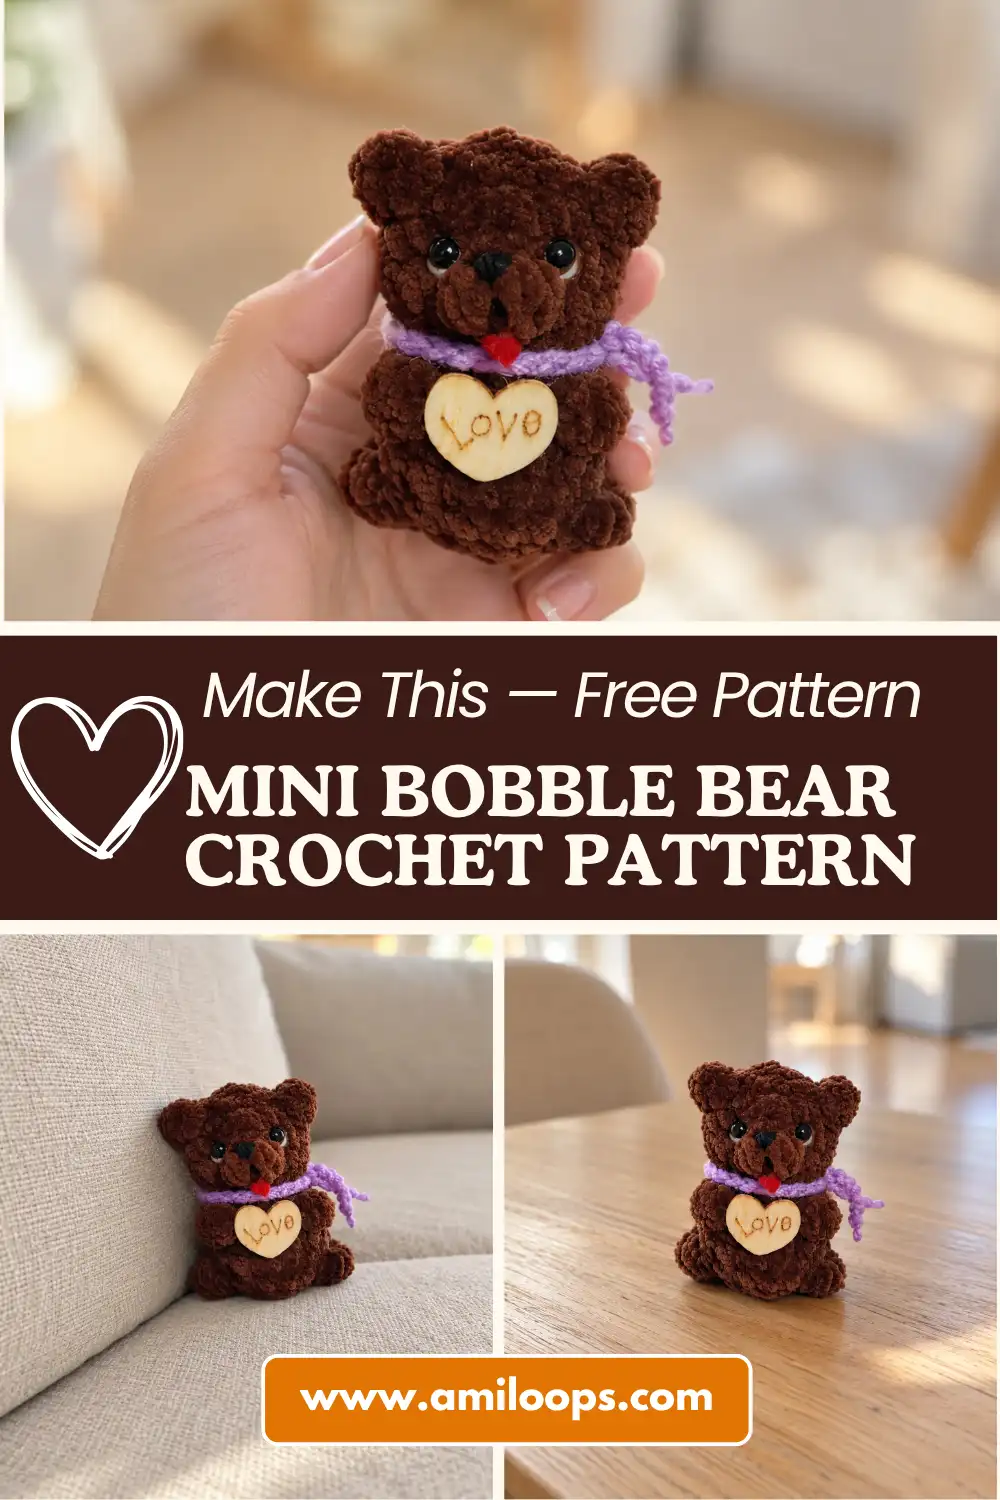
This mini bobble bear crochet pattern turns a handful of simple stitches into a tiny plush companion measuring just 4.5 cm from head to toe. Worked in soft velour yarn, the finished bear has a rounded head, textured bobble ears, and a raised muzzle. Everything flows from a single strand of yarn in one continuous piece, making it a highly satisfying, pocket-sized project.
The whole body is worked top-down in one continuous piece, so there’s no separate sewing step to join a head and body later. Increases and decreases shape the silhouette round by round, while bobble stitches worked into the front loops create the ears, muzzle, arms, legs, and tail without any extra pieces. Because everything flows from a single strand of yarn, keeping track of your current round and stitch count matters more than usual, especially once the bobbles start popping up along the outline of the piece.
About This Mini Bobble Bear Crochet Pattern
This pattern is classified as an easy difficulty project, which makes it approachable for anyone who’s comfortable with basic single crochet (sc) and simple increases but hasn’t tried bobble stitches yet. Its compact, keychain-friendly scale means the finished bear can clip onto a keyring, bag, or backpack strap, which makes it a satisfying small-scale project to complete.
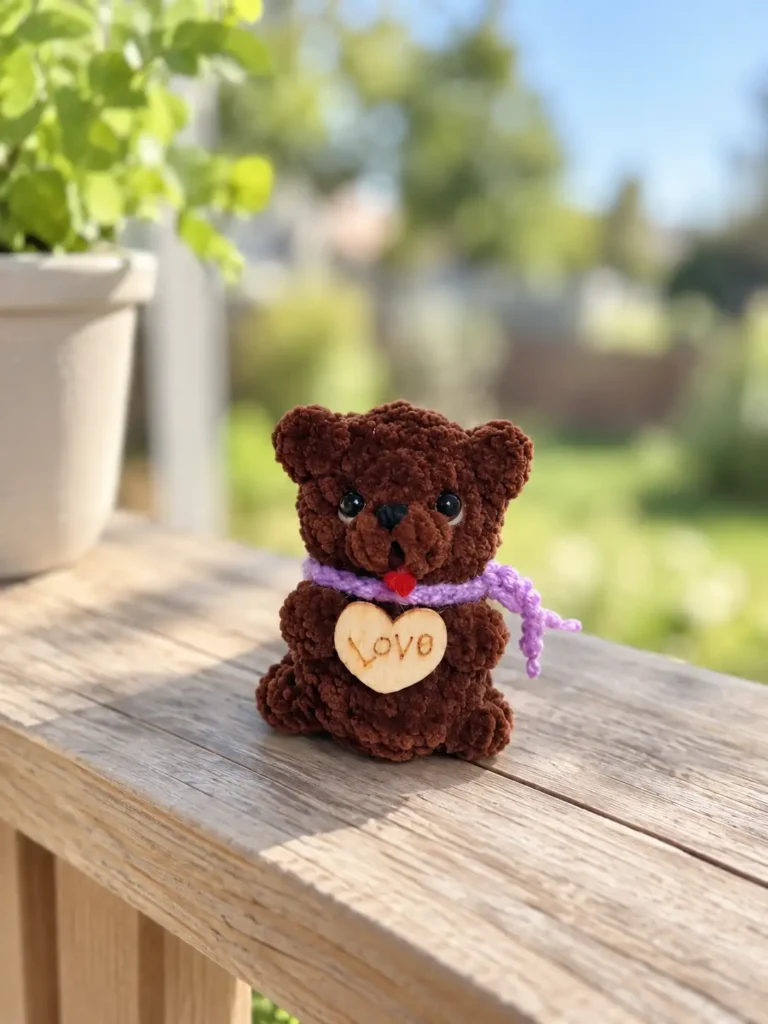
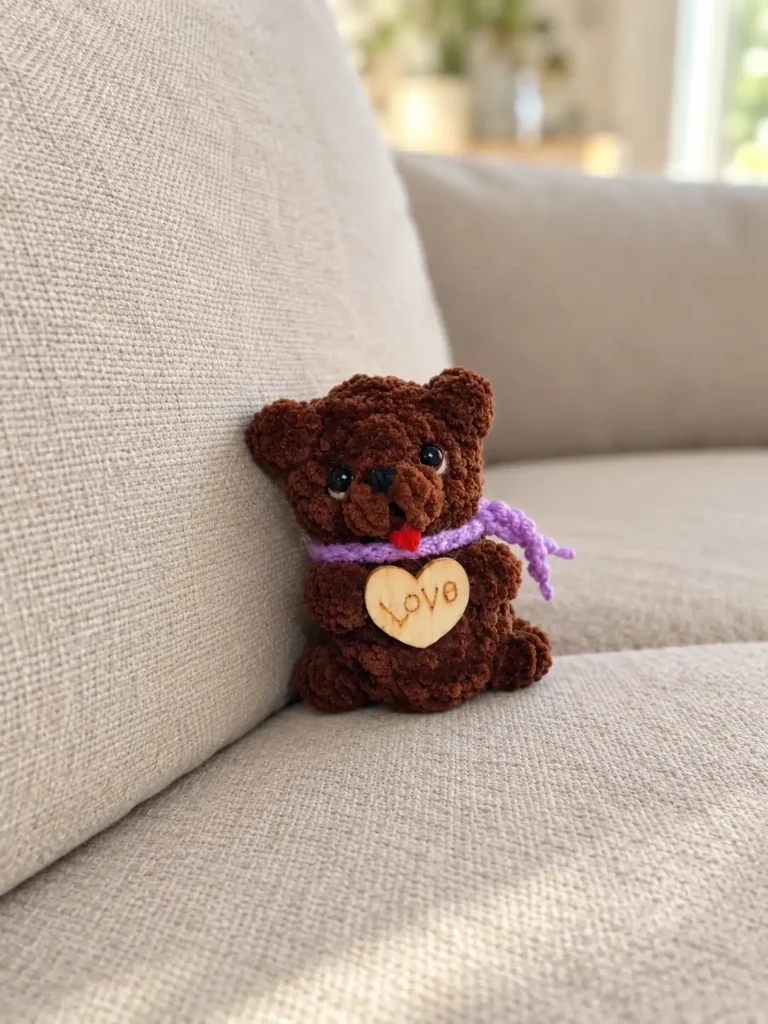
A small heart detail on the chest gives the design a sweet, finished focal point once the felt pieces are glued into place. Combined with the plush texture of the velour yarn, that little heart is often the first thing people notice, even though it’s added at the very end of the project rather than worked into the stitches themselves. It’s a small design choice, but it’s the kind of detail that makes each finished bear feel complete rather than plain.
Materials and Tools
Every part of this bear is worked from soft, textured YarnArt Velour yarn, which gives the finished stitches a plush, huggable surface that reads as fur even at a tiny scale. Pink felt supplies the two smallest finishing details, a tiny tongue tucked under the muzzle and a heart glued to the chest, while a small amount of contrasting yarn and a set of half-bead eyes fill in the face. Keep everything gathered before you start, since the small components are easy to misplace once you’re deep into shaping rounds. Having the felt and glue on hand before you finish stitching keeps the assembly stage moving smoothly right after the last round.
- YarnArt Velour yarn
- 2.0 mm crochet hook
- Toy stuffing
- Half-bead eyes
- Craft glue
- Pink felt
- Small amount of black and white yarn
- Small amount of scarf yarn
Crochet Abbreviations
The pattern relies on a short, consistent list of US crochet abbreviations, so getting comfortable with them before you begin makes the instructions easier to follow at a glance. Every bobble in this design is worked exclusively in the front loop only (FLO), which keeps the back loop free and gives each bobble a slightly raised, three-dimensional look against the smooth rounds around it. If any of these terms feel unfamiliar, the Craft Yarn Council’s crochet abbreviations guide is a solid general reference for looking up unfamiliar shorthand.
- ch – chain
- sc – single crochet
- inc – increase
- dec – decrease
- hdc – half double crochet
- FLO – front loop only
- bobble – bobble stitch
Construction Overview
The bear is worked top-down, starting at the crown of the head and shaping downward through the face, neck, and body in one uninterrupted piece. Increases in the early rounds build out the rounded skull, and by round 6 a dedicated neck decrease pulls the stitch count in to visually separate the head from the body, even though there’s no seam or break in the yarn at that point.
Rather than crocheting separate limbs and sewing them on later, every appendage on this bear, the ears, muzzle, arms, legs, and tail, is formed directly into the body using bobble stitches worked at specific rounds. Watching for these bobble rounds as you go is the easiest way to keep your place in the pattern, since each one marks a clear landmark between long stretches of plain single crochet. This approach also means there’s nothing to hide later: any gap where a bobble meets the surrounding stitches gets tucked in as you go, rather than left for a separate finishing pass.
Before You Start
Velour yarn has a soft, brushed texture that can make individual loops harder to distinguish than smooth cotton or acrylic yarn does. Before you start the first bobble round, take a moment to practice spotting the front loop specifically, since every bobble in this pattern depends on working into that loop while leaving the back loop free. Getting comfortable with this distinction now will make each bobble round easier to work once you reach it in the pattern. Working a few practice stitches in a scrap of the same yarn beforehand can help your eyes adjust to how the loops sit against the brushed pile.
Plan to stuff the head firmly before you reach the neck decrease round, because it’s much harder to add enough filling once the opening has narrowed. A snug, evenly distributed stuffing job at this stage also helps the bobble ears and muzzle hold their shape instead of looking flat once the piece is finished.
Mini Bobble Bear Crochet Pattern
Four rounds in this pattern do double duty by shaping the body and adding a bobble appendage at the same time: round 3 adds the ears, round 5 shapes the muzzle, round 8 builds the arms, and round 11 finishes the legs. Watching for these rounds as landmarks makes the rest of the plain single crochet rounds easy to track, since each bobble round interrupts the smooth surface with a distinct three-dimensional bump exactly where a paw or ear belongs. Because these four rounds are the only places where bobble stitches appear, everything else in the pattern is plain single crochet, increases, or decreases, which keeps the overall shaping simple even though the finished shape has several small three-dimensional features.
Bear
Round 1: Ch 2, 6 sc in the 2nd ch from the hook. (6 sts)
Round 2: 6 inc. (12 sts)
Round 3: 3 sc, 3-hdc bobble in FLO (ear), 3 inc, 3-hdc bobble in FLO (ear), 4 sc. (15 sts)
Round 4: 15 sc. (15 sts)
Round 5: 7 sc, 4-hdc bobble in FLO (muzzle), 7 sc. (15 sts)
Round 6: (1 sc, 1 dec) x 5. (10 sts)
Round 7: (1 sc, 1 inc) x 5. (15 sts)
Round 8: 6 sc, 3-hdc bobble in FLO (arm), 3 sc, 3-hdc bobble in FLO (arm), 4 sc. (15 sts)
Rounds 9-10: 15 sc. (15 sts)
Round 11: 6 sc, 4-hdc bobble in FLO (leg), 4 sc, 4-hdc bobble in FLO (leg), 3 sc. (15 sts)
Round 12: 2 sc, 2-hdc bobble in FLO (tail), 1 sc, then make continuous decreases (approx. 7 to 8 dec) until the hole is closed.
Assembly and Finishing
Once the body is complete, the 4-hdc bobble from round 5 gives you a built-in landmark for the center front of the face, since every glued or embroidered detail is positioned relative to that muzzle bump. The half-bead eyes sit directly above or beside the muzzle bobble rather than at a fixed measured distance, so it helps to hold the pieces in place and check the angle before committing to glue.
The small tail bobble worked into round 12 needs to end up on the back of the bear, which is worth double-checking before you cinch the final hole closed, since it’s much easier to adjust the orientation now than after everything is stuffed and sealed. Once the body itself is finished, the felt heart glued to the chest adds the last bit of color and personality to the front of the piece. Turning the piece slowly in your hands before cinching gives you one last chance to confirm every bobble appendage is facing the direction you intended.
- Cinch the remaining hole tightly closed.
- Embroider the nose using black yarn.
- Glue the half-bead eyes in place.
- Embroider white edges around the eyes.
- Glue a felt tongue below the muzzle.
- Glue a felt heart to the chest.
- Tie the ch-40 scarf around the neck.
Pattern Notes and Troubleshooting
When Bobble Appendages Pop Inward
It’s common for a bobble ear, arm, or leg to sink inward instead of standing proud right after you finish working it, especially on a piece this small. If that happens, don’t rip back the stitches. Simply reach inside with a fingertip and gently push the bobble outward from behind until it pops into its intended rounded shape, then continue on to the next round as written.
If the Velour Yarn Splits Near the Starting Ring
Velour yarn’s brushed texture can make it more prone to snapping or splitting than smooth cotton, particularly under the tight tension of pulling a magic ring closed for a project this small. If that happens on your starting round, switch to the ch-2 starting method instead: chain two and work your first six single crochets into the second chain from the hook, which puts less strain on the yarn right at that vulnerable first cinch.
Keeping the Mini Scale Consistent
Because this pattern is rated as easy, most of the individual stitches aren’t technically difficult on their own, but working them at such a small, keychain-ready scale means tension matters more than usual. A stitch that’s slightly too loose can distort the whole silhouette of a piece this size, so it’s worth crocheting a little tighter than feels natural and checking your rounds against the stated stitch counts as you go. Small inconsistencies are much more visible on a piece this size than they would be on a larger project, so it’s worth taking your time through the increase and decrease rounds especially.
Finishing Checklist
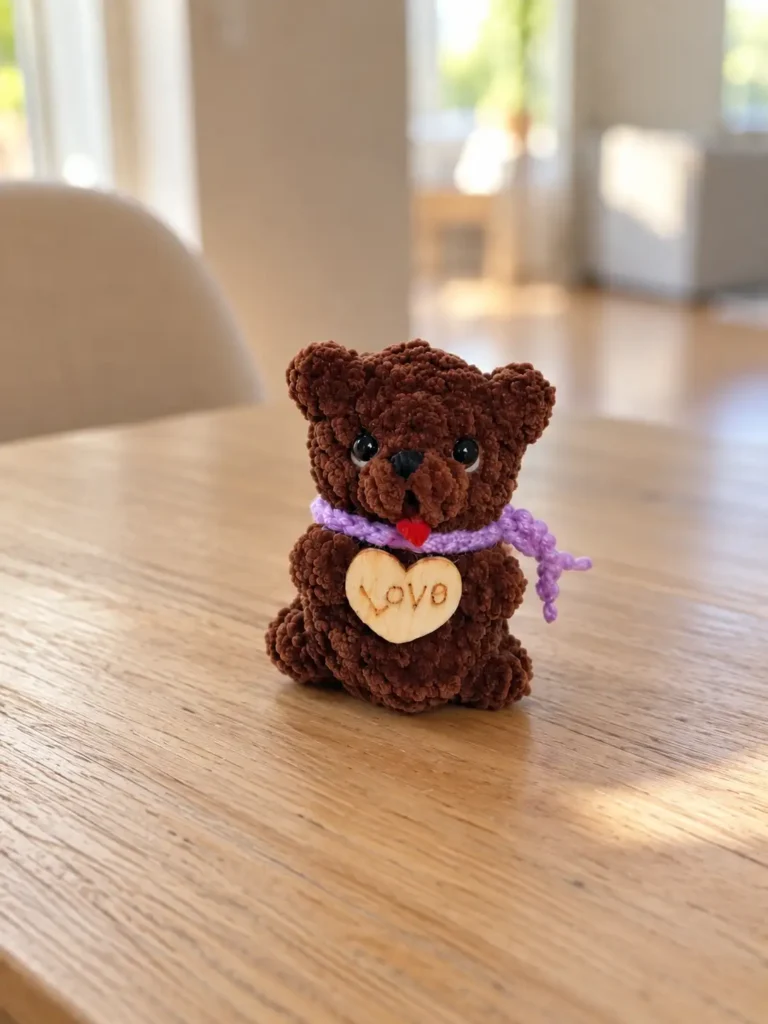
Before you consider the bear complete, take a moment to run through a final check of every detail. The scarf is just a simple detached chain of 40 stitches, tied on rather than stitched in, so it’s worth confirming the knot is snug enough to survive regular handling. For the glued felt pieces, use a strong craft glue such as Moment Crystal, since a weaker adhesive can let the tongue or heart lift away from the yarn surface over time. Working through the list in order, from the closed bottom opening to the tied scarf, makes it easy to catch a loose end before the bear leaves your work basket.
- Ensure bottom opening is fully cinched.
- Verify nose embroidery is visible.
- Check white sclera embroidery around eyes.
- Ensure glued felt pieces are secure.
- Verify scarf is tied securely.
- Confirm keychain loop is anchored if used.
More Mini Amigurumi to Try
Since this bear’s small, keychain-ready scale is a big part of its charm, it’s worth browsing other projects built at a similarly tiny size. The mini crochet animals pattern collection covers several more designs sized for keyrings and bag charms, while the mini bee crochet keychain pattern is another small-scale option to try next. Both share the same emphasis on compact, well-defined shaping, so the transition from this pattern to either one should feel familiar.