Crochet Calf Amigurumi Pattern: A Little Cow With a Knitted Scarf
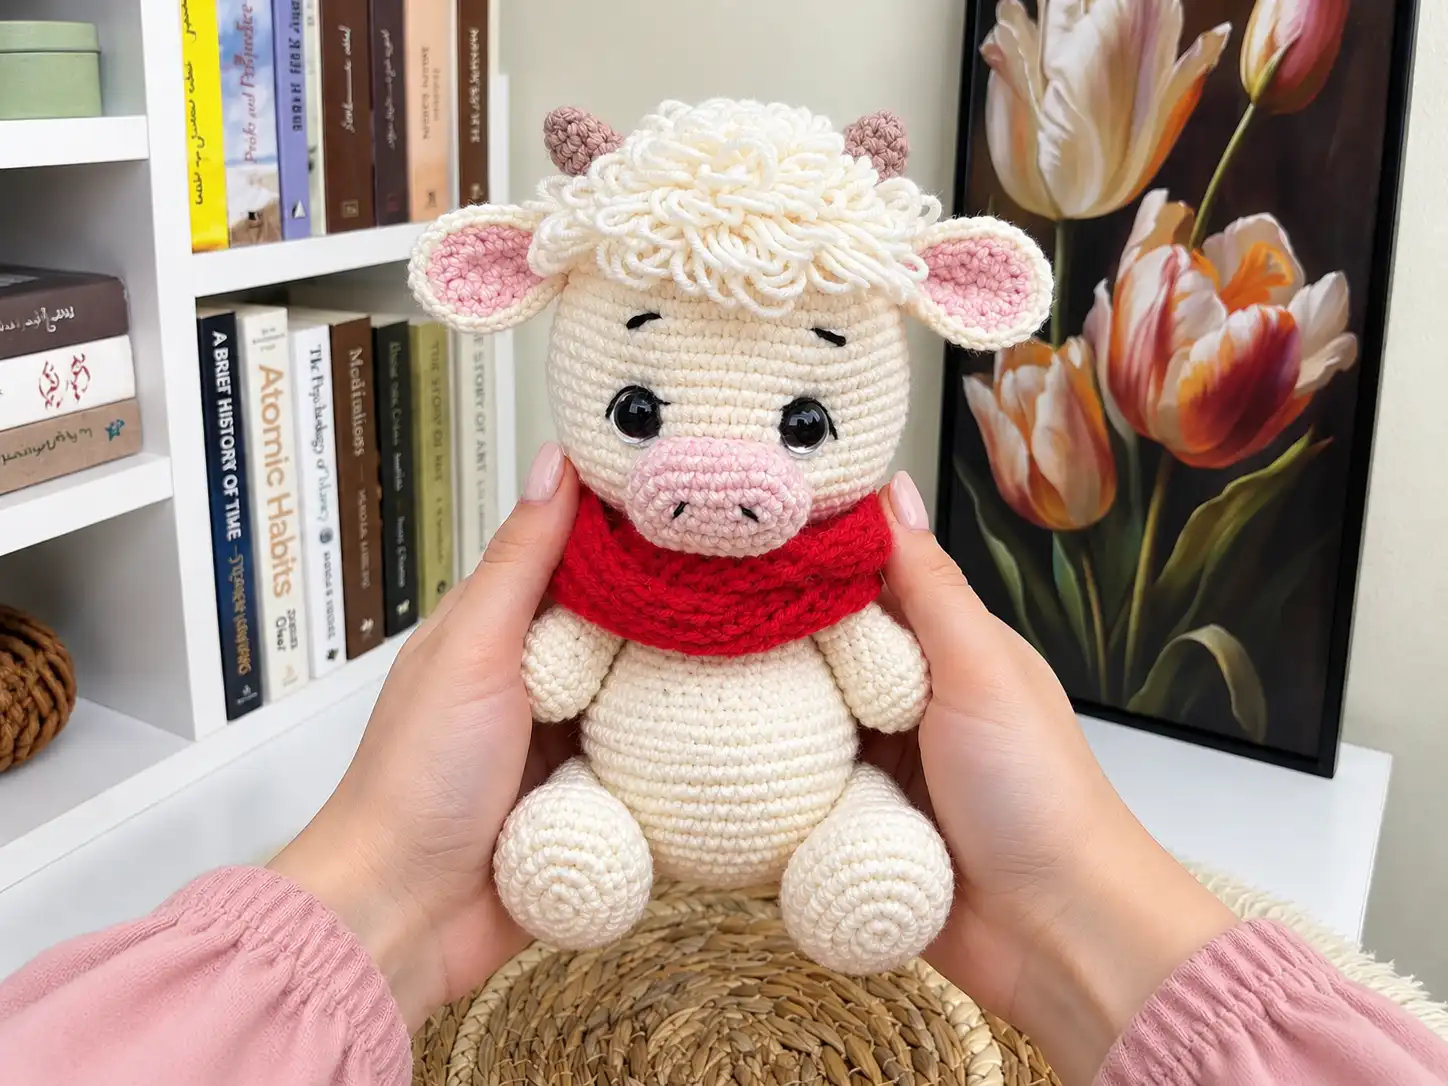
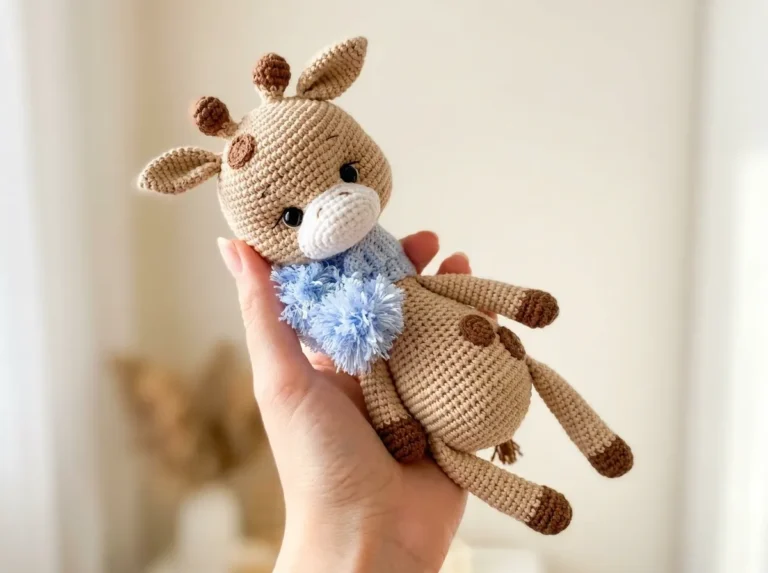
Most amigurumi projects stay inside one craft from the first round to the last. This crochet calf amigurumi pattern asks for two. Nine of the ten pieces are worked with a hook: the body, head, arms, legs, muzzle, horns, ears, hairstyle, and tail. The tenth is a small scarf for the calf’s neck, cast on with knitting needles and worked in 1×1 ribbing. Knowing about that split before you begin matters, because the scarf is the one piece that cannot be finished with the tool already in your hand.
The second thing worth knowing early is how the limbs meet the body. Instead of sewing each arm and leg flat against the side, this pattern calls for thread jointing, which carries a strong strand through the body and draws opposite limbs toward one another so they can turn. That single choice is what makes the finished calf posable rather than fixed, and it reshapes the order of the work at the end. Thread jointing is much easier to plan for while the body is still open than once every piece is stuffed and closed.
About This Crochet Calf Amigurumi Pattern
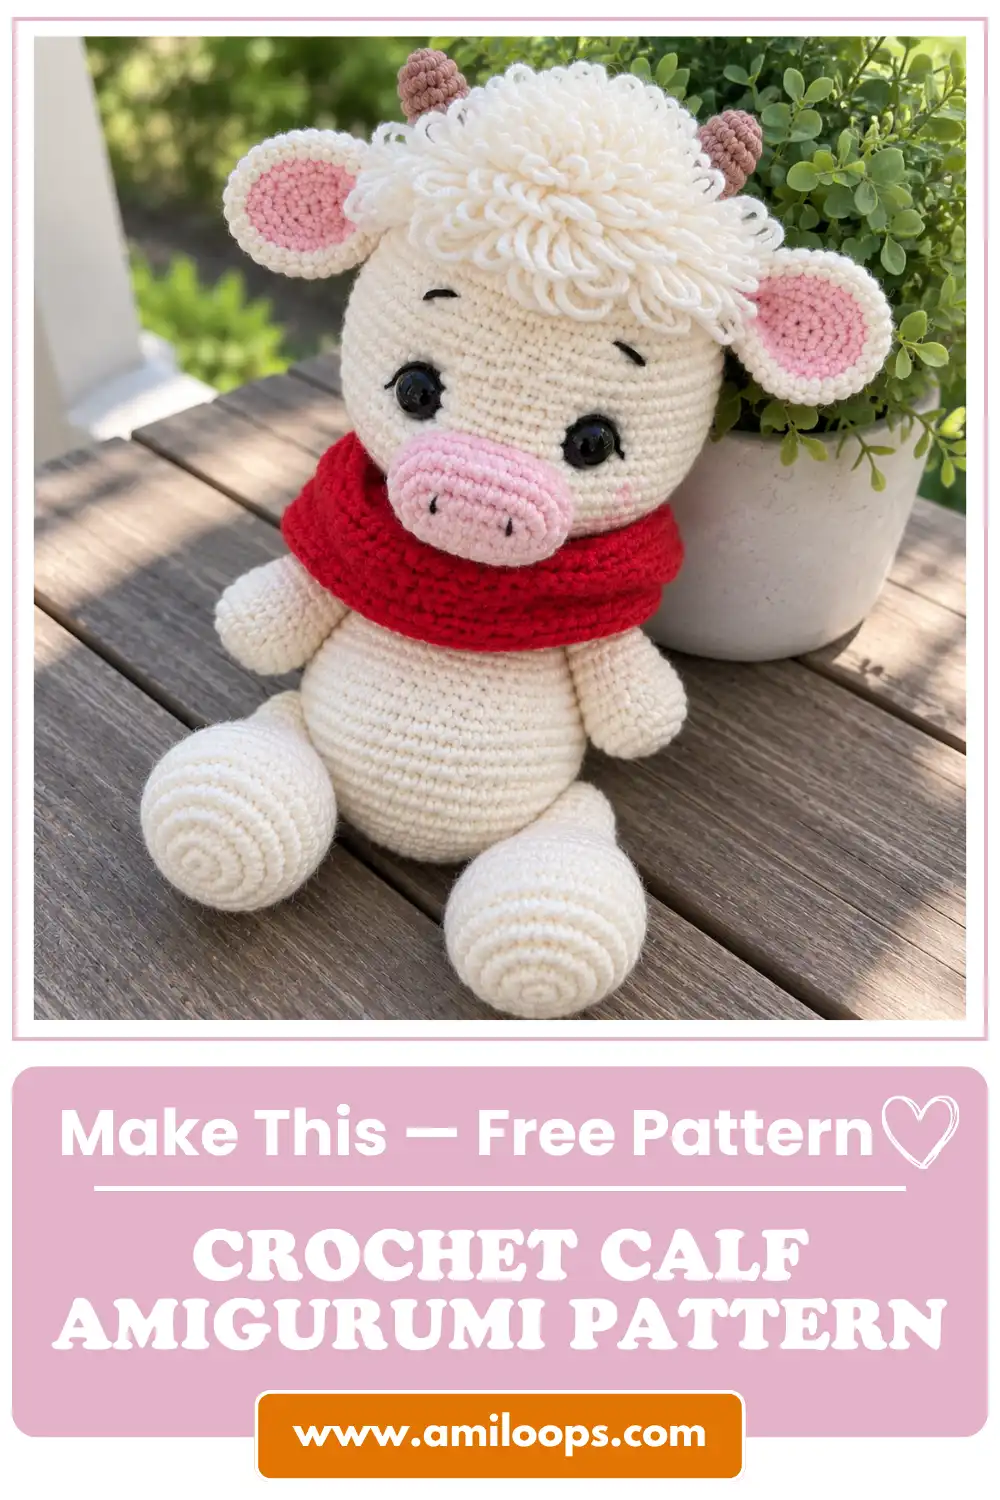
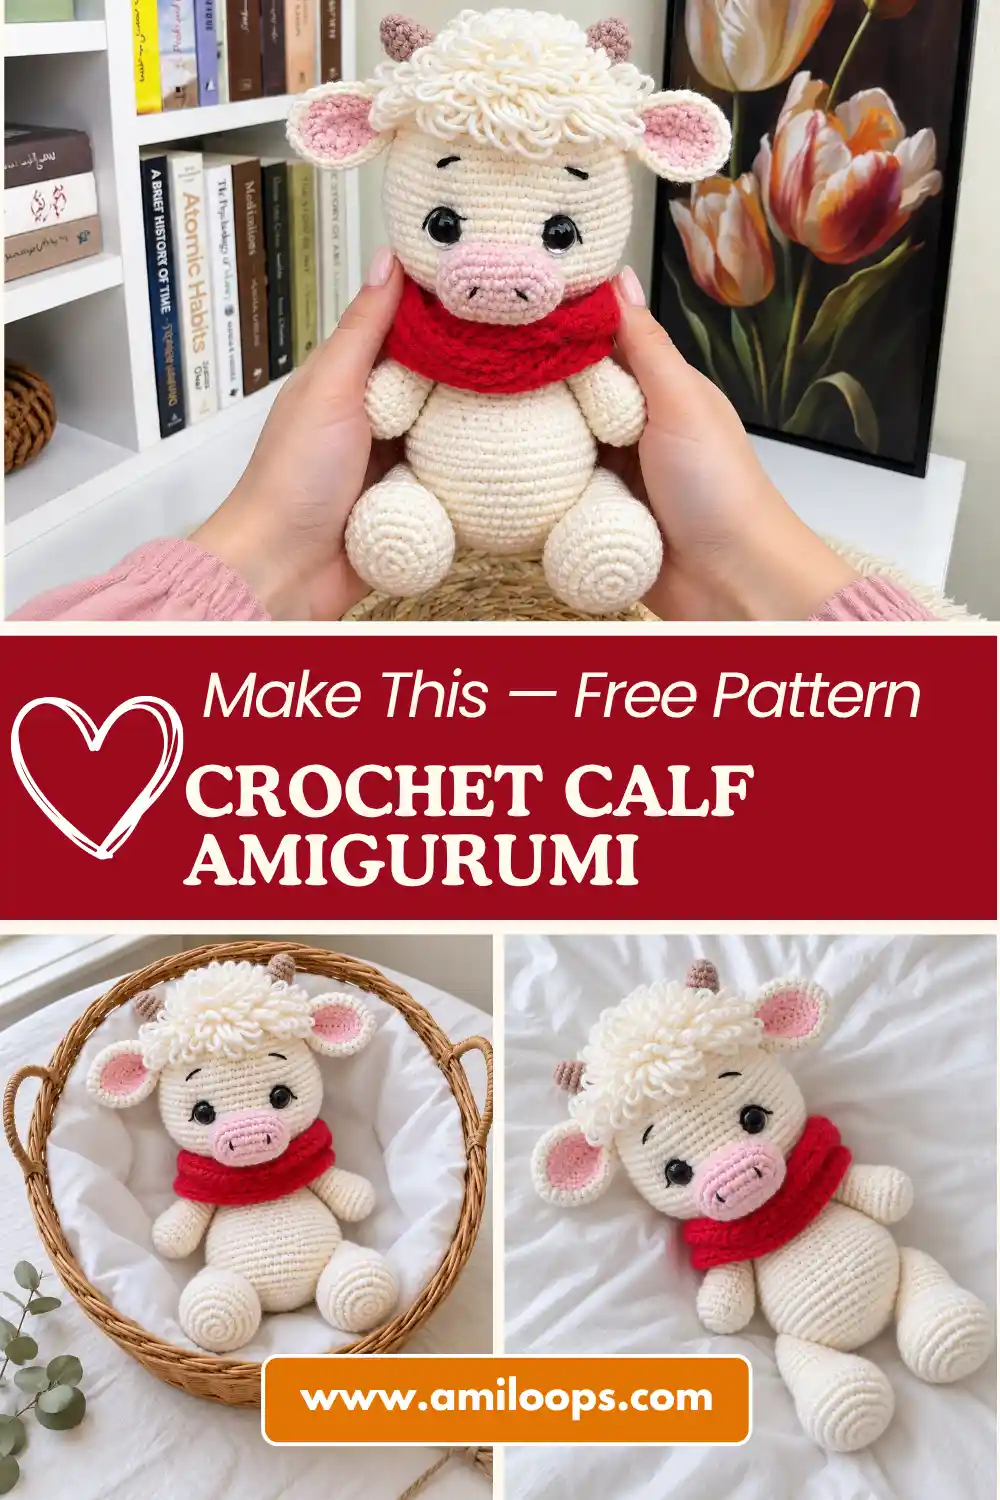
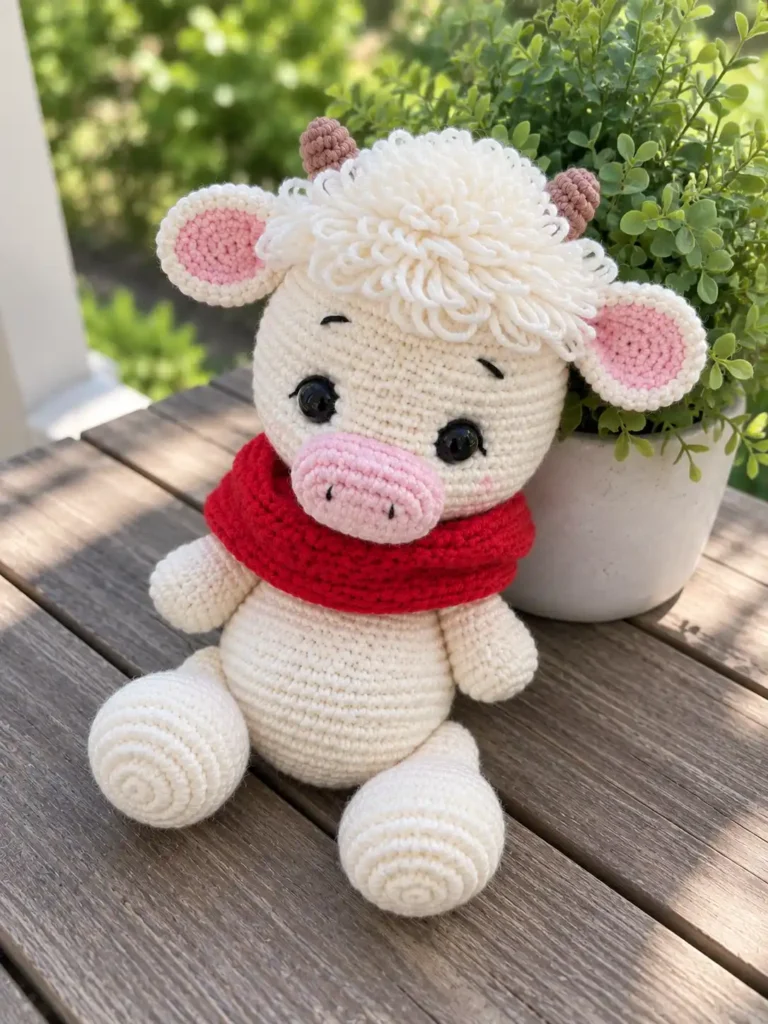
The head is not one surface with details added to it. It is a stack, and the middle layer is the hairstyle. That piece is crocheted separately, sewn down over the crown, and then serves as the base the horns are attached to, which means it has to be positioned and secured before anything else goes on top. The ears meet the same layer from the side, sitting at the junction where the cap of hair meets the head fabric. Reading the head as three stacked shapes instead of one round ball makes the whole sequence far easier to keep straight.
The horns and the ears also hold a fixed relationship to each other. Both horns are placed on the hairstyle so that they line up horizontally with the ears, which gives the head a clear left-to-right axis and keeps the face from looking lopsided when the calf is viewed straight on. It is worth carrying that line in mind before you thread a needle, because ears and horns are not two separate decisions made one after the other. Set the ears first, then let them tell you where the horns belong.
Materials and Tools for the Calf
The yarn list is short and unusually specific. Three shades of YarnArt Jeans carry the entire figure: color 03 for the milky white body, color 18 for the pink ears and muzzle, and color 71 for the brown horns. The face takes 8 mm safety eyes, and black and white embroidery thread belongs within reach as well, since the eyebrows, eye whites, eyelashes, and nostrils are all worked in thread rather than yarn. Everything else on the list is ordinary equipment: a 2.0 mm hook, knitting needles for the scarf, fiberfill, a tapestry needle, and scissors.
- YarnArt Jeans (Color 03 – White/Milky) for main body
- YarnArt Jeans (Color 18 – Light Pink) for ears and muzzle
- YarnArt Jeans (Color 71 – Brown) for horns
- Any suitable yarn for the scarf
- 2.0 mm crochet hook
- Knitting needles (for the scarf)
- 8 mm safety eyes
- Fiberfill stuffing
- Tapestry needle
- Scissors
Color planning: Because each YarnArt Jeans shade is tied to particular pieces rather than shared across them, all three can be wound and labeled before the first round. Color 03 covers the main body group, color 18 goes to the ears and muzzle, and color 71 is only ever the two horns, so no color decision has to be made once the hook is moving.
Crochet Abbreviations Used in These Rounds
Every round below is written in United States crochet terms, and the list that follows is the complete set this pattern uses. Single crochet does most of the work, as it does in nearly all amigurumi, but the ears pull half double crochet and double crochet into the mix and add one piece of shorthand that is not universal: dc inc. If you are still building confidence with reading amigurumi patterns, look the list over before you pick up the hook, because the ear rounds are the densest lines here and they read very differently from a plain round of sc.
- MR — magic ring
- ch — chain
- sl st — slip stitch
- sc — single crochet
- hdc — half double crochet
- dc — double crochet
- inc — increase
- dec — decrease
- dc inc — double crochet increase
On dc inc: The dc inc shorthand is the one worth pausing on, because it is not written the same way everywhere. Here it means two double crochets worked into the same stitch, which is how the ear border gains its extra width. Whenever an abbreviation looks unfamiliar, check it against the standard US crochet abbreviations rather than assuming your usual reading is the intended one.
Construction Overview: How the Ten Pieces Fit Together
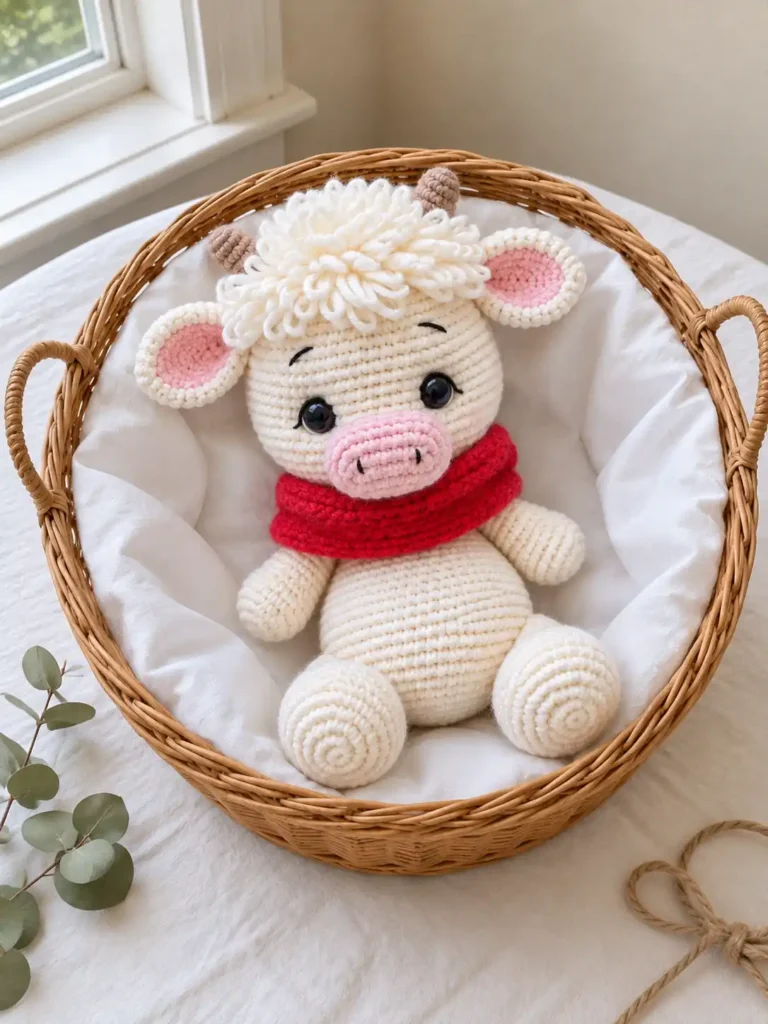
The calf is never worked as one continuous piece. The body and the head are crocheted as two separate main shapes, and each one starts with a magic ring at the center of a flat circle, gains six stitches a round to its widest point, then decreases again. The body stops widening at 54 stitches and the head at 60. The body then carries a quieter piece of shaping: across Rounds 18 and 19 the decreases sit off to one side, with 13 stitches before them and 17 after, so the fabric pulls in unevenly rather than symmetrically. That bias most likely forms a belly contour.
One piece changes technique completely. The hairstyle is worked in loop stitch, the method that leaves a long strand standing on the surface of the fabric with every stitch, and the entire cap depends on it. Nothing else in the pattern uses it, which is genuinely useful to know: the technique can be learned on a single circle that ends at 48 stitches rather than across a whole toy. What it produces is the textured top knot above the forehead, and on a finished calf it is the detail the eye lands on first.
The remaining pieces divide into repeats and one-offs. Legs, arms, and horns are each made twice, and the ears are made four times, two halves for each finished ear, while the body, head, hairstyle, muzzle, tail, and scarf are single. The tail is the least like anything else. Rather than a stuffed tube it is a chained cord finished with a tufted yarn tassel, so it stays soft where the rest of the calf is firm and rounded. Nothing attaches to it and nothing waits on it, which makes it the one piece that can fairly be left until last.
Before You Start Crocheting
Set out two toolkits rather than one. The crocheted pieces are worked with a 2.0 mm hook, and the scarf is worked on knitting needles, so both belong on the table before the first stitch. Keeping them together matters more than it sounds, because the scarf is the piece most easily postponed and then quietly forgotten once the calf itself looks finished. Laying the needles beside the hook at the start keeps the scarf inside the project instead of turning it into an errand you come back to much later.
It is also worth practicing loop stitch before you reach the hairstyle if you have never worked it. A whole piece of this calf depends on that stitch, and unlike a decrease you can pull back and rework, loops are awkward to correct once the round has moved past them. Work a small swatch, watch how the strands behave at your own tension, and decide how long you want them while the answer still costs nothing. Settling that question on a scrap is far cheaper than discovering it halfway through the cap.
Jointing supplies: Prepare a strong jointing thread or a length of dental floss before assembly begins. The arms and legs are attached with thread jointing rather than plain sewing, and that method puts real tension on whatever strand you choose, so ordinary sewing thread is not the right material for the job.
Calf Crochet Pattern, Round by Round
Two pieces are shaped differently from the rest, and both are easier to follow if you know that going in. The muzzle is worked in the round along both sides of a foundation chain, which is what turns it into an oval instead of a circle. The ears are made as four separate pieces, joined in twos, and the border round that joins them asks for 2 sc in every stitch around the edge.
Body
Round 1: 6 sc in a MR. (6 sts)
Round 2: 6 inc. (12 sts)
Round 3: (1 sc, inc) x 6. (18 sts)
Round 4: (2 sc, inc) x 6. (24 sts)
Round 5: (3 sc, inc) x 6. (30 sts)
Round 6: (4 sc, inc) x 6. (36 sts)
Round 7: (5 sc, inc) x 6. (42 sts)
Round 8: (6 sc, inc) x 6. (48 sts)
Round 9: (7 sc, inc) x 6. (54 sts)
Rounds 10-17: 54 sc. (54 sts)
Round 18: 13 sc, (2 sc, dec) x 6, 17 sc. (48 sts)
Round 19: 13 sc, (1 sc, dec) x 6, 17 sc. (42 sts)
Round 20: (5 sc, dec) x 6. (36 sts)
Round 21: 36 sc. (36 sts)
Round 22: (4 sc, dec) x 6. (30 sts)
Rounds 23-28: 30 sc. (30 sts)
Round 29: (3 sc, dec) x 6. (24 sts)
Round 30: 24 sc. (24 sts)
Round 31: (2 sc, dec) x 6. (18 sts)
Head
Round 1: 6 sc in a MR. (6 sts)
Round 2: 6 inc. (12 sts)
Round 3: (1 sc, inc) x 6. (18 sts)
Round 4: (2 sc, inc) x 6. (24 sts)
Round 5: (3 sc, inc) x 6. (30 sts)
Round 6: (4 sc, inc) x 6. (36 sts)
Round 7: (5 sc, inc) x 6. (42 sts)
Round 8: (6 sc, inc) x 6. (48 sts)
Round 9: (7 sc, inc) x 6. (54 sts)
Round 10: (8 sc, inc) x 6. (60 sts)
Rounds 11-24: 60 sc. (60 sts)
Round 25: (8 sc, dec) x 6. (54 sts)
Round 26: (7 sc, dec) x 6. (48 sts)
Round 27: (6 sc, dec) x 6. (42 sts)
Round 28: (5 sc, dec) x 6. (36 sts)
Round 29: (4 sc, dec) x 6. (30 sts)
Round 30: (3 sc, dec) x 6. (24 sts)
Round 31: (2 sc, dec) x 6. (18 sts)
Legs
Round 1: 6 sc in a MR. (6 sts)
Round 2: 6 inc. (12 sts)
Round 3: (1 sc, inc) x 6. (18 sts)
Round 4: (2 sc, inc) x 6. (24 sts)
Round 5: (3 sc, inc) x 6. (30 sts)
Rounds 6-9: 30 sc. (30 sts)
Round 10: 9 sc, 6 dec, 9 sc. (24 sts)
Round 11: (2 sc, dec) x 6. (18 sts)
Rounds 12-21: 18 sc. (18 sts)
Round 22: (1 sc, dec) x 6. (12 sts)
Round 23: 6 dec. (6 sts)
Arms
Round 1: 6 sc in a MR. (6 sts)
Round 2: 6 inc. (12 sts)
Round 3: (1 sc, inc) x 6. (18 sts)
Rounds 4-7: 18 sc. (18 sts)
Round 8: (1 sc, dec) x 6. (12 sts)
Rounds 9-18: 12 sc. (12 sts)
Round 19: 6 dec. (6 sts)
Hairstyle
Round 1: 6 sc in a MR. (6 sts)
Round 2: 6 inc. (12 sts)
Round 3: (1 sc, inc) x 6. (18 sts)
Round 4: (2 sc, inc) x 6. (24 sts)
Round 5: (3 sc, inc) x 6. (30 sts)
Round 6: (4 sc, inc) x 6. (36 sts)
Round 7: (5 sc, inc) x 6. (42 sts)
Round 8: (6 sc, inc) x 6. (48 sts)
Muzzle
Round 1: Starting in the 2nd ch from the hook: inc, 4 sc, 3 sc in the last ch, continue along the opposite side of the chain: 5 sc, ch 1. (14 sts)
Round 2: 2 inc, 4 sc, 3 inc, 4 sc, inc. (20 sts)
Round 3: (1 sc, inc) x 2, 4 sc, (1 sc, inc) x 3, 5 sc, inc. (26 sts)
Rounds 4-5: 26 sc. (26 sts)
Horns
Round 1: 6 sc in a MR. (6 sts)
Round 2: (1 sc, inc) x 3. (9 sts)
Round 3: 9 sc. (9 sts)
Round 4: (2 sc, inc) x 3. (12 sts)
Rounds 5-6: 12 sc. (12 sts)
Ears
Round 1: Starting in the 2nd ch from the hook: 2 sc, 2 hdc, 1 dc, 3 dc in the last ch, continue along the opposite side of the chain: 1 dc, 2 hdc, 2 sc, ch 1. (13 sts)
Round 2: 2 sc, 2 hdc, 1 dc, 3 dc inc, 1 dc, 2 hdc, 2 sc. (16 sts)
Tail
Row 1: Starting in the 2nd ch from the hook, 15 sc. (15 sts)
Scarf
Row 1: Cast on 10 stitches on knitting needles. Work in 1×1 ribbing until the scarf measures approximately 30 cm. Bind off the stitches and sew the ends of the scarf together to form a loop.
Assembly and Finishing the Calf
Assembly starts at the head, and it starts before the head is closed. The eyes go in between Rounds 18 and 19 with exactly 11 stitches left between the two posts, so count that gap twice before you press the backs on. Of everything in this project, inserting the safety eyes is the step that cannot be undone, which is why it is worth stopping, holding the head at arm’s length, and checking that the spacing looks right on the piece itself rather than only on paper.
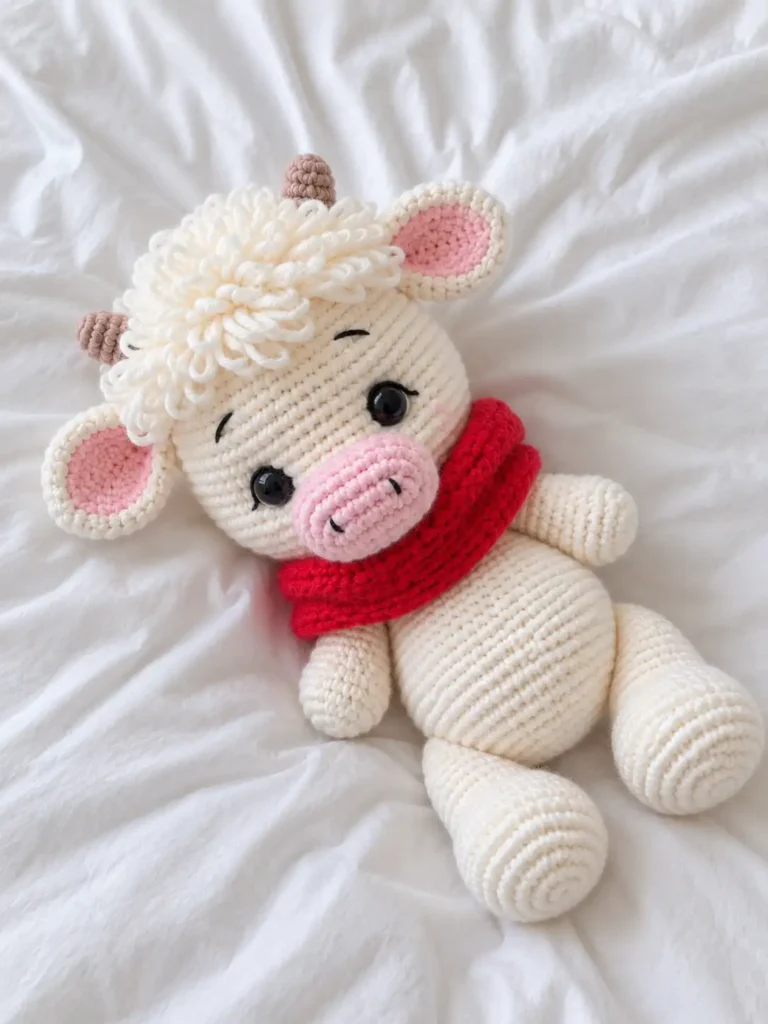
The rest of the figure meets the body at fixed heights. The legs are thread-jointed between Rounds 10 and 11, the arms between Rounds 26 and 27, and the tail is stitched to the back between Rounds 11 and 12. Marking all three positions with pins before sewing the pieces together lets you judge the proportions as a whole, because a limb that looks correct on its own can sit noticeably high once its opposite number is in place. Notice too that the legs and the tail land within a round of each other, so the lower body gets crowded quickly.
The face is then built around those posts. The sockets are sculpted with indentations before any embroidery goes on, the muzzle is sewn below the level of the eyes, and the eyebrows, eye whites, eyelashes, and nostrils come last, once the muzzle is already attached and can no longer shift under the needle. Working in that order keeps every strand of thread landing on a surface that has reached its final position, which is the difference between a face that reads clearly and one that ends up slightly out of true.
- Insert safety eyes into the head between Rounds 18 and 19, spaced 11 stitches apart.
- Sew the completed hairstyle to the top of the head.
- Fold the ears in half at the base and sew them to the junction between the hairstyle and the head.
- Sew the horns onto the hairstyle, approximately aligned with the ears.
- Sew the muzzle to the face, aligned below the level of the eyes.
- Perform face sculpting (indentations) to shape the eye sockets.
- Embroider the eyebrows, eye whites, eyelashes, and nostrils.
- Attach the arms approximately between Rounds 26-27 of the body using thread jointing.
- Attach the legs approximately between Rounds 10-11 of the body using thread jointing.
- Sew the tail to the back of the body, approximately between Rounds 11-12.
Pattern Notes and Troubleshooting
Counting the Muzzle’s First Round
The first round of the muzzle ends with a ch 1, and that chain is where the count most often goes wrong. It does not belong to the round’s total of 14 stitches. Treat it strictly as a step-up loop, the way you would treat a turning chain that is not counted as a stitch, and move into Round 2 without folding it in. Working an extra stitch into a step-up chain is one of the more common amigurumi mistakes on oval pieces, and it announces itself quickly: if Round 2 lands above 20 stitches, that chain is the first place to look.
Keeping the Loop Stitches Even
Loop stitch is far less forgiving about tension than single crochet. When some stitches are pulled tighter than others, the loops finish at different lengths and the hairstyle reads as untidy instead of textured. Just as important is which face of the fabric the loops fall on, because it is easy to form them on the wrong side without noticing until the round is closed. Check both of those things after the first few stitches of a round rather than at the end, when the only remedy left is pulling back through a surface full of loops.
The Extra Stitches That Close the Muzzle
The muzzle finishes with a detail that looks at first like an error. At the very end of Round 5 the instructions call for 3 additional sc and a slip stitch, and because they fall outside the tidy counts you have been tracking, the temptation is to leave them off. Their only job is smoothing the edge where the round closes, so the oval lies flat against the face instead of stepping up at the join. Work them as written, let the slip stitch settle the finish, and do not try to reconcile them with the 26-stitch total.
Finishing Checklist
Before you call the calf done, look once more at the top of the head. The horns sit on the hairstyle rather than on the head fabric, and a sewn-down cap can shift slightly under the pull of a needle, so confirm that the horns still read level with the ears now that everything around them has been stitched in place. Looking at the head straight on, from the front, shows a drift that stays invisible from above. The list below gathers the small jobs that are easy to leave for later and much harder to add afterward.
- Face sculpting must be done to indent the eye sockets.
- Eyelashes and eyebrows must be embroidered.
- Nostrils need to be embroidered onto the attached muzzle.
- White highlights should be added to the outer edges of the safety eyes.
- Ensure the scarf ends are seamed together smoothly to form a continuous loop.
- Verify that the thread joints on the limbs are tight but allow rotation without catching on the body stitches.