Bobyor Crochet Pattern: Free Woodland Amigurumi Tutorial
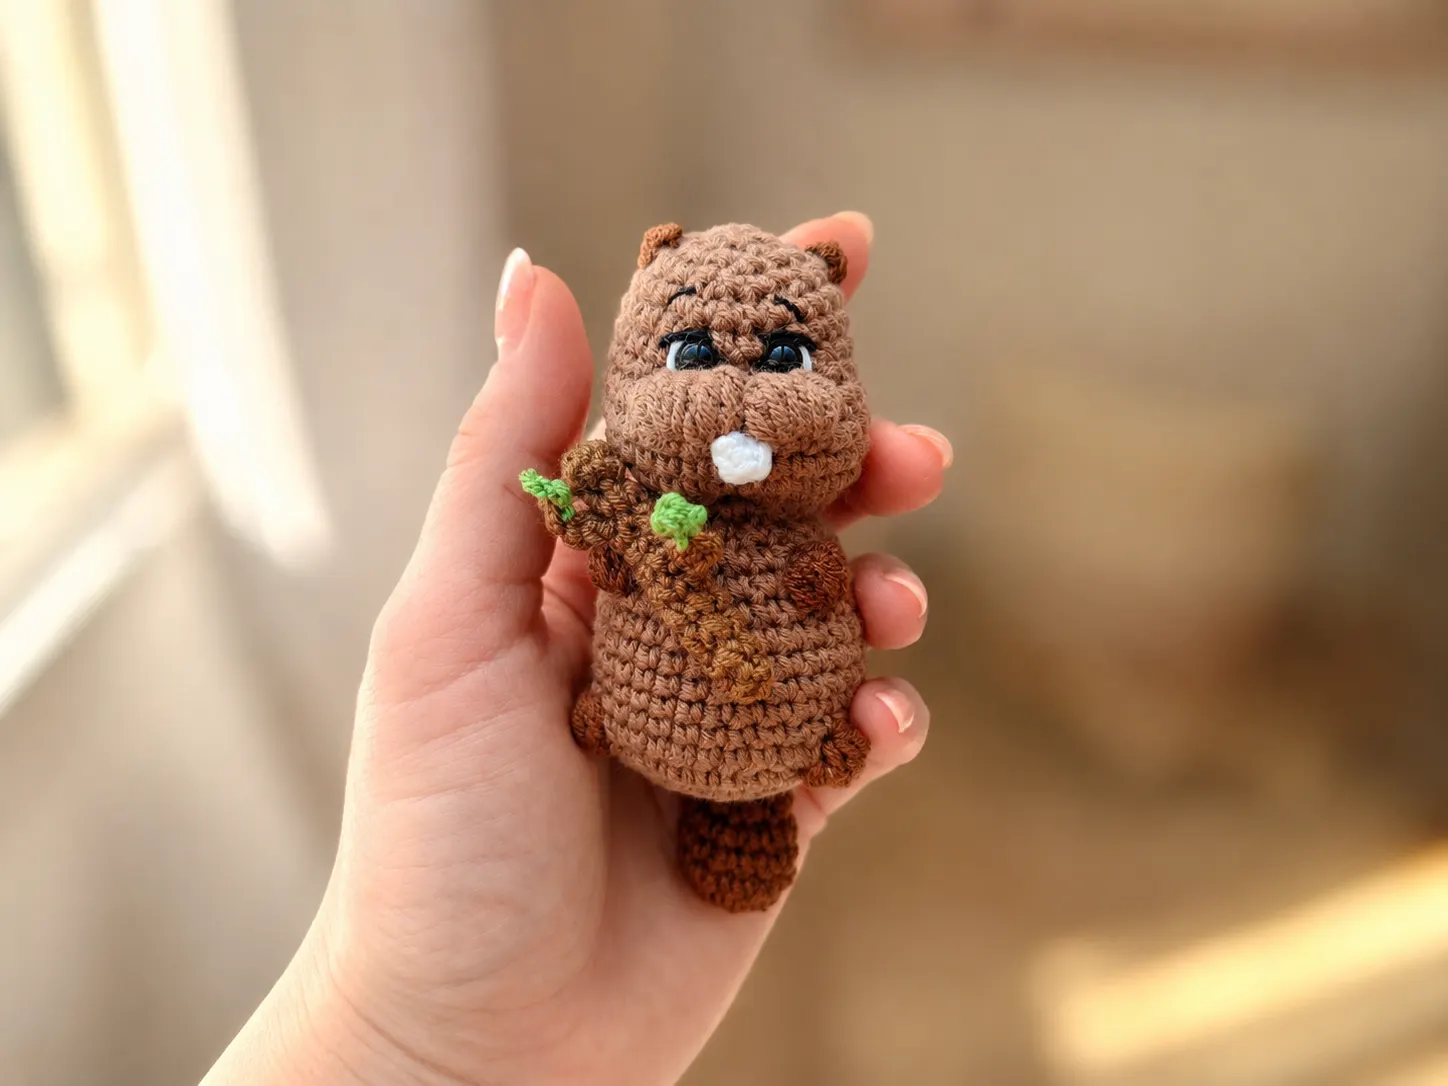
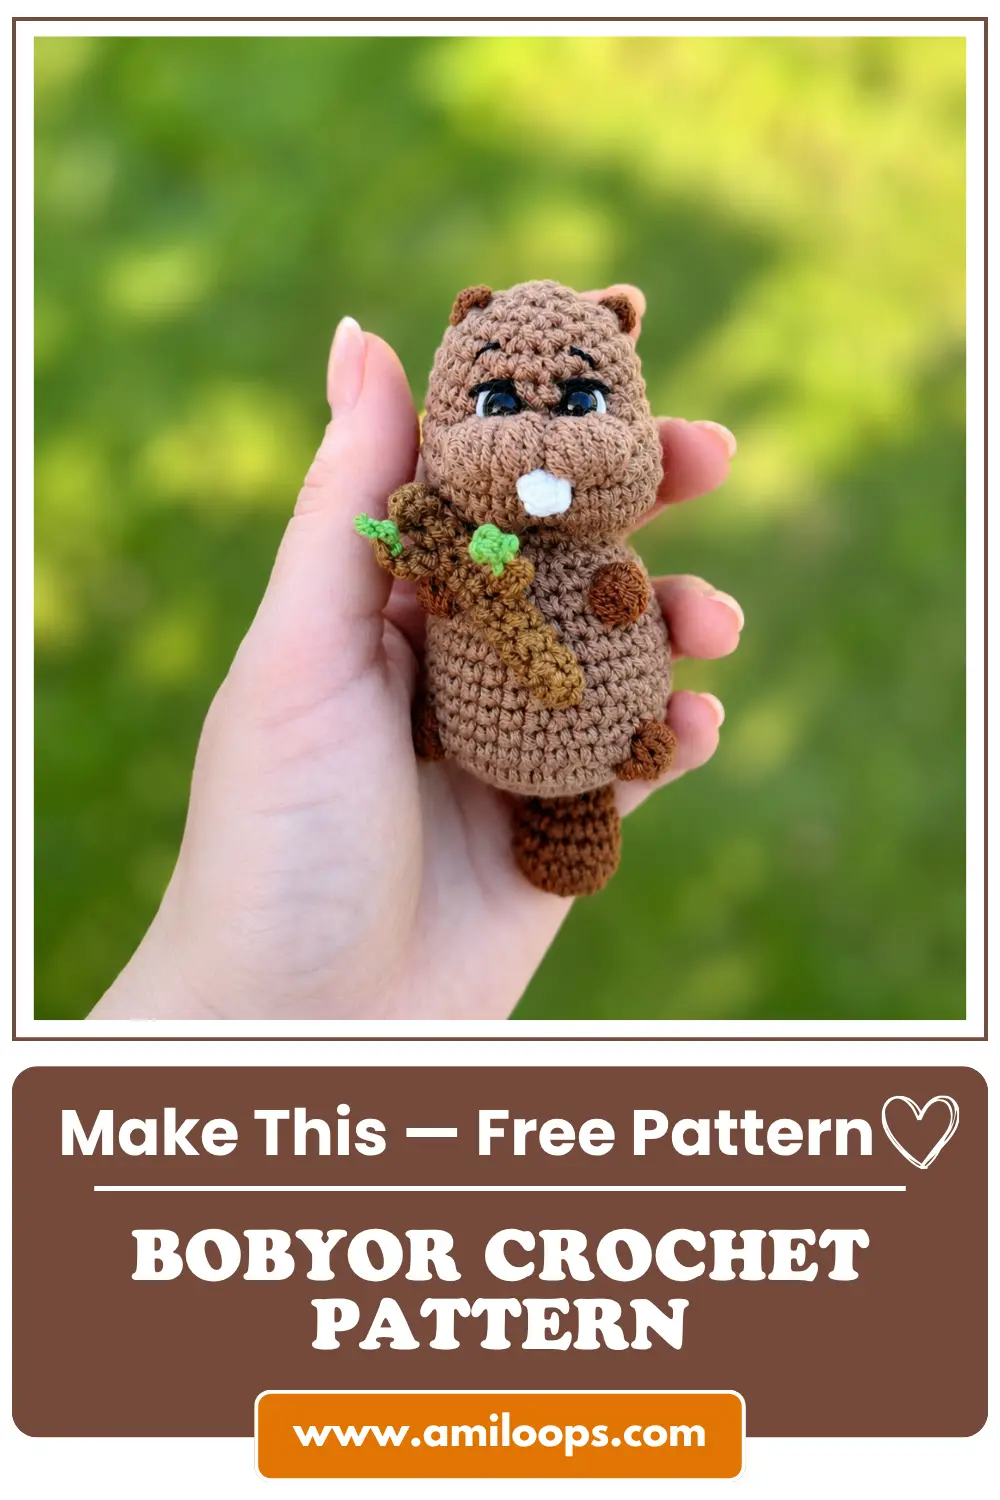
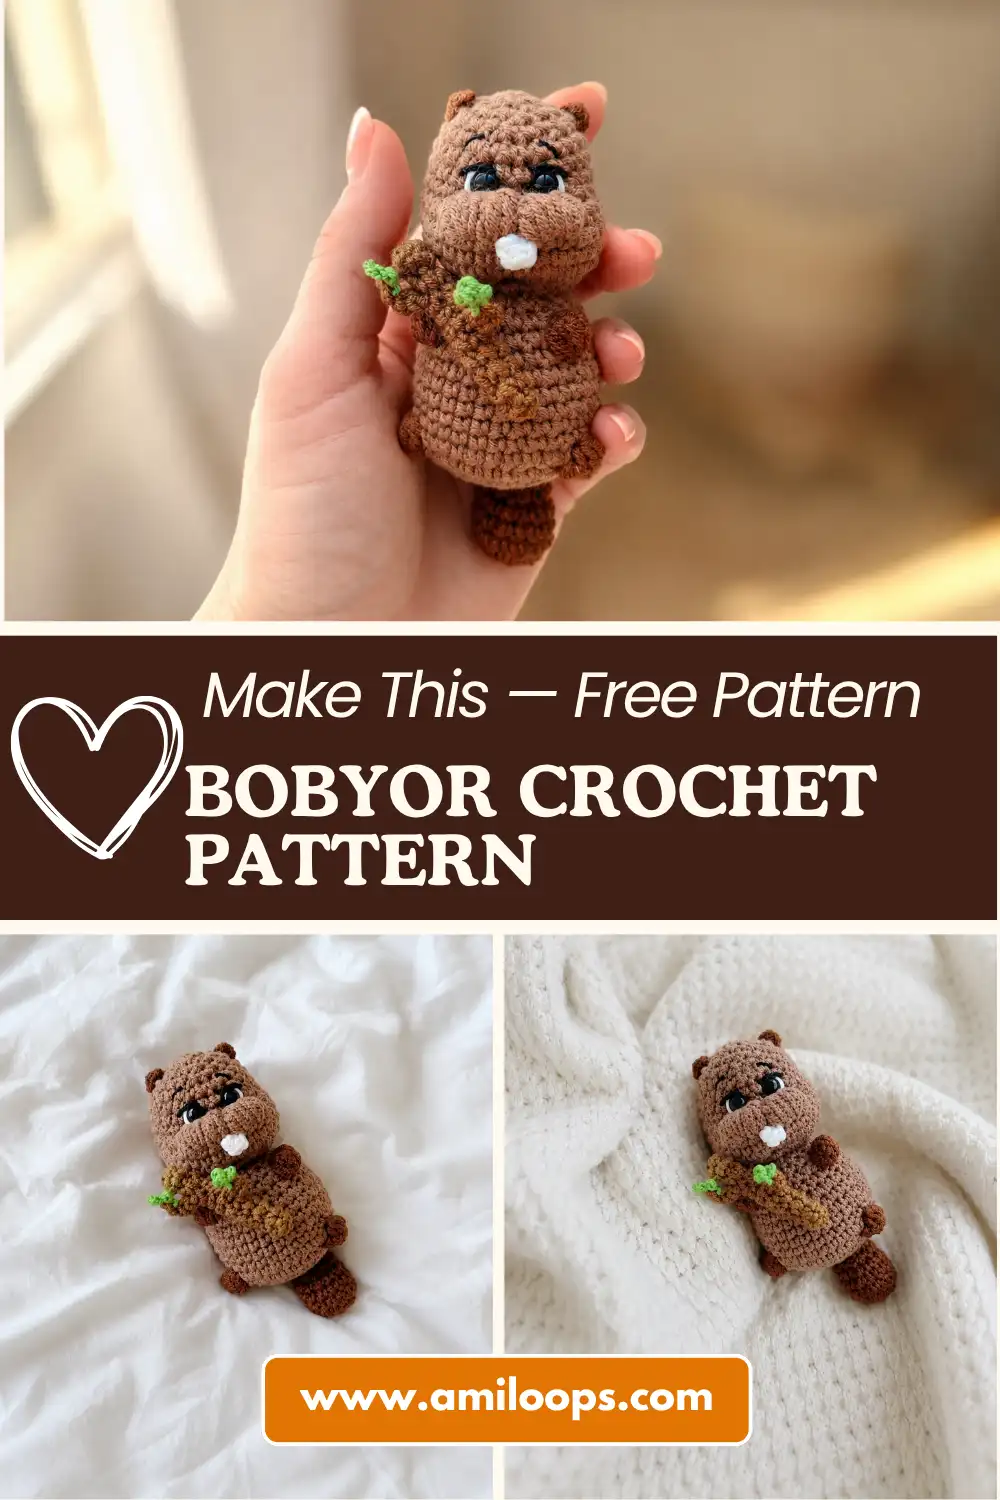
Meet Bobyor, a woodland creature born from a clever blend of construction techniques and surprising details. This amigurumi combines a rounded body with an expressive face, delicate ears that frame the head, and a poseable tail perfect for dynamic positioning. What makes Bobyor truly special is the removable branch accessory that crowns the finished piece—a naturalistic touch that transforms a simple stuffed creature into a woodland character with its own tiny ecosystem.
The body shape uses two distinct construction phases to create dimension and character. Two puff stitches appear as raised textural accents, adding depth to the face and creating visual interest without overwhelming the design. The tail employs a clever half-filled, folded-closure method that keeps it soft and poseable—perfect for draping or arranging. This pattern rewards attention to detail while remaining entirely achievable for crocheters comfortable with increasing, decreasing, and color changes.
About This Bobyor Crochet Pattern
Bobyor’s construction unfolds in two distinct phases. The first phase builds the base of the body through controlled increases, then closes with strategic decreases to form a narrower muzzle area. The second phase begins with a surprising expansion (Rounds 17–18), creating space for the head and eye placement. This two-phase approach allows for natural shaping without complex decreases or invisible stitch techniques.
Puff stitches appear exactly twice in the body construction, positioned to create raised, textured bumps that add character and dimension. Each puff stitch is made from four double crochets in one stitch sharing a single top loop, creating a bumpy, three-dimensional effect. The contrast between smooth single crochet and textured puff stitches draws attention to key features of the face, making Bobyor instantly recognizable.
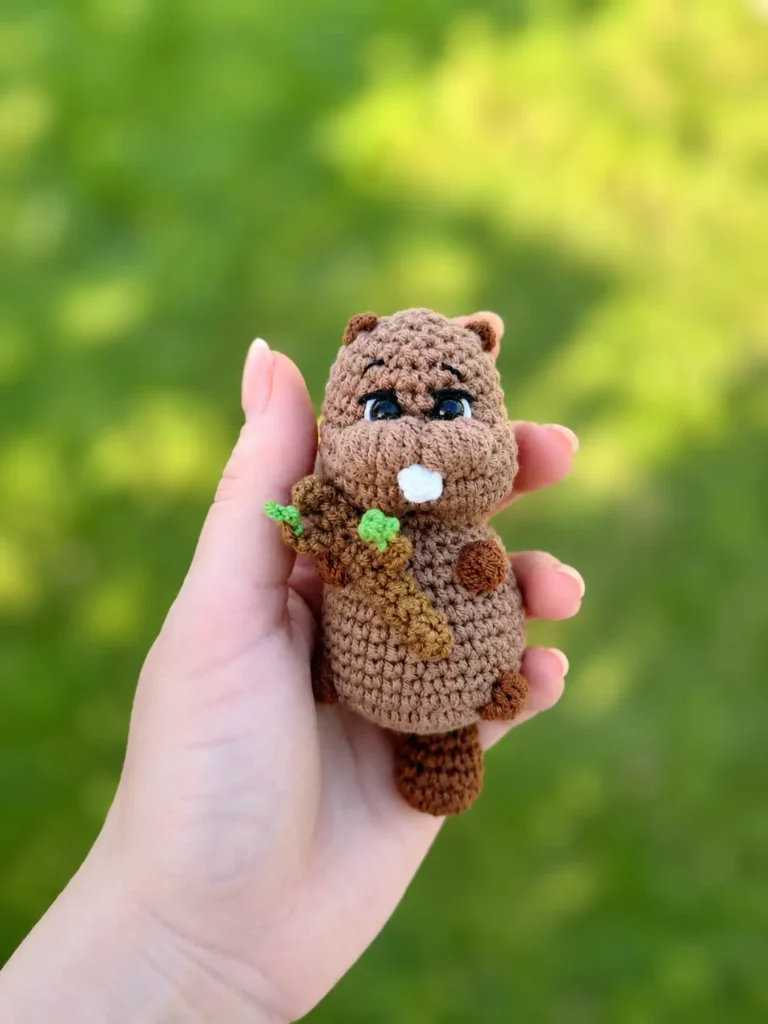
The tail introduces an elegant alternative to traditional amigurumi tail construction. Instead of crocheting a long cylinder, you’ll fill it halfway, fold it in half lengthwise, and close it with slip stitches worked through both layers. This method creates a flat, flexible tail that poses naturally and remains soft to the touch.
Materials and Tools
Bobyor’s color palette uses Yarn Art Jeans, a practical worsted-weight yarn available in multiple shades. The pattern calls for three coordinating brown tones to create subtle depth variations. A notably small hook size contributes to the tight, compact fabric that holds Bobyor’s shape and expression. Fiberfill stuffing, safety eyes, and a yarn needle complete the essentials for bringing this woodland creature to life.
- Yarn Art Jeans, color #71 (brown) for body
- Yarn Art Jeans, color #70 (brown) for arms, legs, tail, and ears
- Yarn Art Jeans, color #40 (brown) for main branch
- White yarn for teeth (small amount)
- Yarn Art Jeans, color #69 (green) for leaves (small amount)
- Crochet hook, US size B/1 (metric size 2)
- Safety eyes, 6mm
- Fiberfill stuffing
- Yarn needle for finishing and assembly
Crochet Abbreviations
This pattern uses standard US crochet abbreviations. Single crochet forms the foundation of Bobyor’s body—approximately 90% of all stitches in this pattern are single crochet, creating the tight, dense fabric essential to amigurumi. A puff stitch creates textured accents, while chain and slip stitch handle the branch and ear construction.
- sc — single crochet
- inc — increase (two stitches in one stitch)
- dec — decrease (single crochet two together)
- ch — chain
- sl st — slip stitch
- dc — double crochet
- MR — magic ring
- Rnd — round
Construction Overview
Bobyor’s body begins with six stitches in a magic ring, expanding through three rounds of increases until Round 5 reaches 30 stitches—your first checkpoint. Rounds 6 through 11 maintain that stitch count while incorporating the tail attachment and the first set of puff stitches. This foundational phase creates the base shape and texture that defines Bobyor’s character.
After the base, a series of strategic decreases narrow the body (Rounds 12–16), bringing the stitch count down to 12. Then comes the surprise: Round 17 expands the stitches again, and Round 18 builds back to 30 stitches. This expansion creates the head space where Bobyor’s expression will come alive. A stitch marker placed on Round 18 marks the center-back, serving as a reference point for accurate eye placement and overall symmetry.
Eyes are inserted between Rounds 24 and 25, exactly 2 single crochets apart on the front face. This placement positions the eyes opposite the back-center stitch marker, ensuring balanced expression. The exact spacing is crucial for Bobyor to look intentional and alive.
Before You Start
Take a few minutes before you start to ensure success. Test your safety eyes to confirm that the washers fit snugly and the eyes will remain secure when locked in place. Prepare all your yarn colors in advance—lay them out where you can reach them easily during the pattern, particularly when working the puff stitches and color changes. This prevents fumbling mid-round and helps maintain even tension.
One of Bobyor’s signature features is the half-filled, folded tail. This method differs from traditional amigurumi tail construction, so read that finishing step in advance. The tail must be filled only halfway to remain soft, flexible, and poseable—filling it completely would make it stiff and defeat the design intent.
Bobyor Crochet Pattern
Begin with the tail, as you’ll need it ready for attachment during the body construction. The body follows, with the tail sewn in at Round 6. Color changes occur at specific points; work carefully to keep them neat.
Tail
Round 1: 6 sc in magic ring (6 sts)
Round 2: Inc in each st around (12 sts)
Rounds 3–5: 12 sc in each round (3 rounds total) (12 sts)
Round 6: (2 sc, dec) × 3 (9 sts)
Rounds 7–9: 9 sc in each round (3 rounds total) (9 sts)
Finishing: Fill halfway, fold, and sl st across 4 sc; fasten off and weave in
Body
Round 1: 6 sc in magic ring (6 sts)
Round 2: Inc in each st around (12 sts)
Round 3: (1 sc, inc) × 6 (18 sts)
Round 4: (2 sc, inc) × 6 (24 sts)
Round 5: (3 sc, inc) × 6 (30 sts)
Round 6: 4 sc through tail attachment, 7 sc, puff st in dark brown, 10 sc, puff st in dark brown, 7 sc (30 sts)
Rounds 7–11: 30 sc in each round (5 rounds total) (30 sts)
Round 12: (8 sc, dec) × 3 (27 sts)
Round 13: 12 sc, puff st in dark brown, 7 sc, puff st in dark brown, 7 sc (27 sts)
Round 14: (7 sc, dec) × 3 (24 sts)
Round 15: (2 sc, dec) × 6 (18 sts)
Round 16: (1 sc, dec) × 6 (12 sts)
Round 17: Inc in each st around (24 sts)
Round 18: (3 sc, inc) × 6; work 5 more sc and place stitch marker for center-back reference (30 sts)
Rounds 19–21: 30 sc in each round (3 rounds total) (30 sts)
Round 22: 13 sc, (puff st, 1 sc, puff st), 12 sc (30 sts)
Round 23: 9 sc, dec × 3, 1 sc, dec × 3, 8 sc; insert eyes between Rounds 24 and 25 (24 sts)
Rounds 24–26: 24 sc in each round (3 rounds total) (24 sts)
Round 27: (2 sc, dec) × 6 (18 sts)
Round 28: (1 sc, dec) × 6 (12 sts)
Round 29: Dec × 6; fasten off and weave in (0 sts)
Teeth
Row 1: Ch 2, 2 sc in second ch from hook, sl st to join (2 sts)
Finishing: Sew to face
Ears
Single row: Join yarn to Round 27, ch 3, join with sl st to Round 28 (2 sts)
Finishing: Fasten off and weave in
Main Branch
Round 1: 5 sc in magic ring (5 sts)
Rounds 2–11: 5 sc in each round (10 rounds total) (5 sts)
Finishing: Cinch opening, fasten off, and weave in
Small Branches
Long branch: Join yarn to main branch, ch 4, sl st in second ch from hook, sl st in each remaining ch
Short branch: Join yarn to main branch, ch 3, sl st in second ch from hook, sl st in next ch
Leaves
Single row: Ch 2, sl st in second ch from hook (1 st)
Finishing: Tie onto small branches
Assembly and Finishing
Assembly brings Bobyor to life through a logical sequence of attachment steps. The tail attaches during Round 6 of the body construction itself—the flat closed end is sandwiched between stitches and yarn as you work single crochets. This integration means you never need to separate pieces to sew them; the tail is built in from the start.
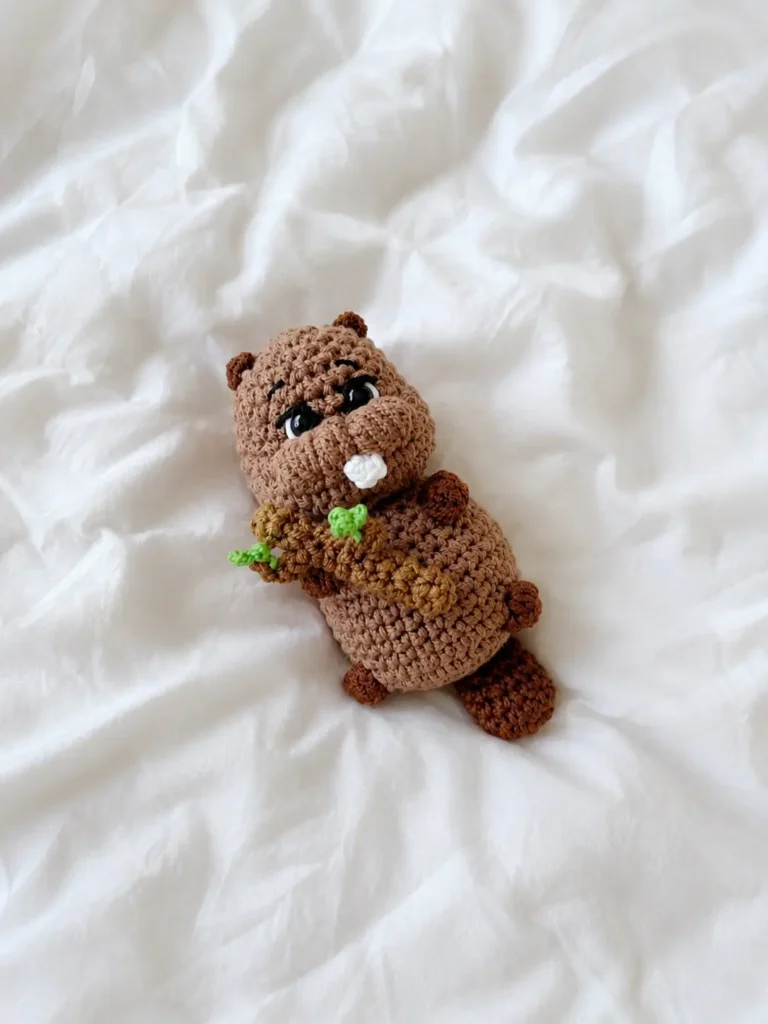
After completing the body, eyes are inserted between Rounds 24 and 25, positioned on the front face opposite the back-center stitch marker you set on Round 18. This deliberate placement ensures balanced expression and prevents Bobyor from looking off-kilter. Sew the white teeth piece to the front of the face, positioning it below the eyes for a characteristic woodland-creature grin.
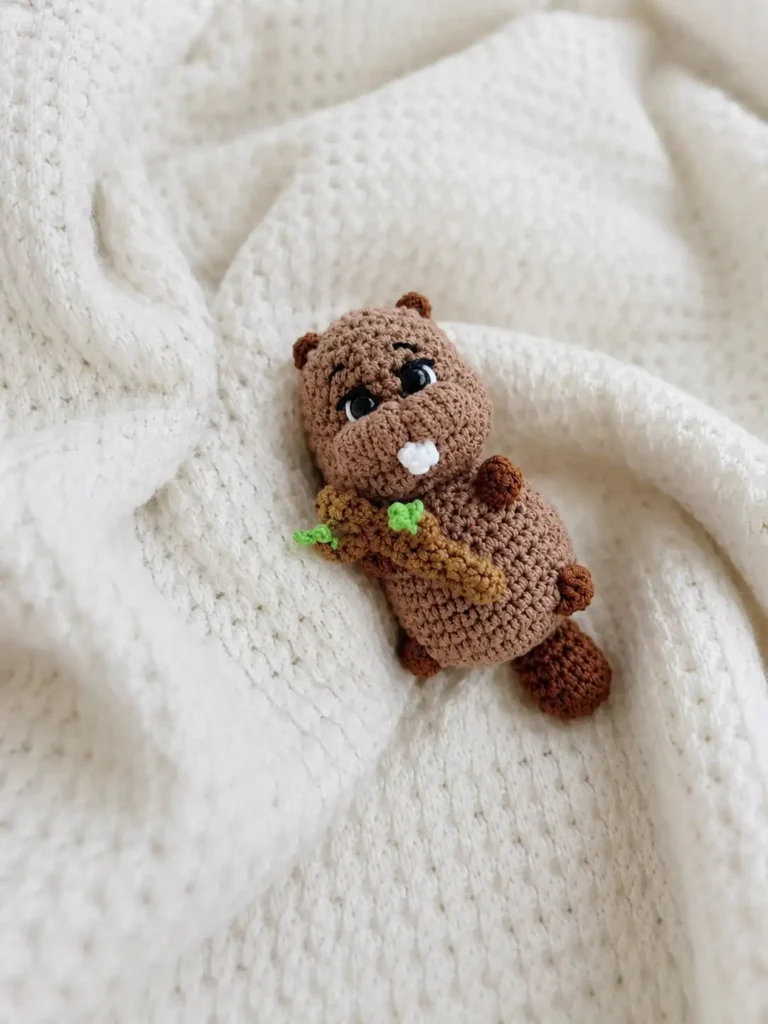
The ears are chain bridges with no separate sewing required. They form directly between Rounds 27 and 28, creating delicate curved shapes that frame the head. Next, attach the main branch to the back of the body using your yarn needle. The small branches extend from the main branch in two lengths—a longer branch and a shorter branch. Finally, tie the green leaves onto the small branches using their yarn tails; this allows you to reposition or remove the leaves if desired.
- Attach tail to body by stitching the closed end into Round 6
- Insert safety eyes between Rounds 24 and 25, 2 stitches apart
- Sew teeth to front of face
- Attach main branch to back of body
- Tie leaves onto small branches
- Weave in all yarn ends
Pattern Notes and Troubleshooting
Managing Puff Stitches
Puff stitches appear in Rounds 6 and 13 of the body and create the textured accents that make Bobyor distinctive. Each puff stitch consists of four double crochets in a single stitch, all sharing the same top loop. This creates a dimensional, bumpy appearance. Keep even tension on the yarn while working the four double crochets; if you pull too tightly, the stitch becomes difficult to close smoothly. If too loose, the puff loses definition. Work into the same stitch four times as instructed, then yarn over and pull through all loops on your hook to close the puff in one motion.
Positioning Eyes for Expression
Eyes are inserted between Rounds 24 and 25, exactly 2 single crochets apart. Counting accurately ensures balanced expression and prevents Bobyor from looking surprised or sleepy. Count from a reference point on the front face and mark the two stitch positions with stitch markers before inserting the safety eyes. The front face is opposite the back-center marker you placed on Round 18. If your eye placement feels slightly off after insertion, take a moment to adjust the washer positions before cutting the yarn; once cut, repositioning becomes impossible.
Working with a Small Hook
The US B/1 (metric 2) hook is unusually small for worsted-weight yarn, creating a tight, compact fabric essential to Bobyor’s shape. The small hook size may feel awkward if you typically work with larger sizes. Ensure good lighting and don’t rush—working slowly prevents hand fatigue. The tight gauge payoff is worth the care: your finished Bobyor will be sturdy, well-defined, and hold its shape through years of cuddling and posing.
Finishing Checklist
Before declaring Bobyor complete, work through this finishing checklist. Each item ensures your woodland creature will last and look polished. Take time during finishing—this is where all your careful stitching pays off.
- Weave in all yarn ends through at least 6–8 stitches
- Verify safety eye security by gently pulling to confirm immobility
- Check seams for gaps and reinforce if needed
- Verify all seven pieces are present and accounted for
- Test the pose by gently manipulating tail and branch
- Perform final lint check
FAQ
What yarn is best for this Bobyor amigurumi?
This pattern uses Yarn Art Jeans, a worsted-weight yarn. It provides excellent stitch definition and a tight fabric that prevents the stuffing from showing through.
Can beginners make this Bobyor crochet pattern?
Yes! While it features unique details like a folded tail and puff stitches, the pattern uses basic single crochet stitches and includes clear step-by-step construction instructions.
How do I keep the amigurumi tail poseable?
The secret to a poseable tail is to fill it only halfway with fiberfill, fold it flat, and slip stitch the top closed. Do not overstuff it.