Little Bunny Amigurumi — Free Crochet Pattern
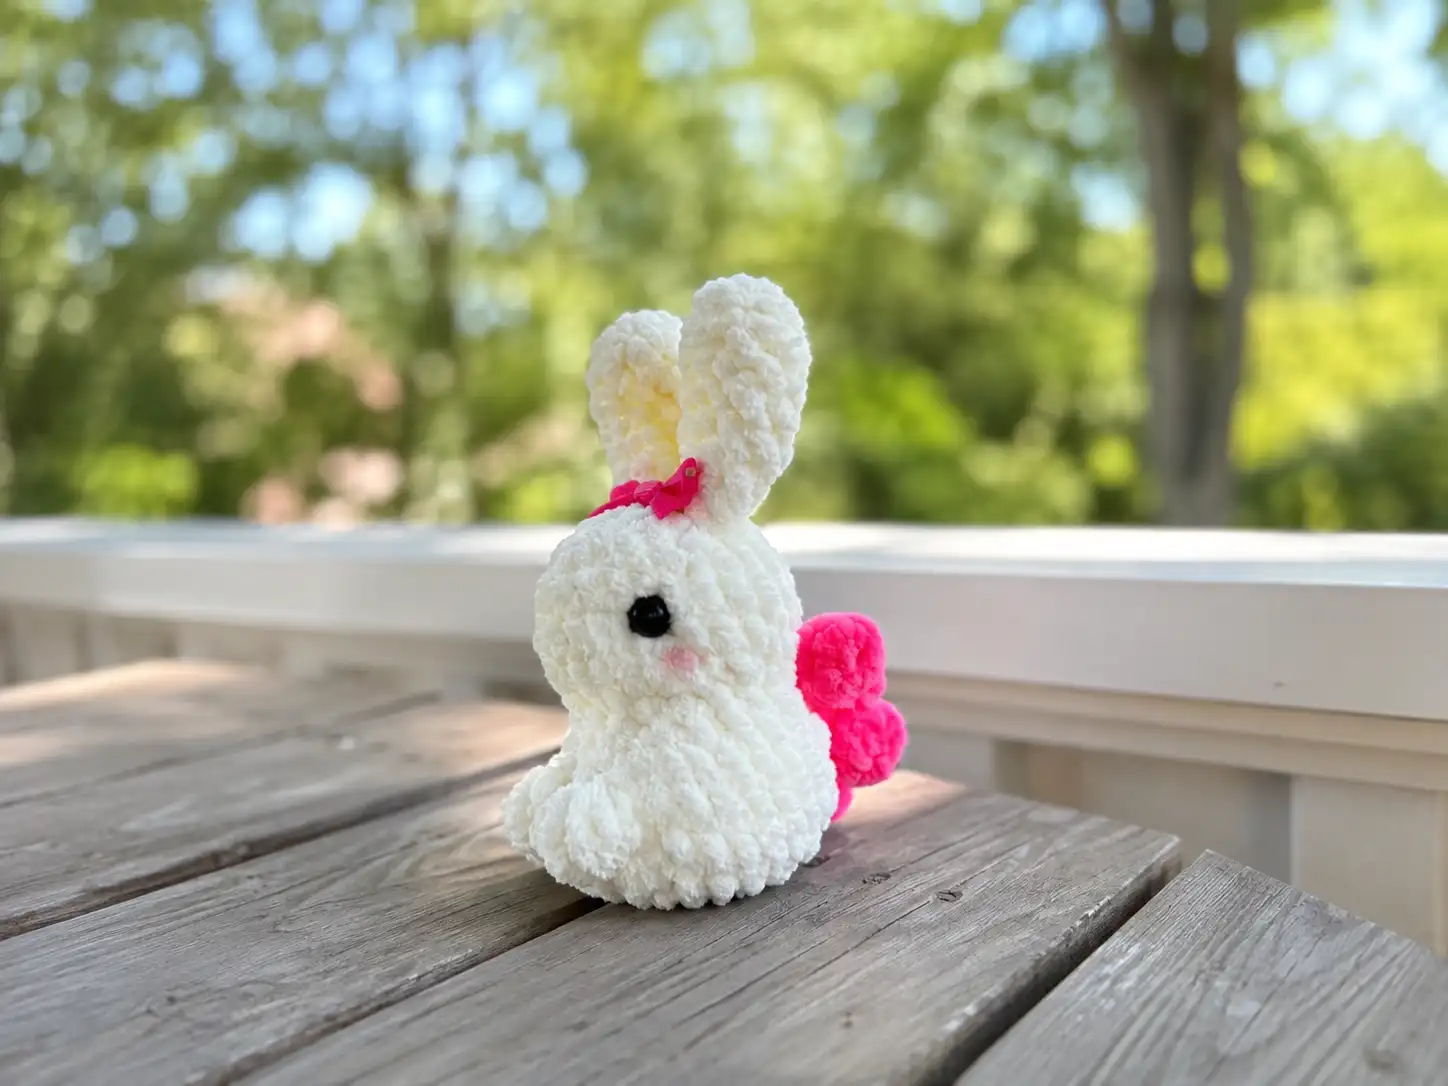
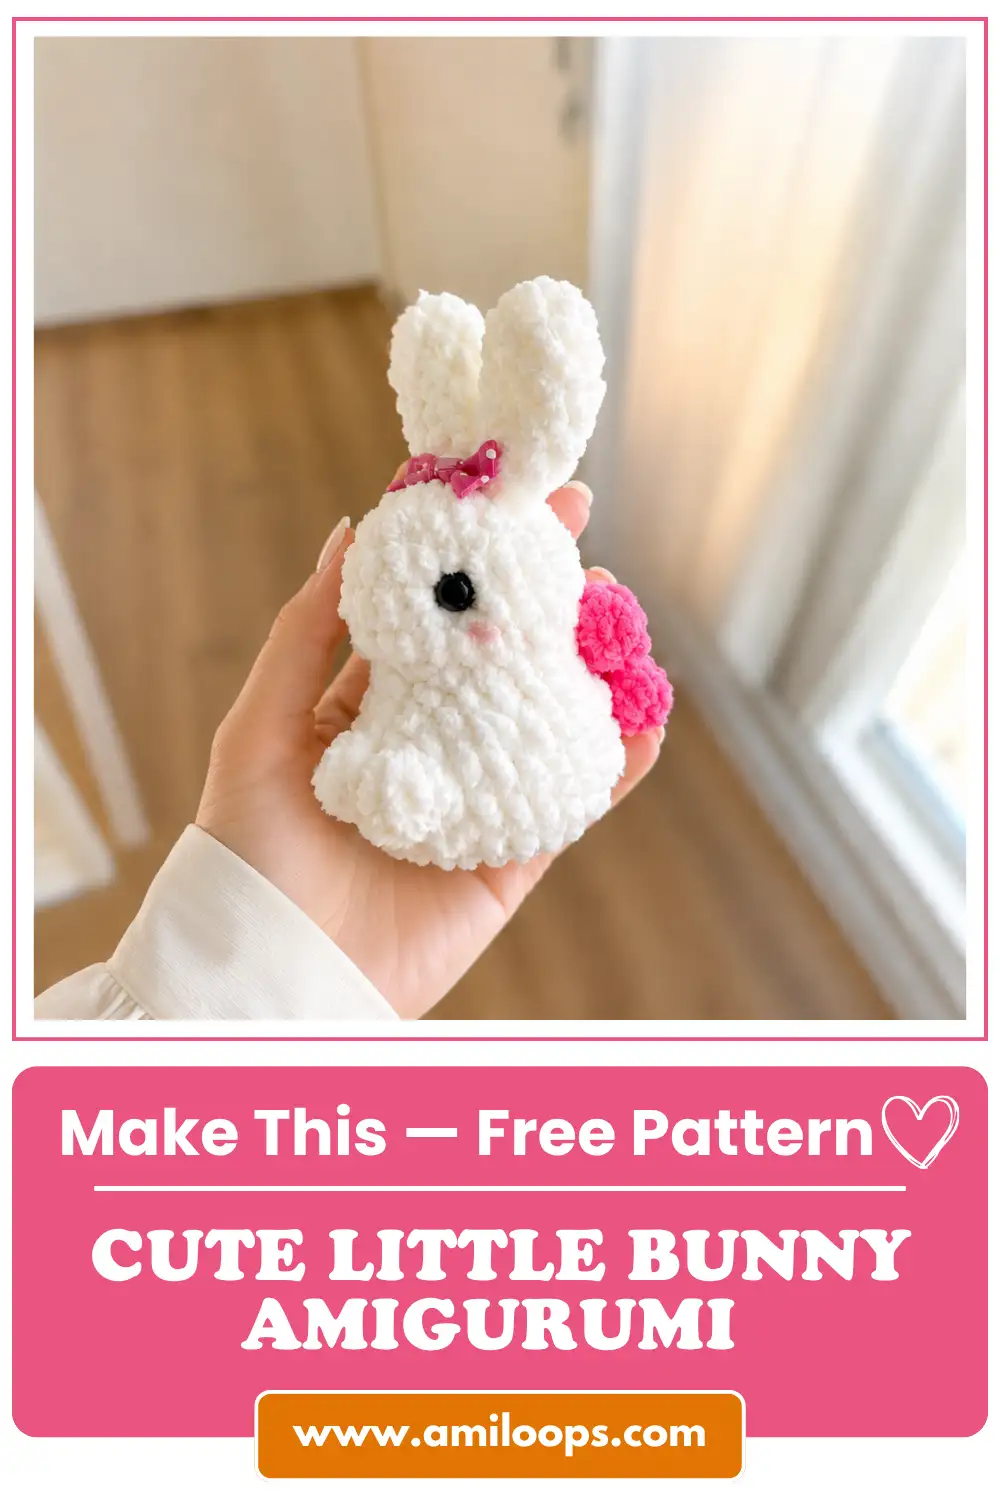
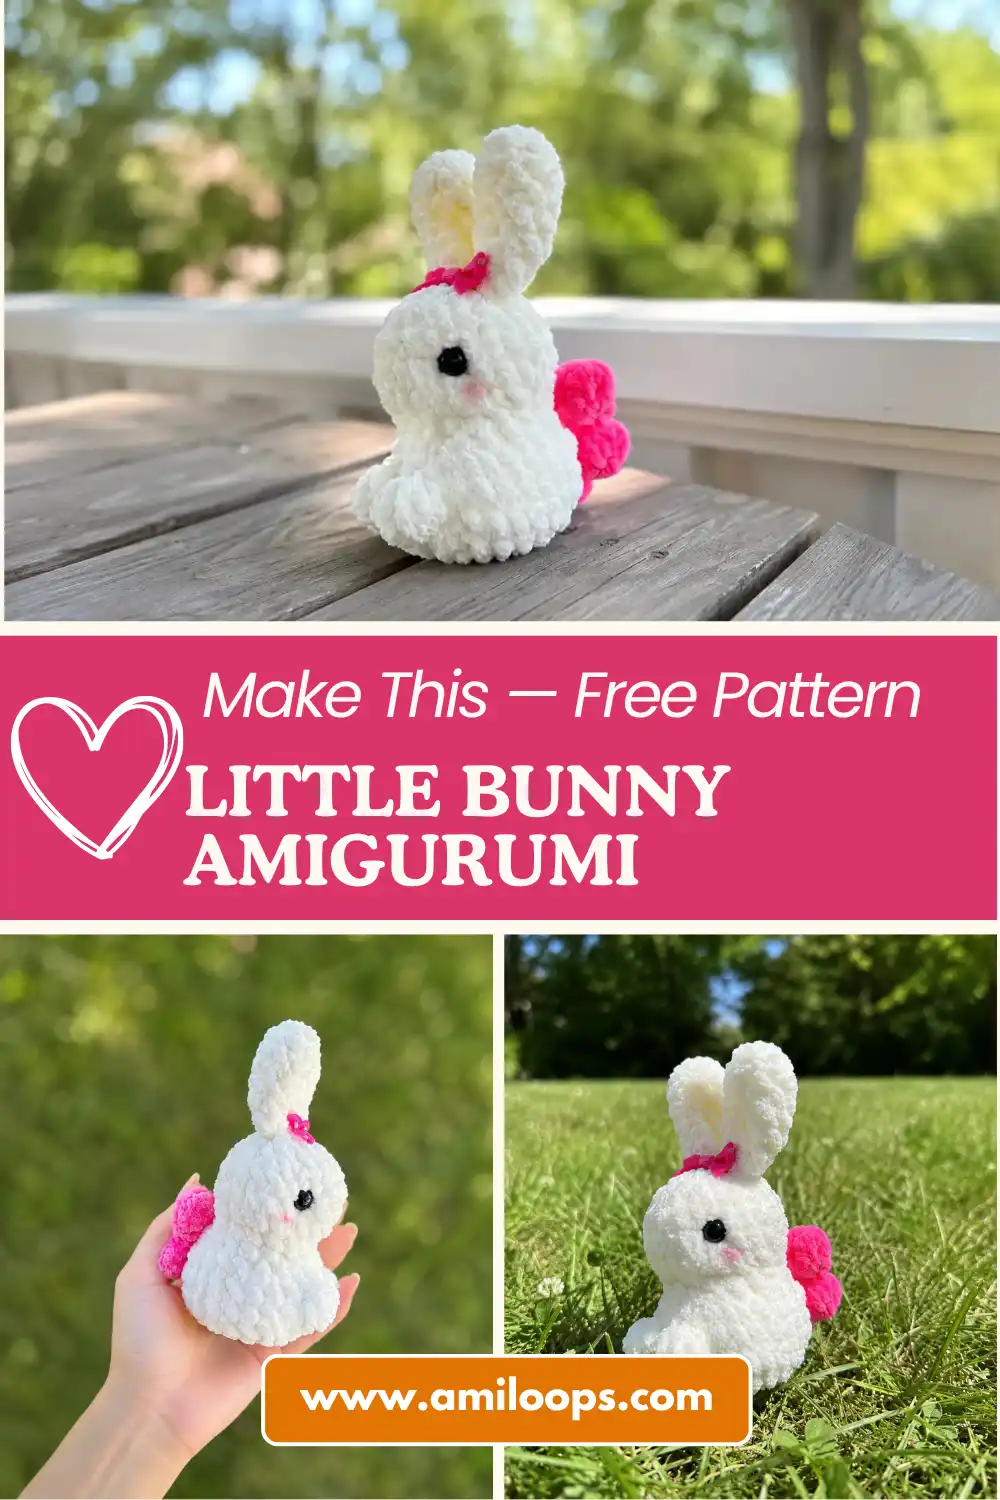
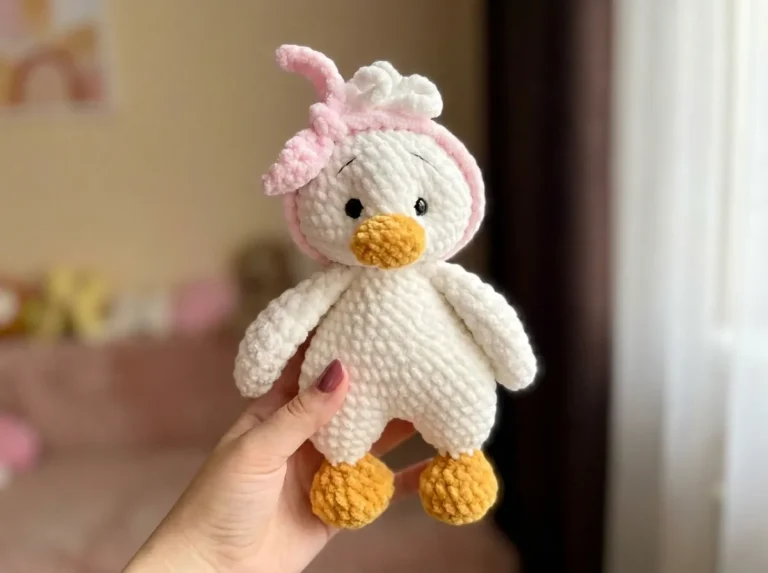
This little bunny amigurumi free pattern has been sitting in my “must make” pile for weeks, and I finally understand the appeal — she’s worked from the bottom up in one continuous piece, with tiny crocheted paws and a stubby tail that pop right off the surface. I kept my tension tight so the cream chenille stays smooth and dense, with no stuffing peeking through anywhere. Grab your hook and a small amount of pink for those sweet little wings, and let’s get her started.
📋 Pattern Quick Stats
- Difficulty: Beginner
- Finished Size: approx. 4 in (10 cm) tall (editorially estimated based on stitch and row counts — not stated in the source pattern)
- Hook Size: 3.5mm (US E/4)
- Yarn Weight: Bulky (5) — chenille/velvet
- Techniques: chain oval base, invisible decrease, color changes, sewing amigurumi parts, safety eye sculpting
- Estimated Time: 2-3 hours (editorial estimate — not stated in the source pattern)
Materials for This Little Bunny Amigurumi Free Pattern
I always double-check my materials list before I pick up my hook — it saves you from digging through your stash mid-round. Here’s everything you’ll need for this little bunny amigurumi:
A quick note on the hook size: 3.5mm might feel small for a Bulky (5) chenille yarn — most yarn labels would point you toward something closer to a 5mm or 6mm hook. I use a smaller hook than the yarn “calls for” on purpose in amigurumi. It tightens up the fabric, closes the gaps between stitches, and keeps your stuffing from showing through once the piece is finished. Your hands might feel it after a while — mine always do — but the finished bunny is worth the extra effort.
- Bright pink yarn — Bulky (5) chenille/velvet yarn. The original designer used Himalaya Dolphin Baby; here in the US, Bernat Baby Velvet or Premier Parfait are lovely substitutes. You’ll only need a small amount — about 0.1 oz (3 g) for the wings.
- Cream yarn — Bulky (5) chenille/velvet yarn for the body, head, and ears. About 0.75 oz (21 g). The original pattern didn’t specify total yardage, so I’d recommend keeping a full skein on hand rather than a partial one.
- Hook: 3.5mm (US E/4)
- Fiberfill for stuffing
- 8 mm safety eyes (one pair)
- Tapestry needle
- Stitch markers
- Scissors
Chenille and velvet yarns are both classified as Bulky (5) on the Craft Yarn Council yarn weight system, which is worth a look if you’re new to substituting yarns from an international pattern.
Abbreviations
| Abbreviation | Meaning |
|---|---|
| mr | magic ring |
| ch | chain |
| sl st | slip stitch |
| sc | single crochet |
| inc | increase (2 sc in the same stitch) |
| inv dec | invisible decrease (2 sts worked together through the front loops only) |
| hdc | half double crochet |
| dc | double crochet |
| tr | treble crochet |
| sc3tog | single crochet 3 stitches together (decrease of 3 sts into 1) |
| ( ) × # | repeat the instructions in parentheses the stated number of times |
Special Techniques for This Little Bunny Amigurumi Pattern
This pattern is beginner-friendly, but there are a few techniques worth reviewing before you start, since this little bunny amigurumi pattern combines a few different construction methods in one small project.
The bunny’s body begins with a foundation chain worked into an oval, rather than a magic ring — that’s what gives her a flat, stable bottom for standing, instead of the rounded base you’d get starting in a ring. You crochet up one side of the chain, work three stitches into the last chain to turn the corner, then come back down the other side — it’s the same shape used for flat-bottomed amigurumi like little food plushies or standing animals. The ears, by contrast, start with a magic ring, since they’re worked as small closed circles that taper. If you haven’t worked one before, our step-by-step magic ring tutorial walks through it clearly, adjustable loop and all.
Every decrease in the main pattern is worked as an invisible decrease — I always use this method instead of a standard sc2tog, because it closes cleanly with no visible gap and keeps your rounds looking tidy from the outside. If you’re new to it, our invisible decrease tutorial is a good place to start; it walks through inserting your hook under the front loops only, rather than under both loops of each stitch. The tail uses a slightly different decrease, sc3tog, which pulls three stitches together into one in a single motion — take it slowly the first time, since it feels a little different from a regular two-stitch decrease and your loops will feel fuller on the hook.
You’ll also notice the paws and tail aren’t separate pieces — they’re small clusters of double crochet worked directly into a single stitch of the main body, then you continue on in the round as normal. Think of them the way you’d think of a bobble or a shell stitch: several stitches sharing one base, fanning outward. They don’t need to be stuffed or sewn on separately, which makes this part of the pattern faster than it might look at first glance.
Once all the pieces are done, you’ll be sewing the ears and wings onto the body. Our guide to sewing amigurumi parts together covers pinning, placement, and getting a secure, even stitch so nothing wobbles once your bunny is finished.
Finally, this bunny uses safety eyes, which need to be inserted before you stuff and close the piece — you can’t add them afterward, so plan ahead. Our safety eyes tutorial covers installation in detail, including how to check your spacing before you snap the backing into place.
⚠️ A note on safety eyes: Safety eyes with locking washers are designed to resist pulling, but no amigurumi with small hard parts is fully child-safe. I treat pieces like this one as display or collector pieces rather than children’s toys, and I’d encourage you to do the same — especially for very young children. If you’re making this for a baby or toddler, consider embroidering the eyes instead. You can find general toy safety guidance from the U.S. Consumer Product Safety Commission.
How to Crochet the Little Bunny Amigurumi — Pattern Instructions
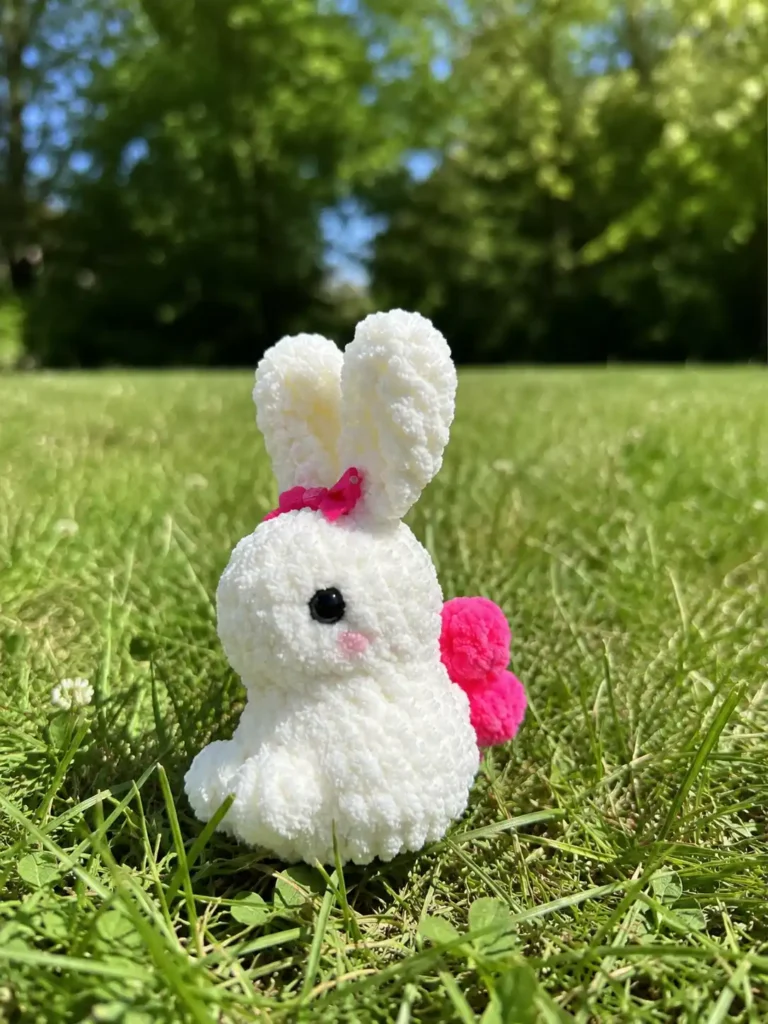
Body and Head (make 1)
Work this piece in cream, starting with a foundation chain — this gives the bunny her flat oval base.
Row 1: ch 4, starting from the second ch from hook sc 2, 3 sc in the last ch, then on the other side of the chain sc 2, 3 sc in the last ch (10)
Row 2: 2 sc, inc, 1 sc, inc, 2 sc, inc, 1 sc, inc (14)
💡 Emma’s Tip: From Row 3 onward, the increases are worked along the edges of the oval — that’s what keeps the base nice and flat instead of cupping.
Row 3: 3 sc, 3 inc, 4 sc, 3 inc, 1 sc (20)
Row 4: (4 sc, inc) × 4 (24)
💡 Emma’s Tip: Row 5 is where the paws and tail happen — each one is a little cluster of double crochets worked into a single stitch, so it pops right off the surface. Keep an eye on symmetry as you place the two paws, and shift a stitch if you need to for them to line up. If you’d like the paws set a little further apart, work 3 sc between them instead of just 1.
Row 5: 6 sc, paw (5 dc worked into the same stitch), 1 sc, paw (5 dc worked into the same stitch), 11 sc, tail (4 dc worked into the same stitch), 3 sc (24)
Row 6: 24 sc (24)
Row 7: (4 sc, inv dec) × 4 (20)
Row 8: 16 sc, 2 inv dec over the tail (18)
Row 9: 6 sc, inc, 2 sc, inc, 5 sc, sc3tog over the tail (18)
💡 Emma’s Tip: Row 10 is your last increase round on the body — after this, you’ll work several rounds even before shaping the head.
Row 10: 4 sc, 2 inc, (2 sc, 2 inc) × 2, 4 sc (24)
Rows 11-12: 24 sc (2 rows) (24)
💡 Emma’s Tip: This is where the safety eyes go in — insert your 8 mm eyes between Rows 11 and 12, spacing them 6 sc apart. Take your time getting the spacing even before you snap the backing on; it’s much harder to adjust once it’s locked in place. Start stuffing firmly now, too, so the head keeps its shape as you decrease.
Row 13: inv dec, 2 sc, inv dec, 3 sc, inv dec, (2 sc, inv dec) × 2, 3 sc, inv dec (18)
Row 14: (1 sc, inv dec) × 6 (12)
Row 15: 6 inv dec (6)
Finish stuffing firmly, then close the work, cut the yarn, and weave in the end.
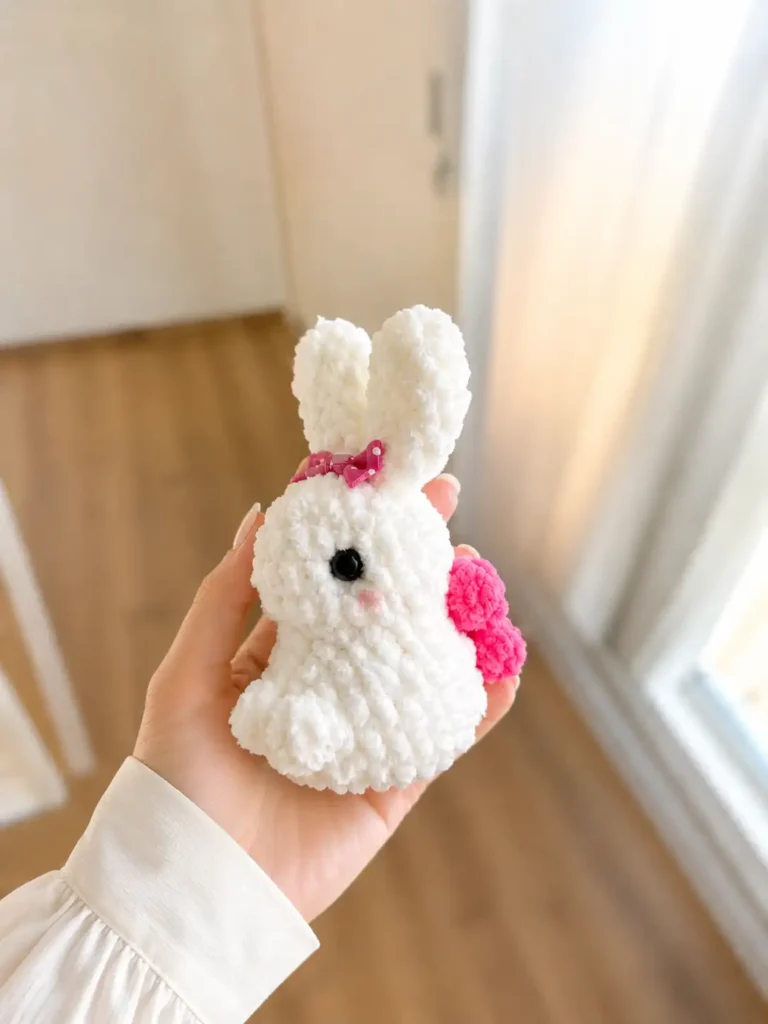
Ears (make 2)
Work each ear in cream, starting with a magic ring.
Row 1: 6 sc in mr (6)
Row 2: (1 sc, inc) × 3 (9)
Rows 3-6: 9 sc (4 rows) (9)
Row 7: (1 sc, inv dec) × 3 (6)
💡 Emma’s Tip: Do not stuff the ears — you want them to lie flat once folded.
Row 8: Fold the ear in half and crochet 3 sc through both halves (3)
Cut the yarn, leaving a long tail for sewing.
Wings (make 2)
Work each wing in bright pink, starting with a foundation chain.
Row 1: ch 6, in the 4th ch from hook: 2 tr, dc, hdc, then along the chain: sl st. In the last ch of the chain: hdc, dc, hdc, sl st. (total stitch count not specified in source — please verify by row as you go)
Cut the yarn, leaving a long tail for sewing.
Assembly
- The ears can be placed wherever you like on the head — there’s no single “correct” spot, so feel free to angle them forward, out to the sides, or flopped down depending on the look you want. I sewed mine between Rows 14 and 15, which sits them just above the eyes.
- Sew the wings onto the back of the body, positioned between Rows 6 and 8. Pin them in place first and step back to check they’re level and evenly spaced before you commit to sewing — it’s much easier to shift a pin than to unpick stitches.
💡 Emma’s Tip: Take your time with this part. Pin everything in place first — both ears and both wings — and look at the bunny from the front, back, and top before you thread your needle. A few extra minutes of pinning saves you from a lopsided finish.
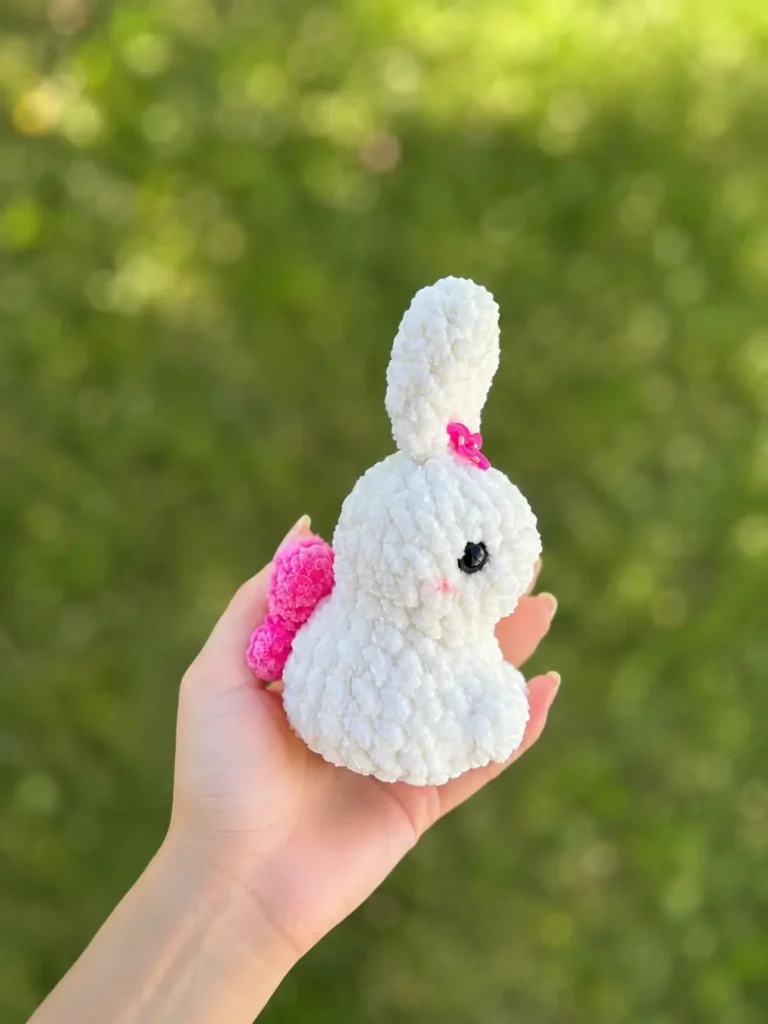
Finishing & Details
To sculpt the eyes, work through the bottom of the toy so that the base of each eye sits slightly “sunken” — insert your needle and pull the yarn through as usual, but bring it out through the first row at the very end. This gentle sculpting gives the face a bit more definition around the eyes and is one of those small details that makes a finished amigurumi look intentional rather than flat. Weave in any remaining tails securely on the inside before you call her done.
A Note From Emma
What I love about this little bunny amigurumi is how much personality those tiny dc paws and the sunken eye sculpting add — small details, big difference, and neither one takes very long to work once you know what you’re doing. If your chenille yarn wants to split while you’re working the wings, slow down and go stitch by stitch; treble crochet in chenille takes a little more patience than it does in cotton, since the fuzzy texture makes it harder to see exactly where your hook needs to go. I checked this pattern twice against the original notes, and every stitch count adds up round by round, so if your numbers ever drift, don’t panic — just frog back to the last round where your count matched and pick it back up from there.
If you enjoyed working with this yarn, you might also like our classic bunny amigurumi pattern for a more traditional build, or this scrap-friendly bunny keychain if you’d rather use up what’s left in your stash on something smaller. Happy hooking! 🧶
FAQ
What is the best yarn for this little bunny amigurumi?
A bulky (weight 5) chenille or velvet yarn, like Bernat Baby Velvet or Premier Parfait, is highly recommended to get a soft, dense, and plush finish.
Do I have to sew a lot of pieces together for this pattern?
No! The body, paws, and tail are all crocheted as one continuous piece. You will only need to sew on the ears and the wings.
Is this pattern suitable for beginners?
Yes, it is very beginner-friendly. It uses basic stitches, and the continuous body construction makes it an excellent practice piece for newer amigurumi makers.