Teenage Mutant Ninja Turtles Amigurumi — Free Crochet Pattern
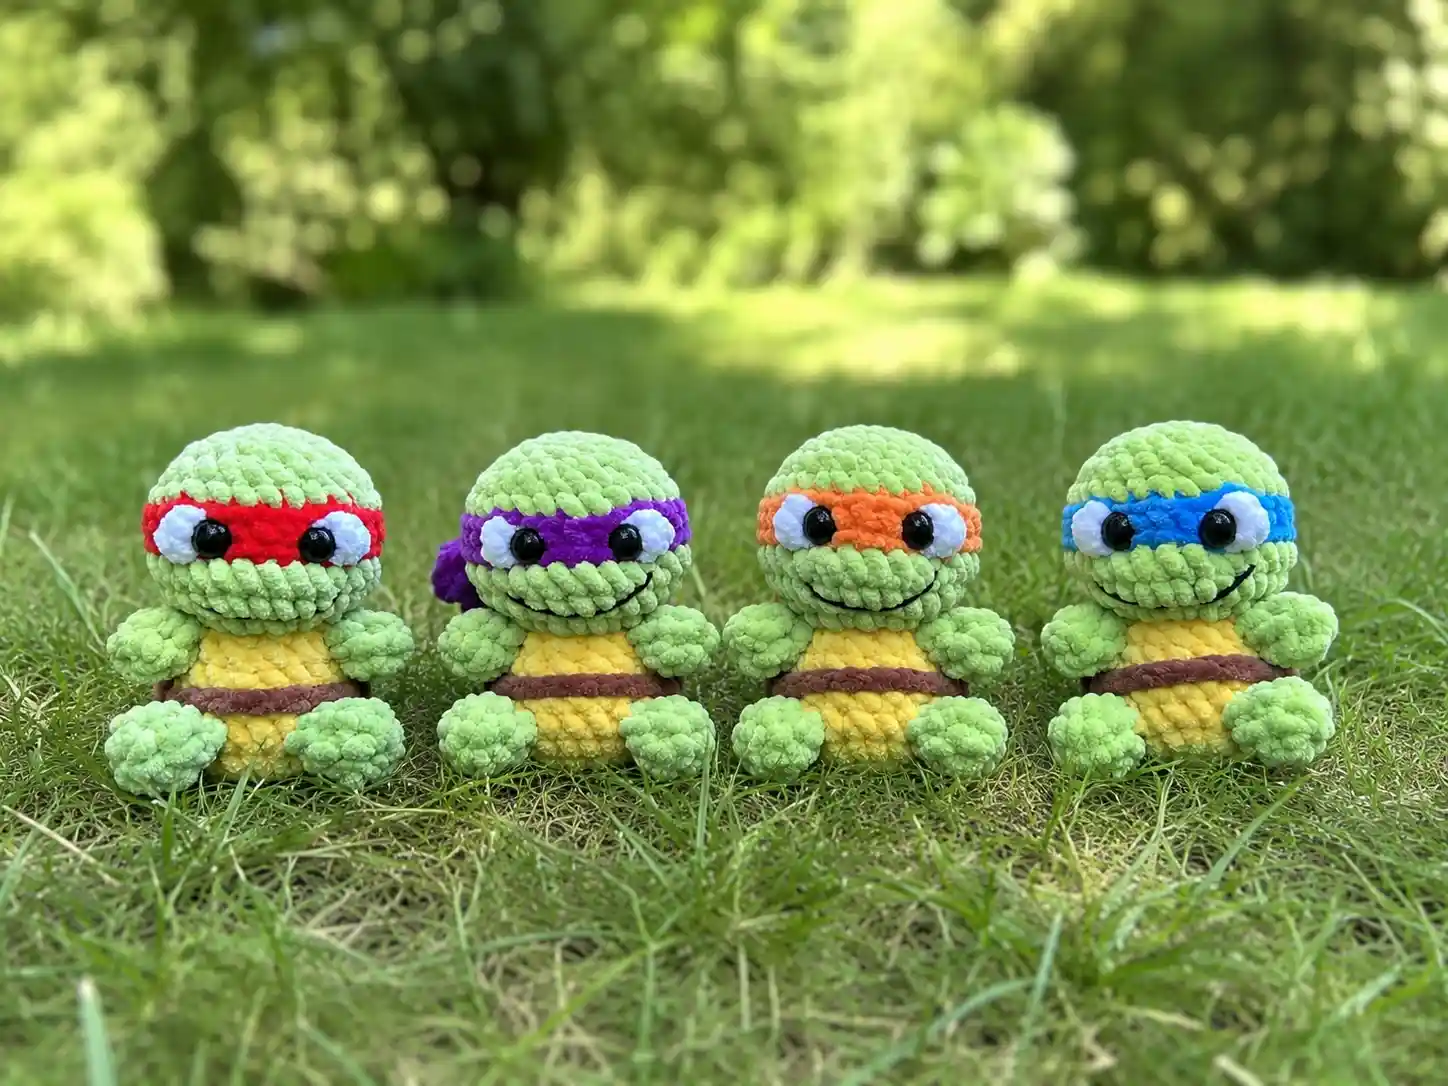
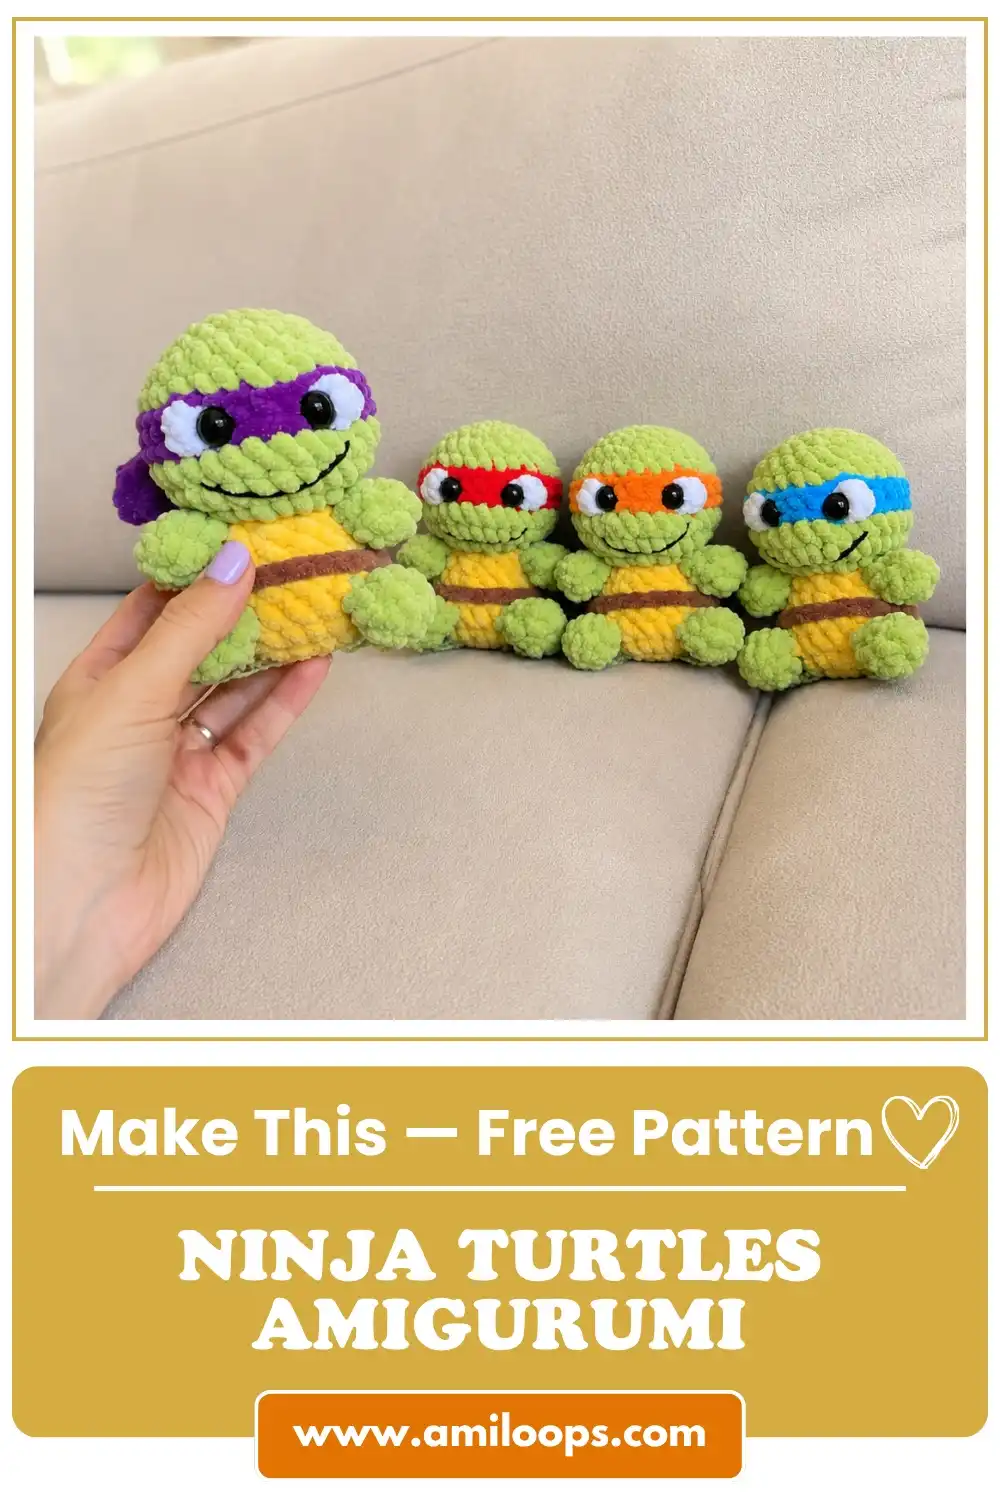
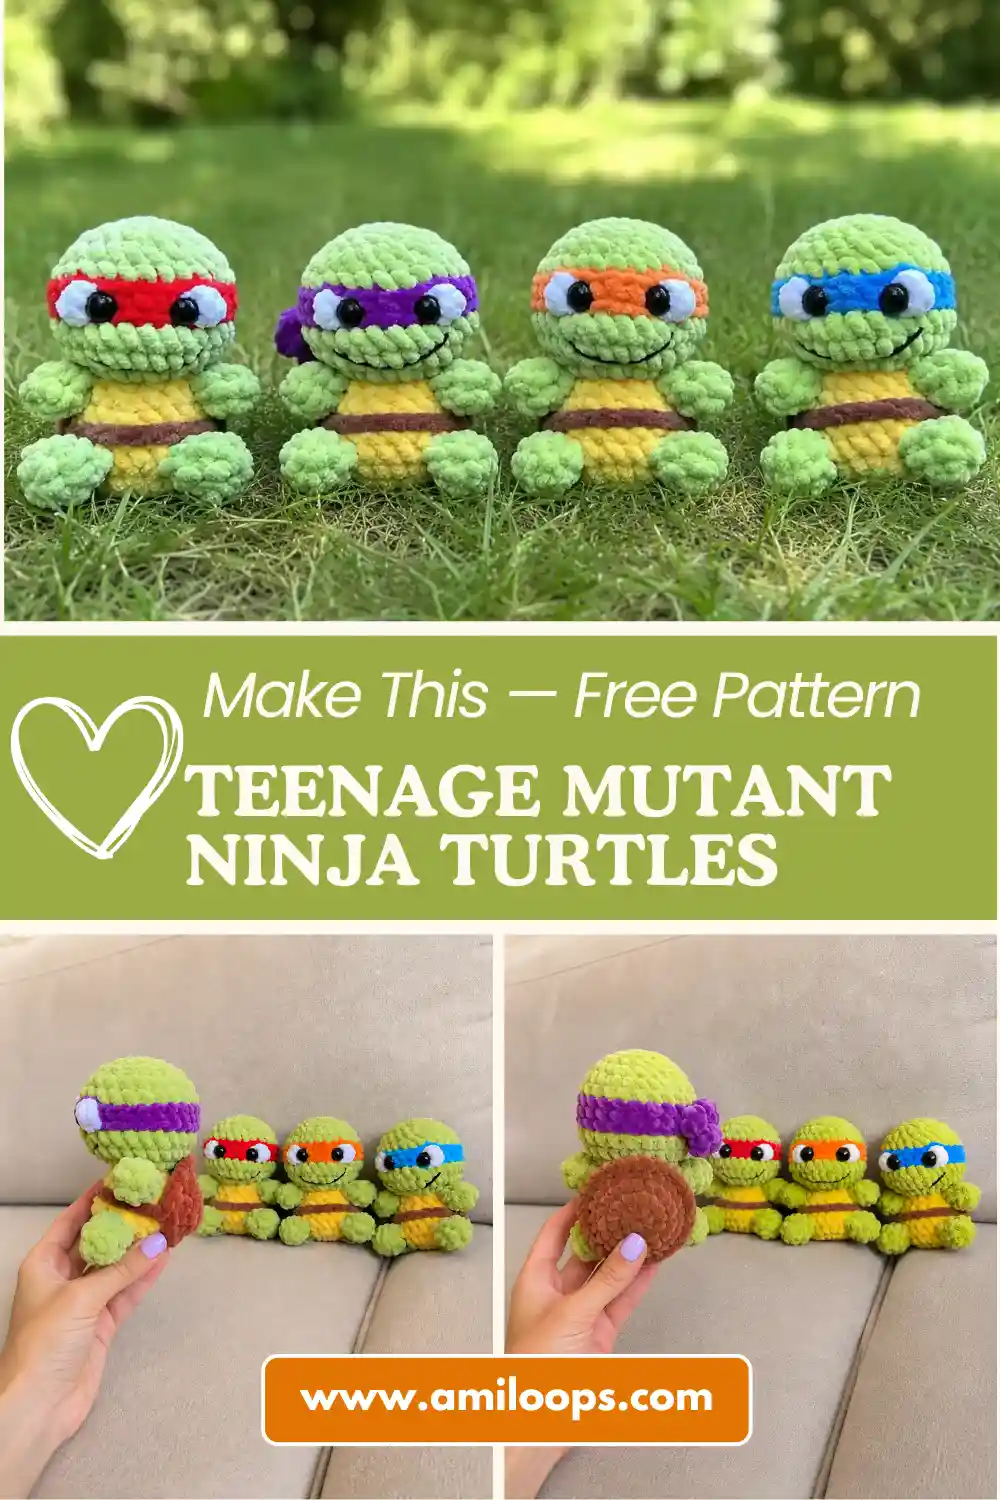
This teenage mutant ninja turtles amigurumi free pattern turned into one of my favorite scrap-yarn projects — I ended up making all four turtles back to back just to line up the mask colors on my shelf. Each one is barely 3.5 inches tall, worked in chenille for that soft, squishable finish, with a tidy little cluster-stitch eye trick I’m genuinely proud of. Grab your hook, and let’s build your ninja team.
📋 Pattern Quick Stats
- Difficulty: Intermediate
- Finished Size: approx. 3.5 in tall (per turtle)
- Hook Size: 4.0mm (US G/6)
- Yarn Weight: Bulky (5) chenille (body/limbs/head/shell) + DK/Light Worsted (3) cotton (mouth embroidery)
- Techniques: magic ring, invisible decrease, color changes, back loop only (BLO), cluster stitch, safety eyes
- Estimated Time: 3-5 hours per turtle
Materials for Your Teenage Mutant Ninja Turtles Amigurumi
This is a chenille pattern, and I love chenille for amigurumi this small — it plumps up the stitches and hides tiny tension inconsistencies beautifully. Here’s what you’ll need for one turtle:
- Bernat Baby Velvet or Premier Parfait — Bulky (5) chenille, approximately 100g/120m. (both Himalaya Dolphin Baby or YarnArt Dolce used , both similar chenille yarns — either US alternative above will give you the same dense, squishy fabric.)
- Green — legs, arms, head
- Yellow — body
- Brown — shell
- White — eyes (small amount)
- Mask color — choose one: purple, red, orange, or blue (small amount)
- Drops Muskat or Paintbox Cotton DK — DK/Light Worsted (3), black, for embroidering the mouth.
- Hook: 4.0mm (US G/6)
- Safety eyes: 10mm, black (2 per turtle)
- Polyester fiberfill (Poly-Fil by Fairfield is my go-to)
- Stitch marker, to track the beginning of each round
- Tapestry needle
- Scissors and a lighter, for singeing the chenille ends so they don’t shed
This chenille falls into the Bulky (5) category on the Craft Yarn Council yarn weight system, while the black cotton for the mouth is a DK/Light Worsted (3) — a much thinner yarn, which is exactly what you want for fine embroidery detail on a piece this small.
If you can’t find chenille locally, most big-box craft stores carry a baby-velvet style yarn in the same weight — worth checking the clearance bin too, since this pattern barely uses a full skein of each color.
Abbreviations
| Abbreviation | Meaning |
|---|---|
| ch | chain |
| sl st | slip stitch |
| mr | magic ring |
| sc | single crochet |
| inc | increase |
| dec | invisible decrease |
| dc | double crochet |
| cluster st | cluster stitch (3 dc worked together with one top) |
| BLO | back loop only |
| FO | fasten off |
Special Techniques for This Teenage Mutant Ninja Turtles Amigurumi Pattern
Nothing here is out of reach for a confident beginner, but a few techniques deserve a closer look before you start.
Every part of this pattern begins with a magic ring (or a chain-2 foundation, if you prefer — both land you at the exact same stitch count). If you haven’t worked one before, take the time to get comfortable with it; a snugly closed magic ring is what keeps these tiny pieces from having a hole at the center. Our step-by-step magic ring tutorial walks through it slowly.
This pattern also uses my required decrease method — the invisible decrease — everywhere the instructions say “dec.” I never use the standard sc2tog decrease in amigurumi; it leaves a visible gap in the fabric, and on a piece this small, that gap is impossible to hide. If invisible decrease is new to you, our invisible decrease tutorial covers the technique in detail — it’s worth the extra minute per stitch, I promise.
The head involves several color changes — green to your chosen mask color, then back to green, plus a white cluster stitch for the eyes. Keep your yarn ends tidy as you go rather than weaving everything in at the end; on a piece this size, loose ends have a way of showing through the fabric. If color changes still feel fussy to you, our color change guide is a good refresher.
The eye technique is the detail I’m proudest of in this pattern. In Row 12, you’ll work a white cluster stitch (three double crochets sharing one top) right into the mask-colored round — this creates a small raised white “eyeball” peeking through the mask, and it’s what gives the finished turtle that classic wide-eyed look before the safety eyes even go in. Take your time holding the white yarn steady while you crochet the mask color around it; it feels awkward the first time, less so the second.
Let’s Crochet the Teenage Mutant Ninja Turtles Amigurumi Pattern
Work in continuous rounds throughout (no joining, no turning) unless a row specifically says otherwise. Keep your stitch marker moving up with every round — on a pattern this compact, it’s very easy to lose track of where a round starts.
Arms (make 2)
Color: green
Row 1: 5 sc in mr or ch 2, 5 sc in 2nd ch from hook (5)
Row 2: 5 sc (5)
Row 3: 3 sc, dec (4)
Sl st, FO. Leave the arms unstuffed — they’ll be flattened slightly when you join them to the body, and stuffing makes that join bulky.
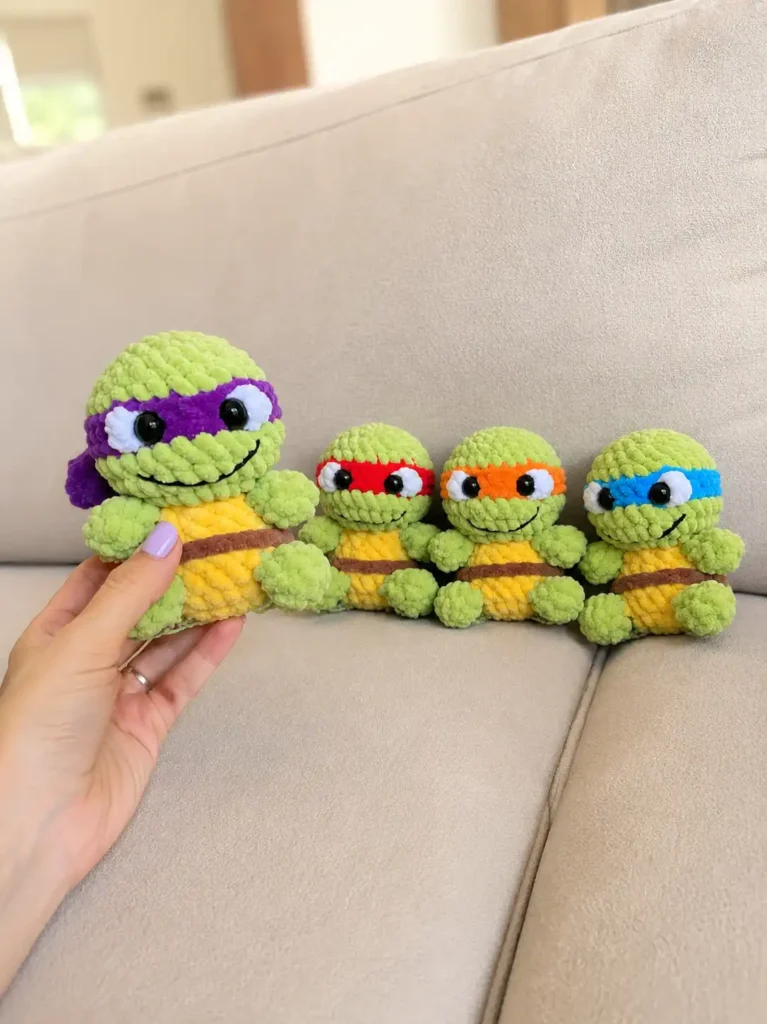
Legs (make 2)
Color: green
Row 1: 6 sc in mr or ch 2, 6 sc in 2nd ch from hook (6)
Rows 2-3: 6 sc (2 rows) (6)
Sl st, FO. Leave unstuffed, same reasoning as the arms.
Body
Color: yellow
Row 1: 6 sc in mr or ch 2, 6 sc in 2nd ch from hook (6)
Row 2: 6 inc (12)
Row 3: (1 sc, inc)×6 (18)
Row 4: join legs: 4 sc, 3 sc together with the leg, 3 sc, 3 sc together with the leg, 5 sc (18)
💡 Emma’s Tip: “3 sc together with the leg” means working each of those 3 stitches through both the body stitch and the top edge of the leg at the same time, permanently anchoring the leg as you crochet the round. Line the legs up before you start this row — it’s much easier to check symmetry now than after they’re attached.
Row 5: 18 sc (18)
Row 6: (2 sc, dec), (4 sc, dec)×2, 2 sc (15)
Row 7: (3 sc, dec)×3 (12)
Row 8: join arms: 3 sc, 2 sc together with the arm, 4 sc, 2 sc together with the arm, 1 sc (12)
💡 Emma’s Tip: Stuff the body firmly now, before you move on to the head — once the neck narrows in the following rows, it’s much harder to work stuffing down into the body. Don’t cut your yarn here; you’re about to transition straight into the head. If you’d like a refresher on getting stuffing distributed evenly, our stuffing tutorial is worth a look.
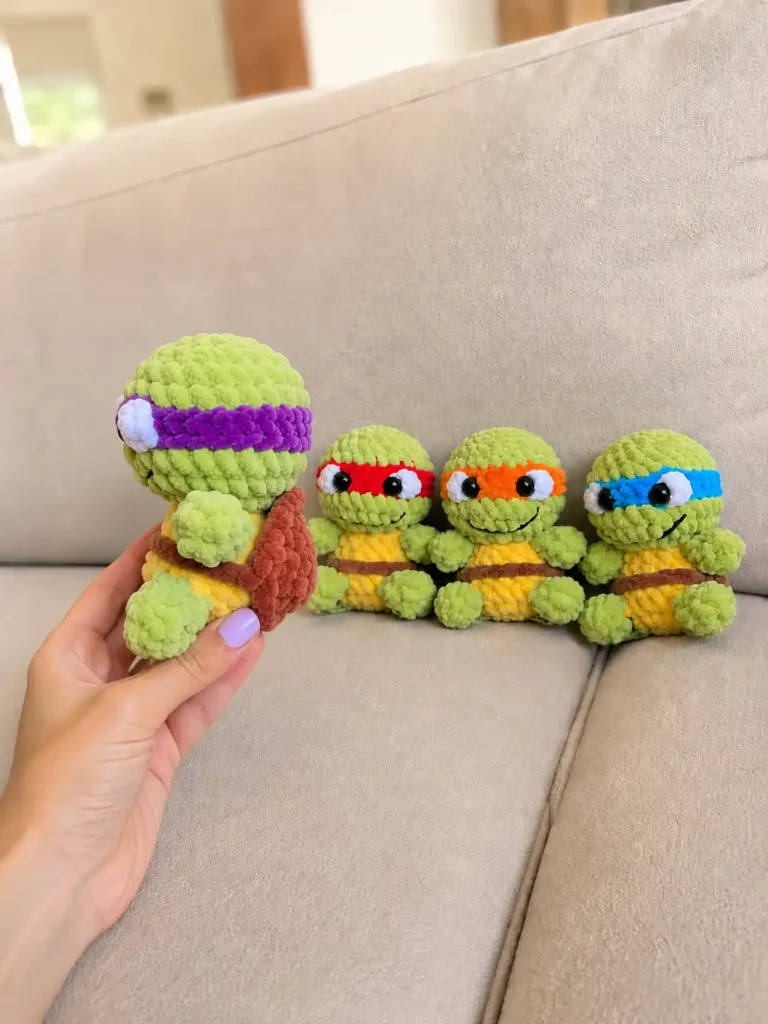
Head
Color: green, continuing directly from the body
Row 9: 12 inc [green] (24)
Row 10: 3 sc, inc, (7 sc, inc)×2, 4 sc [green] (27)
Row 11: 27 sc [green] (27)
💡 Emma’s Tip: Switch to your mask color before starting Row 12.
Row 12: 27 sl st through both loops [mask color], work in BLO: 16 sc [mask color], with white *cluster st [white], 5 sc [mask color], with white *cluster st [white], 4 sc [mask color] (27)
💡 Emma’s Tip: For each cluster stitch, place the white yarn over your hook as if it’s your first yarn over, holding it steady with your fingers, then complete a double crochet — finishing the top of the stitch in your mask color. Don’t cut the white yarn between the two eyes; carry it across the back and tie the ends together once both are done.
Before Row 13, switch back to green — but don’t cut the mask-colored yarn. Bring it to the front of the work to crochet the mask ties: insert your hook next to the working yarn, pull up a loop, ch 4, work 3 sc starting from the 2nd chain from the hook, insert the hook back into the fabric and make a securing sl st, then repeat — ch 4, 3 sc from the 2nd chain from hook — for the second tie. Cut the yarn, pull the tail through to the inside with your hook, and secure it.
Row 13: Work in BLO: 27 sc [green] (27)
Row 14: (7 sc, dec)×3 [green] (24)
💡 Emma’s Tip: Insert the safety eyes now, in Row 12, right next to the two cluster stitches. I place the backing washers on backward, which pushes the eyes to bulge outward slightly for a more expressive look. Since these are for a finished toy, it’s worth reviewing the CPSC’s toy safety guidance if this turtle is headed to a young child — safety eyes should always be secured firmly and are not appropriate for children under 3. Our safety eyes tutorial covers the installation itself step by step.
Row 15: (2 sc, dec)×6 [green] (18)
Row 16: (1 sc, dec)×6 [green] (12)
💡 Emma’s Tip: Stuff firmly after both Row 15 and Row 16 — the head closes up fast from here, and you want it dense before that last round pulls tight.
Row 17: 6 dec [green] (6)
Cut the yarn, close the opening, secure, and weave in the end.
Shell
Color: brown
Row 1: 6 sc in mr or ch 2, 6 sc in 2nd ch from hook (6)
Row 2: 6 inc (12)
Row 3: (3 sc, inc)×3 (15)
Row 4: 15 sc (15)
Row 5: work in FLO of Row 4: (2 sc, inc)×5 + 1 sl st (20 + 1 sl st)
💡 Emma’s Tip: This shell has two live edges by design. In the BLO of Row 4, work 1 sl st, then ch 11 and attach that chain to the opposite side of the shell with a second securing sl st, also worked in the BLO of Row 4. This chain becomes the strap that holds the shell onto the turtle’s belly.
FO and secure the yarn.
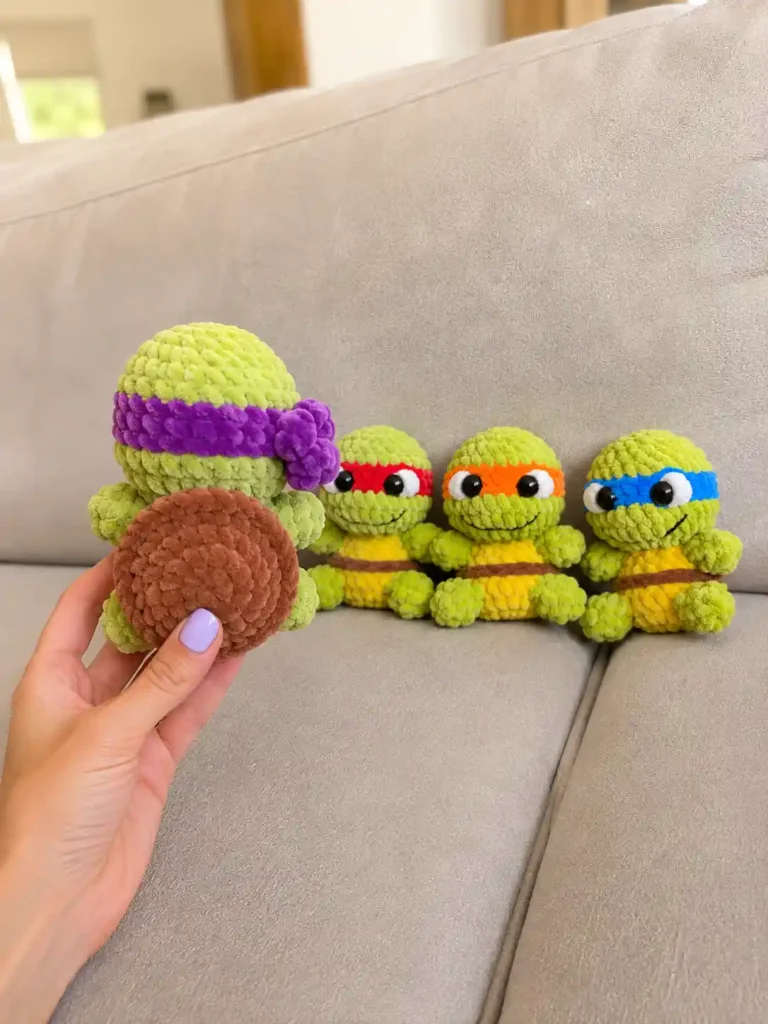
Assembling Your Teenage Mutant Ninja Turtles Amigurumi
- With all five pieces finished (body with head attached, 2 arms, 2 legs, and the shell), set the shell over the turtle’s back.
- Use the chain strap crocheted onto the shell in Row 5 to loop it under the belly, securing the shell in place — no additional sewing is needed since the arms and legs were already joined directly into the body rounds.
- Check that both mask ties sit evenly on either side of the face before you move on to the finishing details.
Finishing & Details
With black DK cotton, embroider the mouth beneath the mask in a simple smile shape with small upturned corners at each end — this is what gives each turtle its personality, so don’t rush it. If your first attempt looks uneven, pull it out and try again; embroidery is much faster to redo than a misshapen decrease round.
Finally, reach inside the head through the neck opening (before it’s fully stuffed and closed, if you haven’t already) and tie the two white yarn tails from the eye cluster stitches together to secure them from the inside.
Emma’s Note
I made all four mask colors of this teenage mutant ninja turtles amigurumi pattern in one weekend, and the cluster-stitch eyes were the part I kept going back to fuss over — small details like that are what make a 3.5-inch toy feel intentional rather than rushed. If your tension runs tight like mine, you’ll notice the chenille hides it well; don’t worry if your turtle looks slightly different from mine, that’s the nature of working this small. If you enjoy building a themed set, my Batman amigurumi pattern and Baby Yoda amigurumi pattern are just as satisfying for stash-busting an evening. Happy hooking! 🧶
FAQ
What yarn is best for this Teenage Mutant Ninja Turtles Amigurumi?
Acrylic worsted weight yarn (Category 4) is highly recommended for this pattern as it holds its shape well and comes in vibrant colors for the masks and shells.
Can beginners make this turtle amigurumi pattern?
Yes! This pattern uses basic stitches like single crochet, increases, and decreases. If you know how to make a magic ring and basic amigurumi shapes, you can easily follow along.
How long does it take to crochet this amigurumi?
On average, it takes about 6 to 8 hours to complete one turtle, depending on your crocheting speed and experience level.