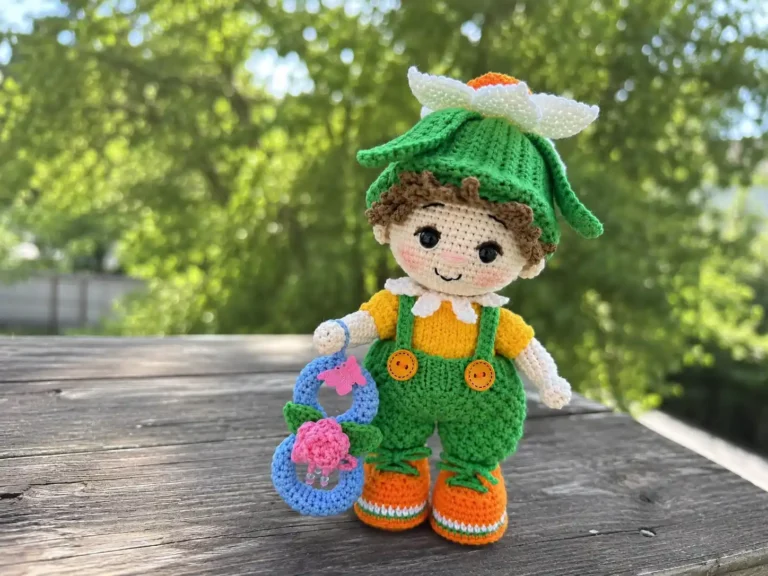
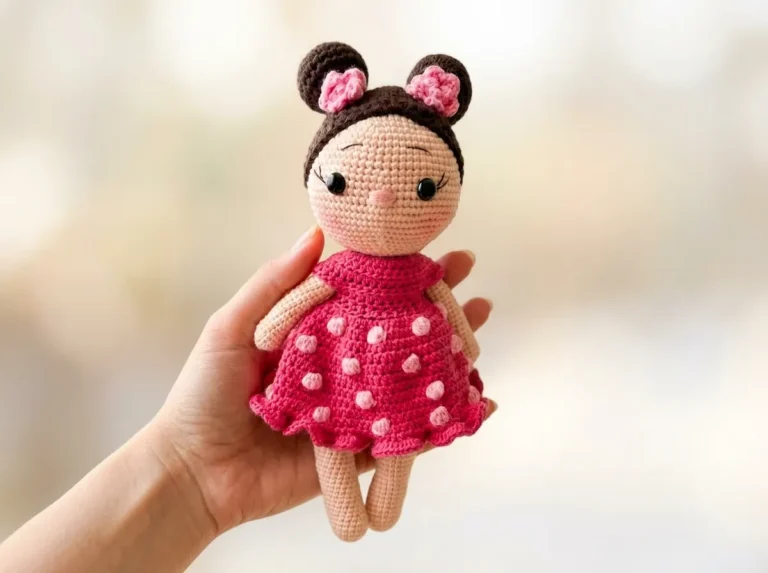
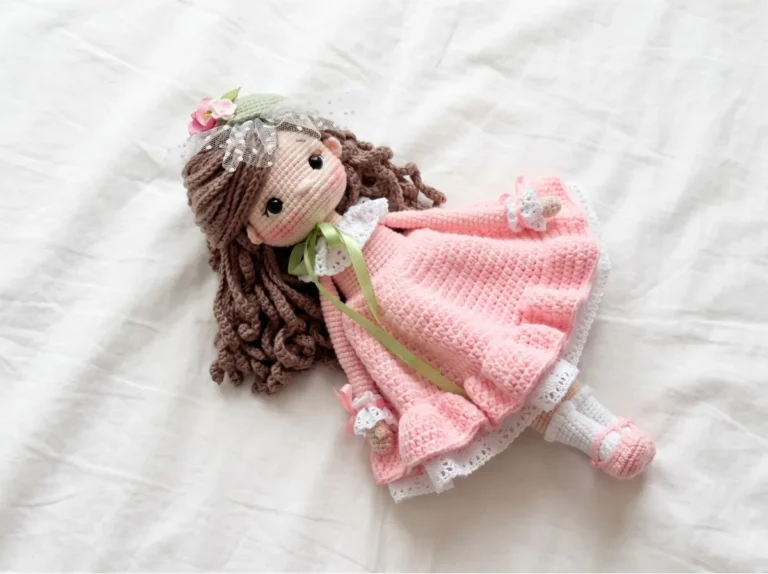
A Crochet Christmas Tree Amigurumi Worth Every Careful Stitch
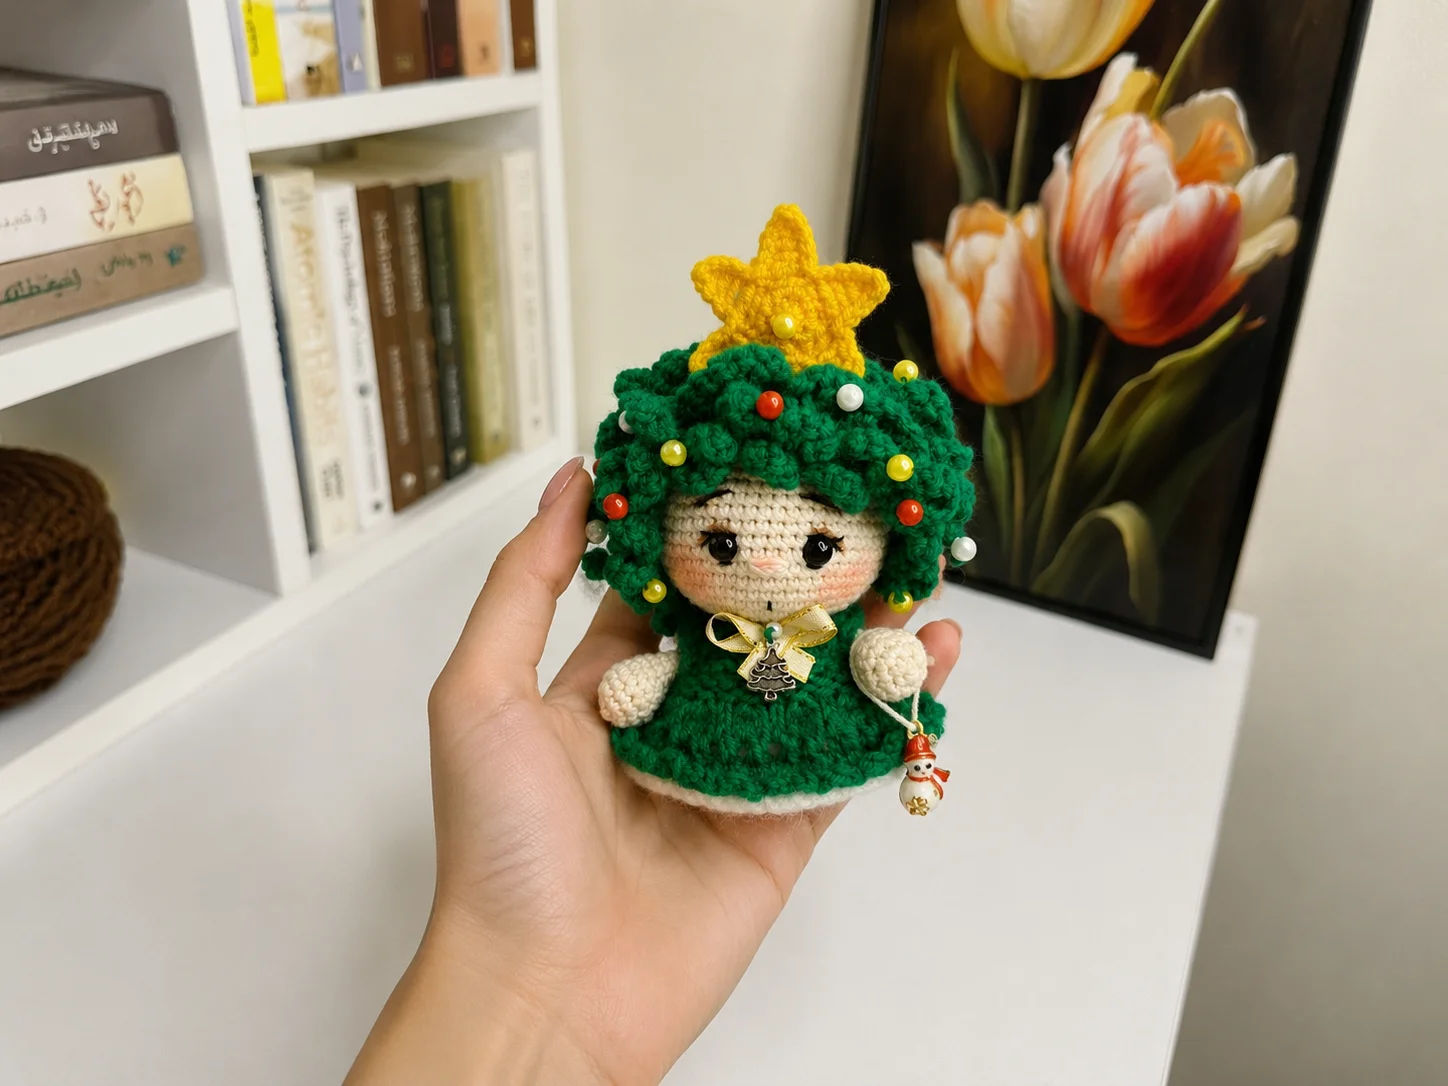
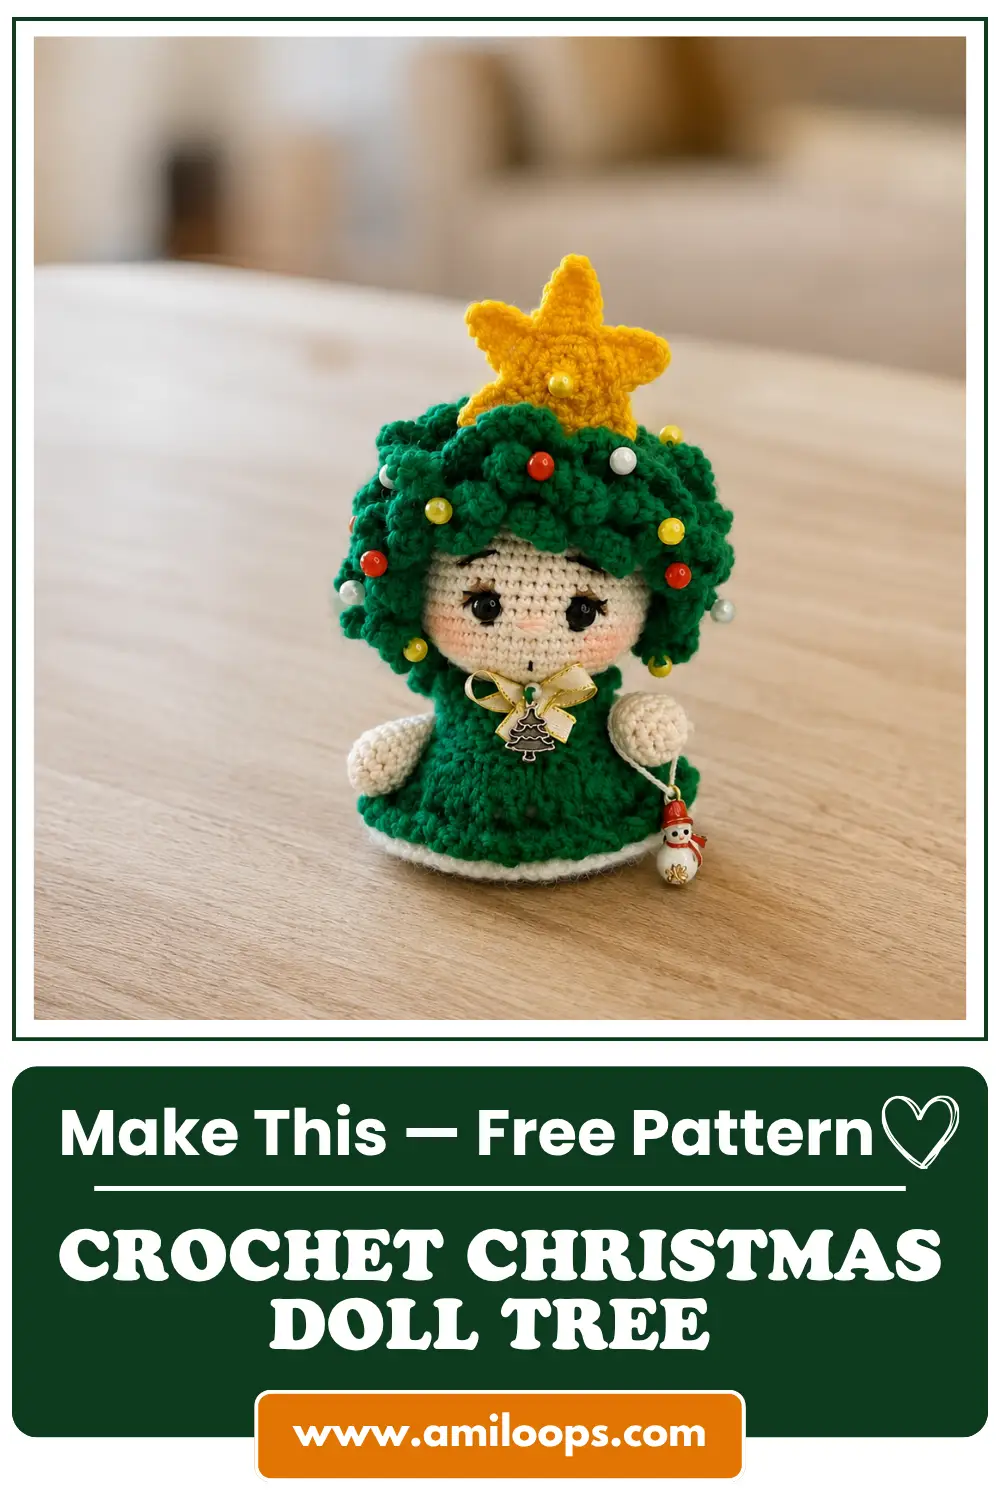
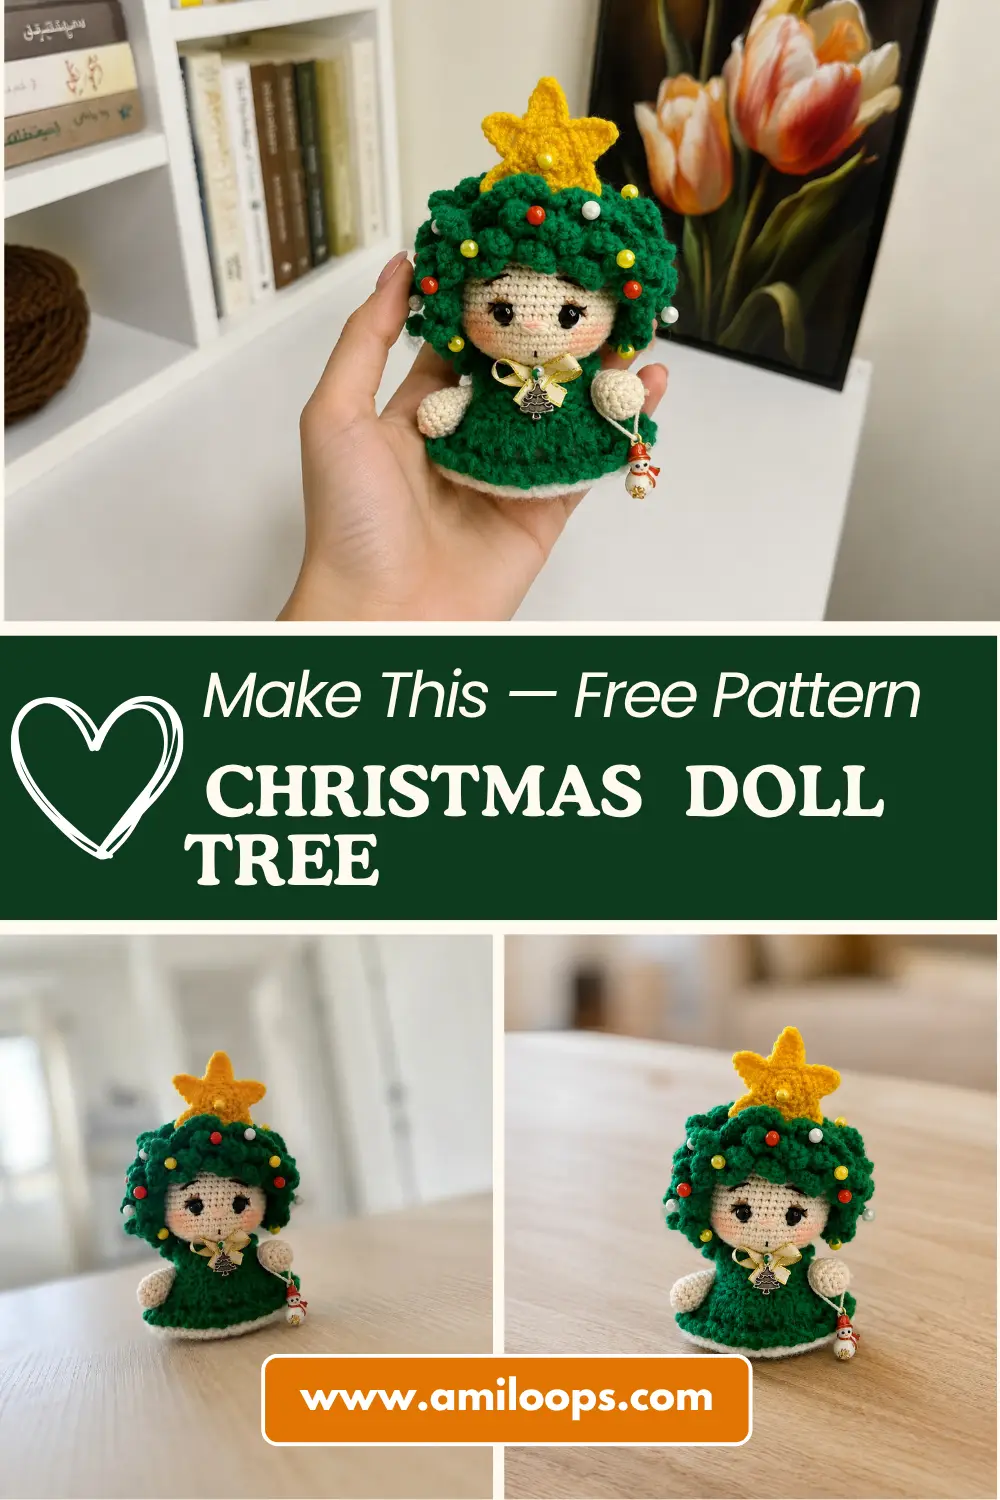
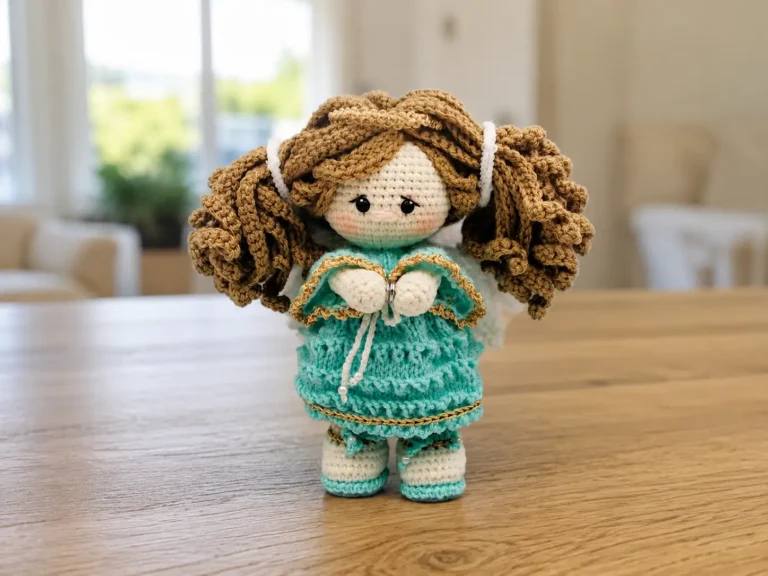
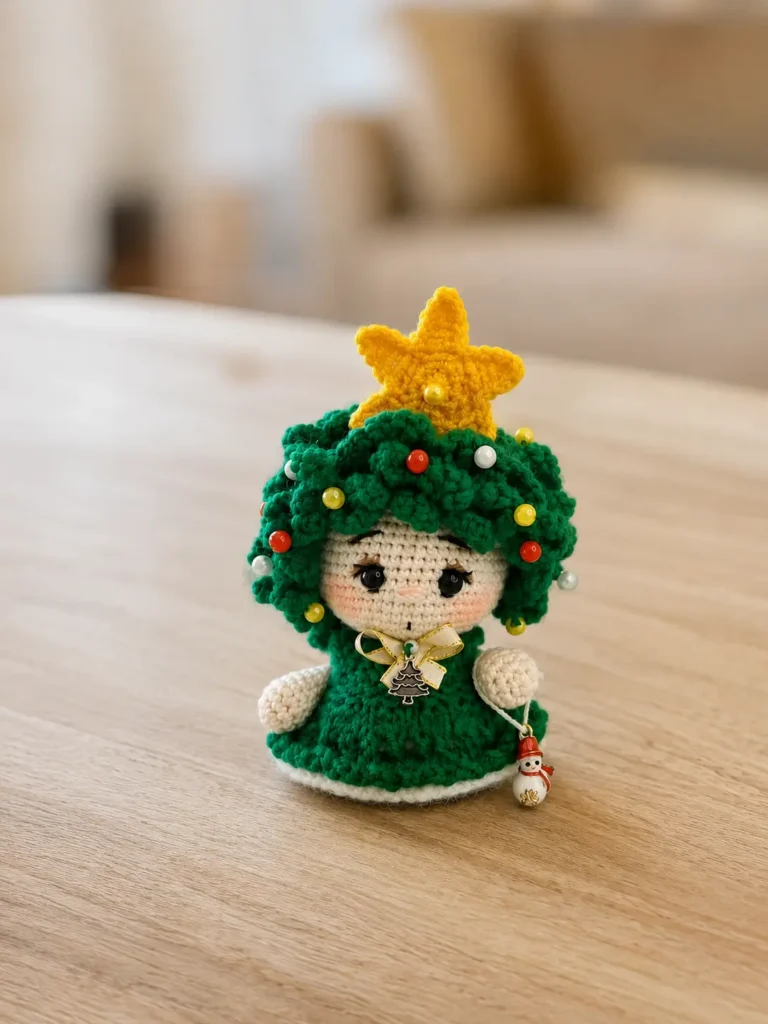
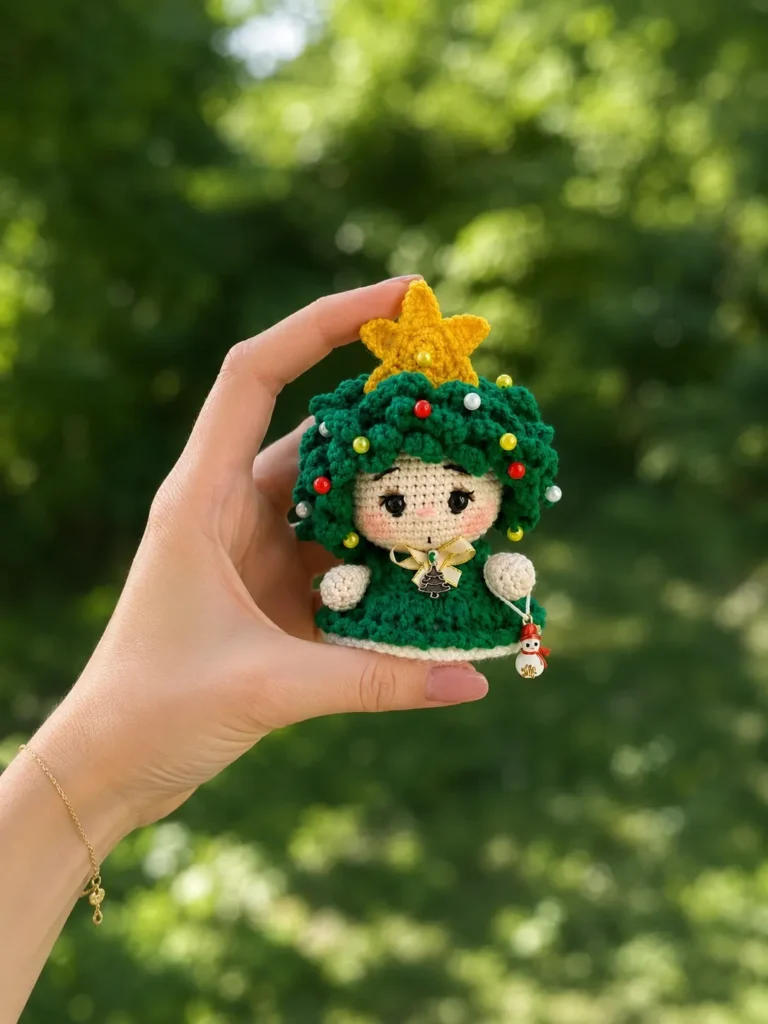
This crochet christmas tree amigurumi free pattern is one of the most detail-rich designs I’ve worked through this season, and I loved every round of it. She’s a tiny holiday character with a hand-knitted dress, a hand-tied wig, and a beaded star topper — each part checked twice so your counts land exactly where they should. Grab your hook and settle in.
📋 Pattern Quick Stats
- Difficulty: Advanced
- Finished Size: 4.3 in (11 cm), without wig and star topper
- Hook Size: 1.9mm (no US letter equivalent)
- Knitting Needles: US 00 (1.8mm) — for the dress panel only
- Yarn Weight: DK/Light Worsted (3), with Worsted (4) for the dress trim
- Techniques: magic ring, invisible decrease, increase, BLO/FLO, button jointing, hand embroidery, knitted dress panel
- Estimated Time: 6-9 hours
Materials for This Crochet Christmas Tree Amigurumi Free Pattern
The original pattern doesn’t list exact yardage, but a single skein of DK-weight cotton comfortably covers a piece this size. Here’s what you’ll need:
- A DK/Light Worsted (3) cotton-blend yarn in your main color — for the legs, body-head, and arms (original pattern: LIRA Vita Cotton, color 5012 — no specific shade name was given in the source, so choose the color that fits your vision)
- A DK/Light Worsted (3) yarn in green — for the wig strands and the knitted dress panel (original pattern: Pehorka Detskaya Novinka, color 742-billiard)
- A DK/Light Worsted (3) yarn in golden yellow — for the star topper (original pattern: Pehorka Detskaya Novinka, color 12-yolk)
- A Worsted (4) yarn in white — for the hem trim on the dress (original pattern: NAKO Paris, color 208)
- 1.9mm crochet hook
- US 00 (1.8mm) knitting needles — for the dress panel
- 5mm safety eyes
- Polyester fiberfill stuffing
- 2 small buttons — for the button-jointed arms
- 1 small button — for the dress closure
- Small beads — for the star center and hair, plus a satin ribbon for the dress bow
- Black embroidery (iris) thread — for the eyebrows and mouth
- A scrap of white yarn — for the eye highlights
- Tapestry needle
- Transparent craft glue (optional, for securing wig strands)
These yarns are all classified in the DK/Light Worsted (3) and Worsted (4) categories on the Craft Yarn Council yarn weight system, which is a handy reference if you’re swapping in a yarn from your own stash.
Abbreviations for the Crochet Christmas Tree Amigurumi Pattern
| Abbreviation | Meaning |
|---|---|
| mr | magic ring |
| ch | chain |
| sc | single crochet |
| inc | increase (2 sc in one stitch) |
| inv dec | invisible decrease |
| sl st | slip stitch |
| dc | double crochet |
| tr | treble crochet |
| BLO | back loop only |
| FLO | front loop only |
| k | knit (dress panel only) |
| p | purl (dress panel only) |
| yo | yarn over |
| k2tog | knit 2 together (dress panel only) |
| ( )×n | repeat the instructions in parentheses n times |
Special Techniques Used in This Amigurumi Pattern
This is not a beginner project, and I want to be upfront about that before you pick up your hook.
The body starts with a magic ring — if that’s new to you, our step-by-step magic ring tutorial walks through it from the very first loop. Every decrease in this pattern uses my preferred invisible decrease method rather than a standard sc2tog, which keeps the shaping clean with no visible gap — here’s our complete invisible decrease tutorial if you’d like a refresher. You’ll be stuffing as you go in several places, so it’s worth reviewing our guide to stuffing amigurumi without lumps before you start the body. The arms attach with a button joint rather than a simple sew, and the wig and star tie on separately, so our tutorial on sewing amigurumi parts together is worth having open. And since this piece uses safety eyes, take a look at our guide to attaching safety eyes correctly before you insert them — placement matters here, since the pattern gives you two acceptable options for where to seat them.
⚠️ A note before you begin: The dress in this pattern is knitted, not crocheted. You’ll need a pair of US 00 (1.8mm) knitting needles for that section — everything else in the pattern uses your crochet hook. If you’re a crochet-only maker, you may want to substitute a simple crocheted dress panel of your own design for that part, since a knitted equivalent isn’t something I can invent on your behalf without testing it myself.
💡 Emma’s Safety Note: This design uses small buttons for the arm joints and closure, along with beads and glued wig strands. These are lovely details, but they’re not locking, tamper-resistant components the way properly installed safety eyes are. I’d treat this piece as a display doll rather than a children’s toy, and keep it away from very young children. For general guidance on small parts and toy safety, the U.S. Consumer Product Safety Commission is a good reference.
Crochet Christmas Tree Amigurumi Pattern
Legs (Make 2)
Yarn: Main color
Starting Method: Magic ring
Row 1: 6 sc in mr (6)
Row 2: 6 inc (12)
Row 3: (3 sc, inc)×3 (15)
Rows 4-6: 15 sc (3 rows) (15)
Fasten off the first leg and weave in the end. Crochet the second leg the same way, but don’t cut the yarn this time — you’ll continue straight into the body.
Body and Head
Yarn: Main color, continuing directly from the second leg
Row 7: ch 2, 15 sc along the first leg, 2 sc along the chain, 15 sc along the second leg, 2 sc along the chain (34)
Row 8: 15 sc, 2 inc, 17 sc (36)
Row 9: (5 sc, inc)×6 (42)
Row 10: 3 sc, inc, (6 sc, inc)×5, 3 sc (48)
Rows 11-13: 48 sc (3 rows) (48)
Row 14: (14 sc, inv dec)×3 (45)
Row 15: (13 sc, inv dec)×3 (42)
Row 16: (12 sc, inv dec)×3 (39)
Row 17: (11 sc, inv dec)×3 (36)
Row 18: 2 sc, inv dec, (4 sc, inv dec)×5, 2 sc (30)
💡 Emma’s Tip: Add stuffing to the legs and lower body after this row, before the opening narrows any further. It’s much easier to distribute evenly now than to try and poke it in later.
Row 19: (3 sc, inv dec)×6 (24)
Row 20: 1 sc, inv dec, (2 sc, inv dec)×5, 1 sc (18)
Row 21: (4 sc, inv dec)×3 (15)
Row 22: 15 sc (15)
💡 Emma’s Tip: Top off the stuffing here before you move on — this is the neck, and once the head starts building above it, you won’t be able to reach back down easily.
Row 23: 15 inc (30)
Row 24: 2 sc, inc, (4 sc, inc)×5, 2 sc (36)
Row 25: (5 sc, inc)×6 (42)
Row 26: 3 sc, inc, (6 sc, inc)×5, 3 sc (48)
Row 27: (7 sc, inc)×6 (54)
Rows 28-37: 54 sc (10 rows) (54)
Row 38: (7 sc, inv dec)×6 (48)
Row 39: 3 sc, inv dec, (6 sc, inv dec)×5, 3 sc (42)
Row 40: (5 sc, inv dec)×6 (36)
💡 Emma’s Tip: Add another round of stuffing to the head now, checking that it’s firm and even before the closing rounds pull the opening in tight.
Row 41: 2 sc, inv dec, (4 sc, inv dec)×5, 2 sc (30)
Row 42: (3 sc, inv dec)×6 (24)
Row 43: 1 sc, inv dec, (2 sc, inv dec)×5, 1 sc (18)
Row 44: (1 sc, inv dec)×6 (12)
💡 Emma’s Tip: Check your stuffing one last time here — this is your final chance before the opening closes completely.
Row 45: 6 inv dec, then work a sl st into the last stitch to close (6)
Close the opening, fasten off, and weave in your ends.
Arms (Make 2)
Yarn: Main color
Starting Method: Magic ring
Row 1: 6 sc in mr (6)
Row 2: 6 inc (12)
Row 3: (3 sc, inc)×3 (15)
Row 4: 15 sc (15)
Row 5: (3 sc, inv dec)×3 (12)
Row 6: (4 sc, inv dec)×2 (10)
💡 Emma’s Tip: Add a small amount of stuffing to the fist right after this row — just enough to give it shape, not so much that it fights the button joint later.
Rows 7-12: 10 sc (6 rows) (10)
Row 13: 5 inv dec (5)
Close the opening and cut the yarn, leaving a tail for sewing and button-jointing later.
Wig
Yarn: Green
Starting Method: Magic ring
Row 1: 6 sc in mr (6)
Row 2: BLO 6 inc (12)
Row 3: BLO (1 sc, inc)×6 (18)
Row 4: BLO 1 sc, inc, (2 sc, inc)×5, 1 sc (24)
Row 5: Working through the BLO, chain 9, then starting from the second chain from your hook, sl st along the chain, then 8 sc back along it — that’s your first strand. Skip 2 stitches of the base and sl st into the third stitch, then repeat to make 5 strands total (these form the bangs). Next, continue around chaining 18 for each strand, working 17 sc back along the chain, and placing a strand in every other stitch — sl st and strand in one stitch, sl st only in the next. Continue this way to the end of the row.
Row 6: Working into the remaining front loops from Rows 2-4, crochet strands in the opposite direction in a spiral (clockwise), again in every other stitch: 8 strands chaining 18, then 4 strands chaining 9 (more bangs). Continue crocheting strands up to the crown, chaining 18 for each. For the very last row, place a strand in every single stitch.
💡 Emma’s Tip: The front loops left open in Rows 2 through 4 are exactly what you’ll use for the spiral strands in Row 6 — don’t accidentally crochet into them earlier, or you won’t have anywhere to anchor that final layer of hair.
To finish, align the wig’s center with the head’s center and sew it in place, starting along the outer edge and working your way up toward the crown, row by row. Secure the first row of strands, then tuck and secure the second row of strands between them — sew or glue in place with a small amount of transparent craft glue if you’d like extra hold.
Star Topper
Yarn: Golden yellow
Starting Method: Magic ring
Row 1: 8 sc in mr (8)
Row 2: 8 inc (16)
Row 3: Chain 6, starting from the second chain from your hook: sl st, sc, 2 dc, tr — that’s your first point. Skip 2 stitches of the base and sl st into the third stitch. Repeat to make 5 points total.
Row 4: Work a sl st border around the star to neaten the edge.
Don’t cut the yarn — chain 35 for the first tie, then join a new strand of yarn and chain a second tie of the same length. Thread beads onto the ends of both ties, and sew a bead into the center of the star.
Knitted Dress Panel
⚠️ This section uses US 00 (1.8mm) knitting needles, not a crochet hook. If you’d rather keep the whole project on your hook, you can substitute a crocheted dress panel of your own here
Yarn: Green, joining white for the hem
Starting Method: Cast on 18 stitches (16 + 2 edge stitches). Leave a long tail when casting on. Edge stitches aren’t included in the stitch counts below — slip the first stitch of every row and purl the last.
Row 1: 16 k (16)
Row 2: 2 k, yo, k, yo, 2 k, yo, k, yo, 4 k, yo, k, yo, 2 k, yo, k, yo, 2 k
Row 3: 24 k (24)
Row 4: 3 k, yo, k, yo, 4 k, yo, k, yo, 6 k, yo, k, yo, 4 k, yo, k, yo, 3 k
Row 5: 32 k (32)
Row 6: 4 k, yo, k, yo, 6 k, yo, k, yo, 8 k, yo, k, yo, 6 k, yo, k, yo, 4 k
Row 7: 40 k (40)
Row 8: 6 k, bind off 8 sts (sleeve opening — one stitch remains on the right needle), 11 k, bind off 8 sts (sleeve opening — one stitch remains on the right needle), 6 k
Row 9: 6 k, cast on 2 sts using a backward loop cast-on, 12 k, cast on 2 sts using a backward loop cast-on, 6 k
Rows 10-11: 28 k (2 rows) (28)
Row 12: (1 k, make 3 sts from one stitch: k1, yo, k1)×14
Row 13: 56 p (56)
Row 14: 56 k (56)
Row 15: 56 p (56)
Row 16: (k2tog, yo)×28
Row 17: 56 p (56)
Rows 18-19: 56 k (2 rows) (56)
Row 20: Join white yarn (keep the green attached, don’t cut it), 56 k (56)
Bind off all stitches and fasten off the white yarn. With the green yarn still attached, work a scalloped edge into the loops formed along Row 19: (chain 3, skip 1 stitch, sl st) to the end of the row, then fasten off. With the yarn tail left over from your cast-on, crochet a small chain sized to your button and form a buttonhole loop. Sew the button to the opposite side of the dress.
Assembling the Christmas Tree Amigurumi
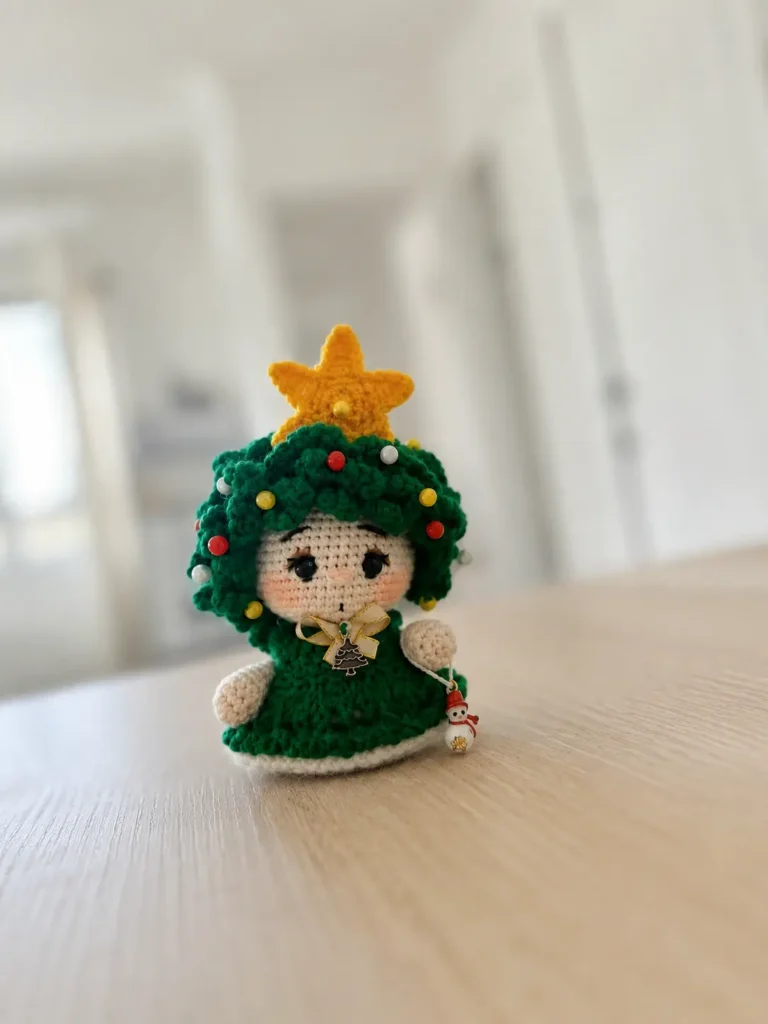
- Connect the two legs and continue crocheting the body as a single piece, as described in Row 7 of the Body-Head section.
- Sew the arms to the body with a button joint, positioned between Rows 20 and 21 of the body.
- Align the wig’s center with the head’s center and sew it in place, starting at the outer edge and working up toward the crown, row by row. Secure or glue the strands as noted in the Wig section.
- Tie the star topper’s two chains around the crown, over the wig.
Finishing Details for the Crochet Christmas Tree Amigurumi
The face is where this little character really comes together, so take your time finishing this crochet christmas tree amigurumi free pattern.
- Insert the 5mm safety eyes. You have two options here, both taken from the original pattern: count 15 rows down from the top of the head (Row 45), or place the eyes between Rows 30 and 31 with 5 stitches of space between them. Pick whichever placement matches the expression you’re going for, and check our safety eyes tutorial if you want a refresher on getting the spacing even.
- Embroider the nose using your main body color.
- With white yarn, embroider a small highlight for the whites of the eyes at the bottom of each eye.
- Using black iris embroidery thread, stitch a small arrow above each eye, then add the mouth and eyebrows.
- Tint the cheeks and nose lightly for a soft, rosy finish.
- Sew the beads onto the hair as a final decorative touch.
- Sew a bow — made from ribbon or a scrap of yarn — onto the front of the dress.
Emma’s Note
This one tested my patience in the best way — between the button joints, the layered wig strands, and switching over to knitting needles partway through, it’s not a project to rush. Take the dress panel slowly if knitting isn’t your usual craft; a dropped stitch there is easy to miss until a few rows later. I’m genuinely proud of how the wig turned out on mine, spiral strands and all — don’t skip pinning it in place before you commit to sewing. Happy hooking, and happy knitting too, just this once. 🧶
FAQ
What yarn is best for this crochet christmas tree amigurumi free pattern?
A DK/Light Worsted (3) cotton-blend yarn is highly recommended for the body and details, though a Worsted (4) yarn is used specifically for the dress hem trim.
How long does it take to crochet this amigurumi doll?
This is an advanced project that takes an estimated 6 to 9 hours to complete due to the intricate details like the button joints and hand-tied wig.
Is this crochet christmas tree pattern safe for small children?
Due to small parts like button joints, beads, and glued wig strands, this piece should be treated as a display doll rather than a toy for young children.