Free Crochet Pear Amigurumi Pattern — Tiny Fruit Character That Sits on Its Own
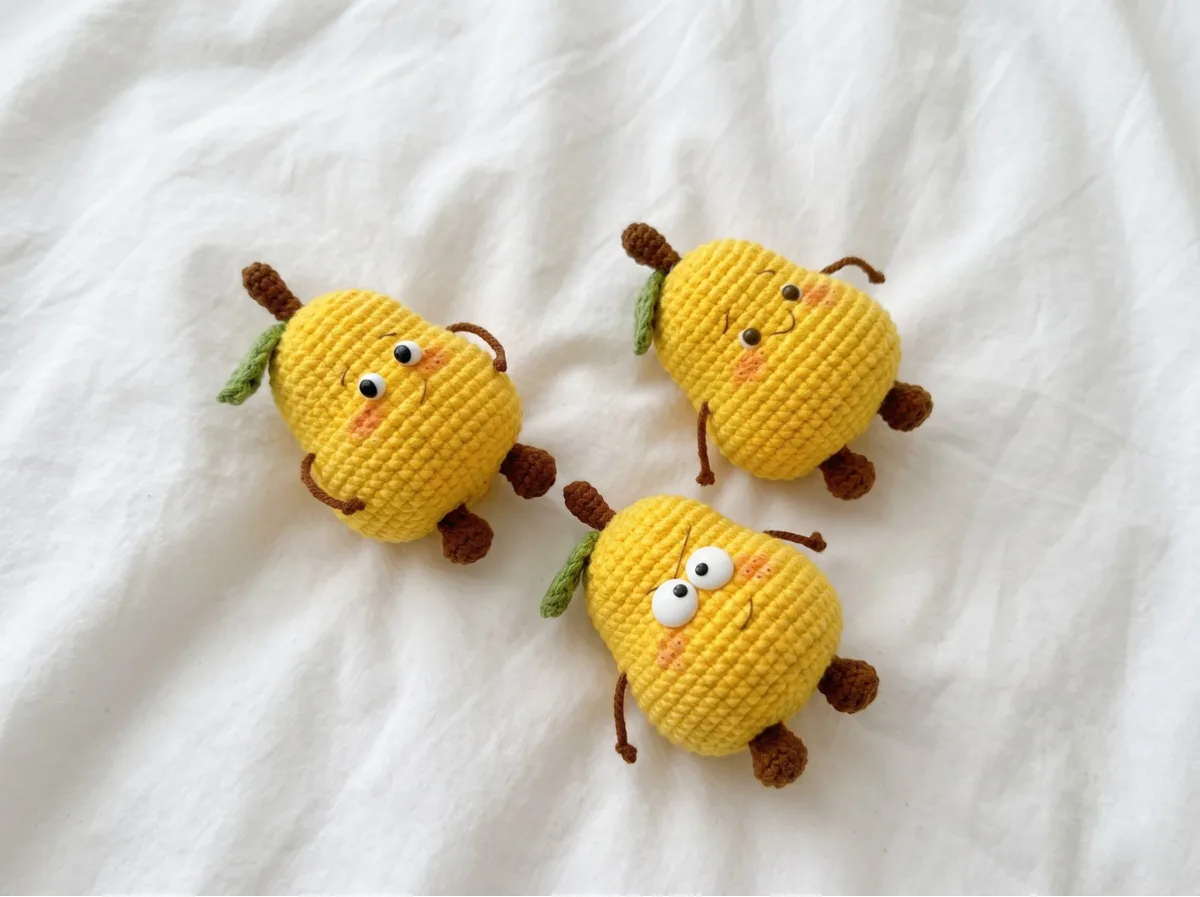
This crochet pear pattern is one of those projects that punches way above its weight — a round little fruit body, a leaf, a stubby stem, and two tiny feet that let it sit upright on its own. The whole thing uses under 100 yards of fingering weight yarn and works up fast on a 1.2mm hook. If you’ve been saving scraps of yellow, green, and brown, you probably already have everything you need. Let’s make a pear.
🧶 What You’ll Need From Your Stash
- 💰 Yarn Needed: ~95 yards total (main color ~65 yds, legs ~20 yds, stem ~5 yds split, leaf ~3 yds)
- 🎨 Colors: yellow or green (body + legs), brown (stem), green (leaf) — or whatever pear-ish combo you have
- 🪝 Hook: 1.2mm
- ⏱️ Time: 2–3 hours
- 📏 Finished Size: Approximately 3–3.5 in tall (based on yarn and tension)
- 💡 Difficulty: Beginner–Intermediate
- 🎁 Great For: desk decor, gift toppers, fruit bowl sets, market items
Materials for This Crochet Pear Pattern
- Fingering weight (4-ply) yarn in your main pear color — yellow-green, golden yellow, or any pear shade you’ve got sitting around. You need approximately 65 yards for the body and another 20 yards for the two legs.
- Brown fingering weight yarn — about 5 yards. The stem is worked in 4-ply split into 2-ply for a thinner look, so grab a short length and split it before you start.
- Green fingering weight yarn — about 3 yards for the leaf. Truly a scrap-sized amount. Any leftover green will do.
- 1.2mm crochet hook — this is a fine hook for fine yarn. If you only have a 1.5mm or 1.75mm, your pear will be slightly larger but the pattern still works. See our hook size guide if you’re deciding whether to size up.
- Polyester fiberfill — a small handful is all you need. Poly-Fil is available at Joann, Michaels, and Hobby Lobby in small bags that last for dozens of tiny projects like this.
- Stitch marker — non-negotiable for tracking your continuous rounds
- Tapestry needle — for sewing parts and weaving ends
- Scissors
🧶 Scrap Check: The leaf takes about 3 yards of green. The stem takes about 5 yards of brown — and since you’re splitting the 4-ply into 2-ply, a single short strand goes a long way. Both of these are genuinely scrap-sized amounts. Don’t buy new yarn for them.
Abbreviations Used in This Crochet Pear Pattern
| Abbreviation | Meaning |
|---|---|
| MR | Magic Ring |
| ch | chain |
| sc | single crochet |
| hdc | half double crochet |
| dc | double crochet |
| sl st | slip stitch |
| inc | increase (2 sc in same stitch) |
| dec | invisible decrease — insert hook through front loops only of next 2 stitches simultaneously, yarn over, pull through, yarn over, pull through 2 loops |
| × | repeat the sequence that many times |
A note on decreases: All decreases in this pattern are worked as invisible decreases (through front loops only). This keeps the surface of your crochet pear tight and clean with no gaps showing through. If you’re new to this technique, our invisible decrease tutorial breaks it down step by step — it’s the one technique worth learning properly before you start.
Smart Crafter Tips
The stem needs prep before you start. The stem is worked in 2-ply — which means you take a length of your 4-ply brown yarn and split it in half lengthwise before you begin. Separate about a yard before you cast on. The thinner weight gives it a realistic, delicate look that a full 4-ply strand would lose.
The arms are not crocheted. The assembly calls for a single length of yarn threaded straight through the body below Round 12, with knots tied at each end. That’s it — that’s the arms. It’s a clever shortcut and it works perfectly. Cut about 5–6 inches of your main color yarn for this step and set it aside before you start.
Color flexibility is high here. Pears come in yellow, green, and everything in between. The pattern doesn’t specify a yarn color — which means your stash decides. A golden yellow with a contrasting darker green for the legs reads immediately as a pear. A soft lime green with a brown stem is equally convincing. This is one of those patterns where mismatched scraps actually make it look more charming, not less.
🧶 Scrap Check: If you’ve made any recent animal or food amigurumi in yellow, green, or both — check your scrap bin. You almost certainly have enough for the body and legs without opening anything new. The body needs about 65 yards, and the legs together need about 20 yards.
The Crochet Pear Pattern
Part 1: Main Body (×1)
Yarn: main pear color (yellow, green, or your stash equivalent)
Start: Magic Ring
New to the magic ring? Our magic ring tutorial covers it clearly — it’s the best start for any round amigurumi piece and closes completely to eliminate the center hole.
Row 1: 6 sc in MR (6)
Row 2: 6 inc (12)
Row 3: (1 sc, inc) × 6 (18)
Row 4: (1 sc, inc, 1 sc) × 6 (24)
Row 5: (3 sc, inc) × 6 (30)
Row 6: 30 sc (30)
Row 7: (2 sc, inc, 2 sc) × 6 (36)
Rows 8–11: 36 sc (36)
Row 12: (5 sc, inc) × 6 (42)
Row 13: (3 sc, inc, 3 sc) × 6 (48)
Rows 14–20: 48 sc (48)
🧶 Stuffing note: Start adding fiberfill gradually around Row 18 or 19. Don’t wait until the opening gets too small — it’s much easier to control the shape and firmness while you still have room to work. You want the body firm but not rock-hard. A well-stuffed pear holds its round shape without lumps. For more on getting this right, see our guide on how to stuff amigurumi properly.
Row 21: (3 sc, dec, 3 sc) × 6 (42)
Row 22: (5 sc, dec) × 6 (36)
Row 23: (2 sc, dec, 2 sc) × 6 (30)
Row 24: (3 sc, dec) × 6 (24)
Row 25: (1 sc, dec, 1 sc) × 6 (18)
Row 26: (1 sc, dec) × 6 (12)
Row 27: 6 dec (6)
Finish stuffing before your opening gets too tight. Close the top, fasten off, and leave a tail for weaving.
Part 2: Leaf (×1)
Yarn: green (any green scrap — even 3 yards of it)
Start: ch 8
Row 1: Start in 2nd ch from hook: 1 sl st, 1 hdc, 3 dc, 1 hdc, (1 sl st, ch 1, 1 sl st) in last ch, continue on opposite side of ch: 3 dc, 1 hdc, 1 sl st (14)
Fasten off, leaving a tail for sewing. The (sl st, ch 1, sl st) at the tip creates the pointed end of the leaf. This is a flat piece — no stuffing.
Part 3: Stem (×1)
Yarn: brown, 4-ply split into 2-ply
Start: Magic Ring
Before you begin: Separate your 4-ply brown yarn into two 2-ply strands. Work the entire stem with the thinner 2-ply strand for a slim, realistic look.
Row 1: 6 sc in MR (6)
Row 2: (2 sc, inc) × 2 (8)
Rows 3–4: 8 sc (8)
Row 5: (2 sc, dec) × 2 (6)
Row 6: 6 sc (6)
Do not stuff. Fasten off with a long tail. This bottom opening will be sewn directly onto the top of the pear’s body at Round 1.
Part 4: Legs (×2)
Yarn: main pear color (same as body, or a contrasting color from your stash)
Start: Magic Ring
Make two identical legs.
Row 1: 6 sc in MR (6)
Row 2: 6 inc (12)
Row 3: (3 sc, inc) × 3 (15)
Row 4: 15 sc (15)
Row 5: 4 sc, 3 dec, 5 sc (12)
Row 6: 3 sc, 3 dec, 3 sc (9)
Row 7: 9 sc (9)
Fasten off with a long tail for sewing. Each leg uses approximately 10 yards. Got two small leftover balls of the same color? That’s plenty for both.
🧶 Scrap Check: The foot shaping happens in Rows 5–6 where the decreases pull one side inward to form a little rounded foot. The legs don’t need to be stuffed — they’re small enough that the yarn holds their shape on its own.
Assembly
- Stem: Sew the open end of the stem (Row 6) directly to the top of the pear body, centered over Round 1. Use the long tail and a tapestry needle, stitching through the body and catching the stem edge with each pass. A few firm stitches in a circle is enough — it doesn’t need to be buried, just secure.
- Leaf: Position the leaf directly next to the stem at the top of the body. Sew it flat against the surface so it fans out to one side. Use the tail to tack down both the base and the tip lightly so it doesn’t flip around.
- Arms: Thread a single full-length piece of yarn (approximately 5–6 inches) through the body horizontally just below Row 12, entering on one side and exiting on the other. Tie a knot at each end to stop the yarn from pulling through. Trim the ends to your preferred arm length — short stubs read as little arms. No crocheting required for this step.
- Legs: Sew each leg to the bottom of the body, approximately between Rows 24–26. Space them evenly — the goal is a pear that sits upright on its own without tipping. Test the balance before you finish sewing each one down, and adjust the angle slightly if needed. A lightly stuffed leg sits more naturally than a flat one, but it’s your call.
Stretch It Further
💡 Stretch It Further: This crochet pear pattern is built for a set. Make one in golden yellow, one in lime green, and one in russet brown for a three-piece fruit bowl display — same pattern, three totally different moods. Bundle them in a small kraft box with tissue paper and you’ve got a handmade gift that costs under $4 in materials total. If you’ve already made the strawberry or pumpkin patterns on this site, this fruit slots right into the same aesthetic. A whole tiny produce stand from your scrap bin. That’s the idea.
Want it wearable? Skip the legs, reduce the body by two increase rounds for a smaller version, and attach a keychain ring to the stem. Instant bag charm. The leaf holds up well as a hardware anchor point.
Mia’s Take
Under 100 yards, four yarn colors, a 1.2mm hook, and about two and a half hours — that’s the whole material cost of a crochet pear that people will absolutely ask about when they see it sitting on your shelf. The split-yarn stem detail is the kind of small thing that makes a project look considered rather than quick, even though it adds maybe five minutes total. Make it in whatever colors you have. Make three. Put them in a bowl. That’s a handmade home accent that started as a pile of leftovers, and I don’t know a better kind of magic than that. 🧶
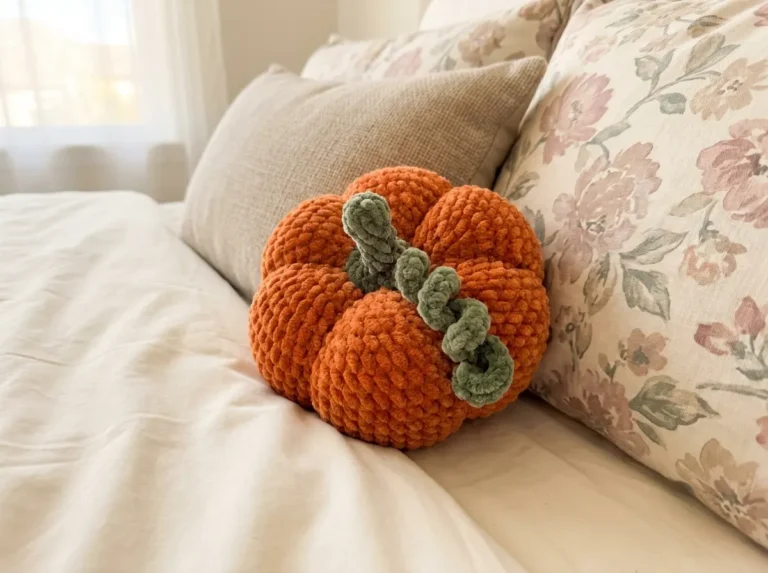
Looking for more tiny fruit and food amigurumi to round out your collection? Check out our crochet strawberry amigurumi and our squishy velvet pumpkin — both scrap-friendly, both done in a couple of hours.
What yarn is best for this crochet pear amigurumi?
Fingering weight (4-ply) yarn works best for this pattern. It uses very small amounts, making it a perfect stash-busting project for your leftover yellow, green, and brown yarn.
How long does it take to crochet this pear?
This project works up very fast and typically takes about 2 to 3 hours to complete from start to finish.
Do I need to stuff the arms and legs of the pear?
No, the legs are small enough to hold their shape without stuffing, and the arms are created simply by threading a single strand of yarn through the body and tying knots at the ends.