Radish Octopus Crochet Pattern: Free Amigurumi With Curly Tentacles
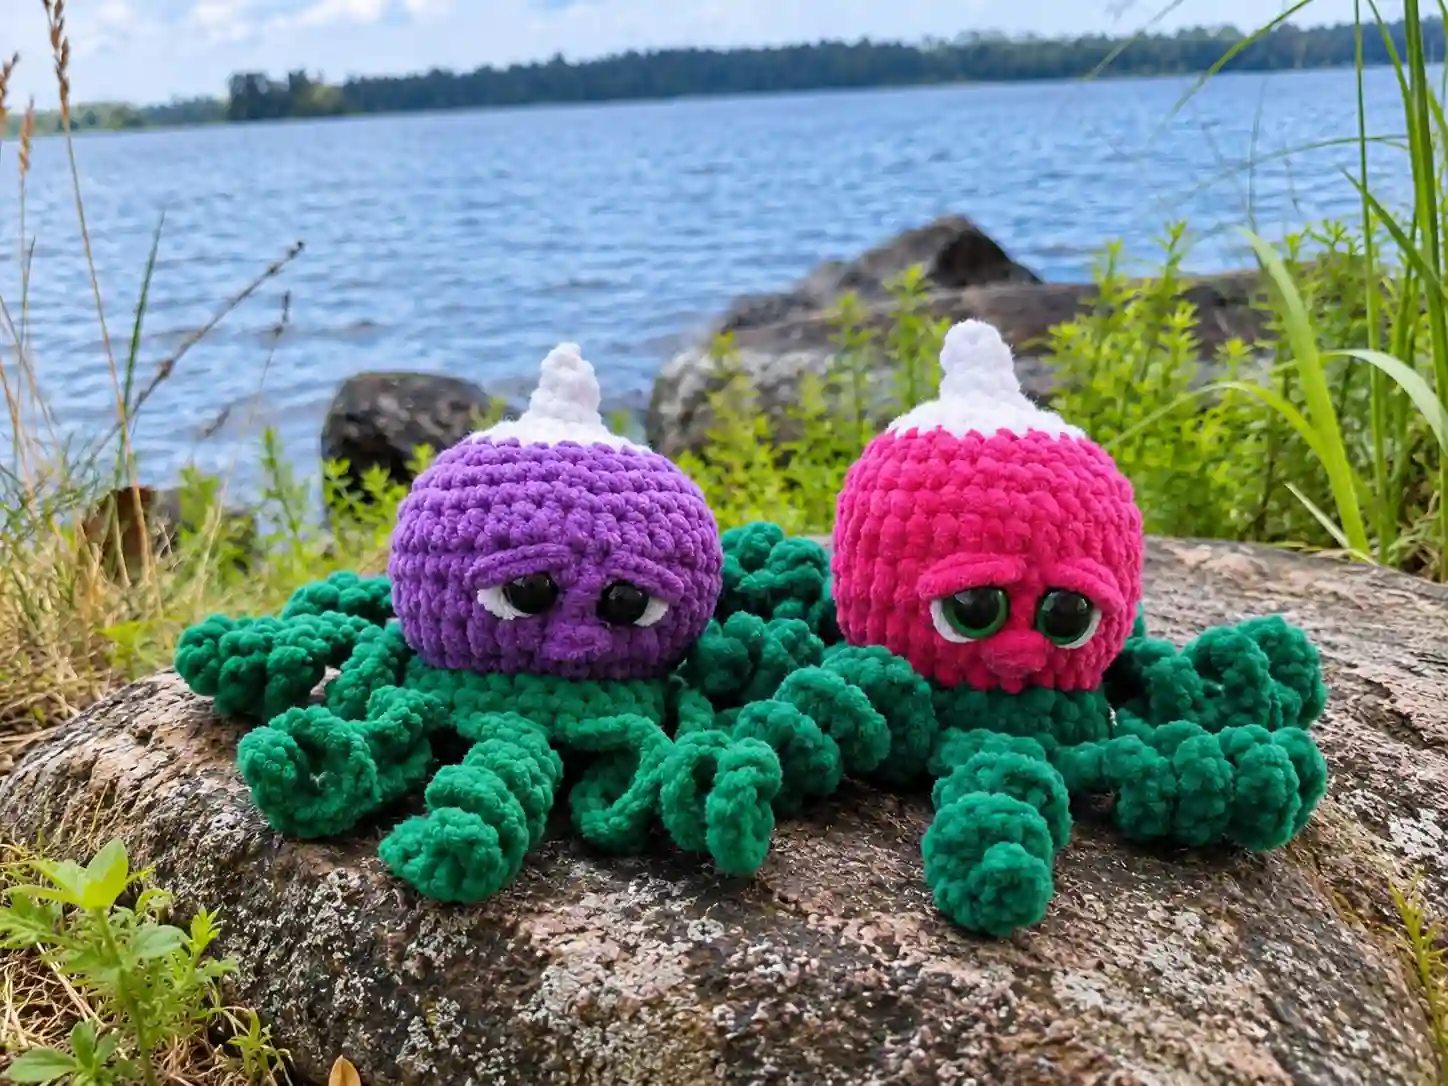
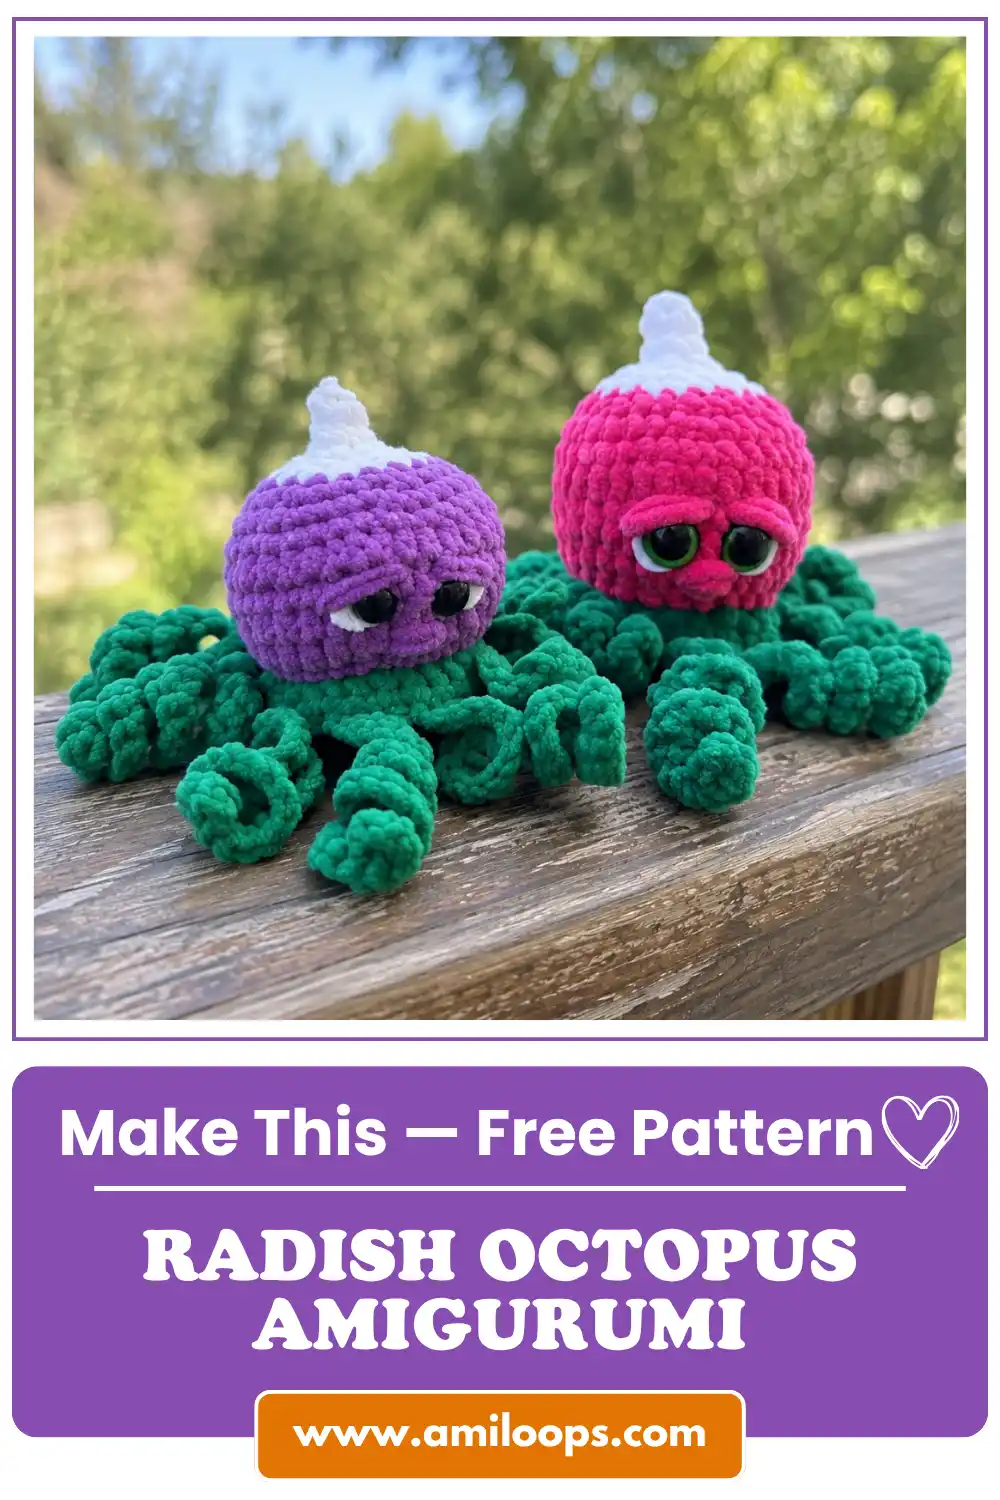
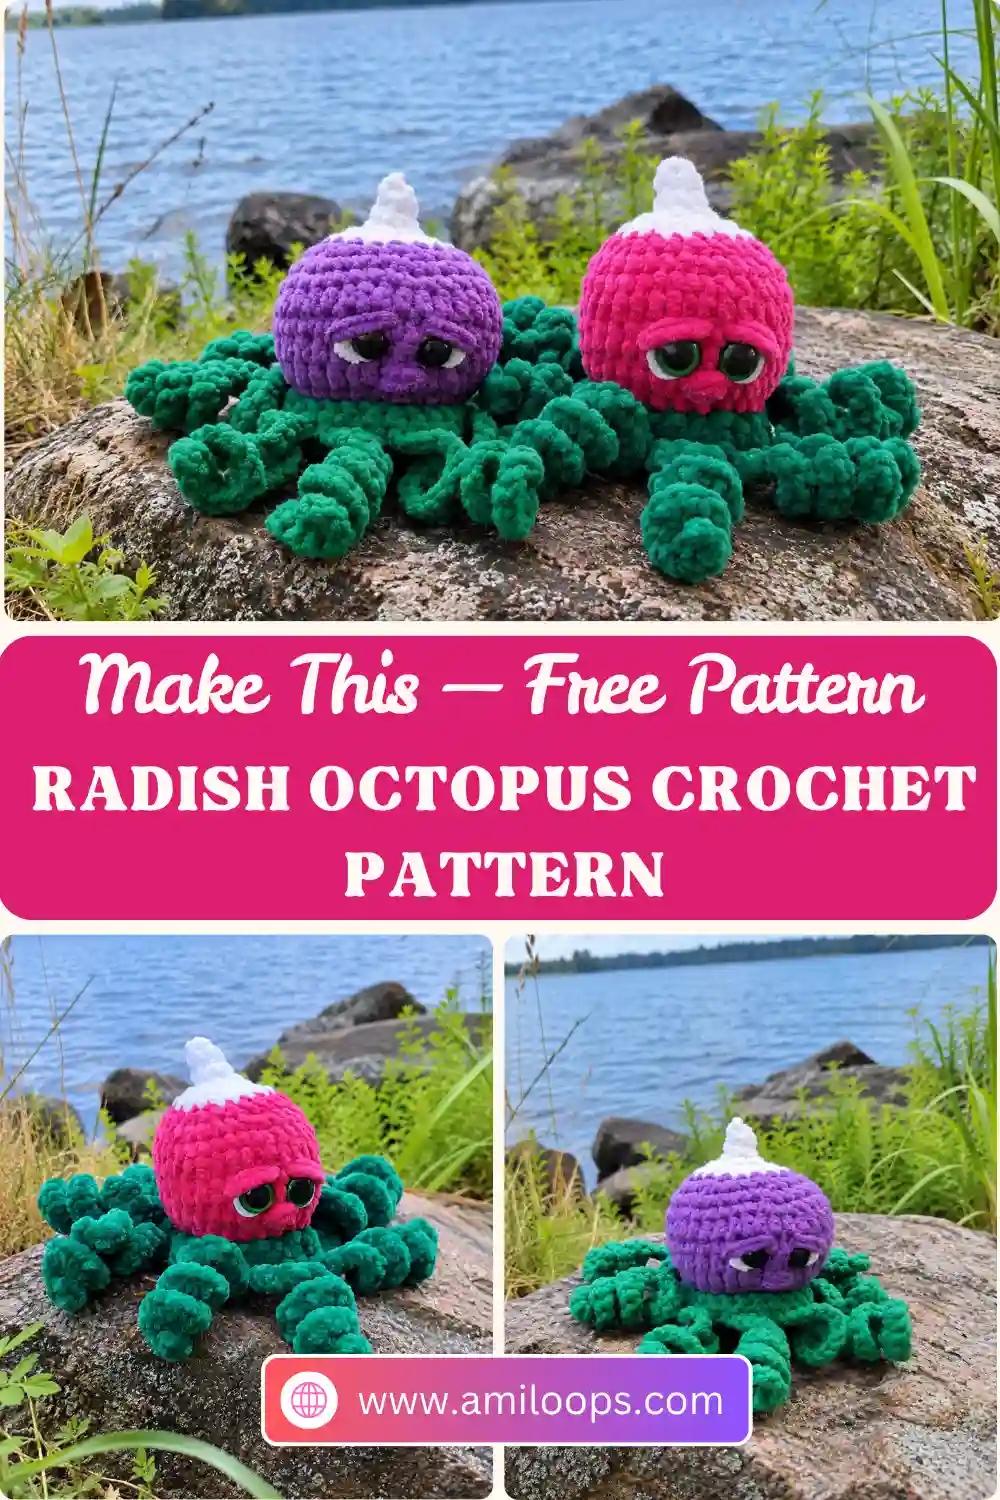
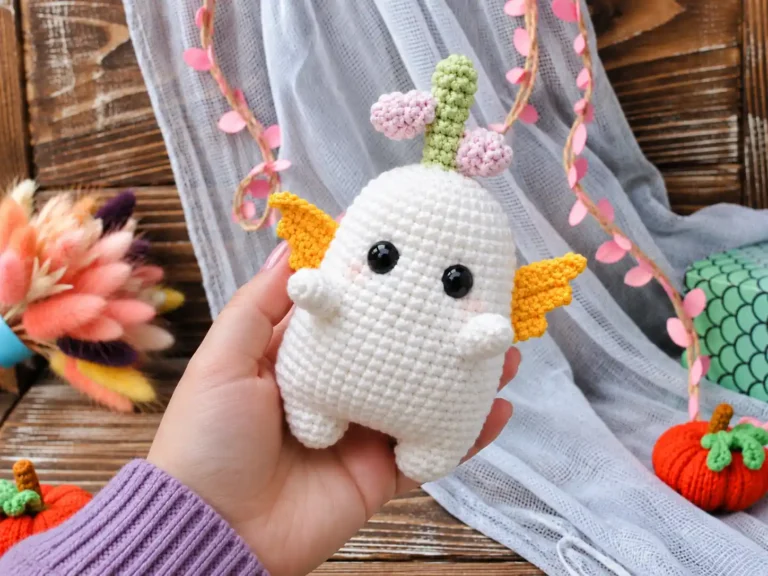
This radish octopus crochet pattern works because a radish already looks a little like an octopus: a round berry-colored body that narrows to a white tip, with a spray of green where the leafy top should be. Here those greens become eight tentacles, and they coil up on their own as you work them, so the finished toy sits somewhere between a vegetable and a very small sea creature.
The clever part is the order of work. You start with a small green disc and split its stitches into two layers: the front loops carry the tentacles, and the matching free loops are picked up later for the head and body. The whole toy grows out of that one disc, and the only needle work at the end is the embroidered face. Each tentacle is a long chain worked back along itself with two stitches in every chain, and that doubling is what forces the curl.
Materials · Abbreviations · Tentacles · Head and body · Finishing · FAQ
Before your first stitch: every round in this pattern is worked in a continuous spiral. You never join a round and you never chain at the start of one — not in the tentacle disc, and not when the head and body picks up from it. If you find spirals hard to track, a removable marker moved up into the first stitch of each round is worth the extra second.
Pick three colors first: green for the tentacle disc, one radish shade for the head and body — the pattern offers raspberry, red, lilac or yellow — and white for the very tip. There is exactly one color change written into the pattern, after Rnd 8 of the head and body, so you can wind off the white before you start and not think about it again.
Gather your materials
- Yarn in colors to match a radish: green, white, and raspberry, red, lilac or yellow. The original toys were made in Himalaya Dolphin Baby (40–50 g for the whole toy), Himalaya Dolphin Fine (30–40 g for the whole toy), or YarnArt Jeans (up to 30 g for the whole toy).
- Safety eyes sized to the yarn you chose: 14 mm with Dolphin Baby, 12 mm with Dolphin Fine, 4 mm with YarnArt Jeans.
- Felt or foamiran in white, for the backing behind the eyes.
- Stuffing — only a small amount; 40 g is enough.
- A crochet hook to suit the yarn you chose.
- An embroidery needle for the brows and the nose.
About the eyes: the size follows the yarn rather than the other way round, and the pattern pairs them one to one — 14 mm with Dolphin Baby, 12 mm with Dolphin Fine, 4 mm with YarnArt Jeans. Choose your yarn first, then buy eyes to match it. If you substitute a yarn, match the eye to the scale of your own finished head rather than to the list.
Abbreviations used here
| Abbreviation | Meaning |
|---|---|
| MR | magic ring |
| ch | chain |
| sc | single crochet |
| hdc | half double crochet |
| inc | increase — 2 stitches in one stitch |
| dec | decrease — work the next 2 stitches together as 1 |
These are US crochet terms. If you usually read UK patterns, or you want to check a stitch name against the standard list, the Craft Yarn Council’s crochet abbreviations page sets out the US names alongside their UK equivalents. MR is this pattern’s own shorthand for the magic ring. Numbers in brackets at the end of a round are the stitch count you should have when that round is finished.
Tentacles
Begin with green yarn. Work in a spiral; do not join or chain at the start of rounds. If the magic ring is new to you, it is worth a practice run before you start — it is what keeps the center of this little disc closed.
Rnd 1: 6 sc in MR (6)
Rnd 2: 6 inc (12)
Rnd 3: [sc, inc] 6 times (18)
Rnd 4: [2 sc, inc] 6 times (24)
Rnd 5: 24 sc in the front loops only of Rnd 4 (24)
For convenience later, place a marker in the unworked back loops, especially with plush yarn.
Why that matters: working Rnd 5 through the front loops only leaves the whole matching round of back loops standing free — 24 of them. Rnd 6 builds the tentacles on the front-loop round, and the head and body is started in those free loops later; the pattern refers to them as the back loops of Rnd 5. Marking them now saves you hunting for them in the pile of a plush yarn, where they vanish completely once the tentacles are in the way.
Rnd 6: 3 sc; ch 21, then, beginning in the 2nd ch from the hook, work 20 inc back along the chain. Repeat all of this 8 times.
Written compactly, this round is: [3 sc, ch 21, 20 inc] 8 times.
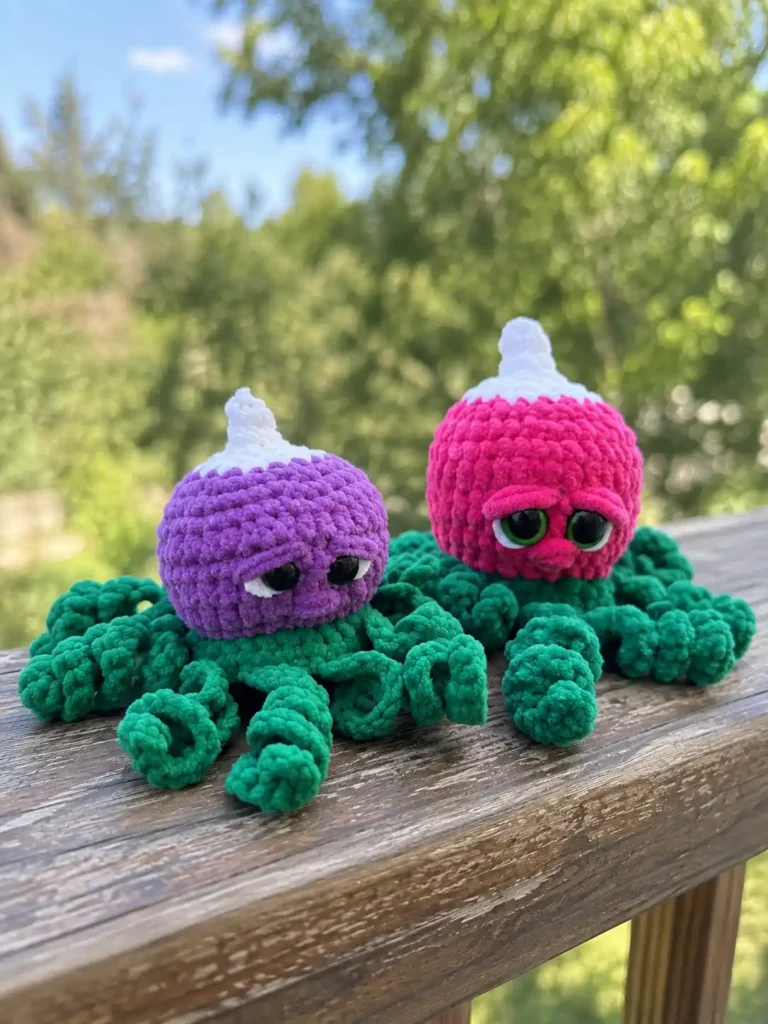
Working a tentacle: the 3 sc carry you along the disc to where the next tentacle starts, then the chain travels outward and you come straight back down it, putting two stitches into every chain. Twice as many stitches as there is chain to hold them means the strip has nowhere to go but round itself, which is the curl. Let it twist as it forms rather than pulling it straight, and count the 8 repeats as you go — all 24 front-loop stitches of Rnd 5 are used up by the eight sets of 3 sc.
Head and body
Join the yarn — a color to match the radish — to the back loops of Rnd 5 on the tentacle piece, then work in a spiral; do not chain at the start of rounds. These are the free loops you marked, and the tentacles will sit outside the new rounds as the body grows.
Rnd 1: 24 sc in the back loops of Rnd 5
Rnd 2: 3 sc, inc, [3 hdc, hdc inc (2 hdc in one st)] 3 times, [3 sc, inc] 2 times (30)
Rnd 3: 5 sc, 15 hdc, 10 sc (30)
Rnd 4: 30 sc
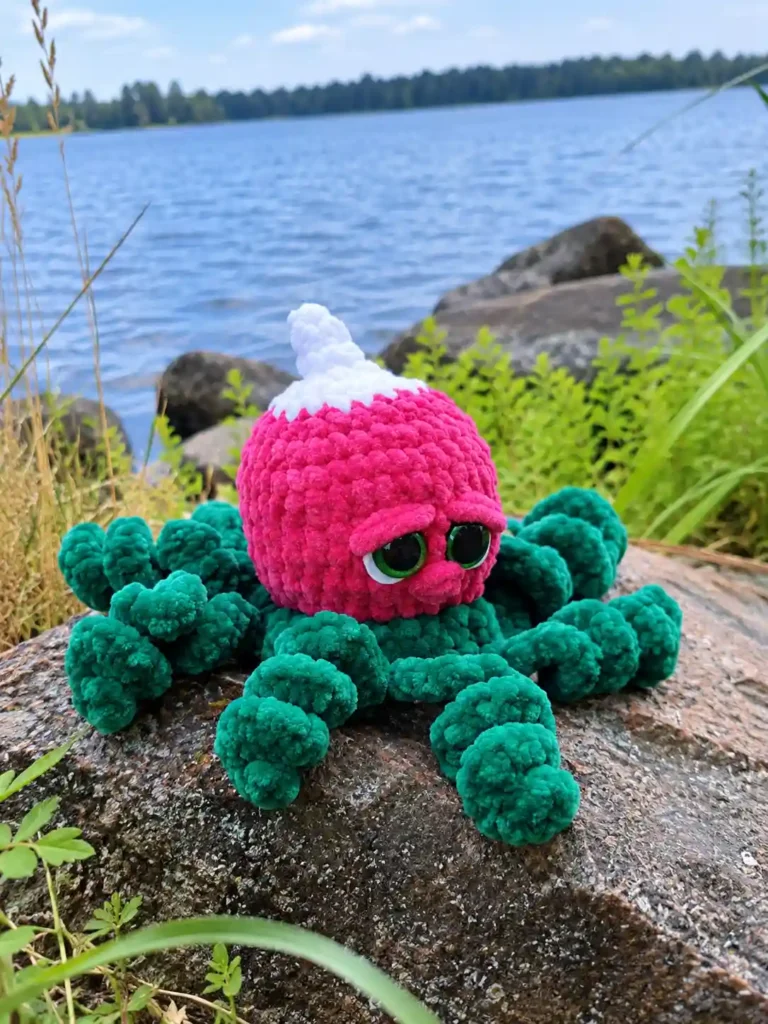
What the hdc are doing: Rnds 2 and 3 put a band of half double crochet through the middle of the round while the rest stays in single crochet, and the two bands line up — Rnd 2 makes 15 hdc stitches and Rnd 3 works 15 hdc straight over them. Half double crochet is the taller stitch, so that section stands a little higher than the stitches on either side of it and gives the octopus a rounded face. It is also exactly where the eyes are about to go.
Now you can prepare the eyes: cut the white backing — the eye white — from felt or foamiran, two small circles, and snip a small cross in the center of each so the post of a safety eye can pass through. Using the white backing is optional.
Insert the eyes in Rnd 3. Counting from the beginning of the round, skip 11 stitches and insert the left eye. Then skip 3 stitches and insert the right eye. Push the post through the felt circle first if you are using one, and do this while the body is still open — once the washers are on you cannot move them. Attaching safety eyes covers the mechanics if this is your first time.
Rnd 5: [4 sc, inc] 6 times (36)
Rnd 6: 36 sc (36)
Rnd 7: [4 sc, dec] 6 times (30)
Rnd 8: [3 sc, dec] 6 times (24)
Change to white yarn. This is the only color change in the body, and it marks the point where the radish turns from its skin to its white root tip.
Rnd 9: [2 sc, dec] 6 times (18)
Rnd 10: [sc, dec] 6 times (12)
Add stuffing. This is the only stuffing step in the pattern, and 12 stitches is still a comfortable opening to work through — fill the round body enough to hold its shape before the last three rounds pull the white tip closed.
Rnd 11: 6 dec (6)
Rnd 12: 6 sc (6)
Rnd 13: 3 dec (3)
Cut the yarn and fasten off.
Finishing the face
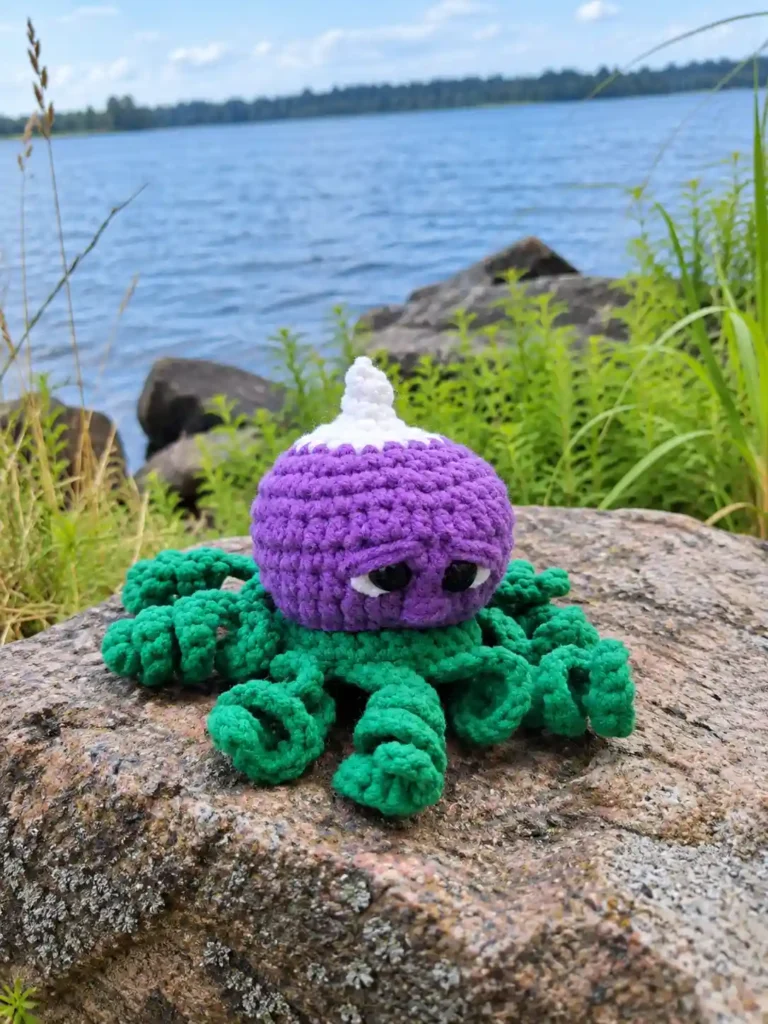
- Make the eyelids: embroider 2–3 stitches above each eye.
- Embroider the nose a little below the eyes; as with the eyelids, work 2–3 stitches.
How they sit: the eyelids are worked in yarn matching the head, directly above the plastic eye, spanning several stitches so they read as a lid rather than a dot. The nose is the same handful of stitches worked horizontally, centered between the two eyes. Both are small enough that it is worth threading a long tail and pulling it out again if the placement is not right the first time.
Your radish octopus is finished. Give the tentacles a gentle shake to let the curls settle and they will find their own shape.
Questions about this project
Why is Rnd 5 of the tentacles worked into the front loops only?
Because that one round has to feed two different parts of the toy. Working Rnd 5 through the front loops of Rnd 4 leaves the matching back loops standing free — 24 of them. Rnd 6 then builds the eight tentacles on the front-loop round, and the head and body is started later in those free loops, which the pattern calls the back loops of Rnd 5. That is why you are asked to put a marker in them, especially in plush yarn where they disappear into the pile.
Why does the head and body switch to half double crochet?
Rnd 2 places three hdc increases in the middle of the round and Rnd 3 follows with 15 hdc in a row, while the rest of both rounds stays in single crochet. Half double crochet is the taller stitch, so that band stands higher than the stitches around it and rounds out the front of the octopus. It is also where the face goes: the eye placement in Rnd 3 — skip 11 stitches, then skip 3 more — falls inside that hdc section.
Do the tentacles get stuffed?
No — they are not tubes. Each tentacle is a chain worked back along itself with two stitches in every chain, so it is a solid coiled strip with nothing to fill. The pattern gives one stuffing step only, at the head and body after Rnd 10, just before the final decreases close the white tip.
Can I embroider the eyes instead of using safety eyes?
Yes, and it is a common substitute when a toy is meant for a very young child. Place them where the pattern places the safety eyes — in Rnd 3 of the head and body, 11 stitches from the start of the round, with 3 stitches between them — and you can skip the felt backing or work a few white stitches in its place. Safety eyes and their washers are small parts; the U.S. Consumer Product Safety Commission publishes guidance on small parts in toys and children’s products, and no individual handmade toy can be called compliant or hazard-free on the strength of a pattern alone.