Free Alpaca Amigurumi Pattern: Crochet Guide
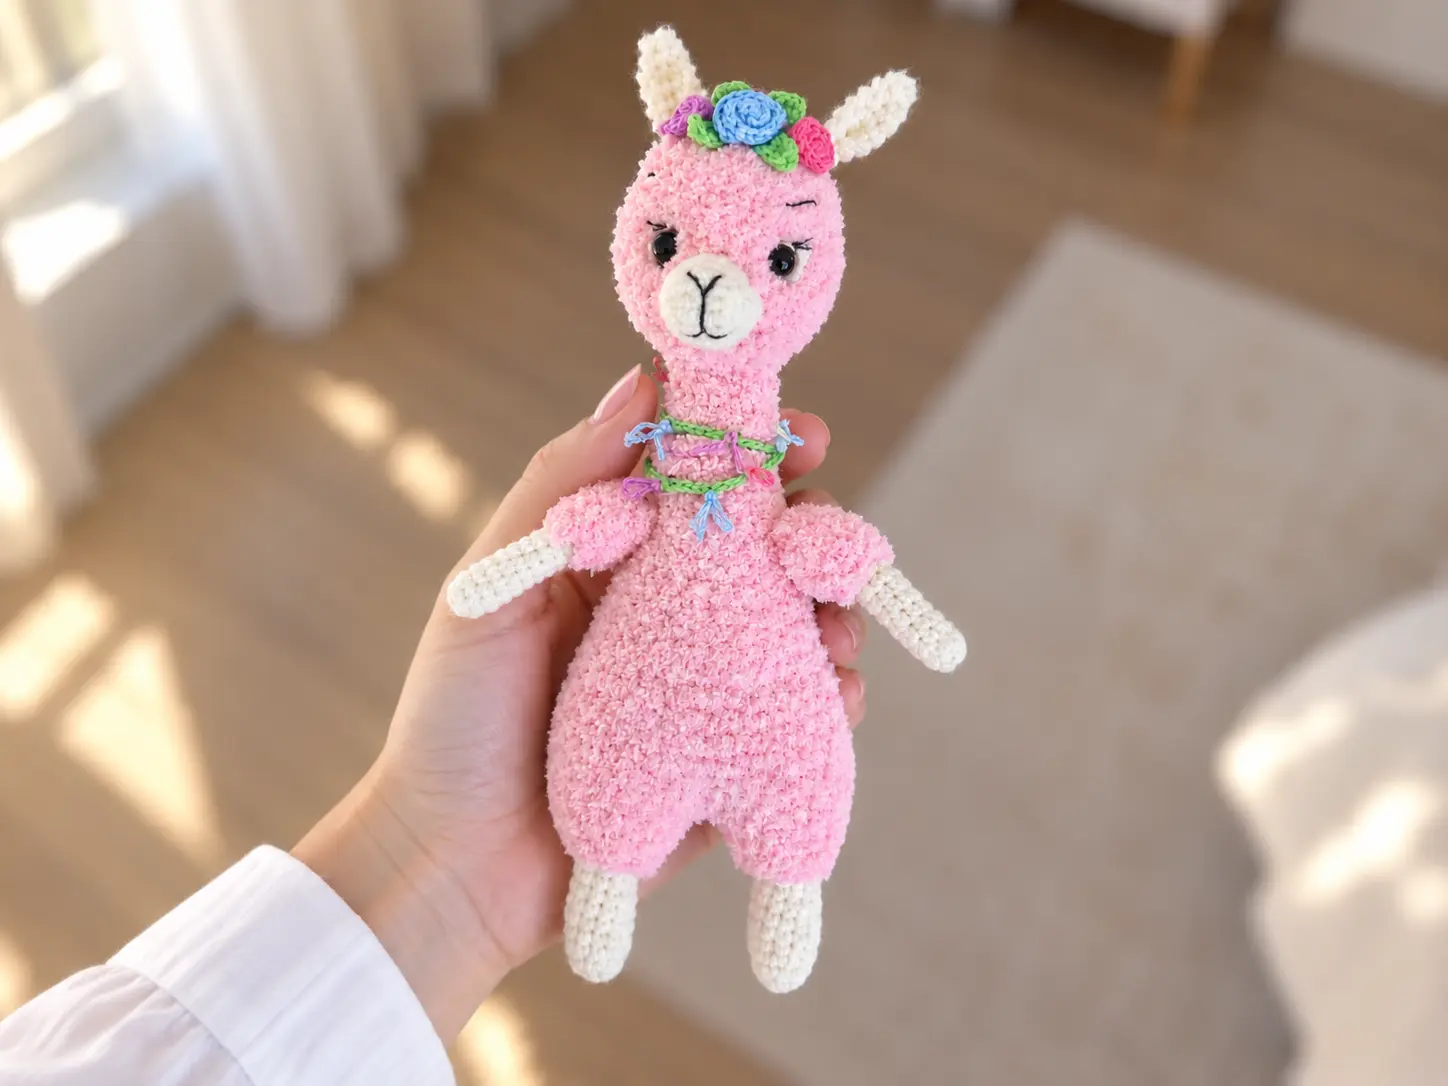
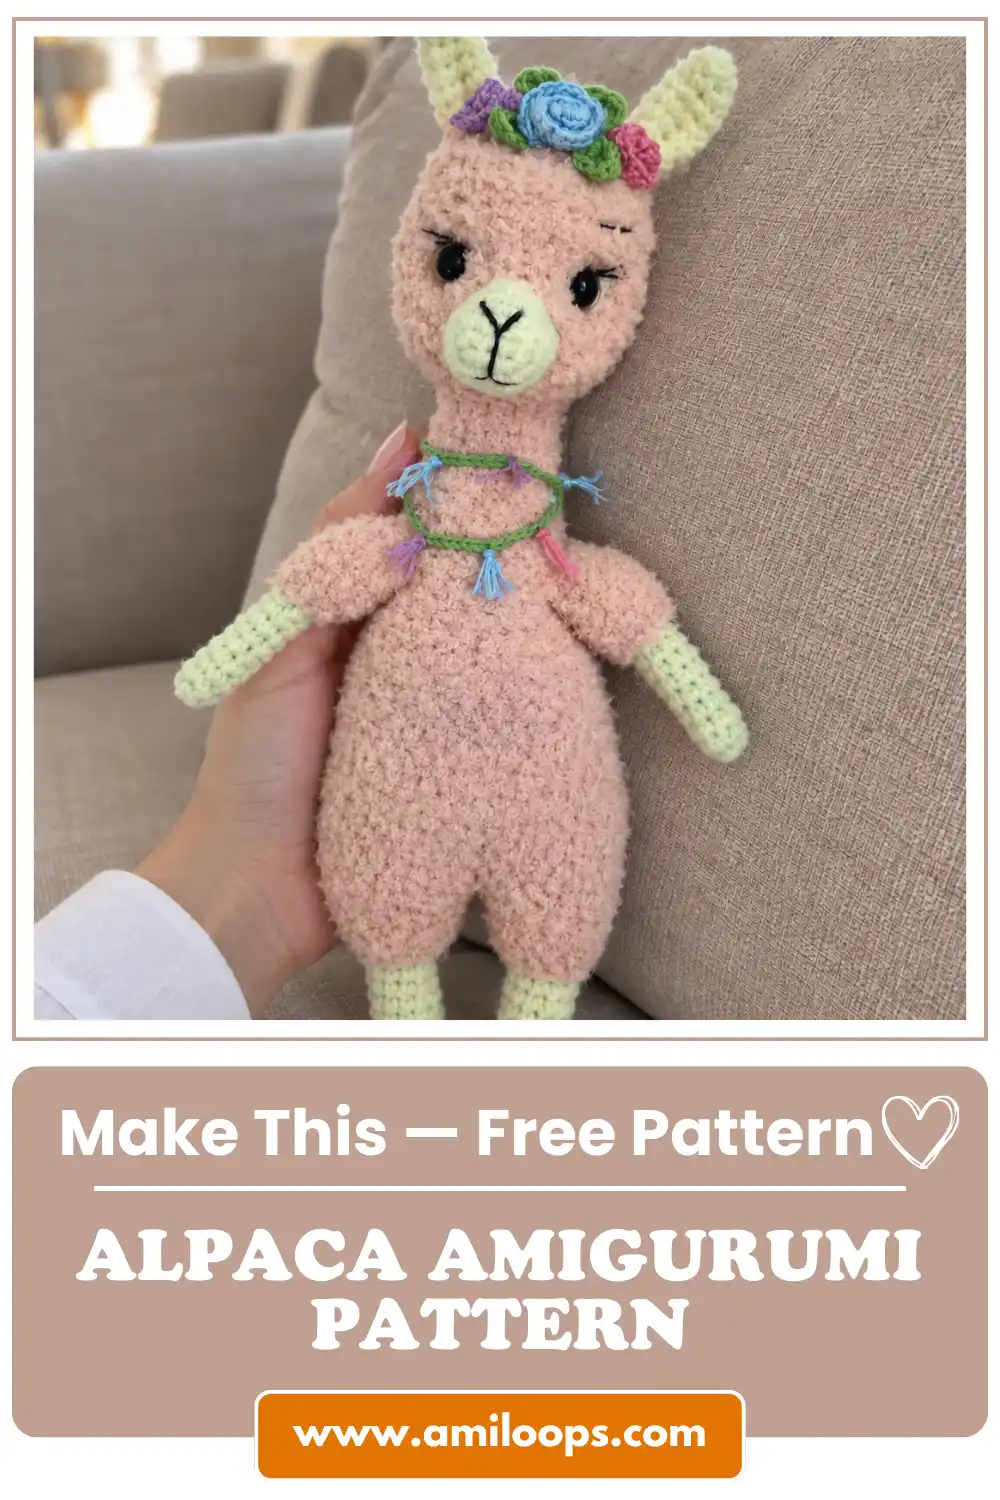
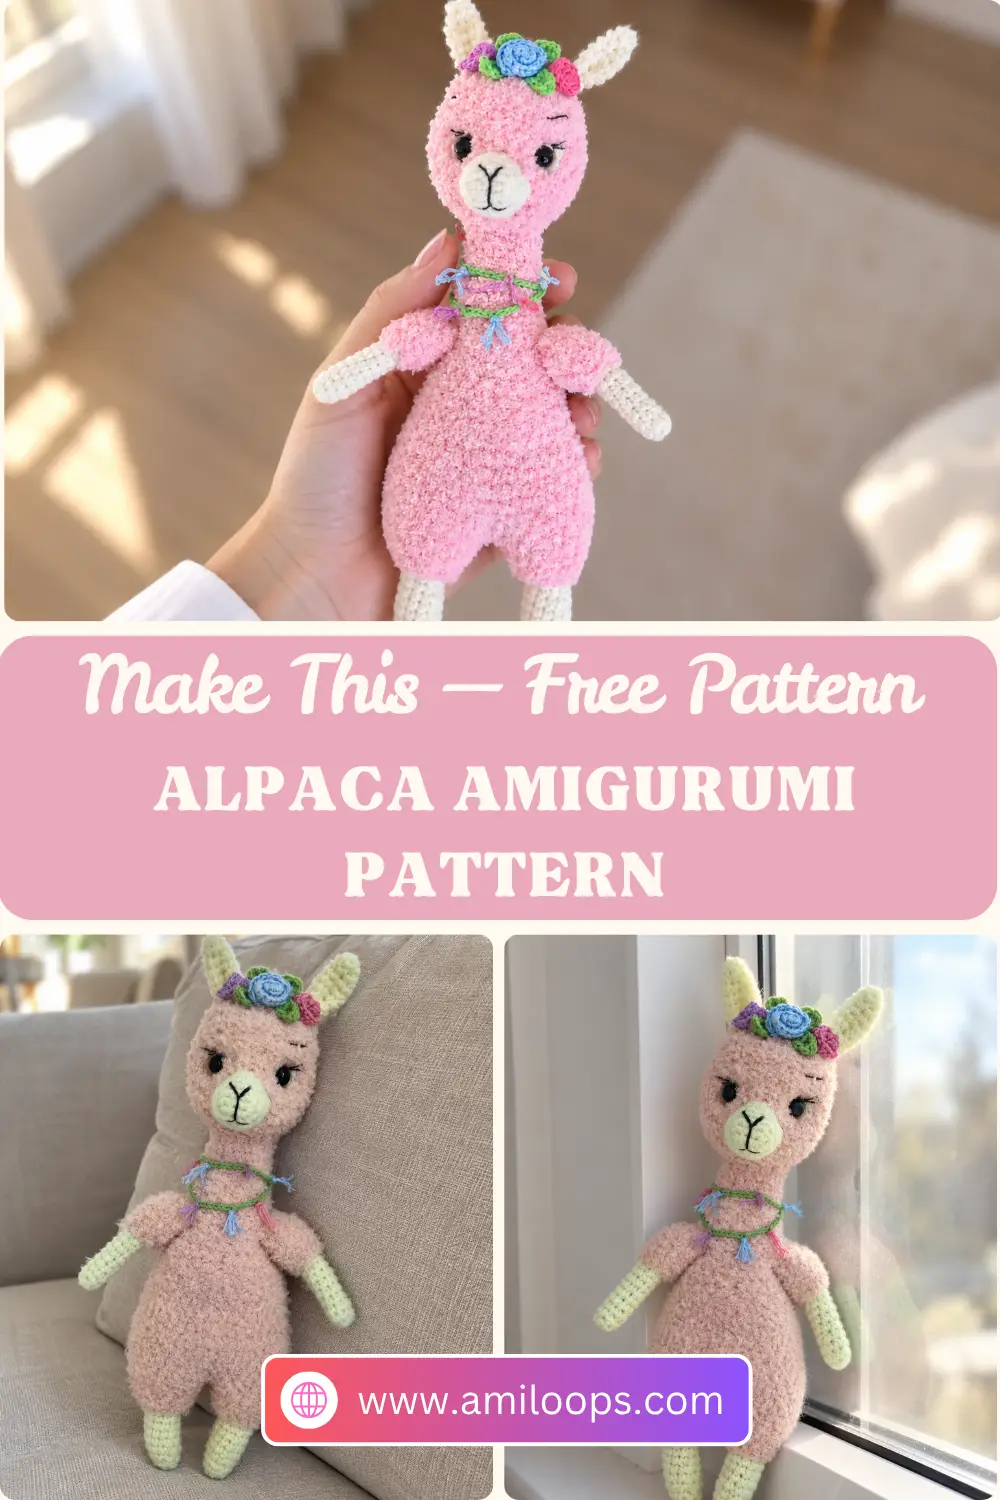
Soft on the outside and crisp at the edges, this alpaca amigurumi pattern pairs two very different textures in one little figure. A fluffy plush yarn builds the rounded body, while a smooth yarn is used for the legs and the facial features. That contrast is the starting point for the whole look: a cozy, cloud-soft torso set against cleaner, more defined details, which is exactly where the character’s sweet personality comes through.
The build moves from the bottom up, beginning at the hind legs and carrying on smoothly all the way to the head. Following that upward path, you watch the outline of the animal appear gradually, round by round, instead of piecing a figure together only at the very end. It is a satisfying way to work, since each stage builds directly on the one before it. The sections that follow walk through the materials, the construction logic, every round of the pattern, and the finishing touches that complete the look.
The heart of this project is one large piece that carries the main body, the neck, and the head without a break. Instead of crocheting a separate head and stitching it onto a finished torso, you keep working upward and let the stitch counts sculpt each area in turn. That approach keeps the line from body to head seamless, which matters on an alpaca, where the long neck is such a defining part of the character. There is no neck seam to hide and no head to position later.
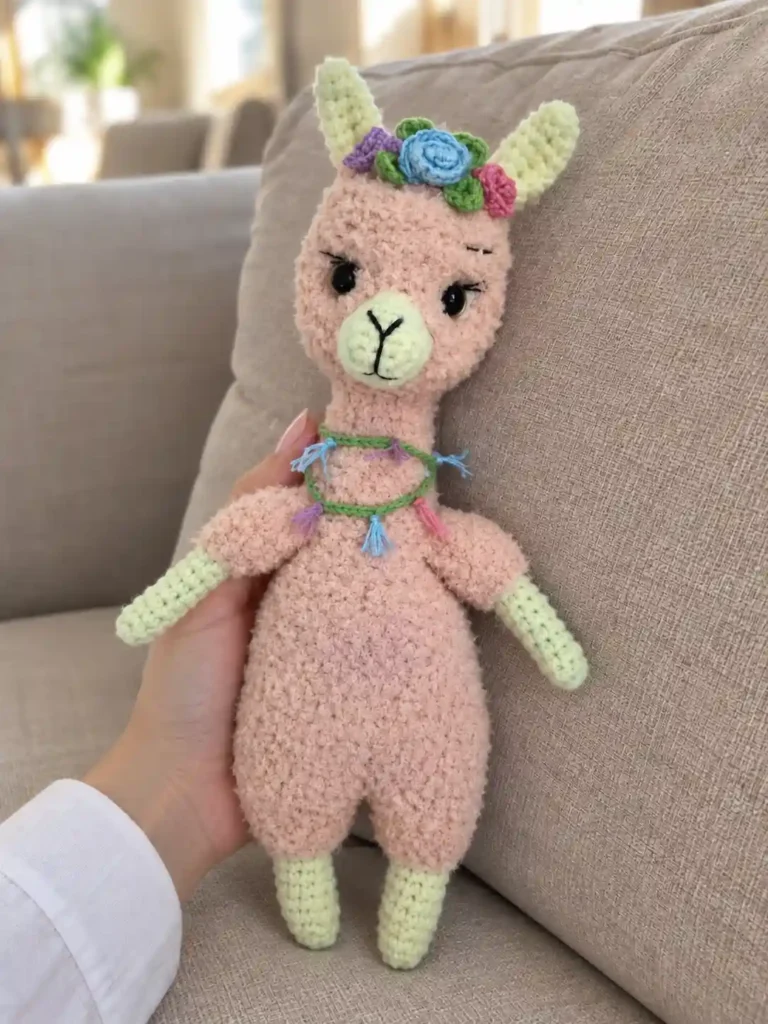
Everything that sticks out from that main shape is made on its own. The front legs, the ears, the tail, and the muzzle are each crocheted separately and then sewn securely onto the body. Working these small parts individually gives you control over placement, so you can study the face and posture before committing to a single stitch of sewing. Pause and look at the alpaca from the front and the side, checking that the ears frame the head and the front legs look natural against the silhouette.
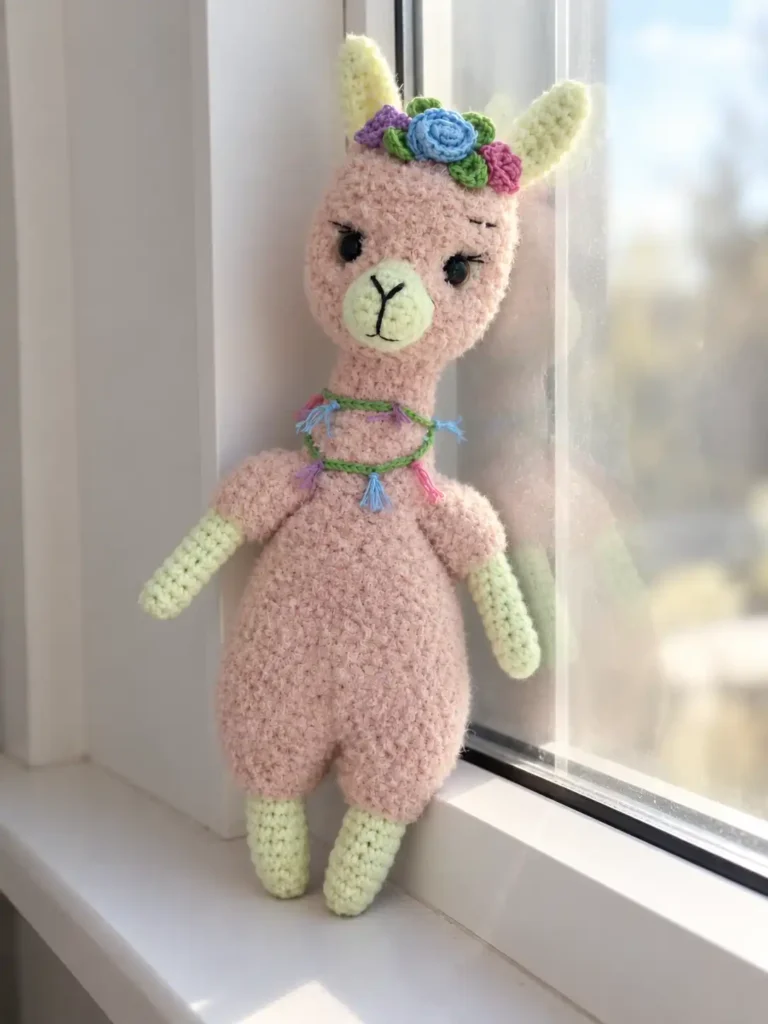
The finishing flourish is a floral crown. Small, curly crocheted flowers gather on top of the head, turning a gentle farm animal into a dressed-up little character. Their ruffled shapes add a playful burst of texture right where the eye lands first, and they give the head a festive, garden-party feel. Because the crown is decorative rather than structural, it is also the most personal part of the finish, the detail that makes this alpaca look ready for a celebration.
Materials and Tools
Two yarn textures do most of the visual work here. A smooth yarn handles the face and legs, giving those areas a clean surface where individual stitches and details stay defined. A plush, fluffy yarn covers the body, creating the soft coat that makes an alpaca instantly recognizable. Keeping the two textures clearly separated in your workspace before you begin makes it simpler to grab the right one when each piece calls for it.
Two hooks round out the kit. A 3.0 mm hook is used for the main amigurumi parts, while a smaller 2.0 mm hook is reserved for the cotton flowers, pairing those finer blooms with a finer tool. Keep the smaller hook set aside until the crown stage so it does not get mixed into the main work. Embroidery thread for the facial features and string or yarn for the braided necklace complete the supplies listed below.
- “Krokha” Troitskaya yarn (or similar smooth yarn) for legs, ears, and muzzle
- Plush yarn “Color city” (or similar fluffy yarn) for the body, legs, and tail
- 3.0 mm crochet hook
- “Baby cotton” yarn (or any other cotton yarn) for the flowers
- 2.0 mm crochet hook
- Embroidery thread for facial features (eyes and nose/mouth)
- String or yarn for the braided necklace with tassels
Crochet Abbreviations
The stitch vocabulary stays compact, but two small parts use a construction worth understanding before you reach them. The muzzle and the tail are both crocheted by working around both sides of a foundation chain rather than starting from a ring. You work along one side of the chain, place extra stitches in the last chain to turn the corner, and then continue down the opposite side. That technique creates an elongated shape rather than a circle, which suits a snout and a little tail.
Beyond those chain-based pieces, the list covers everything else you will meet. Most rounds rely on single crochet (sc) along with increases and decreases, and in this pattern dec means working two single crochets together. Double crochet (dc) appears only in the flowers. If shorthand with repeats in parentheses is new to you, a guide to reading amigurumi pattern rounds can help you decode instructions such as (sc, inc) 3 times before you pick up the hook.
- ch — chain
- sc — single crochet
- dc — double crochet
- inc — increase (2 single crochet in one stitch)
- dec — decrease (single crochet 2 stitches together)
- MR — magic ring
- rnd(s) — round(s)
- st(s) — stitch(es)
Construction Overview: How the Alpaca Takes Shape
Everything begins with a pair of hind legs, each worked in the round as its own little tube. Starting each one by working a neat magic ring gives every leg a closed beginning, and the increases along the way widen the leg toward the top so it can become part of the torso. Once both legs are finished, they are joined together, and that join starts the base of the body. From that point on, the two legs stop being separate pieces and act as the foundation for everything above them.
Above the base, the body decreases gradually rather than all at once. Shaping is spread across many rounds, so the torso tapers into a gentle slope instead of an abrupt shoulder. As the stitch count keeps stepping down, the torso transitions into a slender neck, and that long, graceful line is the feature that makes the figure read unmistakably as an alpaca. Watching the neck narrow is one of the most rewarding stretches of the whole build.
The flowers follow a completely different logic. Instead of rounds, each bloom starts from a short chain, and multiple double crochets are packed into each chain stitch. With more stitches than the chain can hold flat, the strip crowds itself into curls, creating the ruffled, spiraling texture that makes the crown so lively. It is a small piece with a lot of visual payoff, and it contrasts nicely with the smooth tubes and rounded shapes found everywhere else in the project.
Before You Start
Take a moment to review how the two hind legs align and connect before you reach that stage. The join uses 3 single crochets shared between both legs at once, and those stitches form the body base. It helps to lay the finished legs side by side and decide where they will meet, so the join lands neatly between them and the body starts off straight rather than twisted.
A stitch marker is essential for this project. The body, neck, and head form a single continuous piece that runs from Round 15 all the way to Round 51, so there is no natural stopping point to reset your count. Moving the marker up at the start of each round keeps your place through every decrease and increase, and it lets the shaping land exactly where the counts intend.
Alpaca Crochet Pattern Instructions
Hind Legs
Round 1: 6 sc in a MR. (6 sts)
Round 2: (sc, inc) 3 times. (9 sts)
Round 3: 9 sc. (9 sts)
Round 4: (2 sc, inc) 3 times. (12 sts)
Rounds 5-9: 12 sc. (12 sts)
Round 10: (sc, inc) 6 times. (18 sts)
Rounds 11-12: 18 sc. (18 sts)
Round 13: (2 sc, inc) 6 times. (24 sts)
Round 14: 24 sc. (24 sts)
Join the legs: Connect the two legs by crocheting 3 sc through the stitches of both legs simultaneously.
Body
Count check: Round 15 works 21 stitches on each leg for a total of exactly 42 stitches around the perimeter of the joined base.
Round 15: 42 sc (21 sc on the first leg, 21 sc on the second leg). (42 sts)
Rounds 16-18: 42 sc. (42 sts)
Round 19: 19 sc, dec, 19 sc, dec. (40 sts)
Round 20: (8 sc, dec) 4 times. (36 sts)
Round 21: 36 sc. (36 sts)
Round 22: (7 sc, dec) 4 times. (32 sts)
Round 23: 7 sc, dec, 14 sc, dec, 7 sc. (30 sts)
Rounds 24-25: 30 sc. (30 sts)
Round 26: (13 sc, dec) 2 times. (28 sts)
Round 27: 6 sc, dec, 12 sc, dec, 6 sc. (26 sts)
Round 28: 5 sc, dec, 12 sc, dec, 5 sc. (24 sts)
Round 29: 5 sc, dec, 10 sc, dec, 5 sc. (22 sts)
Round 30: 4 sc, dec, 10 sc, dec, 4 sc. (20 sts)
Round 31: 4 sc, dec, 8 sc, dec, 4 sc. (18 sts)
Neck
Rounds 32-33: 18 sc. (18 sts)
Round 34: (7 sc, dec) 2 times. (16 sts)
Round 35: 16 sc. (16 sts)
Round 36: (6 sc, dec) 2 times. (14 sts)
Round 37: 14 sc. (14 sts)
Round 38: (5 sc, dec) 2 times. (12 sts)
Round 39: 12 sc. (12 sts)
Head
Count check: Rounds 42 through 46 form the widest part of the head, measuring 36 stitches around, so keep those rounds even.
Round 40: 12 inc. (24 sts)
Round 41: (3 sc, inc) 6 times. (36 sts)
Rounds 42-46: 36 sc. (36 sts)
Round 47: (4 sc, dec) 6 times. (30 sts)
Round 48: (3 sc, dec) 6 times. (24 sts)
Round 49: (2 sc, dec) 6 times. (18 sts)
Round 50: (sc, dec) 6 times. (12 sts)
Round 51: 6 dec. (6 sts)
Fasten off: Pull the yarn tail to close the hole, and weave in the end.
Front Legs
Round 1: 6 sc in a MR. (6 sts)
Round 2: (2 sc, inc) 2 times. (8 sts)
Rounds 3-9: 8 sc. (8 sts)
Round 10: (sc, inc) 4 times. (12 sts)
Rounds 11-14: 12 sc. (12 sts)
Fasten off: Secure the yarn and leave a long tail for sewing.
Ears
Shaping check: Each ear ends with 10 stitches in the round before being folded flat and closed with 5 sc.
Round 1: 4 sc in a MR. (4 sts)
Round 2: (sc, inc) 2 times. (6 sts)
Round 3: (2 sc, inc) 2 times. (8 sts)
Round 4: 8 sc. (8 sts)
Round 5: (3 sc, inc) 2 times. (10 sts)
Rounds 6-8: 10 sc. (10 sts)
Fold in half: Crochet 5 sc through both sides to close.
Fasten off: Secure the yarn and leave a long tail for sewing.
Tail
Row 1: Ch 4.
Round 2: Starting in the second ch from the hook: 2 sc, 3 sc in the last ch, turn and work down the opposite side of the ch: 2 sc. (7 sts)
Fasten off: Secure the yarn and leave a long tail for sewing.
Muzzle
Shape check: The muzzle increases to 14 stitches by Round 2, forming a wide, rounded oval.
Round 1: Ch 4, starting in the second ch from the hook: 2 sc, 3 sc in the last ch, turn and work down the opposite side of the ch: 1 sc, inc in the first ch. (8 sts)
Round 2: inc, 1 sc, 3 inc, 1 sc, 2 inc. (14 sts)
Rounds 3-4: 14 sc. (14 sts)
Fasten off: Secure the yarn and leave a long tail for sewing.
Flowers
Row 1: Ch 12, starting in the third ch from the hook, make 2 dc. Make 3 dc in each remaining ch to the end.
Fasten off: Secure the yarn and leave a long tail for sewing.
Assembly and Finishing
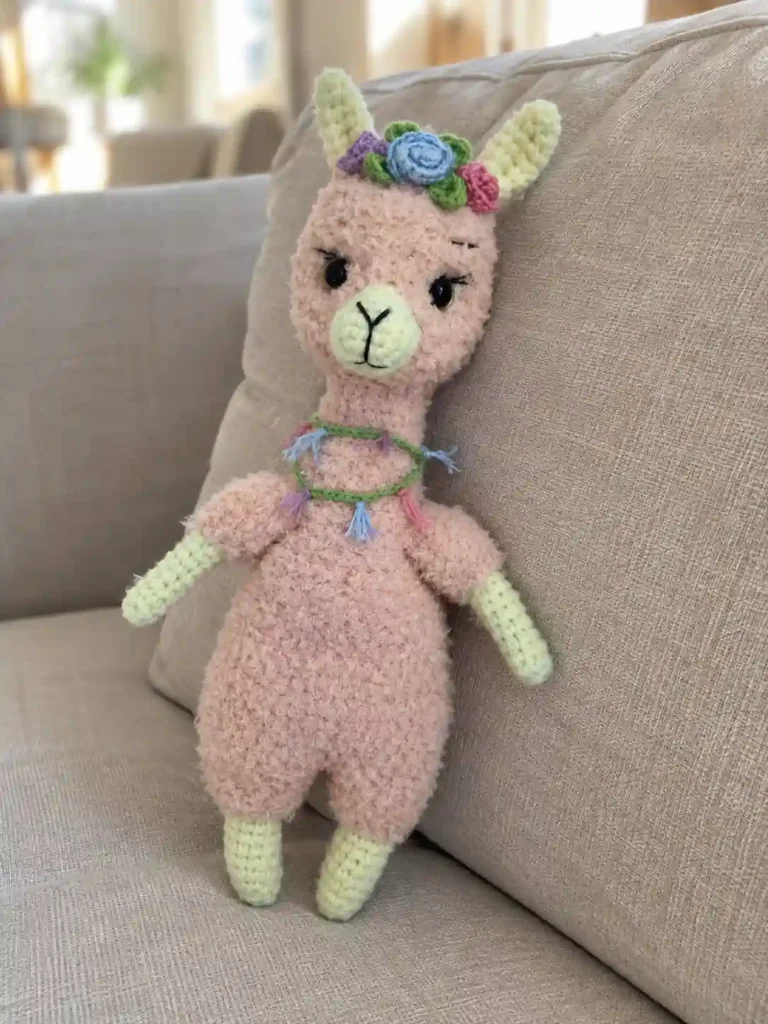
With every piece finished, assembly turns a collection of shapes into a recognizable alpaca. Start with the front legs, sewing them to the lower-to-middle section of the front torso. Placing them at that height lets them read as forelegs, and positioning both before you sew makes it easier to compare their spacing from the front. Careful technique for sewing amigurumi parts together, with small, even stitches, keeps each join neat and tidy.
The flowers deserve a little planning. Sew the crocheted blooms closely together across the top of the head, sitting in front of and between the ears. Clustering them tightly creates a full, crown-like band instead of scattered dots, and letting them nestle near the ears ties the whole headpiece together visually. Before stitching, arrange the flowers loosely to find a pleasing curve, then secure each one in turn. The full order of attachment, from legs to necklace, appears in the list below.
- Sew the front legs to the front sides of the body.
- Sew the ears to the top sides of the head.
- Sew the tail to the lower back of the body.
- Sew the muzzle to the center of the face.
- Embroider closed eyes with eyelashes and a Y-shaped nose/mouth.
- Attach the flowers across the top of the head in front of the ears.
- Create and tie a braided string necklace with small tassels around the neck.
Pattern Notes and Troubleshooting
Two moments in this pattern reward extra attention: the point where the hind legs become one body, and the short strip that becomes a curly flower. Both rely on precise stitch placement, so a small slip shows up quickly in the finished shape. The notes below explain what to look for and how to get each step back on track.
Lining Up the Hind Legs Before the Join
When the legs are joined, 3 stitches are crocheted through both legs at the same time. Those shared stitches use 3 of each leg’s 24, which leaves exactly 21 stitches unworked on each leg. If the legs are rotated or the join drifts off to one side, the unworked stitches can look uneven and the base of the body may twist. Line up the final rounds so both legs sit in matching positions, then work the 3 joining stitches straight across.
When Round 15 Does Not Add Up
If the first body round comes out higher or lower than it should, count the free stitches remaining on each leg before blaming the round itself. Round 15 depends on 21 unworked stitches on the first leg and 21 on the second. A missing or doubled joining stitch changes how many stay free, and that difference carries straight into the body. Correcting it right away saves you from discovering a lopsided torso several rounds later.
Getting the Flowers to Ruffle and Spiral
If a flower lies flat or looks more like a straight fringe than a curl, check the stitch density. The strip starts with 2 double crochets in the third chain from the hook, and every remaining chain stitch then needs 3 double crochets. Skipping a chain or placing fewer stitches in some of them relieves the crowding that makes the flowers ruffle and spiral on their own. Work steadily along the chain, filling each stitch completely, and the curl should form naturally.
Finishing Checklist
Before calling the alpaca complete, give it a slow once-over from every angle. Look at the pairs first, since legs, ears, and eyes are where small differences stand out most. Then turn to the decorative details around the neck, confirming that the necklace knot holds firmly and that the tassels hang where you want them. A final look like this catches loose ends and uneven placement while they can still be adjusted.
- Verify that both front legs are securely attached and evenly spaced on the body.
- Ensure the muzzle, ears, and tail are sewn on firmly and symmetrically.
- Check that the eyes (complete with eyelashes) and the Y-shaped nose/mouth are clearly and neatly embroidered.
- Confirm the vibrant floral crown is securely attached to the top of the head.
- Ensure the decorative braided necklace with its tassels is tied securely around the neck.