Cute Ghost Amigurumi Pattern (No-Sew Pumpkin Hat)
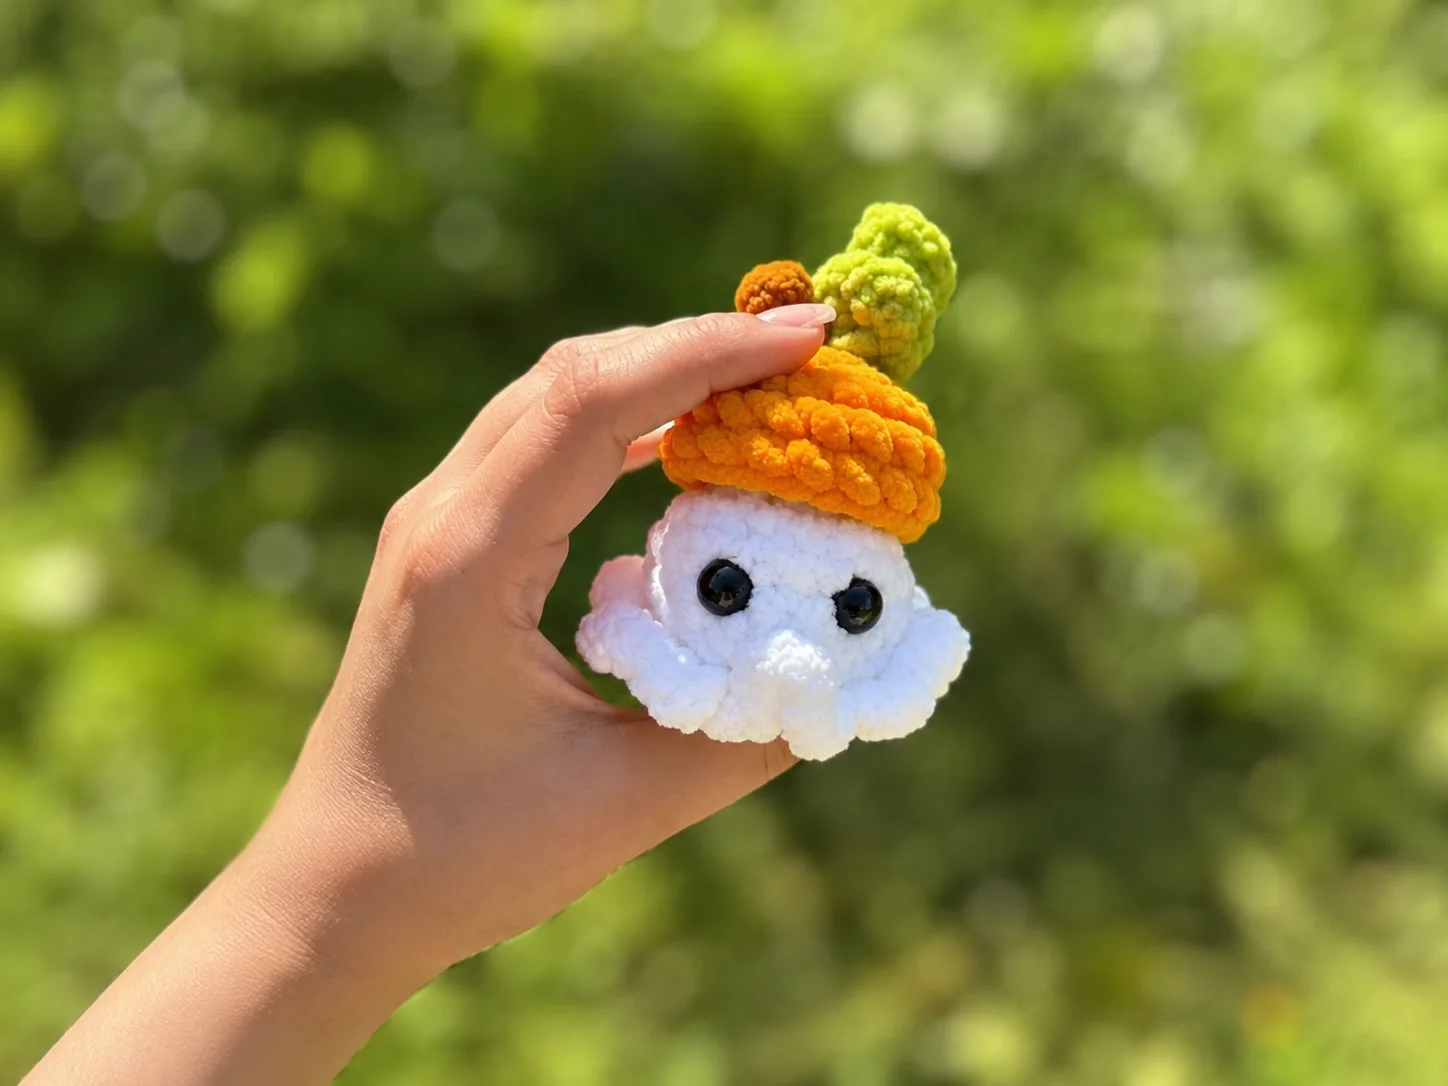
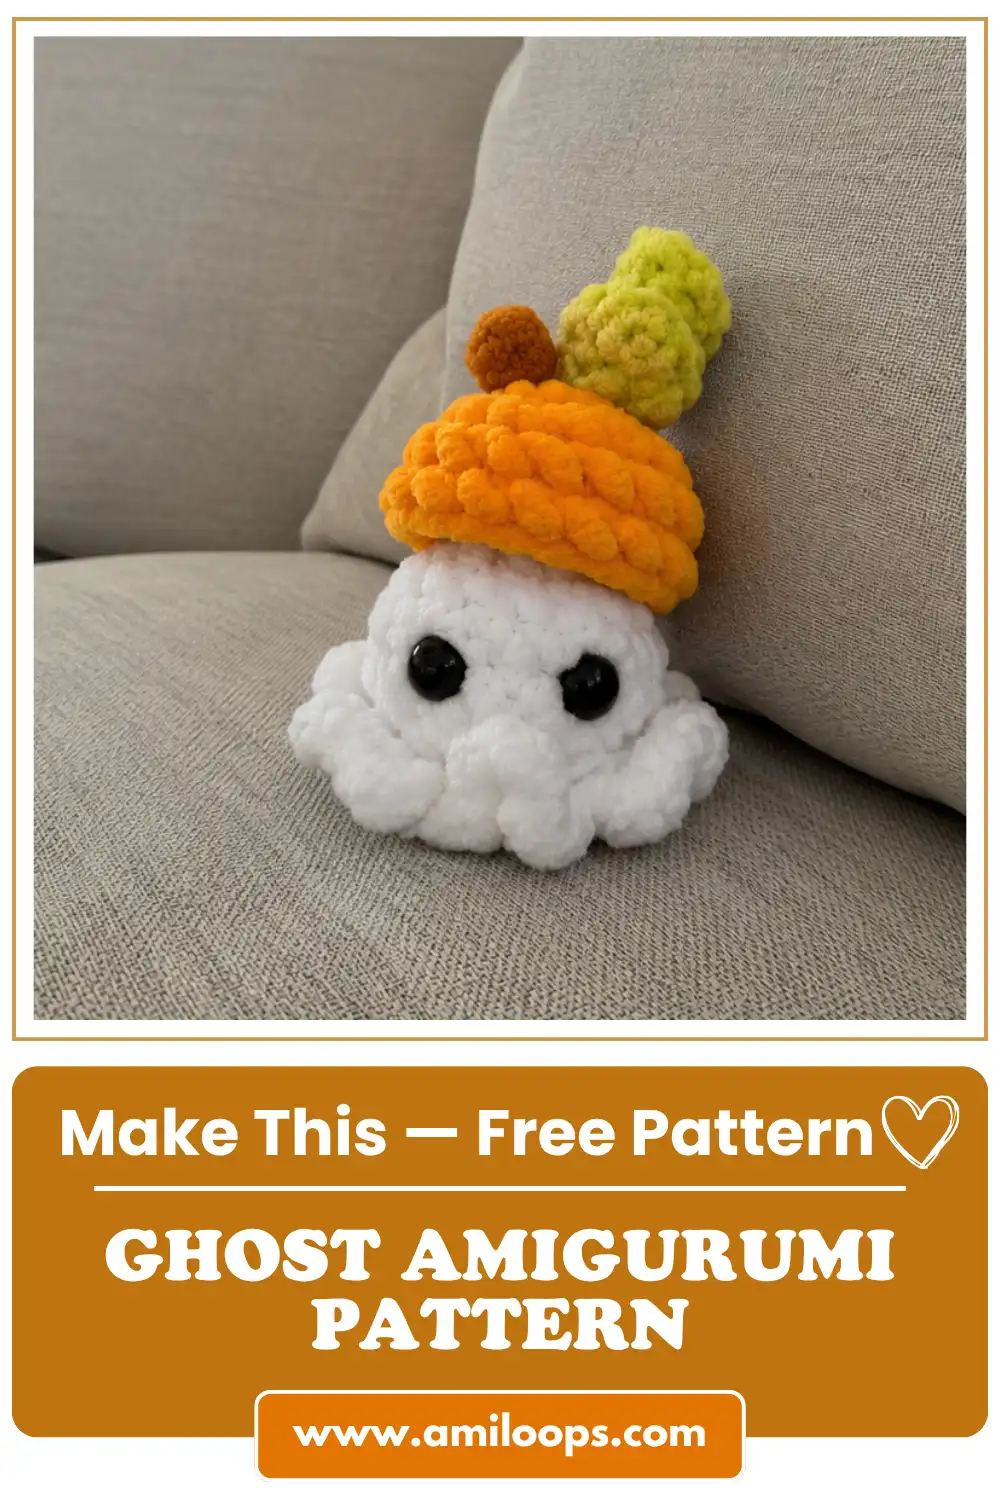
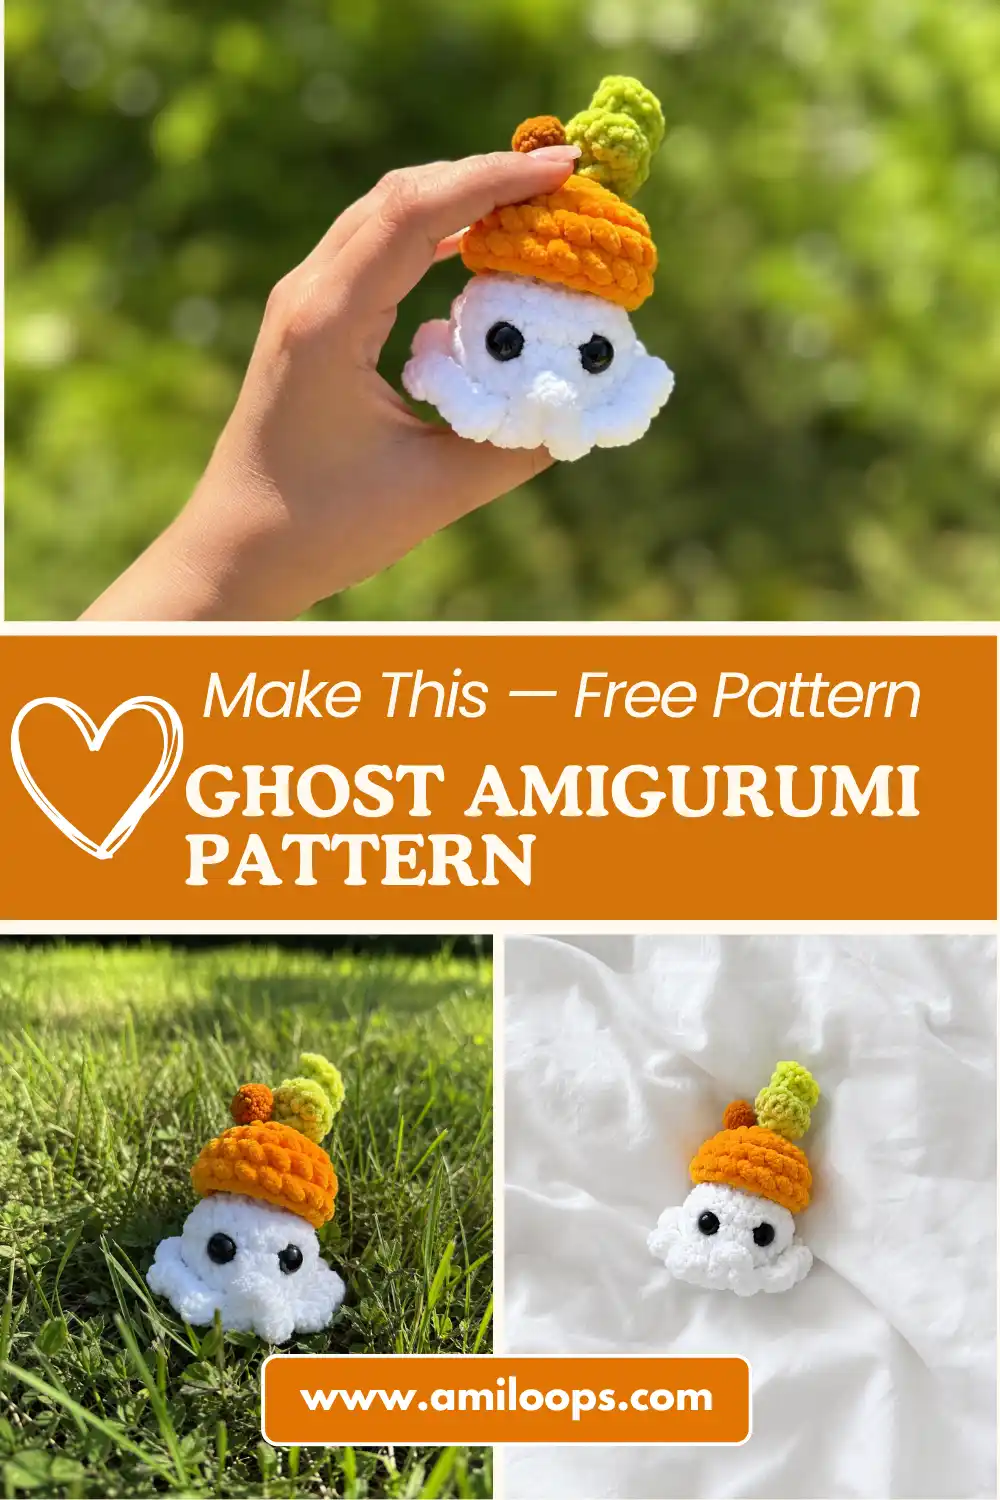
This ghost amigurumi pattern brings together two amigurumi traditions in a single continuous piece: a soft round ghost body and a jaunty pumpkin-style hat worked right into the same spiral. The whole project begins from a single starting loop and grows outward, so there’s no separate hat piece to sew on later. Chenille-style bulky yarn gives the finished ghost a plush, almost velvety texture, while a slim stick and a small curling leaf turn the top of the hat into a tiny pumpkin stem. The combination of front loop and back loop shaping throughout keeps every transition between sections clean and deliberate.
Reading through the construction before picking up a hook helps make sense of why certain rounds work only in front or back loops. Those loop-only rounds are what let the ruffle stand away from the body and let the hat brim flare outward without adding extra increases. Safety eyes, a full body of stuffing, and a deliberately empty hat cavity all play a part in the final silhouette. Working through the steps below in order, from materials to the finishing checklist, makes it easy to keep track of exactly where each loop-only round and surface attachment belongs.
About This Ghost Crochet Pattern
This pattern pairs a classic rounded ghost silhouette with a playful pumpkin-style hat, giving the finished piece a distinct character without needing separate costume pieces. Front loop only and back loop only stitching do most of the visual work here, splitting single rounds into two usable loops so that a ruffle, a brim, or a closing seam can each be built from the same starting round. Instead of increasing or decreasing to create these features, the pattern isolates one loop for outward-facing texture and reserves the other loop for a hidden structural round, which keeps the stitch count steady while the shape still changes dramatically.
The body and hat are not assembled afterward; they are crocheted as one continuous spiral from the top of the hat down through the ghost’s base, so the yarn never gets cut between those two sections. Only the stick and the leaf are added afterward, worked separately and then attached to the top of the hat with surface slip stitches. Choosing a chenille-style bulky yarn for the main pieces gives the finished ghost a soft, plush hand that reads well from a distance, which is part of why this design favors simple stitches over intricate texture work.
Materials and Tools
Because the body and hat share one continuous piece, yarn amounts here are modest and precise. This pattern uses exactly 6 grams of white yarn for the ghost body and exactly 3 grams of orange yarn for the hat, plus a small amount of green for the leaf, making it a good project for using up chenille-style leftovers rather than committing a full skein. A 3.5 mm hook is sized for that bulky, chenille-style yarn family, giving stitches enough structure to hold the ruffle and brim shapes without the fabric becoming stiff or see-through.
- White bulky/chenille yarn (Himalaya Dolphin Fine #80501, 6 g)
- Orange bulky/chenille yarn (YarnArt Dolce #853, 3 g)
- Green bulky/chenille yarn (Wolans Bunny baby #100-46, 2 g)
- Brown thread or yarn (for the stick/stem)
- Stuffing
- 3.5 mm crochet hook
- 8-9 mm safety eyes
- Yarn needle
- Stitch markers
- Scissors
Crochet Abbreviations
A magic ring (MR) starts the top of the hat, which is effectively the start of the whole project, since the hat is simply the first section worked before the pattern transitions into the ghost’s head. Front loop only and back loop only instructions appear repeatedly, and each one refers to working into just one of the two loops sitting along the top of the previous round’s stitches. The stem uses a half double crochet, the only place in this pattern where that taller stitch appears, giving the little stick a touch more rigidity than a plain single crochet would. These follow standard US crochet abbreviations throughout the pattern.
- MR — magic ring
- ch — chain
- sl st — slip stitch
- sc — single crochet
- hdc — half double crochet
- inc — increase (2 sc in one stitch)
- dec — decrease (sc 2 together)
- FLO — front loop only
- BLO — back loop only
Construction Overview
Construction begins at the very top of the orange hat and works outward toward its brim, following the same increase pattern used in most round amigurumi crowns. Once the brim rounds are complete, the yarn switches to white behind the hat, and that switch is what forms the top of the ghost’s head rather than a visible seam. Because the transition happens on the wrong side of the brim, the resulting color change stays tucked out of view once the hat folds down over the head, which is part of why the switch point matters more than it might first appear.
The ghost’s ruffle is built entirely in the front loops of Round 14, tripling the stitch count so the fabric flares outward into the wide, wavy hem that gives the ghost its floating silhouette. The back loops of that same Round 14 are left in reserve; several rounds later, the body closes using those hidden back loops rather than the ruffle stitches. That sequencing means the ruffle can be as full and dramatic as the pattern allows without ever interfering with the decreases that bring the body to a close, since the two loop sets are worked completely independently of each other.
Before You Start
Before picking up the hook, it helps to weigh out yarn scraps if working from leftovers, since this project is sized for very small amounts of each color rather than full skeins. Having stitch markers on hand from the very first round makes the loop-only sections far easier to track later, especially once the working round starts moving between front loops and back loops on the same base row. A marker placed at the start of each round removes any guesswork about where the previous round actually ended once the stitches start looking similar.
The 8-9 mm safety eyes should be ready to snap in well before Round 12 arrives, since inserting them mid-round is much smoother when the backings are already open and within reach. It’s worth remembering from the outset that the hat is meant to stay hollow; nothing in the pattern calls for stuffing it, and that empty cavity is what lets the hat keep its soft, slightly floppy pumpkin shape instead of turning rigid and round like the body underneath it.
Ghost Crochet Pattern
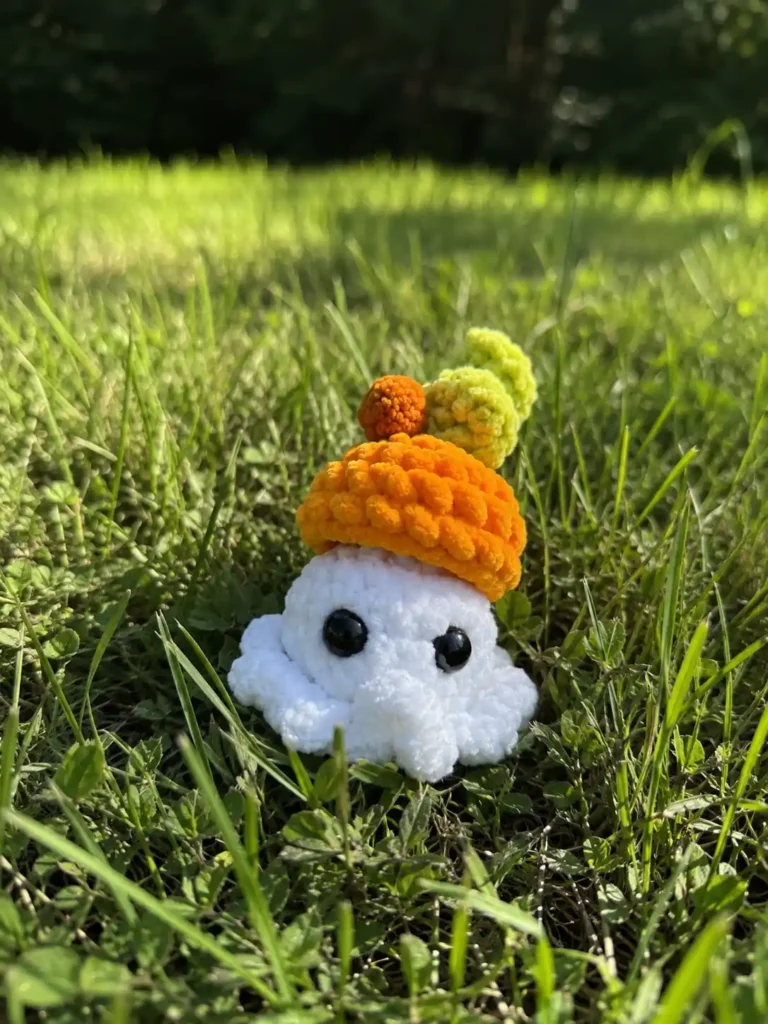
Ghost
Round 1: 6 sc in a magic ring. (6 sts)
Round 2: 6 inc. (12 sts)
Round 3: [1 sc, inc] 6 times. (18 sts)
Round 4: 18 sc. (18 sts)
Round 5: Working in FLO of Rnd 4, 18 sc. (18 sts)
Round 6: Working in BLO of Rnd 4, 9 dec. (9 sts)
Round 7: [1 sc, dec] 3 times. (6 sts)
Round 8-9: 6 sc. (6 sts)
Round 10: 6 inc. (12 sts)
Round 11: [2 sc, inc] 4 times. (16 sts)
Round 12-14: 16 sc. (16 sts)
Round 15: Working in FLO of Rnd 14, 3 sc in each st around (16 times). (48 sts)
Round 16: Working in BLO of Rnd 14, 9 dec. (9 sts)
Round 17: [1 sc, dec] 3 times. (6 sts)
Stick
Row 1: Ch 3, starting in 2nd ch from hook, 1 hdc, 1 sc in next ch. Sl st into the base of the stick.
Leaf
Row 1: Ch 8, starting in 2nd ch from hook, 2 sc in each ch across (7 times). Sl st into the base. (14 sts)
Assembly and Finishing
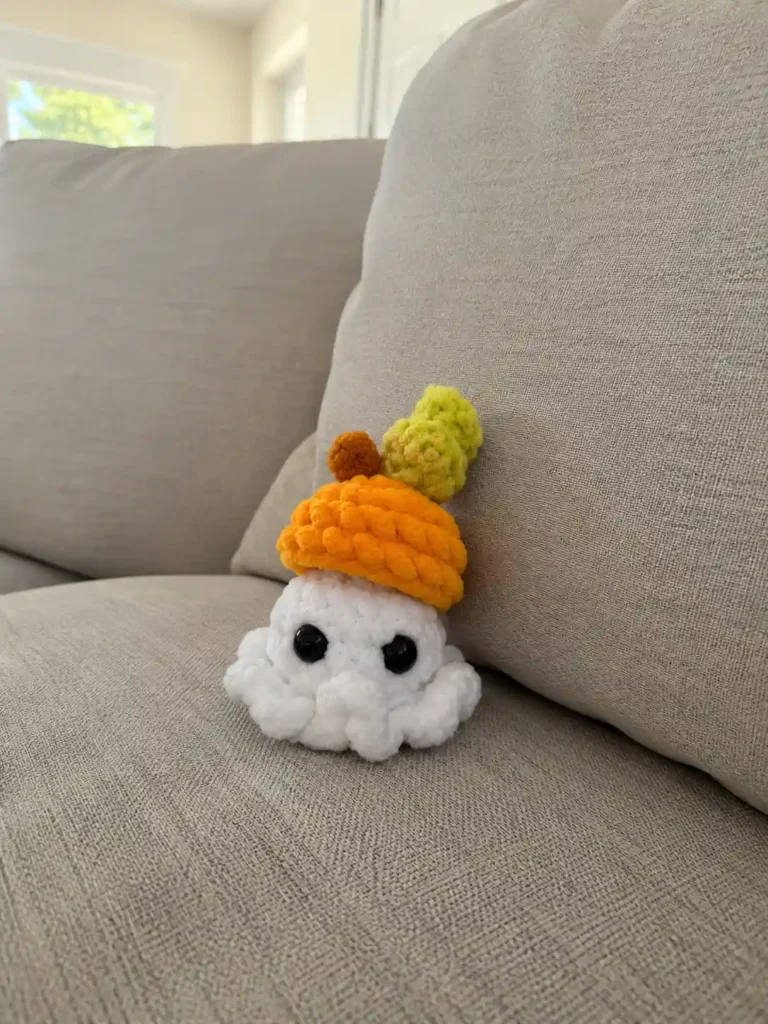
The finishing touches happen once the ghost and hat pieces are otherwise complete. The brown stick is anchored directly at the center gap between the magic ring and Round 1 of the hat crown, secured with a few surface slip stitches so it sits upright like a small stem. The green leaf is worked separately from its own chain foundation and then anchored in that very same gap beside the stick, curling outward once it’s tacked into place. Both pieces attach at the hat’s tightest point, which keeps them from shifting once the project is finished.
Because the closing rounds work through the ruffle’s hidden back loops rather than its visible front loops, the actual body-closing stitches are never seen from the outside. Once you stuff the ghost’s body and pull that final set of stitches shut, the seam disappears completely underneath the flared ruffle, leaving a smooth, rounded bottom with no visible pucker or gap.
- Insert 8-9 mm safety eyes between Rnds 12 and 13 of the body, leaving 3 sc between them.
- Stuff the main body of the ghost before working Round 17.
- Deliberately leave the orange hat section completely unstuffed.
- Attach the brown stick directly to the top center of the hat (between MR and Rnd 1) using surface slip stitches.
- Attach the green leaf directly next to the stick (between MR and Rnd 1) using surface slip stitches.
- Hide all fastened-off yarn tails securely inside the body of the ghost.
Pattern Notes and Troubleshooting
Keeping the Hat Hollow
It’s easy to accidentally stuff the orange hat section out of habit, especially if you’re used to filling every amigurumi piece as you go. If the finished hat looks puffy, rounded, or bulbous rather than soft and slightly collapsed, that’s usually the giveaway that stuffing made it inside. The hat is designed to stay completely empty, so its shape should come only from the yarn’s own body and the brim’s flare, not from anything packed inside it.
Locating the Back Loops in Round 6
Round 6 works into the back loops of Round 4, and by that point the front-loop ruffle from Round 5 sits right in front of those same stitches, making the back loops easy to lose track of. Folding the orange brim from Round 5 forward and out of the way exposes the row of back loops underneath, so each…