Crochet Bee Pattern with Floral Headband
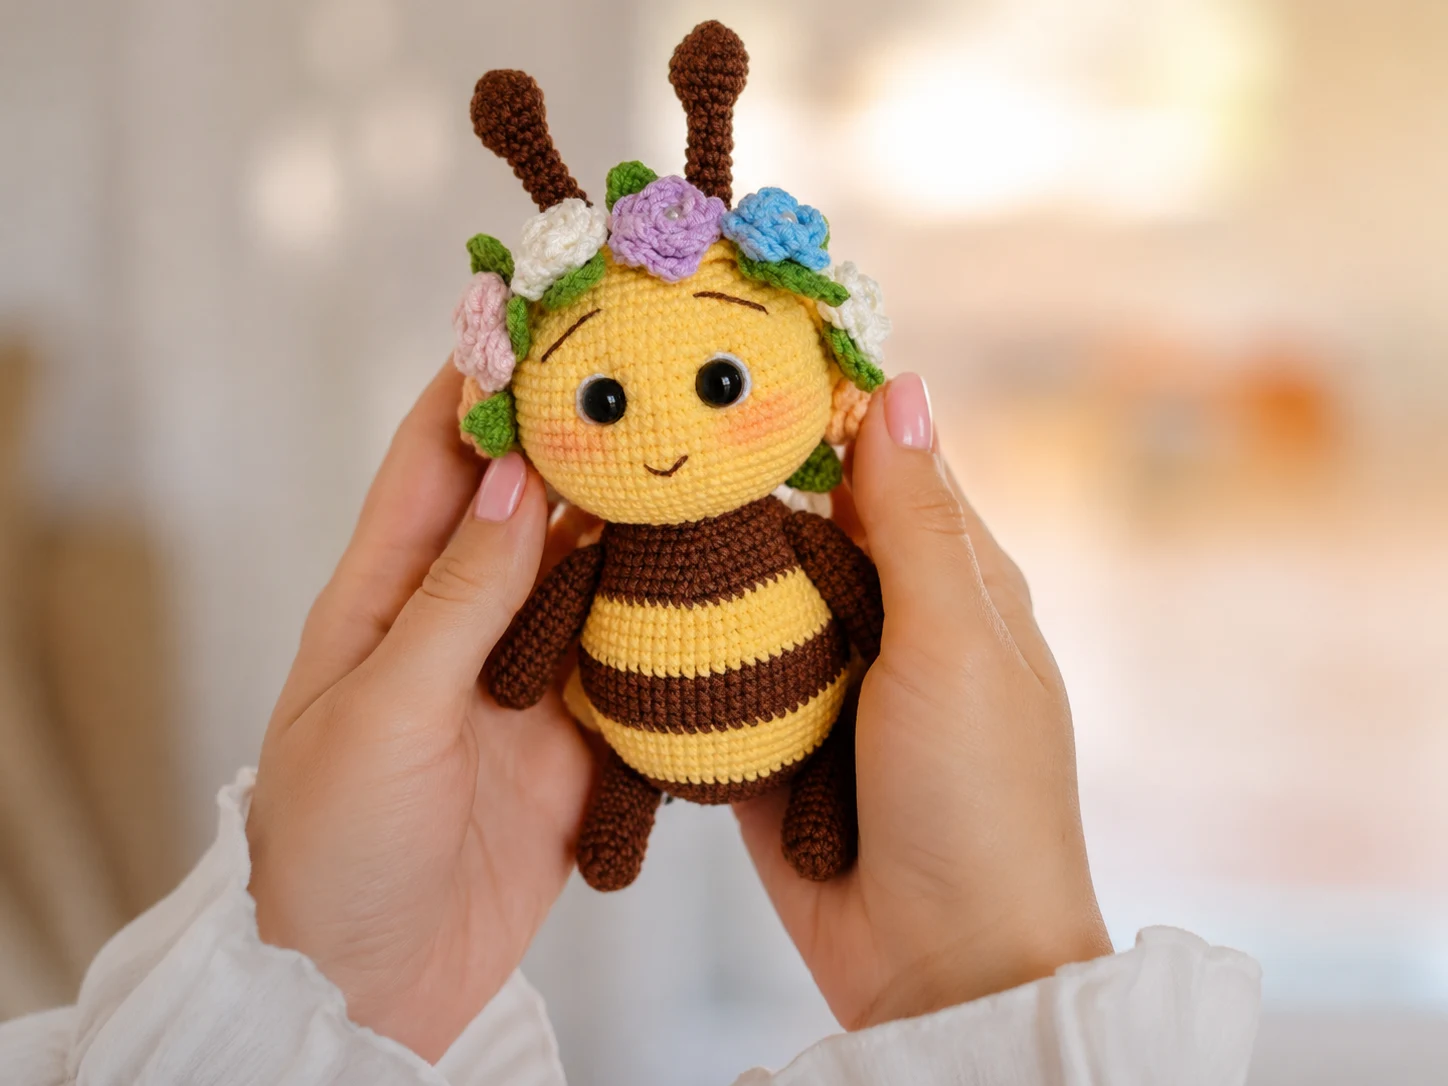
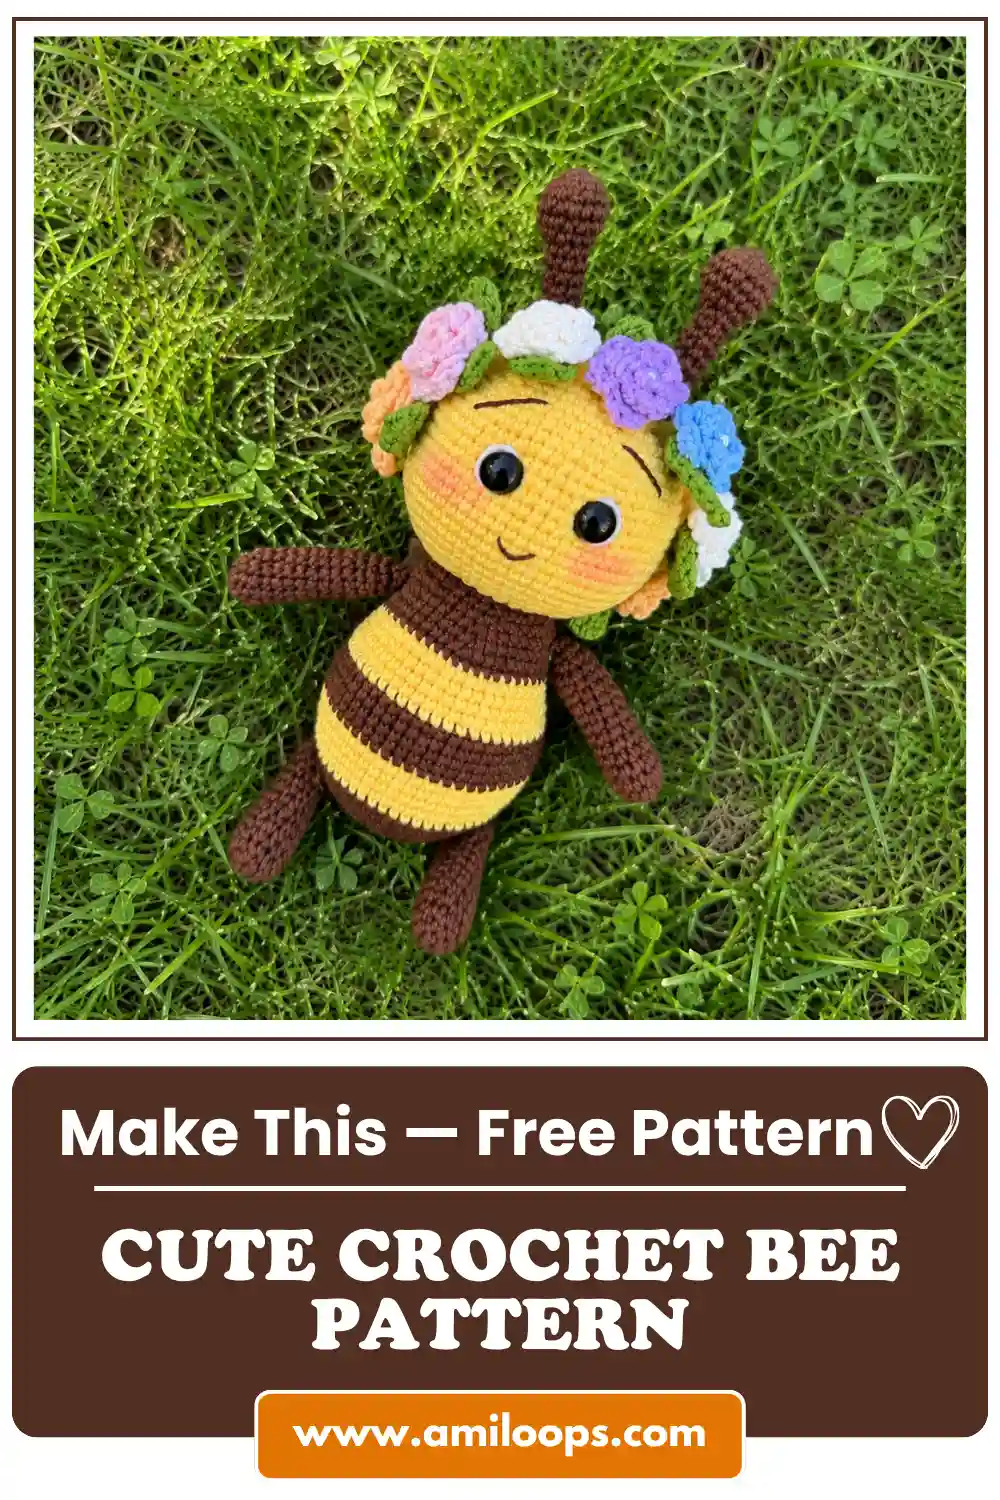
Crafting a detailed plush insect brings unmatched charm to any handmade collection. This comprehensive crochet bee pattern combines a rich, five-round striped body with an ornate headband decorated with eleven tiny flower rosettes and fifteen leafy accents. Working the torso and head in one continuous piece provides structural integrity, while thread-jointed limbs offer posable playability. Whether you are expanding your woodland creature set or crafting a unique floral gift, this intermediate-level project delivers engaging stitch work and yields a beautifully textured amigurumi piece that is sure to delight.
Understanding the underlying assembly order helps streamline every stage of production. By completing small elements such as the wings, stinger, antennae, and floral embellishments first, you will have every attachment ready when the main continuous body reaches completion. Precision tension control with a small hook ensures that stuffing remains neatly hidden within the dense single crochet mesh throughout assembly. We recommend reading through all instructions and familiarizing yourself with the construction method before picking up your hook, ensuring a smooth and enjoyable crafting experience from the magic ring to the final stitch.
About This Bee Crochet Pattern with Floral Headband
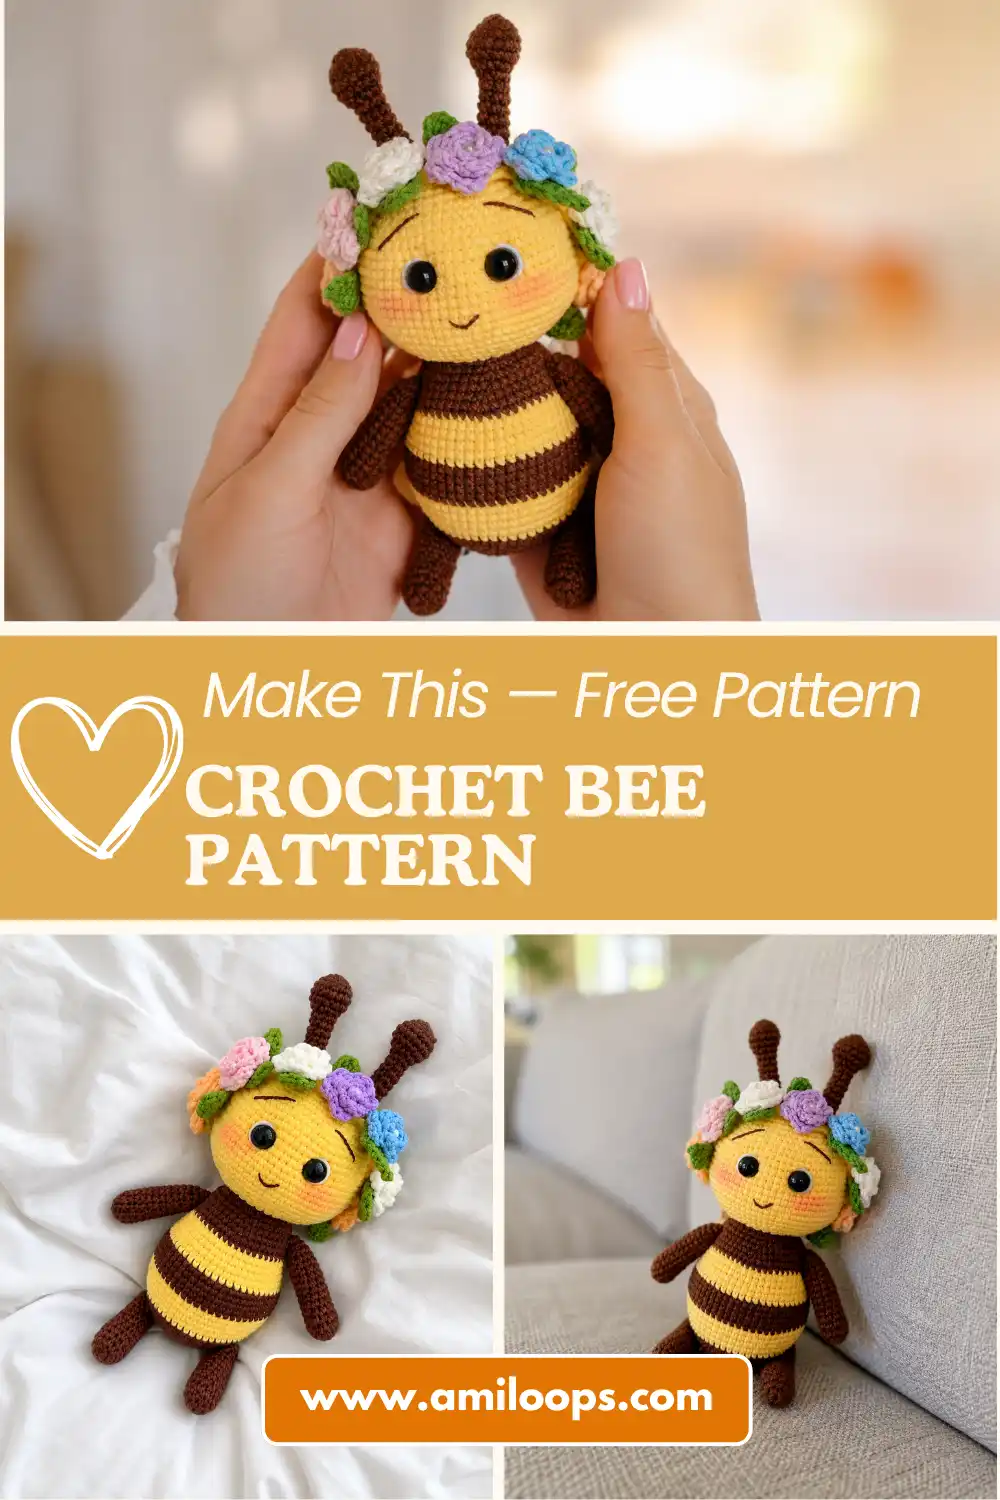
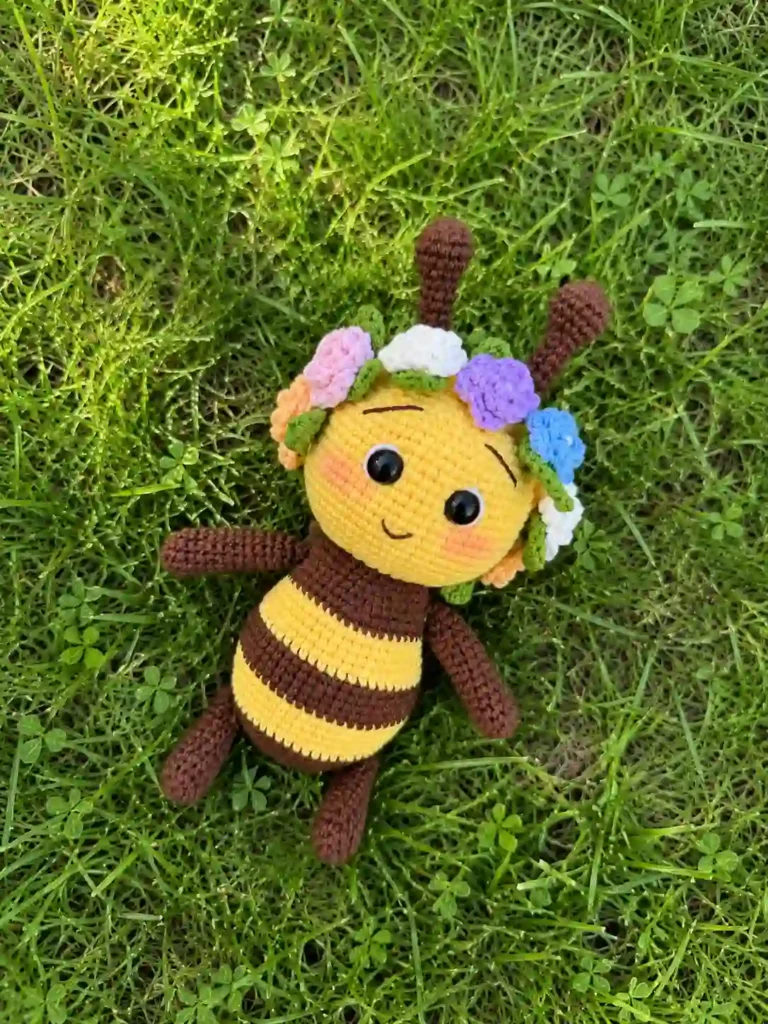
This character design brings together vibrant color blocking and intricate floral assembly into a cohesive plush figure. The body features alternating bands of yellow and brown yarn, creating classic bee stripes that transitions smoothly into a full, rounded head without any neck seams. The addition of a removable or sewn-on headband crowned with multi-colored rosettes gives this crochet bee pattern a whimsical, nature-inspired personality. It serves as an excellent technique builder for makers wanting to practice seamless color changes and intricate detailing without overwhelming complexities.
Structural stability is key for amigurumi figures featuring distinct appendages. Rather than sewing rigid arms and legs flat against the sides, this design utilizes a moveable thread-jointing method. By pulling a long doll needle through both body sides and limbs, the arms and legs can pivot naturally. Meanwhile, the stinger and antennae are firmly stitched onto the outer fabric, creating a durable shape ready for display.
Embellishing the character with custom facial details creates an expressive finished piece. Thread embroidery highlights the eyes and mouth, while subtle dry pastel or eyeshadow shading adds warm color to the cheeks. Combined with safety eyes secured inside the fabric before closing the head, these finishing touches produce a polished, professional amigurumi project.
Materials and Tools
Selecting the proper yarn weight and hook size ensures your stitches remain tight enough to hold fiberfill stuffing securely. Using YarnArt Jeans cotton-acrylic yarn paired with a 2.25 mm hook creates clean stitch definition and prevents gaps. Gather all listed colors and tools before beginning to keep your workspace organized.
- YarnArt Jeans yarn: Yellow (88), Brown (70), White (62), Lilac (19), Pink (18), Blue (75), Peach (73), Beige (03), Green (69)
- 2.25 mm hook (2 mm also works)
- Fiberfill stuffing
- Scissors, yarn needles, pins
- Stitch marker or long doll needle
- 10 mm safety eyes
- Small beads (for flower centers)
- Dry pastel/eyeshadow (for cheek blush)
Crochet Abbreviations
All stitch pattern descriptions in this article follow Craft Yarn Council standards and standard US terminology. Reviewing these basic abbreviations ensures accurate execution across all pattern rounds. Keep track of stitch counts at the end of every round to maintain correct shaping throughout the project.
- MR – magic ring
- ch – chain
- sc – single crochet
- sl st – slip stitch
- dc – double crochet
- hdc – half double crochet
- inc – increase
- dec – decrease
- ()×n – repeat in parentheses n times
Construction Overview
The core structure relies on working in continuous spiral rounds, beginning with an amigurumi magic ring at the base of the torso. The body expands outward through regular single crochet increases until reaching sixty stitches across. Five-round color bands of yellow and brown yarn establish the bold stripes, establishing the character’s signature look before tapering back inward at the neck transition. By maintaining a firm gauge, the cylindrical body remains robust enough to support the head while keeping the internal fiberfill completely concealed.
At Round 34, the continuous body moves directly into the head section without cutting the working yarn. A series of twenty-four increases rapidly expands the neck opening to forty-eight stitches, establishing the base for a generous, spherical head. Safety eyes must be installed between Rounds 46 and 47 before the upper decreases close the top opening.
Smaller appendages are worked individually before final assembly. The wings are crocheted in flat un-stuffed shapes and cinched at the base, while antennae and the stinger are lightly stuffed to maintain structural form. The headband is created by joining a sixty-chain ring, onto which fifteen green leaves and eleven coiled flower rosettes are mounted before fitting onto the head.
Before You Start
Before making your initial foundation chain, inspect your hook size and yarn tension. Amigurumi requires consistent tight single crochet stitches so that fiberfill stuffing does not show between stitches. Working with a 2.25 mm hook helps maintain firm fabric density throughout continuous rounds.
Organize your yarn colors according to function. The yellow and brown skeins are dedicated to the main body stripes, while the secondary pastel shades—such as lilac, pink, blue, peach, and beige—are reserved for the eleven flower rosettes. Preparing pre-cut stitch markers or a long doll needle will make thread jointing and placement easier when attaching limbs later.
Plan your stuffing schedule during the build process. Adding fiberfill stuffing gradually into the body before narrowing the neck transition ensures firm internal support. Avoid over-stuffing near active rounds so yarn fibers do not catch on your hook during decreases, ensuring proper stuffing your amigurumi stays neat.
Bee Crochet Pattern
Follow the canonical instructions below to complete each part of the figure. Work in continuous rounds unless otherwise instructed, using a stitch marker to mark the beginning of each round.
Legs & Arms
| Round | Instruction | Count |
|---|---|---|
| Round 1 | 6 sc in MR | 6 sts |
| Round 2 | inc×6 | 12 sts |
| Rounds 3–14 | sc around (12 rounds) | 12 sts |
| Round 15 | dec×6 | 6 sts |
Stuffing tip: Stuff the limbs lightly before closing the opening with Round 15, then weave in the yarn end inside the piece.
Stinger
| Round | Instruction | Count |
|---|---|---|
| Round 1 | 5 sc in MR | 5 sts |
| Round 2 | sc around | 5 sts |
| Round 3 | inc×5 | 10 sts |
| Rounds 4–6 | sc around (3 rounds) | 10 sts |
Assembly note: Stuff the stinger firmly with fiberfill and leave a long yarn tail for sewing it onto the back of the body.
Antennae
| Round | Instruction | Count |
|---|---|---|
| Round 1 | 5 sc in MR | 5 sts |
| Round 2 | inc×5 | 10 sts |
| Round 3 | (1 sc, inc)×5 | 15 sts |
| Rounds 4–5 | sc around (2 rounds) | 15 sts |
| Round 6 | (1 sc, dec)×5 | 10 sts |
| Round 7 | (3 sc, dec)×2 | 8 sts |
| Rounds 8–15 | sc around (8 rounds) | 8 sts |
Stuffing tip: Stuff the rounded top section as you go, leaving the thin lower shaft un-stuffed or very lightly filled.
Wings
| Round | Instruction | Count |
|---|---|---|
| Round 1 | 6 sc in MR | 6 sts |
| Round 2 | inc×6 | 12 sts |
| Round 3 | (1 sc, inc)×6 | 18 sts |
| Round 4 | (2 sc, inc)×6 | 24 sts |
| Round 5 | (3 sc, inc)×6 | 30 sts |
| Rounds 6–9 | sc around (4 rounds) | 30 sts |
| Round 10 | (4 sc, dec)×5 | 25 sts |
| Rounds 11–13 | sc around (3 rounds) | 25 sts |
| Round 14 | (3 sc, dec)×5 | 20 sts |
| Rounds 15–16 | sc around (2 rounds) | 20 sts |
| Round 17 | (2 sc, dec)×5 | 15 sts |
| Round 18 | (1 sc, dec)×5 | 10 sts |
| Round 19 | dec×5 | 5 sts |
Wing tip: Do not stuff the wings. Cinch the end opening flat and leave a long tail for attachment to the back.
Body & Head
| Round | Instruction | Count |
|---|---|---|
| Round 1 | 6 sc in MR (Brown) | 6 sts |
| Round 2 | inc×6 | 12 sts |
| Round 3 | (1 sc, inc)×6 | 18 sts |
| Round 4 | (2 sc, inc)×6 | 24 sts |
| Round 5 | (3 sc, inc)×6 | 30 sts |
| Round 6 | (4 sc, inc)×6 | 36 sts |
| Round 7 | (5 sc, inc)×6 | 42 sts |
| Round 8 | (6 sc, inc)×6 | 48 sts |
| Round 9 | (7 sc, inc)×6 | 54 sts |
| Round 10 | (8 sc, inc)×6 | 60 sts |
| Round 11 | sc around | 60 sts |
| Rounds 12–16 | sc around (5 rounds, Yellow) | 60 sts |
| Rounds 17–21 | sc around (5 rounds, Brown) | 60 sts |
| Rounds 22–26 | sc around (5 rounds, Yellow) | 60 sts |
| Round 27 | sc around (Brown) | 60 sts |
| Round 28 | (8 sc, dec)×6 | 54 sts |
| Round 29 | (7 sc, dec)×6 | 48 sts |
| Round 30 | (6 sc, dec)×6 | 42 sts |
| Round 31 | (5 sc, dec)×6 | 36 sts |
| Round 32 | (4 sc, dec)×6 (stuff body now) | 30 sts |
| Round 33 | (3 sc, dec)×6 (do not cut yarn) | 24 sts |
| Round 34 | inc×24 (Head start) | 48 sts |
| Round 35 | (7 sc, inc)×6 | 54 sts |
| Round 36 | (8 sc, inc)×6 | 60 sts |
| Round 37 | (9 sc, inc)×6 | 66 sts |
| Round 38 | (10 sc, inc)×6 | 72 sts |
| Rounds 39–50 | sc around (12 rounds) | 72 sts |
| Round 51 | (10 sc, dec)×6 | 66 sts |
| Round 52 | (9 sc, dec)×6 | 60 sts |
| Round 53 | (8 sc, dec)×6 | 54 sts |
| Round 54 | (7 sc, dec)×6 | 48 sts |
| Round 55 | (6 sc, dec)×6 | 42 sts |
| Round 56 | (5 sc, dec)×6 | 36 sts |
| Round 57 | (4 sc, dec)×6 | 30 sts |
| Round 58 | (3 sc, dec)×6 | 24 sts |
| Round 59 | (2 sc, dec)×6 | 18 sts |
| Round 60 | (1 sc, dec)×6 | 12 sts |
| Round 61 | dec×6 | 6 sts |
Safety eye placement: Attach safety eyes between Rounds 46 and 47, spaced 8 stitches apart, before narrowing the head past Round 55.
Flowers
| Row | Instruction | Count |
|---|---|---|
| Row 1 | Ch 20 + 3 turning ch (23 total) | 23 sts |
| Row 2 | (In 1st st: hdc, dc, hdc; in 2nd st: sl st)×10 | 40 sts |
Rosette shaping: Roll the strip into a tight coil/rosette shape and sew the base securely before weaving in yarn ends.
Leaves
| Row | Instruction | Count |
|---|---|---|
| Row 1 | Ch 7 | 7 sts |
| Row 2 | First side: sl st, sc, hdc, dc, hdc, then 3 sc in same (tip) stitch. Second side: hdc, dc, hdc, sc, sl st, ch 1 | 12 sts |
| Row 3 | Slip-stitch a center vein line down the middle | — |
Leaf placement: Leave a long tail on each leaf to sew them directly underneath the flower rosettes on the headband.
Headband
| Round | Instruction | Count |
|---|---|---|
| Round 1 | Ch 60, join into a ring | 60 sts |
| Round 2 | sc around | 60 sts |
Headband assembly: Sew all 15 leaves onto the 11 flower rosettes first, then attach the completed flowers around the headband ring.
Assembly and Finishing
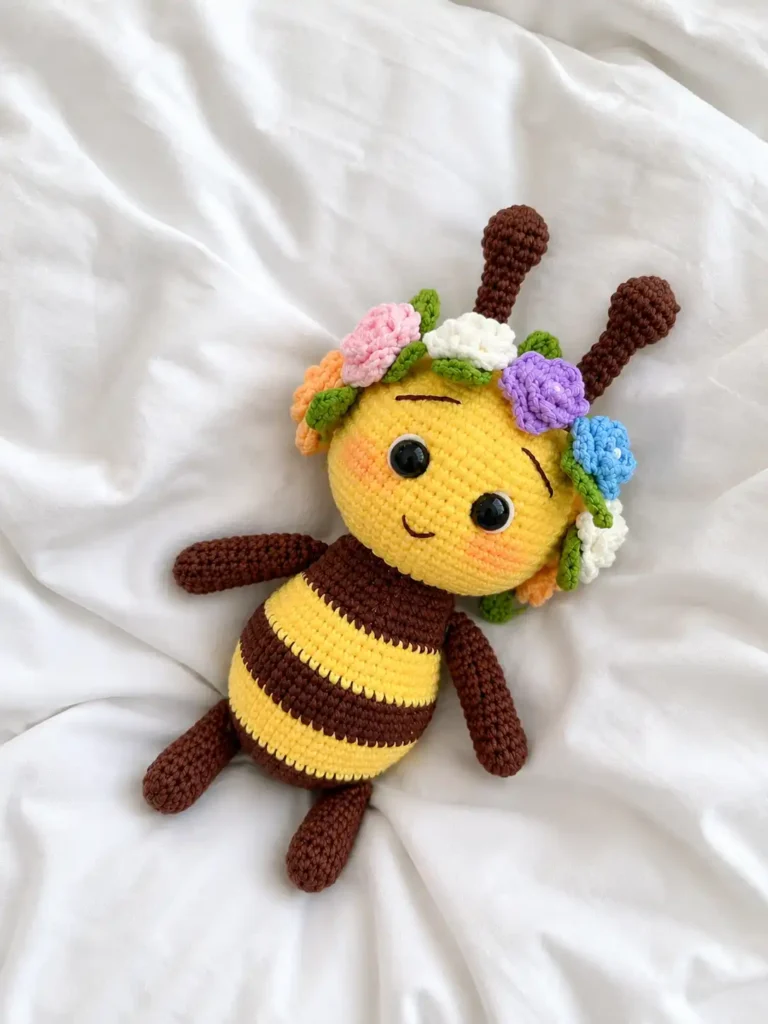
Completing the facial expression brings your bumblebee character to life. Use dark embroidery floss to add delicate eyebrows and a small mouth, then add white highlights around the safety eyes for depth. Cinch the eyes inward slightly with a long needle to create natural eye sockets before attaching safety eyes securely.
Attach all limbs and accessories using strong yarn thread. The legs and arms use a thread-jointing technique running through the body so they can move freely. Position the pair of wings and rear stinger on the back along the striped sections. Finally, place the flower crown over the head between the antennae.
- Embroider the mouth, eyebrows, and eye highlights (whites of the eyes).
- Cinch the eyes slightly for a rounder look.
- Sew all pieces onto the body. Attach the legs/arms with a jointed thread technique so they can move.
- Add blush to the cheeks with dry pastel/eyeshadow (optional).
Pattern Notes and Troubleshooting
Managing Color Changes on the Striped Body
Carrying yarn smoothly across five-round color changes prevents visible ridges on the exterior fabric. When switching between yellow and brown yarn at the end of a color block, work the final yarn over of the last stitch in the new color shade. Applying an invisible decrease technique when narrowing rounds ensures smooth transitions without interrupting single crochet texture. This meticulous approach to color management will reward you with a flawless, professional finish that enhances the visual appeal of the bumblebee’s iconic stripes.
Keep unused yarn floats loose on the inside of the body rather than pulling them tight. Tight floats can distort the cylindrical shape of the torso during stuffing. Staggering your color changes along the back centerline ensures the seam remains hidden beneath the attached wings.
Achieving Smooth Thread Jointing for Movable Limbs
Thread jointing creates pivoting arms and legs without requiring separate plastic joints. Thread a long doll needle with matching yarn or strong upholstery thread, passing through one limb, across the body interior, and through the opposite limb. Pulling the thread taut creates tension while allowing both limbs to move in sync.
Knot the jointing thread securely inside the body fabric after passing back and forth twice. Ensure limbs are aligned symmetrically along the lower yellow and brown body rounds before tying off. Hiding thread tails inside the fiberfill stuffing prevents unravelling over time.
Assembling and Securing the Floral Rosettes
Coiling the twenty-three stitch flower strips into tight rosettes requires even tension during stitching. After completing Row 2, roll the petal strip starting from one end toward the center, forming a neat multi-petaled bloom. Pass a yarn needle through the bottom foundation chain several times to lock the coil shape.
Mounting fifteen leaves onto eleven flowers requires balanced placement along the sixty-stitch headband ring. Group two or three flowers together with overlapping leaf bases before stitching the clusters onto the headband. Secure small beads in the center of each rosette for added visual detail.
Finishing Checklist
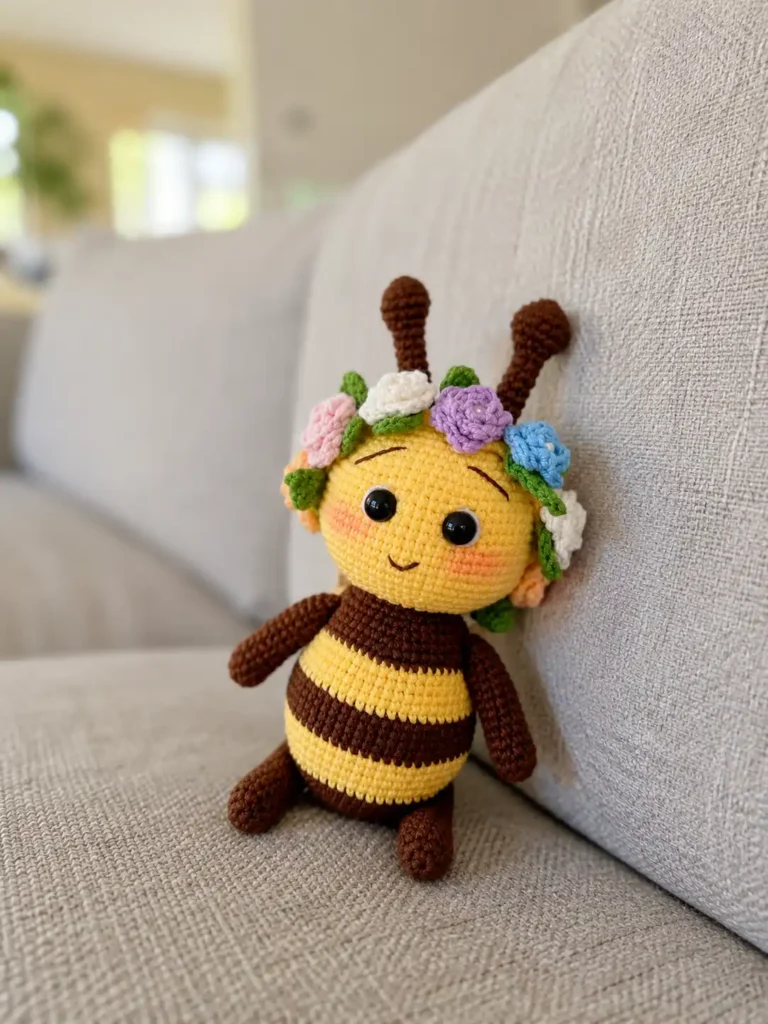
Before declaring your crochet bee complete, review these key quality checks. Confirming structural stability and facial embroidery ensures your finished amigurumi holds up well over time. Taking a few extra minutes to inspect your joints, verify safety eye attachments, and align the floral crown guarantees a polished outcome that withstands handling and display.
- Check that all four limbs are securely attached with jointed thread so they pivot evenly.
- Verify safety eye washers are fully locked behind Round 46–47 before closing the head.
- Ensure antennae and stinger are centered and firmly stitched to the body.
- Confirm all eleven floral rosettes and fifteen leaves are securely mounted onto the headband ring.
FAQ
What yarn is best for this crochet bee pattern?
We recommend YarnArt Jeans cotton-acrylic yarn for this pattern because it provides tight, clean stitch definition that securely hides the fiberfill stuffing.
Can beginners make this amigurumi bee?
This is an intermediate-level project due to the thread-jointed limbs and intricate floral assembly, but ambitious beginners can complete it by following the step-by-step instructions.
What size hook do I need to crochet this bee?
A 2.25 mm (or 2.0 mm) crochet hook is ideal. Using a small hook ensures your fabric gauge remains firm enough to support the continuous body and head shape.
Related Amigurumi Patterns
If you enjoyed working on this project, explore our free crochet bee pattern tutorial for more amigurumi inspiration. You can also master essential techniques like the amigurumi magic ring or learn about sewing amigurumi parts to enhance your craft skills.