Baby Goose Amigurumi Crochet Pattern (Free)
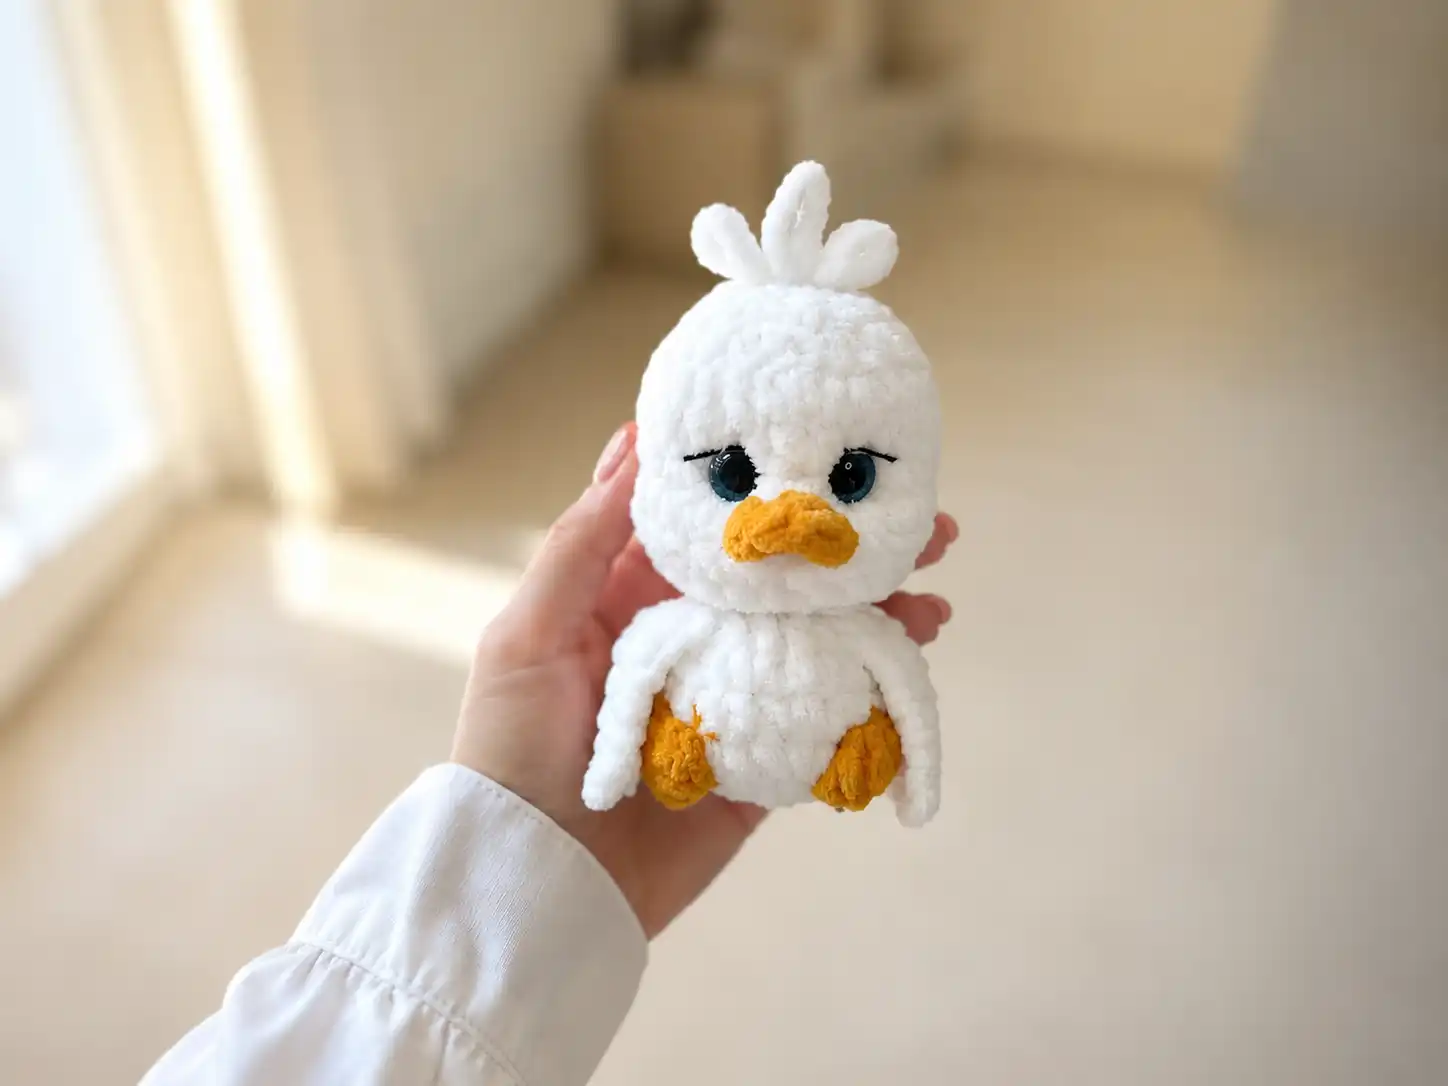
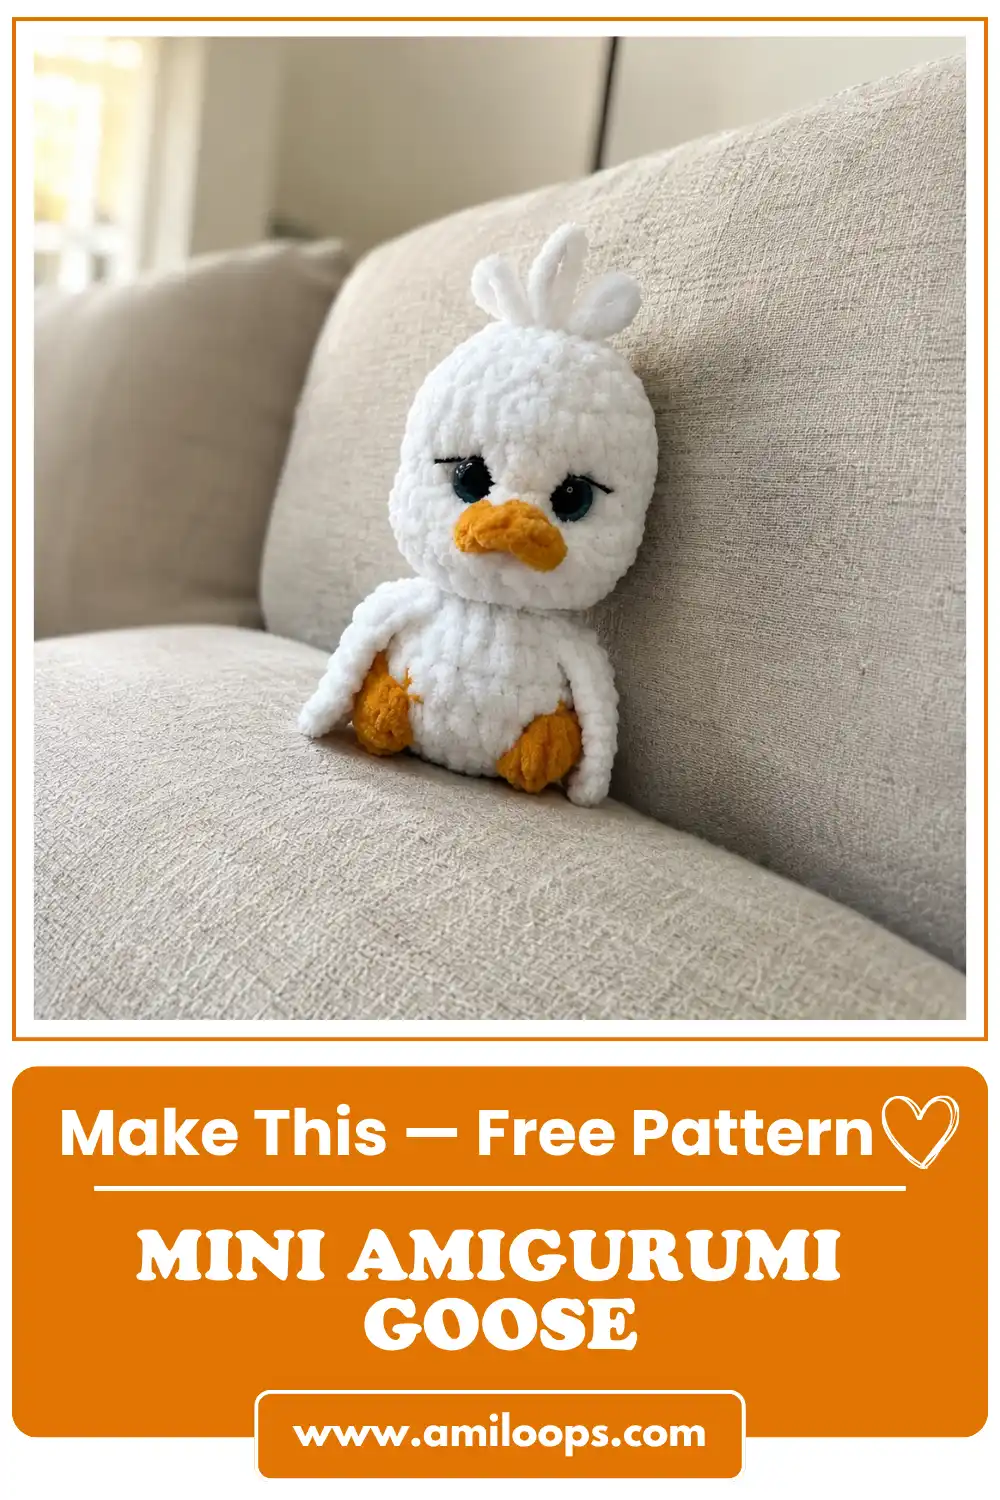
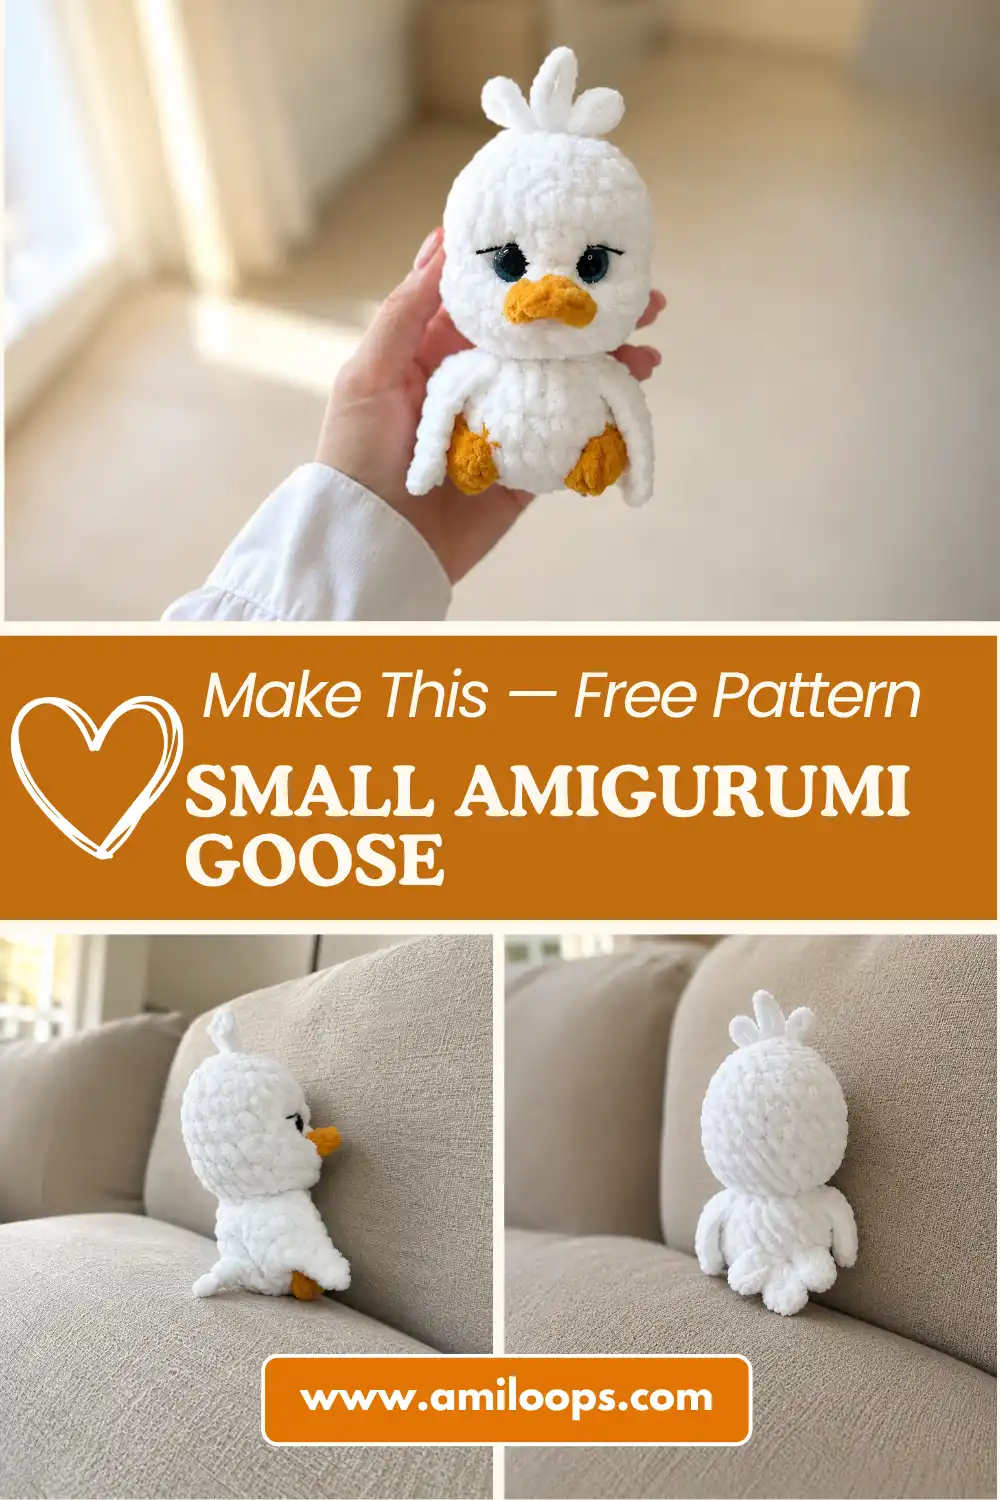
This baby goose amigurumi pattern grows from a single continuous piece for the body and head, so the shape builds gradually instead of being seamed together from separate pieces afterward. Two shaped wings, a quick color change into yellow puff-stitch feet, a chain-loop tail, and a small crocheted beak round out the figure, with a soft tuft of yarn finishing the top of the head.
Hook size, yarn weight, and gauge are left up to you here — this pattern doesn’t fix them, so choose a combination that gives you fabric tight enough to hold stuffing without gaps between stitches.
Materials for This Baby Goose Amigurumi Pattern
- Main color yarn for the body-head and wings
- A second, yellow yarn for the color-change feet — the finished photos show a beak in a similar yellow-orange tone, though the pattern doesn’t give the beak its own separate color instruction
- A pair of safety eyes, plus the puff-stitch feet and crocheted beak — small attached pieces worth keeping in mind if this toy is meant for a young child (see the CPSC’s general guidance on small parts in children’s products)
- A yarn needle for closing the opening and weaving in ends
Abbreviations Used in This Pattern
These are the abbreviations this pattern actually uses. If any look unfamiliar, the Craft Yarn Council keeps a standard reference for US crochet abbreviations.
| Abbrev. | Term |
|---|---|
| MR | Magic ring |
| ch | Chain |
| sl st | Slip stitch |
| sc | Single crochet |
| inc | Increase (2 sc in same stitch) |
| dec | Decrease (sc2tog) |
| hdc | Half double crochet |
| dc | Double crochet |
| ( )×N | Work instructions in parentheses N times |
| 4-dc puff st | 4 unfinished dc in the same stitch, yarn over and pull through all loops to close |
Baby Goose Amigurumi Pattern Instructions
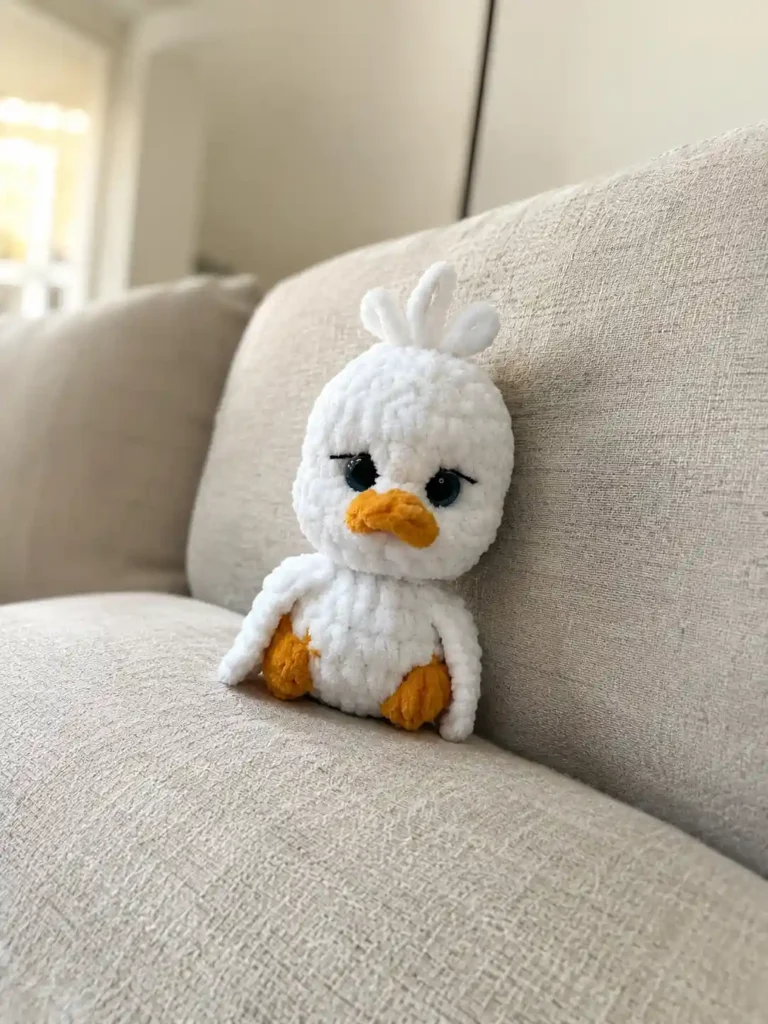
Wings
Both wings are worked flat in rows, then joined to the body during round 6 below.
Wing (Make 1)
Row 1: Chain (ch) 7. Starting in the 2nd chain from the hook, single crochet (sc) 6 across. Chain 1, turn. (6 sc)
Row 2: Sc 4, working only the first 4 of the 6 stitches and leaving the remaining 2 unworked. Chain 1, turn. (4 sc)
Row 3: Sc 4 across the same 4 stitches. Fasten off and cut the yarn.
Mirror Wing (Make 1)
Row 1: Chain 5. Starting in the 2nd chain from the hook, sc 4 across. Chain 1, turn. (4 sc)
Row 2: Sc 4 across the previous row. Chain 3, then starting in the 2nd chain from the hook, sc 2 across the new chain. (6 sc total)
Helpful note: the Mirror Wing is shaped in the opposite order from the first Wing — its narrow point comes first, then the piece widens. When you position both wings on the finished goose, turn them so the pointed tips curve toward each other for a matched look.
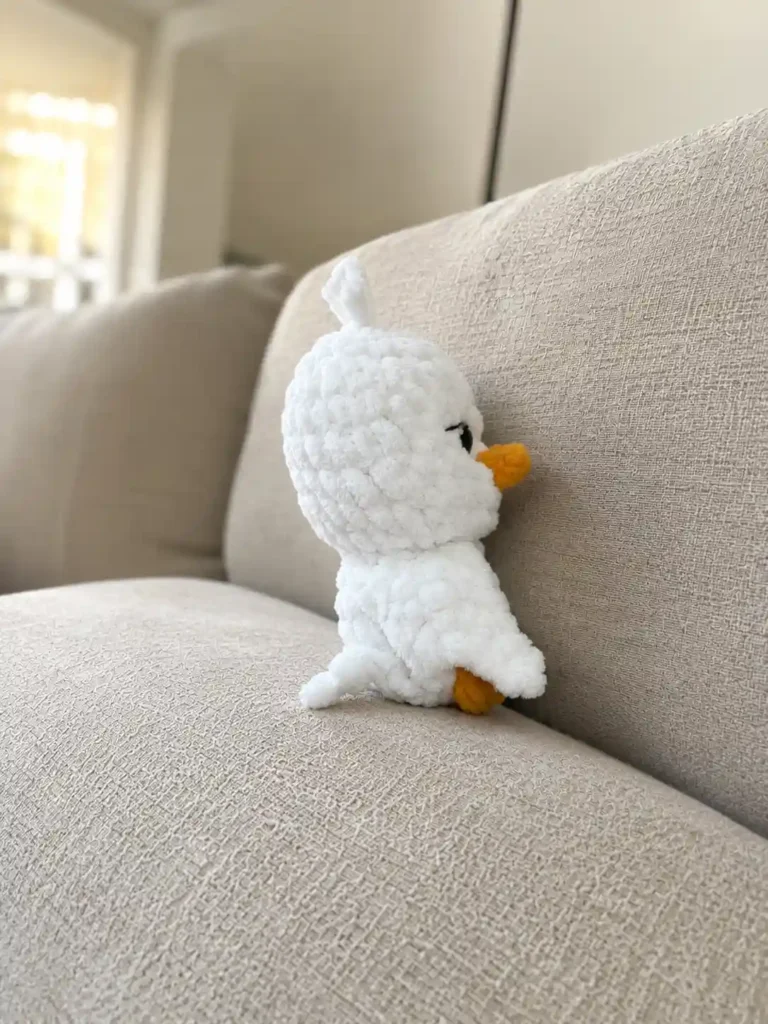
Body and Head
Round 1: Work 9 sc into a magic ring (MR), or chain 2 and work 9 sc into the 2nd chain from the hook. (9 sts)
Round 2: Inc in every stitch around. (18 sts)
Round 3: Sc 5, then change to yellow and work a 4-dc puff stitch in the next stitch to form a foot — repeat this once more for the second foot. Sc 6. For the tail: chain 4 and slip stitch (sl st) in the same stitch, chain 6 and slip stitch in the next stitch, then chain 4 and slip stitch in the same stitch again. (18 sts)
Rounds 4–5: Sc around. (18 sts each round)
Round 6: Sc 1. Attach the Wing by working sc 4 through both the wing and the body stitches together. Sc 4. Attach the Mirror Wing the same way, working sc 4 through both layers. Sc 6. (18 sts)
Count check: because the wings are worked into this round along with the base stitches, the running total can drift by a stitch or two here. Ease the plain stitches evenly around so the round still closes back at its starting point.
Round 7: Dec (sc2tog) 9 times around. (9 sts)
Round 8: Inc in every stitch around. (18 sts)
Round 9: [Sc 2, inc] 6 times around. (24 sts)
Rounds 10–14: Sc around. (24 sts each round)
Insert the safety eyes between rounds 13 and 14, spacing them 4 stitches apart.
Round 15: [Sc 2, dec] 6 times around. (18 sts)
Round 16: [Sc 1, dec] 6 times around. (12 sts)
Helpful note: stuff the head and body firmly before working round 17 below — the last two decrease rounds close the opening tightly, and once it’s closed, adding more stuffing becomes difficult.
Round 17: Dec 6 times around. (6 sts)
Beak
Work the beak after the head is fully closed and shaped, once the tuft is done. Join yarn to the right side of the face. Sc 1, then in that same stitch work a half double crochet (hdc); hdc in the next 2 stitches; slip stitch in the last hdc worked. Fasten off.
With both wings pinned symmetrically and the tuft gathered, give the face a final look before setting the last stitches — the eye spacing and the beak’s placement are what carry the goose’s expression.
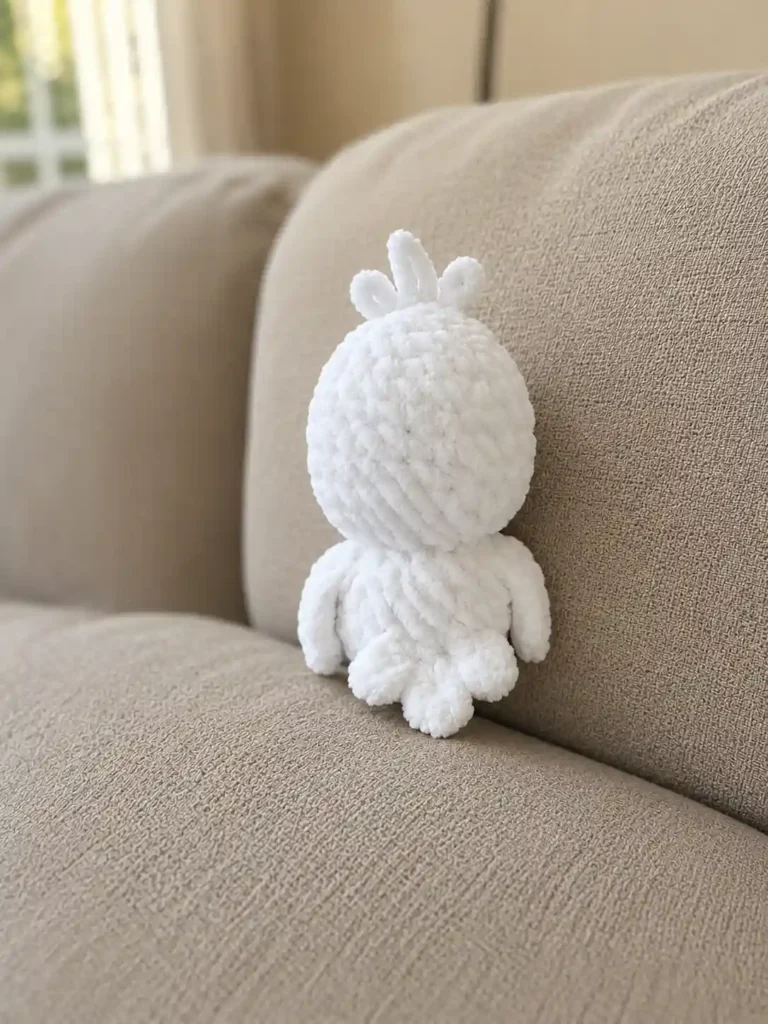
Closing and Finishing
- Stuff the head and body firmly, if you haven’t already
- Fasten off, leaving a 20 cm tail
- Use that tail to close the remaining opening
- Use the leftover yarn to gather a small tuft of loops on top of the head
FAQ
Is this baby goose amigurumi pattern suitable for beginners?
Yes, it uses basic single crochet stitches and works up quickly in a continuous piece, making it highly accessible for beginners.
What kind of yarn is best for this crochet goose?
You can use any yarn, but soft plush or blanket yarn works exceptionally well for a cuddly finish. Just ensure you use a smaller hook to keep the stitches tight.
How do I make the amigurumi goose feet?
The feet are made with a quick color change to yellow, using a 4-double-crochet puff stitch worked directly into the continuous body rounds.