A Toadstool Mushroom Amigurumi with a Two-Tone Spotted Cap
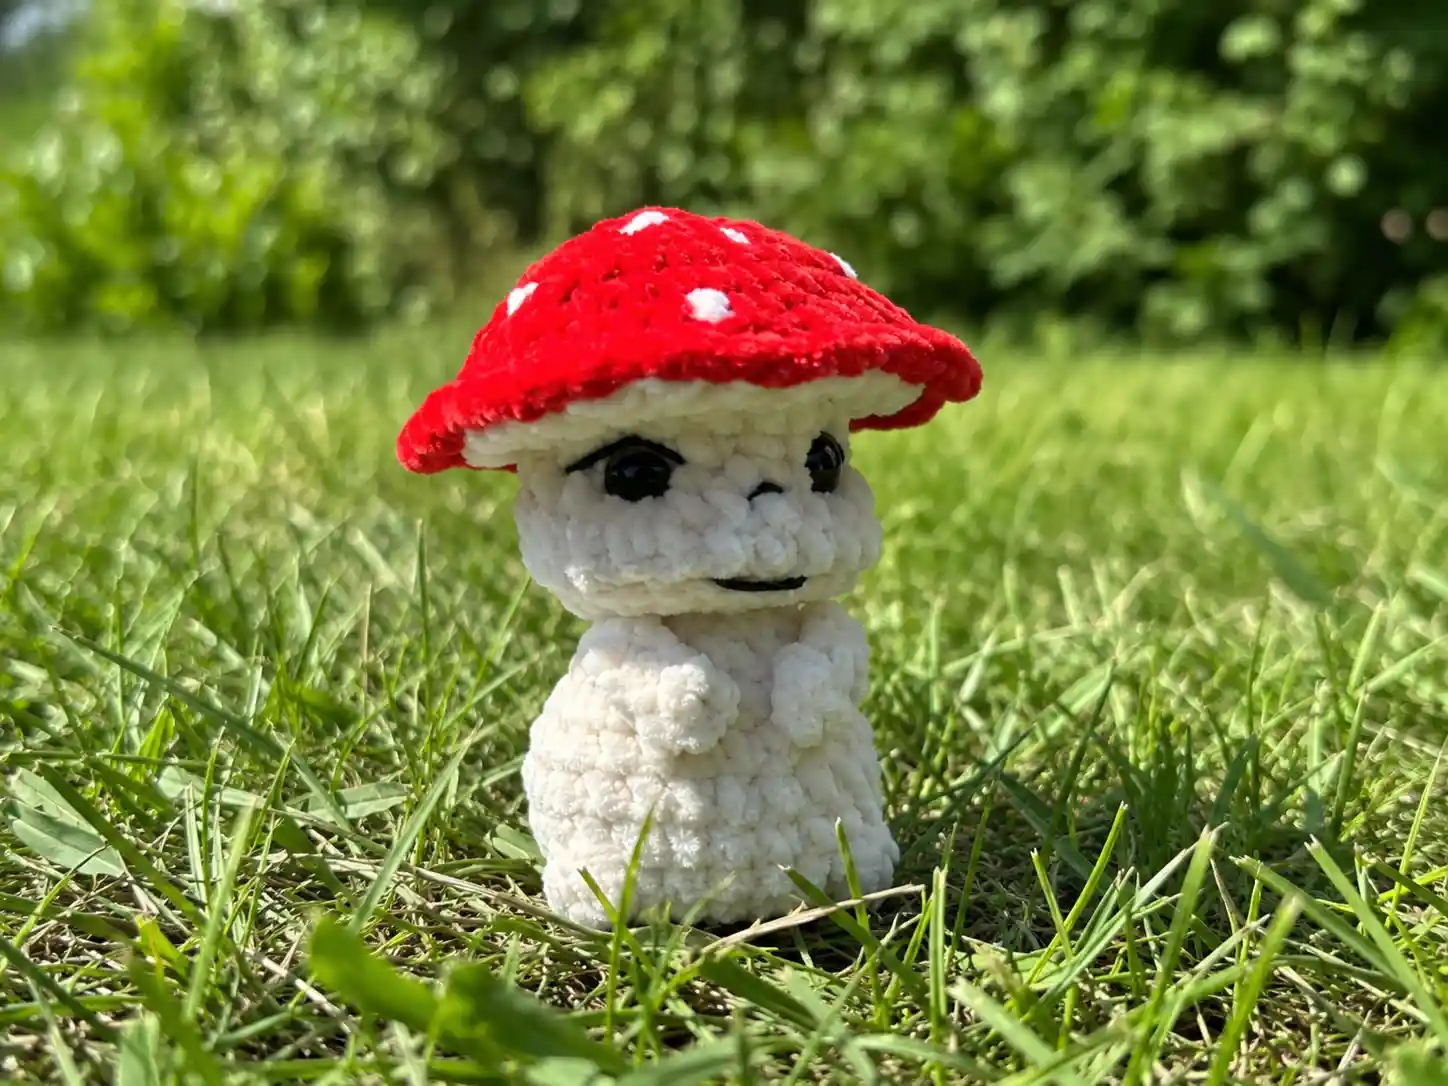
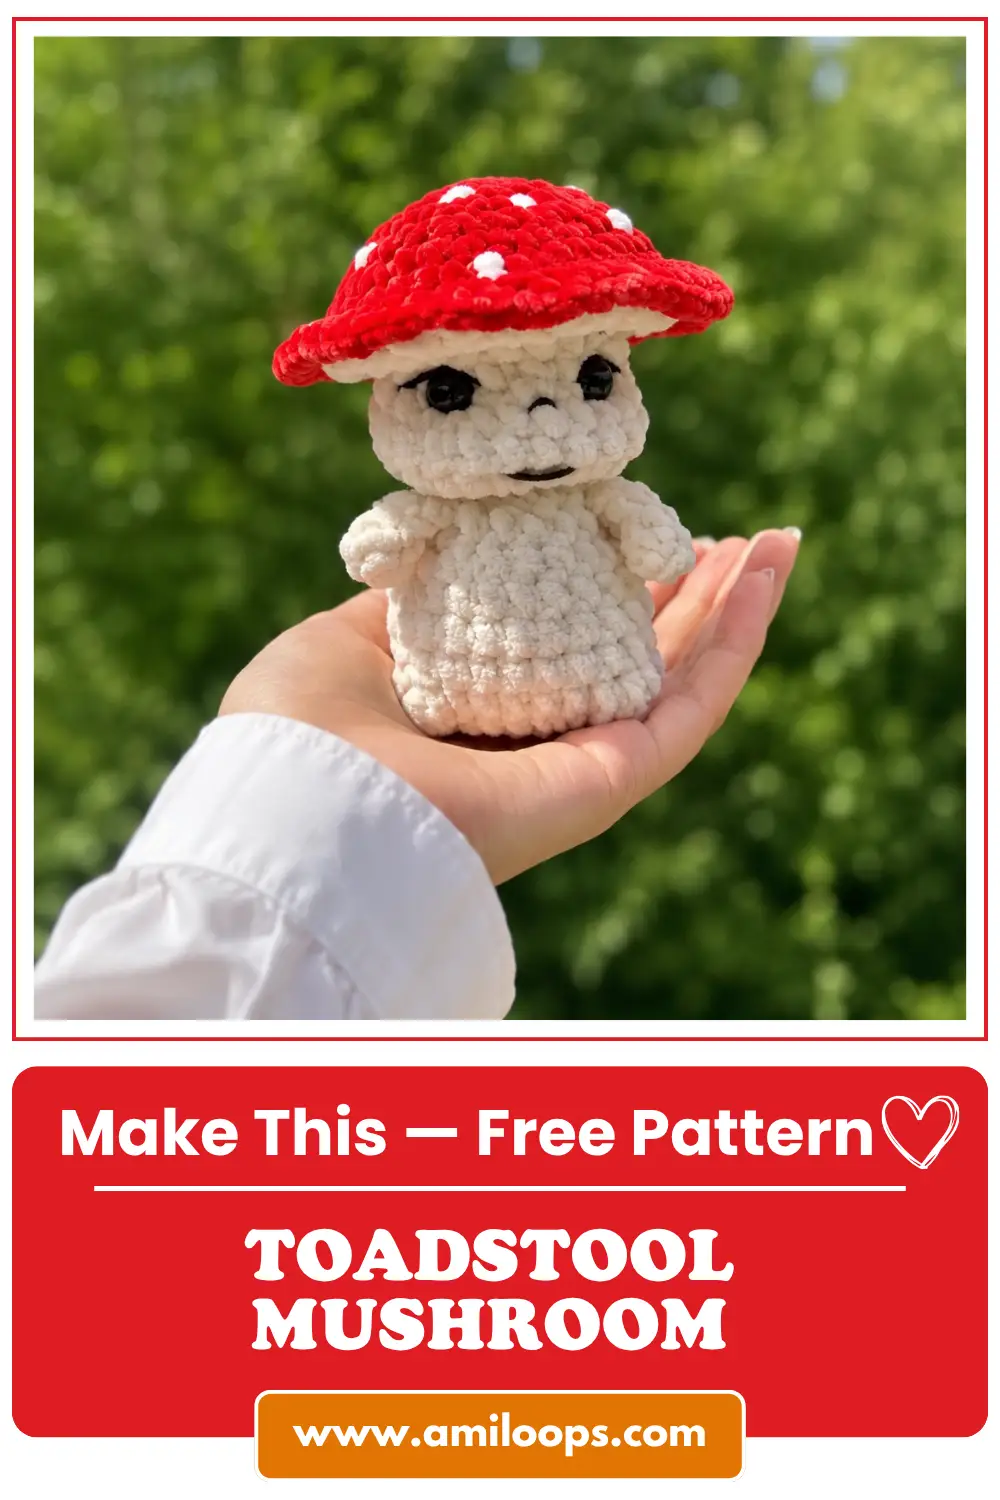
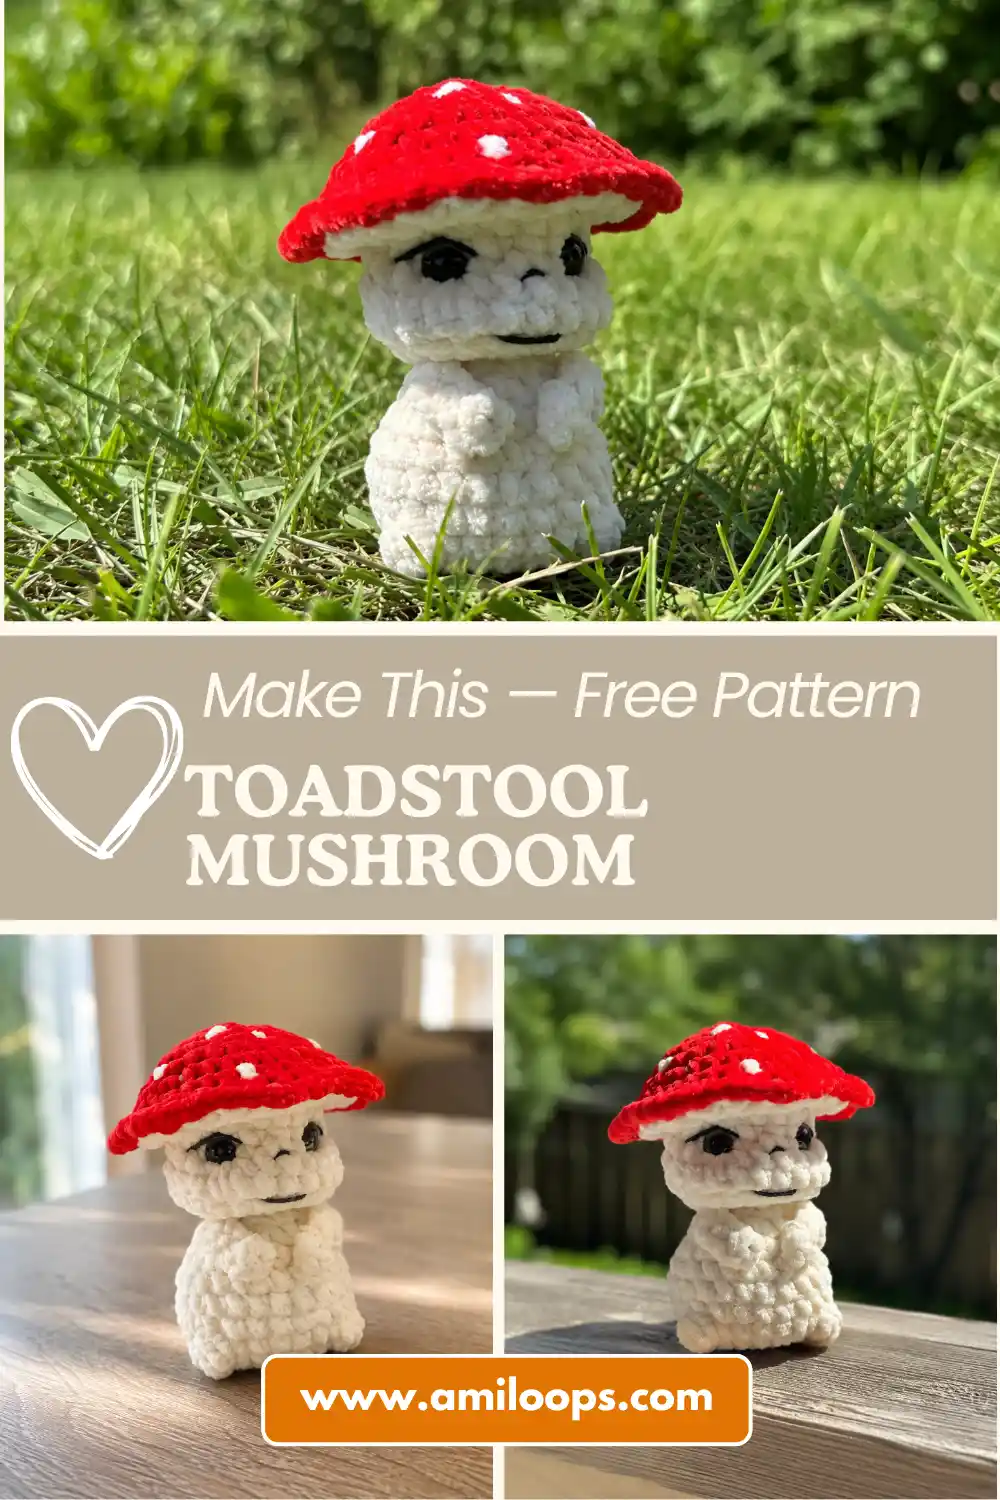
This pattern builds a small toadstool mushroom amigurumi pattern with a cream body and head worked as one continuous piece, a separately crocheted red-and-cream cap, two small crocheted arms, and a hand-embroidered face finished with safety eyes. The cap uses a two-loop technique — one round worked into the front loops only, then a second round worked into the back loops of the same row — to create a scalloped red rim over a flat cream underside.
Materials for this Toadstool Mushroom Amigurumi Pattern.
- Plush/chenille yarn in Milky/Cream and Red (used for the body, head, and cap)
- Cotton-blend yarn in Black (face embroidery) and White (cap spot details)
- Crochet hook, 4.0mm — commonly labeled US G/6, though lettered sizing can vary slightly by yarn brand, so treat the millimeter size as the reference measurement when shopping for a hook
- Safety eyes, 12mm
- Polyester fiberfill stuffing
- Tapestry/yarn needle
- Stitch marker
- Sturdy thread, for cinching the eyes
- Scissors
Hook size charts can vary slightly between yarn companies. If you’d like to double-check your hook against a standardized mm-to-US-letter conversion chart, the Craft Yarn Council keeps one on hand.
Abbreviations Used in This Pattern
| Abbreviation | Meaning |
|---|---|
| MR | Magic ring — an adjustable starting loop that closes fully, leaving no center hole |
| sc | Single crochet |
| inc | Increase — 2 single crochets worked into the same stitch |
| dec | Decrease, worked as an invisible decrease throughout this pattern (front loops of the next two stitches worked together) for a cleaner finish |
| dc | Double crochet |
| hdc | Half double crochet |
| sl st | Slip stitch |
| ch | Chain |
| bobble | A cluster of incomplete double crochets worked into one stitch and drawn together at the top, forming a raised bump. This pattern uses a 4-dc bobble on the body and a 3-dc bobble on each arm. |
| dc2tog | Two double crochets worked together as one stitch |
| FLO / BLO | Front loop only / back loop only — working into just one loop of a stitch rather than both |
Toadstool Mushroom Amigurumi Pattern — Full Instructions
Body and Head (Worked as One Continuous Piece)
The body flows directly into the head with no seam at the neck — you won’t fasten off between the two sections.
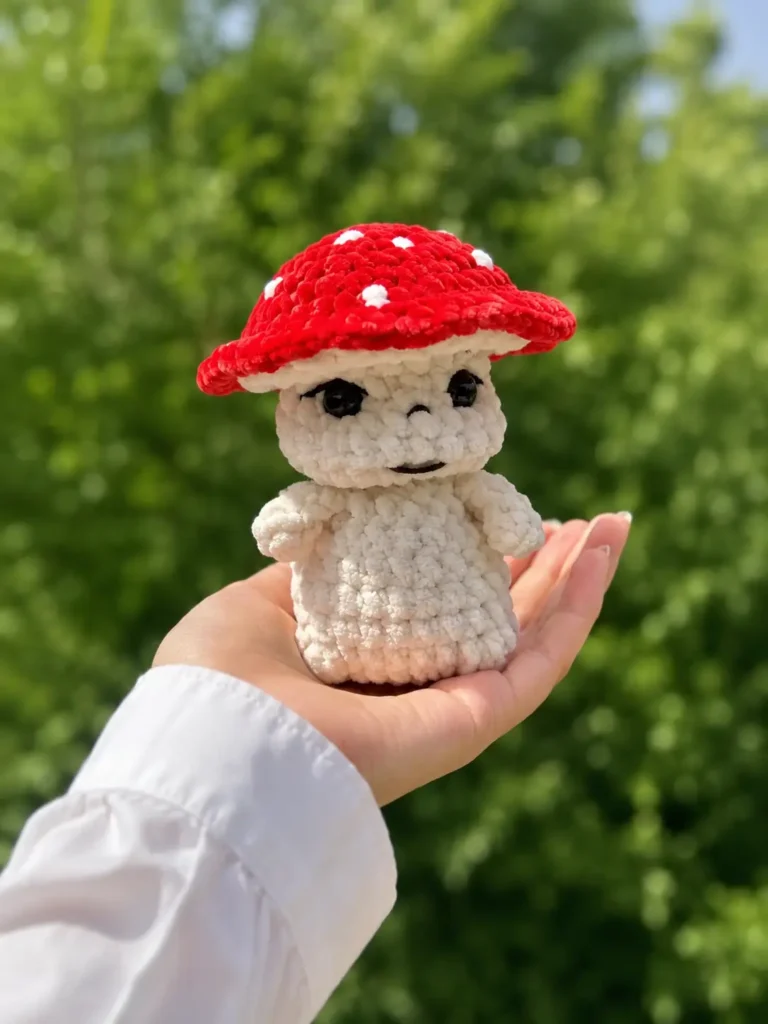
Body
Rnd 1: 6 sc in MR (6)
Rnd 2: 6 inc (12)
Rnd 3: (sc, inc) x6 (18)
Rnd 4: (2 sc, inc) x6 (24)
Rnd 5: 6 sc, bobble (4-dc), 16 sc (23)
Rnds 6–8: sc around, 3 rounds (23)
Rnd 9: (2 sc, dec) x6 (18)
Editorial note: this round’s repeat is written for a 24-stitch base. Since Round 8 in this pattern totals 23, you may come up one stitch short on the sixth and final repeat — if that happens, just work that last repeat as a single sc instead of the full (2 sc, dec), and continue on into Round 10.
Rnd 10: make arm — ch 5, work a 3-dc bobble in the 2nd ch from hook, then 3 hdc back along the remaining chain — (dec, sc) x2, dec, make arm (repeat the same arm technique), sc, (dec, sc) x3 (12)
Rnd 11: (sc, dec) x4 (8)
When working the bobble in Round 5, keep the base stitch a little loose before drawing the loops together. This keeps the finished bump from puckering the rounds around it — worth paying attention to here since this bobble sits right on the belly.
The two arms in Round 10 are made the same way, one right after the other in the round: a short chain, a small bobble at the tip, then worked back along the chain in hdc. Keep the chain snug so the arm doesn’t flop before it’s attached and stuffed.
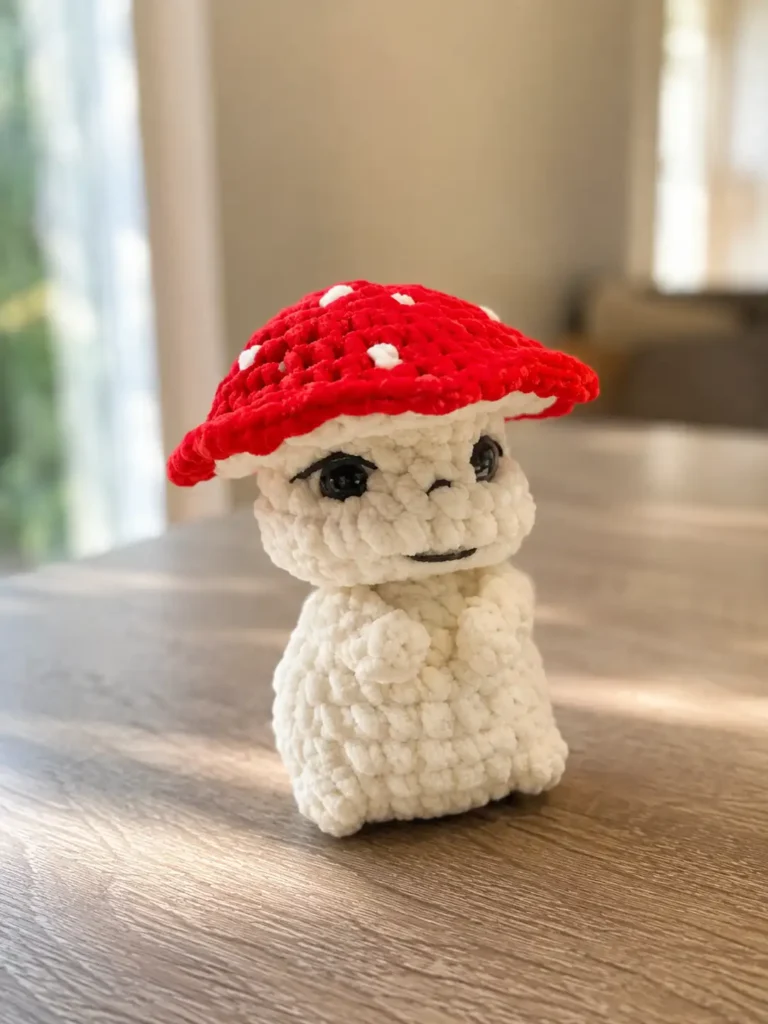
Head
The head continues directly from the body’s final round of 8 stitches, in the same yarn.
Rnd 1: 8 inc (16)
Rnd 2: (sc, inc) x8 (24)
Rnds 3–5: sc around, 3 rounds (24)
Rnd 6: (2 sc, dec) x6 (18)
Rnds 7–8: sc around, 2 rounds (18)
Insert the safety eyes above Round 6, spacing them 6 sc apart.
Rnd 9: (sc, dec) x6 (12)
Rnd 10: dec around (6)
Stuff the head and body firmly, then close the opening — a simple cinch closed and secured works well — and fasten off.
Cap
The cap is worked separately, starting in Red.
Rnd 1: 6 sc in MR (6)
Rnd 2: 6 inc (12)
Rnd 3: (sc, inc) x6 (18)
Rnd 4: (2 sc, inc) x6 (24)
Rnd 5: (3 sc, inc) x6 (30)
Rnd 6: (4 sc, inc) x6 (36)
Rnd 7: (5 sc, inc) x6 (42)
Rnd 8: (6 sc, inc) x6 (48)
Next round, working in the front loop only: (sc, hdc, dc, hdc, sc, sl st) x8 (48) — this forms the scalloped red rim.
Join Milky/Cream yarn in the back loop only of Round 8, then work 24 dc2tog around (48 → 24) to form the flat cream underside disc.
The cap’s two-tone effect comes entirely from working two different rounds into the two loops of the same row. The front-loop round (worked first, in Red) builds the scalloped rim you see from outside; the back-loop round (worked second, in Cream) forms the flat underside. Both the color and the loop change happen at the same point in the round, which is why they need to be worked in that order.
Assembly
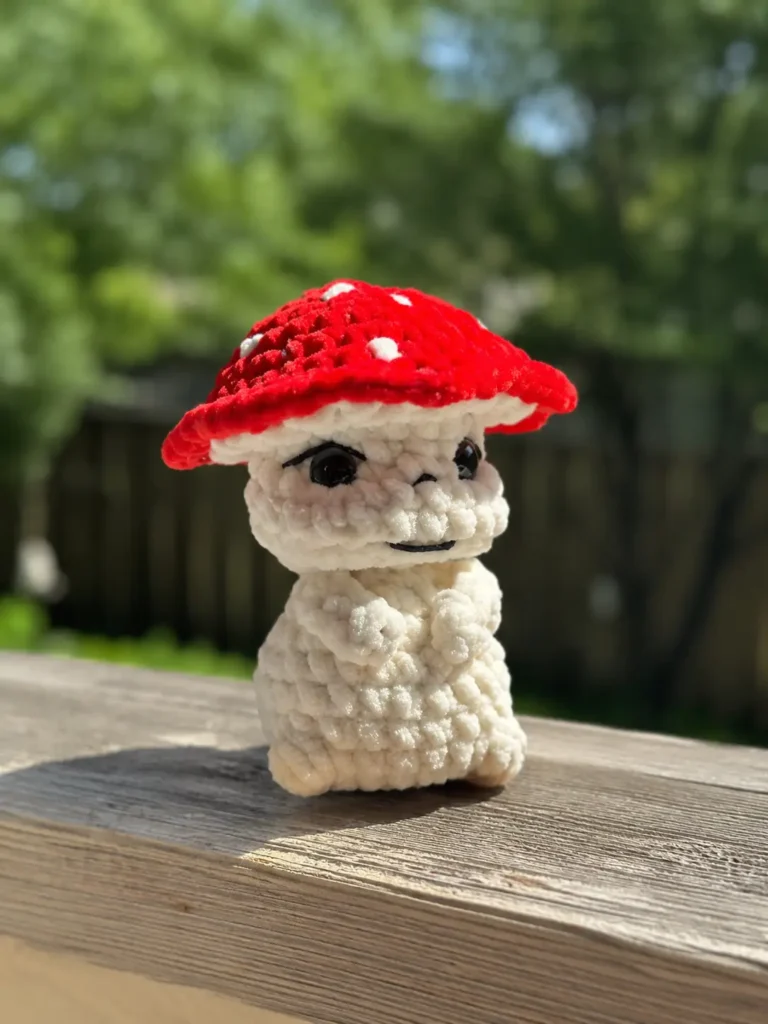
Sew the finished cap onto the head, positioning it over the crown.
For the classic red-and-white spotted look, either embroider white spots directly onto the cap, or crochet small white circles separately (6 sc in MR, join with a sl st, fasten off leaving a sewing tail) and attach them.
To set the eyes, use two lengths of sturdy thread and sink each eye by stitching between two points on opposite sides of the eye through the stuffed head, pulling the thread tight, knotting several times, and burying the tail inside the head.
When cinching the eyes, pull only as tight as the yarn allows without distorting the stitches around it. On a plush or chenille yarn, overtightening here can flatten the pile right around the eye.
Finish by embroidering the eyelids, eyebrows, mouth, and nose in Black.
FAQ
What yarn is best for this toadstool mushroom amigurumi pattern?
This pattern uses plush/chenille yarn for the main body and cap to give it a soft texture, and cotton-blend yarn for the finer facial embroidery and cap spots.
How do you make the two-tone mushroom cap?
The cap uses a special two-loop technique. One round is worked in the front loops only to create the red rim, and a second round is worked into the back loops of the same row for the cream underside.