Free Crochet Frog in a Pumpkin Amigurumi Pattern — So Squishy
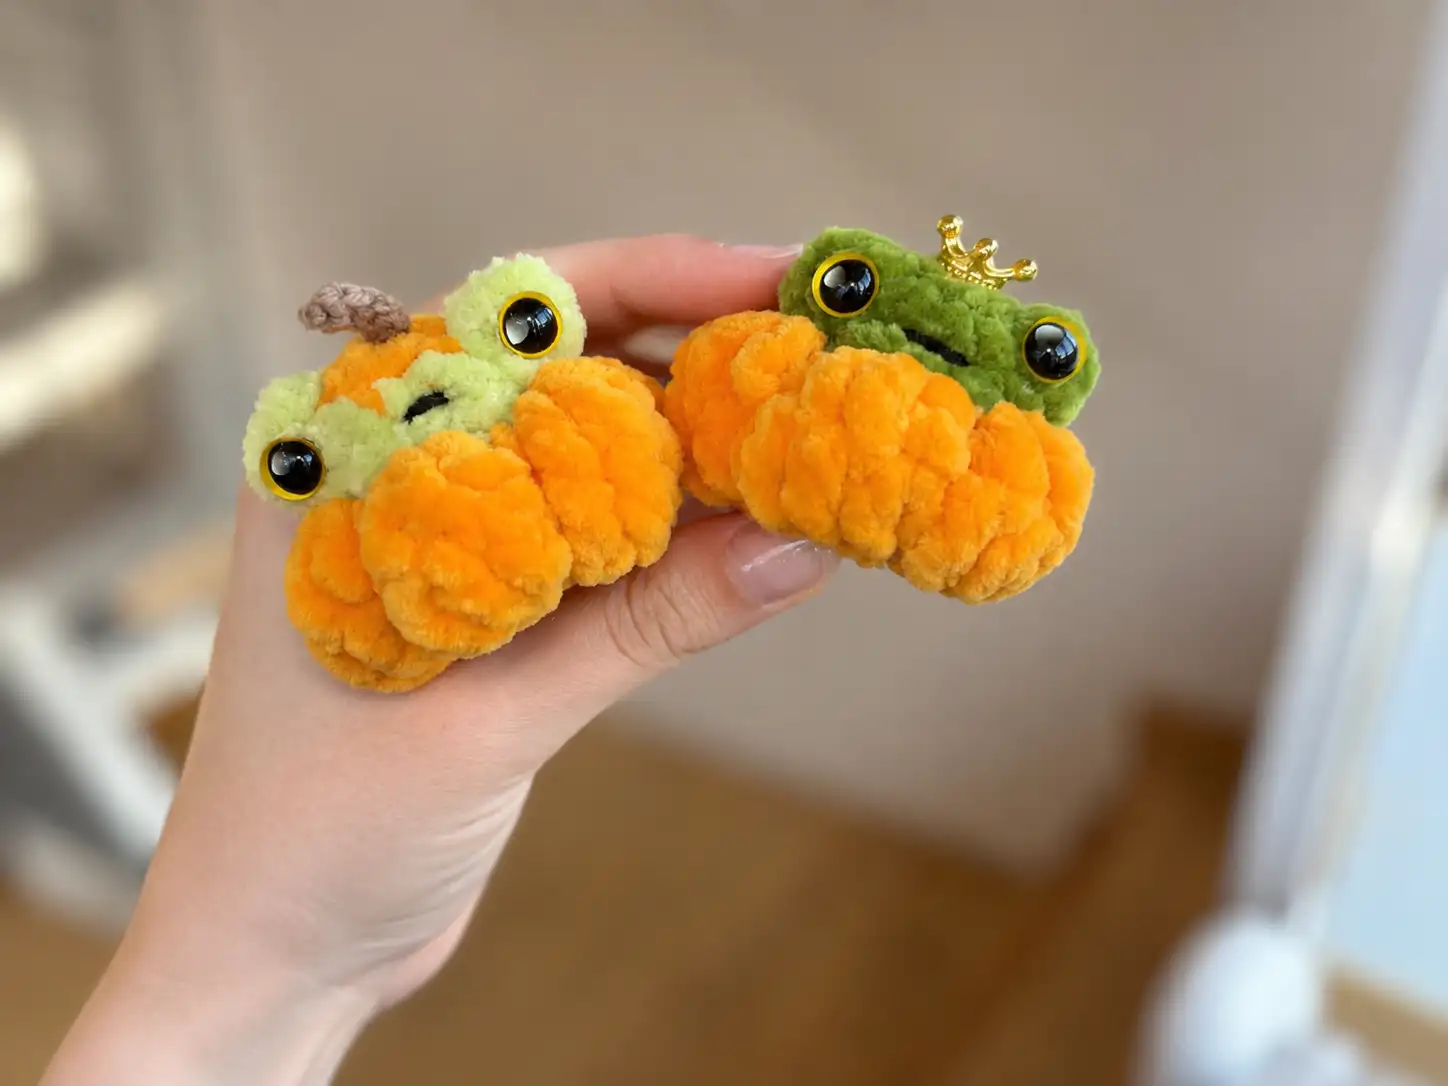
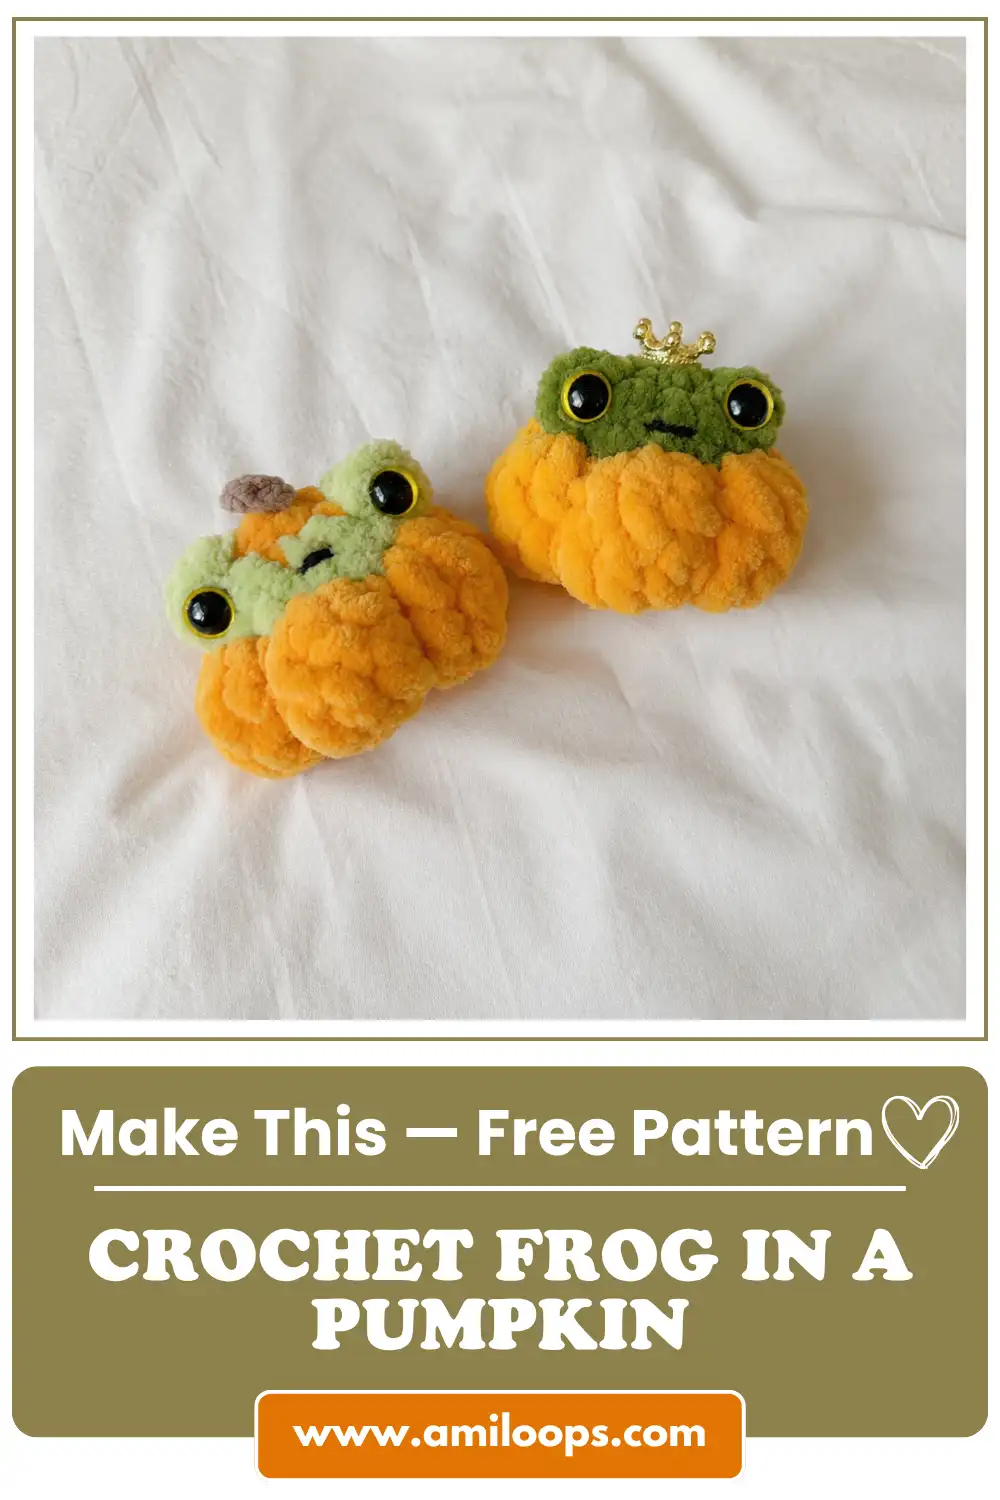
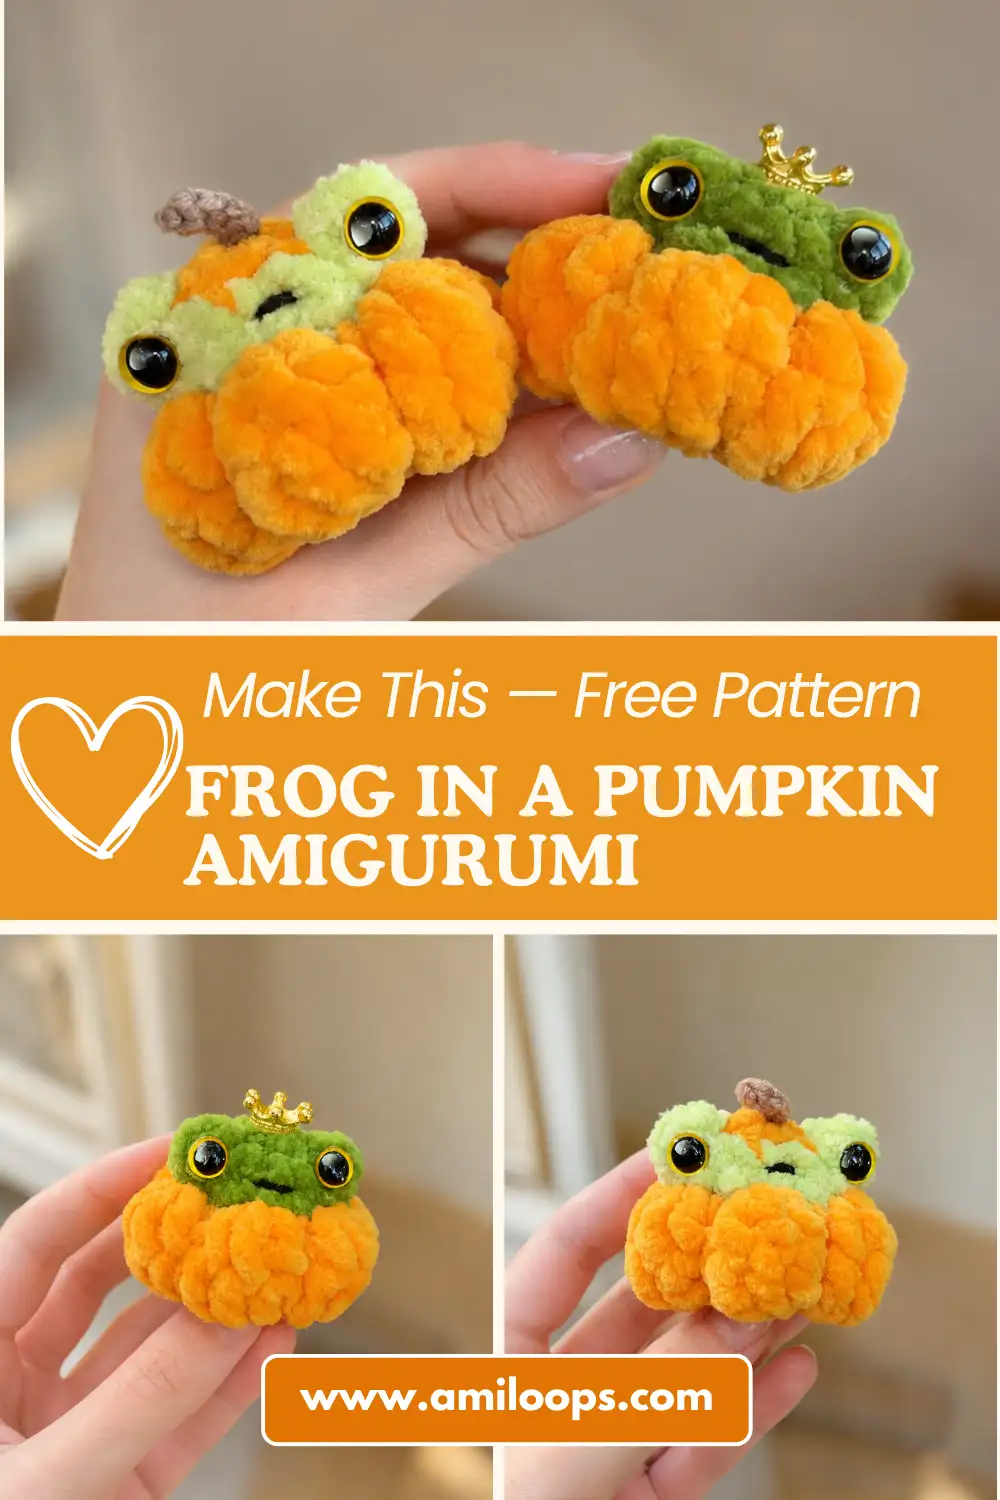
A green frog peeking over a ribbed orange pumpkin makes a cheerful little fall project. This frog in a pumpkin amigurumi pattern combines the face and body in one crocheted piece, with raised eye bumps, a small brown stem sewn on top and an embroidered smile to finish.
Watch the pumpkin take shape as you work: Round 4 adds stitches, Round 5 keeps the same count, and Round 6 draws the bottom inward. The notes explain the difference between the double-crochet repeats in Rounds 4 and 5, with stitch-count checkpoints before you stuff and close the piece.
Materials Stitches Frog & pumpkin Stem Finishing FAQ
The construction at a glance: Make the combined face and pumpkin from the top down in seven rounds. Add stuffing after Round 6, close after Round 7, then crochet the separate stem and finish the face. The main color change comes after Round 3.
Yarn, hook and finishing supplies
- Green and orange plush chenille yarn: Wolans Bunny Baby is the yarn named in the pattern, with a label length of 120 m per 100 g (about 131 yd per 3.5 oz). Use the same yarn line for both colors.
- Brown cotton-blend yarn for the stem: YarnArt Jeans is listed at 160 m per 50 g (about 175 yd per 1.76 oz). Keep a little black or brown yarn for the embroidered smile as well.
- 3.0 mm crochet hook: use the millimeter measurement on the hook. A 3.25 mm or 3.5 mm hook is a different size, not an equivalent label.
- Two 8 mm or 10 mm glue-on eyes: the finishing instructions use eyes attached with adhesive. Choose adhesive suitable for the eye material and yarn, and follow its directions.
- Polyester fiberfill.
- Tapestry needle and scissors: for the stem, embroidery, closing and weaving in ends.
- Optional stitch marker: useful for keeping track of the first stitch of each round.
The yarn weights and lengths above describe the skeins, not the amount needed for one frog. There is no measured yarn usage, gauge or finished height to use as a sizing target. Changing yarn or hook size can change the finished dimensions.
For US hook labels, the Craft Yarn Council hook-size guide explains why the millimeter measurement is the reliable comparison. Keep the stated 3.0 mm size when following these instructions.
US terms and the two special stitches
The instructions below use US crochet terminology. Numbers in parentheses are the stitch count at the end of the round. Brackets mark a sequence to repeat the stated number of times.
| Abbreviation | Meaning |
|---|---|
| MR | Magic ring |
| ch | Chain |
| sc | Single crochet |
| hdc | Half double crochet |
| dc | Double crochet |
| sl st | Slip stitch |
| st / sts | Stitch / stitches |
| inc | Increase: 2 sc in the same stitch |
| dec | Decrease: work 2 stitches together as 1 |
| puff st | Pattern-specific puff: 4 hdc worked together in the same stitch |
| 3-st dec | Decrease the next 3 stitches to 1; see the note at Round 6 |
The eye puff: This pattern defines its puff as 4 hdc worked together in one stitch. They share one base and close together to make one puff; do not work four separate, completed hdc. In Round 2, the sc beside each puff goes into that same base stitch, and the sc and puff count as two stitches altogether.
Use the pattern-specific puff definition above when following the rounds. The Craft Yarn Council abbreviation list is a reference for the standard US stitch names; special-stitch definitions can vary between patterns.
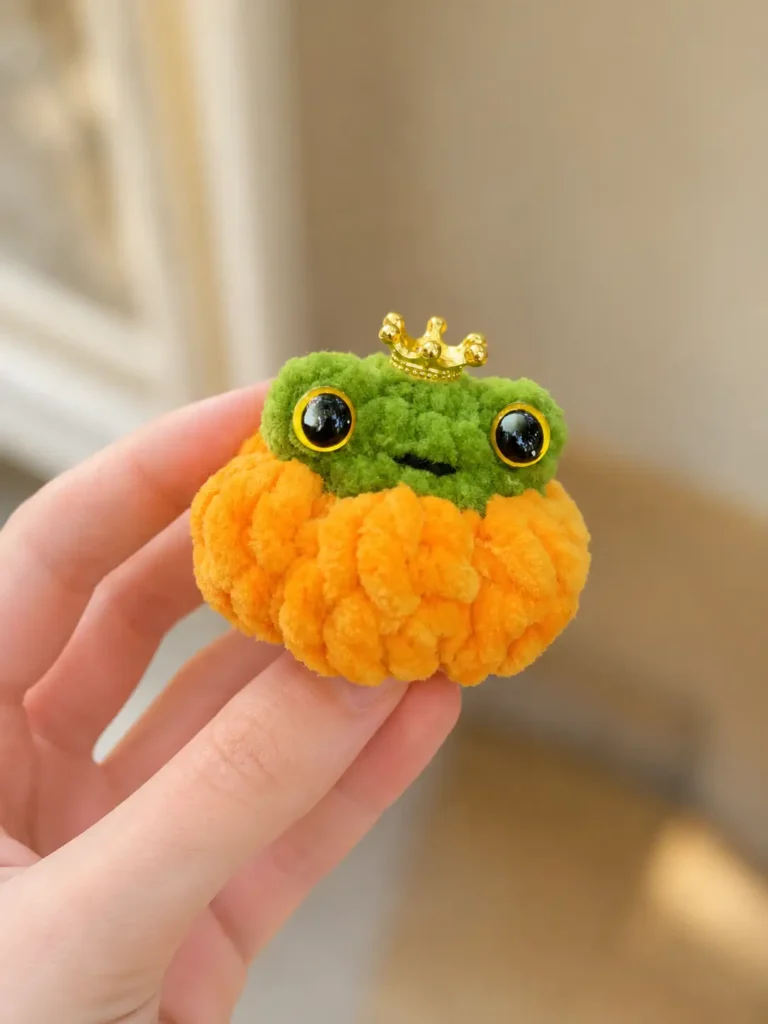
Crochet the frog and pumpkin as one piece
Make one base, starting at the top of the head with green yarn and a magic ring. If you need a refresher on the starting loop, follow the amigurumi magic ring tutorial.
Optional orange top: For a small orange patch under the stem, work Round 1 in orange, keep that yarn attached, and switch to green for Round 2. This adds an extra color change; the all-green start changes color only once, after Round 3.
Rnd 1: 6 sc in MR. (6 sts)
Rnd 2: Inc, work (1 sc, 1 puff st) in the next st, inc in each of the next 2 sts, work (1 sc, 1 puff st) in the next st, inc in the last st. (12 sts)
Count the eye round: Work across the six stitches of Round 1 in this order: increase, eye pair, increase, increase, eye pair, increase. Each position makes two stitches, giving 12 altogether. You should have two eye bumps, and each puff counts as one stitch.
Rnd 3: Sc in each st around. (12 sts)
Before changing colors: Check that you still have 12 stitches. On the eye pairs, work into the top of the sc and the top of the puff separately; skipping a puff top leaves the next round short.
Change to orange after Round 3. Cut the green yarn. If you chose the orange-top variation, pick up the orange yarn you kept attached. For general technique help, see changing colors in amigurumi.
Rnd 4: [3 dc in the next st, sc in the next st] 6 times. (24 sts)
Rnd 5: [Dc in each of the next 3 sts, sc in the next st] 6 times. (24 sts)
Same count, different job: Round 4 places three dc into one stitch, followed by a sc in the next stitch. Each repeat uses two old stitches and makes four new ones. Round 5 works one stitch into each of those four tops: dc, dc, dc, sc. Do not put three dc into one stitch again in Round 5, or the pumpkin will keep widening.
Rnd 6: [3-st dec, sc in the next st] 6 times. (12 sts)
About the three-stitch decrease: Work across the next three stitches to reduce them to one, then sc in the next stitch. This changes each four-stitch repeat into two stitches. The pattern does not identify the stitch type used for the three-stitch decrease.
Stuff now, before Round 7. Add small pieces of fiberfill through the opening, distributing them into the pumpkin body and face. Check the outline from the front and sides as you fill. If the stitches spread enough for stuffing to show, ease out some filling. The amigurumi stuffing guide covers building an even shape in small additions.
Rnd 7: Dec 6 times. (6 sts)
Fasten off and cut the yarn, then close the remaining opening with the tapestry needle and secure the end. For help with the final yarn tail, see fastening off and weaving in ends.
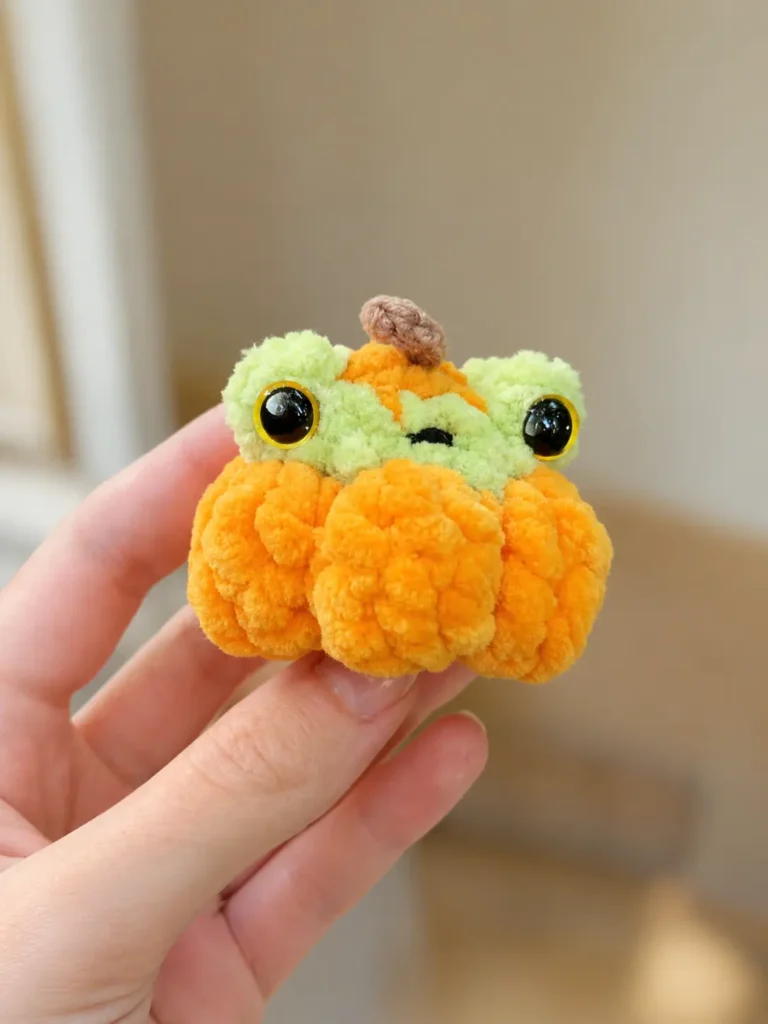
Make the small brown stem
Make one stem with the brown cotton-blend yarn. Unlike the base, this short piece is worked along a chain.
Stem row: Ch 6. Starting in the second ch from the hook, sl st in each of the next 5 ch. (5 sl sts)
Check the starting point: The loop already on the hook is not a chain. Skip the chain nearest the hook, then work into the five remaining chains. Fasten off and cut the yarn, leaving enough tail to sew the stem on.
Attach the stem and finish the face
- Sew on the stem. Center its base at Round 1 on top of the head. For the orange-top variation, this is the orange patch. Position it before sewing, then attach it with the yarn tail and secure the end.
- Position the eyes. Place one glue-on eye on each puff from Round 2. Check them from directly in front before applying adhesive, then attach them according to the adhesive and eye instructions. Allow the adhesive to set as directed.
- Embroider the smile. Use black or brown yarn to make a small curved mouth below the eyes. Keep the thread tension light enough that it does not pull the face out of shape.
If attaching a small part is new to you, the guide to sewing amigurumi parts is a general reference for securing the stem. The stem is the separately crocheted part that needs sewing; the green face and orange body are already connected.
Eye hardware matters: Glue-on craft eyes and post-and-washer safety eyes use different attachment methods. Do not glue a post-and-washer eye in place as a substitute for fitting its backing. Keep items with small detachable parts away from children under 3; see the CPSC toy-safety guidance.
Additional shaping: The pattern also mentions needle-sculpting the segments, but it does not supply a complete needle path or exact stitch locations.
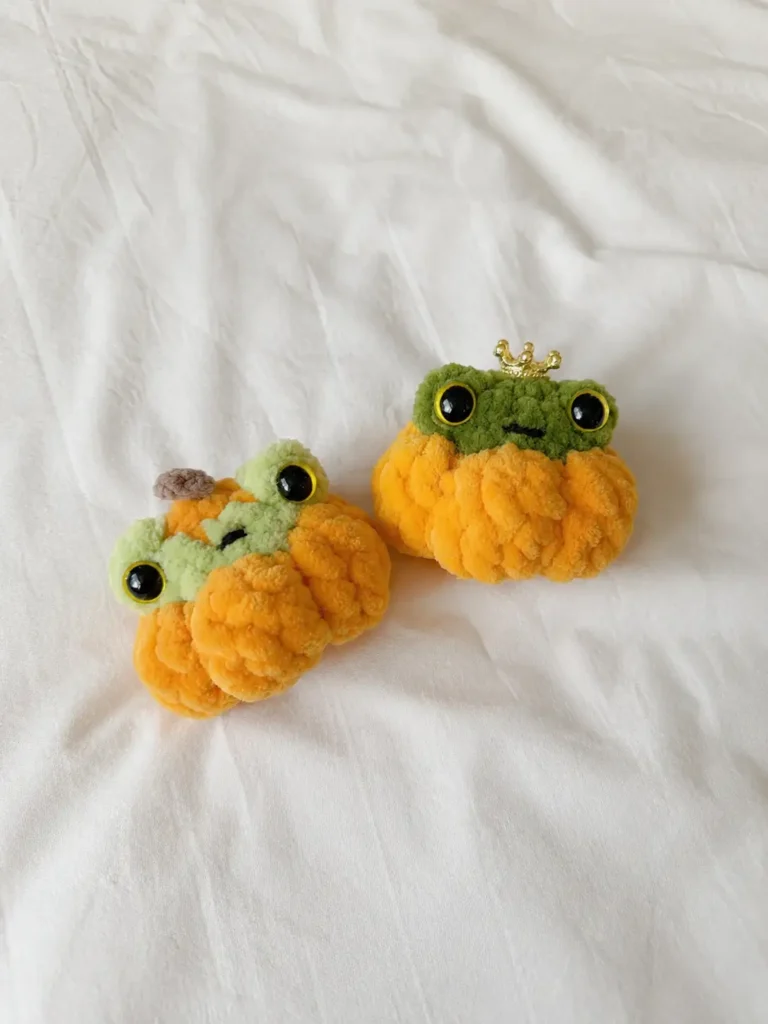
Try another pumpkin color
Keep the green face and try a cream, blush or lavender pumpkin in place of orange. Using the same yarn line keeps the texture consistent; change the color at the same point after Round 3 and follow the same stitch sequence. This is a color variation, so it does not require adding spots, stripes or extra shaping steps.
Questions about this frog in a pumpkin
Why is my pumpkin still getting wider in Round 5?
Check where you placed the double crochets. Round 4 uses three dc in one stitch, but Round 5 uses one dc in each of the next three stitches, then one sc. Round 5 should finish with the same 24 stitches as Round 4. If the count increased, correct that round before continuing to the decreases.
Can I use a 3.5 mm hook instead of a 3.0 mm hook?
A 3.5 mm hook is a size change, not the US equivalent of 3.0 mm. It can change the fabric and finished dimensions. To follow the listed materials, use 3.0 mm; if you choose a different hook, check that the fabric holds the stuffing without open gaps.
How large will the finished frog be?
No measured finished size or gauge is provided. The finished dimensions depend on your yarn, hook and tension, so a fixed height cannot be promised from the number of rounds alone.
Is the crown in the photo included in this pattern?
No. The written instructions cover the combined frog-and-pumpkin base and the brown stem made from six chains and five slip stitches. They do not include a crown pattern. The optional orange first round makes a small color patch, not a separate crown.
Can I use post-and-washer eyes instead of glue-on eyes?
The finishing steps here are for glue-on eyes. Post-and-washer eyes need access to the inside of the piece to fit their backings, so they cannot be treated as the same final step after the opening is closed. Follow the hardware instructions if you choose that different method; this pattern does not specify a placement or installation round for it.