Mini Corgi Amigurumi Free Pattern — Crochet Keychain
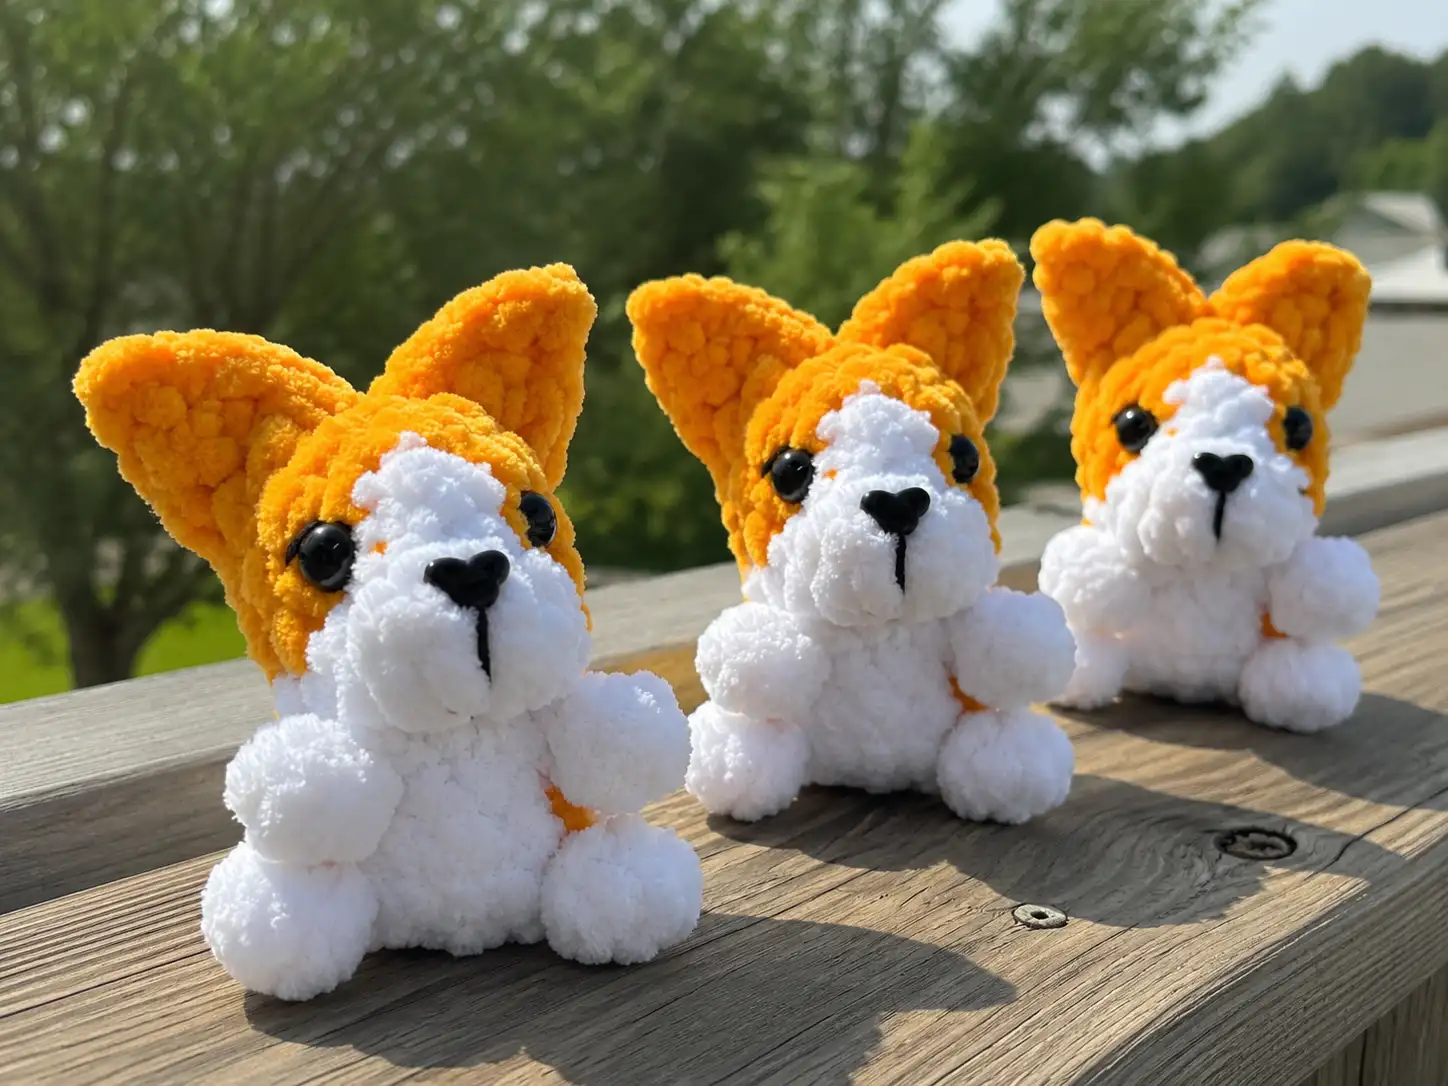
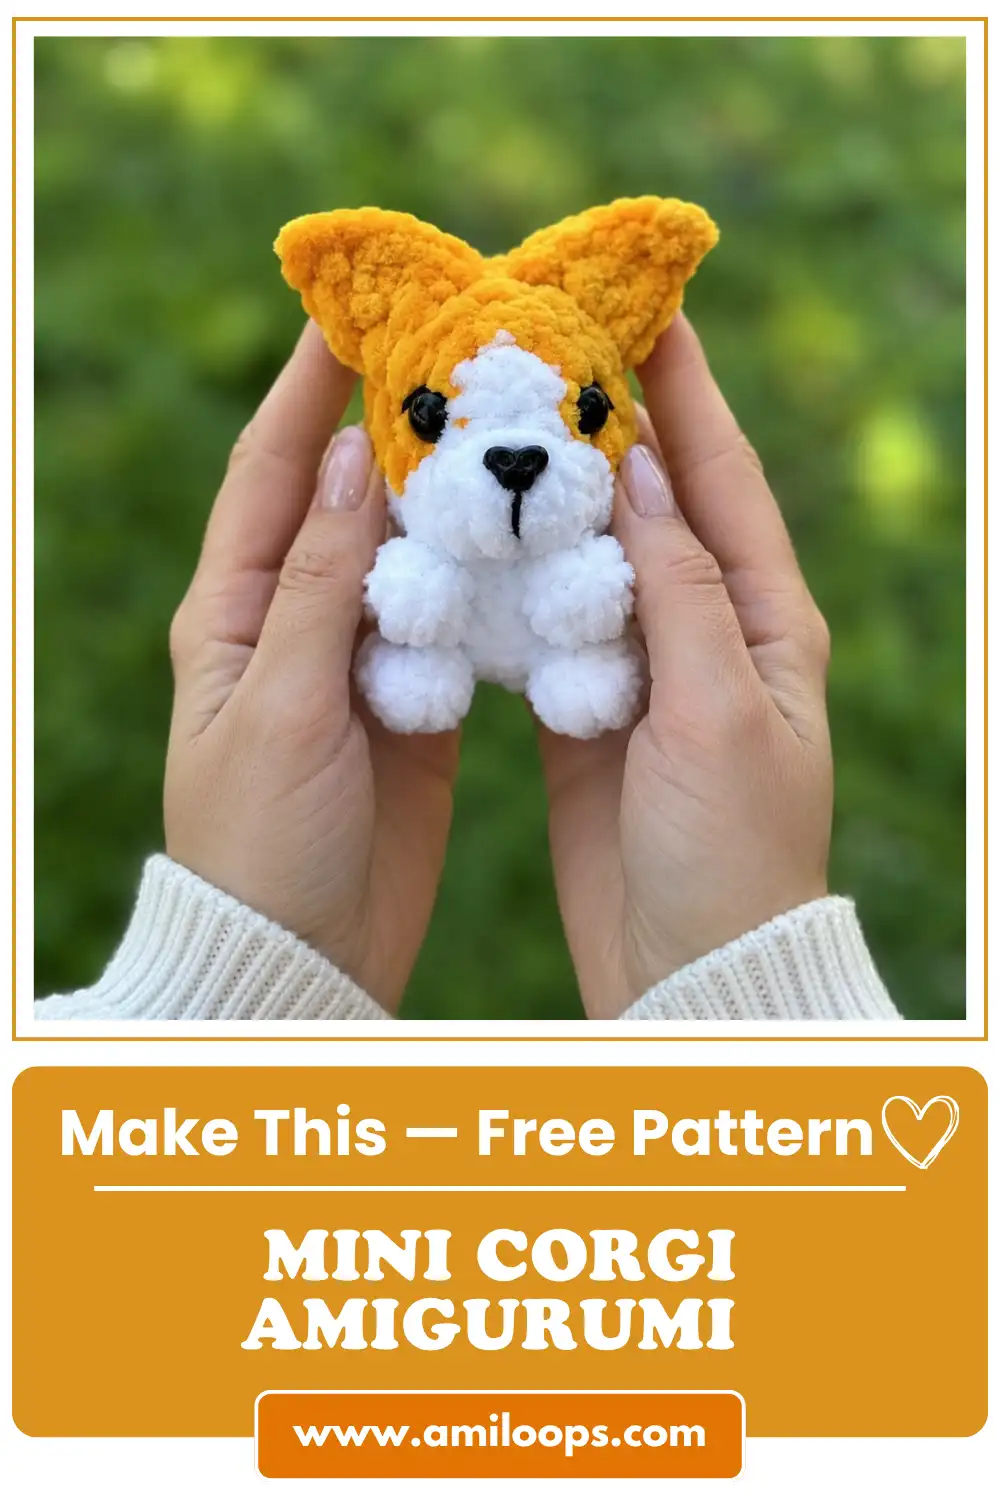
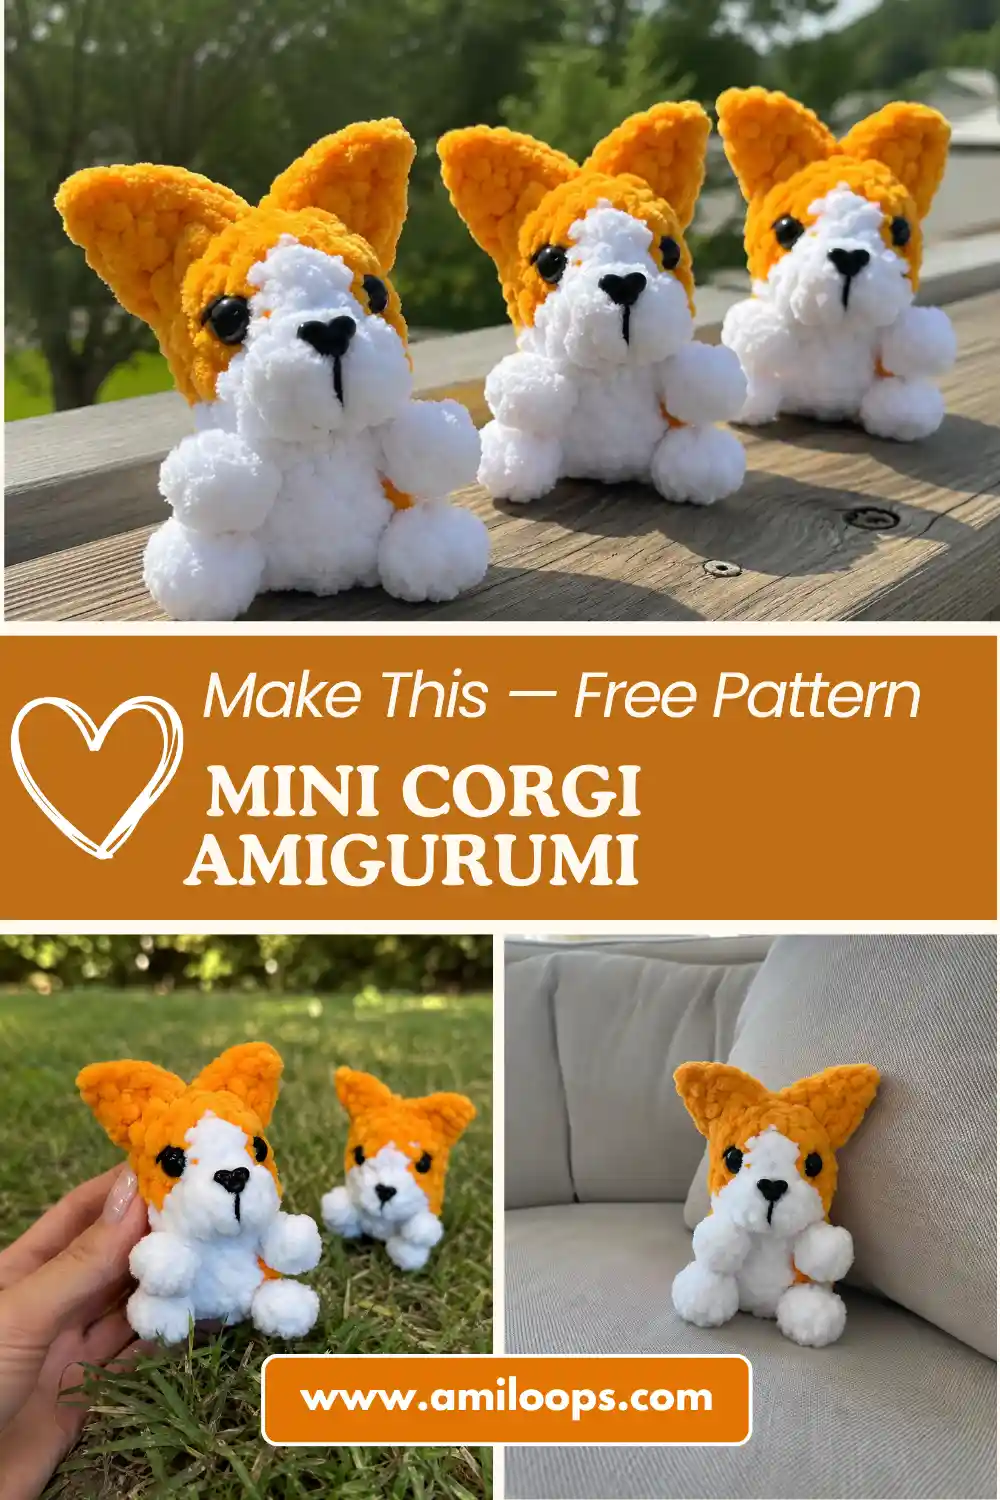
This mini corgi amigurumi free pattern turns a small skein of chenille into one of the most expressive keychain shapes I’ve designed — those tiny paw appendages and the tail set at just the right angle. I kept every round tight and every count checked twice, the way I do with all my minis. Grab your F/5 hook, and let’s build this little corgi round by round.
📋 Pattern Quick Stats
- Difficulty: Intermediate
- Finished Size: approx. 3.5 in / 9 cm
- Hook Size: 3.75mm (US F/5)
- Yarn Weight: Bulky (5) chenille/plush (main body); DK/Light Worsted (3) accent yarn
- Techniques Used: magic ring, invisible decrease, increases, hdc increases, color changes, chain-based appendage shaping, safety eyes
- Estimated Time: 2-3 hours
Materials for This Mini Corgi Amigurumi Free Pattern
This little guy comes together with just a few materials, most of which you probably already have in your stash if you crochet minis regularly.
- Plush/chenille yarn, approx. 120m/100g density, in white and orange — this falls into the Bulky (5) category on the Craft Yarn Council yarn weight system. Check your local craft store for a comparable chenille or velvet yarn if this exact brand isn’t available to you.
- A small amount of faux fur yarn for the tail and mane accents (see the note in the Editorial Review section below — the “mane” component isn’t described anywhere in the row-by-row instructions I received, so treat this as optional until confirmed)
- YarnArt Jeans, or a US alternative like Drops Muskat or Paintbox Cotton DK — a DK/Light Worsted (3) weight yarn for the bridle detail (same note applies here — no bridle instructions were included in the source pattern)
- 3.75mm (US F/5) crochet hook
- Polyester fiberfill stuffing
- Stitch marker
- Tapestry needle
- 8mm safety eyes
- 7x9mm safety nose (see the safety note in the Finishing section — the decoration instructions call for gluing this piece rather than locking it in place)
- Small amount of black yarn or embroidery floss, for the nose bridge detail
Abbreviations Used in This Pattern
| Abbreviation | Meaning |
|---|---|
| mr | magic ring |
| sc | single crochet |
| inc | increase (2 sc in the same stitch) |
| inv dec | invisible decrease |
| hdc | half double crochet |
| hdc-inc | half double crochet increase (2 hdc in the same stitch) |
| dc | double crochet |
| ch | chain |
| sl st | slip stitch |
| bobble | 3 dc worked into one stitch, closed together at the top into a shared peak |
Special Techniques for This Corgi Amigurumi Pattern
This is a compact pattern, but it packs in a few techniques worth reviewing before you start, especially if amigurumi minis are new to you.
The whole body-head piece starts with a magic ring — if that’s not second nature to you yet, our step-by-step magic ring tutorial walks through it slowly.
Wherever the source pattern calls for a “dec,” I’ve converted it to an invisible decrease throughout, which is the house standard here at AmiLoops for a cleaner, gap-free finish. If you haven’t worked one before, our invisible decrease tutorial is a good five-minute read before you dive in. One exception: Row 10 uses a different, non-standard decrease (more on that below), which I’ve left exactly as written rather than converting.
You’ll also be jumping between white and orange constantly through the body rounds, so take a look at our color change tutorial if seamless color transitions still trip you up. I keep my tension tight through color changes especially — it’s the difference between crisp color blocks and a muddy transition line.
💡 Emma’s Tip: Work your color changes on the last pull-through of the previous stitch, and give the new color a firm tug before continuing. It feels fussy the first few times, but it becomes automatic fast.
How to Crochet the Mini Corgi Amigurumi
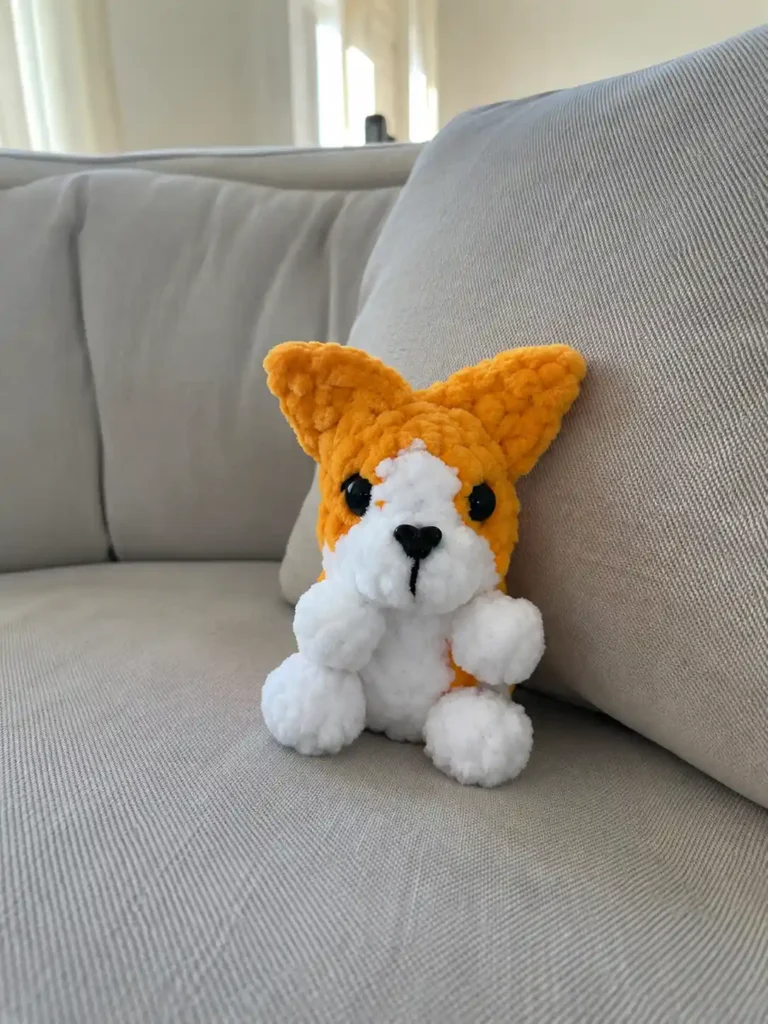
Body-Head (make 1)
This single piece forms the entire body and head — the color changes are what carve out the corgi’s white face and belly against the orange coat, and the paw appendages give this little guy his signature stubby-legged look worked right into the round.
Row 1: [white] 8 sc in mr (8)
Row 2: [white] inc x3, crochet the first paw (ch 3, work a bobble in the 2nd ch from hook, sl st, then sl st into the base of the chain), inc x2, crochet the second paw (worked the same way as the first), inc x3 — close the final stitch of the round with [orange] and continue directly into the tail: ch 5, sl st in the 2nd ch from hook, 3 sc, sl st into the base of the chain (16)
💡 Emma’s Note: This row does double duty — it’s both a regular increase round AND the row where two paw appendages and the tail get attached, all worked as small chain-and-bobble add-ons that don’t count toward the round total. If you’re working from reference photos, check this row against them before you commit to your hook position.
Rows 3-4: [orange] 6 sc, [white] 4 sc, [orange] 6 sc (worked twice) (16)
Row 5: [orange] 2 sc, inv dec, 2 sc, [white] crochet the third paw (same method as the first two), inv dec, 2 sc, crochet the fourth paw, [orange] inv dec, 2 sc, inv dec (12)
Row 6: [orange] (sc, inc) x2, [white] (sc, inc) x2, sc, [orange] inc, sc, inc (18)
Row 7: [orange] 6 sc, [white] 2 sc, hdc-inc, hdc, hdc-inc, 2 sc, [orange] 5 sc (20)
Row 8: [orange] 7 sc, [white] (sc, inv dec) x2, sc, [orange] 6 sc (18)
Row 9: [orange] 7 sc, [white] inv dec, sc, inv dec, [orange] 6 sc (16)
👁️ Emma’s Tip: This is your cue to place the 8mm safety eyes — insert them between Rows 9 and 10, in the first orange stitch in from the white section on each side. Do this now, before you crochet another round, since it gets much harder to position them accurately once the opening tightens.
Row 10: [orange] 7 sc, [white] special 3-into-1 decrease (worked exactly as stated in the source pattern: “dec from 3 sc” — see the Editorial Review note below), [orange] 6 sc (14)
Row 11: continuing in orange, inv dec x7 (7)
💡 Emma’s Tip: Stuff the head-body firmly before you close up this last round — once it’s down to 7 stitches, there’s no going back to add more filling without unpicking your closure. I like to use the blunt end of my tapestry needle to push stuffing right up into the ears and paw areas so nothing looks flat.
Fasten off and weave in the end through the remaining stitches to close.
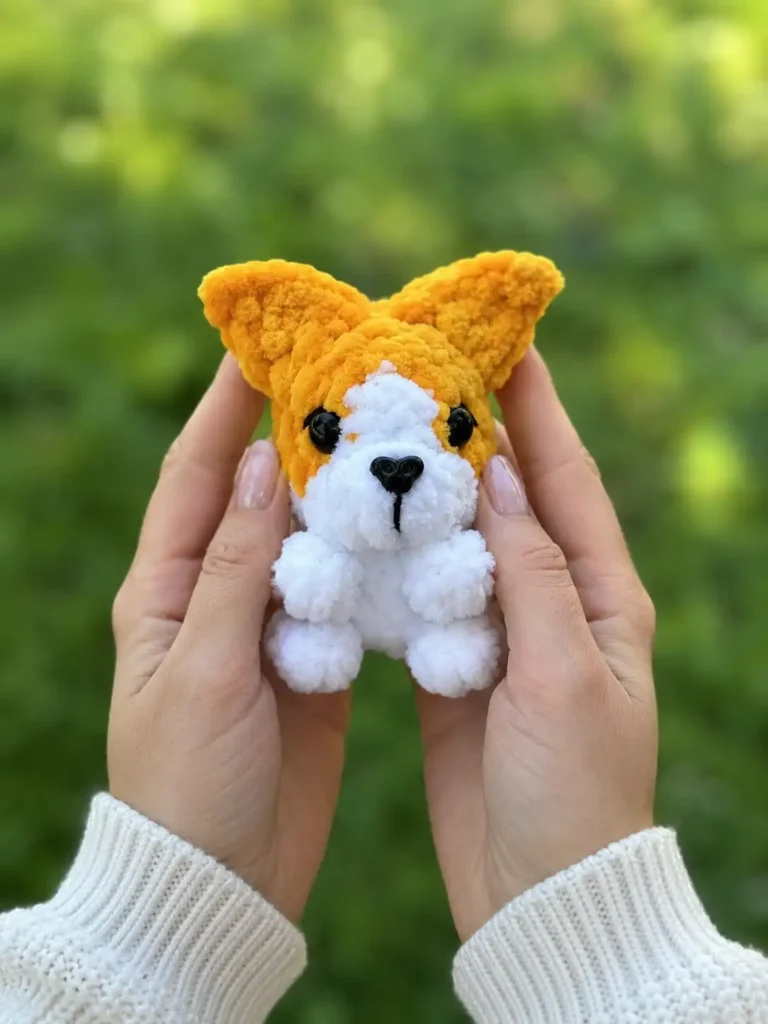
Right Ear (make 1)
Row 1: Attach yarn between Rows 9 and 10. In the next stitch, work: sc, dc, ch 2, sl st in the 2nd ch from hook, dc — then in the next stitch (the closing stitches of the last row) work sc, sl st. (total not stated in source)
Left Ear (make 1)
Row 1: Attach yarn into the closing stitches of the last row. Work sc, then in the next stitch work: dc, ch 2, sl st in the 2nd ch, dc, sc — then in the next stitch work sl st. (total not stated in source)
💡 Emma’s Note: Both ears are worked directly into the head rather than crocheted separately and sewn on, which is a nice shortcut once you get the hang of it — just go slowly on your first ear so you can see exactly where each stitch is landing.
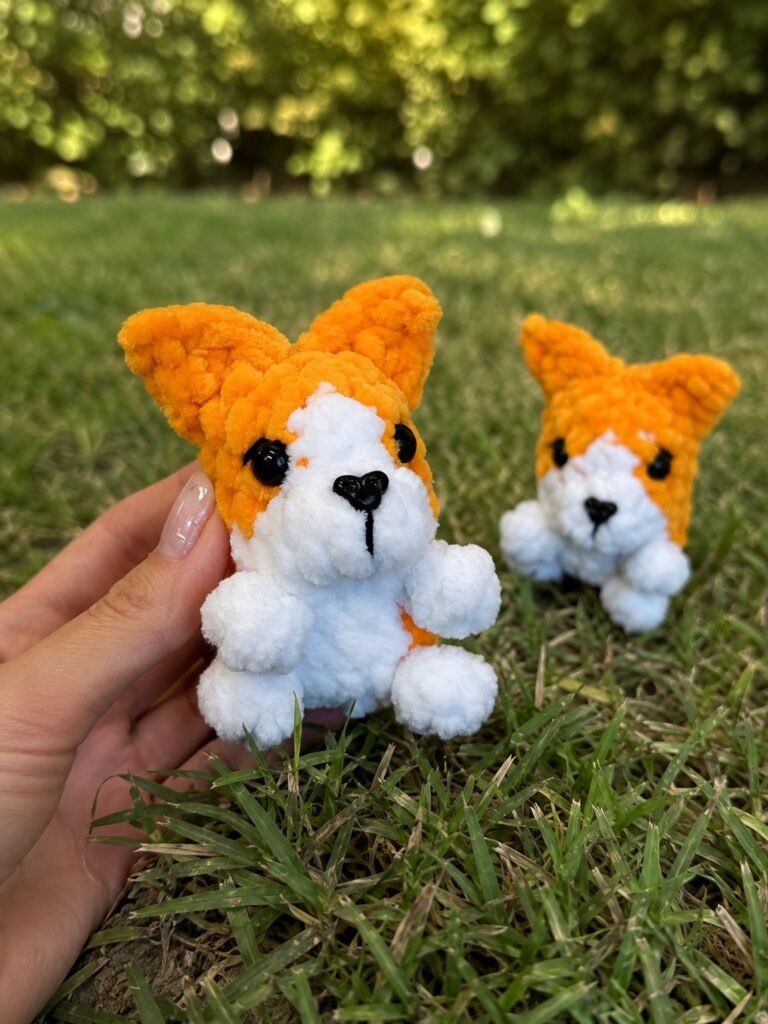
Assembly
- Insert the 8mm safety eyes between Rows 9 and 10, placing each one in the first orange stitch in from the white section, before you finish the body-head. Stuff the piece firmly before closing off Row 11.
- Attach yarn between Rows 9 and 10 to crochet the right ear directly onto the head, following the instructions above.
- Attach yarn into the closing stitches of the final row to crochet the left ear directly onto the head, following the instructions above.
- Weave in all remaining ends securely.
Finishing Touches & Safety Notes
The last steps are what give this little corgi his expression, and they’re worth taking slowly.
Sculpting from eye to eye: run a length of yarn or thread from one eye socket to the other through the head, pulling gently to create a soft indentation across the bridge of the nose. This is what gives amigurumi faces that subtle, dimensional look instead of a flat front.
Embroider the eyes and nose bridge in black. Since the safety eyes are already installed at this point, I’ve read this as additional embroidered detailing around them — a thin outline or a bit of shading along the bridge — rather than a replacement for the safety eyes themselves. The source wording is brief here, so use your own judgment on exactly how much detail to add.
⚠️ Safety Note: The decoration step calls for gluing the nose in place rather than using a locking safety-nose backing. A glued piece can be pulled loose with enough force, so please treat this corgi as a display or collector’s piece rather than a toy for young children, in line with U.S. Consumer Product Safety Commission guidance on small, detachable parts. If this is going to a child, consider a securely locking safety nose instead of glue.
Emma’s Note
I love how much personality this little corgi packs into just eleven rounds — those four stubby paws and the tail worked right into the increases are such a satisfying detail once you see them come together. If you enjoyed the paw-and-tail shaping here, you might also like my plush amigurumi dog pattern, or Mia’s scrap-friendly bunny keychain pattern if you want another quick mini for your keyring. Take your time with the ear placement — it’s the one part of this pattern where going slow really pays off. Happy hooking! 🧶
FAQ
What yarn is best for this mini corgi amigurumi free pattern?
Bulky weight (5) chenille or plush yarn in white and orange works best. It gives the corgi its signature soft texture and works up quickly into a sturdy keychain.
Is this mini corgi pattern suitable for beginners?
This pattern is recommended for intermediate crocheters. It involves frequent, tight color changes and requires crocheting the paws and tail directly into the body rounds using bobble stitches.
How long does it take to crochet this mini corgi?
Depending on your experience with amigurumi and color changes, this mini corgi keychain typically takes about 2 to 3 hours to complete.