Free Crochet Angel Baby Doll Amigurumi Pattern — Tiny Wings, Halo & Rosy Cheeks
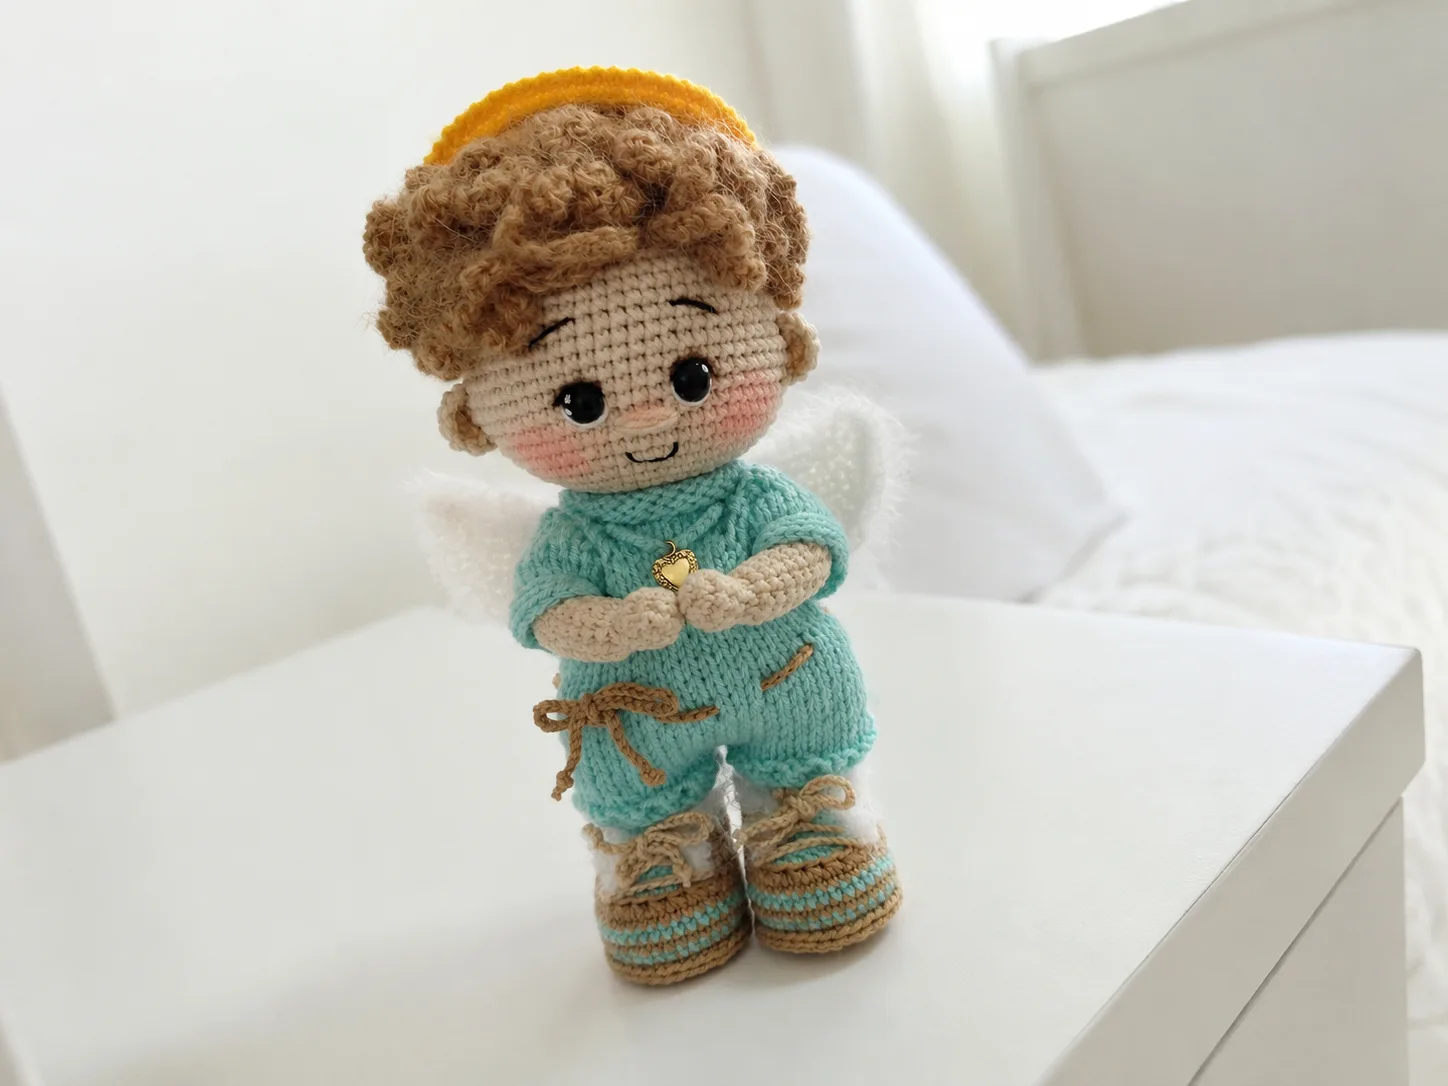
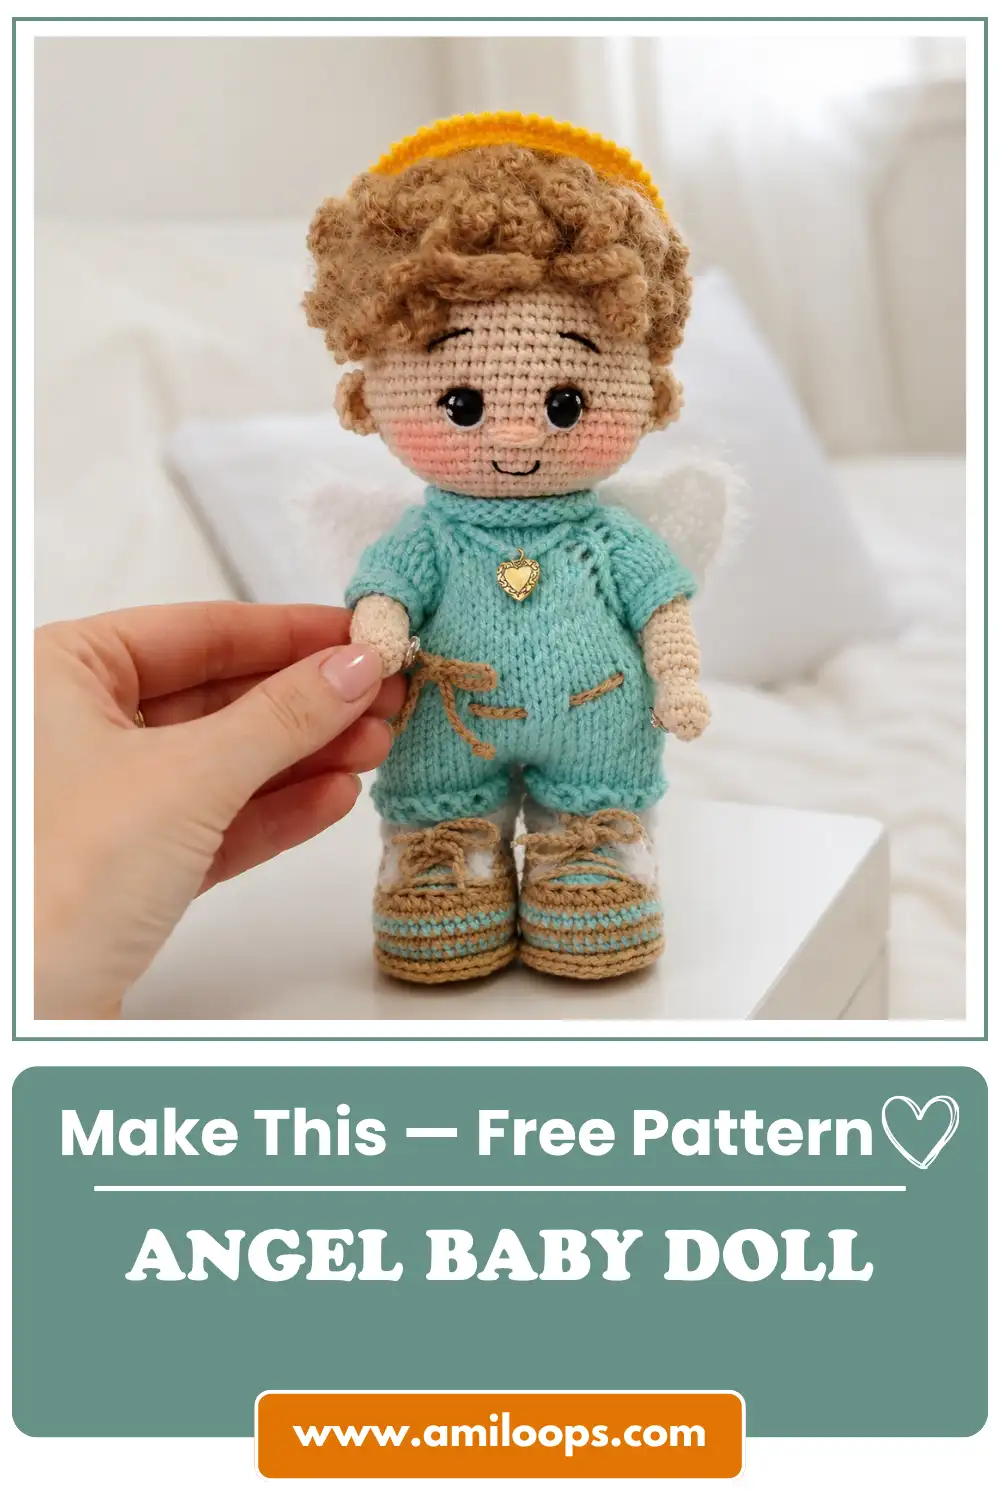
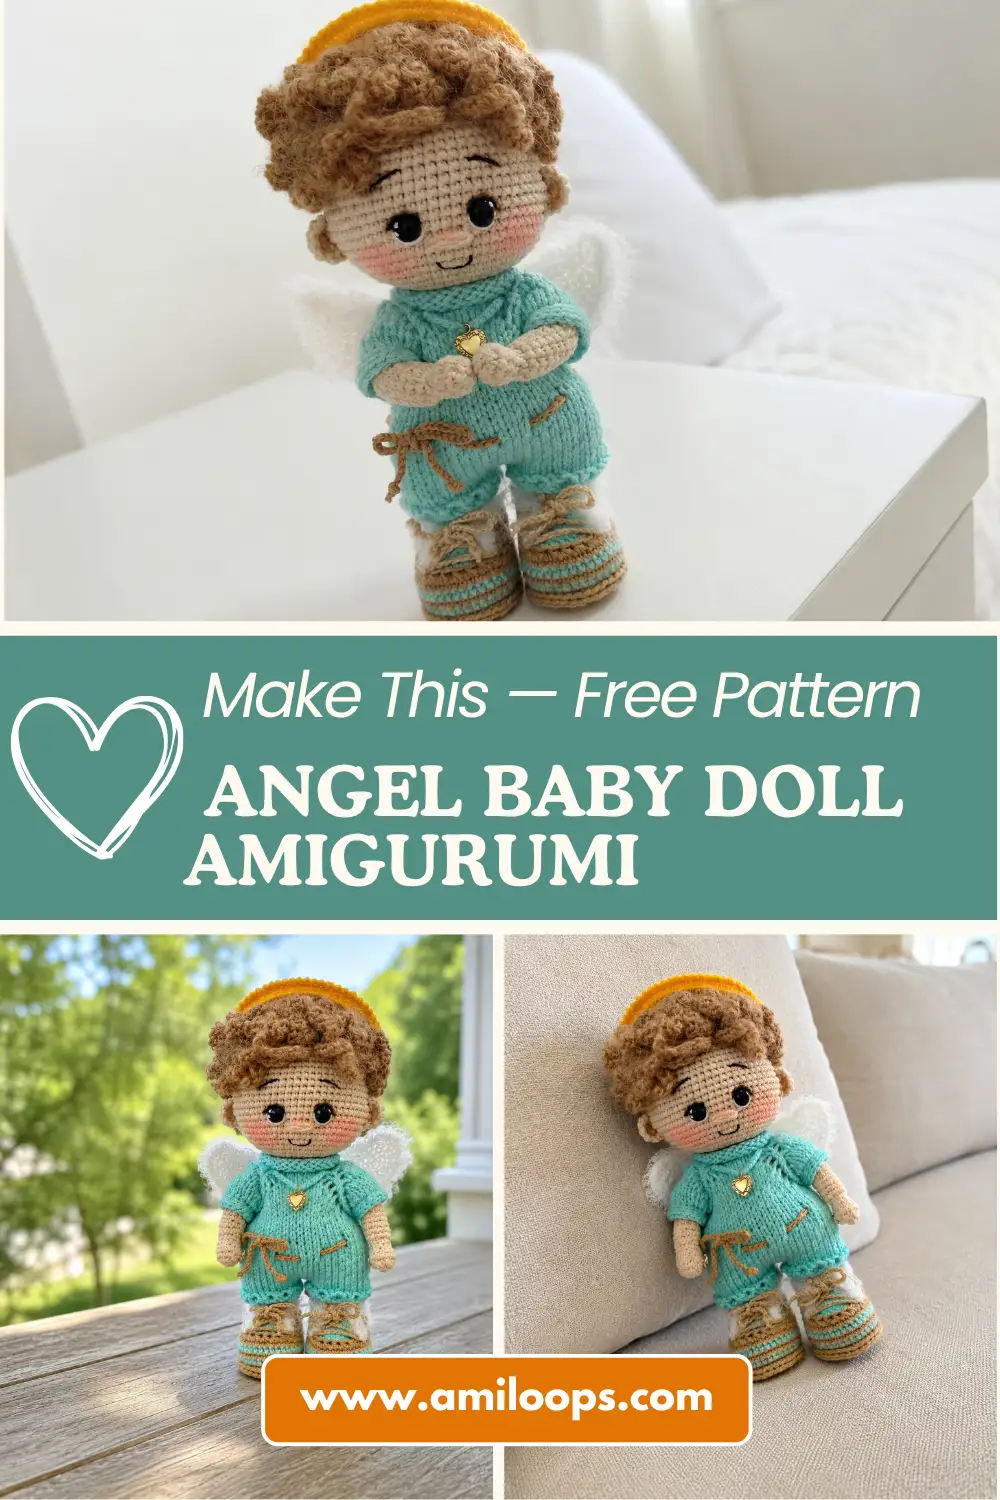
Looking for a crochet angel baby doll amigurumi pattern free of charge? This little pattern comes together with soft wings, a golden halo, and a fluffy little wig with the tiniest curls you’ve ever seen. She’s got glossy safety eyes, blushed cheeks, and a round, huggable little body that fits perfectly in your palm. The details are what make her so special — let me show you how it all comes together.
🩷 Pattern Highlights
- Cuteness Rating: 🩷🩷🩷🩷🩷
- Finished Size: 7.7 in (19.5 cm)
- Difficulty: Advanced (editorial estimate — not stated in source)
- Hook Size: 1.9mm, 1.75mm, and 1.5mm crochet hooks (no US letter equivalents) + US 0 (2.0mm) knitting needles for the overalls
- Yarn Palette: soft neutral doll-tone body, pale iceberg-blue overalls, buttery yellow halo, cloud-white wings, and a fluffy mohair-style wig
- Key Detail: a golden crab-stitch halo, snap-on wings, and the softest little wig with hand-crocheted curls
- Estimated Time: 8-10 hours (editorial estimate — not stated in source)
Materials for This Crochet Angel Baby Doll Amigurumi Pattern Free
This little angel uses a mix of fine yarns, so the color palette really is the whole personality of the piece. Here’s everything you’ll need:
- Body: Yarn Art Jeans, color 05 (a soft neutral doll-tone — exact shade not specified in source, please confirm) — classified as DK / Light Worsted (3). US alternatives: Drops Muskat or Paintbox Cotton DK.
- Wig: Yarn Art angora de luxe, color 511 — a fluffy Lace/Fingering-weight mohair-style yarn. Check local availability for a similar soft angora blend.
- Overalls & Booties: Pehorka Children’s Novelty (Detskaya Novinka), color 73 “iceberg” — a pale, cool icy blue-white, DK/Light Worsted (3) acrylic.
- Halo: Pehorka Children’s Novelty, color 12 “yolk” — a warm, buttery egg-yolk yellow.
- Wings: Gazzal baby cotton, color 3410 white — DK/Light Worsted (3). US alternatives: Drops Safran or Paintbox Cotton DK.
- Wing & Bootie Trim: Kamteks Cotton Grass, color 205-white, or NAKO Paris, color 208-white — a fluffy eyelash-style yarn for that soft, brushed edge.
- Overalls Cord & Bootie Sole Edge: Gazzal baby cotton, color 3424 (descriptive shade not specified in source — code only).
- Bootie Laces: Gazzal baby cotton, color 3445 (descriptive shade not specified in source — code only).
- Black Iris embroidery thread, for the mouth and eyebrows
- 2 screw-on safety eyes — the screw-back style keeps that glossy little gaze secure on such a small face
- 2 buttons, for the overalls
- Polyester fiberfill stuffing
- Sewing needle and strong thread
- 1.9mm, 1.75mm, and 1.5mm crochet hooks (no US letter equivalents)
- US 0 (2.0mm) knitting needles, for the knit overalls piece
A quick note on the safety eyes: because her face is so small, sizing and spacing matter more than usual here. Our safety eyes tutorial walks through exactly how to get that placement right before you commit to the washers.
Abbreviations Used in This Angel Amigurumi Pattern
| Abbreviation | Meaning |
|---|---|
| mr | magic ring |
| st(s) | stitch(es) |
| ch | chain |
| sc | single crochet |
| inc | increase (2 single crochets in one stitch) |
| inv dec | invisible decrease |
| sl st | slip stitch |
| hdc | half double crochet |
| hdc-dec | half double crochet decrease |
| BLO | back loop only |
| FLO | front loop only |
| FO | fasten off |
🩷 Chloe’s Detail Tip: The overalls piece is worked with knitting needles, not a crochet hook — it uses knit stitch (k), purl stitch (p), yarn over (yo), make-one increase (m1), knit-two-together (k2tog), edge stitch, cast on, and bind off. I’m keeping that section true to the original construction rather than forcing it into crochet language, since that would change how it actually works up.
Before You Begin — Making This Angel Baby Doll Extra Cute
A few things to know before you start this crochet angel baby doll amigurumi pattern:
- Every part below starts with a magic ring, so if you haven’t worked one before, that tutorial will get you comfortable in minutes.
- This pattern leans on the invisible decrease for nearly every shaping round on her body, legs, arms, wings, and booties — it’s what keeps her face and limbs looking so smooth and gap-free.
- Don’t skip the stuffing checkpoints. Our stuffing tutorial shows how to add fiberfill gradually as you go so she stays round and soft without any lumpy spots, especially through that long body-to-head section.
Pattern: Legs (×2)
Worked in continuous rounds, both loops unless noted, in the soft body-tone yarn.
Row 1: 6 sc in mr (6)
Row 2: 6 inc (12)
Row 3: (1 sc, inc) x6 (18)
Row 4: ((1 sc, inc) x3, 3 sc) x2 (24)
Row 5: ((2 sc, inc) x3, 3 sc) x2 (30)
Row 6: BLO 30 sc (30)
Rows 7-9: through both loops, 30 sc (30)
Row 10: 2 sc, 6 inv dec, 16 sc (24)
Row 11: 5 inv dec, 12 sc, 1 inv dec (18)
Rows 12-19: 18 sc (18)
Fasten off, leaving a tail to weave in. Stuff the first leg. Crochet the second leg the same way, but don’t cut the yarn this time — you’ll need it to join straight into the body.
🩷 Chloe’s Detail Tip: BLO in row 6 leaves a subtle little ridge — that’s what gives her legs that gentle bend-at-the-ankle look once she’s sitting. Don’t skip it, even though it’s tempting to crochet straight through.
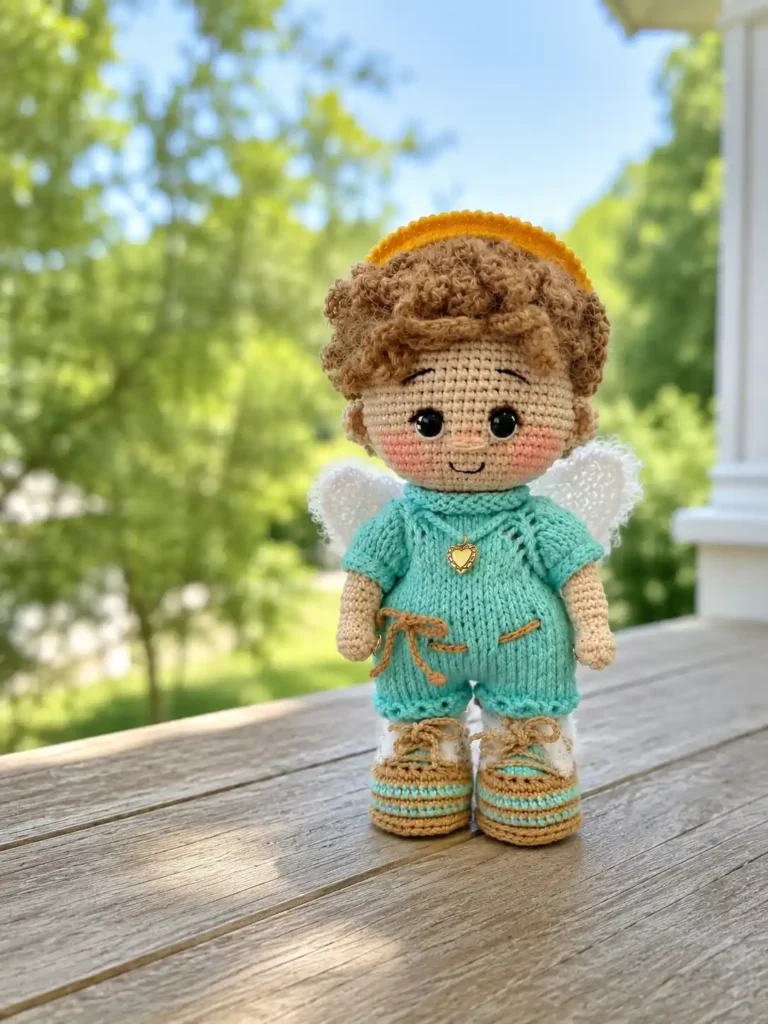
Pattern: Body-Head (×1)
Legs are joined directly into the body here, so no separate starting chain to count out on its own — just follow the join and keep going.
Starting: Ch 3. Position both legs together and join with the second leg, then work 18 sc along the second leg, 3 sc across the chain, and 18 sc along the first leg. (Note: per the source, this totals 39 sts, though Row 1 below is listed as 42 — flagged above for your review.)
Row 1: 42 sc (42)
Row 2: 3 sc, inc, (6 sc, inc) x5, 3 sc (48)
Row 3: (7 sc, inc) x6 (54)
Rows 4-6: 54 sc (54)
Row 7: 12 sc, (1 sc, inv dec) x3, 15 sc, (1 sc, inv dec) x3, 9 sc (48)
Row 8: (14 sc, inv dec) x3 (45)
Row 9: 45 sc (45)
Row 10: (13 sc, inv dec) x3 (42)
Row 11: 42 sc (42)
Row 12: (12 sc, inv dec) x3 (39)
Row 13: 39 sc (39)
Row 14: (11 sc, inv dec) x3 (36)
Row 15: 36 sc (36)
Row 16: (10 sc, inv dec) x3 (33)
Row 17: 33 sc (33)
Row 18: (9 sc, inv dec) x3 (30)
Row 19: 30 sc (30)
Row 20: (3 sc, inv dec) x6 (24)
Row 21: 24 sc (24)
Row 22: (4 sc, inv dec) x4 (20)
Row 23: (2 sc, inv dec) x5 (15)
Row 24: 15 sc (15)
This is the neck — the narrowest point of the whole body. From here, you’ll build straight up into the head.
Row 25: 15 inc (30)
Row 26: 2 sc, inc, (4 sc, inc) x5, 2 sc (36)
Row 27: (5 sc, inc) x6 (42)
Row 28: 3 sc, inc, (6 sc, inc) x5, 3 sc (48)
Row 29: (7 sc, inc) x6 (54)
Row 30: 4 sc, inc, (8 sc, inc) x5, 4 sc (60)
Row 31: (9 sc, inc) x6 (66)
Rows 32-42: 66 sc (66)
Row 43: (9 sc, inv dec) x6 (60)
Row 44: 4 sc, inv dec, (8 sc, inv dec) x5, 4 sc (54)
Row 45: (7 sc, inv dec) x6 (48)
Row 46: 3 sc, inv dec, (6 sc, inv dec) x5, 3 sc (42)
Row 47: (5 sc, inv dec) x6 (36)
Row 48: 2 sc, inv dec, (4 sc, inv dec) x5, 2 sc (30)
Row 49: (3 sc, inv dec) x6 (24)
Row 50: 1 sc, inv dec, (2 sc, inv dec) x5, 1 sc (18)
Row 51: (1 sc, inv dec) x6 (12)
Row 52: 6 inv dec (6)
Add stuffing gradually after rows 13, 24, 47, and 51 so the head stays round and full right up to the very end.
Slip stitch to close the opening, fasten off, and weave in the end.
Pattern: Arms (×2)
Row 1: 5 sc in mr (5)
Row 2: 5 inc (10)
Row 3: (1 sc, inc) x5 (15)
Rows 4-9: 15 sc (15)
Row 10: inv dec, sl st, inv dec, 3 sc, hdc, hdc-dec, hdc, 3 sc (12)
Rows 11-12: 3 sl st, 3 sc, 3 hdc, 3 sc (12)
Rows 13-18: 12 sc (12)
Row 19: 6 inv dec (6)
Row 20: 6 inc (12)
Rows 21-22: 12 sc (12)
Row 23: 6 inv dec (6)
Add a little stuffing before row 19 so the little hand shape doesn’t poke through, then stuff the fist fully, close the opening, and weave in the end.
Pattern: Wig (×1)
Worked with the 1.9mm hook in the soft angora-style yarn. From Row 2 onward, work in BLO.
Row 1: 10 sc in mr (10)
Row 2: 10 inc, ch 2 (20)
Row 3: (1 hdc, inc) x10, sl st, ch 2 (30)
Row 4: (2 hdc, inc) x10, sl st, ch 2 (40)
Row 5: (3 hdc, inc) x10, sl st (50)
Curls: Ch 10, then starting from the second stitch from the hook, 9 sc, sl st into the base row — repeat all the way around, one curl strand in every stitch.
Then turn to work into the front loops of the row below, going the other direction: sl st, ch 10, starting from the second stitch from the hook work 9 sc, sl st into the next stitch — then sl st into the following stitch without a strand, skipping every other stitch. Continue around, skipping two stitches between strands, until you reach the last little circle at the crown — there, go back to a strand in every stitch so the very top stays full and fluffy.
🩷 Chloe’s Detail Tip: This is the part that takes a little extra love — go slow with the curls, and don’t worry about making every strand identical. A little unevenness is what makes the wig look soft and natural instead of stiff.
Pattern: Ears (×2)
Row 1: 6 sc in mr (6)
Row 2: 6 sc (6)
After row 1, pull the ring snug but leave it open rather than closing it fully into a circle, then chain 1 and turn before working row 2. Leave a long tail for sewing, then cut.
Pattern: Overalls (×1) — Knit Insert
🩷 Chloe’s Detail Tip: Grab your knitting needles for this part! Unlike the rest of her, the overalls are knit, not crocheted — cast on and follow the rows below on US 0 (2.0mm) needles. The first and last two stitches of every row form the button band and are always knit; edge stitches aren’t included in the stitch counts.
Cast on: 28 sts (26 + 2 edge sts) on US 0 (2.0mm) needles.
Rows 1-10: stockinette stitch
Row 11: k 26 (26)
Row 12: k 2, p 22, yo, k2tog (buttonhole)
Row 13: k 2, k 2, yo, k 1, yo, k 4, yo, k 1, yo, k 6, yo, k 1, yo, k 4, yo, k 1, yo, k 2, k 2 (34)
Row 14: k 2, p 30, k 2
Row 15: k 2, k 3, yo, k 1, yo, k 6, yo, k 1, yo, k 8, yo, k 1, yo, k 6, yo, k 1, yo, k 3, k 2 (42)
Row 16: k 2, p 38, k 2
Row 17: k 2, k 4, yo, k 1, yo, k 8, yo, k 1, yo, k 10, yo, k 1, yo, k 8, yo, k 1, yo, k 4, k 2 (50)
Row 18: k 2, p 46, k 2
Row 19: k 2, k 5, yo, k 1, yo, k 10, yo, k 1, yo, k 12, yo, k 1, yo, k 10, yo, k 1, yo, k 5, k 2 (58)
Row 20: k 2, p 54, k 2
Row 21: k 2, k 6, yo, k 1, yo, k 12, yo, k 1, yo, k 14, yo, k 1, yo, k 12, yo, k 1, yo, k 6, k 2 (66)
Row 22: k 2, p 62, k 2
Row 23: k 2, k 7, yo, k 1, yo, k 14, yo, k 1, yo, k 16, yo, k 1, yo, k 14, yo, k 1, yo, k 7, k 2 (74)
Row 24: k 2, p 70, yo, k2tog (buttonhole)
Row 25: k 2, k 9, bind off 16 sts (sleeve), k 18 (1 st remains on the right needle after the bind-off), bind off 16 sts (sleeve), k 9, k 2 (42)
Row 26: bind off 2 sts, p 38, k 2
Row 27: k 40 (40)
Row 28: p 40 (40)
Row 29: (k 3, yo) x13, k 1
Row 30: p 53 (53)
Row 31: k 53 (53)
Row 32: p 53 (53)
Row 33: k 53 (53)
Row 34: p 53 (53)
Row 35: k 53 (53)
Row 36: p 53 (53)
Row 37: k 53, m1 (increase evenly so both legs have an equal stitch count)
Row 38: p 54 (54)
After row 26, you should have 42 sts on the needle (40 + 2 edge sts). Rows 38 onward begin the legs — knit the first leg and leave the remaining stitches on a spare needle.
Legs — Row 39: k 27, turn (27)
Row 40: p 26 (26)
Row 41: (k 5, k2tog) x3, k 5
Row 42: k 23 (23)
Row 43: (k2tog, yo) x11, k 1
Row 44: k 23 (23)
After row 39, you should have 28 sts on the needle (26 + 2 edge sts). Bind off, leave a tail for sewing, then cut. Join yarn and knit the second leg the same way.
Finishing: Sew the legs on the wrong side up to the crotch seam, then flip to the right side and use a mattress stitch up to the button band, tacking the band down with a couple of secure stitches. Crochet a simple sc edge around each sleeve opening. Sew on the 2 buttons.
Cord: With the 1.5mm hook, chain 130 and thread it through the eyelet row (row 29). Tie a knot at each end. With the overalls-color yarn, chain 7, thread on a small charm if you’d like one, and sew it in place.
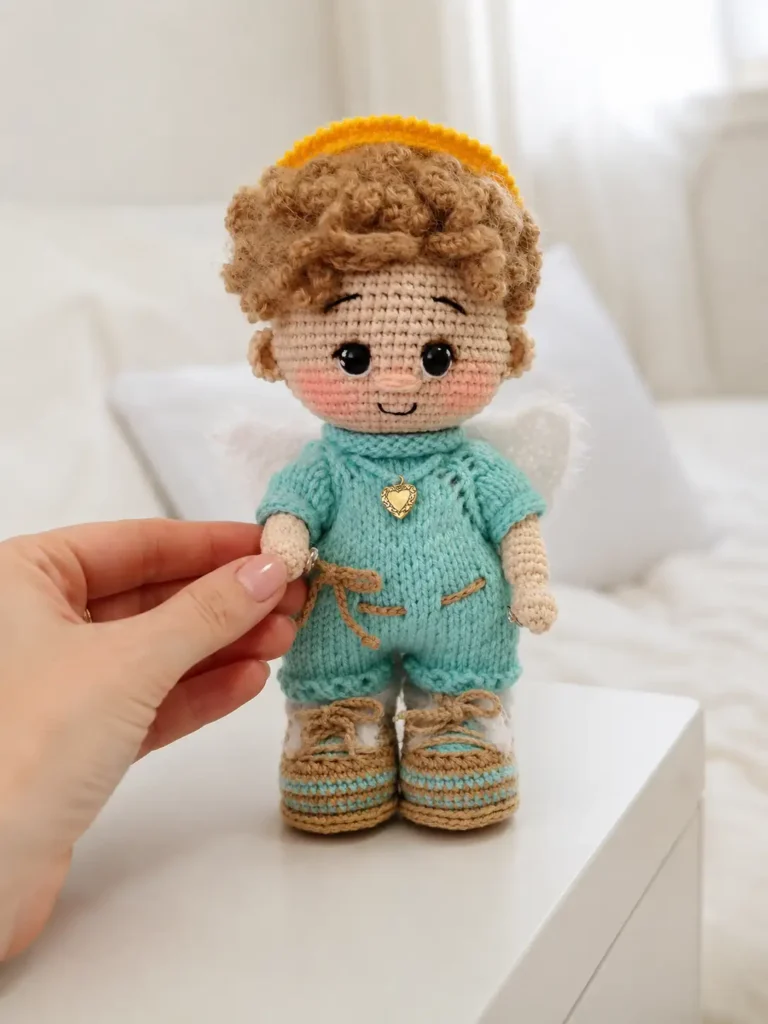
Pattern: Booties (×2)
Row 1: 6 sc in mr (6)
Row 2: 6 inc (12)
Row 3: (1 sc, inc) x6 (18)
Row 4: ((1 sc, inc) x3, 3 sc) x2 (24)
Row 5: ((2 sc, inc) x3, 3 sc) x2 (30)
Row 6: ((3 sc, inc) x3, 3 sc) x2 (36)
Row 7: BLO 36 sc (36)
Row 8: through both loops, 36 sc (36)
Rows 9-10: 36 sc (36)
Row 11: 5 sc, 6 inv dec, 19 sc (30)
Row 12 (heel): 4 sc, ch 1, turn (4)
Row 13: 23 sc, ch 1, turn (23)
Row 14: 23 sc, do not chain, skip 1 sc (23)
Row 15: 22 sc, do not chain, skip 1 sc (22)
Row 16: 21 sc (21)
Color notes: join the overalls-color yarn before row 7, switch to the sole-edge yarn before row 8, back to the overalls color before row 9, and back to the sole-edge yarn before row 10 (secure and cut the overalls-color yarn here). Rows 12-16 are worked in turning rows to shape the heel. Fasten off after row 16.
Tongue: Join the overalls-color yarn to the remaining stitches and work in BLO.
Row 1: 7 sc, ch, turn (7)
Row 2: 1 sc, inc, 3 sc, inc, 1 sc, ch 1, turn
Rows 3-5: 9 sc, ch 1, turn (9)
From row 2 onward, work through both loops. Fasten off. Join the fluffy trim yarn and crochet around the upper edge of the bootie, then fasten off. Join the sole-edge yarn to the front loops of row 7 at the back of the bootie and crochet a sc edge around the sole, then fasten off and weave in ends.
Laces: With the 1.5mm hook, chain 90, thread through the booties, and tie a knot at each end.
Pattern: Wings (×2)
Worked in turning rows with the 1.9mm hook.
Row 1: ch 17, from the second stitch from the hook: 11 sc, inc, 2 sc, inc, 1 sc, ch 1, turn (18)
Row 2: 18 sc, ch 1, turn (18)
Row 3: inc, 15 sc, ch 1, turn (17)
Row 4: inv dec, 15 sc, ch 1, turn (16)
Row 5: inc, 13 sc, ch 1, turn (15)
Row 6: inv dec, 13 sc, ch 1, turn (14)
Row 7: inv dec, 10 sc, ch 1, turn (11)
Row 8: inv dec, 9 sc, ch 1, turn (10)
Row 9: inv dec, 6 sc, ch 1, turn (7)
Row 10: inv dec, 5 sc, ch 1, turn (6)
Row 11: inv dec, 2 sc, inv dec (4)
Join the fluffy trim yarn and crochet a sc edge around the wing, working 3 sc into the same stitch at each tip for a soft point. Fasten off and weave in ends. Crochet the second wing the same way, but work the edging in the opposite direction so the two wings mirror each other. Brush the trim gently for extra fluff.
Pattern: Halo (×1)
Starting: Ch 60, join into a ring, using the 1.75mm hook.
Row 1: sc around
Row 2: crab stitch (reverse single crochet) around
Fasten off and weave in the end. Set it aside to place on her head during assembly.
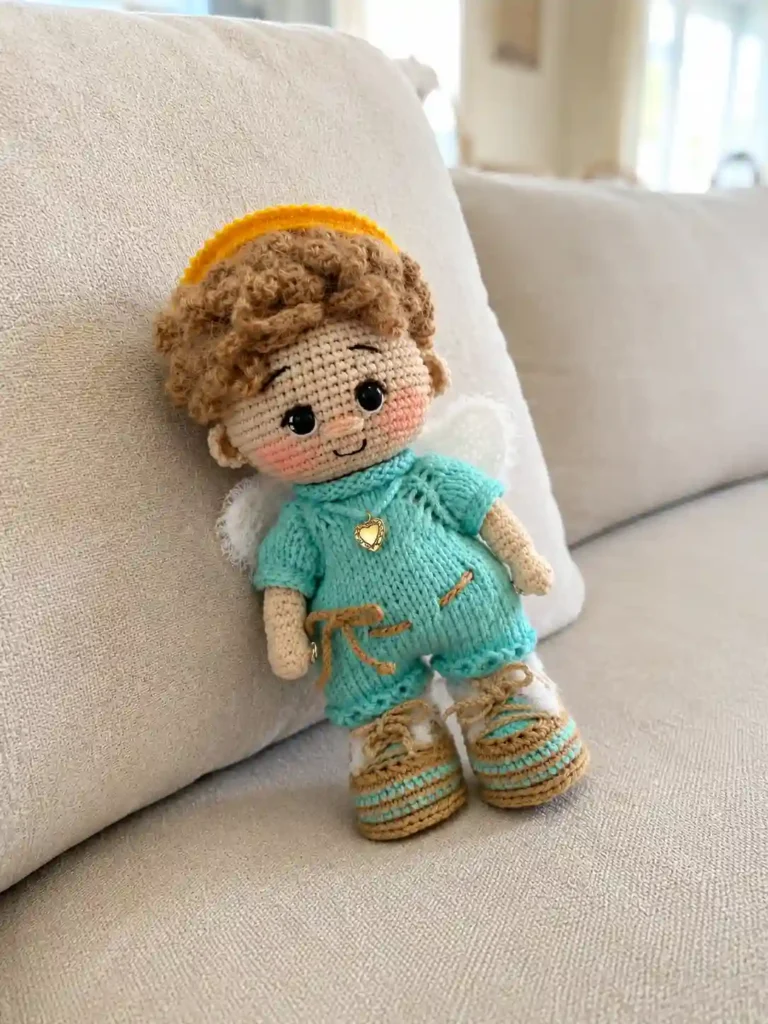
Assembly — Bringing Your Angel Baby Doll to Life
- Eyes: Count down 17-18 rows from the crown of the head and try the eyes in place before committing. Leave about 5 sc of space between them, then insert the safety eyes and secure with a small drop of glue.
- Arms: Sew the arms on using a button joint, with strong sewing thread or cotton yarn, so they can move a little once she’s finished.
- Wig: Center the crown of the wig over the crown of the head and pin in place. Sew first along the outer edge, then work your way inward row by row toward the crown.
- Ears: Sew the ears on at eye level, one on each side.
- Wings: Join the two wings at the top with a chain-5 loop on the yarn, then fasten off — this loop is what lets the wings snap on and off.
- Palms: Sew small snap buttons to her palms so her tiny hands can be posed together.
For the arm and wig sewing especially, our sewing amigurumi parts tutorial is a good refresher if it’s been a while since you’ve joined pieces this small.
Making It Extra Cute — Finishing Details
This is where she goes from sweet to absolutely irresistible. Embroider her nose using the same yarn as her body, keeping the stitches small and close together for a soft, subtle bump rather than a raised one. Then embroider her mouth and eyebrows with the black iris thread — a tiny curved mouth and two short, gently angled brows are all it takes to give her real expression.
Finish with blush on her cheeks. A soft circular motion with a dry blush brush, or a very light dusting of pastel eyeshadow applied with a cotton swab, both work beautifully on the body-colored yarn. Go lighter than you think you need to — you can always add more, but it’s much harder to take it back.
🩷 Chloe’s Detail Tip: Before you glue those safety eyes in place, hold her under a bright lamp and look straight on from the front. Once the eyes are secured, there’s no adjusting them — so take the extra thirty seconds to make sure they’re perfectly level. I promise it’s worth it every single time.
Chloe’s Final Look
I’ve had this little angel sitting on my desk for days now and I still pick her up every time I walk by. That soft wig with its tiny curls, the way the wings snap on so she can be dressed or undressed, the golden halo catching the light — she’s the kind of piece that photographs just as sweetly as she feels in your hands. If you want to make a whole little set, try her wings and overalls in different pastel combinations for each one — a lavender halo, a mint overall, a blush wig. Line a few up on a shelf and just try not to smile. 🩷
FAQ
Is this crochet angel baby doll amigurumi pattern free suitable for beginners?
No, this is marked as an advanced pattern. It uses very fine 1.5mm to 1.9mm hooks, involves intricate loop styling for the hair, and incorporates a knitted overall section.
Do I have to knit the overalls for this amigurumi?
Yes, the overalls in this specific pattern are designed using US 0 (2.0mm) knitting needles for a soft drape. If you do not knit, you will need to source a separate crochet doll clothing pattern for her outfit.
What is the finished size of this angel amigurumi?
When using the recommended DK/light worsted weight yarns and sub-2.0mm hooks, the finished angel baby doll stands approximately 7.7 inches (19.5 cm) tall.