Crochet Boucle Yarn Wig — Free Amigurumi Hair Pattern
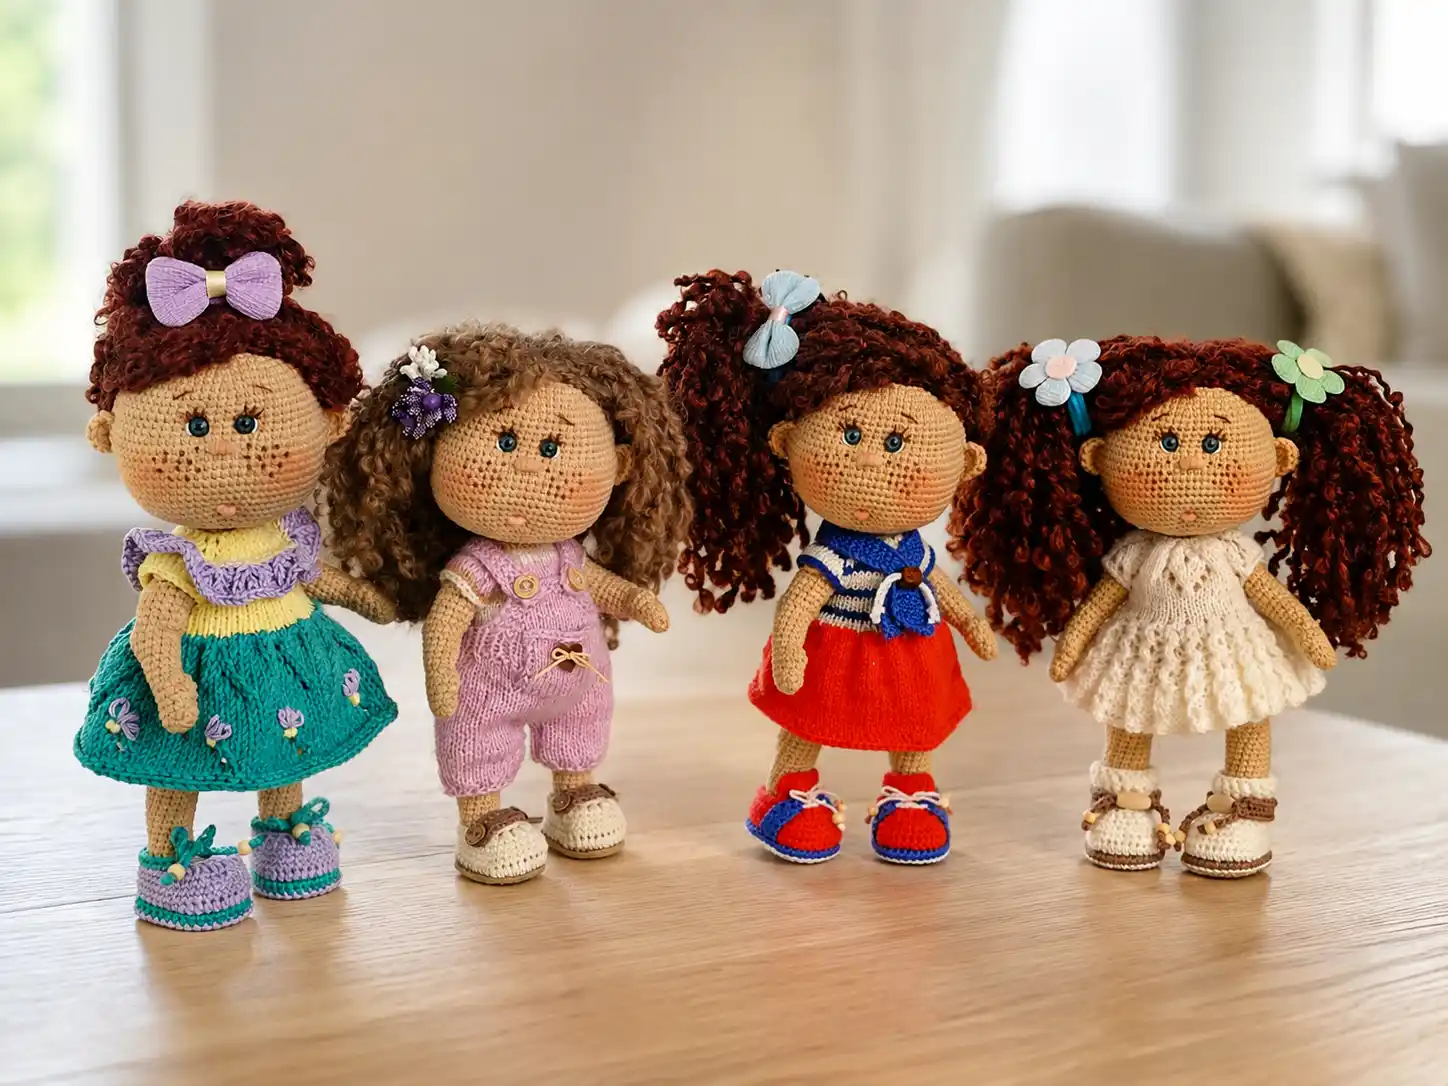
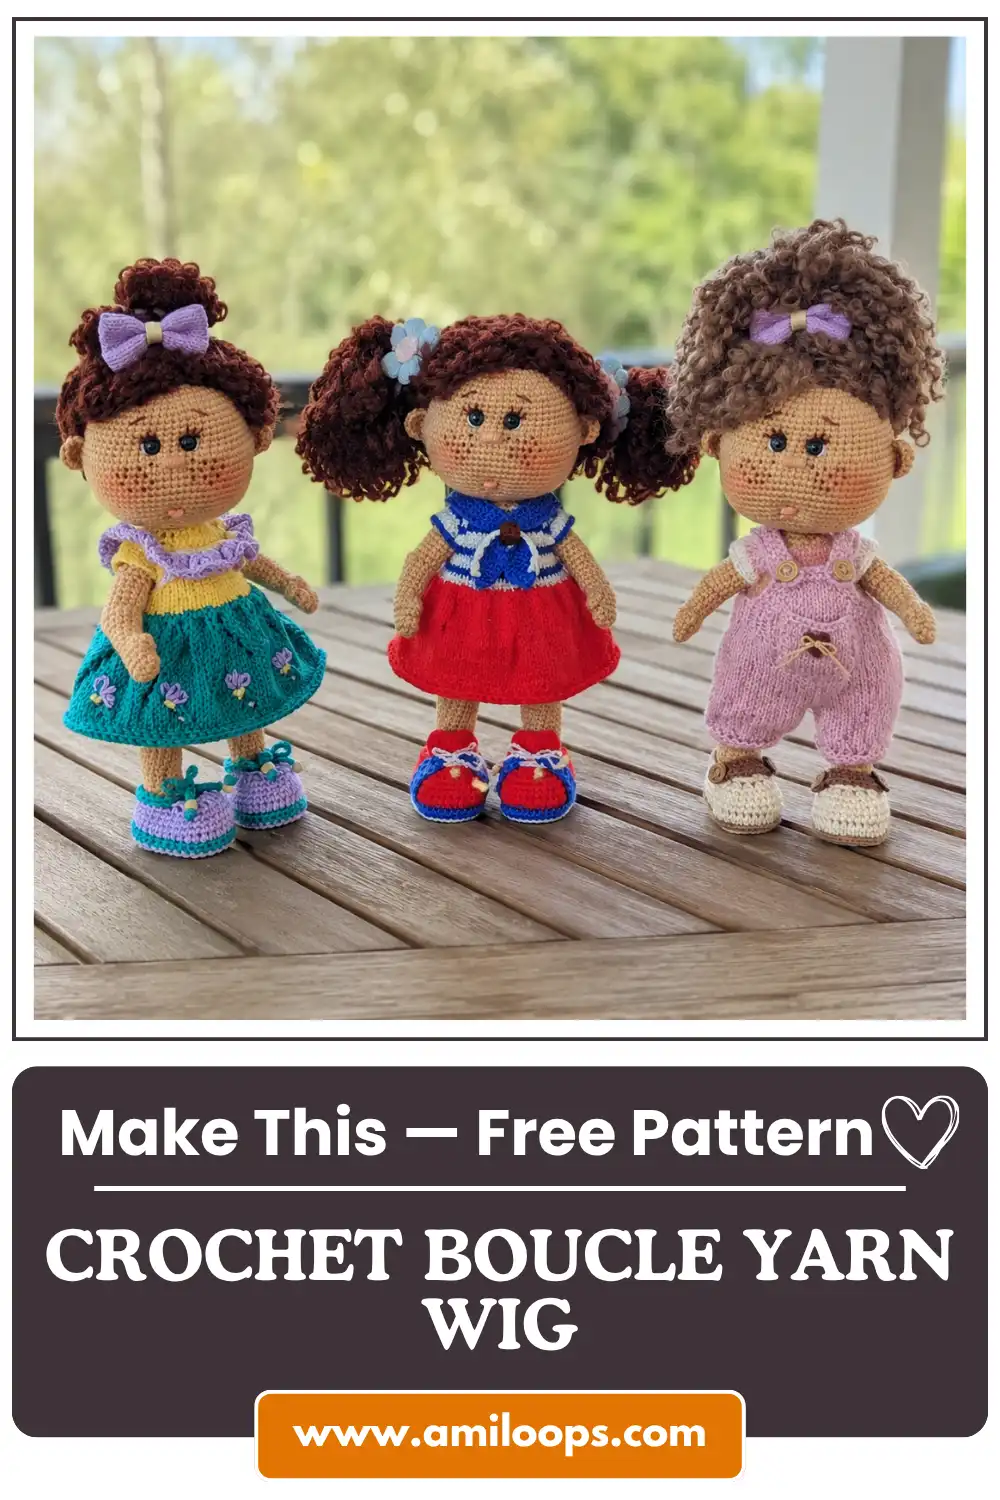
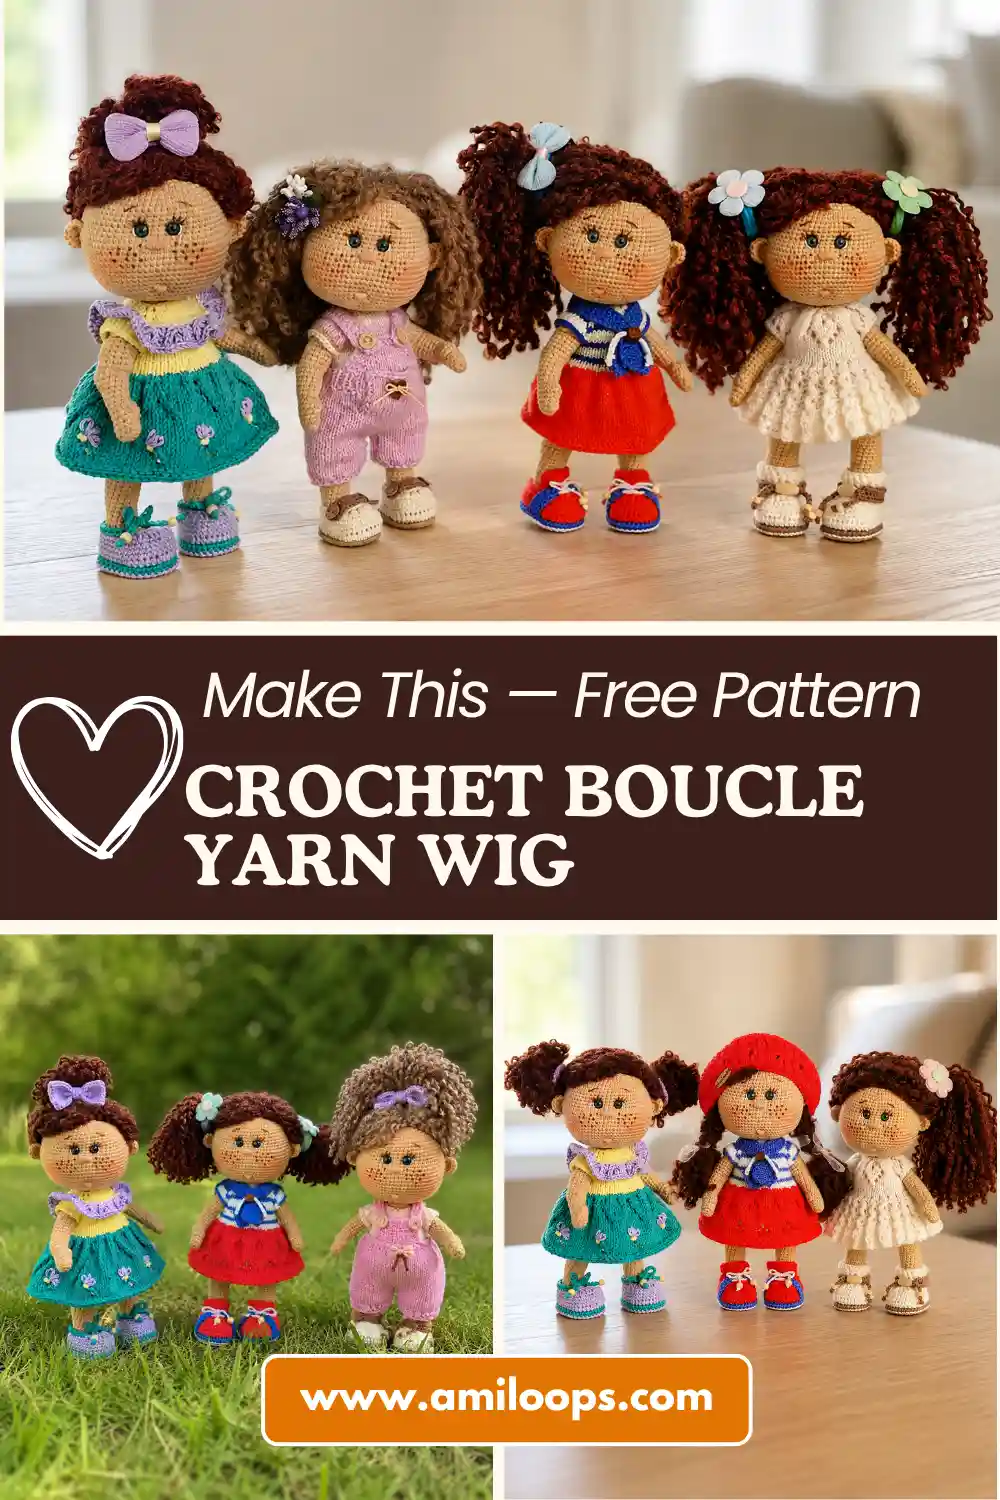
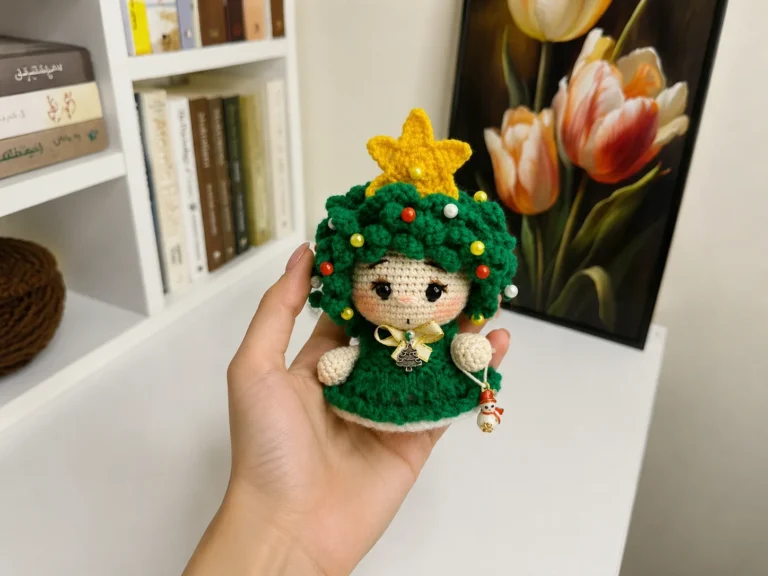
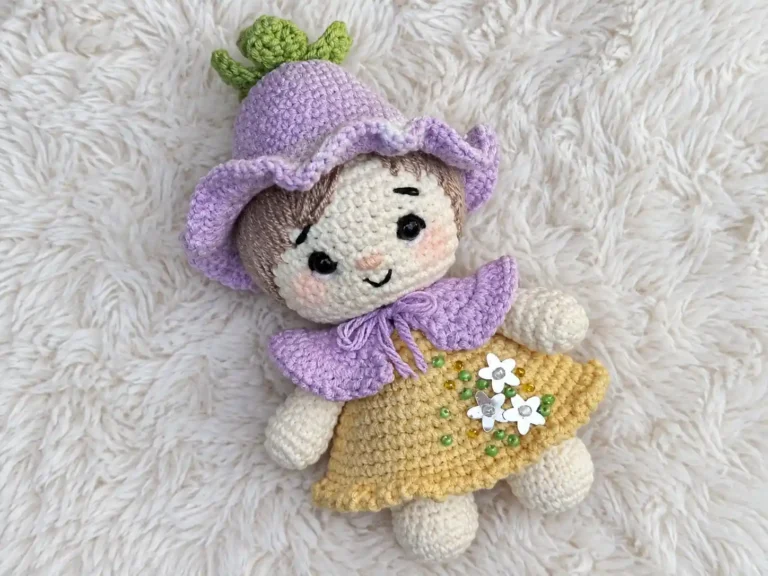
A crochet boucle yarn wig free pattern is one of those little additions that completely changes the personality of a doll, and this one has become a staple in my own pattern box. It gives you three different ways to build hair — curls, elongated loops, or a braid-ready cap — so you can match the wig to whichever doll you’re finishing. Take your time choosing your option; each one gives a very different finished look.
📋 Pattern Quick Stats
- Difficulty: Beginner-Intermediate
- Finished Size: Customizable — try the wig on your doll’s head as you go to judge fit
- Hook Size: E/4 (3.5 mm), with G/6 (4.0 mm), 7 (4.5 mm), or H/8 (5.0 mm) as options
- Yarn Weight: Bulky (5) — boucle texture
- Techniques: magic ring, increase, loop stitch, continuous rounds
- Estimated Time: 1-2 hours
What You’ll Need for This Crochet Boucle Yarn Wig Free Pattern
I always reach for a bulky boucle yarn for this one — the looped texture does a lot of the work for you, giving instant volume and a soft, hair-like finish without much fuss. The original pattern calls for Pehorka Boucle “Creative Series,” which isn’t sold in the US, so I’ve substituted it with something you can pick up locally. A bulky bouclé like Lion Brand Homespun, in a chestnut or biscuit tone, gives you the same coffee-and-praline warmth as the original colorways.
- Yarn: Bulky (5) boucle yarn in a coffee-brown or praline shade (such as Lion Brand Homespun), 1 skein is generally enough for a single wig
- Hook: 3.5 mm (US E/4) — 4.0 mm, 4.5 mm (US 7), or 5.0 mm (US H/8) can be substituted depending on how loose you want the fabric
- Stitch marker — non-negotiable for tracking where your round begins
- Tapestry needle for sewing the finished wig onto your doll
- A book or piece of cardstock, for winding and cutting your curls (Option 1 only)
This yarn falls into the Bulky (5) category on the Craft Yarn Council yarn weight system, which is worth checking if you’re substituting a different brand — you want to stay in that same weight range so your gauge and curl thickness match what’s shown here.
Abbreviations Used in This Boucle Yarn Wig Pattern
| Abbreviation | Meaning |
|---|---|
| ch | chain |
| sc | single crochet |
| inc | increase (2 single crochets in one stitch) |
| loop st | loop stitch (elongated loop, pulled out with the hook) |
| mr | magic ring |
| FO | fasten off |
| ( ) | total stitch count at the end of the row |
| ( )*X | repeat the sequence in parentheses X times |
Special Techniques for This Crochet Boucle Yarn Wig
Every version of this wig starts the same way: a magic ring, worked in continuous rounds so there’s no visible seam at the crown. If you haven’t worked one before, our step-by-step magic ring tutorial walks through the whole process. From there, you’re building the cap with a steady stream of increases — check our guide to increasing in amigurumi if you want a refresher on keeping those evenly spaced.
The loop stitch itself isn’t a standard amigurumi technique, so I’ll walk you through it in the pattern notes below rather than sending you elsewhere — it’s simple once you’ve done a few. Once your wig is finished, you’ll be sewing it onto your doll’s head, and our tutorial on sewing amigurumi parts together covers the pinning and stitching approach I use for a secure, invisible seam.
Crochet Boucle Yarn Wig Free Pattern —
Option 1: Cap for Attaching Curls
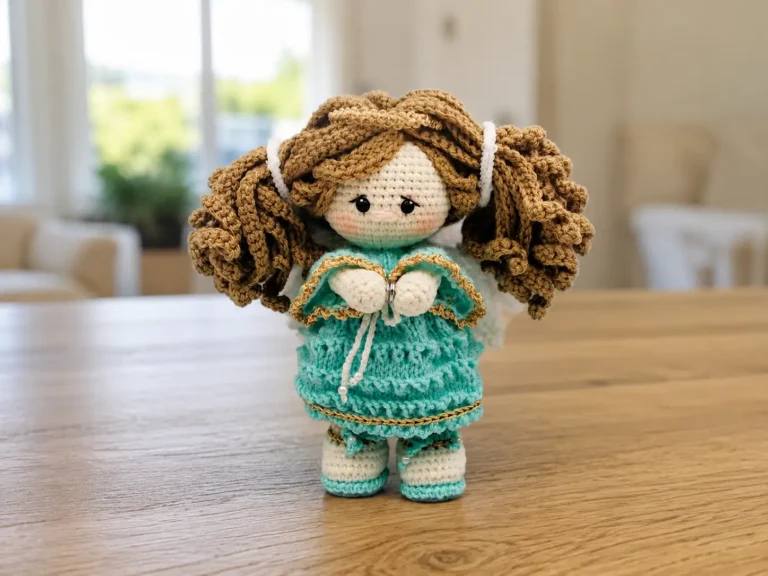
This is the version to reach for if you want a wig with real volume and movement — separate curls, cut and knotted, then attached individually to a crocheted base. It takes longer than the other two options, but the payoff is worth it.
Yarn Color(s): coffee or praline
Starting Method: magic ring
Row 1: 6 sc in mr (6)
Row 2: 6 inc (12)
Row 3: (1 sc, inc) * 6 (18)
Row 4: (2 sc, inc) * 6 (24)
Row 5: (3 sc, inc) * 6 (30)
Row 6: (4 sc, inc) * 6 (36)
Row 7: 36 sc (36)
💡 Emma’s Tip: Be sure to use a stitch marker on this one. With no color change and no shaping breaks to orient you, it’s very easy to lose track of where the round starts.
Finishing: Fasten off and cut the yarn. To make your curls, wind the yarn around a book or a piece of stiff cardstock — as many wraps as you’ll need for the density you want. Cut along one edge of the wound yarn so you’re left with individual lengths. Measure 0.8 in (2 cm) in from one end of a curl and pinch it firmly between your fingers, then gently pull at the strands closest to that pinch point so they separate and curl on their own. Once you’re happy with the texture, cut a knot about 0.4 in (1 cm) from that same edge to hold everything in place.
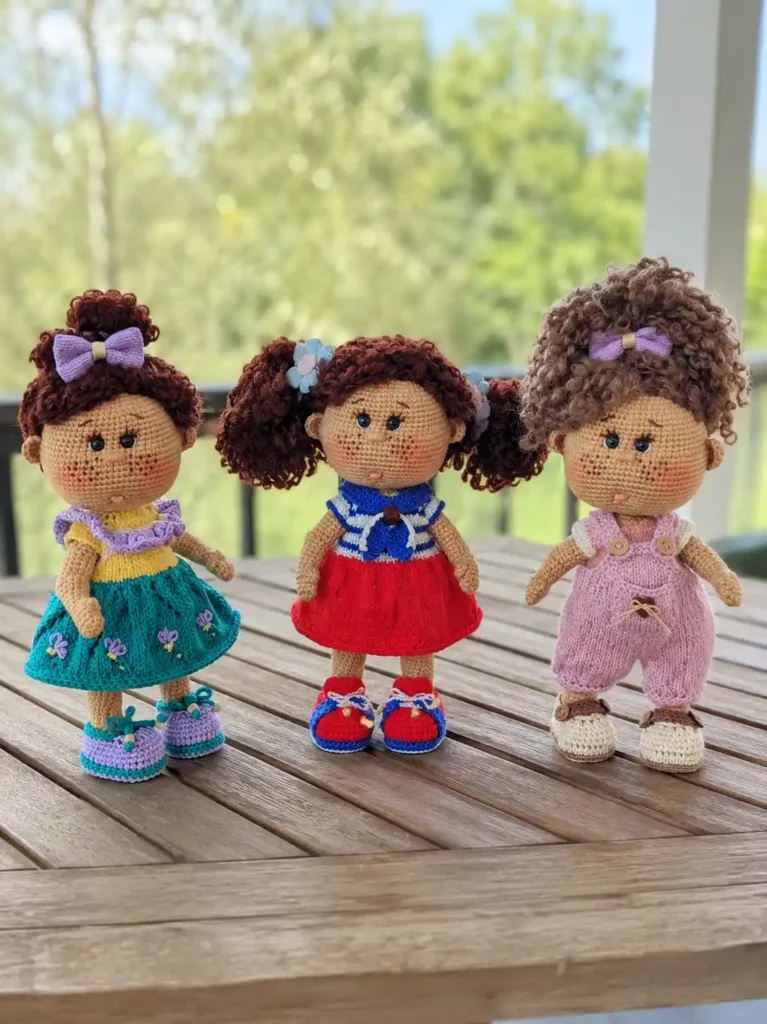
Option 2: Wig with Elongated Loops
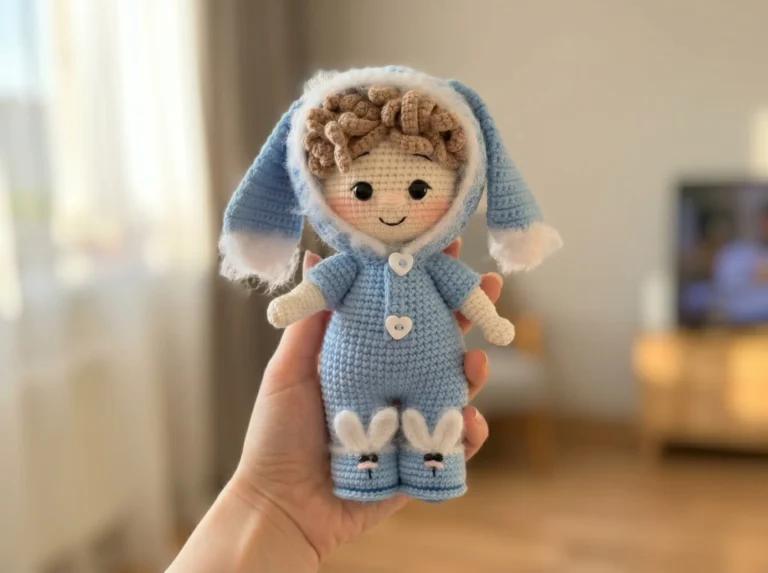
This version skips the separate curls entirely — you’re crocheting the “hair” directly into the cap using the loop stitch, which creates soft, draping strands right off the hook. It’s the fastest of the three options and gives a lovely loose, flowing finish.
Yarn Color(s): coffee or praline
Starting Method: magic ring
Row 1: 6 sc in mr (6)
Row 2: 6 inc (12)
Row 3: (1 loop st, inc) * 6 (18)
Row 4: (2 sc, inc) * 6 (24)
Row 5: (3 loop st, inc) * 6 (30)
Row 6: (4 sc, inc) * 6 (36)
Row 7: 36 loop st (36)
💡 Emma’s Tip: Work your loop stitches on the wrong side of the fabric — that’s what lets the loops fall forward and drape like hair once you flip the piece right-side out. For a shorter, more uniform style, keep every loop around 1 in (2.5 cm). For long, flowing hair, pull your loops out to about 6 in (15 cm), then shorten the final round to roughly 4 in (10 cm) so the ends don’t overwhelm the crown. As with Option 1, keep a stitch marker on your round marker throughout — there’s nothing else here to orient you visually.
Finishing: Fasten off and cut the yarn. No further shaping is needed — the loop stitches are the finished texture.
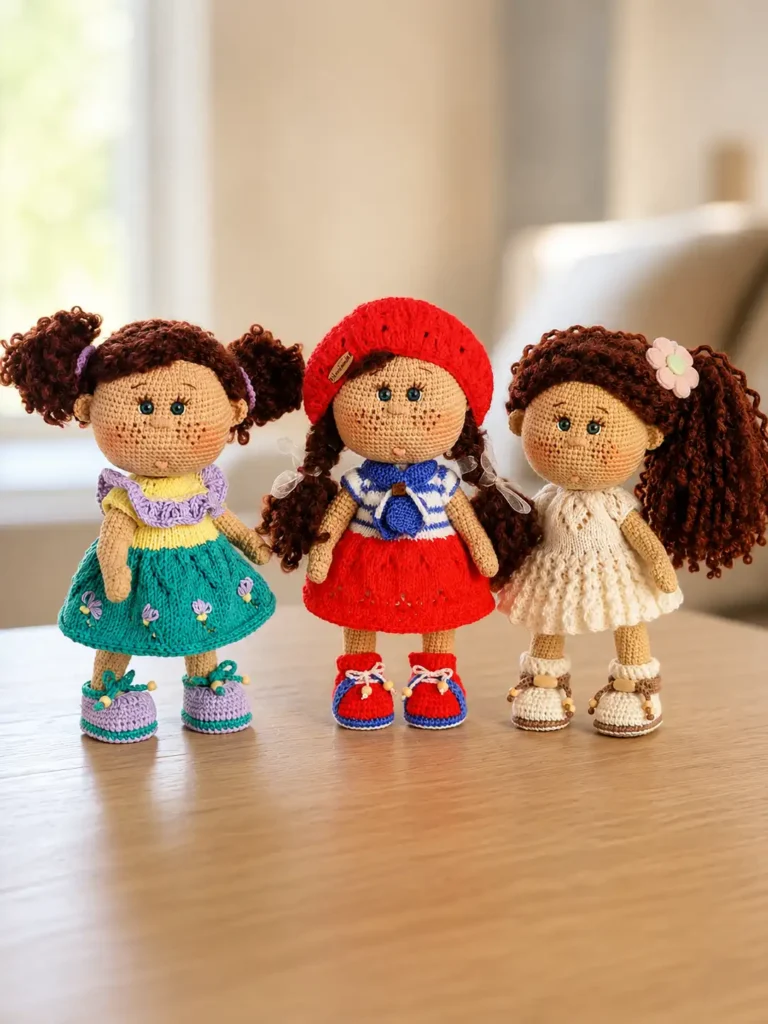
Option 3: Wig for Braids or Ponytails
This is the option I reach for whenever a doll needs hair that actually holds a hairstyle. You’re crocheting the same cap shaping as Option 1, but only the final round is worked in the loop stitch, which keeps the overall wig flatter and easier to braid or gather into a ponytail.
Yarn Color(s): coffee or praline
Starting Method: magic ring
Row 1: 6 sc in mr (6)
Row 2: 6 inc (12)
Row 3: (1 sc, inc) * 6 (18)
Row 4: (2 sc, inc) * 6 (24)
Row 5: (3 sc, inc) * 6 (30)
Row 6: (4 sc, inc) * 6 (36)
Row 7: 36 loop st (36)
💡 Emma’s Tip: This wig won’t have the same volume as Option 1 or 2 since only one round is worked in loop stitch, but that’s exactly what makes it easier to work with — less bulk means cleaner braids and tighter ponytails.
Finishing: Fasten off and cut the yarn.
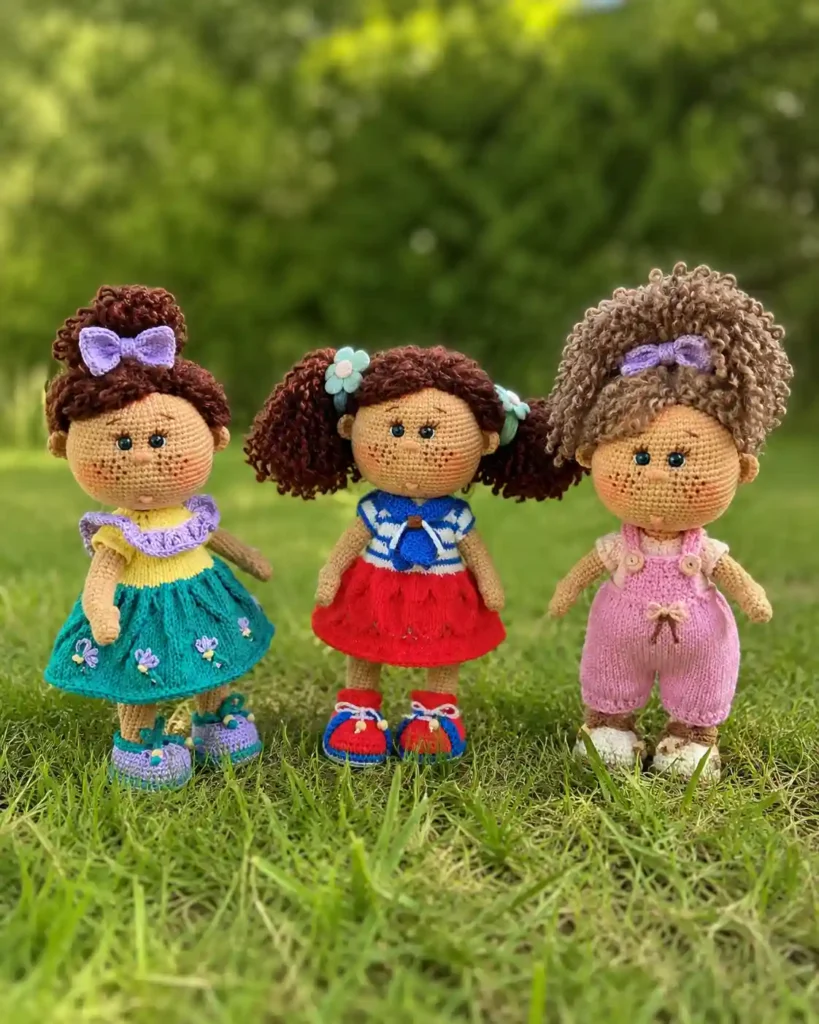
Assembly: Attaching Your Crochet Boucle Yarn Wig
How you finish this part depends entirely on which option you crocheted.
If you crocheted Option 1, you’re attaching individual curls to the cap rather than sewing a solid piece. On my own version, I used 45 curls total, attaching them every other row and skipping a stitch between each one:
- Row 7 — 18 curls (trim these about 2 in (5 cm) shorter than the rest so they don’t stick out past the others)
- Row 5 — 15 curls
- Row 3 — 9 curls
- Row 1 — 3 curls
Since the stitches themselves won’t be visible once the curls are attached, don’t stress about placing them with mathematical precision — attach them by eye, spacing them evenly as you go, and adjust the count up or down depending on how full you want the finished wig to look.
For all three options, sewing the wig onto the doll’s head follows the same approach. Pin the cap in place first so you can check the fit and positioning before committing to any stitches. Then sew around the outer edge with yarn or thread close in color to your wig, and continue sewing along the pattern rows as you move up toward the crown. This keeps the wig secure at multiple points rather than just at the edge, which matters most on the looser, curlier versions.
Finishing & Styling Details
For Option 3, this is where you’ll braid the hair into one or two braids, or gather it into a ponytail — the flatter round of loop stitch makes this much easier to control than the fuller versions. If you’re making Option 1 for a doll that will actually be handled and played with, tie a small knot at the end of each curl so the yarn doesn’t gradually unravel with wear.
This crochet boucle yarn wig free pattern pairs beautifully with any of our amigurumi doll patterns — it’s a quick way to completely change the look of a doll you’ve already made, or to give two dolls from the same base pattern distinctly different personalities.
Emma’s Note
I love how much personality a wig change can bring to a doll that’s otherwise finished. I’ve made all three versions here, and Option 2 is still my favorite for how little time it takes for how much impact it has. Try the wig on your doll’s head as you work the last couple of rounds — it’s the easiest way to judge fit before you commit to sewing it down. Happy hooking! 🧶
FAQ
What is the best yarn for this crochet boucle yarn wig free pattern?
A bulky (weight 5) boucle yarn, such as Lion Brand Homespun, works best. The looped texture of the yarn naturally creates volume and a soft, realistic hair finish.
Can beginners make this crochet doll wig?
Yes, this pattern is accessible for advanced beginners. It relies on basic amigurumi techniques like the magic ring and continuous increase rounds, plus the loop stitch which is easy to learn.
How do I secure the wig to the doll’s head?
Pin the wig in place first to find the best position. Then, use a tapestry needle and matching thread to sew around the outer edge, adding a few stitches further up the crown for extra stability.