The Cutest Free Amigurumi Fox Pattern You’ll Hook This Weekend
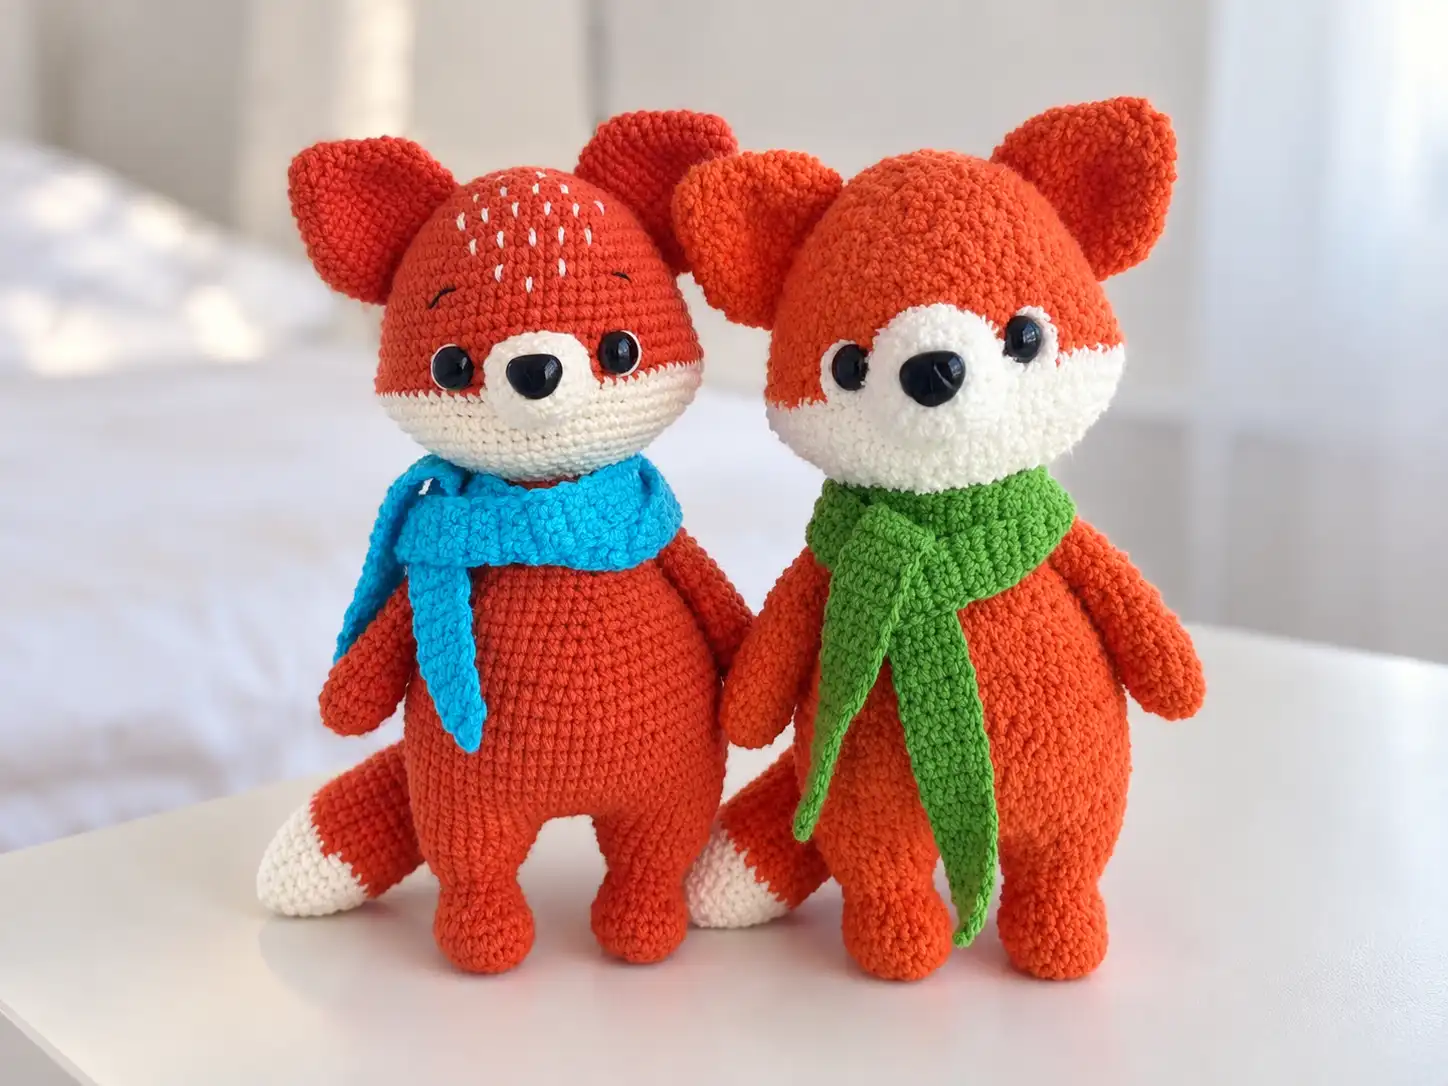
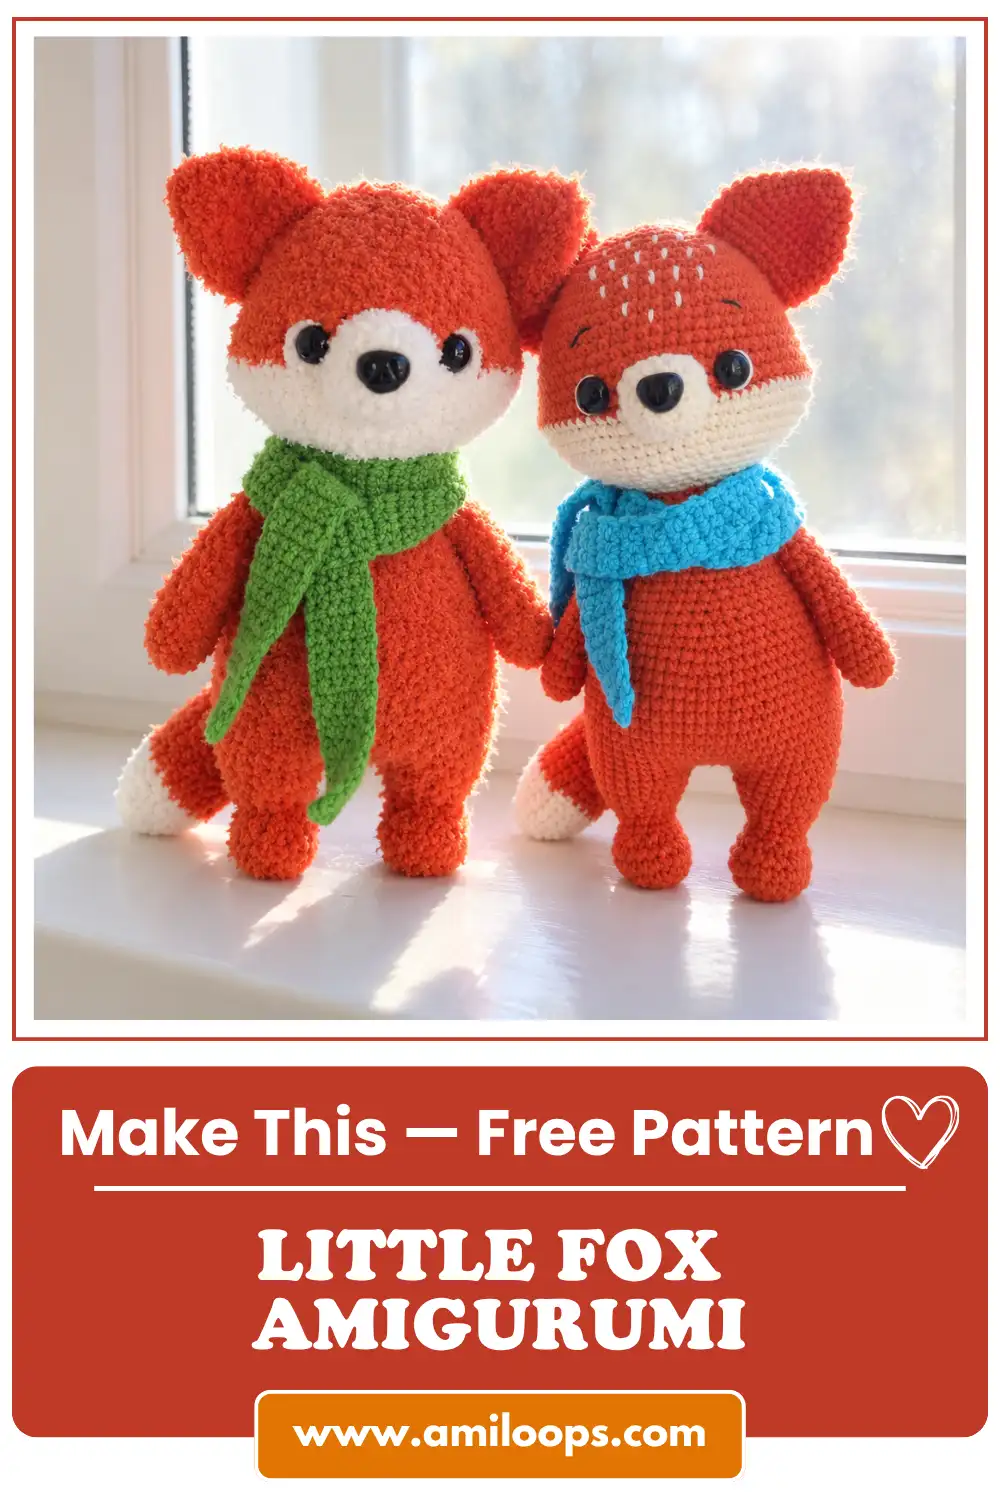
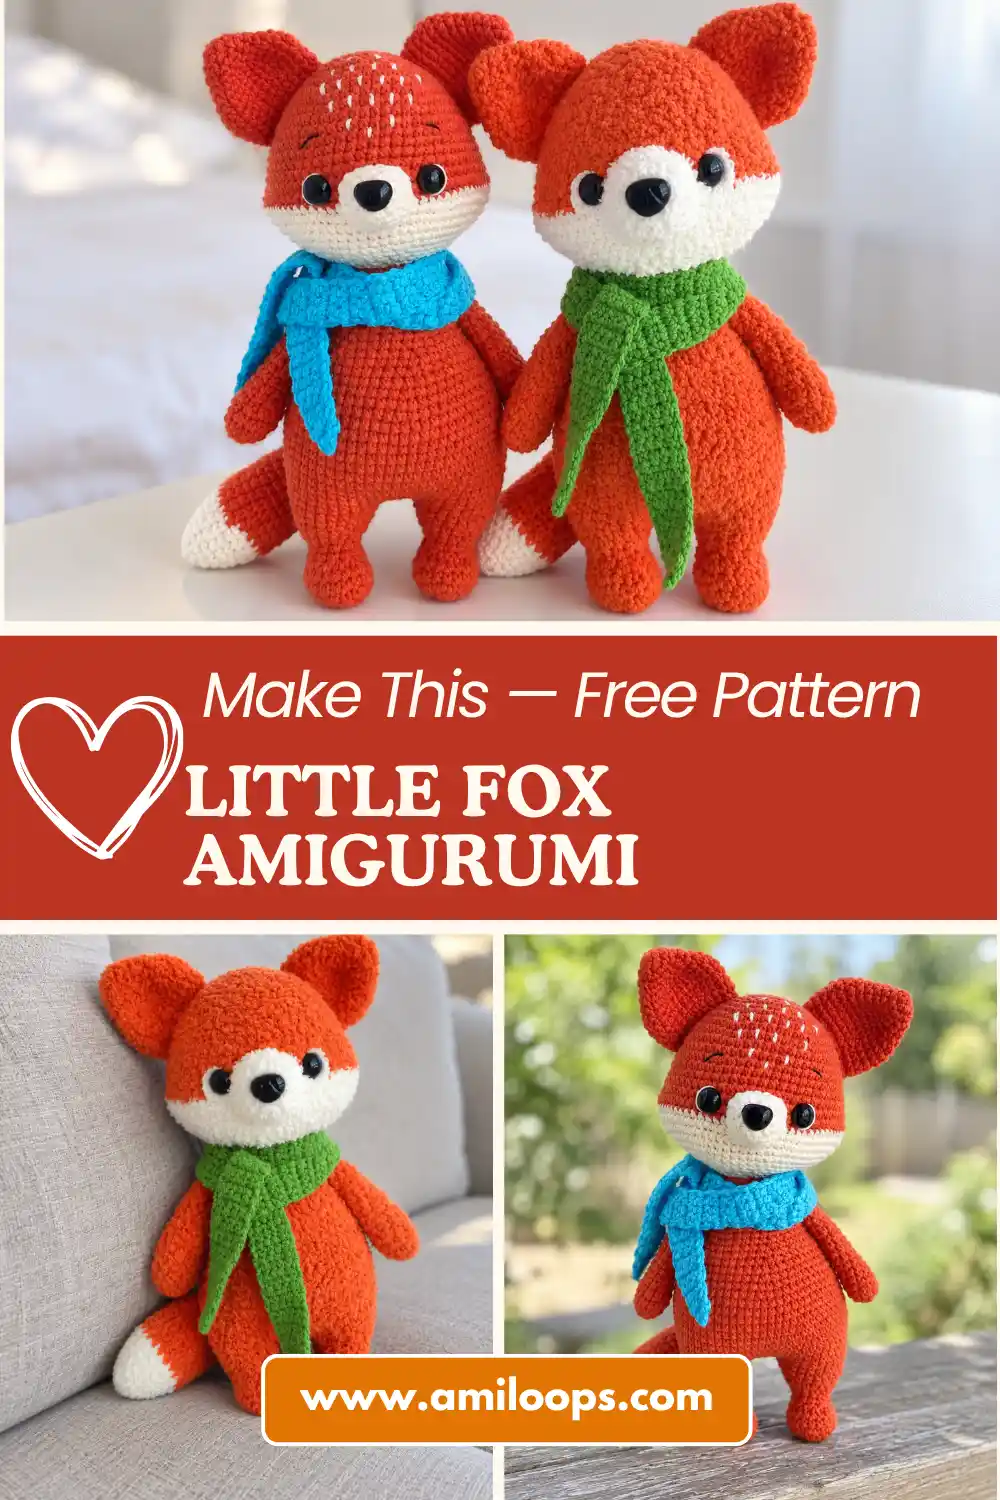
Pip is a fox with a heavy, sweeping tail and a compact round body, and this fox amigurumi pattern walks through every piece in the order the construction actually needs. Worked in a sport-weight cotton blend yarn, the finished fox stands approximately 20 cm tall, a size where the shaping stays readable and the stuffing sits where you put it. The order of the parts is not decorative. Several pieces have to exist before the body does, because the body absorbs them into itself as it grows, and there is no comfortable way to add them back afterward.
The fabric matters here as much as the shaping. The rows are built from semi-cross single crochets, which produce a noticeably denser fabric than the counts alone would lead you to expect, so the stuffing sits behind an even face instead of pushing through gaps between stitches. That density is worth knowing about before you cast on, because it changes how firmly you can pack the head and body without distorting the increase lines. Read the part list first, then work in the order it is written down.
About This Fox Crochet Pattern
Most of the limb work in this fox amigurumi pattern disappears into the body instead of sitting on top of it. Both the lower and upper paws end up joined by crocheting rather than sewing, which keeps the number of separate seams low and puts the strongest connections inside the fabric itself. That does not make the project seamless, since the ears, muzzle, and head all still need stitching by hand, but the joins carrying the most weight hold their own position without pinning, and they cannot drift out of alignment the way a sewn limb sometimes does.
The head is where the shaping turns specific. Instead of a plain sphere, it carries clustered increases positioned to build the cheeks, so two rounds partway up add stitches in pairs at two separate points rather than spreading them evenly around the circle. Those rounds look unusual written out, and they are easy to lose your place inside, but they are what gives the face its width below the eyes. Follow the counts in them literally, and resist the urge to smooth the increases into something that looks tidier on paper.
Materials and Tools
Two colors of YarnArt JEANS carry most of the fox: an orange-red shade for the main body and a beige for the lighter areas. Those two are the structural colors, and the list treats them as a pair rather than making one of them optional. A small amount of a third, lighter shade is listed separately for the eye whites, so it is worth pulling that one out before you start rather than hunting for it at the finishing stage. Everything else below is a tool or a finishing material, and none of it stands in for the two main colors.
The eyebrow embroidery calls for a separate thin black or dark brown thread rather than the working yarn, and the thickness is the entire point. A fine thread lays down as a clean line, while a strand of the main yarn would sit as a raised bump and change the expression completely. Eyes and nose on safety mounts are listed at fixed sizes, so check what you have against the list before you begin. Keep stitch markers and pins within reach as well, because several rounds depend on knowing exactly where you started.
- Crochet hook suitable for your chosen yarn
- YarnArt JEANS in shade № 85 (or any orange-red palette color)
- YarnArt JEANS in shade № 03 (beige)
- Black or dark brown thread for eyebrows
- YarnArt JEANS in shade № 62 or 01 for eye whites
- Toy stuffing
- 10 mm safety eyes
- 12×10 mm safety nose
- Yarn needle for sewing
- Scissors
- Stitch markers
- Pins
Crochet Abbreviations
The stitch vocabulary in this project is small. You need single crochet (sc), increase (inc), decrease (dec), and the magic ring (MR) that opens nearly every part, plus a chain (ch) and a slip stitch (sl st) in one specific place. Nothing unusual turns up in the rows themselves. If you already recognize standard US crochet abbreviations, you can read straight through the pattern, and if you do not, the list below covers every term used and the repeat notation that goes with them.
Two of those symbols appear in only one part. The muzzle is the single piece that uses a slip stitch and a chain, and everywhere else in the pattern you will not meet either one. The repeat notation deserves a slower read: parentheses group a sequence together, and the number following the asterisk tells you how many times that whole group repeats, so a line written as one group times six contains six identical segments in a row. Read the parentheses first, then the multiplier.
- MR — magic ring
- sc — single crochet
- ch — chain
- inc — increase
- dec — decrease
- sl st — slip stitch
- (…) * X — repeat instructions X times
Construction Overview
Two pieces get made and then put down. The upper paws and the tail are worked first and set completely aside, because both of them are crocheted into the body later instead of being sewn on. They need to be finished and within reach before the body starts. Saving them for later does not work here: by the time the body reaches the round that catches each one, the opportunity has already passed, and unpicking a full round of body is the only route back to it.
The body does not begin on its own either. The two lower paws are made separately and then joined with a chain, and the first body round travels around one paw, along the chain, around the second paw, and back down the other side of that same chain. That single round is what fixes the distance between the legs, and it is also the round where counting slips most often, since you are working into three different surfaces in one pass. Count the chain before you commit to the join.
Before You Start
Round 18 of the head is the one to prepare for. It adds stitches in two clustered groups rather than spacing them evenly, and the plain stretches between those groups are long enough that a miscount will not surface until several rounds later. Place extra stitch markers before you begin it, one at the start of the round and one at each cluster, so you can check your position without recounting the entire circle. The round that follows repeats the same idea with different numbers, so leave those markers where they are.
Tension does more work here than hook size does on its own. Aim for a fabric tight enough that the stuffing stays hidden behind it, and choose your hook with that outcome in mind rather than defaulting to whatever you reached for last. The same principle applies at the opening of every part: if you are not certain how to make a magic ring that closes down to nothing, practice on a scrap first, because a loose center shows as a gap that no amount of stuffing will hide later.
Pip the Fox Crochet Pattern
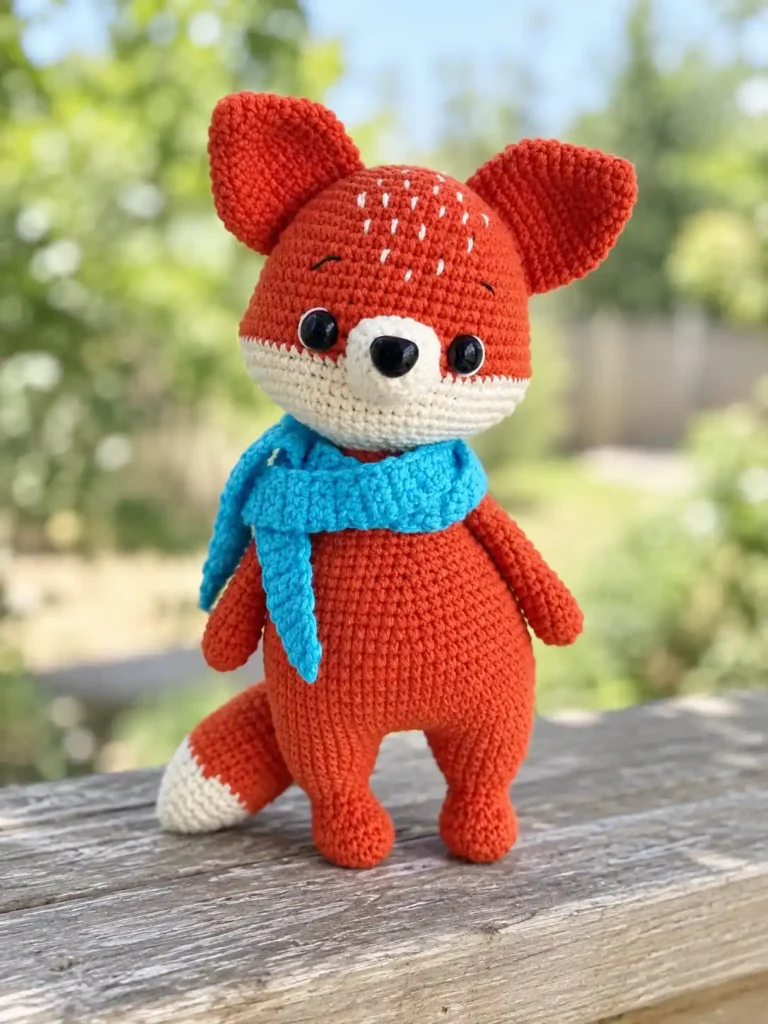
Upper Paws
Leave the top open: Each upper paw is closed with exactly 5 sc worked through both layers rather than gathered shut. Flattening the top edge that way is what lets the paw lie along the side of the body later instead of standing away from it.
Round 1: 5 sc in a magic ring. (5 sts)
Round 2: 5 inc. (10 sts)
Rounds 3-18: 10 sc. (10 sts)
Tail
Color change: The tail carries a color change before Round 8, so have the second shade ready as you finish Round 7. Switching at that point places the join between two plain rounds, where it reads as a straight line instead of cutting through shaping.
Round 1: 6 sc in a magic ring. (6 sts)
Round 2: (1 sc, inc) * 3. (9 sts)
Round 3: (2 sc, inc) * 3. (12 sts)
Round 4: (3 sc, inc) * 3. (15 sts)
Round 5: (4 sc, inc) * 3. (18 sts)
Round 6: (5 sc, inc) * 3. (21 sts)
Round 7: 21 sc. (21 sts)
Rounds 8-25: 21 sc. (21 sts)
Round 26: (5 sc, dec) * 3. (18 sts)
Round 27: (4 sc, dec) * 3. (15 sts)
Round 28: (3 sc, dec) * 3. (12 sts)
Round 29: (2 sc, dec) * 3. (9 sts)
Head
Second color: The head moves from the main shade into beige before Round 20. The change lands just ahead of a pair of plain rounds, so the new color begins on an even stretch of fabric rather than in the middle of shaping.
Round 1: 6 sc in a magic ring. (6 sts)
Round 2: 6 inc. (12 sts)
Round 3: (1 sc, inc) * 6. (18 sts)
Round 4: (2 sc, inc) * 6. (24 sts)
Round 5: (3 sc, inc) * 6. (30 sts)
Round 6: (4 sc, inc) * 6. (36 sts)
Round 7: (5 sc, inc) * 6. (42 sts)
Round 8: (6 sc, inc) * 6. (48 sts)
Round 9: (7 sc, inc) * 6. (54 sts)
Round 10: (8 sc, inc) * 6. (60 sts)
Rounds 11-16: 60 sc. (60 sts)
Round 17: (9 sc, inc) * 6. (66 sts)
Round 18: 20 sc, 2 inc, 31 sc, 2 inc, 11 sc. (70 sts)
Round 19: 21 sc, 2 inc, 33 sc, 2 inc, 12 sc. (74 sts)
Rounds 20-21: 74 sc. (74 sts)
Round 22: 19 sc, 4 dec, 29 sc, 4 dec, 10 sc. (66 sts)
Round 23: (9 sc, dec) * 6. (60 sts)
Round 24: (8 sc, dec) * 6. (54 sts)
Round 25: (7 sc, dec) * 6. (48 sts)
Round 26: (6 sc, dec) * 6. (42 sts)
Round 27: (5 sc, dec) * 6. (36 sts)
Round 28: (4 sc, dec) * 6. (30 sts)
Round 29: (3 sc, dec) * 6. (24 sts)
Ears
Round 1: 6 sc in a magic ring. (6 sts)
Round 2: (1 sc, inc) * 3. (9 sts)
Round 3: (2 sc, inc) * 3. (12 sts)
Round 4: (3 sc, inc) * 3. (15 sts)
Round 5: (4 sc, inc) * 3. (18 sts)
Round 6: (2 sc, inc) * 6. (24 sts)
Round 7: (3 sc, inc) * 6. (30 sts)
Rounds 8-9: 30 sc. (30 sts)
Round 10: (3 sc, dec) * 6. (24 sts)
Round 11: 24 sc. (24 sts)
Round 12: (6 sc, dec) * 3. (21 sts)
Muzzle
Round 1: 6 sc in a magic ring. (6 sts)
Round 2: (1 sc, inc) * 3. (9 sts)
Round 3: (2 sc, inc) * 3. (12 sts)
Round 4: (3 sc, inc) * 3. (15 sts)
Round 5: (4 sc, inc) * 3. (18 sts)
Round 6: 18 sc. (18 sts)
Lower Paws
Round 1: 6 sc in a magic ring. (6 sts)
Round 2: 6 inc. (12 sts)
Round 3: (1 sc, inc) * 6. (18 sts)
Rounds 4-5: 18 sc. (18 sts)
Round 6: 3 sc, 6 dec, 3 sc. (12 sts)
Rounds 7-8: 12 sc. (12 sts)
Round 9: (1 sc, inc) * 6. (18 sts)
Rounds 10-11: 18 sc. (18 sts)
Round 12: (2 sc, inc) * 6. (24 sts)
Round 13: 24 sc. (24 sts)
Body
Round 1: 24 sc around the first leg, 3 sc along the connecting chain, 24 sc around the second leg, 3 sc along the other side of the connecting chain. (54 sts)
Round 2: (8 sc, inc) * 6. (60 sts)
Rounds 3-4: 60 sc. (60 sts)
Round 5: (9 sc, inc) * 6. (66 sts)
Rounds 6-8: 66 sc. (66 sts)
Round 9: 62 sc, 4 sc crocheted together with the stitches of the tail. (66 sts)
Rounds 10-13: 66 sc. (66 sts)
Round 14: (9 sc, dec) * 6. (60 sts)
Round 15: 60 sc. (60 sts)
Round 16: (8 sc, dec) * 6. (54 sts)
Round 17: 54 sc. (54 sts)
Round 18: (7 sc, dec) * 6. (48 sts)
Round 19: 48 sc. (48 sts)
Round 20: (6 sc, dec) * 6. (42 sts)
Round 21: 42 sc. (42 sts)
Round 22: (5 sc, dec) * 6. (36 sts)
Rounds 23-24: 36 sc. (36 sts)
Round 25: (4 sc, dec) * 6. (30 sts)
Rounds 26-27: 30 sc. (30 sts)
Round 28: 8 sc, 5 sc crocheted together with the stitches of the first upper paw, 10 sc, 5 sc crocheted together with the stitches of the second upper paw, 2 sc. (30 sts)
Round 29: 30 sc. (30 sts)
Round 30: (3 sc, dec) * 6. (24 sts)
Assembly and Finishing
Two of the joins are already behind you by the time you reach this stage. The tail is crocheted into Round 9 of the body across 4 stitches, and the upper paws are caught in Round 28 with 10 stitches separating them, which sets the shoulder width without any measuring on your part. If either round went wrong, this is where it becomes obvious, and the repair belongs at that round rather than at a seam. What remains is sewn, embroidered, or pushed into place.
- Install 10 mm safety eyes between rounds 18 and 19 of the head, 11 sc apart.
- Attach the safety nose between rounds 1 and 2 of the muzzle.
- Embroider forehead stitches, eye whites, and eyebrows.
- Sew ears onto the head between rounds 13 and 14.
- Sew the muzzle to the head, stuffing lightly before closing.
- Sew the head to the body, adding extra stuffing to the neck.
The ears are sewn opposite the side increments of the head, which hands you a placement reference instead of asking you to judge symmetry by eye: find the increase columns, and let the ears follow them. Pin both before sewing either one, since even a small amount of drift reads as a crooked face. The eye hardware goes in earlier in the order above, before any of the sewing begins, and if these mounts are new to you, attaching safety eyes is worth reading before you push the first one through.
Pattern Notes and Troubleshooting
When the Tail Sits Off-Center
Because the body works in a spiral, the stitch you treat as the start of Round 9 has drifted away from the stitch you treated as the start of Round 1. If the tail ends up sitting to one side of the back rather than centered on it, the correction is to adjust which stitch you begin Round 9 on, shifting forward or back until the 4 joining stitches land where you want them. Make that call before the round is complete, because once you have worked past the tail the only way to move it is to undo the round.
Why the Muzzle Behaves Differently
Every part except the muzzle runs as a spiral, so you never turn and never close a round. The muzzle is built from joined rounds instead, which gives it a visible seam line up one side and a round that genuinely ends where it began. If your amigurumi experience is all spiral work, the difference between continuous rounds and joined rounds is worth understanding before you reach this piece, because closing a round changes where the next stitch belongs and it is easy to gain or lose one at the join.
Working the Scarf in Rows
The scarf is not made in the round like the rest of the fox. It is a strip of turning rows, 4 single crochets wide, narrow enough to sit at the neck without bulking up the seam underneath it. Because the work turns, both faces of the strip end up visible once it is tied, so hold your tension steady from the first row onward. An uneven edge shows far more on a piece this narrow than it would anywhere else on the finished toy.
Finishing Checklist
The neck seam decides whether the head holds its angle. Add stuffing while you are working the final joining stitches rather than beforehand, and push in more than feels necessary, because the opening closes fast and a soft neck lets the head tip forward for good. If you are unsure how much is enough, stuffing an amigurumi evenly is a useful reference: aim for a neck that pushes back against gentle pressure instead of one that simply compresses.
Check the eye whites last, in good light. The white thread accents belong along the outer edge of each eye rather than crowding toward the center, and a few stitches placed too far in will read as a squint from across the room. It is a quick correction at this stage and a much harder one once the head is closed and packed.
- Safety hardware locked before stuffing.
- Eye white embroidery sits cleanly.
- Neck seam heavily stuffed.
- Upper paws lay flat against the sides.
- Scarf tied and ends woven in.
More Fox Patterns to Try
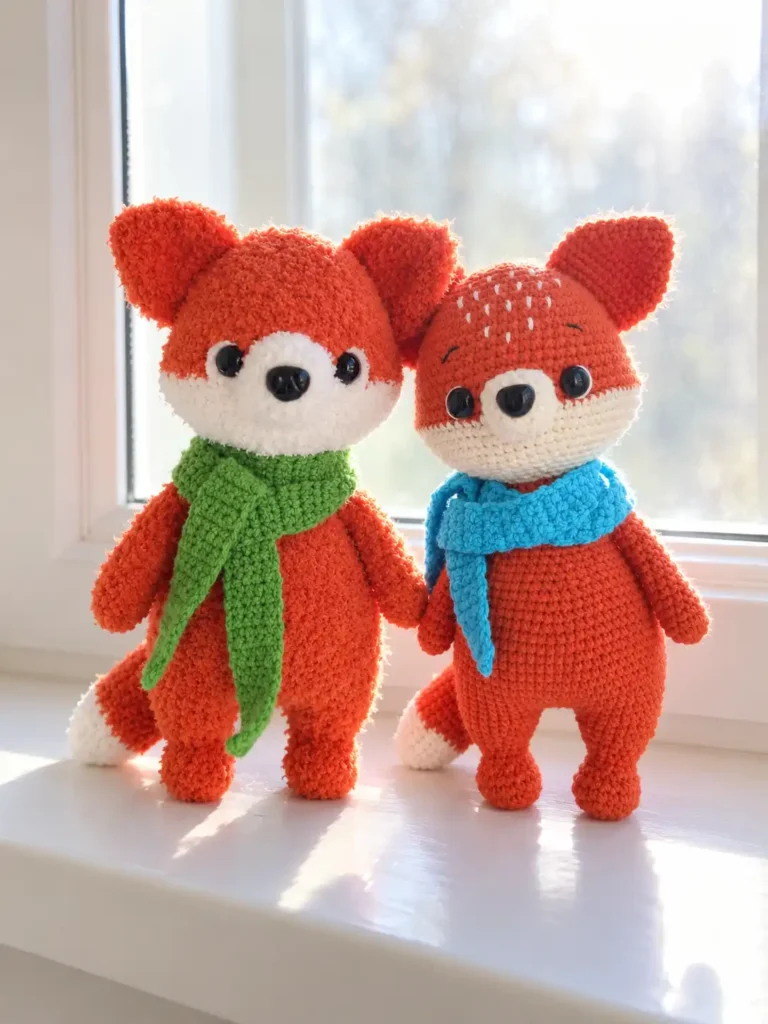
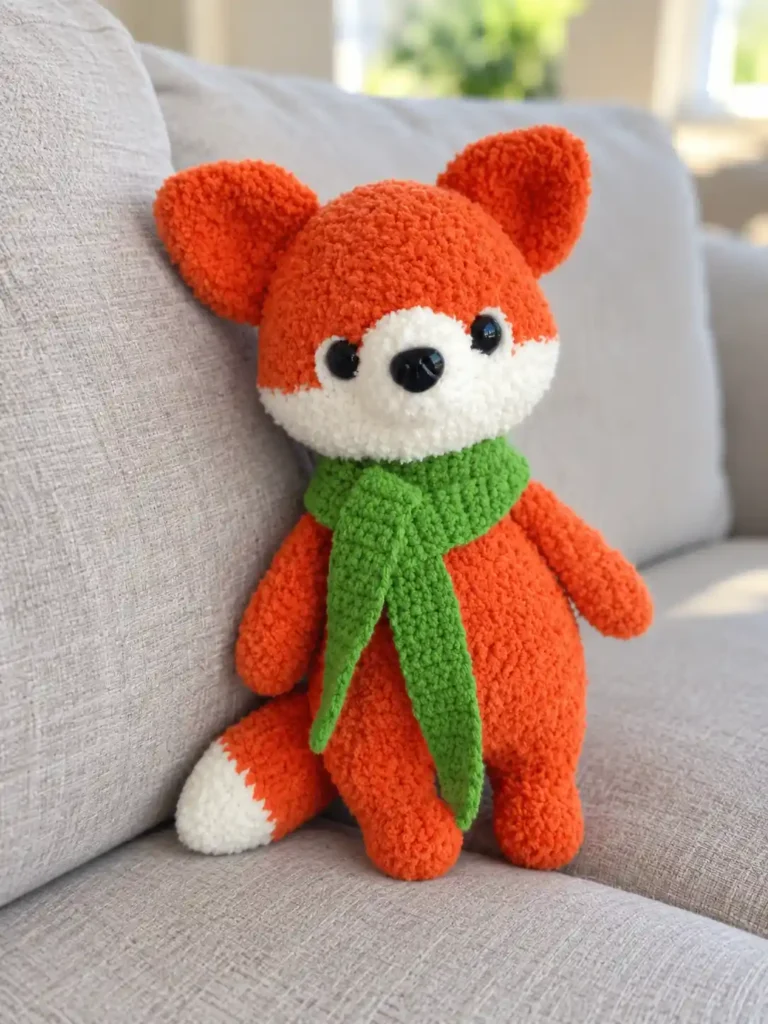
The same construction takes a change of texture well. Swap the smooth blend for a brushed yarn and the proportions change with it, since the fox measures roughly 25 cm with Alize Softy while the stitch counts stay exactly as written. If you would rather build a fox on different lines altogether, another crochet fox pattern and Zoe the fox amigurumi give you two more places to start.