Free Avocado Cat Amigurumi Pattern — Costume Kitty You’ll Love
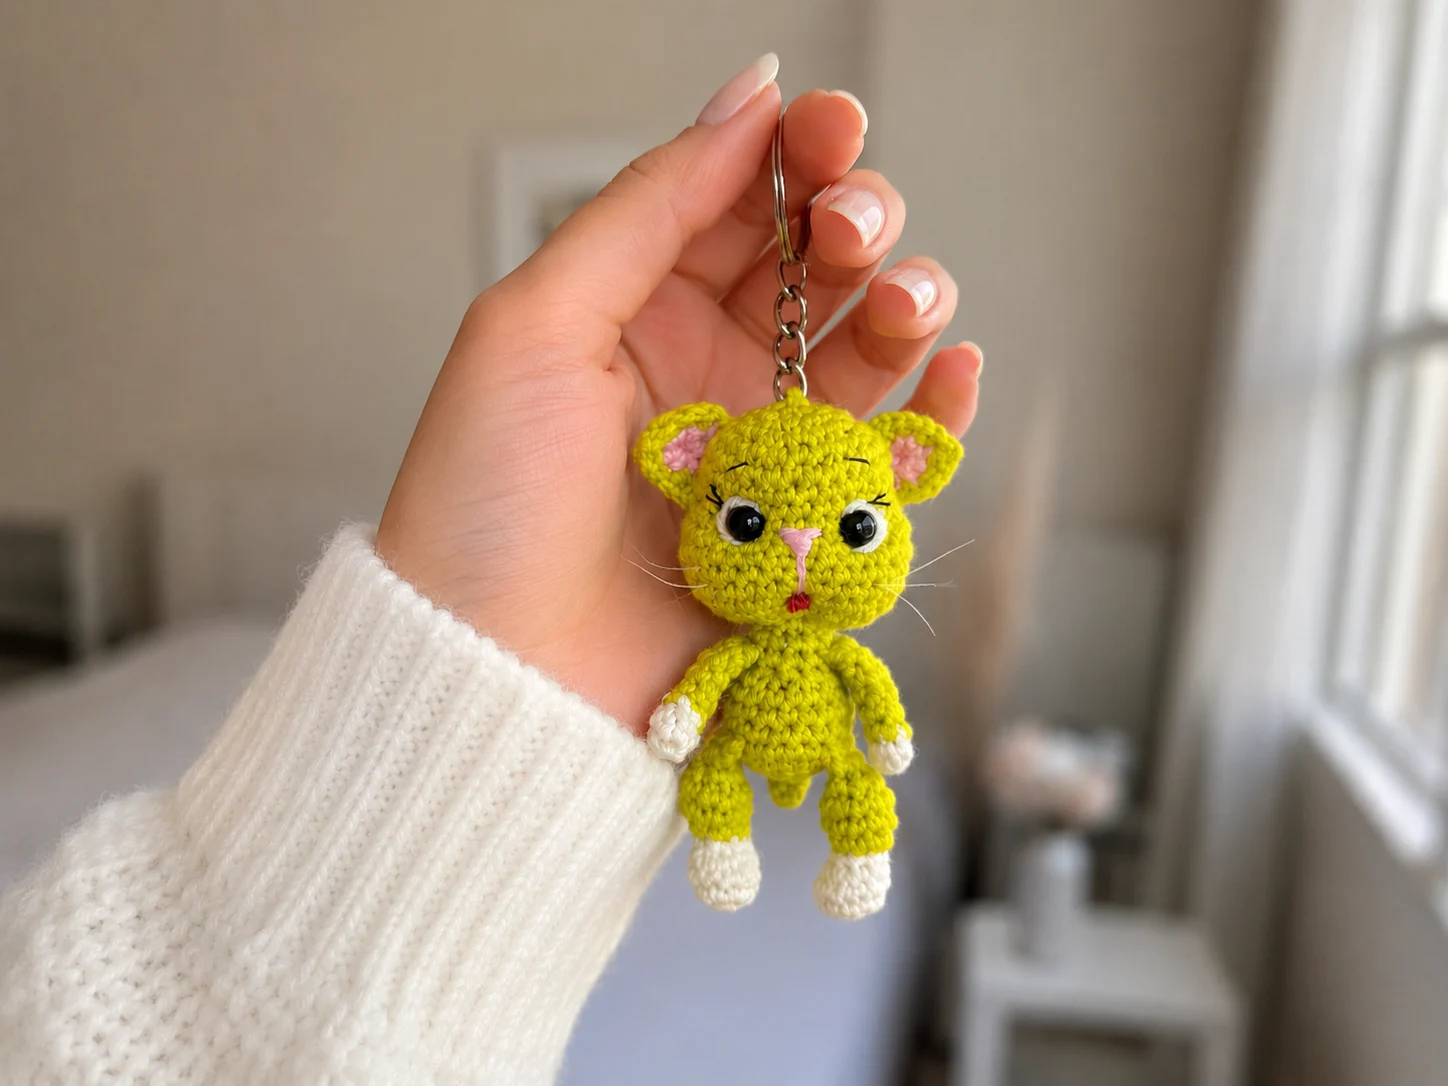
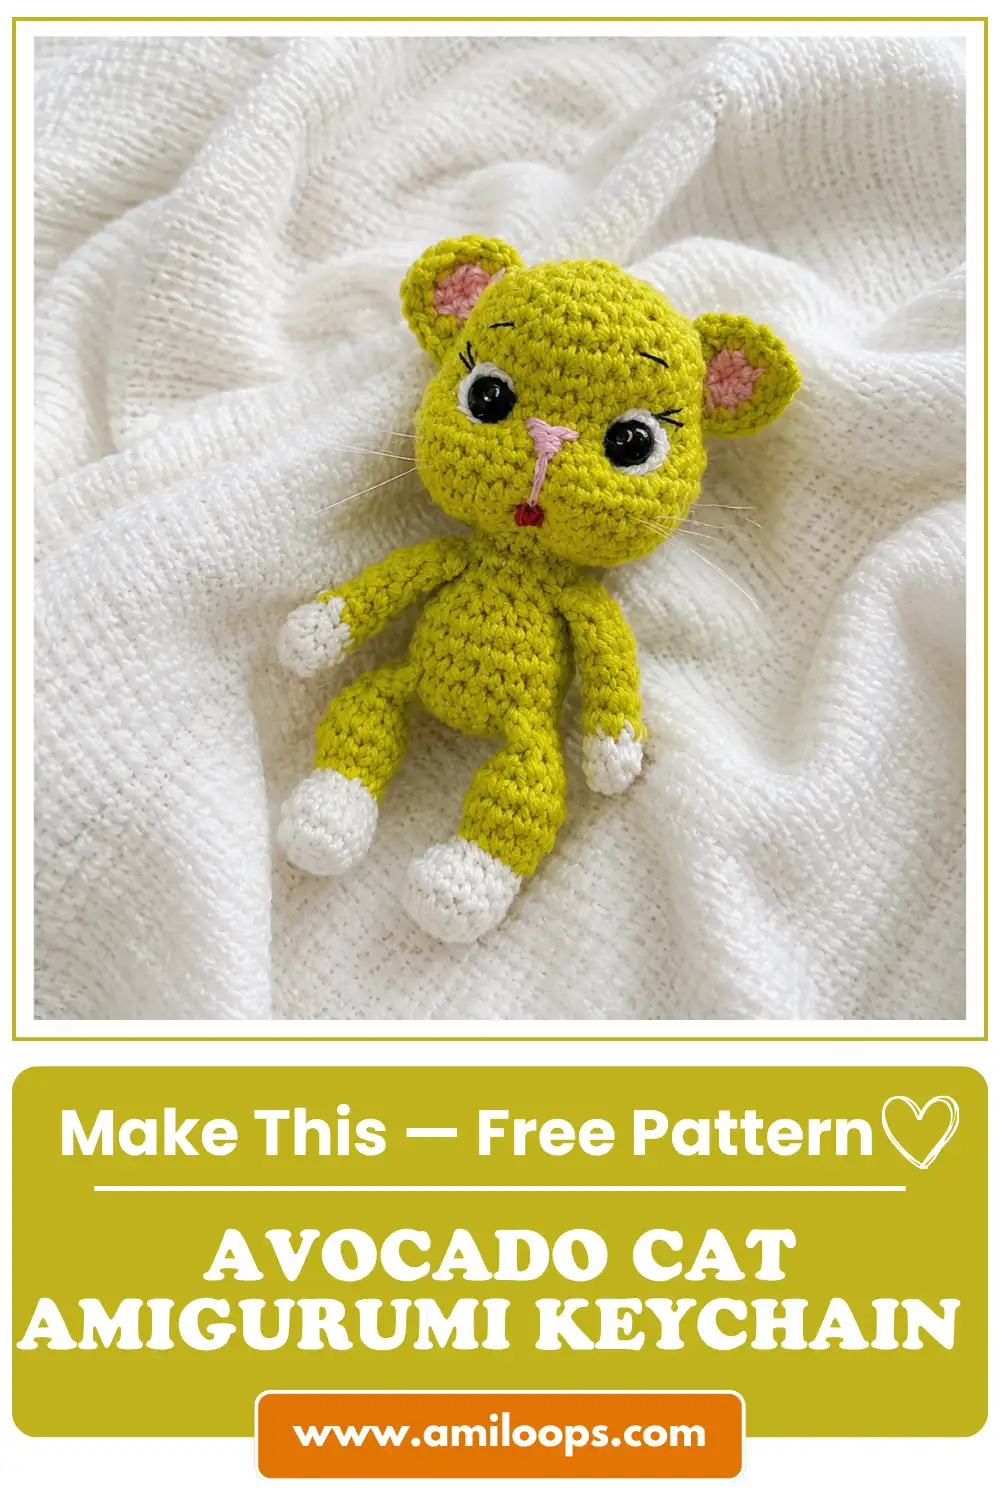
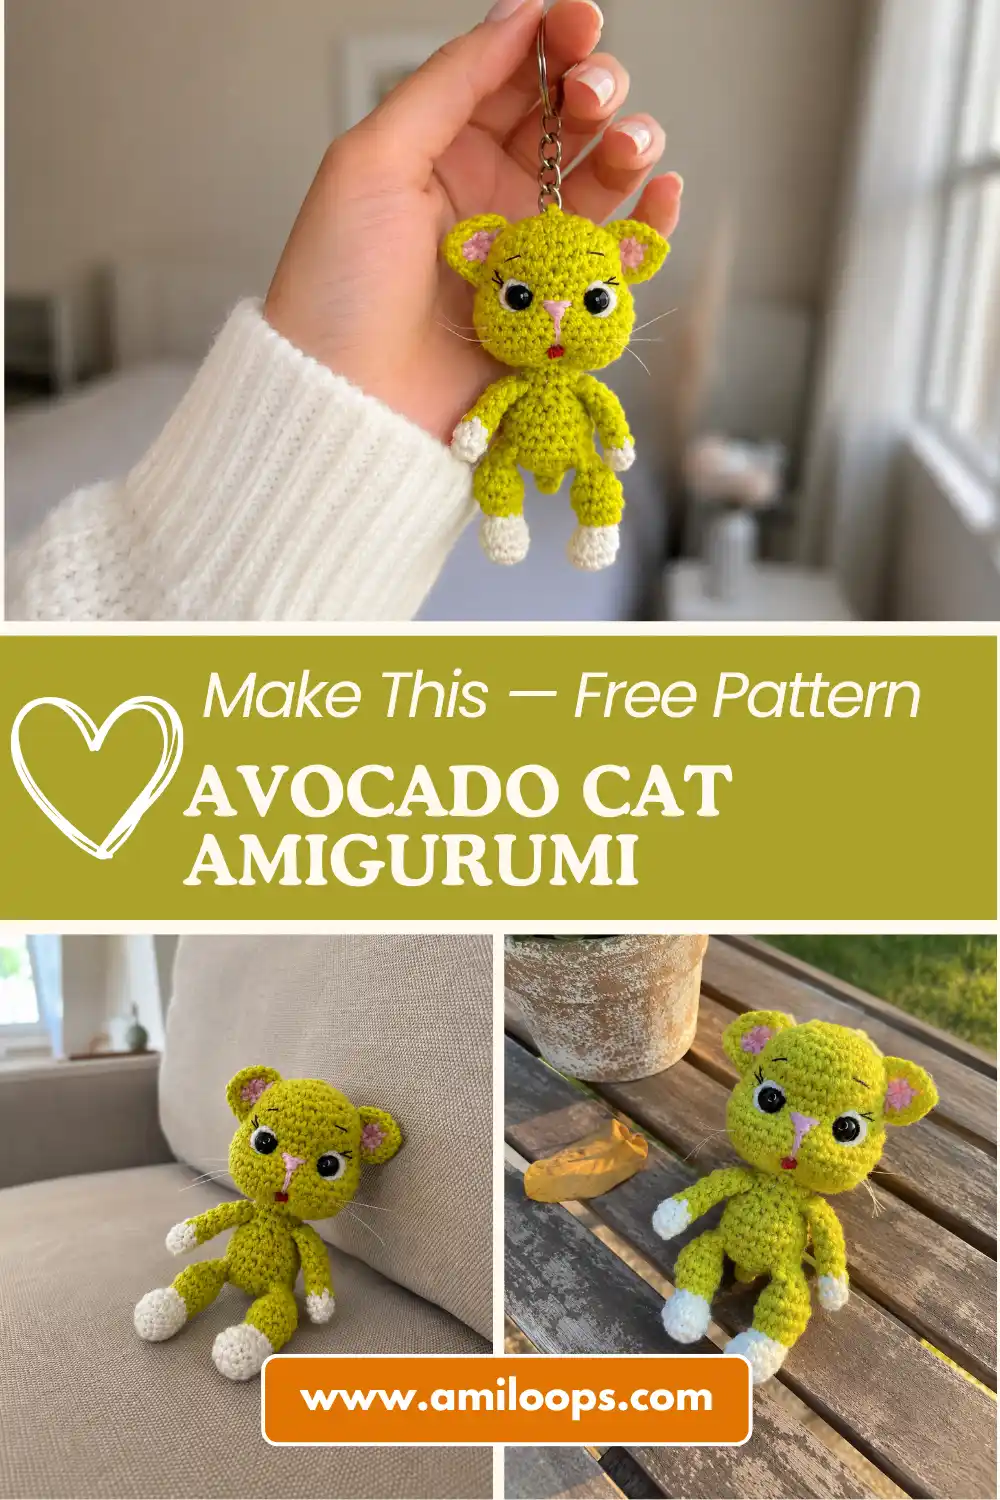
This avocado cat amigurumi pattern turns a squishy little kitty into her own chenille avocado costume, right down to a seed-shaped tail. Fair warning: this one runs more advanced than my usual quick projects — there’s sewing involved, plus a needle-sculpted face for that scrunched-up expression. Honestly? It’s worth the extra step. Grab a comfy afternoon instead of just one evening, and let’s make something a little more special together.
Why You’ll Love This Avocado Cat Amigurumi Pattern
🧶 Why You’ll Love This Pattern
- ⭐ Difficulty: INTERMEDIATE-ADVANCED (I’m not going to pretend this one’s a beginner project — it’s not, but you can still absolutely do it)
- ⏱️ Time: 3-5 hours, spread over a couple of sittings — this is my best guess.
- 🪡 Sewing: Standard — both leg pieces get folded and sewn closed, the ears get sewn onto the head, and the face is shaped with needle sculpting plus a little embroidery
- 🧵 Yarn: Chunky chenille or velvet recommended — soft, forgiving, and works up fast even with all the pieces
- 💰 Yarn needed: You’re working in small amounts of four colors, so you’ll likely use well under a skein of each, but grab a little extra just in case
Okay, let’s be honest with each other for a second. This is not one of my usual “one evening, zero sewing” patterns. The legs are made in two pieces, folded, and stitched closed. The ears get sewn on. And instead of just popping in safety eyes and calling it done, you’re going to needle-sculpt the face for that squished, grumpy-cute expression. If that sounds like a lot — it kind of is! But if I can figure out needle sculpting, you definitely can too. And if you’d rather ease in first, our classic gray kitty pattern is a much gentler place to start.
What You’ll Need for This Avocado Cat Amigurumi Pattern
Go with a Bulky (5) or Chunky (6) weight chenille or velvet yarn if you want that fast, squishy AmiLoops feel. Whatever you pick, work up a quick swatch first with your hook to make sure your stitches are tight enough that stuffing won’t peek through — the pattern doesn’t specify a hook size, so this is on you to test.
- Light milky (cream) yarn — for the leg starts and paws
- Pistachio (light green) yarn — for the upper legs and ear tips
- Green yarn — for the body, head, tail, and lower legs
- Pink yarn — for the ears
- Black sewing thread — for embroidering the eyebrows and eyelashes
- Embroidery floss (pink or red) — for the tongue
- Crochet hook — Pick whatever gives you firm, gap-free stitches with your yarn (a big ergonomic hook is my personal favorite either way)
- Safety eyes
- Polyester fiberfill / stuffing
- Tapestry needle — for sewing and embroidery
- Pins — for holding the ears and legs in place before you sew
All of this should be easy to find at Joann, Michaels, or Hobby Lobby — and don’t stress about matching the exact colors named. Any light cream, sage green, grass green, and pink will do the job.
Abbreviations Used in This Pattern
| Abbreviation | Meaning |
|---|---|
| ch | Chain — the little starting loops that begin a piece |
| sc | Single crochet — the basic stitch used throughout amigurumi |
| inc | Increase — 2 single crochets worked into the same stitch, adds width |
| dec | Invisible decrease — worked through the front loops of the next 2 stitches, combines them into one with no visible gap |
| hdc | Half double crochet — a slightly taller stitch than sc |
| shift st | Shift stitch — a single stitch that nudges where the round “starts,” so the shaping in a later row lines up in the right spot. Not a term you’ll see everywhere, but easy once you do it once |
| dbl dec | Double decrease — works 3 stitches together as one, for a sharper decrease than a regular dec |
| mr | Magic ring — the adjustable loop most amigurumi start with |
Beginner Tips Before You Start
Never made a magic ring before? No worries — our magic ring tutorial walks you through it in under two minutes, and every round piece in this pattern starts with one.
This pattern already uses invisible decrease (my favorite — no gap, ever), so if that’s new to you, check out our invisible decrease guide before you hit your first dec row.
Since this pattern has more sewing than usual — both leg pieces, plus the ears — it’s worth reading through our guide to sewing amigurumi parts first. Pinning everything in place before you commit to stitching saves so much frustration.
And don’t skip the swatch. stuffing peeking through your stitches is the #1 thing to watch for here — our stuffing guide covers how to fill firmly without stretching your stitches out.
Let’s Make the Avocado Cat Amigurumi Pattern
Upper Legs (make 2)
Colors: light milky, then pistachio. Start with a chain foundation.
Row 1: Ch 3, starting from the 2nd ch from hook work sc, 3 sc in 1 st, then work along the other side of the chain with inc (6)
Row 2: 6 sc (6)
Rows 3-4: 6 sc, repeated for 2 rows (6)
Rows 5-6: 2 sc, 2 hdc, 2 sc, repeated for 2 rows (6)
Row 7: 6 sc (6)
💡 Color note: Switch to pistachio right after Row 2, and cut your light milky yarn there. Don’t stuff these legs — you’ll fold them flat instead.
Finishing: Fold the leg in half and work 3 sc through both layers to close it up. Fasten off, and weave in your ends.
🎉 One part down! Two more legs to go before we build the body. You’re getting the hang of this.
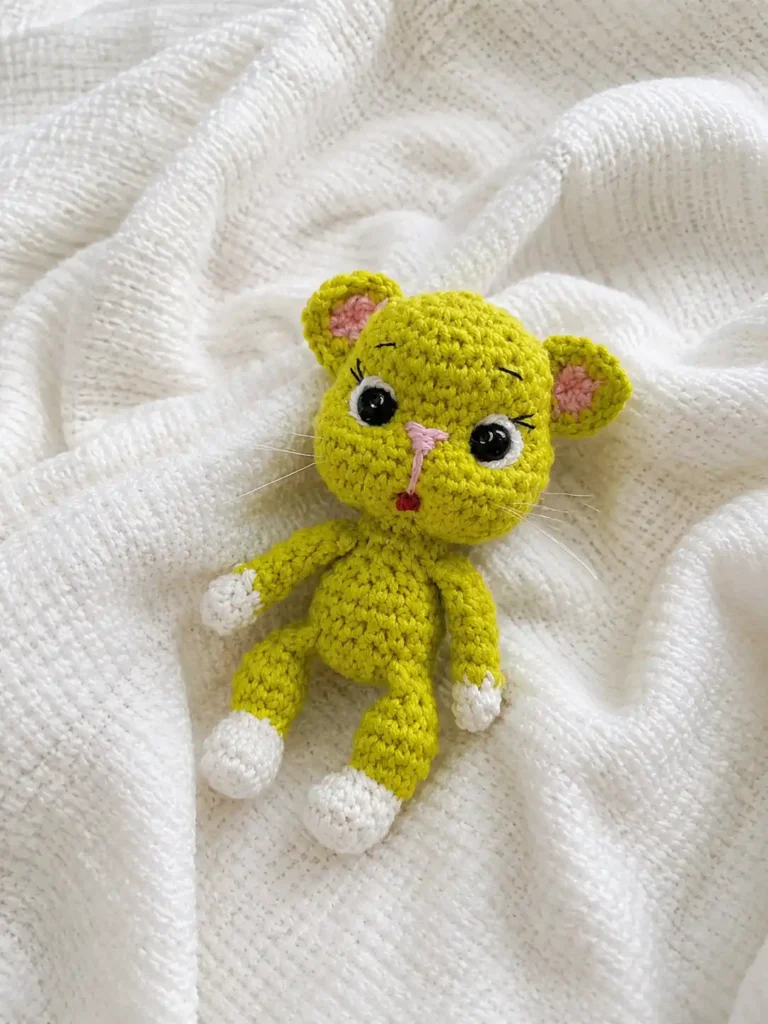
Lower Legs (make 2 — one becomes the left leg, one the right)
Colors: light milky, then green. Start with a chain foundation. Rows 1-5 are the same for both legs — they only diverge starting at Row 6.
Row 1: Ch 3, starting from the 2nd ch from hook work sc, 3 sc in 1 st, then work along the other side of the chain with inc (6)
Row 2: 6 inc (12)
Row 3: 12 sc, then a shift st (12)
Row 4: 3 sc, 3 dec, 3 sc (9)
Row 5: 3 sc, dbl dec, 3 sc (7)
💡 Switch to green yarn right after Row 5. From here, the left and right legs are worked differently — keep track of which one you’re making!
For the LEFT leg:
Row 6: 4 inc, 3 sc (11)
Rows 7-8: 11 sc, repeated for 2 rows (11)
Row 9: 4 dec, 3 sc (7)
For the RIGHT leg:
Row 6: 3 sc, 4 inc (11)
Rows 7-8: 11 sc, repeated for 2 rows (11)
Row 9: 3 sc, 4 dec (7)
Finishing: Stuff each leg firmly. Fold in half and work 4 sc through both layers to close. Fasten off, cut the yarn, and weave in ends.
Tail (make 1)
Color: green. Start with a magic ring.
Row 1: 5 sc in mr (5)
Rows 2-6: 5 sc, repeated for 5 rows (5)
Finishing: Don’t stuff the tail. Fold it in half and work 2 sc through both layers to close.
🎉 Halfway to the body! Legs and tail done — next up is the big piece.
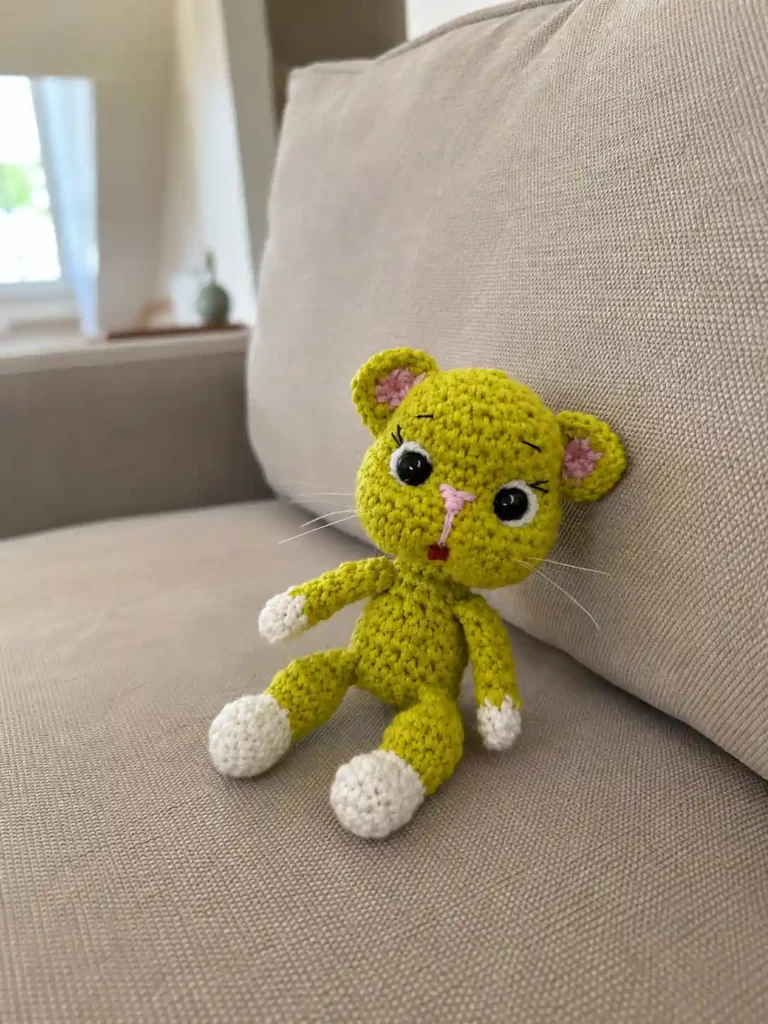
Body and Head (make 1)
Color: green throughout. Start with a magic ring.
Row 1: 6 sc in mr (6)
Row 2: 6 inc (12)
Row 3: (1 sc, inc) × 6 (18)
Row 4: 3 sc, 4 sc worked together with the right lower leg, 4 sc, 4 sc worked together with the left lower leg, 3 sc (18)
Row 5: 16 sc, then 2 sc worked together with the tail (18)
💡 Row 4 is where both lower legs get attached to the body, and Row 5 is where the tail joins in. Drop a stitch marker here after Row 5 — you’ll want it later.
Rows 6-7: 18 sc, repeated for 2 rows (18)
Row 8: 5 sc, 3 dec (this creates the decrease down the middle front), 5 sc, dec (14)
Row 9: 2 sc, 3 sc worked together with the right upper leg, 4 sc, 3 sc worked together with the left upper leg, 2 sc (14)
⚠️ Important: The upper legs need to sit strictly on the sides here — take a second to check placement before you crochet them in.
Row 10: 3 sc, dec, 3 sc, dec, 4 sc (12)
Row 11: (2 sc, dec) × 3 (9)
🧸 Stuffing time! After Row 11, stuff the body firmly before you keep going — you won’t be able to reach back in once the head is built up. Squeeze it in there.
Row 12: 9 inc (18)
Row 13: (2 sc, inc) × 6 (24)
Row 14: 5 sc, 3 inc, 9 sc, 3 inc, 4 sc (30)
⚠️ Important: Those increases in Row 14 need to run strictly along the sides of the head.
Rows 15-18: 30 sc, repeated for 4 rows (30)
After Row 18, work a shift st.
Row 19: 5 sc, 3 dec, 8 sc, 3 dec, 5 sc (24)
⚠️ Important: Same deal as Row 14, but in reverse — these decreases run strictly along the sides.
Rows 20-21: 24 sc, repeated for 2 rows (24)
Row 22: (2 sc, dec) × 6 (18)
Row 23: (1 sc, dec) × 6 (12)
Row 24: 6 dec (6)
Finishing: Stuff the head firmly, but leave the hole open for now — you’ll close it after decorating the face. See? That wasn’t so bad. You just built an entire cat.
Ears (make 2)
Colors: pink, then pistachio. Start with a magic ring. These are worked in turning rows, not continuous rounds — just crochet, chain, and turn like you’re used to from flat pieces.
Row 1: 6 sc in mr (pink) (6)
Row 2: Ch 1, turn. In the first stitch work inc, sc, inc, a picot (1 ch), inc in the next stitch, sc, inc (pistachio) (10)
💡 Join your pistachio yarn right before Row 2. Weave in your ends as you go so you’re not left with a pile of tails at the end.
Finishing: Use your needle to tuck the pink yarn tail behind the ear where it won’t show. Leave the pistachio tail long — you’ll use it to sew the ear on later.
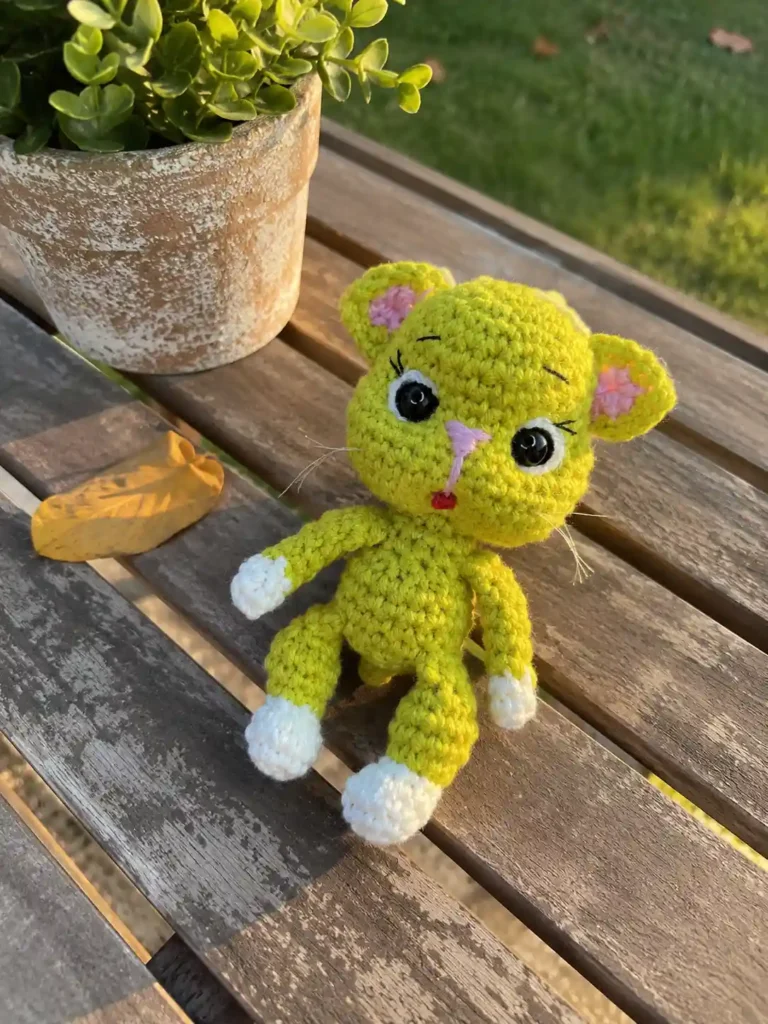
Assembly
Good news and honest news: the legs and tail are already attached, since you crocheted them straight into the body as you went (Rows 4, 5, and 9 above). The only piece left to sew on is the ears, and that happens after you’ve decorated the face — so hang onto them for now.
- Lower legs are already joined — worked into Row 4 of the body.
- Tail is already joined — worked into Row 5 of the body.
- Upper legs are already joined — worked into Row 9 of the body, positioned on the sides.
- Once the face is decorated (next section), pin the ears in place, then sew them on using the pistachio tail you left. Pinning first makes a huge difference here — trust me.
Decorating the Face
This is the part that makes her look like an actual grumpy little avocado cat instead of a green blob, so take your time here. It’s needle sculpting, which just means using a needle and thread to pull the crochet fabric in at specific points and knot it — it looks fussy in writing but it’s really just “poke, pull, tie.”
Shaping the muzzle: The neck sits between Rows 10 and 11. The eyes sit between Rows 19 and 20. Thread your needle and insert it at the neck point (point 1), bringing it out at the right eye point (point 2). Step back one stitch to the left and bring the needle back out at point 1. Pull both thread ends tight and knot them — this pulls the neck in and starts defining the right eye socket. Repeat the same process from point 1 out to the left eye point (point 3), stepping one stitch to the right this time before returning to point 1 and knotting.
Shaping the nose and mouth: The nose sits between Rows 19-20, and the mouth between Rows 13-14. From the neck point (point 1), bring your needle out at the mouth point, lay the thread over the top of the stitch, and reinsert at the mouth shaping point, bringing it out at the nose. Pull snug. Run the thread back over the top to the mouth again, then bring it out at the top of the head. Bring your second thread end up to meet it at the top of the head, knot, and trim.
🎉 The hardest part is over! Needle sculpting always looks scarier than it is — once those first few pulls are knotted off, the rest is just embroidery.
Final details:
- Eyes: Glue your safety eyes in place at the points you just shaped.
- Eyebrows and eyelashes: Embroider with a single strand of black sewing thread.
- Tongue: Using 3 strands of embroidery floss, insert your needle into the still-open hole at the top of the head and bring it out at the mouth shaping point to stitch the tongue.
Once the face is done, close up that stuffing hole at the top of the head, then pin and sew your ears on using the pistachio tail from earlier.
You Did It!
Look at her! An entire avocado cat, sewn legs, needle-sculpted face, tiny embroidered tongue and all. This one asked more of you than my usual patterns do, and you showed up for it anyway — that’s genuinely worth being proud of. Snap a photo and tag AmiLoops, I want to see every squishy, slightly lopsided, entirely perfect version. And if you’re craving something a little more relaxing next, my scrap-friendly bunny plush is exactly the no-sew palate cleanser you’ll want. 🥑🐱
FAQ
What yarn is best for this avocado cat amigurumi pattern?
A Bulky (5) or Chunky (6) weight chenille or velvet yarn is recommended for a fast, soft, and squishy amigurumi feel.
How long does it take to crochet this avocado cat?
It takes approximately 3 to 5 hours to complete, so it is best spread over a couple of sittings due to the assembly and face sculpting.
Can beginners make this avocado cat pattern?
This pattern is rated intermediate-advanced because it involves needle-sculpting and sewing flat pieces, but confident beginners can accomplish it by taking their time.