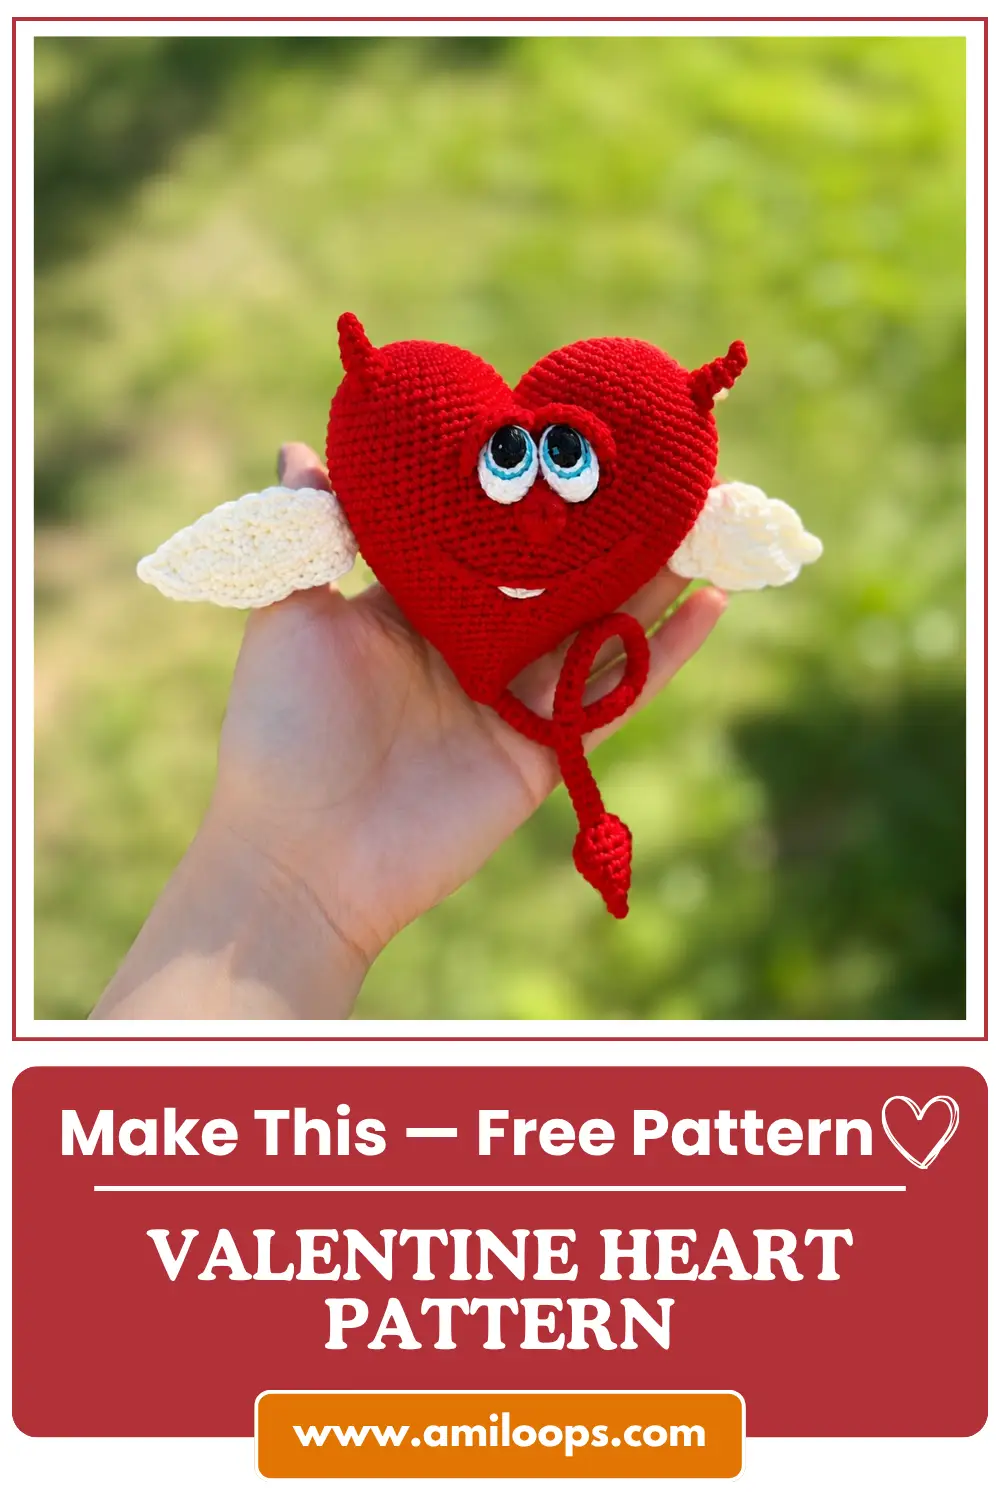
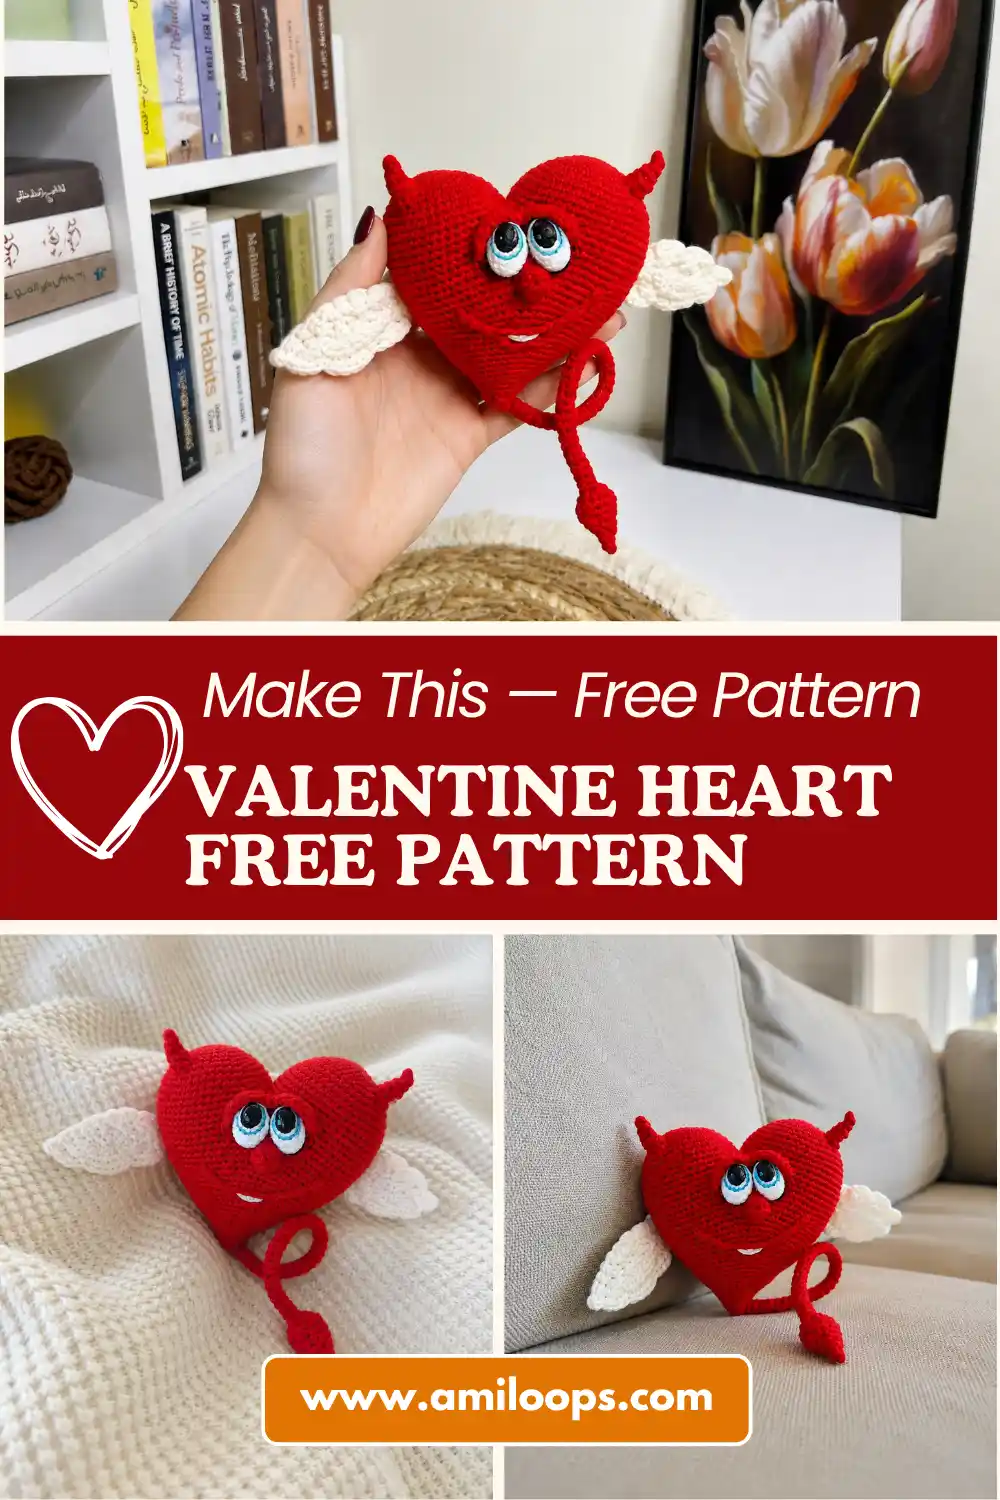
This Crochet Valentine Heart Free Pattern Is a Little Different From My Usual Projects
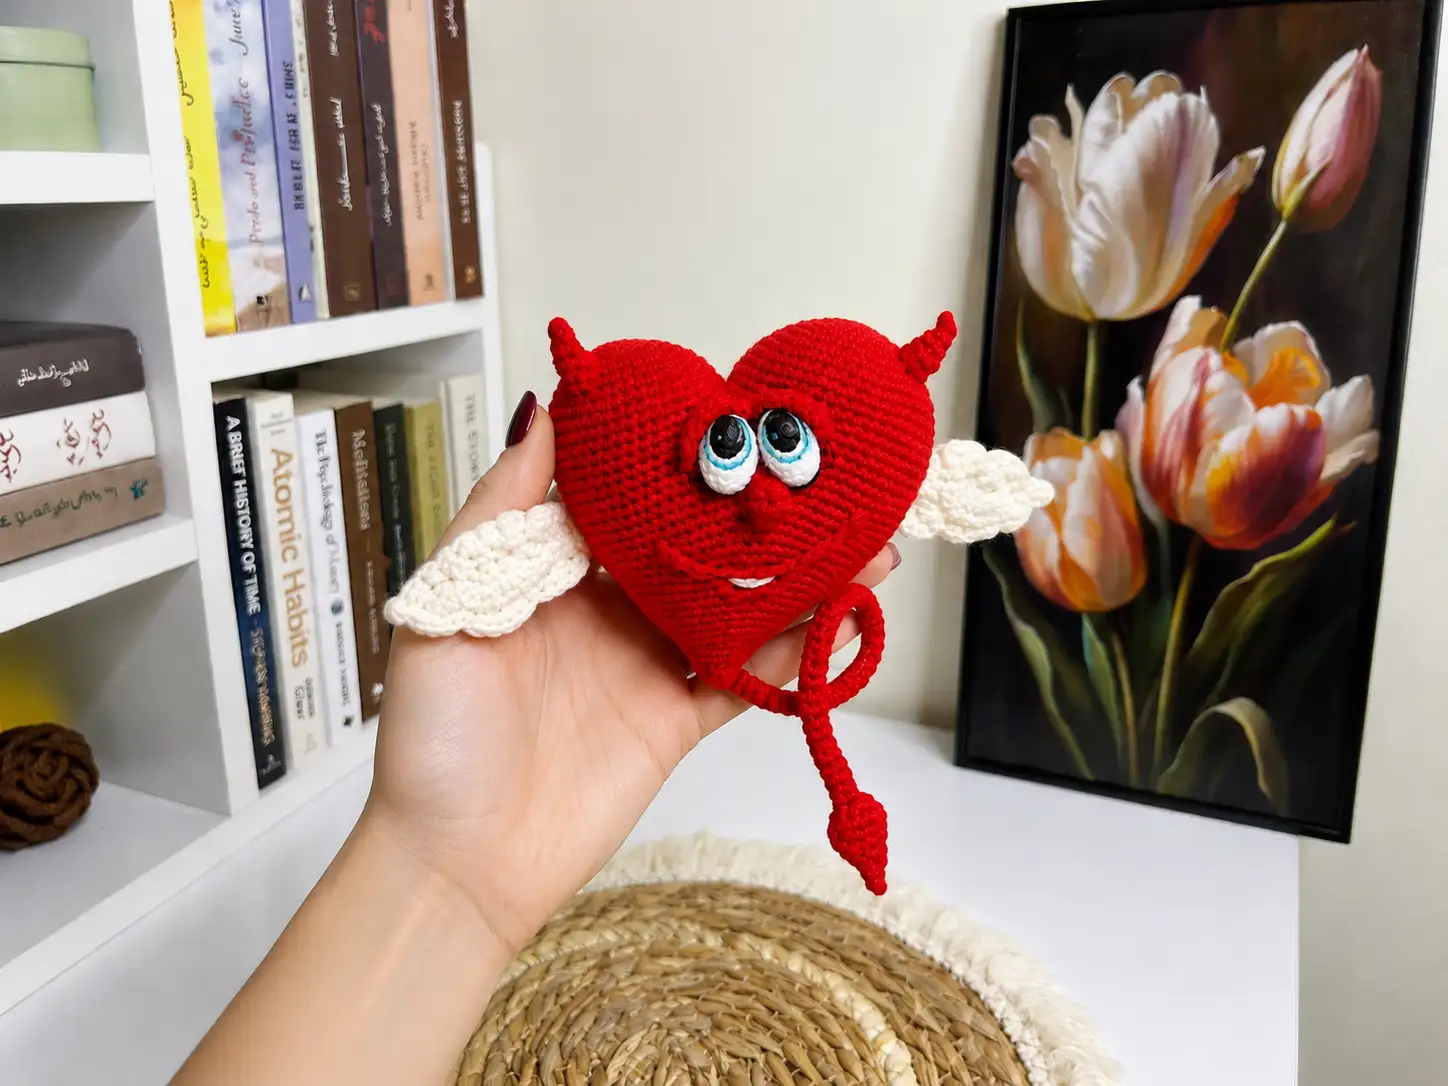
Okay, I need to be honest with you before we start this crochet valentine heart free pattern: this is not a one-evening chenille situation. This little heart character — complete with wings, tiny horns, a wired tail, and a face you sew on piece by piece — is a proper project. Here’s the thing: if you’ve made a couple of amigurumi already, you are absolutely ready for this. Grab a cup of tea, put on a long show (not a short one), and let’s build this sweetheart together.
🧶 Why You’ll Love This Pattern
- ⭐ Difficulty: Intermediate–Advanced (I’m not going to pretend otherwise — this one has a learning curve)
- ⏱️ Time: Several sittings — this isn’t in the original pattern, so treat it as a rough estimate, but plan for 6–10+ hours total
- 🪡 Sewing: Standard — you’ll sew on wings, eyelids, and secure a wire tail. Yes, actual sewing. I know, I know.
- 🧵 Yarn: Fine/Sport weight — this is a small-hook, detail-focused project, not a chunky one
- 💰 Yarn needed: Not specified by the original designer. As a rough guide, one 50g/175m skein of red plus a small amount of white should get you there, but grab a little extra red just in case
You’re going to love this — but only if you go in with the right expectations. This is a slow, satisfying, detail-oriented make. Honestly? That’s part of the charm.
What You’ll Need for This Crochet Valentine Heart Pattern
- Yarn: Fine/Sport weight (CYCA 2) yarn in red (main color) and white (for the wings). The Craft Yarn Council’s yarn weight chart is a good reference if you’re not sure what “Sport weight” means yet.
- Hook: 1.5mm. Quick heads up — there’s no standard US letter size for a hook this small, so just look for “1.5mm” on the package rather than a letter.
- Safety eyes: One pair, sized to your preference. If this heart will end up in a young child’s hands, check the CPSC’s toy safety guidance before choosing eye placement and hardware.
- Stuffing: Polyester fiberfill, added gradually as you go.
- Wire: A length of craft or floral wire for the tail — thin enough to bend, sturdy enough to hold a curl.
- A large bead or button: Used inside the heart to anchor the wire so it can’t slip out.
- Ribbon or a small carabiner: Optional, for hanging your finished heart.
- Tapestry needle and scissors.
- Stitch marker: Non-negotiable — you’ll be tracking a lot of rounds.
Don’t have red Sport-weight yarn on hand? Any fine, smooth yarn in a similar weight will substitute just fine — just try to match your gauge to the hook so your stitches stay nice and tight (that’s what keeps the stuffing from peeking through).
Abbreviations Used in This Crochet Valentine Heart Pattern
| Abbreviation | Meaning |
|---|---|
| mr | magic ring — an adjustable loop that closes up tight, no hole in the middle |
| ch | chain |
| sl st | slip stitch |
| sc | single crochet |
| hdc | half double crochet — a little taller than sc |
| dc | double crochet — taller still, used for the wings |
| inc | increase — 2 sc worked into the same stitch |
| dec | decrease — 2 sc crocheted together into one stitch |
| FLO | front loop only — worked into just the front loop of a stitch, for texture |
| BLO | back loop only — worked into just the back loop, for texture |
| FO | fasten off |
Beginner Tips Before You Start
New-ish to amigurumi and feeling brave? Good. Here’s what will help:
Never made a magic ring before? Our magic ring tutorial walks you through it step by step — every part of this heart starts there.
This pattern uses a regular decrease (two sc crocheted together) throughout. If you’d rather have a smoother, gap-free finish, you can swap in an invisible decrease instead — same stitch count, cleaner look. Totally your call.
Because this project uses safety eyes, take a peek at our guide to attaching safety eyes safely before you insert them — they need to go in before the stuffing, and they’re permanent once they click into place.
And since there’s real sewing involved this time (wings, eyelids, the whole thing), our guide to sewing amigurumi parts is worth a read before you get to assembly. Pinning everything in place first will save you so much frustration.
How to Crochet Your Valentine Heart, Part by Part
A quick note before we dive in: this heart is worked in a spiral (continuous rounds, no joining) unless a section says otherwise, and through both loops unless a note tells you to work in FLO or BLO.
Right Hemisphere (make 1)
Color: red. Start with a magic ring.
Row 1: 6 sc in mr (6)
Row 2: inc x 6 times (12)
Row 3: (inc, 1 sc) x 6 times (18)
Row 4: (inc, 2 sc) x 6 times (24)
Row 5: (inc, 3 sc) x 6 times (30)
Row 6: (inc, 4 sc) x 6 times (36)
Row 7: (inc, 5 sc) x 6 times (42)
Row 8: (inc, 6 sc) x 6 times (48)
Row 9: (inc, 7 sc) x 6 times (54)
Rows 10–14: sc around (54)
FO, cut the yarn, and set this piece aside. You’ll come back to it soon.
Left Hemisphere (make 1)
Color: red. Start with a magic ring.
Row 1: 6 sc in mr (6)
Row 2: inc x 6 times (12)
Row 3: (inc, 1 sc) x 6 times (18)
Row 4: (inc, 2 sc) x 6 times (24)
Row 5: (inc, 3 sc) x 6 times (30)
Row 6: (inc, 4 sc) x 6 times (36)
Row 7: (inc, 5 sc) x 6 times (42)
Row 8: (inc, 6 sc) x 6 times (48)
Rows 9–12: sc around (48)
This time, don’t fasten off — keep your working loop live. We’re about to join the two halves.
🎉 Two domes done! That’s genuinely the easy part behind you. From here it gets more interesting — in a good way.
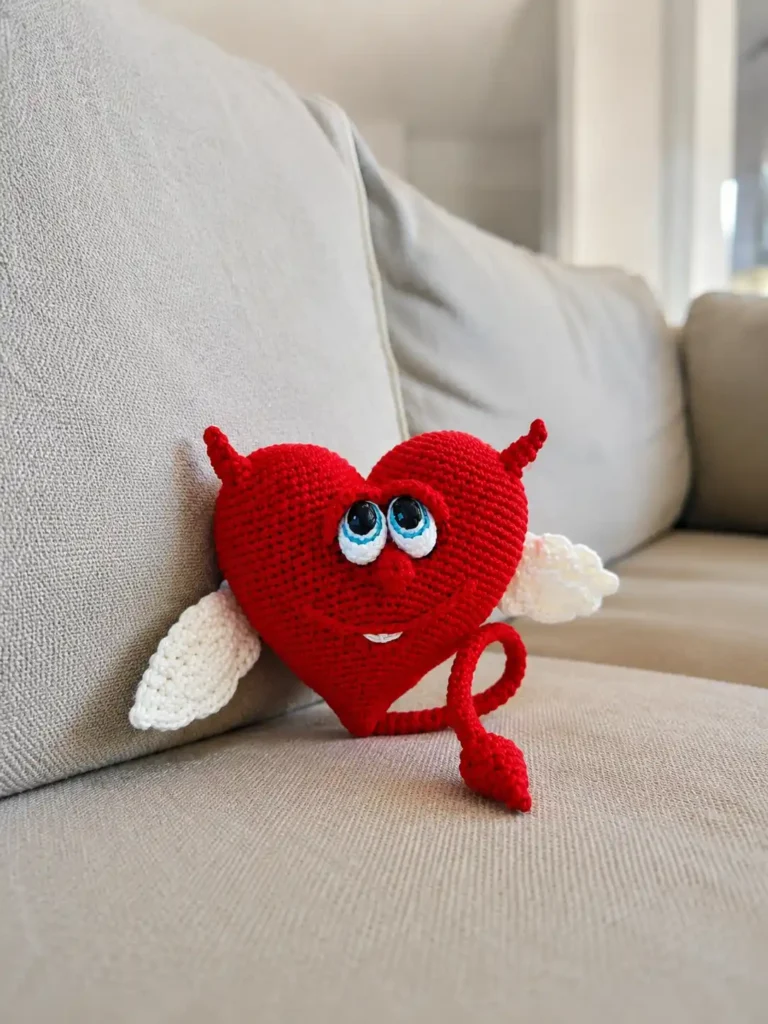
Common Heart Part (the two hemispheres joined into one)
Here’s where it gets clever: you’re going to join the two hemispheres into a single heart shape by working through both layers at once. Line up the right and left hemispheres with their insides facing each other, then crochet 8 sc through both layers where they meet. Drop a stitch marker at that join — that’s your new round 1 starting point.
Row 1: 40 sc around the smaller hemisphere, 46 sc around the larger hemisphere (86)
Row 2: 40 sc, dec, 44 sc (85)
Row 3: 40 sc, dec, 43 sc (84)
Rows 4–7: sc around (84)
Row 8: 6 dc in 1 st, 11 sc, dec, (12 sc, dec) x 5 times (83)
Row 9: 6 dc together, 77 sc (78)
Row 10: (11 sc, dec) x 6 times (72)
Row 11: sc around (72)
Row 12: (10 sc, dec) x 6 times (66)
Row 13: sc around (66)
Row 14: (9 sc, dec) x 6 times (60)
Row 15: sc around (60)
Row 16: (4 sc, dec) x 5 times, sc to end (55)
Row 17: (3 sc, dec) x 5 times, sc to end (50)
Row 18: sc around (50)
Quick pause here — rows 8 and 9 are building the little nose bump (that cluster of 6 dc), and it can feel confusing the first time through. You’re crocheting 6 double crochets into a single stitch to create a raised shape, then closing it back down the next row by working all 6 together. It looks fussy on paper but makes total sense once you see the shape forming. Trust it.
🎉 The nose is done and the face shape is taking form! You made it through the trickiest bit of shaping in this whole pattern. It’s smooth sailing for a while now.
Once you’ve finished row 28 below, stuff the piece firmly before continuing — you won’t have easy access to the inside later. If you’re using safety eyes with backings, this is also a good moment to insert them, right after the nose section.
Row 19: dec, 23 sc, dec, 23 sc (48)
Row 20: (10 sc, dec) x 4 times (44)
Row 21: (9 sc, dec) x 4 times (40)
Row 22: (8 sc, dec) x 4 times (36)
Row 23: (7 sc, dec) x 2 times, 16 sc, dec (33)
Row 24: (6 sc, dec) x 2 times, 15 sc, dec (30)
Row 25: (5 sc, dec) x 2 times, 14 sc, dec (27)
Row 26: (4 sc, dec) x 2 times, 13 sc, dec (24)
Row 27: (3 sc, dec) x 2 times, 12 sc, dec (21)
Row 28: (2 sc, dec) x 2 times, 11 sc, dec (18)
🪡 Stuff firmly now, before you continue on to the tail.
Row 29: (dec, 4 sc) x 3 times (15)
Row 30: (dec, 3 sc) x 3 times (12)
After this row, insert your wire for the tail. Thread it in and secure the end inside the heart using a large bead or button — this keeps it from sliding back out later. Then just keep crocheting around the wire as you continue the tail.
Row 31: (dec, 2 sc) x 3 times (9)
Row 32: dec, 7 sc (8)
Rows 33–68: sc around, no shaping — just repeat this same round 36 times to build the length of the tail (8)
Row 69: 2 hdc in each st (16)
Rows 70–71: sc around (16)
Row 72: (2 sc, dec) x 4 times (12)
Row 73: (4 sc, dec) x 2 times (10)
Row 74: (3 sc, dec) x 2 times (8)
Row 75: (2 sc, dec) x 2 times (6)
Row 76: (1 sc, dec) x 2 times (4)
FO, cut the yarn, and weave the end inside. That tail is a lot of rounds in a row — thirty-six of the exact same round, to be exact. Put on a podcast for this part. It’s mindless in the best way.
Want a fancier tail tip? In row 69, you can work in FLO only, then work row 70 in BLO of the previous round — this creates a little ridge for extra texture at the tip. Totally optional, and honestly, only worth trying if you’ve done FLO/BLO before.
🎉 Body and tail: complete! Everything left is small pieces — horns, wings, eyelids, and a mouth. You’re genuinely on the home stretch.
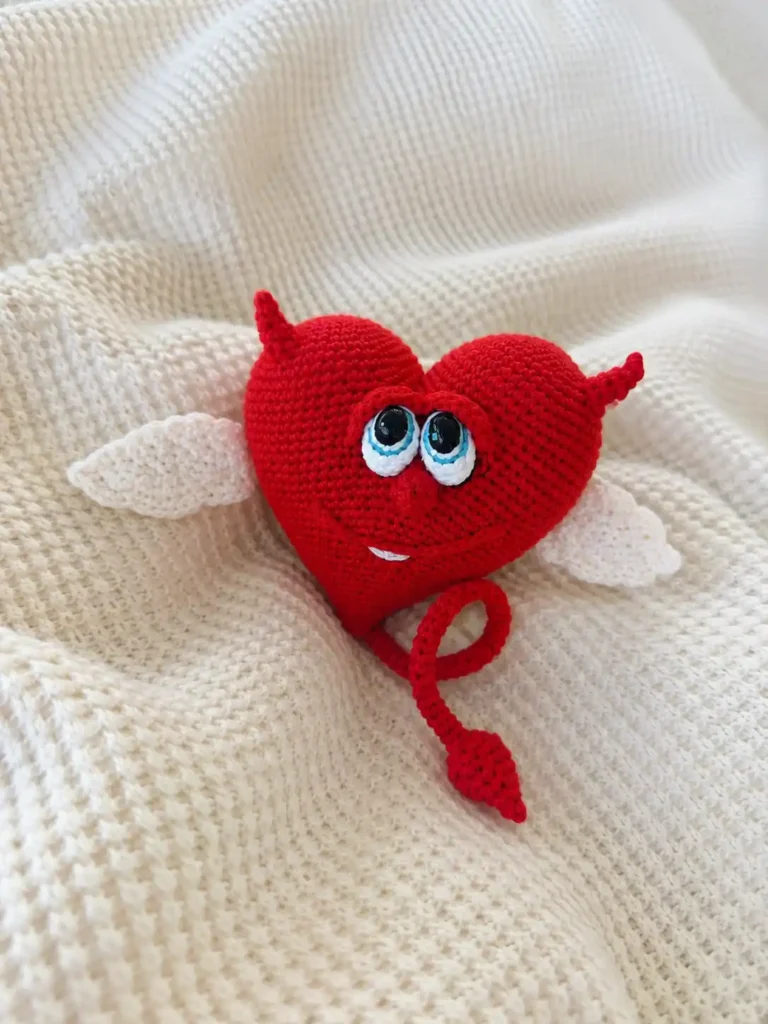
Horns (make 2)
Mark your horn placement with pins, roughly between rows 7–8 of the original hemispheres. Working right on top of the existing fabric around each pin mark, crochet a circle of 9 sc to start, then continue in a spiral as usual.
Row 1: 9 sc (9)
Row 2: dec, 7 sc (8)
Row 3: dec, 6 sc (7)
Row 4: dec, 5 sc (6)
Row 5: dec, 4 sc (5)
Row 6: dec, 3 sc (4)
FO, weave in the end. No stuffing needed here — the tight tension holds the shape on its own.
Wings (make 2)
Color: white. Start with a magic ring. These are worked in joined rounds (not a spiral) — that means chaining 3 at the start of every row as your turning chain, and closing each row with a slip stitch.
Row 1: 12 dc in mr (12)
Row 2: (2 dc in one st) x 12 times (24)
Row 3: (2 dc in one st, 1 dc) x 12 times (36)
Row 4: (2 dc in one st, 2 dc) x 8 times, 12 dc (44)
Row 5: (1 sc, skip 1 st, 5 dc in one st, skip 1 st) x 9 times, then fold the piece in half and work through both layers: (1 sc, skip 1 st, 5 dc in one st, skip 1 st) x 1 time (60)
FO, weave in the end. That last row is the ruffled scalloped edge — folding it in half partway through is what gives the wing its shape, so don’t skip that step.
Eyelids (make 2)
Color: red. Chain 10 to start.
Row 1: starting in the 2nd chain from the hook — 1 sc, 7 hdc, 1 sc; turn (9)
Row 2: ch 1, 9 sc (9)
FO, leaving a long tail for sewing later.
Mouth
Color: white. Mark your mouth placement (a soft half-smile shape) with pins. Using surface crochet — working sc directly along the marked line rather than in rows — crochet along the line you’ve marked.
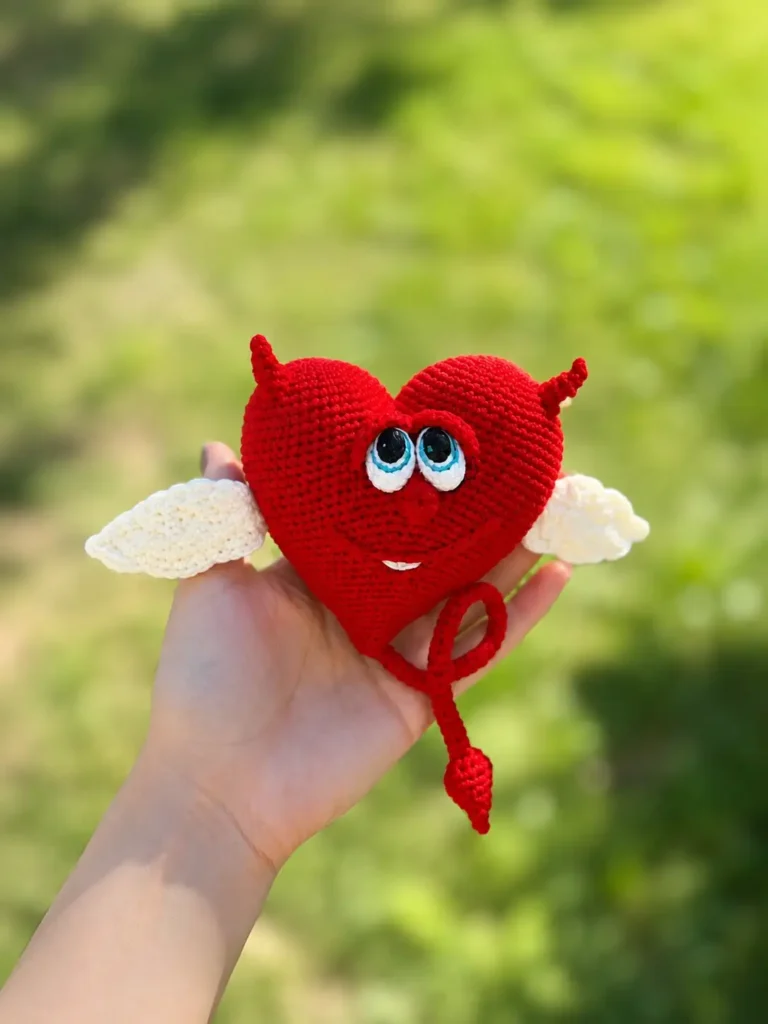
Assembly — This Part Takes Patience, and That’s Okay
I’m not going to sugarcoat this section. There’s real sewing here. Pin everything in place first before you commit to stitching — it’s so much easier to adjust a pin than to unpick a seam.
- Sew or glue the safety eyes in place, roughly 4 rows above the nose bump.
- Sew the eyelids on above the eyes.
- Glue on eyelashes if you’d like the extra detail.
- Sew the wings onto the back of the heart.
- Thread a ribbon loop through the top with your needle, or attach a small carabiner, at the “nape” area near the tail.
For a little extra expression, gently pull the corners of the mouth inward with a needle and thread, securing the small indent with a couple of tiny stitches at the back. A few white stitches just under the mouth line as “teeth” adds a sweet finishing touch too.
You Did It!
Seriously — look at what you just made. This was not a quick project, and if you stuck with it through all seventy-six rows of that tail alone, you should be genuinely proud. This one tests your patience in the best way, and you passed. Tag AmiLoops when you share yours — I want to see every version, horns and all. 🧶
Craving something faster after all that? Our crochet snowman pattern is a much quicker seasonal make if you want a palate cleanser. And if you loved working those wings, our angel amigurumi pattern has a similar wing technique worth trying next.
FAQ
What yarn is best for this crochet valentine heart free pattern?
Fine or Sport weight (CYCA 2) yarn is highly recommended to ensure your stitches are tight and the small details, like the horns and wings, hold their shape properly.
Can a beginner make this amigurumi heart?
This pattern is best suited for intermediate to advanced crocheters because it involves a very small 1.5mm hook, intricate shaping, and multiple parts that require careful sewing.
How long does it take to crochet this Valentine heart?
Because of the fine yarn and multiple detailed parts, this is not a quick one-evening project. Expect it to take around 6 to 10 hours spread over a few sittings.