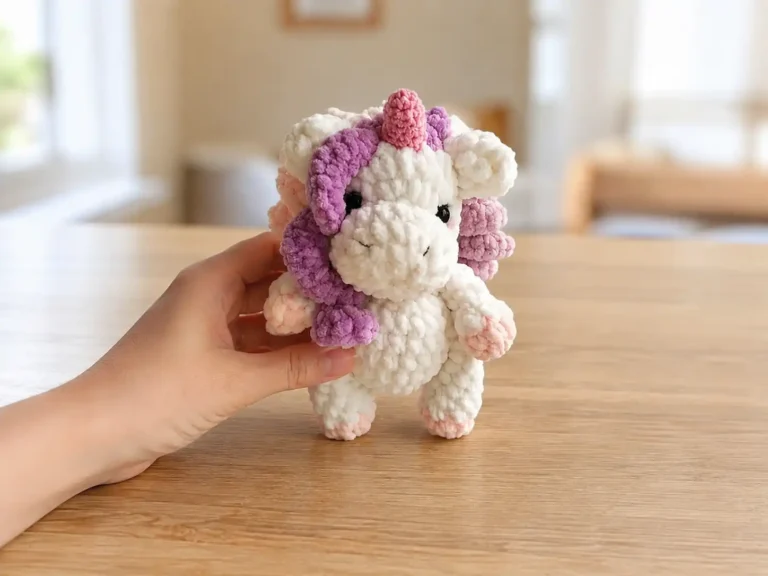
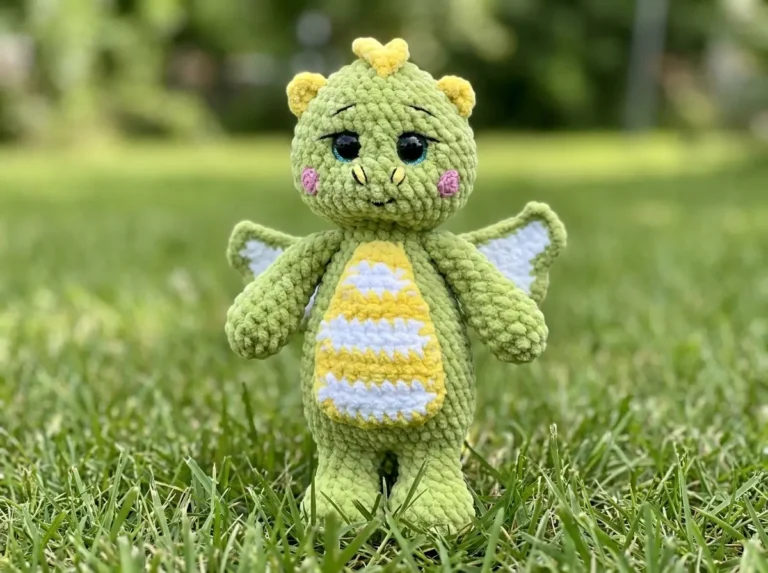
Meet Marigold — The Amigurumi Unicorn Free Pattern That Started With a Horn
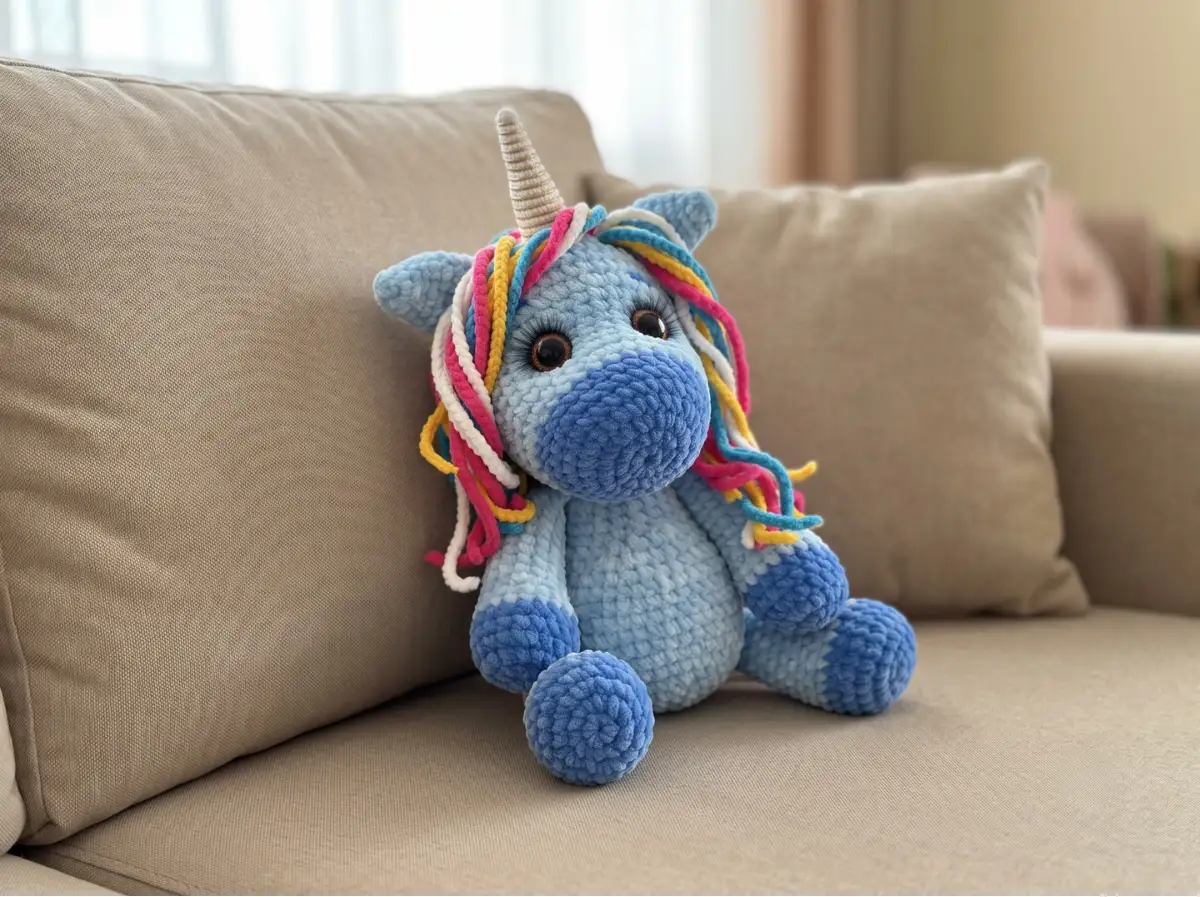
This amigurumi unicorn free pattern begins the way most of my favorites do — with a single detail I couldn’t stop thinking about. In this case, it was the horn: wrapped in contrast thread, catching the light just slightly differently than everything else. I named her Marigold before her legs were even finished. She has that look unicorns get in the good stories — a little dreamy, a little sure of herself, like she already knows where she’s going. If you’ve been wanting to make something with a bit of quiet magic in it, this is a nice place to start.
📖 Meet Marigold
- 🌟 Personality: dreamy, gentle, quietly confident
- 🎨 Color Palette: soft sky blue body with a multicolored mane in yellow, pink, blue, and white
- 📏 Size: Not stated in the source pattern — expect a medium-sized standing amigurumi based on row counts
- 🪝 Hook: D/3 (3.25 mm)
- ⏱️ Time: 10-14 hours
- ✨ Signature Detail: a thread-wrapped horn and a hand-chained mane and tail in novelty yarn
- 💡 Difficulty: Intermediate
Materials for Your Amigurumi Unicorn Free Pattern
The mane and tail come from a baby novelty yarn — something with a little texture and softness to it, the kind that catches light in strange, pretty ways when you chain it up. If you can’t find the exact one, look for a bulky or novelty-blend yarn in a similar weight; it’s the texture that matters here more than the brand.
For the horn, you’ll want a white jeans-weight yarn — DK / Light Worsted (3) in US terms. Drops Muskat or Paintbox Cotton DK both work beautifully as substitutes, and either gives the horn a crisp, clean structure before it’s wrapped in contrast thread.
You’ll also want:
- Yarn in your chosen hoof color
- Yarn in your chosen body color
- Contrast thread (for wrapping the horn)
- An insole or inner sole insert (for the hooves — it’s a small trick that keeps them from going soft and shapeless)
- Stuffing
Hook Size: D/3 (3.25 mm)
Abbreviations
| Abbreviation | Meaning |
|---|---|
| mr | Magic Ring |
| sc | Single Crochet |
| inc | Increase |
| inv dec | Invisible Decrease |
| hdc | Half Double Crochet |
✨ Sophie’s Note: The original source used a standard decrease throughout. I’ve swapped every decrease in this pattern to an invisible decrease instead — it closes more neatly and doesn’t leave that small visible gap. The stitch counts don’t change at all; only the method does.
Before the Story Begins — Getting Ready to Meet Marigold
Every character here begins the same quiet way — with a magic ring. If you haven’t made one before, our magic ring tutorial walks through it slowly and clearly, and it’s the very first thing your hands will do for nearly every piece in this pattern.
You’ll be using an invisible decrease throughout, rather than a standard one — it’s a small technique with a big effect on how clean the shaping looks. Our invisible decrease tutorial is worth a look before you start the legs, since that’s where the shaping really begins.
And once the body starts coming together, don’t rush the stuffing. Our stuffing guide covers how to fill firmly without losing the shape you’ve worked so hard to build — especially important here, since the hooves need to be dense while the rest of the leg stays soft.
✨ Sophie’s Note: Take your time with the legs especially. They’re the first thing people notice when a unicorn is standing, and a little unevenness there reads as personality, not a flaw.
The Pattern
Back Legs (make 2)
Yarn Color: Hoof color
Starting Method: Magic Ring
Row 1: 6 sc in mr (6)
Row 2: (inc) × 6 (12)
Row 3–4: (1 sc, inc) × 6 (18)
Row 5: (2 sc, inc) × 6 (24)
Rows 6-7: 24 sc (24)
✨ Sophie’s Note: After Row 7, change your yarn color here — this is where the leg transitions away from the hoof. If you’re using an insole for extra structure, this is also the moment to tuck it in before you close things up further.
Rows 8-9: 24 sc (24)
Row 10: (2 sc, inv dec) × 6 (18)
Rows 11-17: 18 sc (18)
Row 18: (inv dec, 7 sc) × 2 (16)
Row 19: 16 sc (16)
Row 20: (inv dec, 6 sc) × 2 (14)
Row 21: 14 sc (14)
Row 22: Fold in half and work through both sides together
✨ Sophie’s Note: Before this final row, stuff the hooves firmly — they carry the weight of the standing pose, so they need to be dense. The rest of the leg can be stuffed more loosely; it gives a softer bend at the joint, which is part of why these legs end up looking like they’re actually standing rather than just propped up.
Front Legs (make 2)
Yarn Color: Hoof color
Starting Method: Magic Ring
Row 1: 6 sc in mr (6)
Row 2: (inc) × 6 (12)
Row 3: (1 sc, inc) × 6 (18)
Row 4: (8 sc, inc) × 2 (20)
Rows 5-6: 20 sc (20)
✨ Sophie’s Note: Change your yarn after Row 6 — same transition point as the back legs, moving from hoof color into body color.
Rows 7-8: 20 sc (20)
Row 9: (3 sc, inv dec) × 4 (16)
Rows 10-14: 16 sc (16)
Row 15: (6 sc, inv dec) × 2 (14)
Rows 16-18: 14 sc (14)
Row 19: (5 sc, inv dec) × 2 (12)
Row 20: 12 sc (12)
Row 21: Fold in half and work through both sides together
Ears (make 2)
Starting Method: Magic Ring
Row 1: 6 sc in mr (6)
Row 2: 6 sc (6)
Row 3: (1 sc, inc) × 3 (9)
Row 4: 9 sc (9)
Row 5: (2 sc, inc) × 3 (12)
Rows 6-7: 12 sc (12)
Row 8: (inv dec) × 6 (6)
Row 9: Fold both sides together, sc through both layers, 3 sc (3)
✨ Sophie’s Note: The fold here is what gives the ears their gentle point — worth taking slowly, since a slightly off-center fold changes the tilt, and the tilt is a big part of the expression.
Horn
Yarn Color: White jeans-weight yarn
Starting Method: Magic Ring
Row 1: 6 sc in mr (6)
Row 2: 6 sc (6)
Row 3: (2 sc, inc) × 2 (8)
Row 4: 8 sc (8)
Row 5: (3 sc, inc) × 2 (10)
Row 6: (4 sc, inc) × 2 (12)
Row 7: (5 sc, inc) × 2 (14)
Row 8: (6 sc, inc) × 2 (16)
Row 9: (7 sc, inc) × 2 (18)
Row 10: 18 sc (18)
Row 11: (8 sc, inc) × 2 (20)
Rows 12-16: 20 sc (20)
✨ Sophie’s Note: This is the part I always slow down for. Wrap the horn with contrast thread after Row 16 — spiral it evenly from base to tip. It’s a small step, but it’s the one detail that makes Marigold instantly recognizable as herself.
Body
Starting Method: Magic Ring
Row 1: 6 sc in mr (6)
Row 2: (inc) × 6 (12)
Row 3: (inc) × 12 (24)
Row 4: (3 sc, inc) × 6 (30)
Row 5: (4 sc, inc) × 6 (36)
Rows 6-11: 36 sc (36)
Row 12: 1 sc, inv dec, 30 sc, inv dec, 1 sc (34)
Row 13: 1 sc, inv dec, 28 sc, inv dec, 1 sc (32)
Row 14: 13 sc, (inv dec) × 3, 13 sc (29)
Row 15: 13 sc, inv dec, 14 sc (28)
Row 16: 28 sc (28)
Row 17: 1 sc, inv dec, 22 sc, inv dec, 1 sc (26)
Row 18: 5 sc, inv dec, 12 sc, inv dec, 5 sc (24)
Row 19: 5 sc, inv dec, 10 sc, inv dec, 5 sc (22)
Row 20: 22 sc (22)
Rows 21-23: 6 hdc, 10 sc, 6 hdc (22)
✨ Sophie’s Note: This is where the body really settles into its final shape — you’ll notice the shift to hdc at the end gives the neckline a slightly firmer edge, which helps the head sit steady once it’s sewn on.
Head
Yarn Color: Nose and hoof color
Row 1: 6 sc in mr (6)
Row 2: (inc) × 6 (12)
Row 3: (inc) × 12 (24)
Row 4: (3 sc, inc) × 6 (30)
Rows 5-7: 30 sc (30)
✨ Sophie’s Note: Change yarn to your body color before Row 8 — this is the transition from the nose/hoof color into the rest of the face.
Row 8: 30 sc (30)
Row 9: (4 sc, inc) × 6 (36)
Rows 10-15: 36 sc (36)
Row 16: 14 sc, (inc, 1 sc) × 4, 14 sc (40)
Rows 17-21: 40 sc (40)
Row 22: (8 sc, inv dec) × 4 (36)
Row 23: (4 sc, inv dec) × 6 (30)
Row 24: (3 sc, inv dec) × 6 (24)
Row 25: (2 sc, inv dec) × 6 (18)
Row 26: (1 sc, inv dec) × 6 (12)
Row 27: (inv dec) × 6 (6)
Finishing: Cinch the opening closed.
✨ Sophie’s Note: Set the head down on its own for a second before you attach anything. Even without a face yet, there’s already something there — a shape waiting to become someone.
Assembly — Bringing Marigold Together
- Sew the ears onto the head.
- Sew the head onto the body.
- Sew the front legs on, positioned 4-5 rows down from the top.
- Sew the back legs on at a height that feels right — try standing the unicorn on them as you go, adjusting until she balances the way you want.
- Sew the horn onto the top of the head.
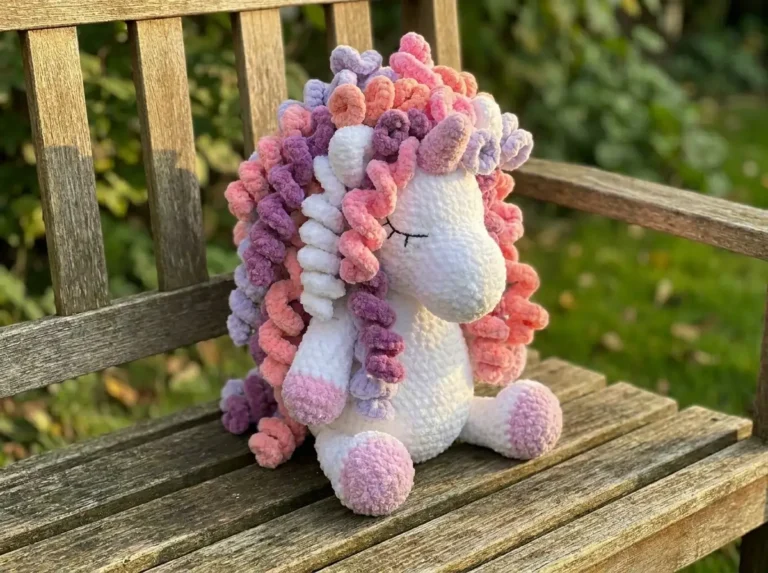
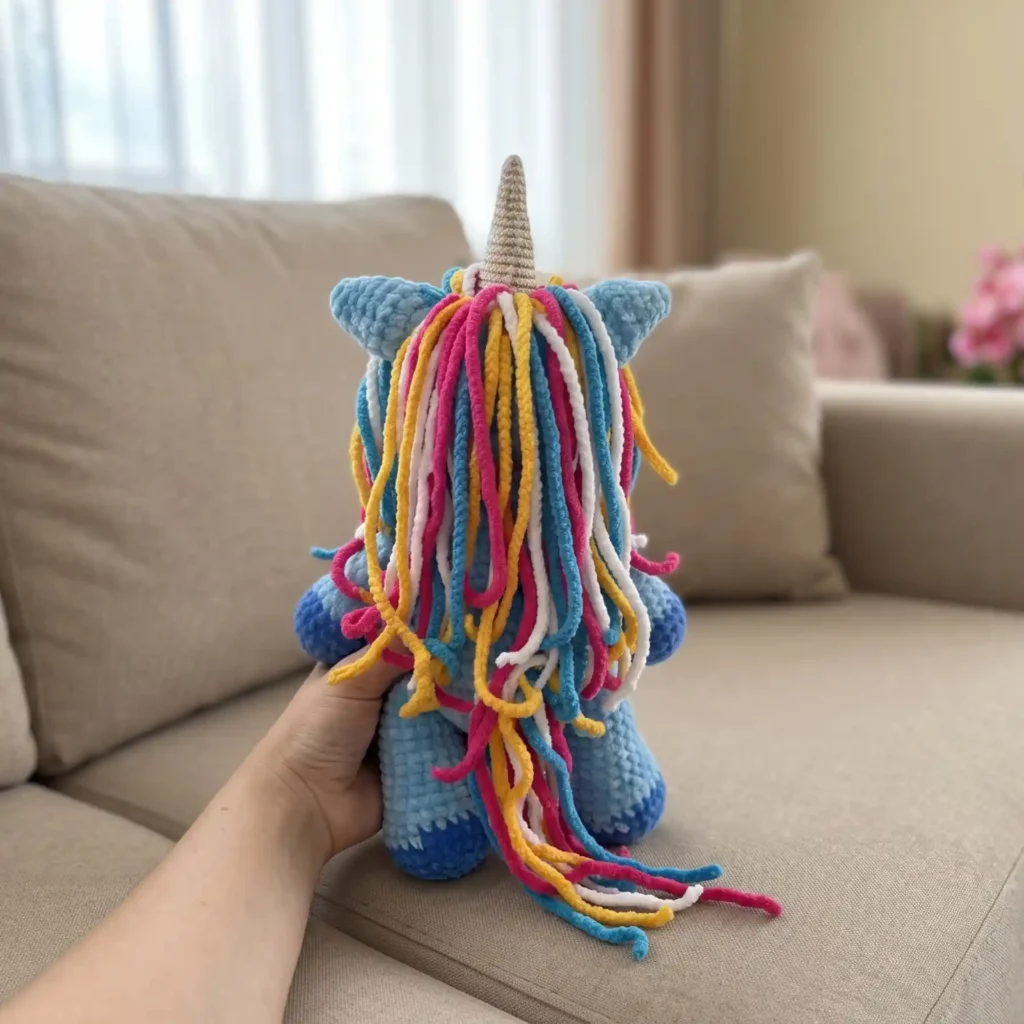
- For the mane and tail: hold your novelty yarn in two strands and, using the same D/3 (3.25 mm) hook, chain to your preferred length — long enough to fold in half at the center and sew to the head. Repeat for the tail. Sew the mane on in small clusters of 3-4 chains each; the more clusters you add, the fuller and fluffier the mane and tail become.
Our sewing tutorial is worth a look before you start attaching pieces — especially for the legs, since the placement is what determines whether Marigold ends up standing steady or a little wobbly (which, honestly, has its own charm).
✨ Sophie’s Note: Small shifts in leg placement change everything about the final pose. Move the back legs slightly forward and she looks like she’s about to walk; keep them square underneath and she looks like she’s simply standing still, taking everything in.
Mane, Tail & Horn — The Details That Make Her Marigold
The horn is wrapped in contrast thread — a small, patient step that turns a plain white cone into something that catches the eye first. Take your time spiraling the thread evenly; an uneven wrap is one of those details people notice even if they can’t say why.
The mane and tail are made the same simple way — folded, sewn-on clusters of chain — but the color choice does a lot of the emotional work. A soft pastel mane gives her a gentler, dreamier look. A brighter, more saturated palette (like the yellow-pink-blue-white combination from the original photo) gives her something bolder, almost circus-bright. Either way, the fuller you make it, the more movement she seems to have, even sitting still.
Meet Marigold
She’s sitting on the shelf beside my desk right now, mane a little wild from all the finger-curling, one back leg set just slightly forward like she’s mid-step and changed her mind. That’s the strange thing about these little creatures — once the horn is wrapped and the mane is sewn on in all its uneven, hand-placed clusters, they stop being yarn and start being someone. Name yours. Let her stand somewhere she’ll be noticed — a windowsill, a bookshelf, right next to something she can quietly guard. She’s earned it. 🦄
FAQ
What yarn is best for this amigurumi unicorn free pattern?
A standard cotton or acrylic blend works perfectly for the body. For the horn, a DK or Light Worsted white jeans-weight yarn, like Drops Muskat, gives the best structure before wrapping.
How long does it take to crochet this unicorn?
This is an intermediate-level pattern that typically takes between 10 to 14 hours to complete, depending on your crochet speed and experience with assembling pieces.
What size hook do I need for this amigurumi pattern?
You will need a D/3 (3.25 mm) crochet hook. This ensures your stitches remain tight so the stuffing won’t show through the finished piece.