Free Halloween Glam Pumpkin Amigurumi Pattern
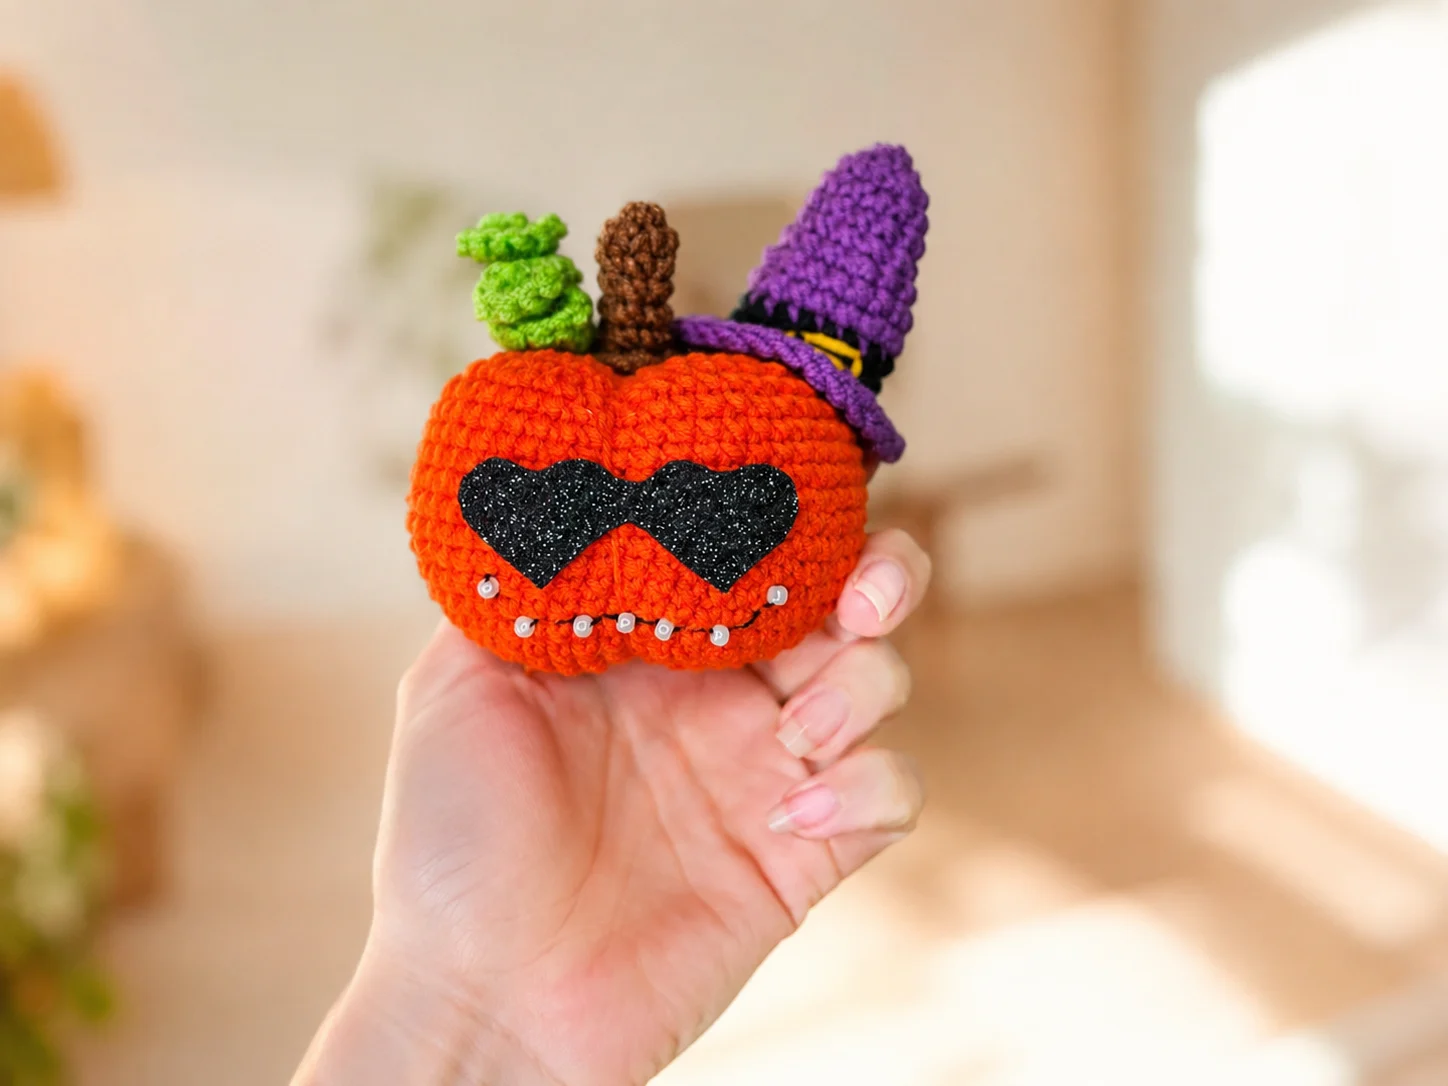
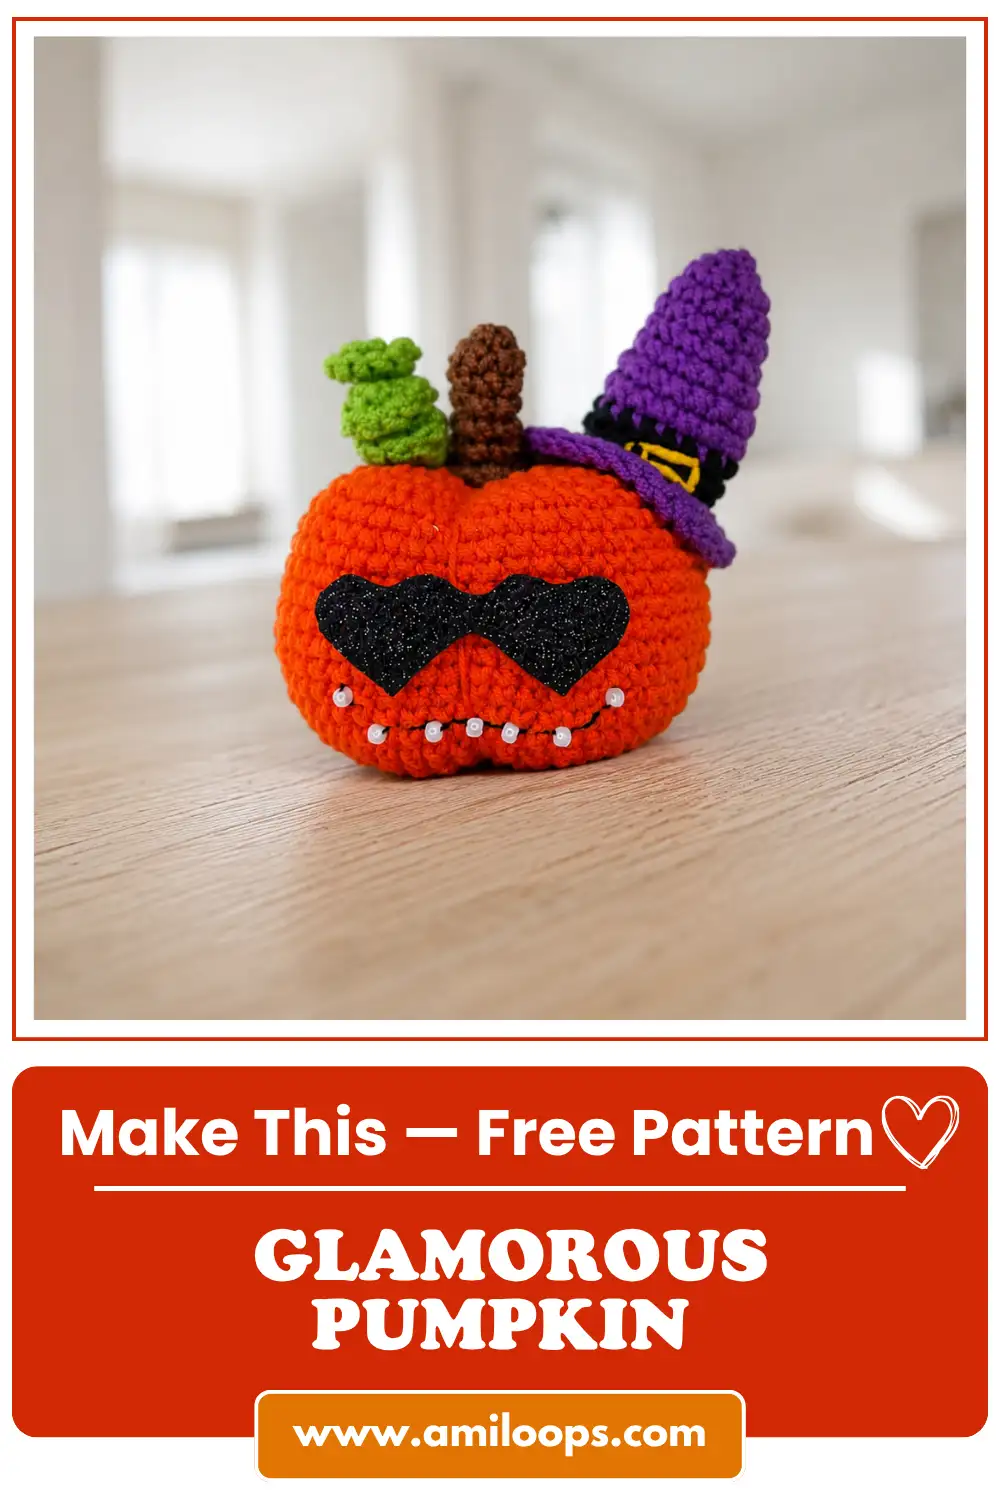
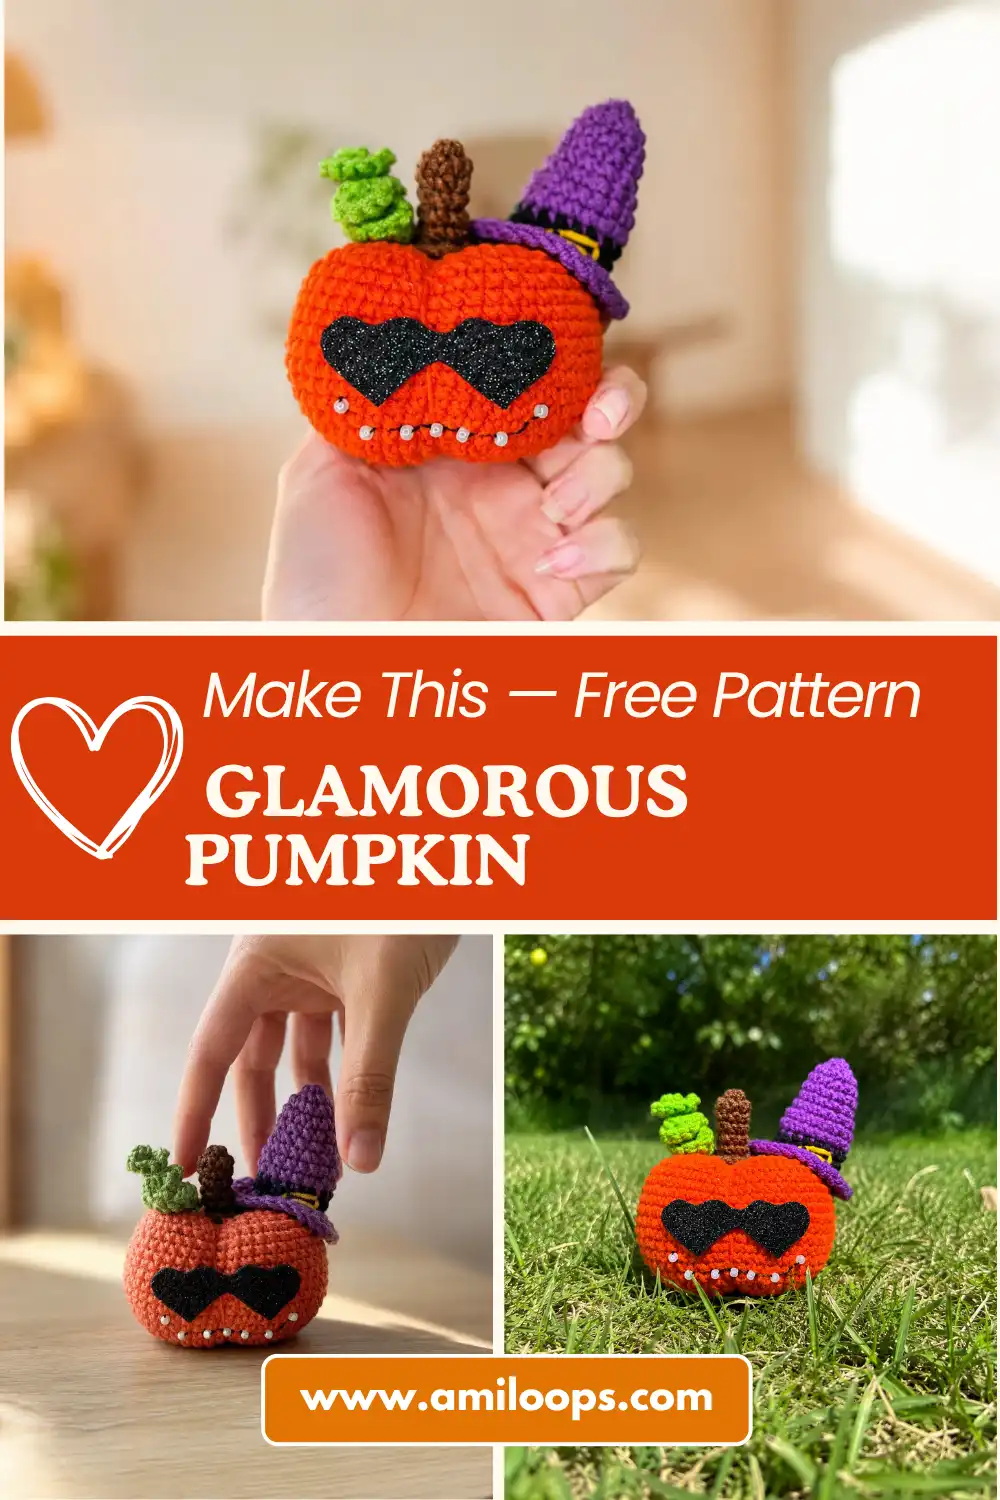
This glam pumpkin amigurumi free pattern turns a simple orange gourd into the most fabulous little face you’ve ever seen — complete with a tiny purple witch hat, a black-banded brim, and heart-shaped sunglasses cut from black craft foam. At just 2.8 inches tall, it fits perfectly in your palm, and every detail on this one is dripping with personality. Let me show you how it all comes together.
🩷 Pattern Highlights
- Cuteness Rating: 🩷🩷🩷🩷🩷
- Finished Size: 2.8 in (7 cm)
- Difficulty: Beginner
- Hook Size: 1.75 mm (no direct US letter equivalent — match this measurement on your preferred hook brand)
- Yarn Palette: warm pumpkin orange, leafy vine green, chestnut brown, deep amethyst purple, black, golden yellow
- Key Detail: heart-shaped glam sunglasses and a beaded, gap-toothed little smile
- Estimated Time: 3-4 hours (editorial estimate)
Materials for This Glam Pumpkin Amigurumi Free Pattern
Here’s everything you’ll want on hand before you pick up your hook. I always lay my colors out in the order I’ll use them — it makes the whole project feel like it’s already coming together.
- Main color (pumpkin body): warm pumpkin orange — YarnArt Jeans color #85 (US alternative: Drops Muskat or Paintbox Cotton DK), DK / Light Worsted (3), less than one skein needed
- Vines: leafy vine green — YarnArt Jeans color #69 (US alternative: Drops Muskat or Paintbox Cotton DK), DK / Light Worsted (3)
- Stem: chestnut brown — YarnArt Jeans color #70 (US alternative: Drops Muskat or Paintbox Cotton DK), DK / Light Worsted (3)
- Hat: deep amethyst purple (YarnArt Jeans #50), black (YarnArt Jeans #53), and golden yellow (YarnArt Jeans #35) — same US alternatives, DK / Light Worsted (3)
- Black craft foam sheet (foamiran) or black felt, for the glasses
- Black sewing thread, for the mouth embroidery
- White seed beads, for the tiny teeth
- Hook: 1.75 mm steel hook (no standard US letter size — this is a fine gauge hook, so double-check your brand’s labeling against the mm measurement)
- Fiberfill stuffing
- Stitch markers
- Tapestry needle and scissors
- Craft glue (for attaching the glasses)
This whole palette lives in that DK / Light Worsted weight range — if you want a refresher on how yarn weights are categorized, the Craft Yarn Council’s yarn weight system is a great place to double-check your substitutes.
Abbreviations Used in This Pattern
| Abbreviation | Meaning |
|---|---|
| sc | single crochet |
| ch | chain |
| inc | increase (2 sc in the same stitch) |
| inv dec | invisible decrease |
| mr | magic ring |
| FLO | front loop only |
| ( ) × 6 | repeat the instructions in parentheses 6 times |
One quick note on the decrease: the original notes called for a standard 2-sc-together decrease, but every pumpkin body decrease round below has been written as an inv dec instead. It closes cleaner with no little gap peeking through, which matters a lot on a piece this small.
Before You Begin: A Few Notes on This Glam Pumpkin Amigurumi Pattern
A couple of things worth knowing before you start this one.
This pumpkin starts, like almost everything I make, with a magic ring — it keeps that center hole from ever showing, which matters more than you’d think on a rounded shape like this.
🩷 Chloe’s Detail Tip: When you get to the decrease rounds on the pumpkin body, take it slow. This is where an invisible decrease really earns its keep — it pulls the top closed smoothly instead of leaving little peek-through gaps, and on a piece this size, gaps are impossible to hide.
You’ll also be stuffing as you go rather than all at once at the end — the pattern calls for filling the body starting partway through the decrease rounds, while there’s still enough of an opening to work with. Our stuffing guide walks through how to add it gradually so you get a nice round shape without any lumpy spots.
Last thing: this pumpkin doesn’t use safety eyes at all. Its whole expression comes from a tiny embroidered mouth, a few white beads for teeth, and those heart-shaped glasses — so all that obsessive symmetry-checking energy I usually pour into eye placement goes straight into getting those glasses sitting perfectly level instead.
The Pattern
Part 1: Pumpkin Body (orange, ×1)
Start with a magic ring in your pumpkin orange.
Row 1: 6 sc in mr (6)
Row 2: 6 inc = 12 sc (12)
Row 3: 12 inc = 24 sc (24)
Row 4: (3 sc, inc) × 6 = 30 sc (30)
Row 5: (4 sc, inc) × 6 = 36 sc (36)
Row 6: (5 sc, inc) × 6 = 42 sc (42)
Row 7: (6 sc, inc) × 6 = 48 sc (48)
This is where the shape really starts to round out into something recognizable — so satisfying to watch it happen.
Rows 8–19: 48 sc in each st around (48)
Twelve plain rounds to build up the body height. This is the meditative part — just watch the round grow taller under your hands.
Row 20: (6 sc, inv dec) × 6 = 42 sc (42)
Row 21: (5 sc, inv dec) × 6 = 36 sc (36)
Row 22: (4 sc, inv dec) × 6 = 30 sc (30)
Row 23: (3 sc, inv dec) × 6 = 24 sc (24)
Row 24: (2 sc, inv dec) × 6 = 18 sc (18)
🩷 Chloe’s Detail Tip: Once you finish Row 24, it’s time to start stuffing. Add it gradually as the top keeps closing rather than cramming it all in at once — a little at a time keeps the shape nice and round instead of lopsided.
Row 25: (1 sc, inv dec) × 6 = 12 sc (12)
Row 26: 6 inv dec (6)
Finishing: Leave a medium-length yarn tail, cut the rest, and sew the opening closed with your tapestry needle. Then comes one of my favorite little touches — press in about 4 gentle indents around the body with your needle and thread, going through the piece and back out, to give it that classic pumpkin ridge look. Pull each one just enough to create a soft dimple, not a hard crease.
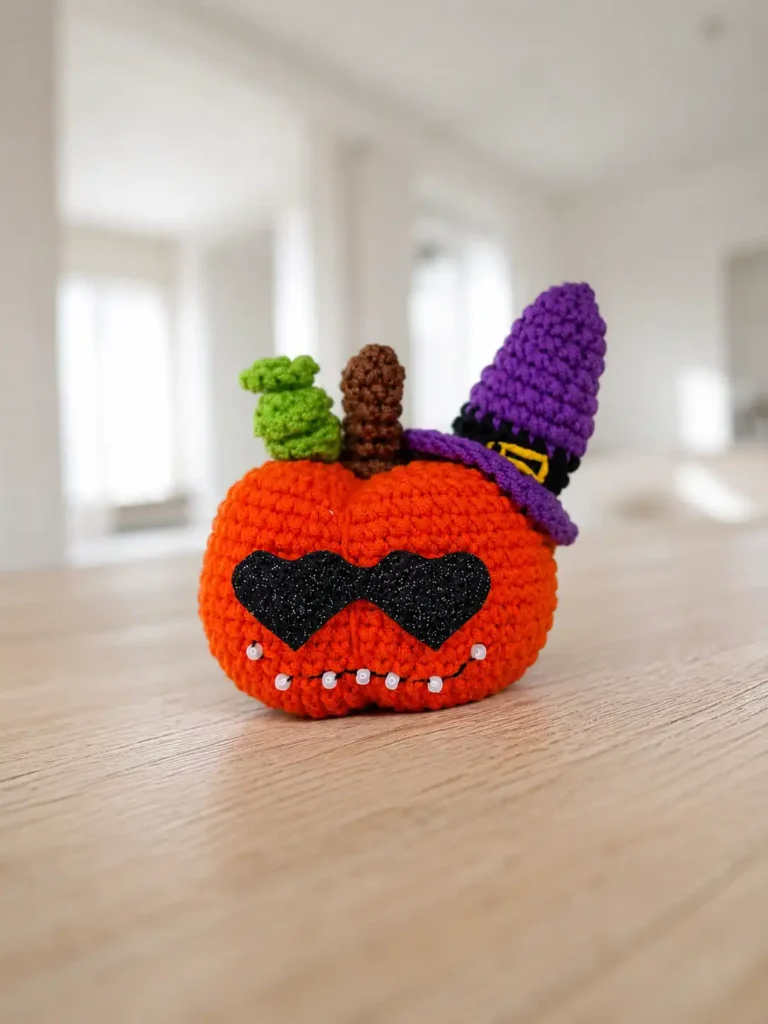
Part 2: Stem (brown, ×1)
A tiny stem makes such a big difference to how “pumpkin” this reads at a glance.
Row 1: 6 sc in mr (6)
Rows 2–7: 6 sc in each st around (6)
Row 8: Work in FLO: 6 inc = 12 sc (12)
Row 9: Work in both loops: 12 sc (12)
That front-loop-only round on Row 8 creates a subtle little ridge right where the stem flares out — a nice bit of texture that makes it look like it’s growing right out of the top.
Finishing: Leave a yarn tail for sewing, cut the rest.
Part 3: Vine — First (green, ×1)
Row 1: Ch 13 (13)
Row 2: Work 2–3 sc evenly into each chain across.
This is a curly-vine technique, so don’t stress about landing on an exact stitch count here — working extra single crochets into each chain is what makes the strand ruffle and curl on its own as you go. The more stitches you pack in per chain, the tighter the curl.
Finishing: Leave a yarn tail for sewing, cut the rest.
Part 4: Vine — Second (green, ×1)
Row 1: Ch 19 (19)
Row 2: Work 2–3 sc evenly into each chain across.
Same curly technique as the first vine, just longer — this one gets to trail a little further down the side of the pumpkin.
Finishing: Leave a yarn tail for sewing, cut the rest.
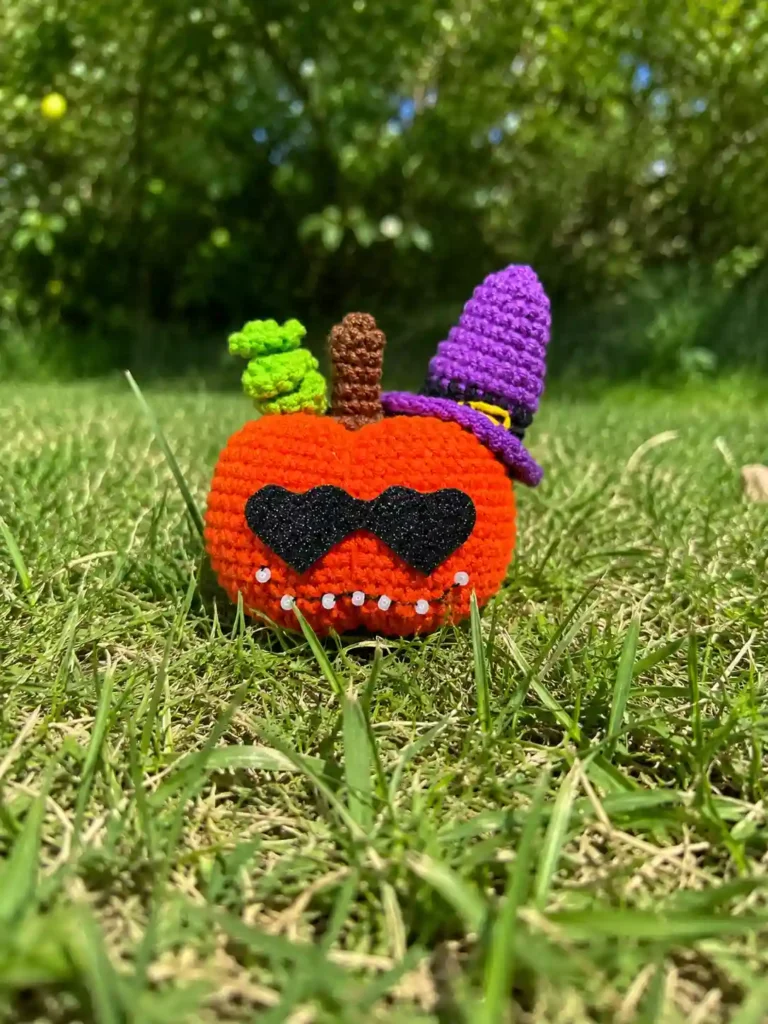
Part 5: Hat (purple, black & yellow, ×1)
This little hat is where the “glam” really starts to show up. Start in purple.
Row 1: 6 sc in mr [purple] (6)
Row 2: 6 sc [purple] (6)
Row 3: 6 inc = 12 sc [purple] (12)
Rows 4–6: 12 sc [purple] (12)
Row 7: (1 sc, inc) × 6 = 18 sc [purple] (18)
Rows 8–9: 18 sc [purple] (18)
Now switch to black for the brim band — our color change guide is a good refresher if you’d like a clean, jog-free transition here.
Rows 10–11: attach black — 18 sc [black] (18)
Switch back to purple for the flared brim.
Row 12: attach purple — Work in FLO: (2 sc, inc) × 6 = 24 sc (24)
Row 13: Work in both loops: (3 sc, inc) × 6 = 30 sc (30)
Working that Row 12 increase into the front loops only is what gives the brim its crisp little flare, right where it meets the black band.
Finishing: Leave a yarn tail for sewing, cut the rest. With yellow yarn, embroider a small buckle shape onto the front of the black band — this is the finishing touch that really sells the little witchy-glam look.
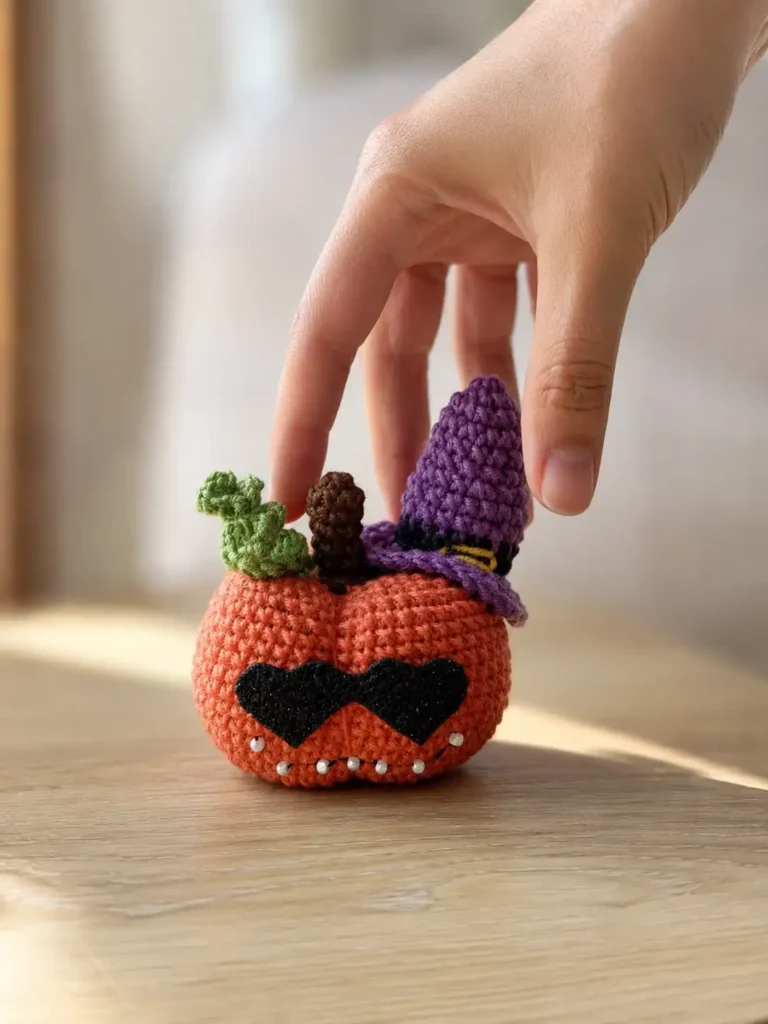
Assembly
Time to bring all the pieces together.
- Sew the stem to the top center of the pumpkin, using the flat FLO side as the base that meets the body.
- Sew the two vines next to the stem, letting them curl naturally out to the sides — I like tacking down just the base of each one so the rest can still bounce and move a little.
- Sew the hat over the top of the stem, tilting it very slightly to one side for a jauntier look, then use your tapestry needle to sew all the way around the base of the hat so it sits securely.
If sewing multiple small pieces onto a round body is new to you, our guide to sewing amigurumi parts together covers how to keep everything positioned evenly before you commit to the final stitches.
Making It Extra Cute: Finishing Details for Your Glam Pumpkin Amigurumi
This is where it goes from nice to irresistible.
The smile: Using black sewing thread, embroider a small curved mouth onto the front of the pumpkin, below where the glasses will sit. Stitch a few white seed beads along the mouth line to create a row of tiny teeth — even just two or three beads peeking out gives the whole face so much charm.
The glam glasses: From your black craft foam or felt, cut two heart shapes (mine came out to about 0.6 in / 1.5 cm tall and 0.8 in / 2 cm wide) along with a small bridge piece to connect them, like a tiny pair of heart-shaped sunglasses. Glue the bridge between the two hearts first, let that set, then glue the finished glasses onto the face just above the mouth.
🩷 Chloe’s Detail Tip: Before the glue sets, hold the pumpkin at arm’s length and check the glasses straight-on under good light — the same way I’d check safety eyes. Once that glue grabs, you’re not repositioning it, so give yourself those extra thirty seconds to get it centered and level.
Color play: If purple and black isn’t your palette, this hat shape takes color swaps beautifully — try a deep forest green with a mustard band for something more classic-witchy, or keep it soft with a dusty lavender and cream combo if you want a gentler, less spooky vibe.
Chloe’s Final Look
Look at this little face! Between the ridged pumpkin body, the curling vines, and that tiny purple hat with its golden buckle, this one has so much personality packed into 2.8 inches. Those heart-shaped glasses are what really do it for me — so squishy, so extra, so precious. Try making a little row of these in different hat colors along a shelf this fall, and don’t be surprised if you end up making more than one. 🩷
FAQ
What yarn is best for this glam pumpkin amigurumi?
DK or Light Worsted weight cotton blend yarns like YarnArt Jeans, Drops Muskat, or Paintbox Cotton DK work best. They provide good stitch definition and help the pumpkin hold its firm shape.
How long does it take to crochet this glam pumpkin?
It takes approximately 3 to 4 hours to complete all the crochet pieces, sew them together, and add the detailed facial expressions and foam glasses.
Can beginners make this pumpkin pattern?
Yes! The pattern relies on basic single crochet stitches, increases, and invisible decreases. Beginners should just take their time when sewing on the small details and assembling the parts.